Unlocking Unrivaled Flavor: The Ultimate Guide to Perfect Meat Injection for BBQ & Smoking
In the vibrant world of barbecue and grilling, a growing number of pitmasters are discovering the transformative power of meat injection. Moving beyond traditional marinades that only penetrate the surface, injection needles deliver flavor and moisture deep within the meat’s core. This technique is rapidly becoming a go-to method for enhancing everything from competition-winning briskets to succulent backyard turkeys. If you’re looking to elevate your grilling game and achieve unparalleled juiciness and flavor, diving into the art of meat injection is your next logical step. It’s a game-changer that promises to revolutionize your cooking, making every bite an unforgettable experience.
Whether you’re aiming for a blue ribbon at your next BBQ competition or simply striving to impress family and friends with incredibly tender and flavorful meat, understanding the nuances of injection is key. This comprehensive guide will equip you with all the essential knowledge, tips, and tricks to become a master meat injector. From selecting the right tools to crafting the perfect injection liquid, we’ve got you covered with 17 vital insights:
1. Avoid Injecting Cold Fluids into Your Meat
One of the most common pitfalls for beginners is injecting cold liquids. While it might seem convenient to grab your marinade straight from the refrigerator, introducing chilled fluids directly into your meat will significantly lower its internal temperature. This invariably extends the cooking time, potentially leading to uneven cooking and a less desirable final texture. The goal is to bring the meat up to temperature efficiently and cook it evenly. Before injecting, always allow your liquids to reach room temperature, or gently warm them in a microwave for a few seconds to take the chill off. This small but crucial step ensures a smoother cooking process and better results.

2. Basic Injectors are a Great Starting Point
For those just beginning their meat injection journey, a standard-issue, inexpensive injector from your local supermarket is perfectly adequate. These entry-level models, often made with plastic barrels and a single all-purpose needle, serve as an excellent introduction to the technique. They allow you to “get your feet wet” without a significant upfront investment. My own first experience was with a simple Cajun butter marinade kit that included a plastic injector, and the results for our Thanksgiving turkey were surprisingly delicious. These basic kits are fantastic for learning the ropes, understanding the mechanics, and experimenting with initial flavors. Just remember to clean them meticulously after each use to prevent bacterial growth, especially with the single-needle design.
3. Upgrade to a Quality Stainless Steel Injector for Superior Performance
While basic injectors get the job done, investing in a good quality stainless steel model will significantly enhance your experience and results, especially if you plan to inject frequently. You don’t need to break the bank; many excellent options are available for under $20. For instance, the Tri-Sworker stainless steel injector, often found on Amazon for around $17, comes as part of a comprehensive kit. These models are built to last, resistant to corrosion, and much easier to clean thoroughly. When choosing, consider the handle design – some prefer a large thumbhole for comfortable leverage, while others might opt for two additional finger holes for a more secure grip. Avoid overly bulky “pistol grip” injectors, as their size can sometimes hinder maneuverability and make it difficult to apply consistent pressure, especially with larger cuts of meat. Simplicity and durability are key here.
4. Invest in an Injector with a Carrying Case for Organization and Safety
For just an additional five to ten dollars, you can purchase an injector kit that includes a dedicated carrying case. This seemingly small detail offers substantial benefits. Firstly, it keeps all your components – the syringe, multiple needles, and cleaning brushes – neatly organized in one place, preventing frustrating searches every time you want to inject. More importantly, it provides a safe storage solution for the delicate and sharp needles. Reaching into a drawer or box filled with loose tools and unexpectedly getting jabbed by a needle is an unpleasant and dangerous experience to avoid. A well-organized case, like those offered by top-rated brands such as Ofargo, ensures safety and prolongs the life of your equipment, making your BBQ prep smoother and more secure.
5. Opt for Bigger Barrels for Efficiency and Speed
When selecting your injector, pay attention to the capacity of the syringe barrel. A larger barrel size, meaning it can hold more liquid, translates directly to a more efficient and less time-consuming injection process. With a bigger barrel, you’ll spend less time refilling the syringe and more time focusing on evenly distributing the marinade within your meat. This difference is especially noticeable when working with large cuts like whole turkeys or briskets, where multiple refills with a smaller barrel can become tedious. Models like the BBQ Monster, while slightly pricier, boast impressively sized barrels designed for serious BBQ enthusiasts and championship-level cooking, demonstrating the advantage of increased capacity. Just remember to balance barrel size with overall injector length to maintain optimal leverage and control.

6. Master the Art of Matching Marinades with Specific Meats
Meat injection is essentially marinating from the inside out, making the choice of liquid paramount to your success. Different meats benefit from specific flavor profiles and liquid compositions. Understanding these pairings ensures optimal taste and moisture enhancement. Here’s a foundational guide to preparing suitable injection liquids, designed to create about one liter (or just over a quart) of marinade. These recipes, inspired by experts like Charmate, provide a balanced base from which you can further experiment:
- Chicken: Combine 2 tablespoons of salt, 1 tablespoon of sugar, and 4 cups of reduced-salt chicken stock. This simple blend enhances the natural flavor of chicken without overpowering it, while the salt and sugar aid in moisture retention.
- Beef: For robust beef cuts, mix 2 tablespoons of salt, 1 tablespoon of sugar, 2 teaspoons of Worcestershire sauce, and 4 cups of reduced-salt beef stock. The Worcestershire adds a deep, savory umami note that complements beef exceptionally well.
- Pork: Pork benefits from a slightly sweeter and tangier profile. Use 2 tablespoons of salt, 1 tablespoon of sugar or maple syrup, 1 tablespoon of Worcestershire sauce, 2 tablespoons of rice or cider vinegar, 1 cup of reduced-salt chicken, pork, or beef stock (or apple juice/cider), and 3 cups of water. The apple elements are classic pairings for pork, enhancing its sweetness and tenderness.
Always ensure your chosen ingredients are finely mixed and dissolved to prevent clogging your injector needles.
7. Prioritize Injecting Naturally Dry Meats for Best Results
While you can inject almost any cut of meat, the technique yields the most dramatic improvements for meats that are inherently lean and prone to drying out during long cooking processes. These cuts often lack the internal fat marbling needed to keep them moist, making injection an indispensable tool for achieving tenderness and flavor. Prime candidates for injection include beef round roast, thick pork chops, pork loin, and leg of lamb. These meats greatly benefit from the added moisture and flavor compounds delivered directly into their muscle fibers, preventing them from becoming bland or tough. Even chicken breasts, which can dry out quickly, see significant improvement with a simple injection.
8. Crafting the Perfect Turkey Injection
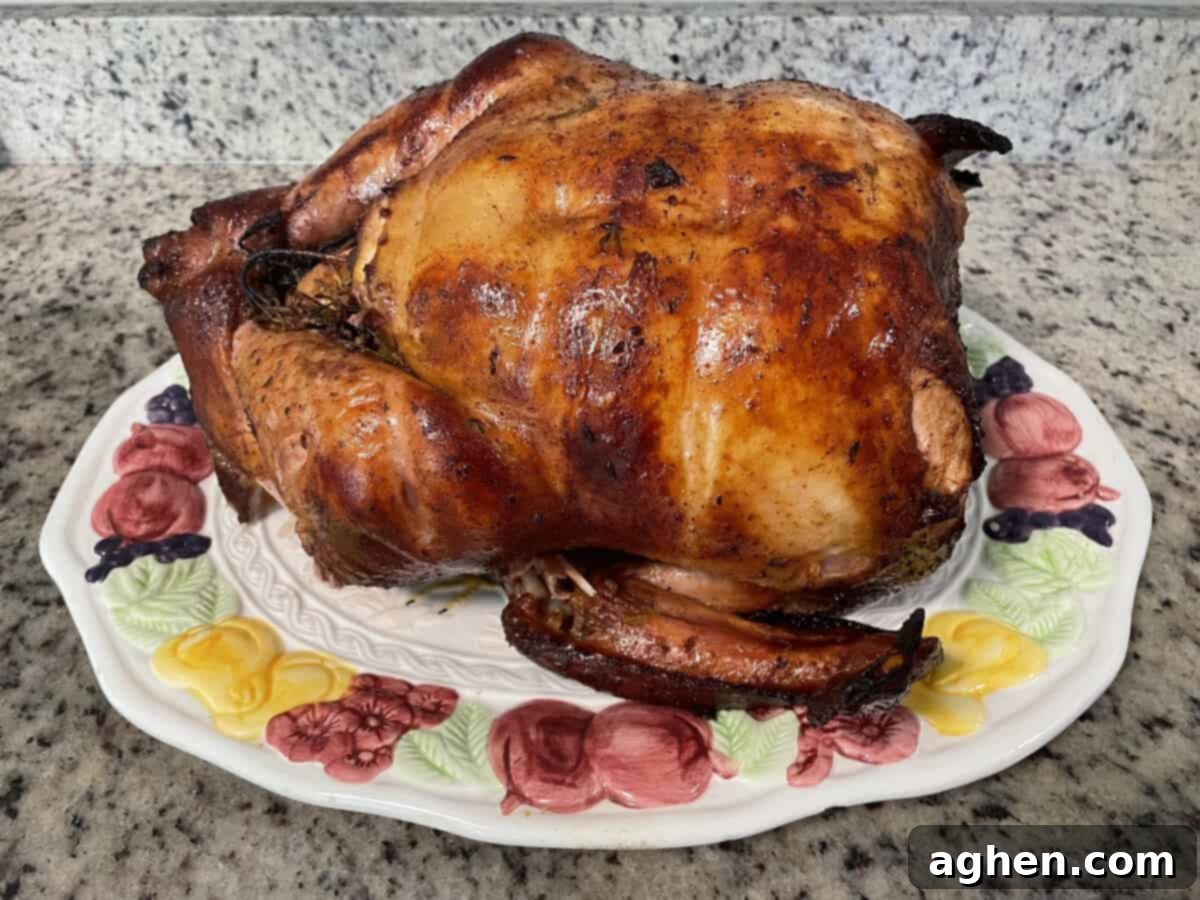
Turkey, especially large birds cooked for extended periods, is an ideal candidate for injection to ensure a moist, flavorful result. A classic and highly effective turkey injection recipe typically includes a rich blend of ingredients. A popular combination features chicken broth for a savory base, melted butter for richness and moisture, salt for seasoning, garlic powder and onion powder for aromatic depth, a dash of hot sauce for a subtle kick, and lemon juice for brightness and to help break down fibers. Simply melt a stick of butter and whisk all ingredients together until well combined. The beauty of this recipe is its versatility; once you have the basic ratios down, you can experiment with various herbs and spices each year to create your signature turkey flavor. Consider adding sage, thyme, or even a touch of brown sugar for a sweet and savory profile.
9. Exercise Caution with Salt Content in Your Injection
While salt is a crucial component for flavor and moisture retention, overdoing it in your injection liquid can have counterproductive effects. Excessive salt can draw moisture out of the meat through osmosis, leading to a drier, tougher result rather than a juicier one. This risk is particularly high if you’ve already brined the meat or if your recipe includes other high-sodium ingredients like salted butter or salty broths. Always consider the overall sodium content from all seasoning steps – brining, rubs, and injections – to avoid over-salting. Using reduced-sodium broths or unsalted butter in your injection recipe is a wise approach to maintain control over the final salt level and ensure your meat remains tender and succulent.
10. Select the Appropriate Needle for Different Injection Needs
A high-quality marinade injector kit typically comes equipped with a selection of specialized needles, each designed for specific injection requirements. Understanding their uses is key to becoming an injection pro:
- Single-Hole Needle (Large): This sturdy needle features a single, large opening at the tip. It’s perfect for injecting thicker liquids, marinades with small particulate matter (like minced garlic or herbs), or for stuffing items like donuts or large roasts where precision delivery of a concentrated amount is needed.
- Multi-Hole Needle (Large, Perforated Sides): This is your go-to needle for large cuts of meat like turkeys, briskets, and pork butts. The multiple holes along the sides allow for wide and even distribution of thinner injection liquids throughout the muscle fibers, ensuring comprehensive flavor and moisture penetration without creating large pockets.
- Smaller Needles (Perforated Sides): These finer needles, also with side perforations, are designed for more delicate cuts of meat, poultry, or fish. Their smaller gauge minimizes damage to the meat’s structure and skin, making them ideal for distributing lighter oils or thin marinades without tearing or excessive leakage, preserving the integrity of the food.
Practice with each needle type to familiarize yourself with their flow and effectiveness on different meats. This will allow you to confidently tackle any cut.
11. Lubricate the Plunger Before Use for Smooth Operation
Before you begin assembling your injector or drawing up any liquid, take a moment to lubricate the syringe plunger. A simple dip of the plunger’s rubber O-ring end into a small amount of cooking oil, such as olive oil or vegetable oil, will make a significant difference. This lubrication ensures that the plunger glides smoothly and easily within the barrel, both when drawing up the injection liquid and when pushing it into the meat. It reduces friction, prevents sticking, and helps maintain consistent pressure, making the entire injection process more effortless and controlled. This simple step also contributes to the longevity of your injector by reducing wear on the O-ring.
12. Administer the Correct Amount of Injection Liquid
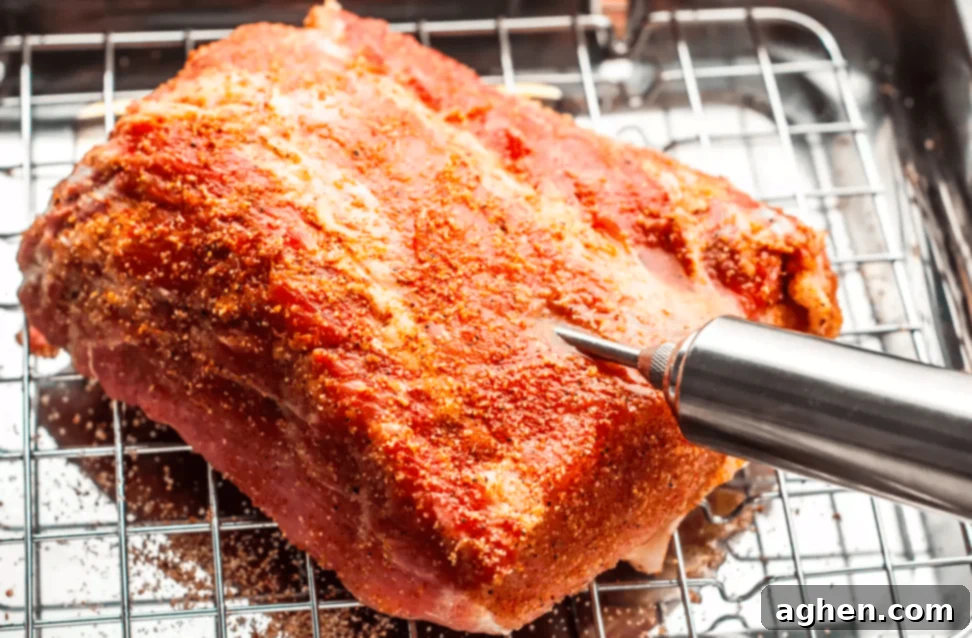
Knowing how much liquid to inject is crucial for optimal results. Too little, and you won’t achieve the desired juiciness and flavor; too much, and you risk blowouts and an overly salty or mushy texture. Many quality injectors, like the Ofargo model, feature measurement windows on the barrel, allowing you to monitor the exact amount of liquid being dispensed. A general guideline for a whole turkey is to inject approximately half an ounce of marinade for every five pounds of turkey into each major muscle group. For instance, a 20-pound turkey would require about two ounces of marinade in each side of the breast and each thigh. For other large cuts like briskets or pork butts, aim for 1-2 ounces per pound, evenly distributed. Always observe the meat as you inject; it will begin to plump up, indicating sufficient liquid has been absorbed. Start conservatively and adjust as you gain experience.
13. Inject Slowly and Deliberately
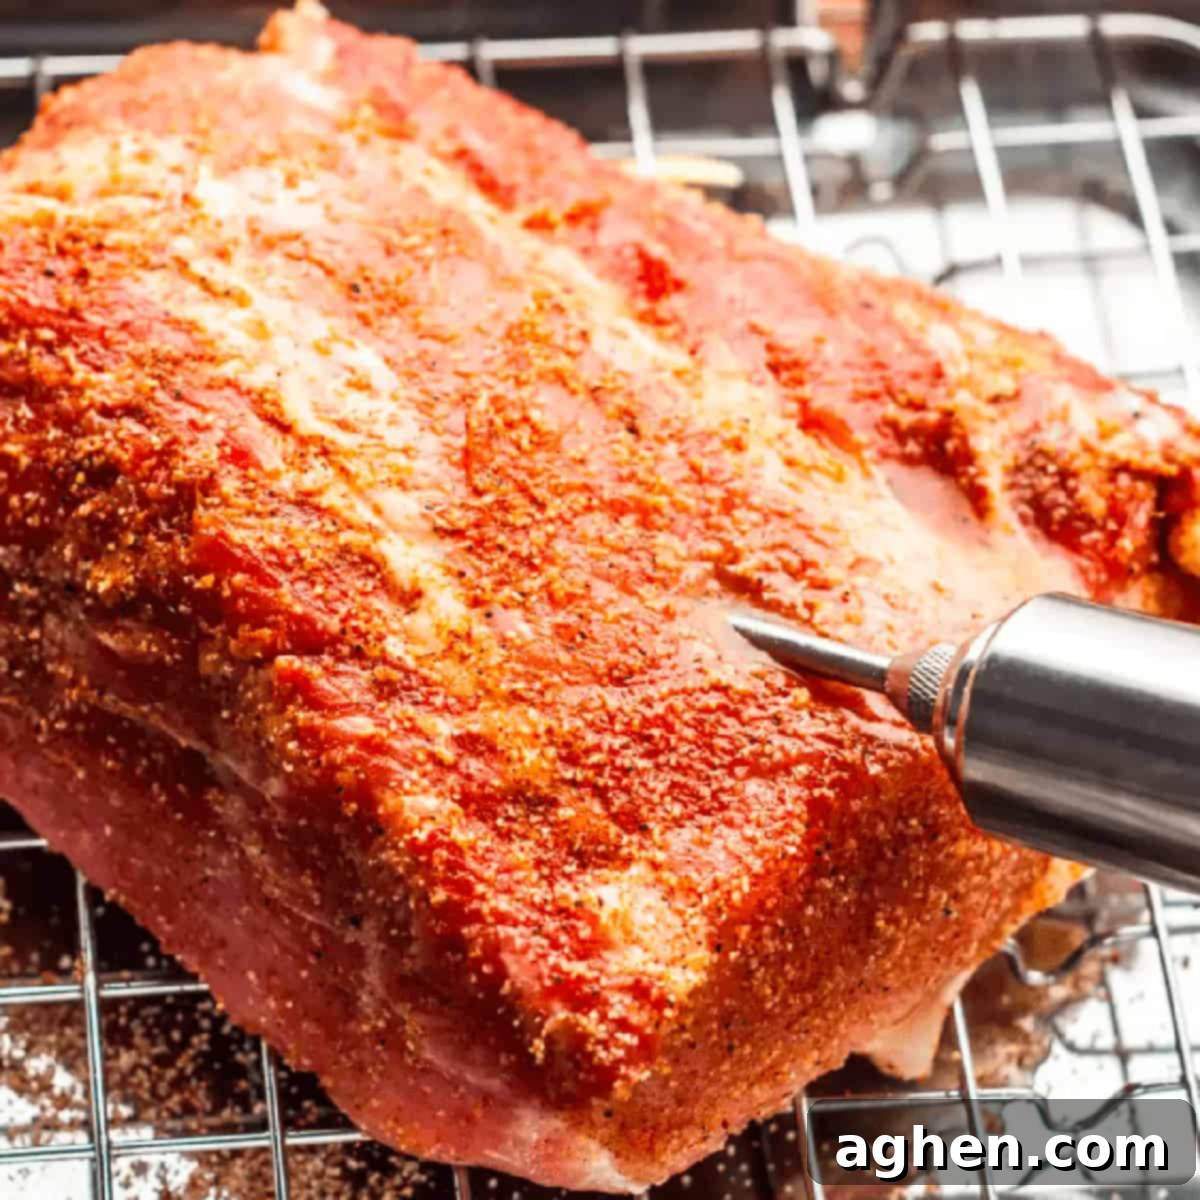
Patience is a virtue when it comes to meat injection. Resist the urge to rapidly depress the plunger, as a quick, forceful injection will likely cause the liquid to spurt back out, creating a messy situation and uneven distribution. Instead, press the plunger slowly and steadily, allowing the liquid to gradually permeate the meat’s muscle fibers. For a turkey, start at the top of the breast and slowly inject in several spots as you work your way down, moving the needle slightly to ensure wide coverage. You’ll visibly notice the meat plumping up as it absorbs the liquid, a satisfying indicator of a job well done. This slow and controlled approach minimizes leakage, maximizes absorption, and ensures your meat is uniformly juicy and flavorful throughout.

14. Maximize Coverage by Injecting at Various Angles
To ensure comprehensive flavor and moisture distribution while minimizing external leakage, employ a technique of injecting at different angles from a single entry point. After inserting the needle, push the plunger slightly to begin releasing liquid. Then, without withdrawing the needle completely, pivot it to several different angles (e.g., left, right, up, down) and inject a small amount of liquid at each new angle. This method allows you to cover a wider area within the meat from a minimal number of punctures, thereby reducing the chances of marinade escaping through multiple holes. Continue this process as you move around the entire piece of meat, ensuring every section receives its share of the flavorful injection.
15. Expect and Prepare for Some Leakage
Despite your best efforts and careful technique, some degree of leakage is almost inevitable during the injection process. The meat’s fibers can only hold so much liquid, and a small amount will often dribble out or pool on your working surface. Therefore, preparation is key to managing the mess. Always perform injections on a large cutting board, preferably one with a juice groove. Lay down an old towel, several layers of paper towels, or even a baking sheet with raised edges underneath your cutting board to catch any overflow. Alternatively, if working near a sink, you can periodically drain any accumulated liquid from the board. Expecting a bit of a clean-up job beforehand will prevent frustration and allow you to focus on the injection itself. Rest assured, even with some leakage, the vast majority of your injection will remain inside, expanding the muscle fibers and delivering that desired juiciness and flavor.
16. Consider Flipping Your Injected Turkey During Cooking
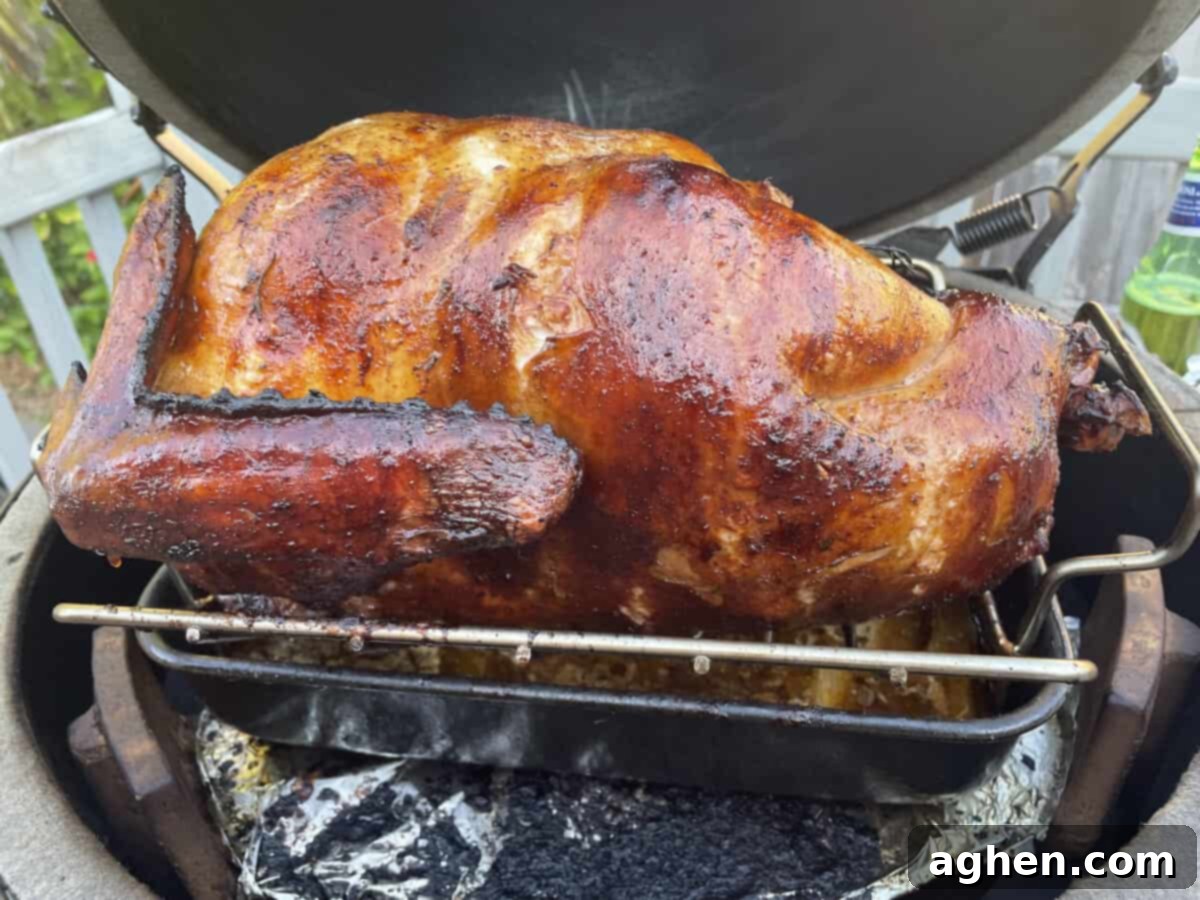
When smoking or roasting an injected turkey, you might notice that the injection fluids tend to settle in the lower sections of the bird, leading to uneven cooking and browning. For example, after several hours, the bottom of the breast might appear significantly plumper or less browned than the top. To combat this and ensure a uniformly cooked and beautifully golden turkey, consider carefully flipping it halfway through the cooking process. This allows the accumulated fluids to redistribute and exposes the previously underside to more direct heat, promoting even browning and crisping of the skin across the entire bird. While it requires careful handling of a hot, heavy bird, this technique can dramatically improve the final presentation and texture of your injected turkey.
17. Clean and Maintain Your Injector Rigorously
Proper cleaning and maintenance are paramount for the longevity and hygiene of your meat injector. Always wash all components – the syringe barrel, plunger, and needles – by hand immediately after use. Even if your injector is stainless steel, hand washing is preferable to dishwashers, which can be too harsh and dull the needles over time. Most kits include specialized brushes designed to scrub the inside of the syringe barrel and, critically, the narrow channels of the needles, removing any stubborn meat particles or marinade residue. Ensure everything is thoroughly rinsed and completely dry before storage to prevent rust and bacterial growth. Additionally, the silicone O-rings on the plunger are subject to wear and tear; many kits provide spares, which are easy and essential to replace periodically to maintain a tight seal and smooth operation.
There’s an undeniable pleasure in savoring the natural flavors of barbecued and grilled meats, allowing their inherent richness to shine through, as exemplified by legends like Aaron Franklin with his world-famous Franklin BBQ briskets. However, even the most traditional pitmasters advocate for experimentation and personal style. For many, that distinctive style now includes the strategic use of meat injections to achieve levels of moisture and flavor that traditional methods simply can’t replicate. Embracing injection technology opens up a new frontier of culinary possibilities, allowing you to truly make your mark on the BBQ landscape. So, grab your injector, experiment with flavors, and embark on a journey to create the most succulent, unforgettable meats you’ve ever tasted.
