The Ultimate Guide to Cleaning and Maintaining Your Weber Grill for Peak Performance and Longevity
Cleaning and maintaining your Weber grill is more than just a chore; it’s an investment in delicious food, efficient cooking, and the longevity of your valuable outdoor appliance. A well-maintained grill performs optimally, heats evenly, and significantly reduces the risk of dangerous flare-ups caused by grease build-up. Regular care not only prolongs the life of your grill but also ensures every meal cooked on it is safe and flavorful. This comprehensive, step-by-step guide will walk you through everything you need to know to keep your Weber grill in pristine condition, ready for countless unforgettable barbecues.


Step 1: Gather Your Essential Cleaning Supplies
Before you embark on the cleaning process, ensuring you have the right tools is crucial. The appropriate supplies will make your cleaning task significantly easier and more effective, while also protecting your grill’s components. You will need:
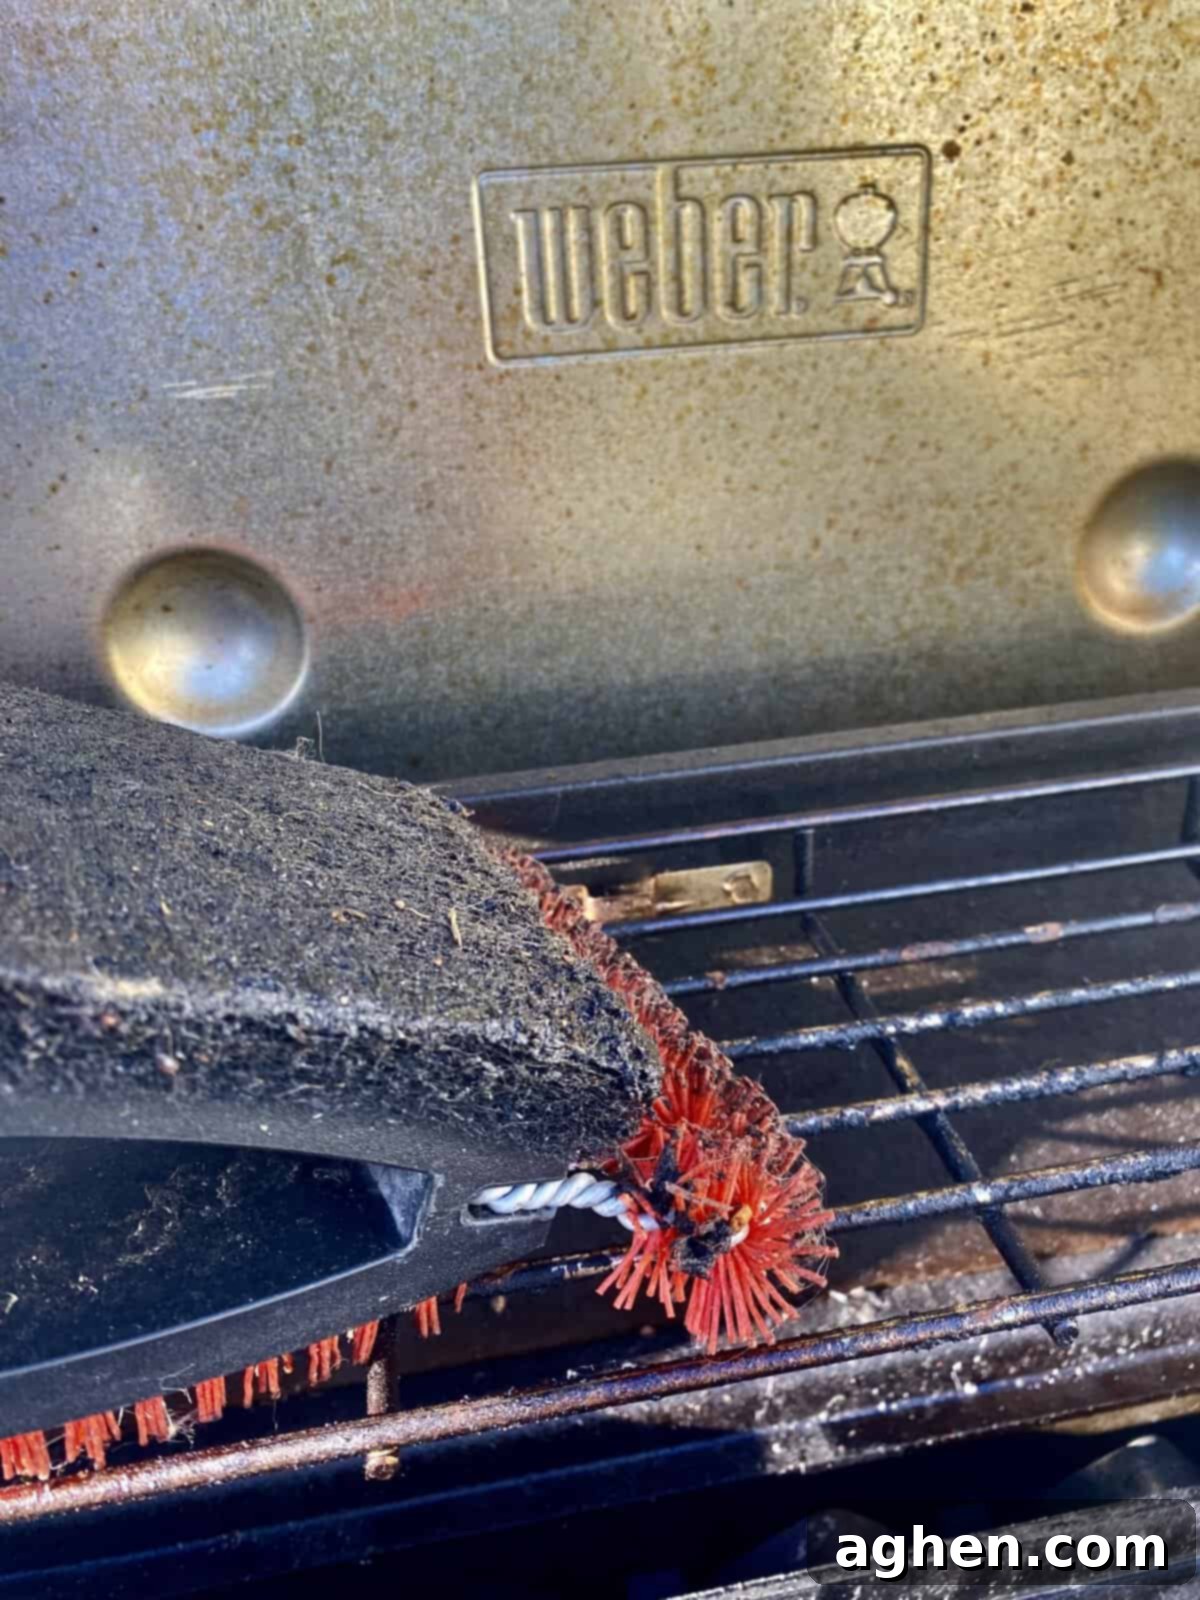
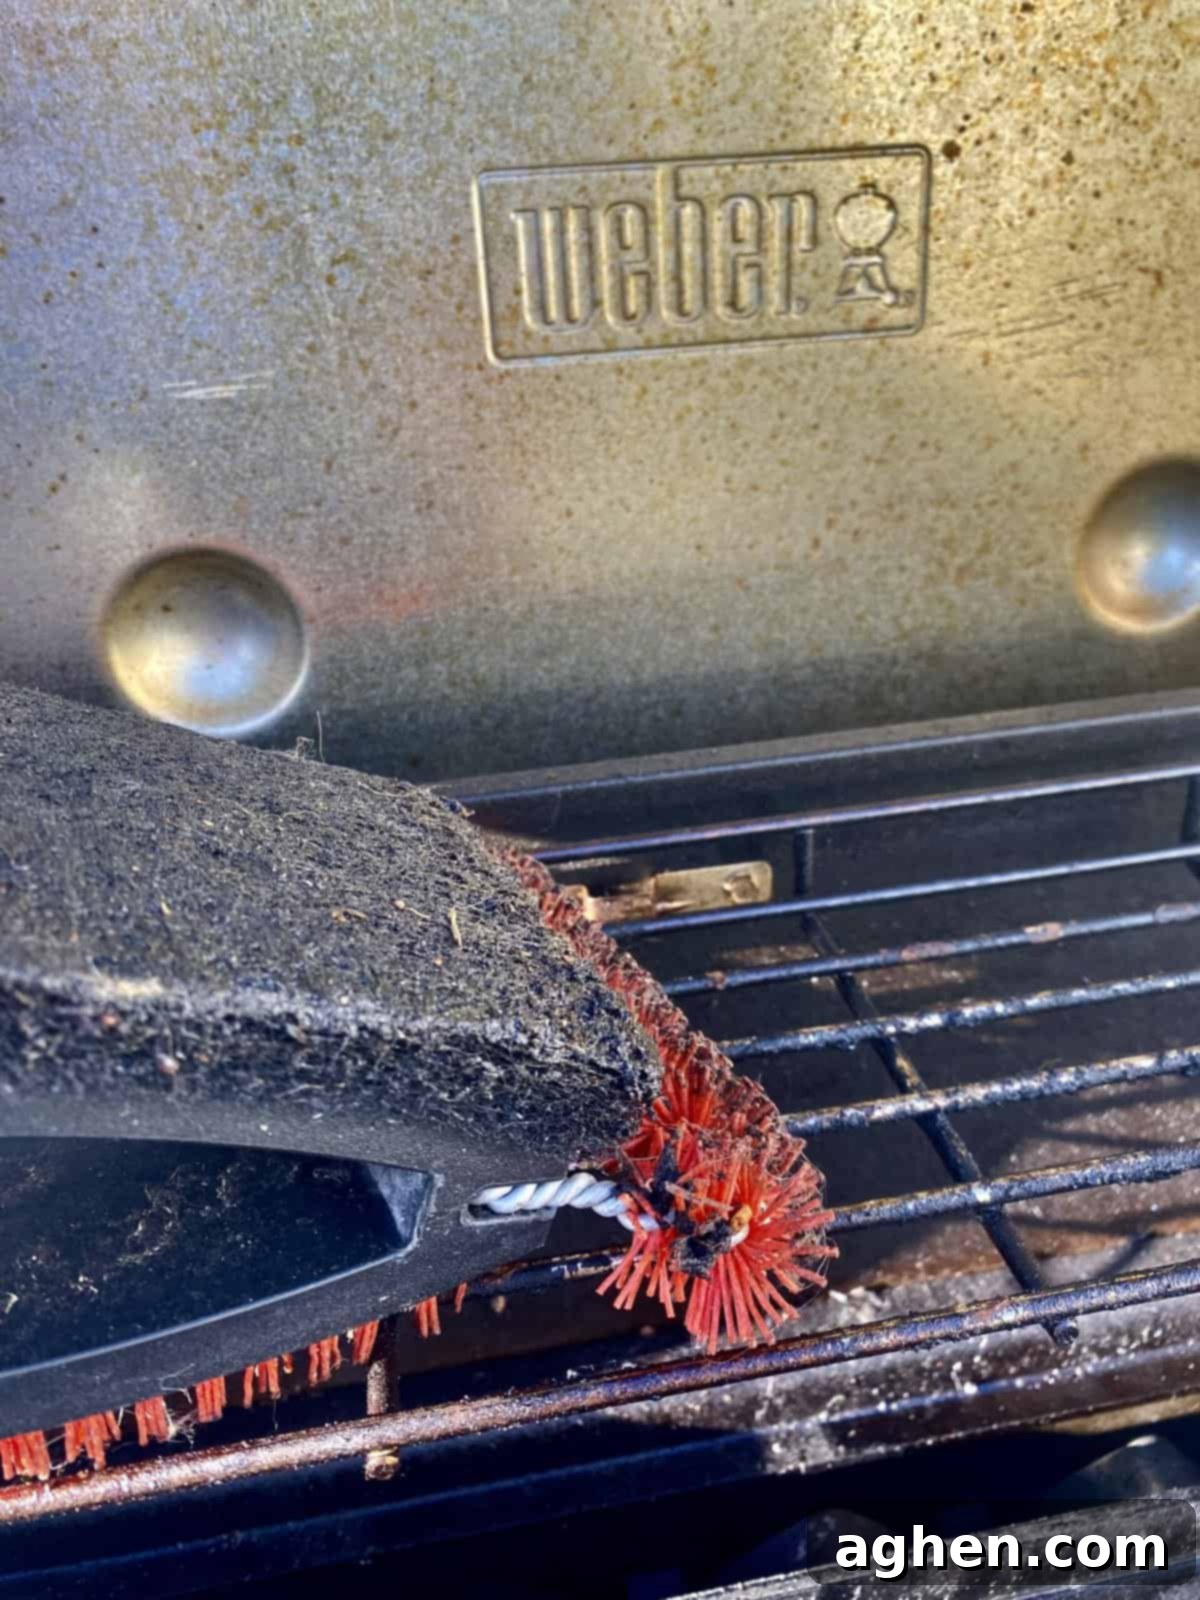
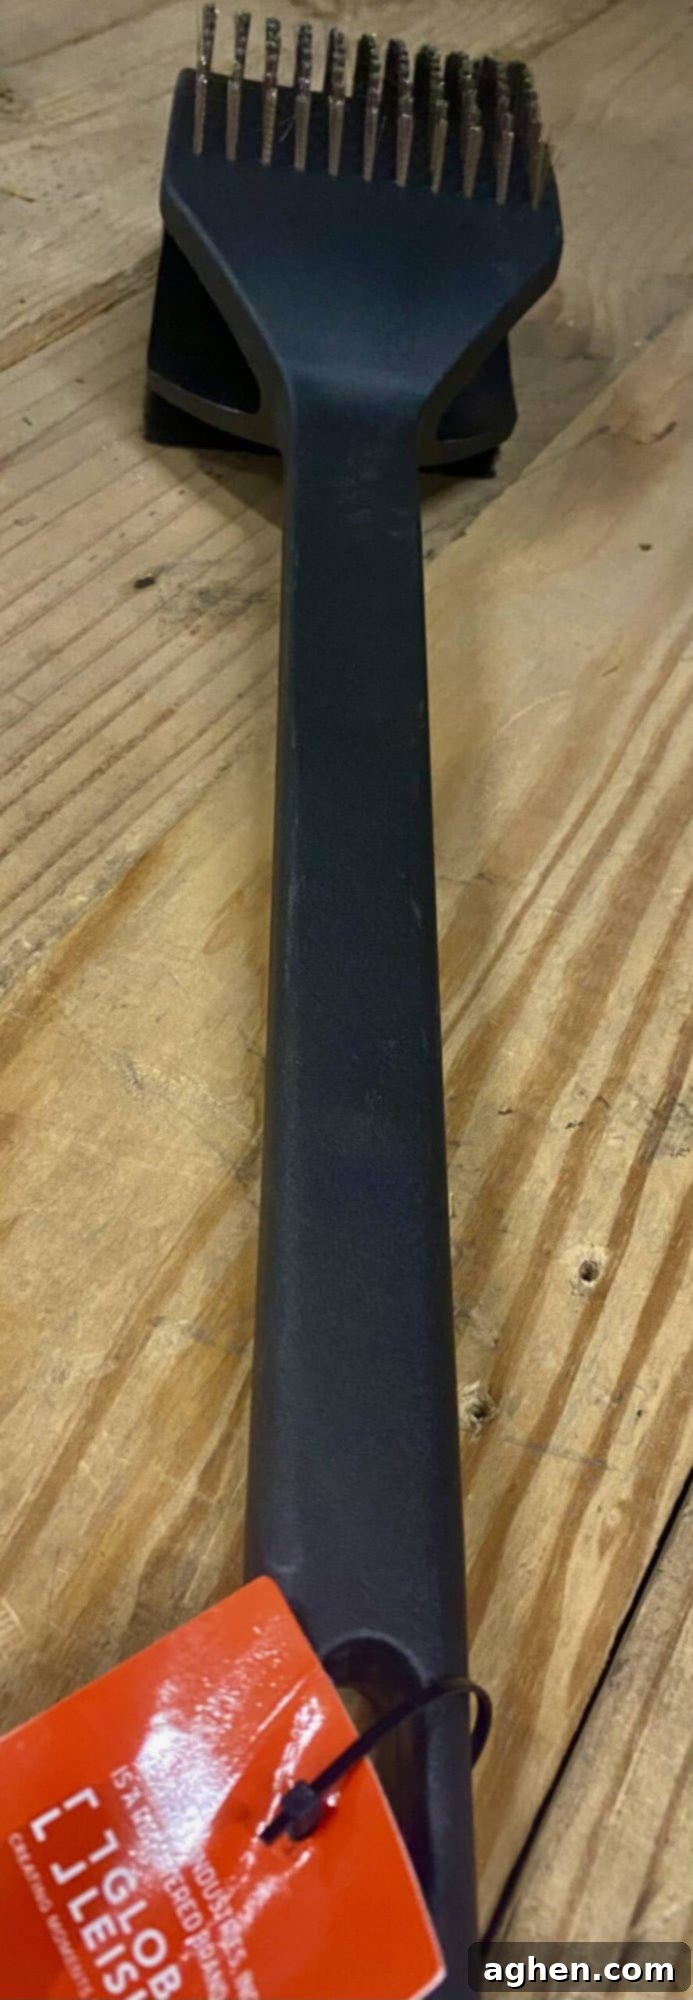
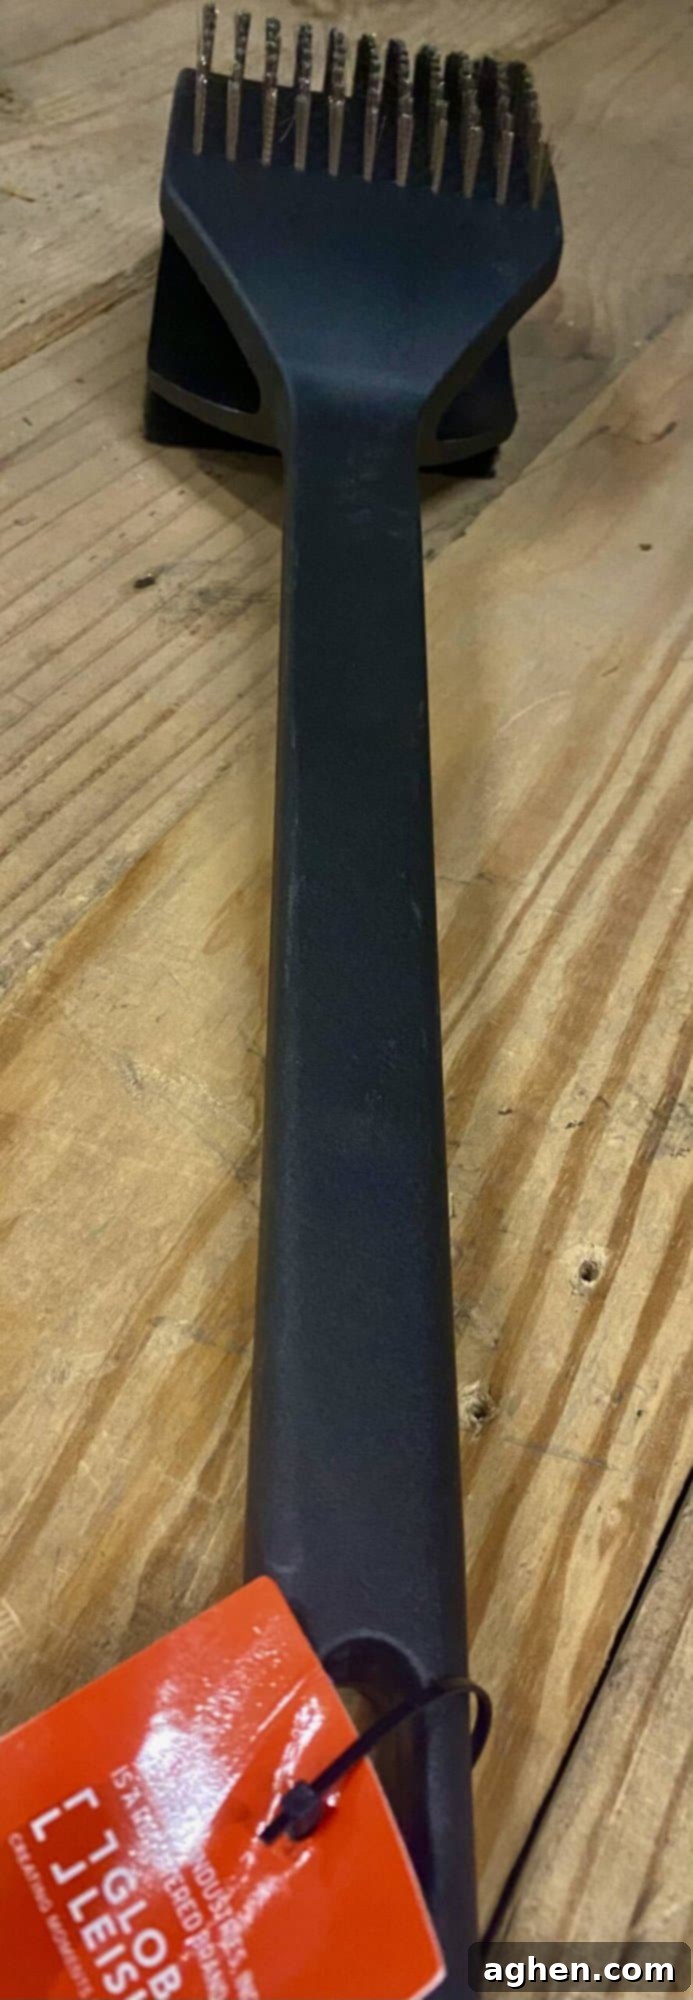
- A High-Quality Grill Brush or Scraper: Look for a sturdy brush with stiff bristles (wire or bristle-free, depending on your preference and grate material) to effectively remove charred food residue and carbon build-up. A scraper can be useful for stubborn, baked-on debris.
- Mild Dish Soap: A gentle degreaser is essential for cutting through grease and grime on grates and exterior surfaces. Avoid harsh abrasives that could damage finishes.
- Warm Water: Crucial for mixing with soap and rinsing surfaces. A bucket will be invaluable for holding your soapy water solution.
- Sponge or Microfiber Cloths: These are ideal for wiping down surfaces, applying cleaning solutions, and polishing the exterior. Keep a few on hand for different areas of the grill.
- Safety Gloves: Protect your hands from harsh chemicals, grease, and sharp edges.
- Optional but Recommended:
- Weber Grate Cleaner: Specially formulated to dissolve tough grease on grates.
- Weber Exterior Grill Cleaner: Designed for specific grill finishes like stainless steel or porcelain-enamel.
- Aluminum Foil Liners: For your grease catch pan, making disposal much easier.
- Small Wire Brush or Paper Clip: For clearing burner port blockages.
Having everything organized and within reach will streamline your cleaning operation and prevent interruptions.
Step 2: Preheat the Grill to Loosen Debris
This critical first step leverages heat to make your cleaning task significantly easier. Turn your grill on to a high temperature and allow it to preheat for approximately 10 to 15 minutes. The intense heat will carbonize and loosen any leftover food particles, grease, and residue that are stuck to the cooking grates. This process transforms sticky, baked-on debris into brittle ash, which is much easier to scrape off. Ensure the lid is closed during this preheating phase to trap the heat effectively. Once the preheating cycle is complete, turn off the burners and proceed to the next step while the grill is still warm.
Step 3: Thoroughly Clean the Cooking Grates
With the grill still warm from preheating, carefully open the lid. While wearing protective gloves, use your grill brush to vigorously scrub the cooking grates. The heat will have made the charred food much easier to remove. Work in sections, applying firm pressure to dislodge all residue. For particularly stubborn debris, you can dip your grill brush in a bucket of warm, soapy water and scrub again. The combination of heat and soap will help break down even the most persistent grime.
Types of Grate Materials and Cleaning Tips:
- Porcelain-Enameled Cast Iron or Steel Grates: Use a nylon or brass-bristled brush to avoid scratching the enamel.
- Stainless Steel Grates: A wire brush is generally safe and effective.
- Cast Iron Grates (Uncoated): After cleaning, ensure they are thoroughly dried and lightly oiled with cooking oil to prevent rust.
For a deep clean, especially after many uses, you might consider removing the grates once they’ve cooled. Soak them in a mixture of warm water and dish soap in a utility sink or large tub for 30 minutes to an hour. This will help loosen any remaining stubborn bits before a final scrub and rinse. Always rinse thoroughly with clean water to remove any soap residue.


Step 4: Clean the Exterior Surfaces of Your Grill
While the grill is still warm (but not hot to the touch), turn your attention to the exterior. This step improves the grill’s appearance and helps prevent corrosion and material degradation. Use a sponge or microfiber cloth dipped in warm, soapy water to gently wipe down all exterior surfaces. This will effectively remove any accumulated grease, dust, fingerprints, and environmental dirt.
Cleaning Different Exterior Materials:
- Porcelain-Enameled Surfaces: These are durable and easy to clean. Use mild soap and water. For tougher spots, a non-abrasive cleaner designed for porcelain can be used.
- Stainless Steel Surfaces: Always wipe with the grain of the stainless steel to avoid streaks and minor scratches. After cleaning with soapy water, wipe with a clean, damp cloth, and then buff dry with a separate, dry microfiber cloth for a streak-free shine. Weber also offers specialized stainless steel cleaners that leave a protective sheen.
- Painted Surfaces: Treat these gently with mild soap and water to avoid chipping or dulling the paint.
- Side Tables and Control Knobs: Don’t forget these frequently touched areas. Wipe them down with the same soapy solution and rinse. You can often remove control knobs for a more thorough cleaning underneath.
Regular exterior cleaning not only keeps your grill looking new but also helps to identify any potential issues like rust spots early on.

Step 5: Empty and Clean the Grease Management System
The grease management system, consisting of the grease tray and catch pan, is one of the most crucial components to maintain regularly. A full or overflowing grease trap is a serious fire hazard, as accumulated grease can ignite, leading to dangerous flare-ups. It also attracts pests and can create unpleasant odors.
Frequency: Check and empty the grease trap after every few cooks, or at least once a month, depending on your grilling frequency and the fattiness of the foods you cook. If you use foil liners in your catch pan, simply remove the used liner and replace it with a fresh one.
How to Clean:
- Ensure the grill is completely cool.
- Locate and carefully slide out the grease tray from beneath the cook box.
- Remove the disposable foil catch pan if you use one and discard the contents (cooled grease can be solidified and thrown in the trash; never pour hot grease down a drain).
- If not using a liner, scrape out any solidified grease and wash the catch pan thoroughly with warm, soapy water.
- Rinse the tray and pan completely and allow them to air dry before reassembling.
Keeping this area clean is paramount for safety and maintaining the overall hygiene of your grill.
Step 6: Inspect and Clean the Burner Tubes
Once the grill has completely cooled, it’s time to inspect and clean the burner tubes. Blocked burner ports can lead to uneven heating, poor performance, and potential gas leaks. This step is vital for consistent cooking results and safety.
How to Inspect and Clean:
- Ensure Gas is OFF: Before doing anything with the burners, make absolutely sure the gas supply is turned off at the tank.
- Remove Grates and Flavorizer Bars (if applicable): Carefully lift out the cooking grates and Weber’s Flavorizer bars (or heat deflectors) to expose the burner tubes.
- Visual Inspection: Look for any visible debris, rust, or blockages in the small gas ports along the burner tubes. You might also notice spiderwebs or insect nests, which are common culprits for blockages.
- Clean Burner Tubes: Use a clean, dry wire brush (a dedicated Weber burner tube brush or a similar tool works best) to gently brush along the entire length of each burner tube. Pay close attention to the gas ports, ensuring they are clear. For stubborn blockages in the individual ports, a straightened paper clip can be used to poke through them. Do not use a wooden toothpick, as it can break off inside.
- Check Crossover Tube (for gas grills): Ensure the crossover tube, which ignites adjacent burners, is also free of obstructions.
- Reassemble: Once cleaned, carefully place the Flavorizer bars and cooking grates back into their correct positions.
This regular check prevents common grilling issues and extends the life of your burner system.
Step 7: Examine and Maintain the Ignition System
A reliable ignition system is key to a hassle-free grilling experience. Periodically checking its functionality can save you frustration and ensure your grill is always ready to fire up. The ignition system typically consists of an electrode, an ignition wire, and sometimes a battery.
How to Check and Troubleshoot:
- Visual Inspection: With the gas supply OFF, visually inspect the igniter electrode and its wire. Ensure the electrode is clean and free of grease buildup, and that the wire is securely connected and not frayed or damaged. The tip of the electrode should be clear and positioned correctly relative to the burner tube.
- Battery Check (if applicable): If your Weber grill uses a battery-powered igniter, check if the battery needs replacing. This is a common and easy fix for ignition issues. Refer to your grill’s manual for the correct battery type and location.
- Test Ignition: Turn the gas supply ON. Attempt to light each burner using the igniter button. You should hear a distinct clicking sound and see a spark at the electrode, followed by the burner igniting.
- Troubleshooting:
- If there’s no spark, check the battery, electrode wire connection, and ensure the electrode is not coated in grease.
- If there’s a spark but no ignition, ensure gas is flowing correctly and burner ports are clear (refer to Step 6).
If you encounter persistent problems with the ignition after these checks, refer to your specific Weber grill manual for detailed troubleshooting instructions. Weber’s customer service is also an excellent resource for further support or to order replacement parts.
Step 8: Cover and Store Your Grill Properly
Once you’ve completed your cleaning routine, the final step is to protect your grill from the elements until its next use. Proper covering and storage are essential for preserving its condition and maximizing its lifespan.
- Allow to Cool Completely: Never cover a hot grill. Wait until all components, especially the grates and firebox, are completely cool to the touch. Covering a hot grill can lead to moisture trapping or even damage to the cover.
- Use a High-Quality Grill Cover: Invest in a durable, weather-resistant grill cover designed specifically for your Weber model. A good cover will protect your grill from rain, snow, UV rays, dust, pollen, and even pests. Look for covers made from heavy-duty, breathable materials to prevent condensation build-up.
- Store in a Dry, Protected Area: While Weber grills are built to withstand outdoor conditions, storing your grill in a sheltered location (like a garage, shed, or under a patio cover) during harsh weather or long periods of non-use can significantly extend its life. This is especially true in colder climates where winterizing your grill might involve disconnecting the gas tank and moving it indoors.
By consistently covering and storing your grill correctly, you protect its finish, prevent rust and corrosion, and ensure it remains in excellent working order for many years of enjoyable grilling.
Beyond the Steps: General Maintenance Tips for Your Weber Grill
To truly extend the life and performance of your Weber grill, consider these additional tips for ongoing maintenance:
- Regular Quick Cleans: After every cook, take a minute to brush off the grates while they are still warm. This prevents food from hardening and makes deeper cleans less strenuous.
- Deep Cleaning Schedule: Aim for a comprehensive deep clean (like the steps outlined above) at least once a month during peak grilling season, or every 10-15 uses. An annual deep clean is recommended for all grills, especially before or after extended storage.
- Check Hoses and Connections: Periodically inspect the gas hose for cracks, kinks, or wear. Ensure all connections are tight. Perform a leak test annually by applying soapy water to connections and looking for bubbles when the gas is on (but the grill is off).
- Keep it Level: Ensure your grill is always on a stable, level surface. This prevents grease from pooling unevenly and reduces the risk of tipping.
- Consult Your Manual: Your Weber grill’s owner’s manual contains specific cleaning and maintenance instructions tailored to your model. Always refer to it for detailed guidance on parts removal, cleaning agents, and troubleshooting.
- Rust Prevention: For cast iron grates, lightly oil them after cleaning and drying. For stainless steel, regular cleaning and covering help prevent surface rust. If rust appears, address it quickly with a steel brush and appropriate rust-removal products, followed by protection.
Adopting a routine of consistent cleaning and maintenance will keep your Weber grill not only looking great but also operating at its peak performance. By following this detailed guide and implementing these helpful tips, you can enjoy delicious, perfectly cooked food from your Weber grill for many years to come, making every barbecue a safe and successful event.