Homemade Angel Food Cake: The Best Light and Fluffy Recipe (No Cake Flour Needed!)
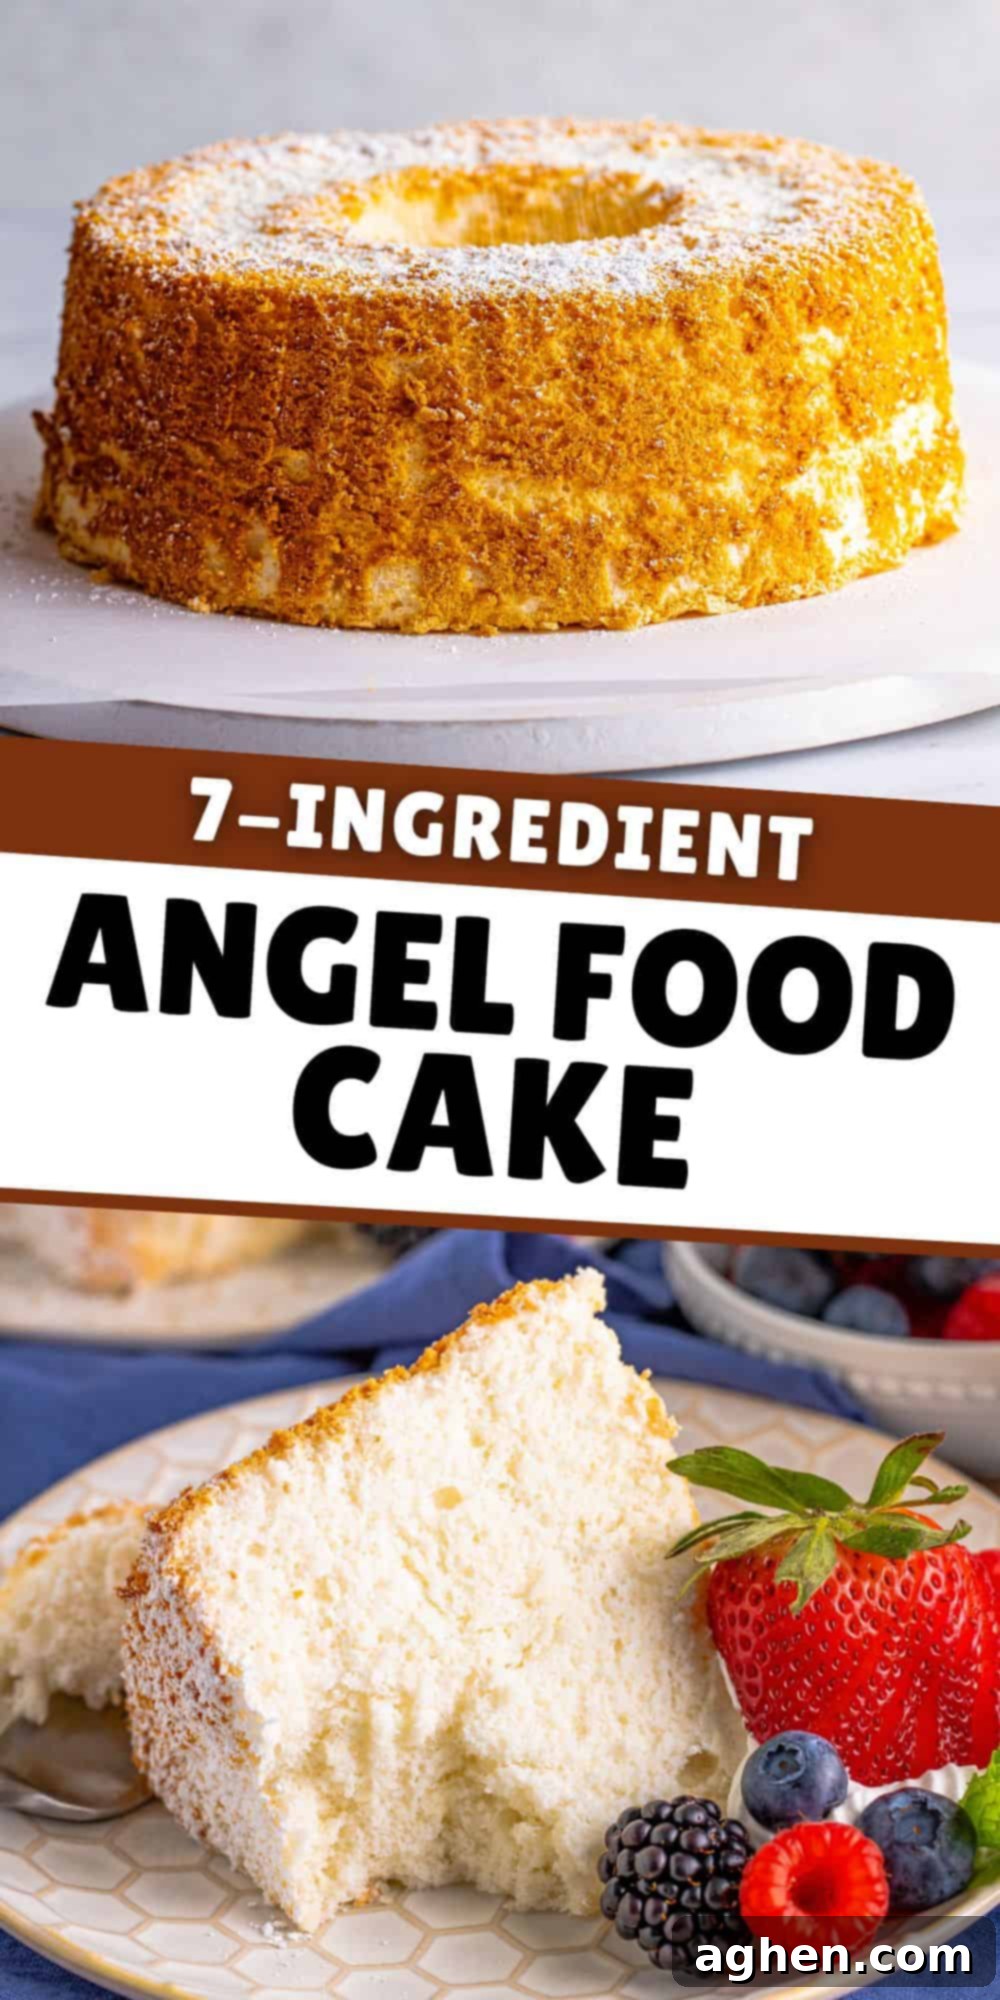
Imagine a dessert that’s as light as a cloud, impossibly fluffy, and delicately sweet – a true slice of heaven that simply melts in your mouth. This isn’t just any cake; it’s the ultimate classic angel food cake recipe, crafted from scratch with just 7 simple ingredients. Forget those heavy, dense cakes or disappointing boxed mixes; once you experience the ethereal texture and sublime flavor of this homemade version, you’ll never look back. It’s the perfect elegant dessert that won’t weigh you down, making it ideal after a hearty meal or for any occasion where a touch of lightness is desired.
Angel food cake stands apart from other desserts with its distinctive towering height, snowy white crumb, and delicate, airy structure. Achieving this perfection at home might seem daunting, but with our step-by-step guide, you’ll discover just how simple it is. The magic lies in a handful of pantry staples and a few key techniques, resulting in a cake that’s far superior in taste and texture to anything you can buy. This recipe proudly uses readily available all-purpose flour, eliminating the need for specialized cake flour or cornstarch, making it accessible for every home baker. Get ready to bake a dessert that’s not only delicious but also a joy to prepare, proving that sometimes, the simplest ingredients create the most extraordinary results.
While this recipe for a show-stopping angel food cake may look intimidating at first glance, we promise it’s incredibly approachable. The key is understanding a few fundamental principles, particularly the art of whipping egg whites to soft peaks and gently folding in the dry ingredients. Master these, and you’ll consistently create a cake with unparalleled height and flavor that will impress everyone. It’s a delightful baking project that yields magnificent rewards, tasting so much more fresh and vibrant than any store-bought alternative. Say goodbye to the dry, rubbery texture of pre-made cakes and embrace the joy of a truly homemade delicacy!
If you’re as passionate about baking cakes as we are, be sure to explore some of our other fantastic recipes. Our Banana Bundt Cake, complete with a rich homemade brown butter glaze, is a guaranteed crowd-pleaser for potlucks and family gatherings. For a burst of fruity freshness, our Lemon Raspberry Cake is a deliciously bright option, perfect for spring and summer celebrations, or as a festive treat for Easter or Mother’s Day!
But for now, let’s dive into creating this exquisitely light and airy angel cake that’s sure to become a new favorite in your recipe repertoire.
Essential Ingredients for Your Heavenly Angel Food Cake
This section provides detailed insights into each ingredient, including tips for selection and potential substitutions, ensuring your angel food cake turns out perfectly every time. For precise measurements and complete instructions, refer to the printable recipe card at the end of this post.
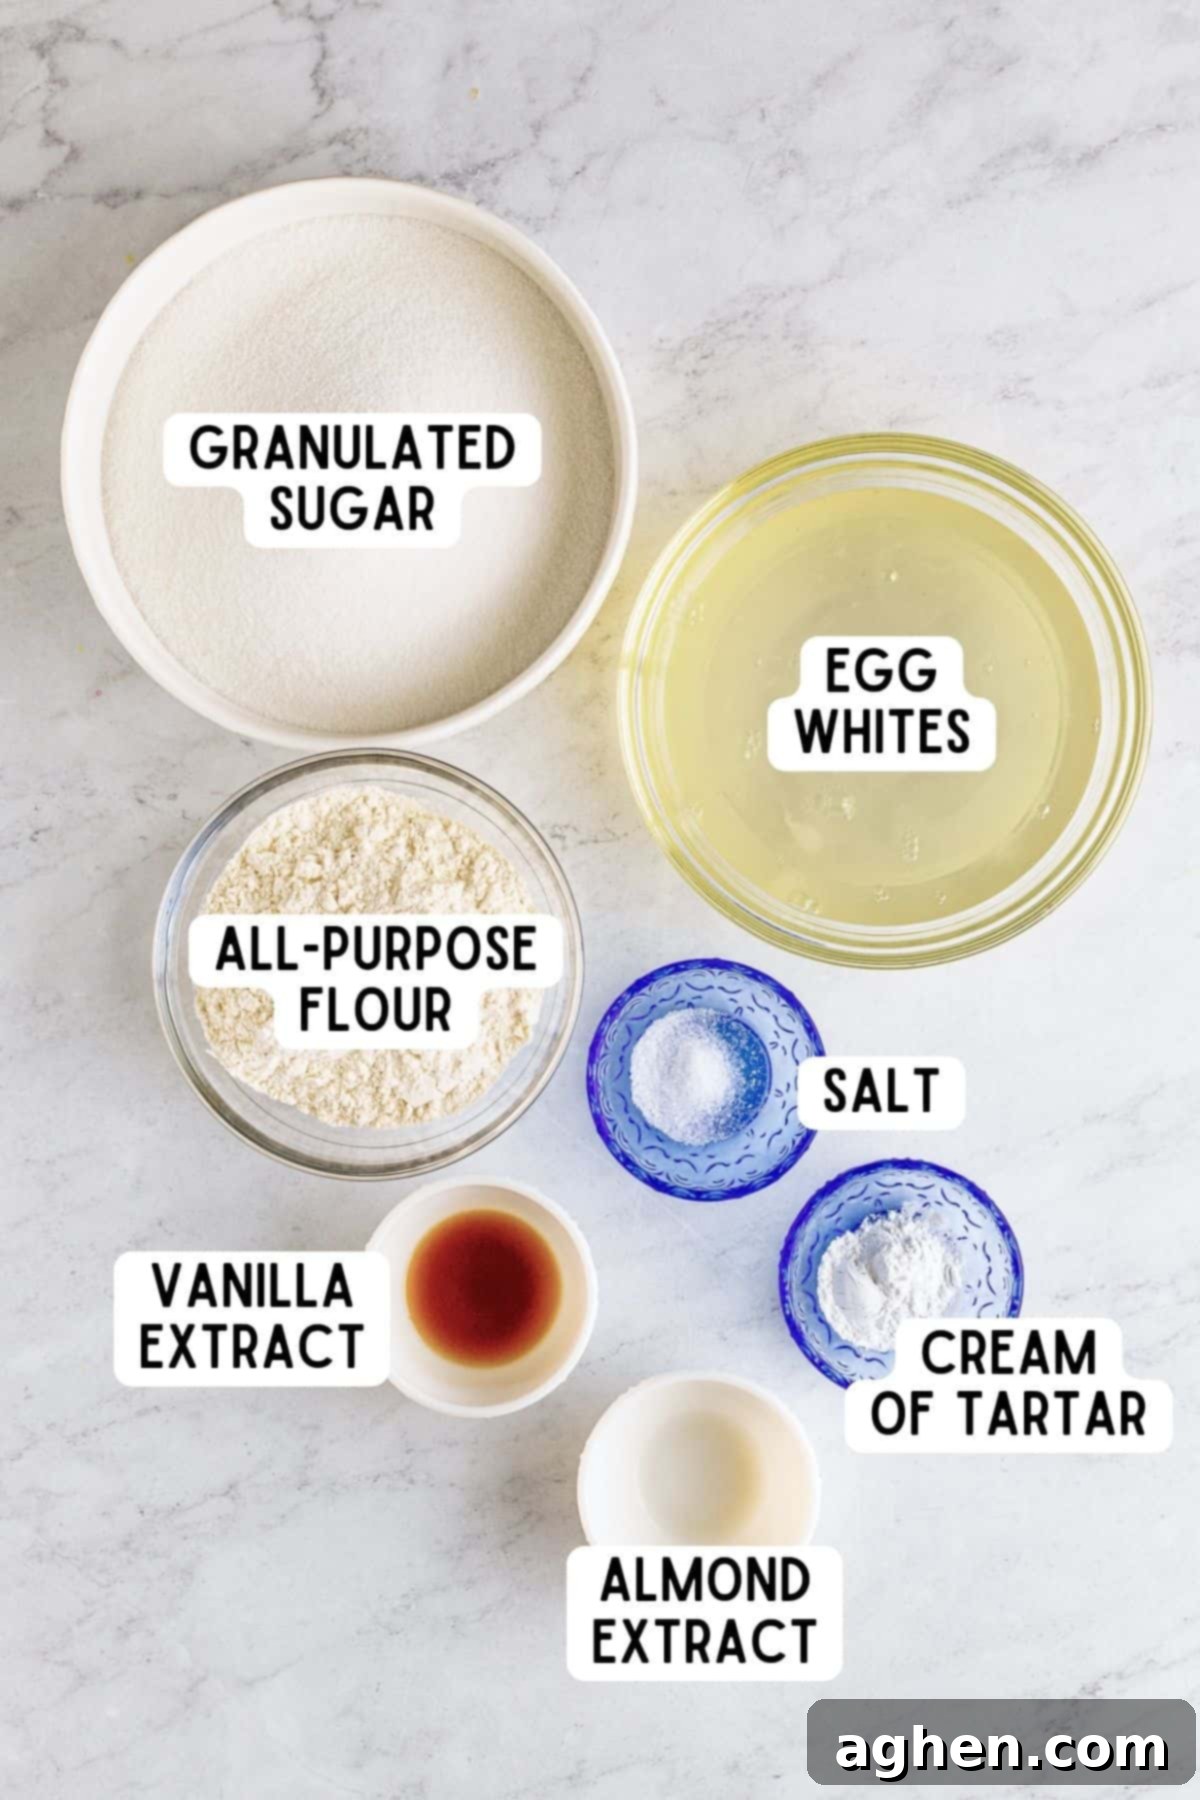
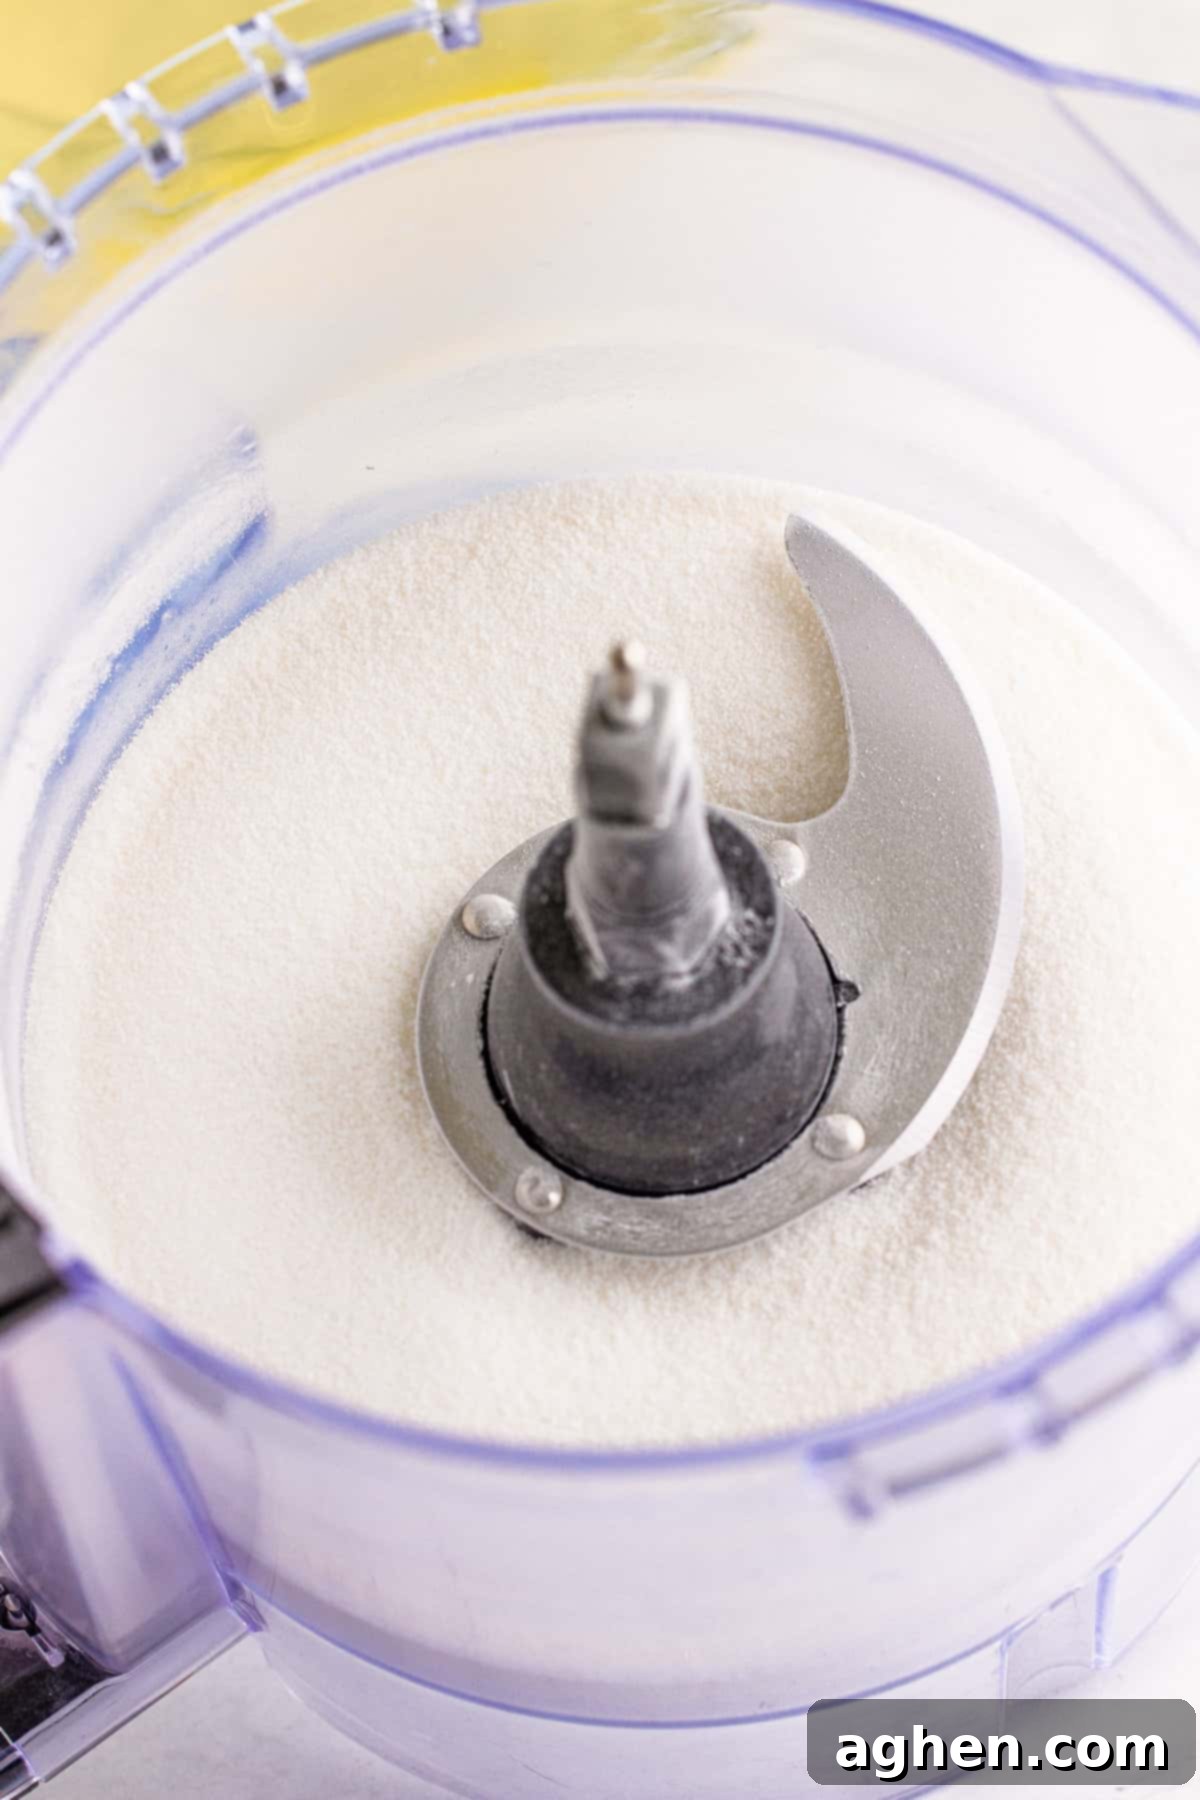
- Granulated Sugar: For that signature melt-in-your-mouth texture, superfine sugar is absolutely crucial. We achieve this by processing regular granulated sugar in a food processor for about two minutes until it reaches a powdery consistency, yet not as fine as confectioners’ sugar. This finely ground sugar dissolves beautifully into the egg whites, creating a stable meringue without weighing down the delicate batter. Regular granulated sugar, without this processing step, would be too coarse and might lead to a grainy texture in the finished cake.
- All-Purpose Flour: This recipe brilliantly uses standard all-purpose flour, making it accessible without requiring special purchases. The key is to sift it thoroughly (twice!) to aerate it and remove any clumps, ensuring it’s light enough for this delicate cake. While you *can* substitute cake flour if you prefer, remember to add an extra 2 tablespoons (for a total of 1 cup + 2 tablespoons) to account for its lower protein content, which can affect the cake’s structure.
- Salt: A non-negotiable in most baking, salt plays a vital role here. It not only balances the sweetness of the cake but also enhances all the other flavors, giving the angel food cake a more complex and satisfying taste profile. Don’t skip it!
- Egg Whites: These are the star of the show and the primary leavening agent for your angel food cake. You’ll need 12 large egg whites, and it’s absolutely essential they are at room temperature. Room temperature egg whites whip up to a much higher volume and create a more stable foam than cold ones. Crucially, ensure there is no trace of egg yolk in your whites, as fat from the yolk will prevent them from whipping properly. With 12 leftover egg yolks, consider making a rich custard, a tangy lemon curd, or even some homemade ice cream to complement your finished cake!
- Cream of Tartar: This often-overlooked ingredient is a true workhorse in angel food cake. Just a small amount acts as a stabilizer for the egg whites, helping them whip up faster, achieve greater volume, and maintain their foamy structure during the mixing and baking process. It also contributes to the cake’s characteristic white color.
- Vanilla Extract: A classic flavor enhancer, vanilla extract adds a sweet, aromatic depth to the cake. Use a good quality pure vanilla extract for the best flavor.
- Almond Extract: This is an optional but highly recommended addition for those who enjoy its subtle, nutty aroma. Almond extract adds a wonderful layer of flavor complexity that beautifully complements the vanilla. If you’re not a fan of almond, feel free to omit it – your cake will still be delicious!
Essential Equipment You’ll Need for the Best Angel Food Cake
- Food Processor: Essential for transforming granulated sugar into superfine sugar, which is crucial for the cake’s delicate structure. A blender can also work in a pinch if you don’t have a food processor.
- Flour Sifter or Fine Mesh Strainer: You’ll need this to sift the flour and sugar mixture twice, ensuring all dry ingredients are perfectly aerated and free of clumps. This lightness is key to a fluffy cake.
- Egg Separator: While not strictly necessary, an egg separator makes the crucial task of separating egg whites from yolks much easier and minimizes the risk of yolk contamination, which is vital for successful whipping.
- Large Mixing Bowl: You’ll need a spacious bowl to combine your sifted dry ingredients and later for gently folding them into the whipped egg whites.
- Stand Mixer with Whisk Attachment: This is highly recommended for efficiently whipping the egg whites to the correct consistency. A hand mixer can work, but a stand mixer provides more consistent results and frees your hands.
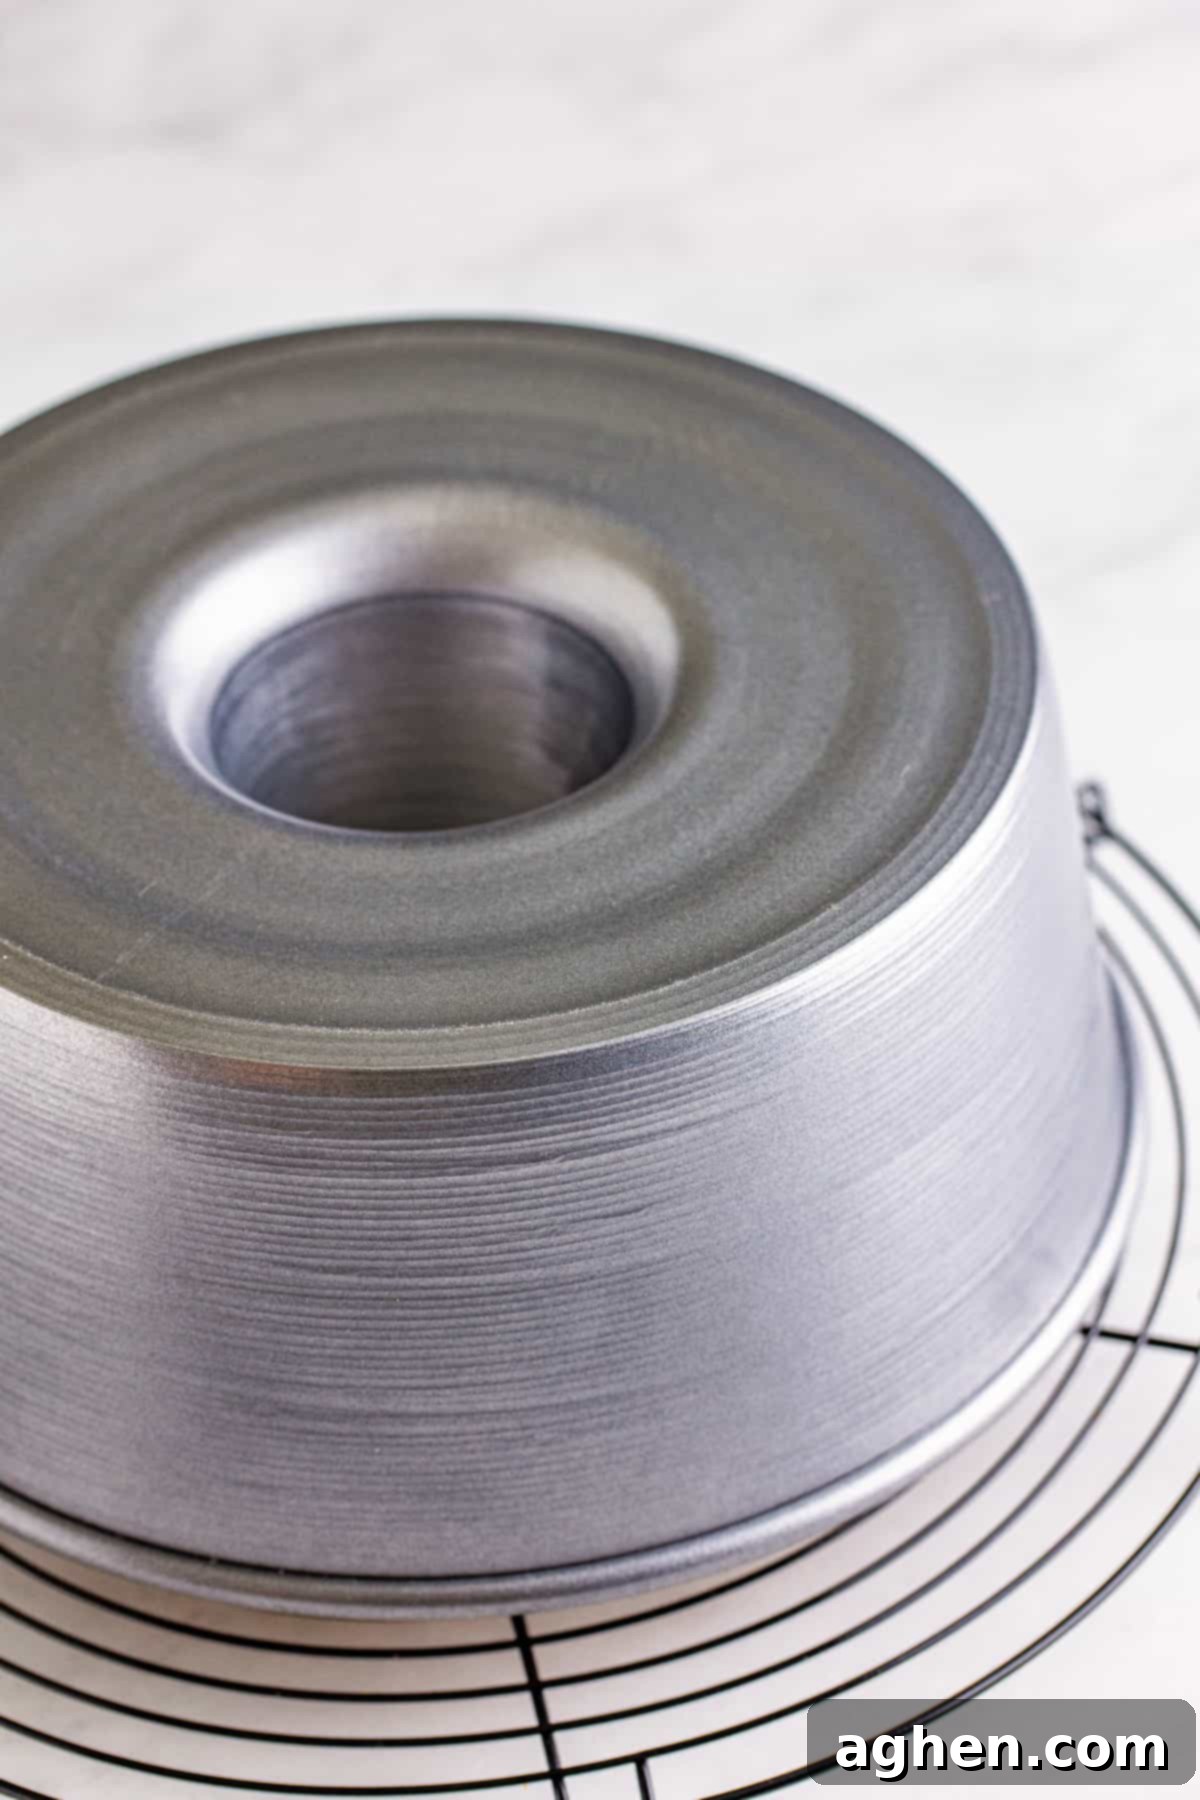
- 10-inch Tube Pan: Also known as an angel food pan, this specialized pan with its removable bottom and central tube is essential. Its ungreased sides allow the cake batter to cling and climb, achieving maximum height.
- Wire Rack: Crucial for cooling the cake upside down immediately after baking, which prevents it from collapsing and ensures it maintains its lofty structure.
How to Make Homemade Angel Food Cake without Cake Flour: A Step-by-Step Guide
Follow these detailed steps with accompanying photos to master this homemade angel food cake recipe. The full printable recipe card, including exact measurements, is available below for your convenience.
-
Step 1: Prepare Your Oven and Pan
Begin by preheating your oven to 325°F (160°C). This ensures a consistent baking temperature from the moment your cake enters the oven, which is vital for proper rise. Next, locate your 10-inch tube pan. This type of pan, with its removable bottom and central cone, is specifically designed for angel food cake. A critical note here: do NOT grease the pan. The ungreased sides allow the delicate batter to cling and climb as it bakes, creating that characteristic towering height and airy texture. Greasing the pan would cause the batter to slip, leading to a flat, dense cake.
-
Step 2: Prepare Superfine Sugar
Place the granulated sugar into your food processor. Turn the food processor on and let it run continuously for 2 minutes. This crucial step transforms standard granulated sugar into a superfine texture, similar to castor sugar. This finer sugar dissolves more readily into the egg whites, leading to a smoother, more stable meringue and ultimately a more tender, less grainy cake. Don’t skip this step!

-
Step 3: Sift Dry Ingredients
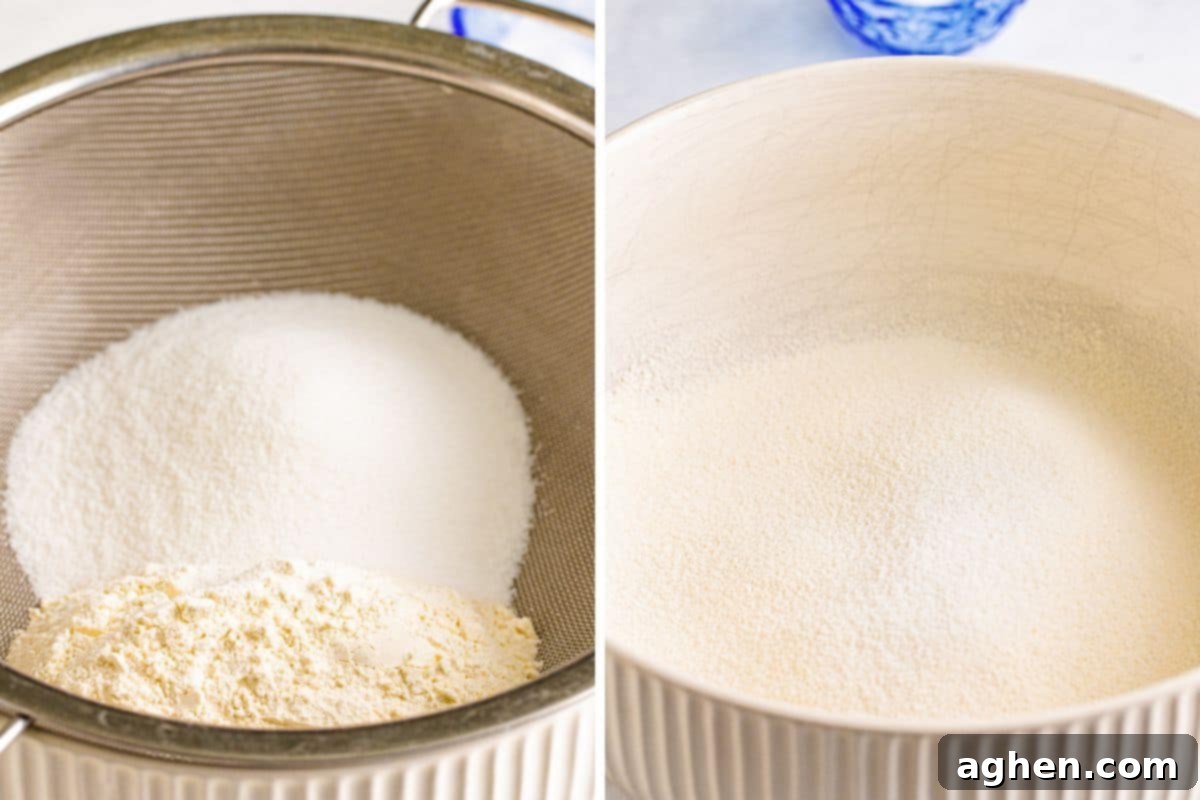
Take half of the processed superfine sugar along with all of the all-purpose flour and salt. Sift this dry mixture twice into a large, separate bowl. Sifting is paramount for angel food cake as it aerates the flour, preventing lumps and ensuring a light, even texture throughout the cake. This step helps to avoid deflating the delicate egg whites later. Set this sifted dry mixture aside. (As an alternative, if you prefer, you can also briefly pulse these ingredients together in the food processor for about 30 seconds to achieve aeration, rather than sifting.)

-
Step 4: Whip Egg Whites to Soft Peaks
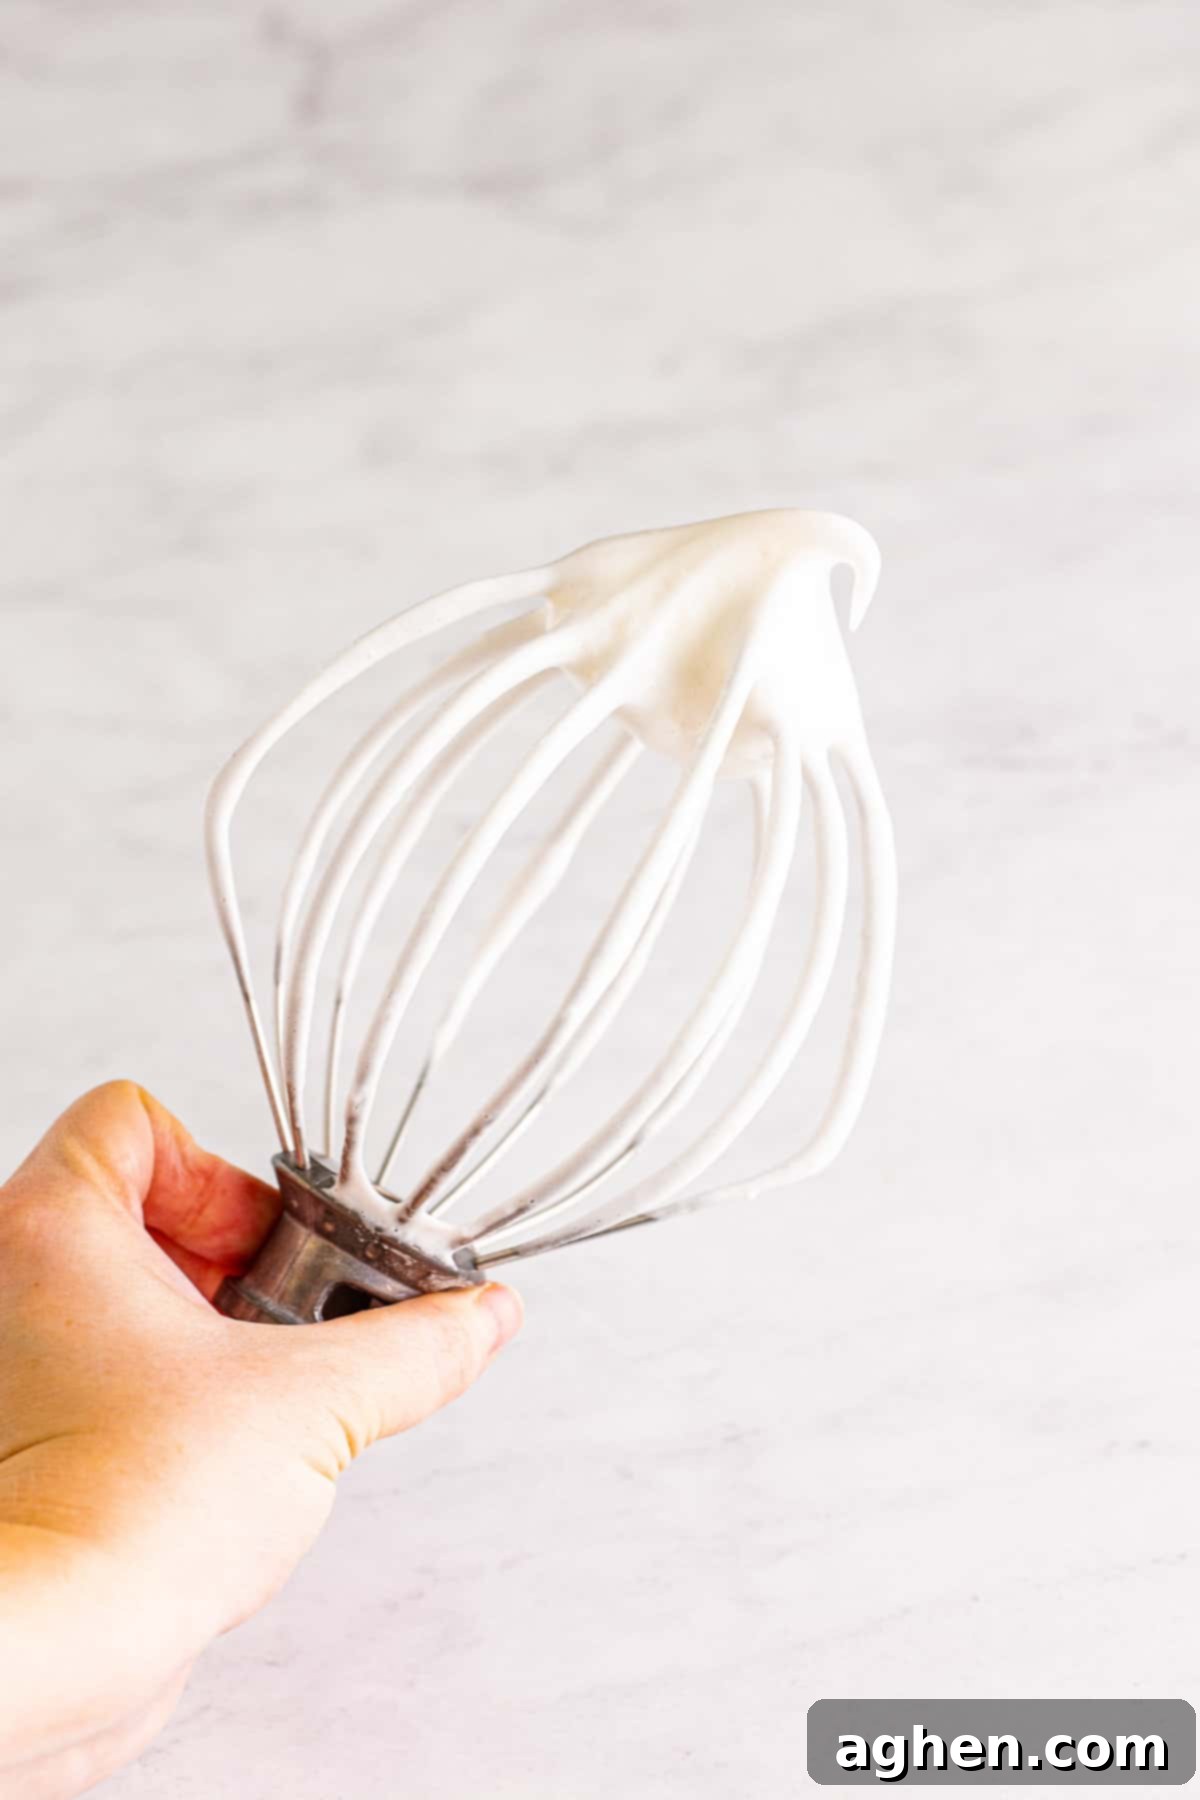
In the bowl of a stand mixer fitted with the whisk attachment, combine your room temperature egg whites and cream of tartar. Start the mixer on medium speed. Gradually, very slowly, pour in the remaining half of the processed superfine sugar while the mixer is running. This slow addition allows the sugar to fully dissolve and incorporate without deflating the egg whites. Once all the sugar has been added, increase the mixer speed to medium-high and whip until soft peaks form. This typically takes 2 to 4 minutes. It’s crucial to watch carefully to avoid overmixing. You are looking for soft peaks – when you lift the whisk, the peaks will stand up but gently curl over at the tip, not hold a stiff, unwavering shape. Stiff peaks can lead to a dry cake.

-
Step 5: Add Flavor Extracts
Once your egg whites have reached the soft peak stage, gently stir in the vanilla extract. If you’re using it, also add the almond extract at this point. Fold them in carefully to distribute the flavors evenly without deflating the delicate meringue you’ve worked so hard to create. The fragrant extracts will infuse your cake with a delightful aroma and taste.
-
Step 6: Gently Fold in Dry Ingredients
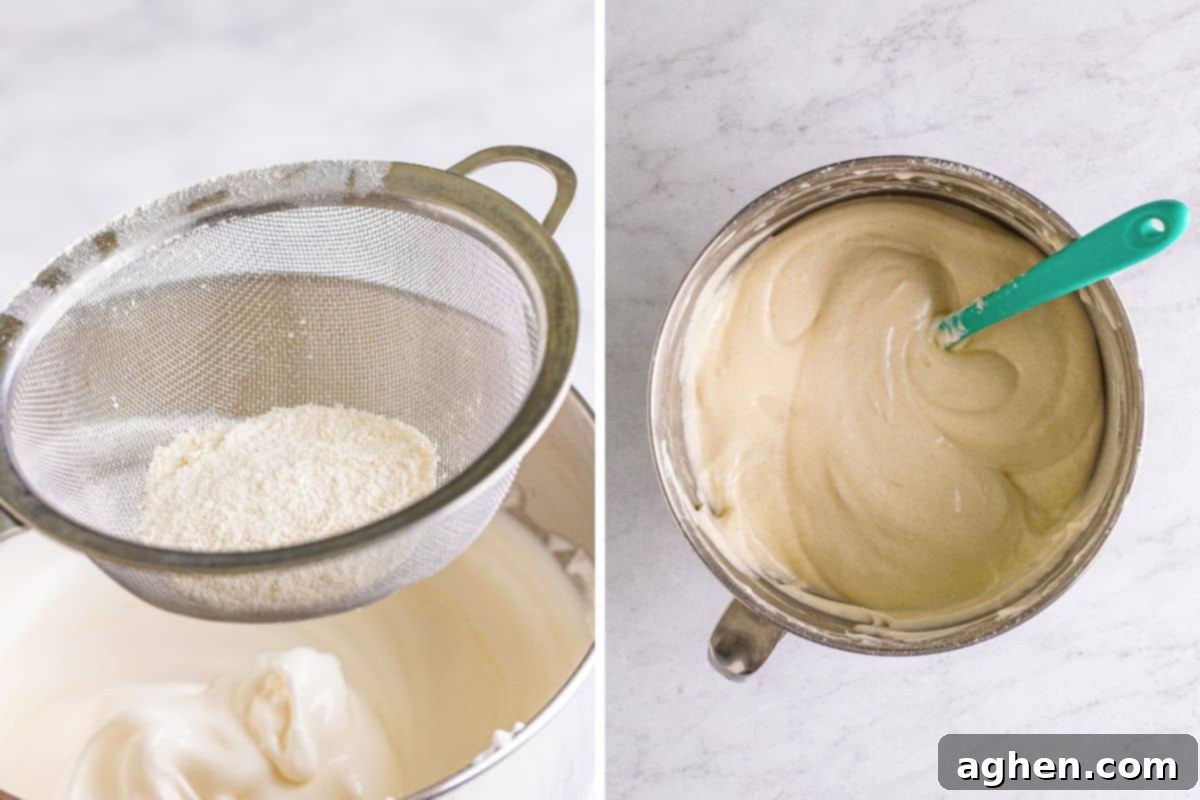
Remove the bowl from the stand mixer. Now comes another critical step: in four separate batches, sift the reserved flour and sugar mixture over the whipped egg whites. After each addition, use a large spatula to gently fold the dry ingredients into the egg whites. The key word here is *gentle*. Use an under-and-over motion, rotating the bowl as you go, to incorporate the flour without deflating the air from the egg whites. Sifting and folding in small batches ensures the egg whites retain their maximum volume, which is essential for the cake’s light and airy structure. Be patient and meticulous with this step.

-
Step 7: Transfer Batter to Pan
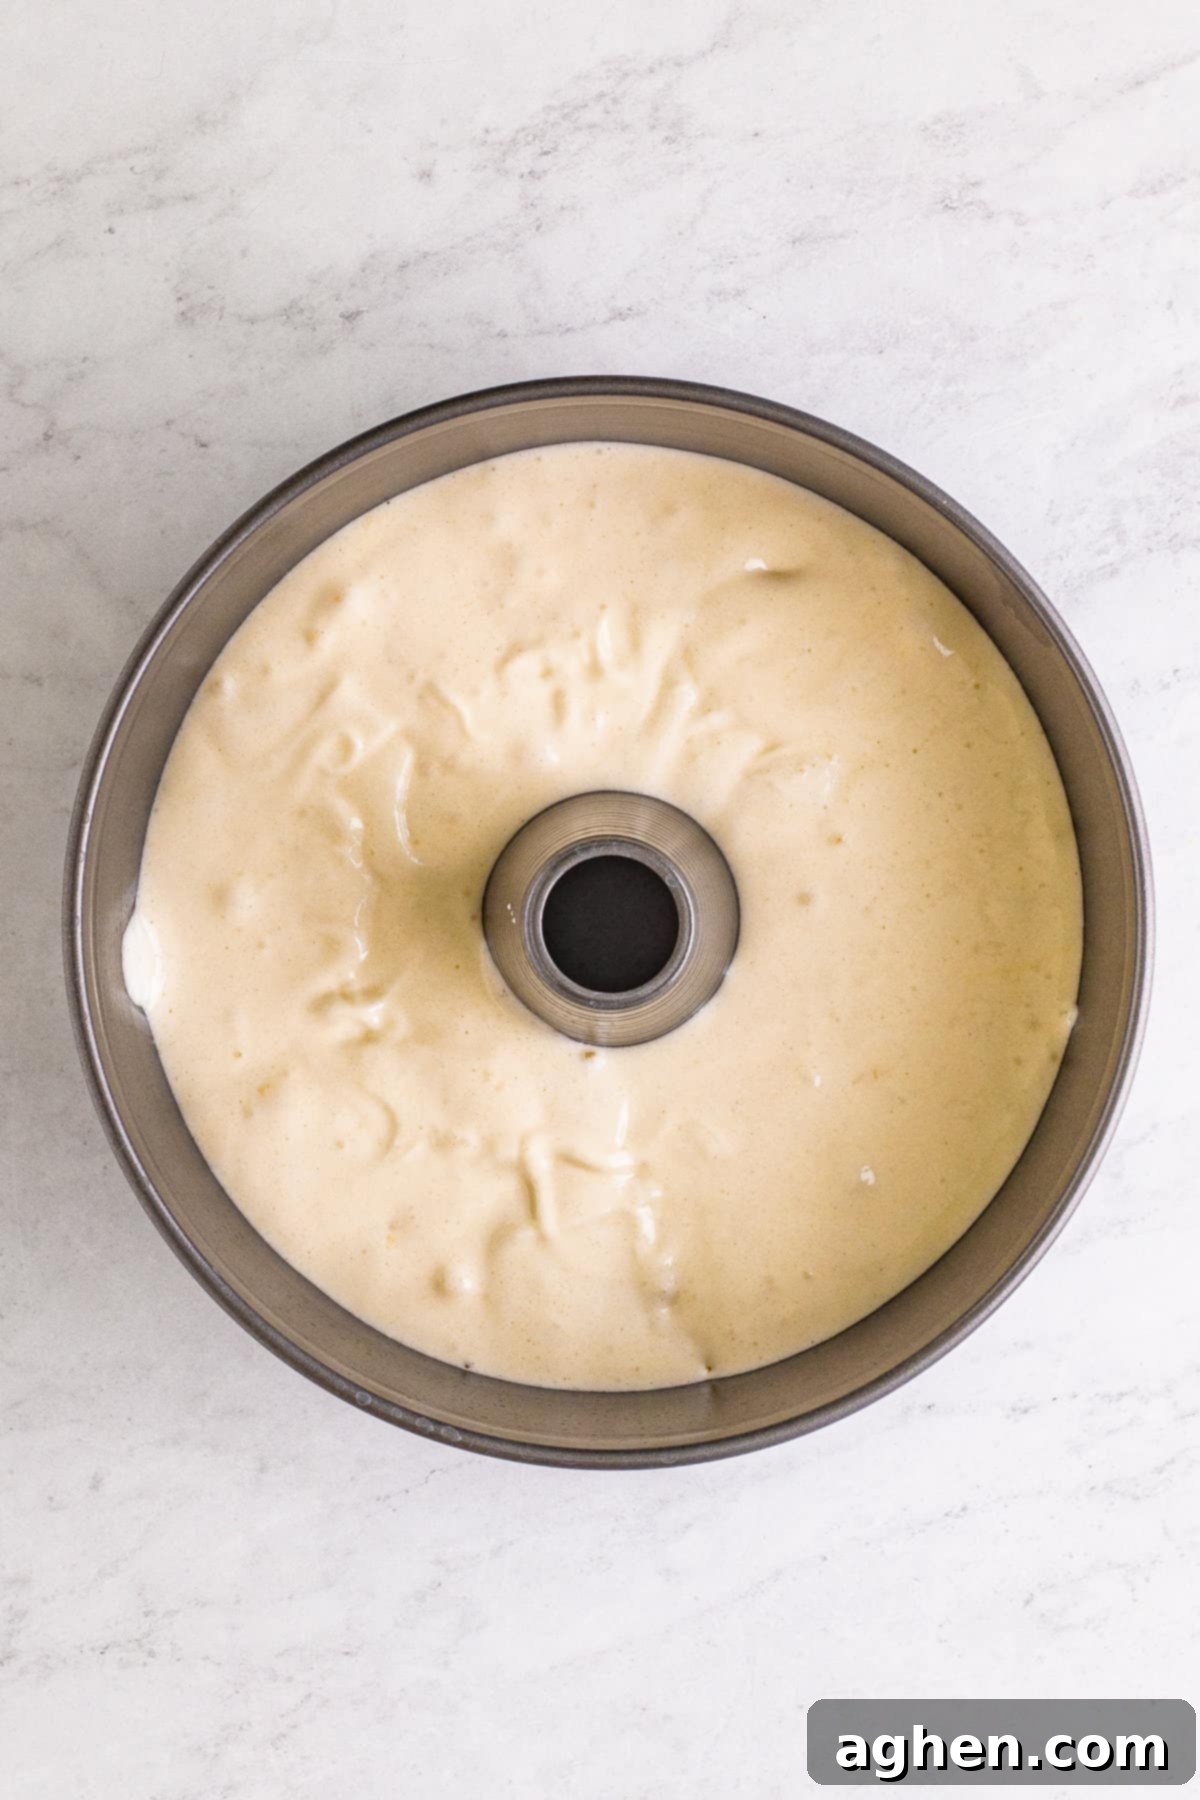
Once all the flour mixture is delicately folded in, carefully spoon the batter into your ungreased 10-inch tube pan. Avoid pressing or compacting the batter. Gently shake the pan back and forth a few times to evenly distribute the batter and allow it to settle, creating a top that is almost smooth. It doesn’t need to be perfectly smooth, but should appear fairly even across the surface. This gentle spreading ensures even rising during baking.

-
Step 8: Bake to Golden Perfection
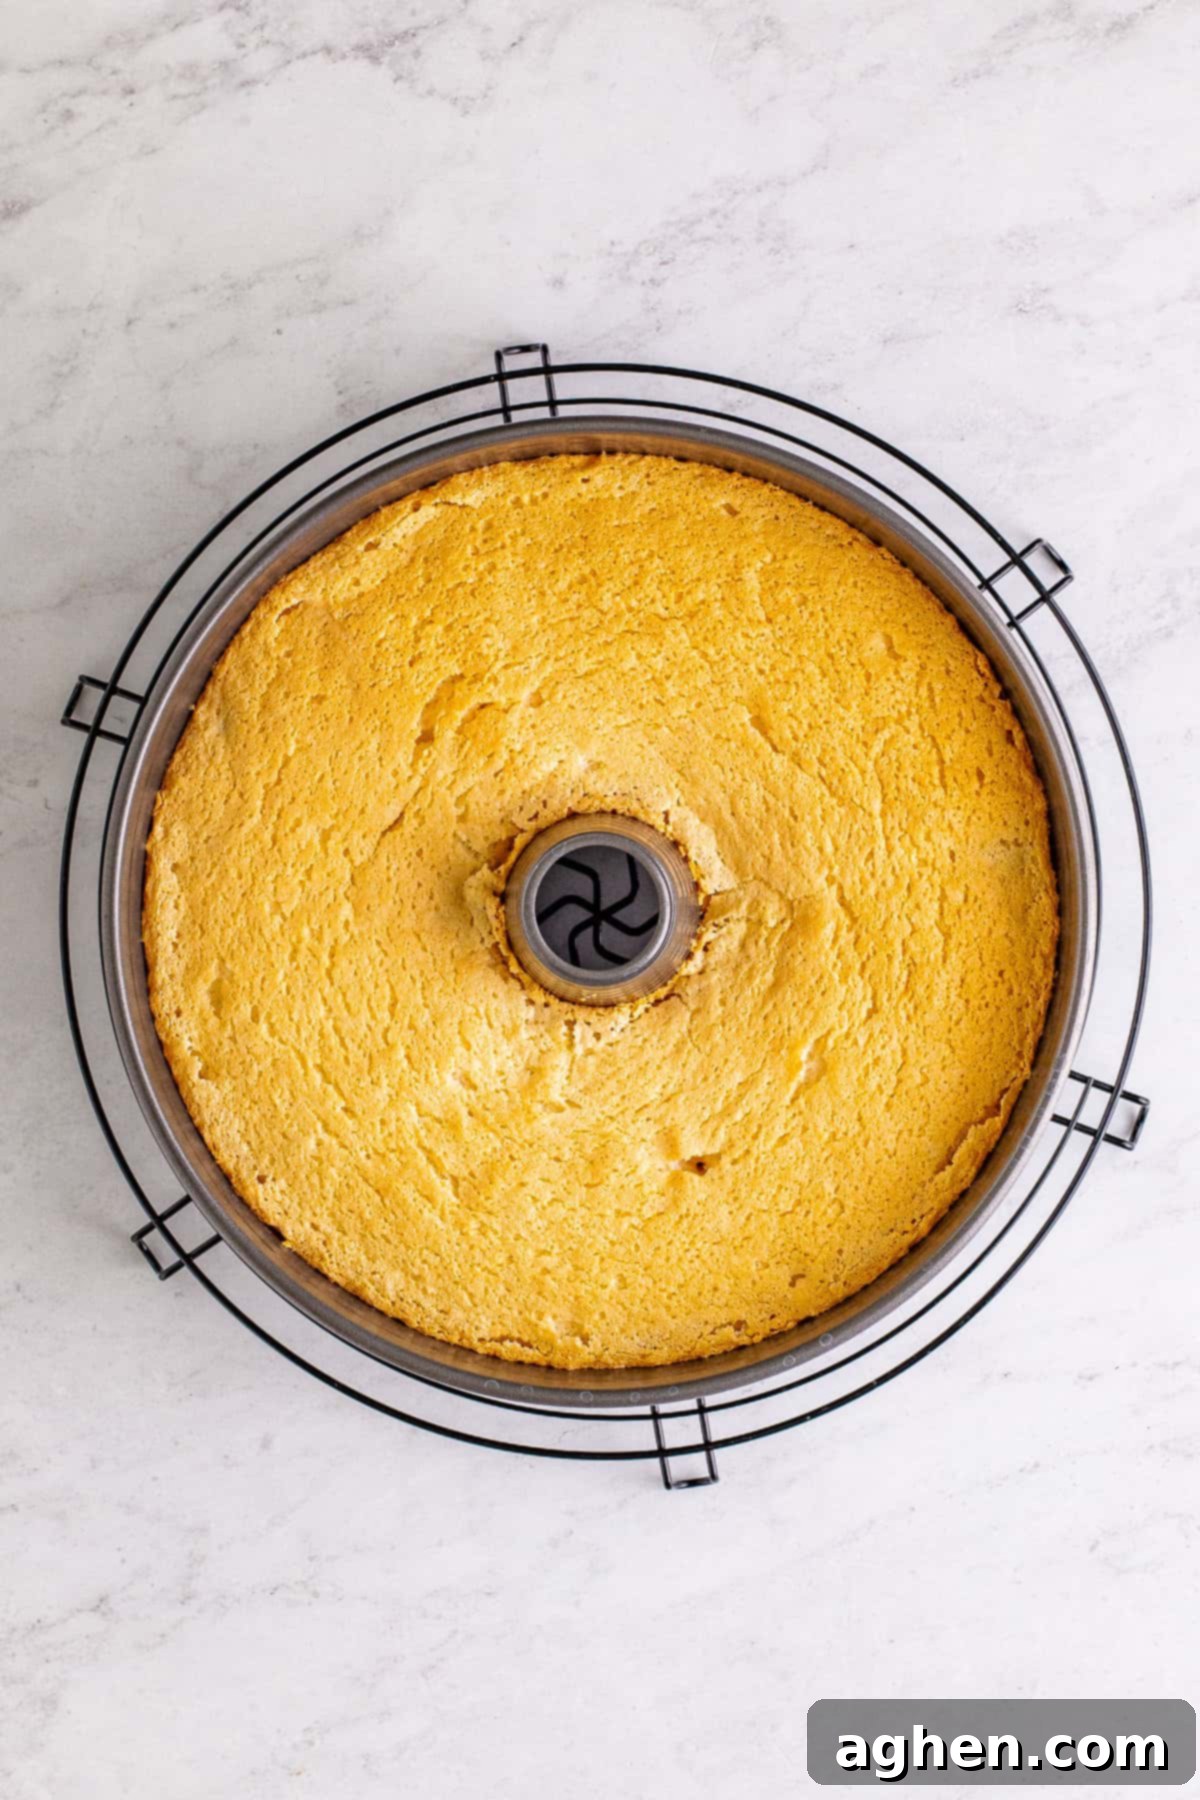
Place the tube pan in your preheated oven and bake for 40 to 45 minutes. The cake is done when the top is golden brown, springs back lightly when gently touched, and a toothpick or cake tester inserted into the center of the cake comes out clean. If you see wet batter, continue baking for a few more minutes and re-test. Avoid opening the oven door too frequently, especially during the first 30 minutes, as this can cause the cake to deflate.

-
Step 9: Cool Upside Down
Immediately after removing the pan from the oven, invert it completely. Most tube pans have small “feet” or a central tube that allows you to rest it upside down on a cooling rack or even over the neck of a bottle. This crucial step prevents the warm, delicate cake from collapsing under its own weight as it cools, ensuring it retains its impressive height and airy structure. Let the cake cool upside down for at least 3 hours, or until it is completely cool to the touch. Patience is key here!

-
Step 10: Release, Slice, and Serve
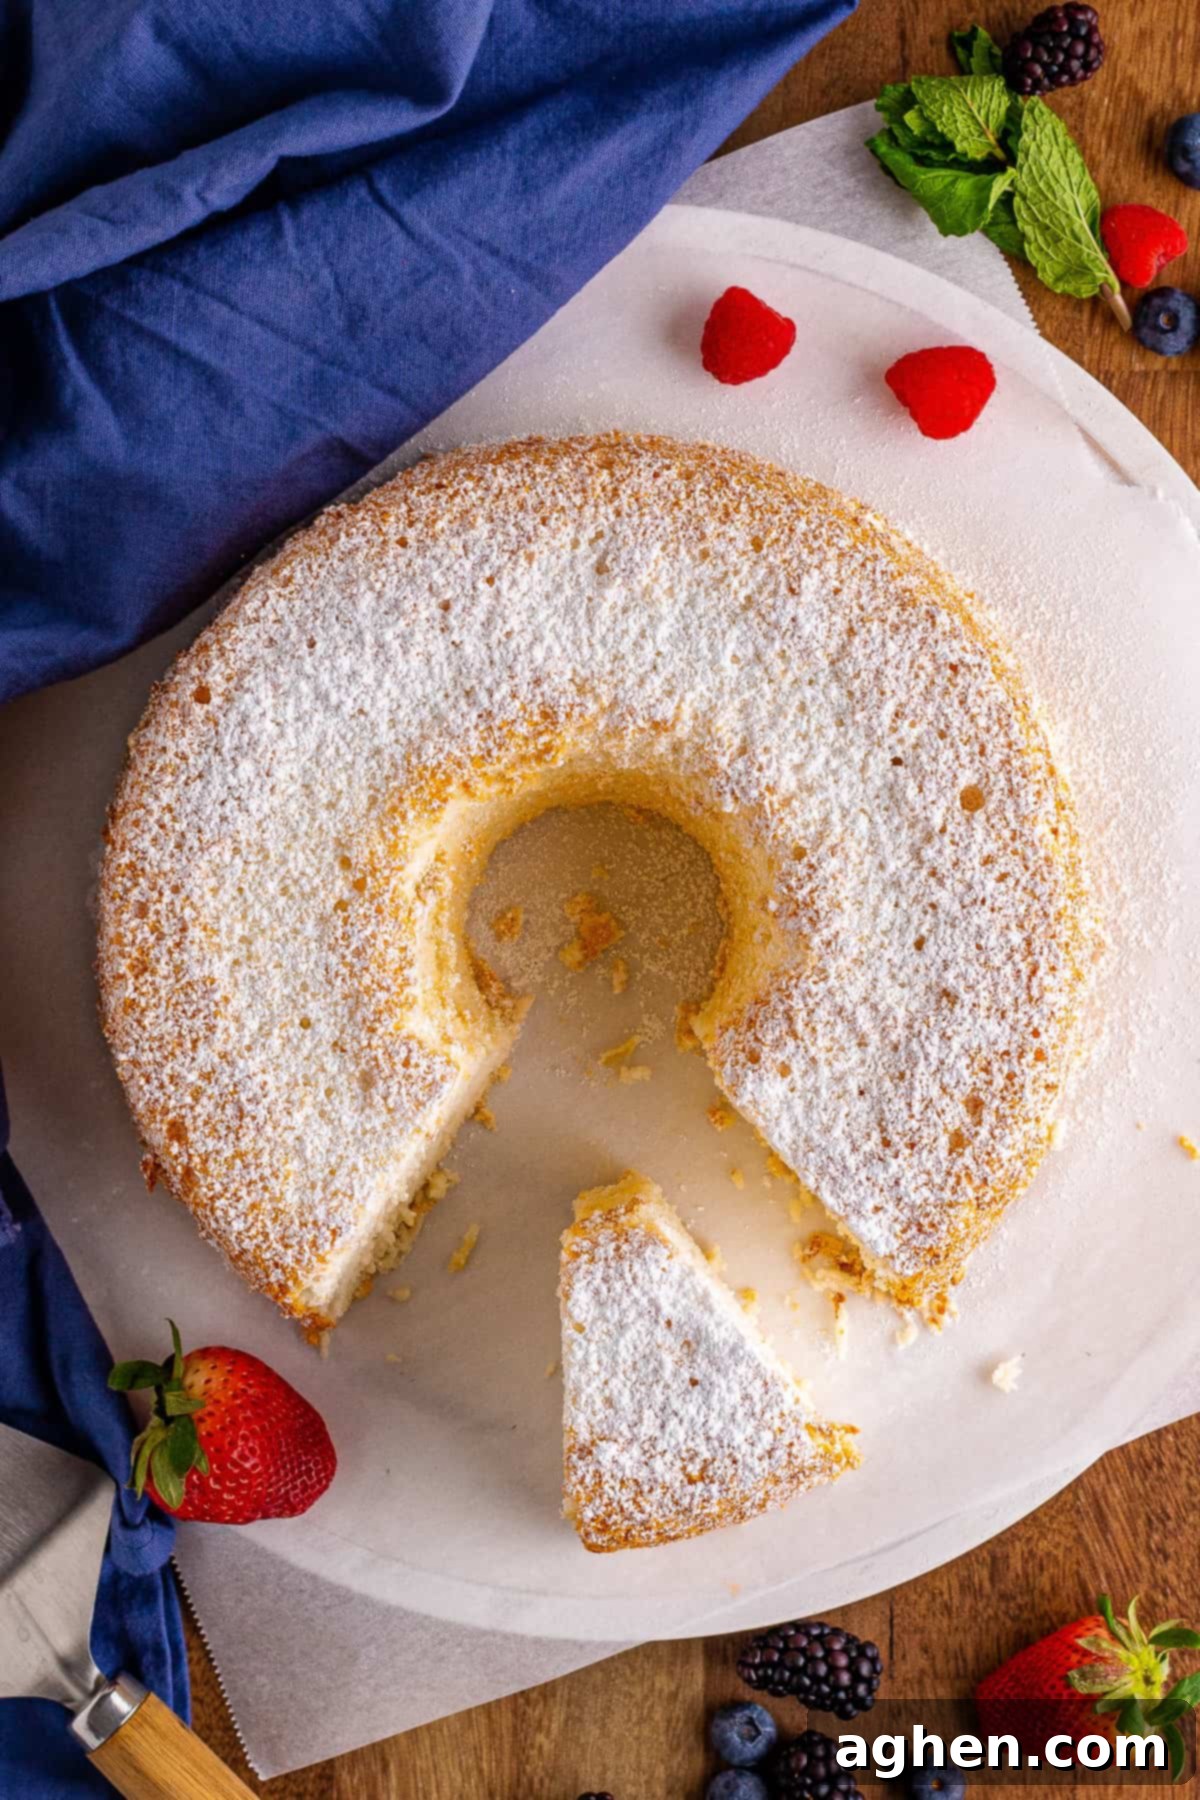
Once the cake is completely cooled (after 3 hours), turn the pan right side up. Use a thin, sharp knife or an offset spatula to carefully run along the outer edge of the cake, separating it from the pan. Then, invert the pan again and give it a few gentle taps until the cake releases from the bottom. If your pan has a removable bottom, you can often push it up. Allow the cake to cool completely on the wire rack before slicing. For serving, use a sharp serrated knife with a sawing motion, as this allows you to cut through the delicate cake without compressing or tearing it. Serve plain or with your favorite toppings!

Delicious Toppings and Pairings for Angel Food Cake
This light and airy cake is incredibly versatile and pairs beautifully with a variety of toppings. Here are some delightful inspirations to elevate your angel food cake experience:
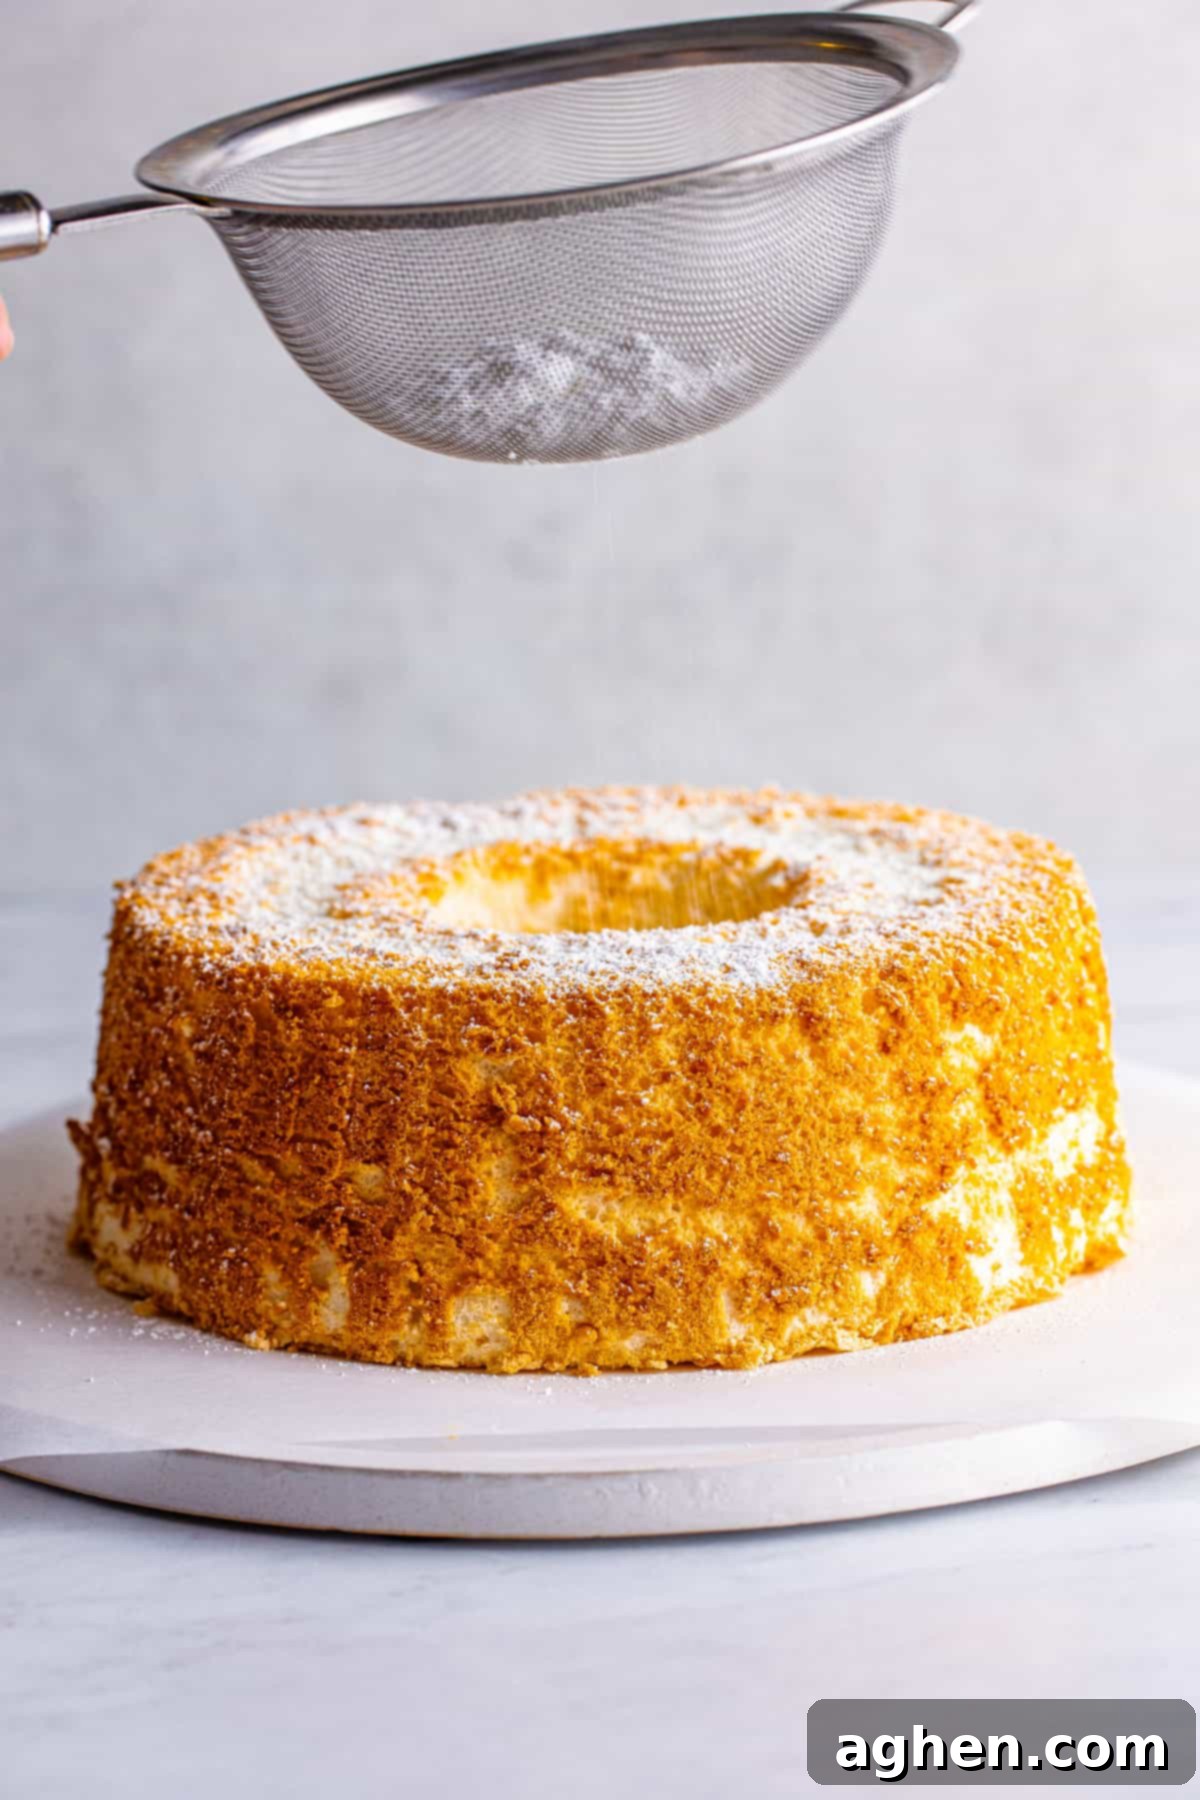
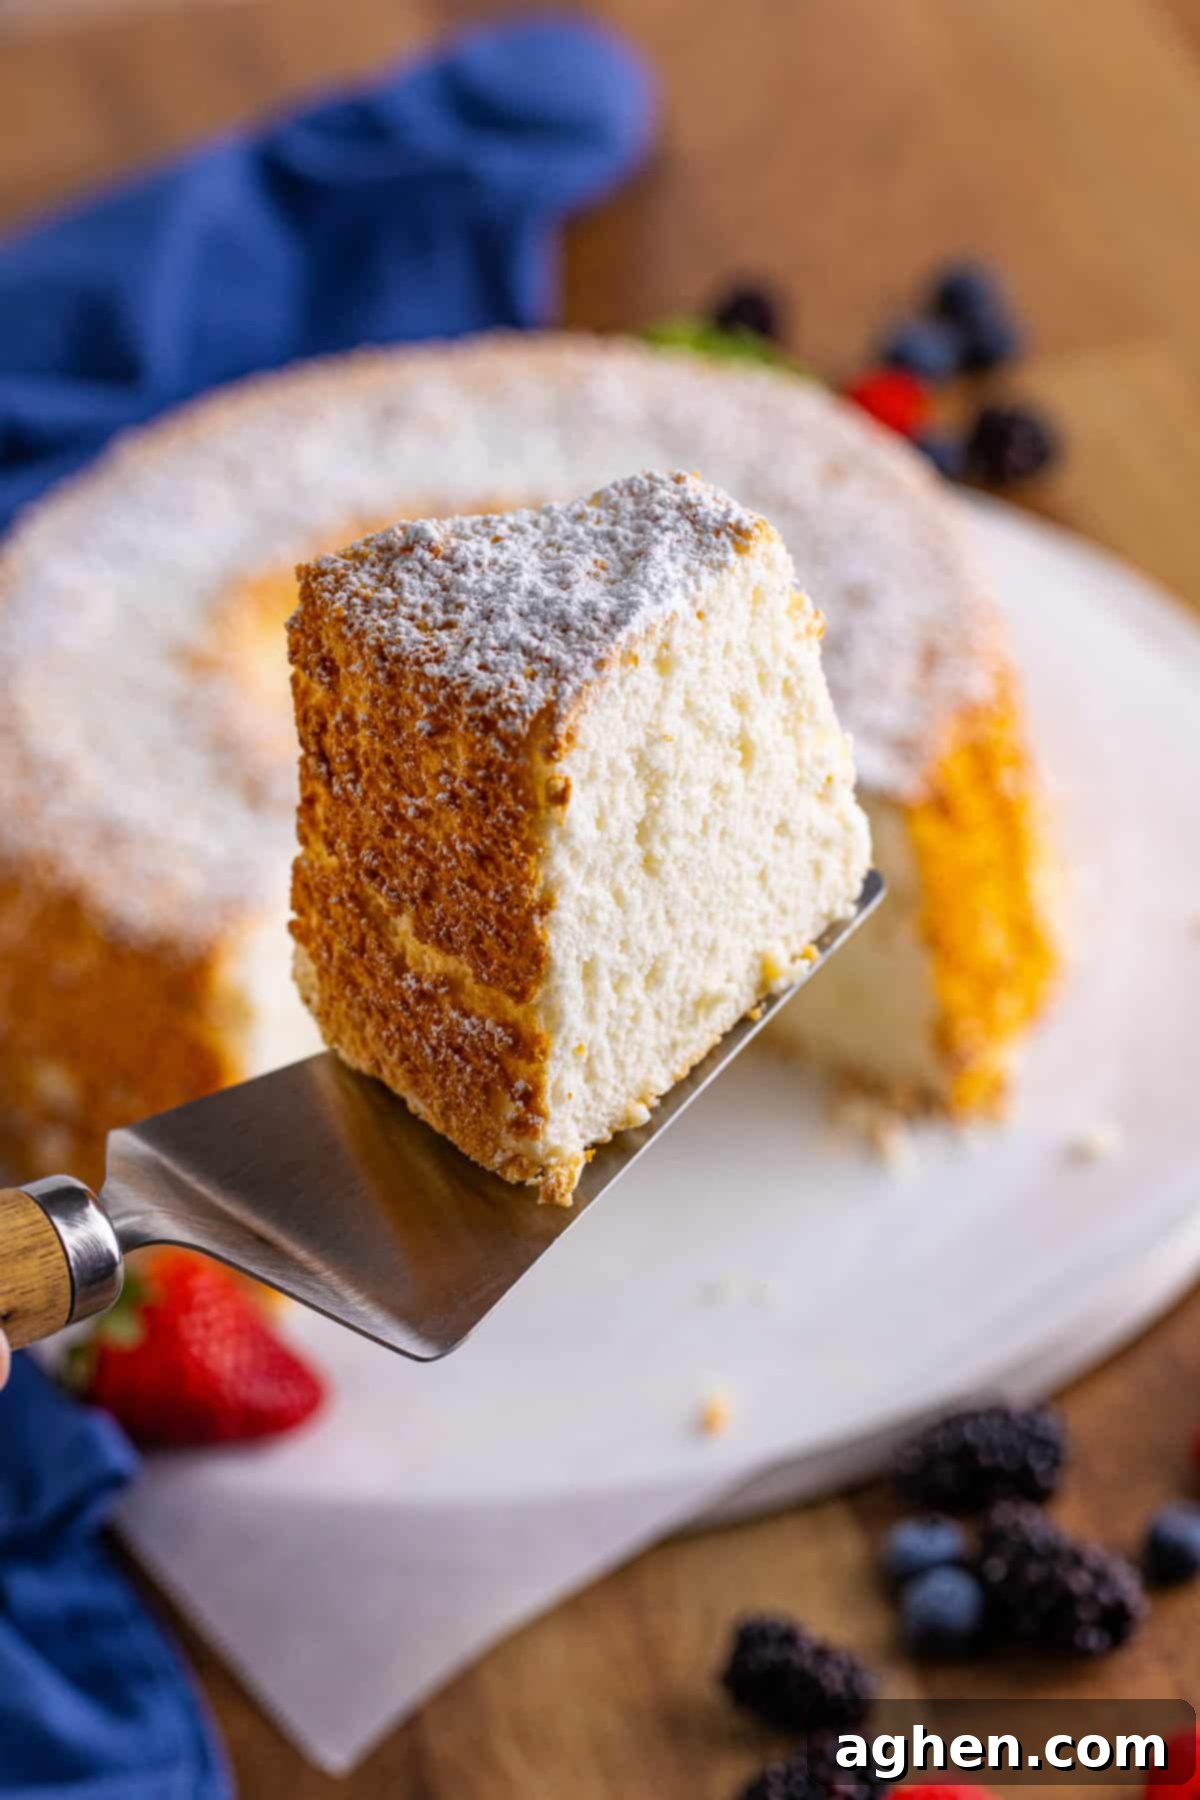
- Powdered Sugar: A simple dusting of confectioners’ sugar provides a beautiful, elegant finish and a subtle extra hint of sweetness. It’s a timeless classic for a reason!
- Lemon Curd: The bright, zesty tang of homemade lemon curd offers a fantastic contrast to the cake’s sweetness, creating a refreshing and vibrant dessert.
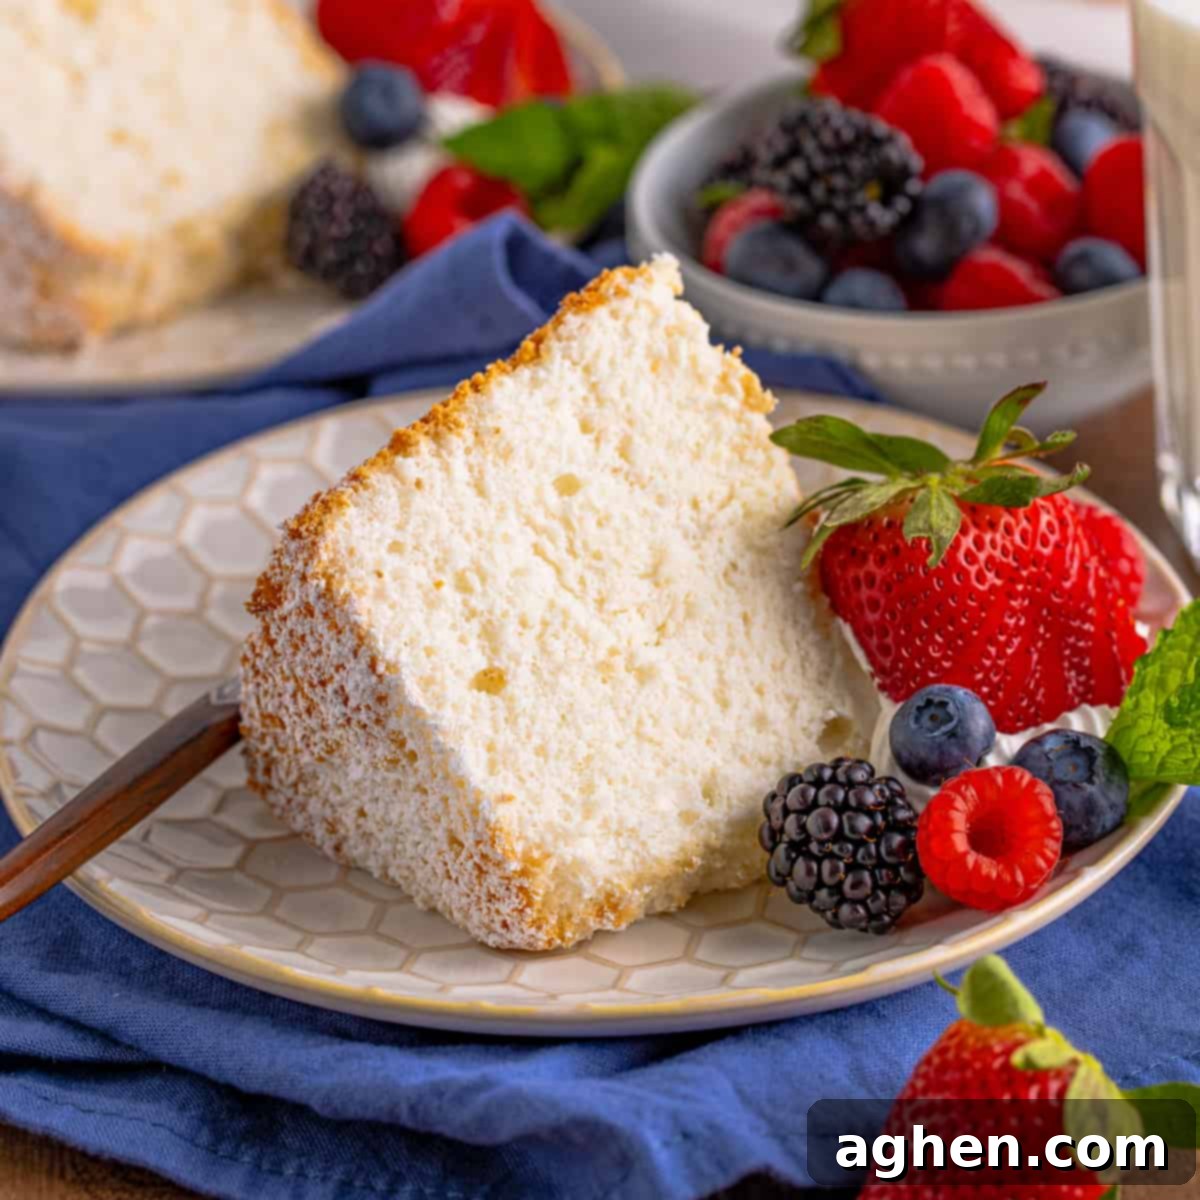
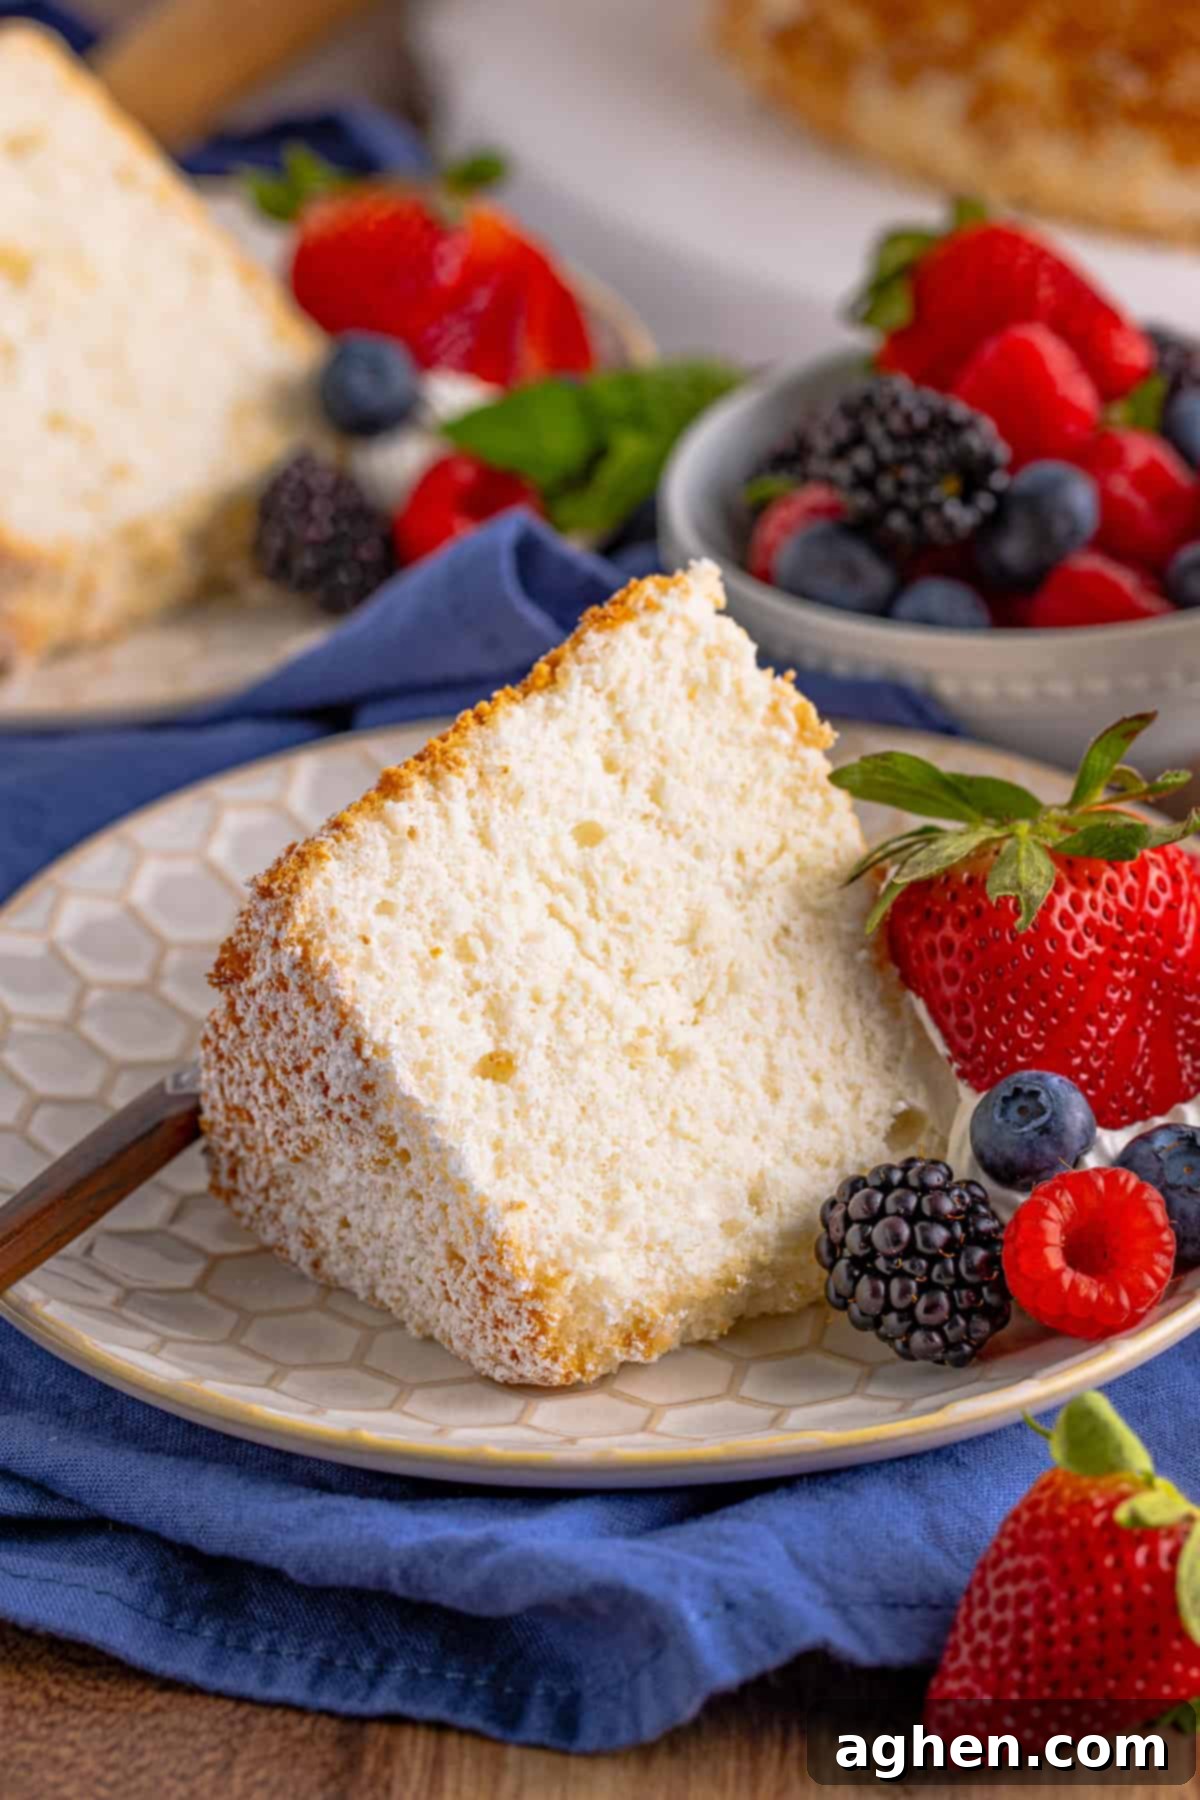
- Fresh Berries and Whipped Cream: A quintessential pairing! A medley of fresh blueberries, blackberries, strawberries, and raspberries, especially when in season, with a generous dollop of homemade whipped cream, adds natural sweetness, a slight tartness, and a luxurious creamy texture.
- Warm Nutella Sauce: For chocolate lovers, gently warm Nutella until it becomes a thin, pourable sauce. Drizzled over a slice of angel food cake, it creates an irresistible, indulgent treat.
- Fruit Syrups: A homemade or store-bought fruit syrup (like strawberry, cherry, or peach) can add a burst of concentrated fruit flavor and a beautiful glaze-like finish.
- Chocolate Glaze or Ganache: A rich chocolate glaze provides a decadent counterpoint to the cake’s lightness. A simple ganache made with dark chocolate and heavy cream would be divine.
- Caramel Sauce: A drizzle of sweet, buttery homemade caramel sauce adds a sophisticated and comforting touch, perfect for those who enjoy rich, nuanced flavors.
- Pineapple or Mango Chunks: For a tropical twist, serve with fresh, juicy pineapple or mango chunks, perhaps lightly macerated with a touch of lime juice.
How to Store Angel Food Cake to Maintain Freshness
Proper storage is key to keeping your homemade angel food cake tasting fresh and delicious.
Room Temperature: This homemade angel food cake stores beautifully. You can keep it covered tightly at room temperature for up to 5 days. Ensure it’s in an airtight container or well-wrapped with plastic cling film to prevent it from drying out and absorbing other odors. Store it on your countertop, away from direct sunlight or heat sources.
Freezing Instructions: Angel food cake freezes exceptionally well, making it perfect for preparing ahead or saving leftovers. To freeze, first cut the cake into individual slices or desired portions. Wrap each slice tightly in plastic wrap, then place them in a freezer-safe bag or airtight container. This double-layer protection helps prevent freezer burn. When you’re ready to enjoy, simply remove the desired number of servings and thaw them at room temperature for about 30-60 minutes. The texture will remain wonderfully light and fluffy.
Classic Angel Food Cake Recipe Tips and Tricks for Success
- Blender for Sugar: If you don’t own a food processor, don’t worry! You can use a high-speed blender to process your granulated sugar into superfine sugar. Just ensure it’s completely dry before blending.
- Absolutely No Egg Yolk: This is perhaps the most critical rule for successful angel food cake. Even a tiny speck of egg yolk, which contains fat, can prevent your egg whites from whipping up properly into stiff, voluminous peaks. To ensure purity, crack each egg into a separate small bowl or use an egg separator before adding the white to your main mixing bowl. If a yolk breaks, discard that white and start fresh.
- Room Temperature Egg Whites are Essential: For maximum volume and stability, always use egg whites that are at room temperature. Cold egg whites will take much longer to whip and won’t achieve the same fluffy consistency. If your eggs are cold, you can quickly warm them by placing the separated egg whites in a bowl over a larger bowl of warm (not hot) water for about 10-15 minutes.
- Use a Serrated Knife for Slicing: The delicate, airy structure of angel food cake can be easily compressed by a smooth knife. For perfectly clean slices without squishing your beautiful creation, use a sharp serrated knife. The serrated edges gently saw through the cake, preserving its light texture.
- How to Tell When Angel Food Cake is Done: The best way to check for doneness is to insert a toothpick or cake tester into the center of the cake. If it comes out clean, with no wet batter attached, your cake is ready. Additionally, the top of the cake should be golden brown and spring back lightly when gently pressed. If it leaves an indentation or appears wet, bake for a few more minutes and re-test.
- Avoid Opening the Oven Door: Resist the urge to frequently open the oven door during baking, especially in the first 30 minutes. Sudden drops in temperature can cause the delicate meringue structure to deflate, leading to a sunken or dense cake.
Creative Additions and Variations for Angel Food Cake
While the classic recipe is divine, angel food cake is a fantastic canvas for culinary creativity:
- Experiment with Different Extracts: Beyond vanilla and almond, consider incorporating other extracts for unique flavor profiles. Lemon, orange, or raspberry extracts can add a bright, fruity note, while coconut or maple extracts offer a warm, tropical, or comforting twist. Try combining them for an even more complex flavor.
- Infuse with Spice: For a cozy, autumnal feel, especially during fall, try adding about 1 teaspoon of pumpkin pie spice or ground cinnamon to your dry flour mixture. These warm spices beautifully complement the cake’s sweetness and lightness, making it perfect for holiday gatherings.
- Make Angel Food Cupcakes: This recipe easily adapts to charming individual servings! Simply divide the batter into a greased (yes, lightly grease cupcake liners for angel food!) cupcake pan lined with paper liners. Reduce the baking time significantly, typically to about 25 to 30 minutes, or until a toothpick comes out clean. Angel food cupcakes are an adorable idea for birthday parties, potlucks, or anytime you want perfectly portioned desserts. Top them with fresh berries and a swirl of whipped cream for an irresistible treat.
- Citrus Zest: Finely grate the zest of one lemon, orange, or lime into your egg white mixture along with the extracts. The zest will add a lovely aromatic lift and a subtle tang to your cake.
Angel Food Cake Recipe FAQ
The core ingredients for a classic angel food cake are quite simple: flour, sugar, and egg whites. To achieve its signature texture and flavor, you’ll also need supportive ingredients like salt, cream of tartar (a stabilizer for the egg whites), and flavor extracts such as vanilla and often almond. The beauty of this cake lies in its minimal yet impactful ingredient list, proving that simple can truly be sublime.
The secret to angel food cake’s signature cloud-like texture lies entirely in the whipped egg whites. When egg whites are beaten, they trap air, creating a stable foam (meringue). The cream of tartar helps stabilize these air bubbles, allowing them to hold their structure. During baking, this trapped air expands, causing the cake to rise dramatically and develop its delicate, open crumb structure. Unlike many other cakes, there’s no butter, oil, or chemical leavening agents (like baking powder or soda) to weigh it down, making the egg whites the sole, powerful leavening force.
It’s absolutely crucial not to grease the pan when baking angel food cake. The delicate batter needs to cling to the ungreased sides of the tube pan as it rises. If the pan is greased, the batter won’t have anything to grip onto, causing it to slip down the sides. This would result in a cake that doesn’t achieve its characteristic towering height and is often dense or collapsed in the center. The ungreased surface provides the necessary traction for the cake to climb and expand.
Cooling angel food cake upside down is a vital step to maintain its structure and prevents it from collapsing. Immediately after baking, the cake is still very delicate and airy due to all the trapped air. If cooled right-side up, its own weight would compress the warm, fragile structure, causing it to deflate and become dense. By inverting the pan, gravity works in reverse, helping the cake to set in its tall, airy form as it gradually cools, ensuring it maintains that perfect light texture.
Angel food cake is incredibly versatile and pairs beautifully with many toppings. Some of the most popular and delicious options include a simple dusting of powdered sugar, fresh berries (strawberries, raspberries, blueberries, blackberries), homemade whipped cream, tangy lemon curd, rich chocolate ganache, sweet caramel sauce, or a vibrant berry compote. The lightness of the cake makes it an ideal complement to almost any fruit, cream, or sauce.
The absolute best pan for achieving a tall, fluffy angel food cake is a specialized tube pan, often referred to as an angel food pan. These pans are typically 10 inches in diameter, feature a central tube (or cone), and crucially, are made from bare aluminum (not non-stick). Many also come with a removable bottom and small ‘feet’ on the rim, specifically designed to invert the cake for cooling. It’s important to use a tube pan and *not* a Bundt pan, as the Bundt pan’s intricate design and often non-stick coating are unsuitable for angel food cake’s delicate structure and adherence requirements.
Angel food cake gets its whimsical name from its heavenly characteristics: it’s so incredibly light, airy, and delicately white, much like the ethereal wings or food of angels. The texture is so tender and melts in your mouth, leading to the idea that it’s a dessert light enough for angels to enjoy without being weighed down. It truly feels like eating a cloud!
While convenient, carton egg whites or egg substitutes are generally not recommended for angel food cake. They often contain additives that can interfere with the whipping process, preventing the egg whites from achieving the necessary volume and stability. For the best results and the signature light, fluffy texture, always use fresh, separated egg whites from whole eggs.
Several factors can lead to a dense or flat angel food cake: 1) Any trace of egg yolk or fat in the egg whites will prevent them from whipping properly. 2) Overmixing the egg whites beyond soft peaks can make them brittle and deflate when flour is added. 3) Not sifting the flour sufficiently, or folding it in too vigorously, will deflate the whipped egg whites. 4) Greasing the pan prevents the cake from climbing. 5) Not cooling the cake upside down immediately after baking can cause it to collapse under its own weight. Review these steps carefully to achieve a perfect cake next time!
More Delicious Cake Recipes to Explore
If you loved baking this angel food cake, be sure to check out some of our other fantastic cake creations:
- Pineapple Angel Food Cake — an incredibly easy 2-ingredient dump cake made with crushed pineapple, offering a fruity twist on angel food.
- Chocolate Coconut Bundt Cake — a delightful cake featuring rich chocolate ganache and toasted coconut flakes (that very same ganache would also be absolutely delicious on this angel food cake recipe!).
- Lemon Layer Cake — a beautifully bright and refreshing cake with a luscious lemon marshmallow frosting that’s absolutely perfect for celebrating spring and summer.
- Wacky Chocolate Cake – a charming vintage cake recipe that ingeniously comes together without any eggs, milk, or butter!
- Peach Bundt Cake — a wonderfully moist cake made with fresh peaches and topped with a truly delectable cream cheese icing.
- Oreo Poke Cake — a beloved favorite for any get-together that both kids and adults absolutely adore, packed with cookies and cream flavor.
Want to see them all? Visit my comprehensive collection of over 70 cake and cupcake recipes for endless baking inspiration.
Angel Food Cake
Author: Jaclyn
Ingredients
- 1 ¾ cup granulated sugar
- 1 cup all-purpose flour
- ½ teaspoon salt
- 12 large egg whites room temperature
- 1 ½ teaspoons cream of tartar
- 2 teaspoons vanilla extract
- ¼ teaspoon almond extract optional
Instructions
-
Preheat the oven to 325°F. Do NOT grease your tube pan.
-
Place the granulated sugar in a food processor. Turn the food processor on and let it run for 2 minutes until superfine.
-
Take half of the processed sugar along with the flour and salt, sift it twice into a large bowl. Set aside.
-
Add the room temperature egg whites and cream of tartar to the bowl of a stand mixer with the whisk attachment. On medium speed, slowly pour in the remaining superfine sugar. Once added, whip on medium-high speed until soft peaks form, about 2-4 minutes.
-
Gently stir in the vanilla extract and almond extract (if using).
-
Remove the bowl from the mixer. In four batches, sift the flour mixture over the egg whites and gently fold it in, being careful not to deflate the whites.
-
Once all the flour is mixed in, add the batter to the ungreased 10-inch tube pan. Gently shake the pan back and forth to even out the batter until almost smooth on top.
-
Bake for 40-45 minutes, or until a toothpick inserted into the center comes out clean.
-
Immediately remove the pan from the oven and flip it upside down onto a cooling rack. Let it cool completely in this position for at least 3 hours.
-
Once completely cool, run a thin knife along the edge of the pan. Invert and tap a few times until the cake releases. Use a sharp serrated knife to slice and serve.
Notes
- For the best volume and texture, always use room temperature egg whites and ensure there’s absolutely no trace of yolk.
- It’s critical to use an ungreased tube pan. This allows the delicate batter to cling to the sides and climb as it bakes, preventing it from deflating.
- I love serving my angel food cake simply dusted with powdered sugar and a generous side of fresh berries. Other fantastic toppings include homemade whipped cream, rich caramel sauce, vibrant fruit syrups, indulgent chocolate syrup, or tangy lemon curd.
- Store any leftover angel food cake covered at room temperature for up to 5 days. For longer storage, slices can be individually wrapped and frozen for up to 3 months; thaw at room temperature.
Nutrition

Did You Make This Recipe?
Share it with me on Instagram @crayonsandcravings and follow on Pinterest @crayonsandcravings for even more!
Pin Recipe
Leave A Review
