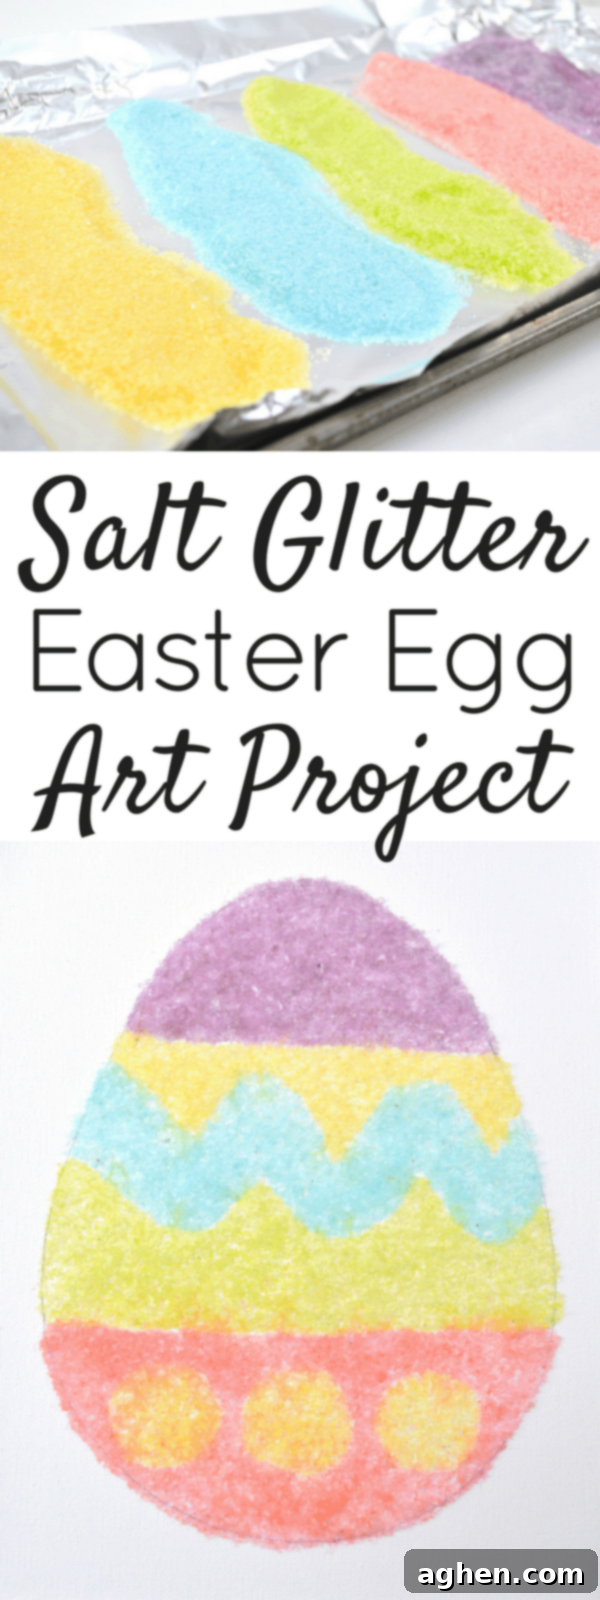
Sparkling Fun: DIY Salt Glitter & Colorful Easter Egg Canvas Craft
Unleash your creativity and add a dazzling touch to your holiday decorations with this incredibly simple and fun DIY project! We’re going to show you how to make your own vibrant salt glitter from scratch, then transform it into a gorgeous, sparkling Easter egg canvas. This craft is perfect for all ages, offering a fantastic opportunity for family bonding and a beautiful piece of art to brighten your home for Easter or any time of year. Get ready to sprinkle some magic!
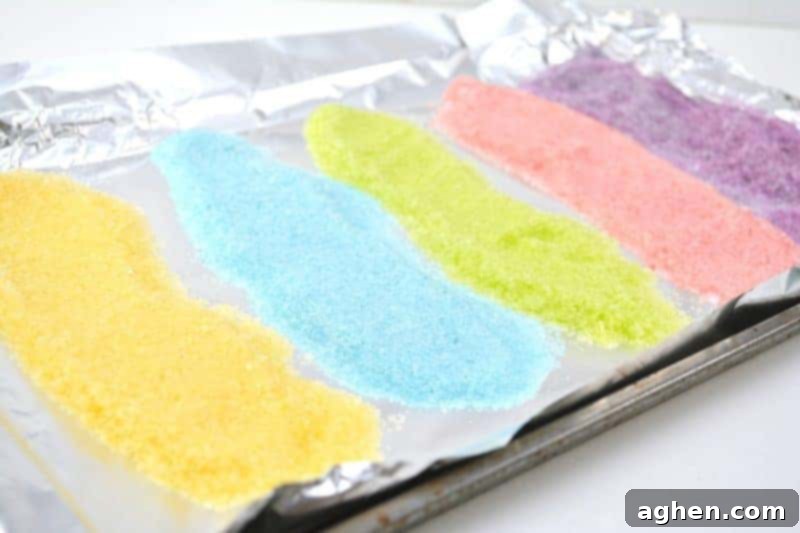
Who knew that creating your own glitter could be so effortless and rewarding? Forget expensive store-bought glitter; this simple homemade recipe requires just two common ingredients: Epsom salt and food coloring. It’s an economical and surprisingly effective way to produce glitter in any color imaginable. Once you learn this quick technique, a whole new world of shimmering craft possibilities will open up!
While our featured project is a festive Easter egg canvas, the uses for your homemade glitter salt are truly endless. Imagine shimmering greeting cards, sparkling picture frames, unique ornaments, or even sensory bins for younger children. Let your imagination soar and explore the many ways you can incorporate this dazzling material into your arts and crafts projects.
Gather Your Essential Craft Supplies
Before diving into the fun, make sure you have all your materials ready. The beauty of this craft lies in its simplicity, using items you might already have around the house or can easily acquire. We’ve compiled a list to ensure a smooth crafting experience.
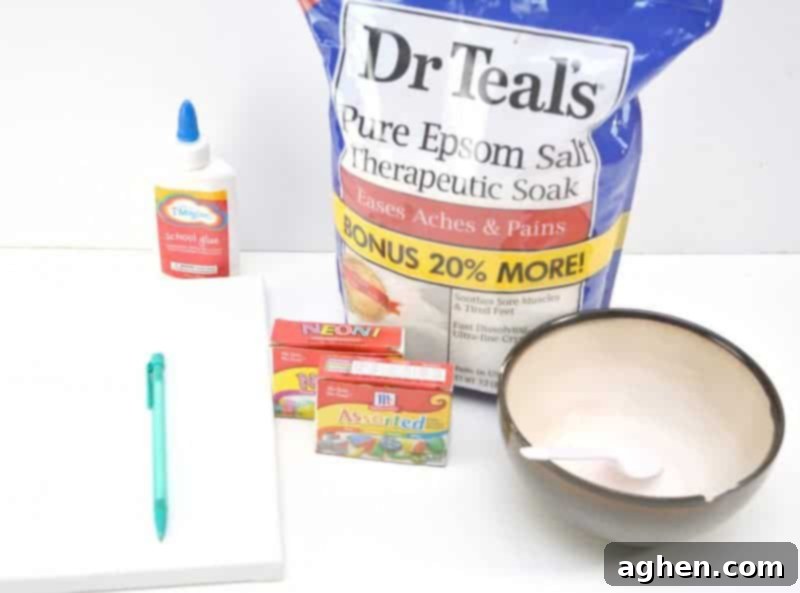
- **Epsom Salt:** The star ingredient for our glitter. Its crystalline structure is perfect for catching light and holding color.
- **Food Coloring:** Liquid or gel food coloring works wonderfully. Gel colors often provide more vibrant, concentrated hues.
- **White School Glue:** Standard PVA white school glue is ideal for adhering the glitter to the canvas.
- **Canvas:** A blank canvas of any size will do. Smaller canvases are great for individual projects, while larger ones can become statement pieces.
- **Pencil:** For lightly sketching your Easter egg design.
- **Bowl:** For mixing the Epsom salt and food coloring.
- **Spoon:** For stirring your glitter mixture.
- **Foil-Lined Baking Sheet (optional but recommended):** For drying your colored salt without making a mess.
Shop for Salt Glitter & Canvas Art Supplies Online
Epsom Salt, 2 lbs.
8 x 10 in. Canvases, Pack of 10
Elmer’s School Glue, 2 Bottles
Neon Food Coloring Set
Assorted Food Coloring Set
How to Make Your Own Vibrant Salt Glitter
Creating homemade salt glitter is a quick and satisfying process. You’ll be amazed at how easily ordinary Epsom salt transforms into colorful, sparkling craft material!
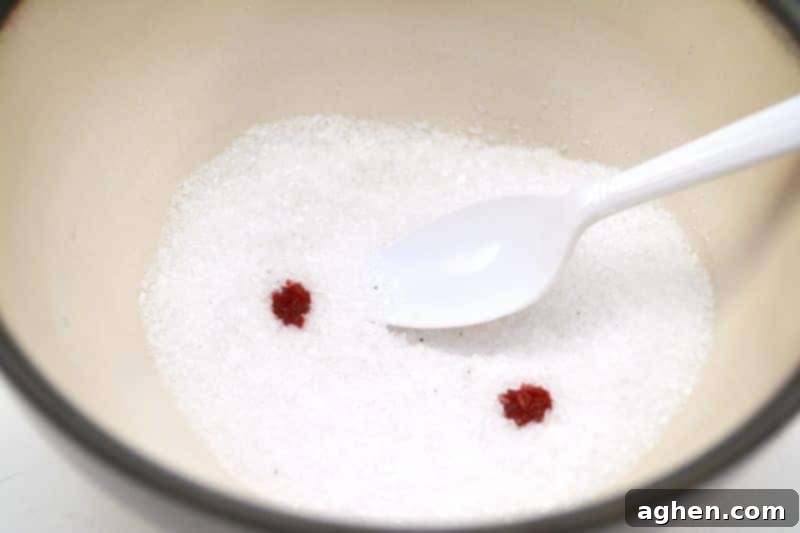
- Color the Salt: Begin by pouring a generous amount of Epsom salt (approximately 1 cup) into a bowl. Add 2-3 drops of your chosen food coloring. Start with fewer drops and add more if you want a more intense color. Stir the mixture thoroughly with a spoon until the color is evenly distributed and no white salt crystals remain. If you’re using gel food coloring, a tiny dab is usually enough for a vibrant hue.
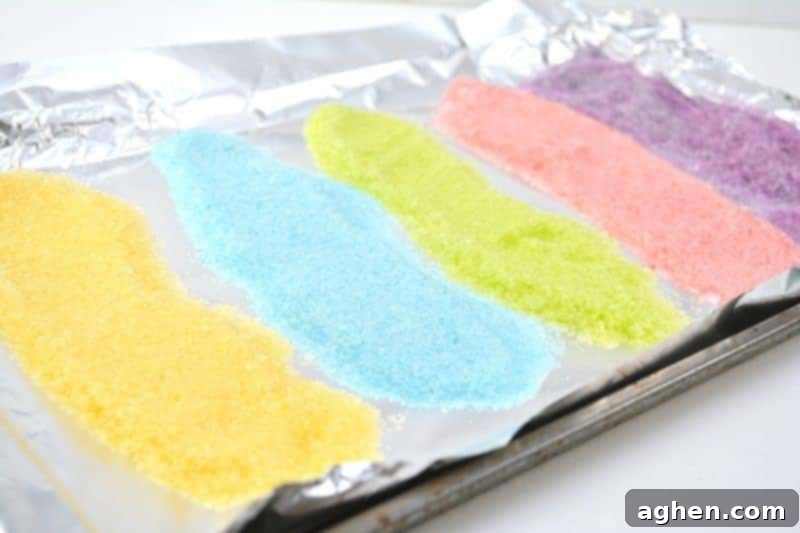
- Dry the Glitter: Once colored, pour the salt out onto a baking sheet lined with aluminum foil or parchment paper. Spread it into a thin, even layer to ensure it dries quickly and completely. Allow the salt to air dry for several hours, or even overnight, until it’s completely dry and no longer clumpy. This step is crucial for the glitter to sparkle effectively.
- Repeat for More Colors: Repeat the entire process (steps 1 and 2) for each additional color of glitter salt you wish to make. Having a variety of colors will make your Easter egg canvas truly pop! Once dry, you can store your homemade salt glitter in airtight containers for future crafting adventures.
Crafting Your Sparkling Easter Egg Canvas
Now that you have your beautiful homemade salt glitter, it’s time to create your stunning Easter egg canvas! This step-by-step guide will help you bring your colorful vision to life.
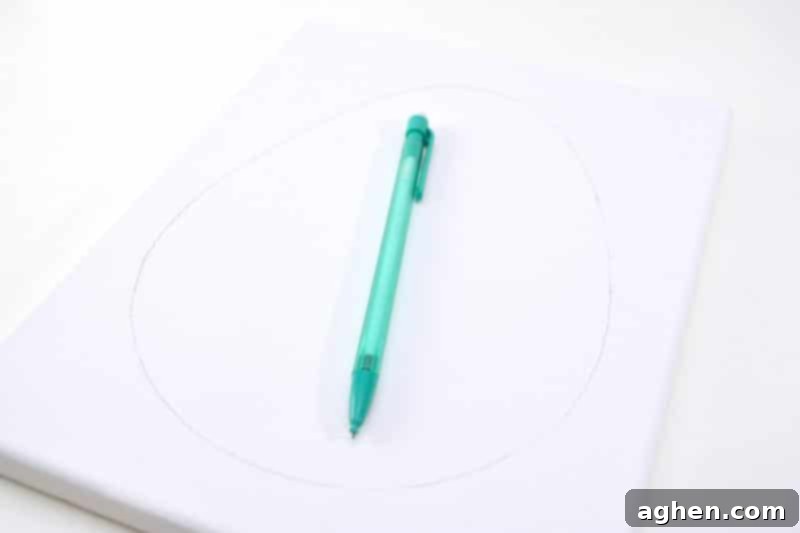
- Outline Your Egg: Take your pencil and lightly sketch the shape of an Easter egg onto your canvas. Don’t press too hard, as this is just a guide and you don’t want dark lines showing through your glitter. You can draw one large egg or several smaller ones.
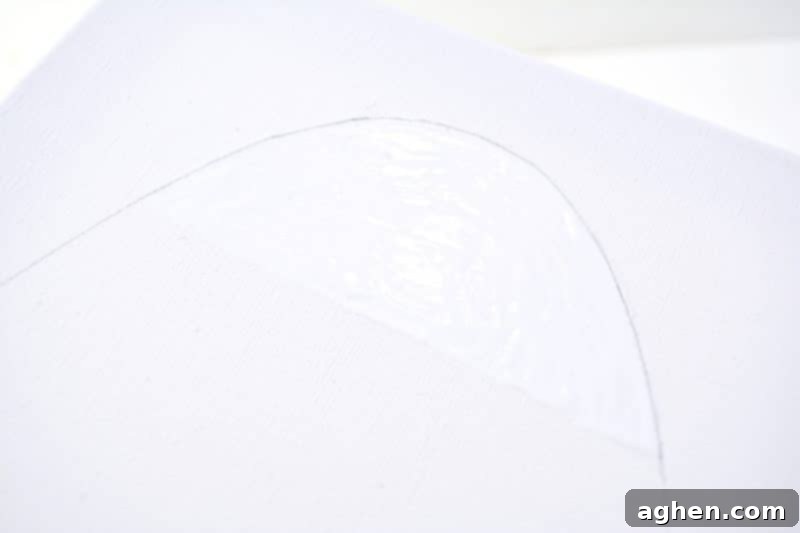
- Apply the First Color’s Glue: Decide which section of your Easter egg you want to fill with your first glitter color. Carefully apply a thin, even layer of white school glue to only that specific area. Precision is key here to prevent colors from bleeding or mixing later on.
- Add Glitter and Dry: Generously sprinkle your chosen color of salt glitter over the glued area, ensuring it’s completely covered. Gently press the glitter down with your fingers to help it adhere firmly to the glue. Then, carefully tap the canvas to dislodge any excess salt. Set the canvas aside and allow the glue to dry completely. This step is critical; patience is a virtue! Allowing the glue to dry fully before moving to the next color prevents unintended mixing and ensures crisp, vibrant lines between your glitter sections.
- Creating Intricate Designs (Optional): If you plan to incorporate more complex patterns, like squiggly lines or geometric shapes, it’s often easier to tackle these detailed areas first. Apply glue and glitter to your specific design, let it dry completely, and then go back to fill in the larger, surrounding blank spaces with other colors. This technique helps maintain clean lines and prevents accidental glitter overlap.
- Continue Layering Colors: Repeat steps 2 and 3 for each new color and section of your Easter egg until the entire design is filled in with dazzling salt glitter. Remember to allow each section to dry completely before adding an adjacent color.
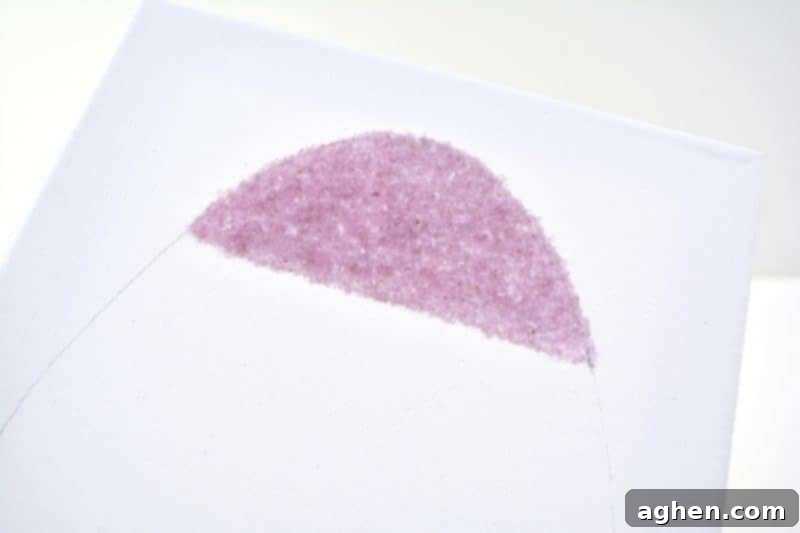
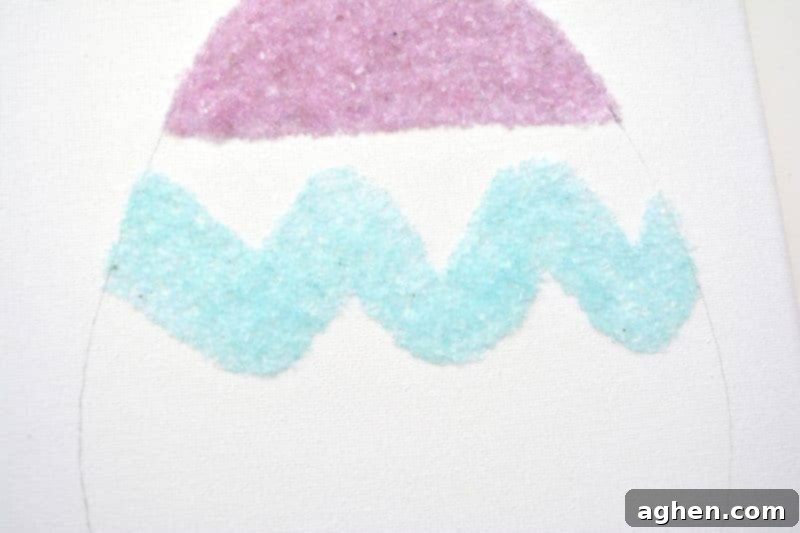
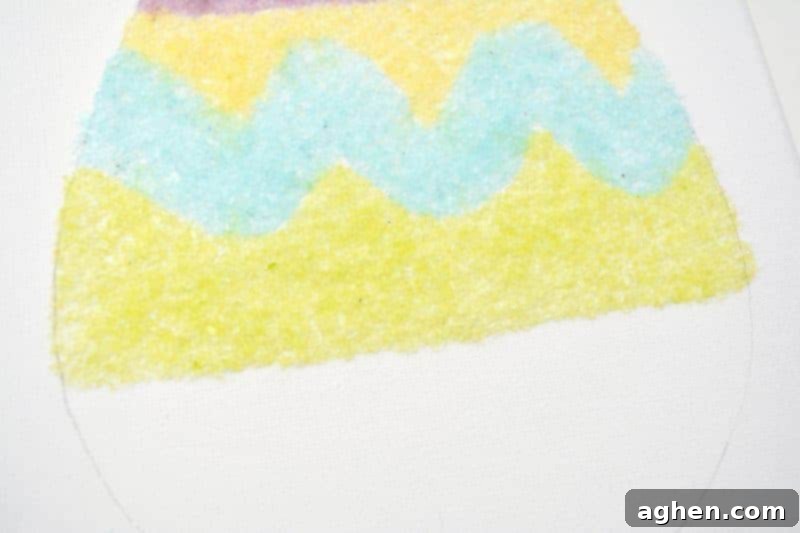
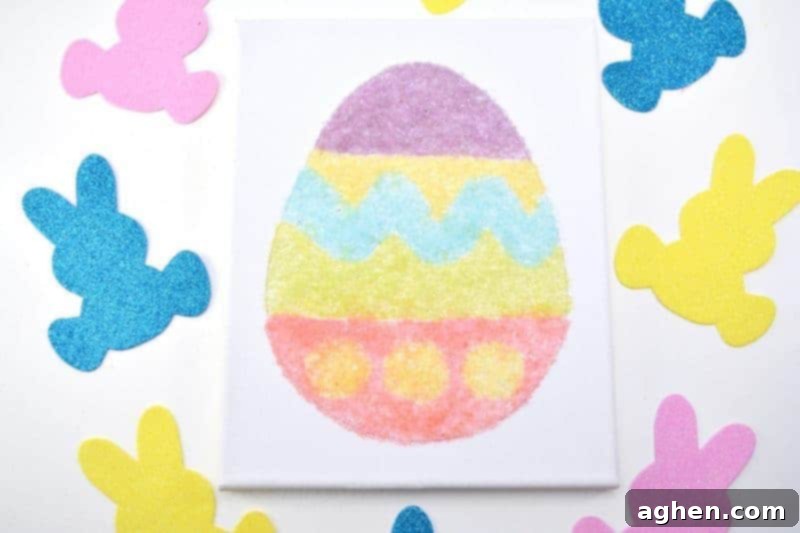
Once all your colors are applied and the glue has thoroughly dried, your magnificent Easter egg canvas art is complete! Display your vibrant, sparkling creation proudly and bask in the joy of your handmade decor.
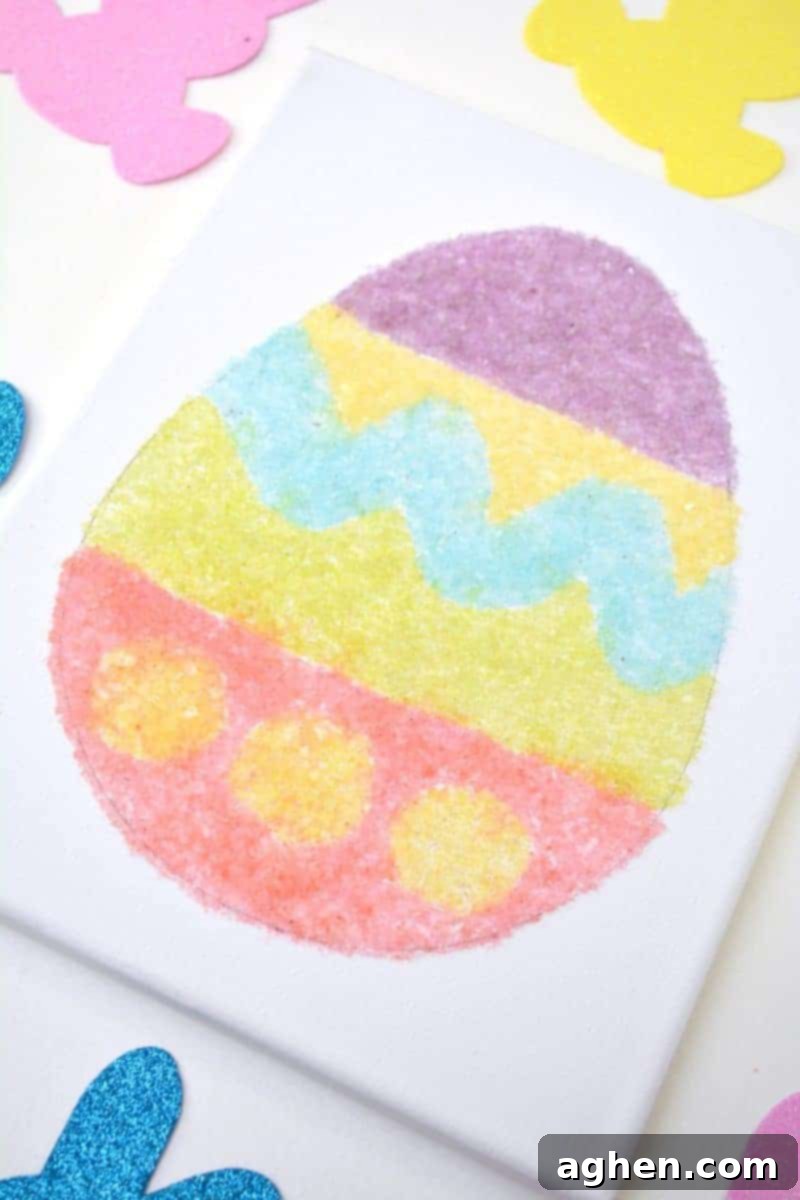
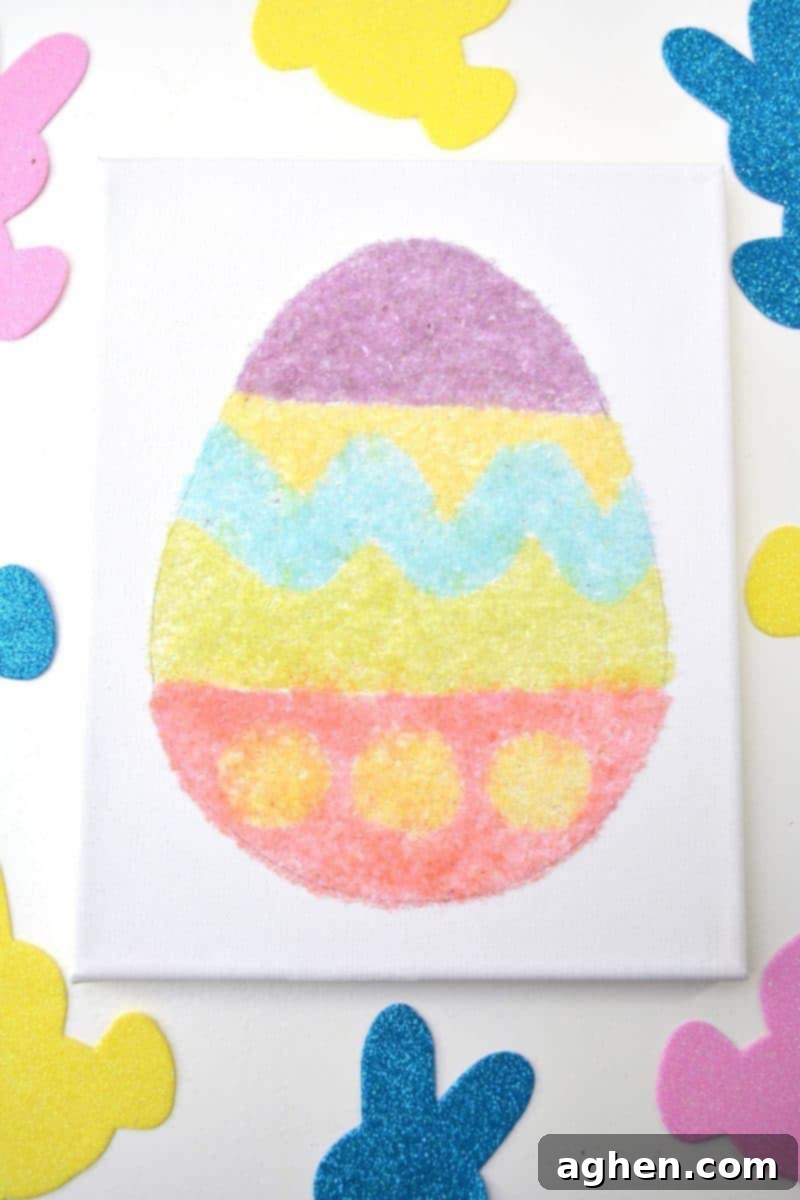
We hope you and your family thoroughly enjoyed this delightful DIY Easter decor project. It’s a wonderful way to celebrate the season with a personal touch and create lasting memories. Happy crafting, and have a truly wonderful Easter!
More Fun DIY Craft Ideas for Kids:
Looking for more creative ways to engage little hands and spark imagination? Check out these other exciting DIY projects:
- How to Make Peeps Puffy Paint
- Edible Silly Putty Made with Gummy Worms
- How to Make Skittles Paint
Salt Glitter Easter Egg Canvas
Author: Jaclyn
Make homemade salt glitter and this beautiful DIY Easter art canvas with this step-by-step tutorial.
Equipment
- bowl
- spoon
- pencil
Supplies
For the Salt Glitter
- Epsom salt
- food coloring
For the Easter Canvas
- canvas
- white school glue
Instructions
- Salt Glitter
- In a small bowl, combine approximately 1 cup of Epsom salt and 2 drops of food coloring. Stir well. Add an additional drop of coloring if needed to achieve the desired color intensity.
- Spread colored salt onto a foil-lined baking sheet and allow to dry completely. This may take several hours.
- Repeat steps 1-2 to make each color of glitter salt desired for your project.
- Canvas Art
- Using a pencil, lightly outline the shape of an egg on your canvas.
- Cover the area where you would like your first color of glitter salt to go with a thin, even layer of white school glue.
- Pour salt glitter on top of the glue. Gently press the salt down into the glue with your fingers. Tap the canvas to gently knock off any excess salt. Allow the glue to dry completely before moving to the next color to avoid colors mixing. This step is crucial for clean lines.
- Repeat steps 2-3 (from the Canvas Art section) until the entire egg is filled in with your chosen glitter colors.
- Allow the entire canvas and glue to dry fully before displaying your beautiful Easter project.
Notes
- If you wish to make a design other than a straight line on your canvas (e.g., a squiggly line), work on the area with the design first and then go back and work on the surrounding areas once the design dries. This makes it easier to outline the design with the glue without any salt getting in the way.
Did You Make This Craft?
We’d love to see your glittering creations! Share your finished Easter egg canvas with us on Instagram @crayonsandcravings and follow us on Pinterest @crayonsandcravings for even more inspiring craft ideas!
Pin Craft
Leave A Review
Pin for Later: Save This Sparkling Craft Idea!
Don’t let this brilliant craft idea get lost in your bookmarks! Pin it to your favorite craft or Easter board on Pinterest so you can easily find it whenever inspiration strikes. This beautiful image is perfect for saving and sharing the joy of DIY salt glitter.
