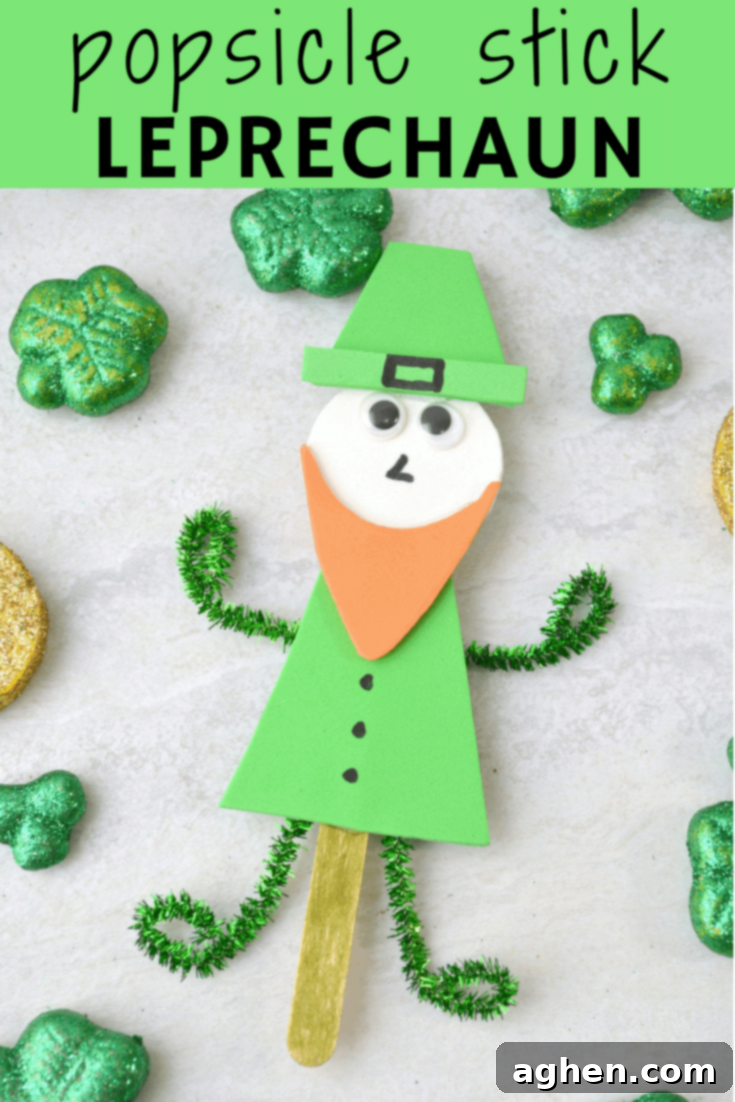
Easy Popsicle Stick Leprechaun Craft: A St. Patrick’s Day Treat for Kids and Classrooms
As St. Patrick’s Day approaches, the air fills with anticipation for all things green, gold, and delightfully whimsical! If you’re searching for a charming, easy, and affordable craft activity that will captivate children, look no further than this fantastic Popsicle Stick Leprechaun Craft. Whether you’re a parent seeking a fun project for your kids at home or a teacher looking for a quick and engaging classroom activity, these adorable leprechaun puppets on a stick are an excellent choice. Not only is the creation process simple enough for most age groups, but the necessary supplies are also incredibly budget-friendly, ensuring a creative experience that won’t break the bank.
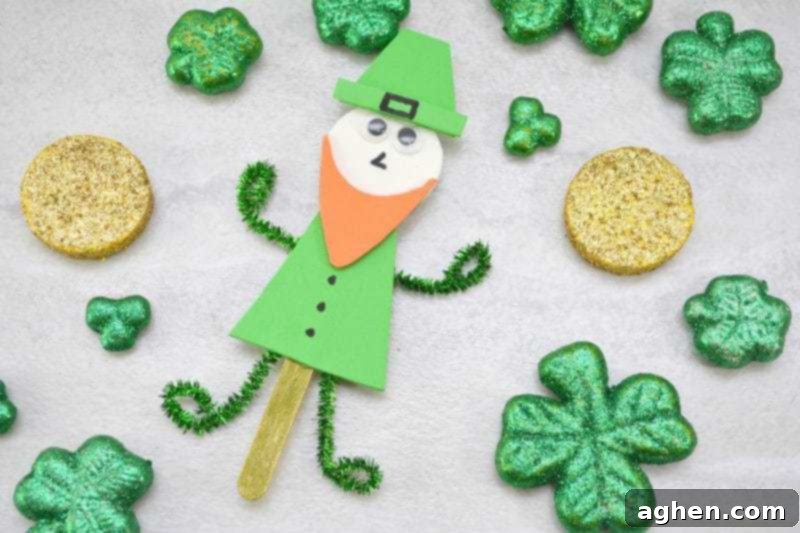
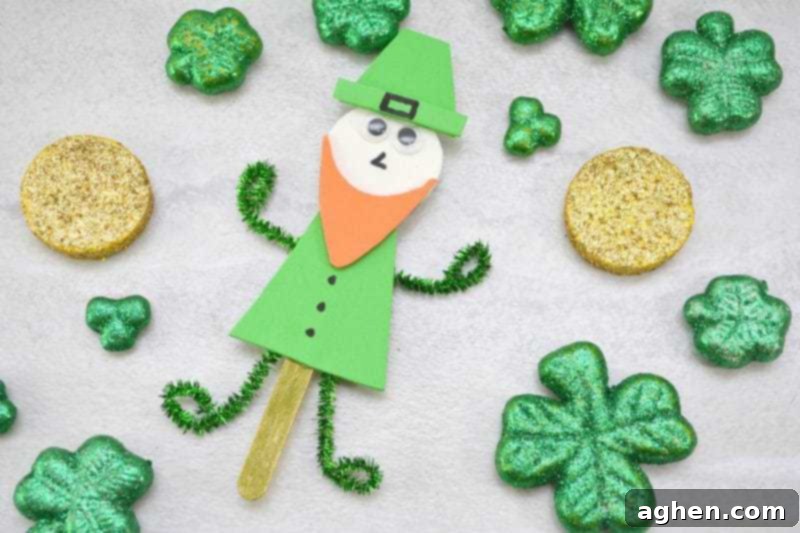
Why This Leprechaun Craft is a St. Patrick’s Day Must-Do
Crafting is more than just a fun pastime; it’s a valuable educational activity that fosters creativity, develops fine motor skills, and provides a wonderful opportunity for imaginative play. This specific leprechaun craft ticks all these boxes and more! It’s designed to be accessible, using common craft supplies that are readily available. Many of the items needed can often be found at local discount stores, like the Dollar Tree, making it possible to produce a whole parade of these little green guys for minimal cost. This affordability makes the popsicle stick leprechaun an ideal St. Patrick’s Day craft idea for large groups, school classrooms, or community events.
This easy leprechaun craft is also a fantastic activity for a rainy afternoon in the weeks leading up to St. Patrick’s Day. While younger children will benefit greatly from an adult’s help with drawing and carefully cutting out the foam pieces, older children will delight in the independence of cutting the various shapes themselves and then assembling their leprechaun. Encourage your kids to inject their own personality into their creations! If they want to cut the shapes a bit differently, or add extra embellishments, let them. The true joy of crafting lies in the fun and the inspiration of individual creativity, leading to unique and cherished pieces.
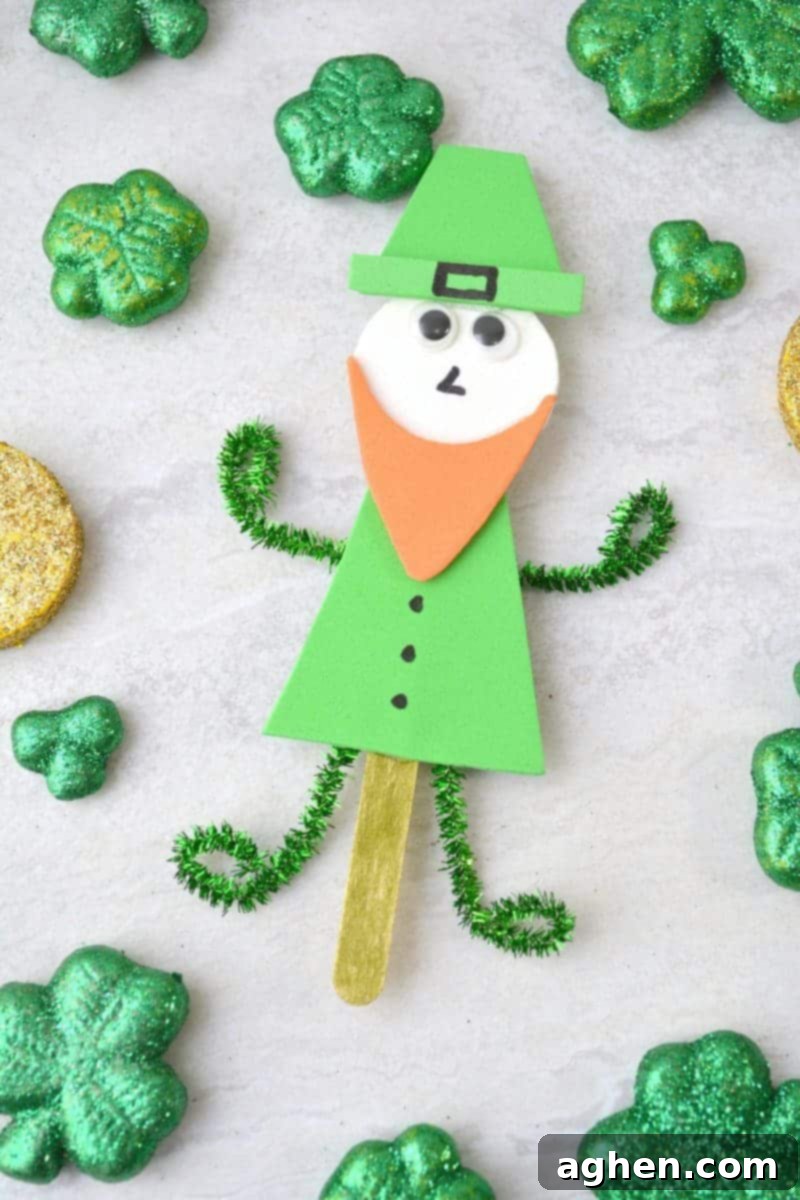
Beyond the Puppet: Creative Uses for Your Leprechaun Crafts
Once your charming leprechauns are complete, their potential extends far beyond simple puppets. Imagine the possibilities for St. Patrick’s Day decorations! You could easily glue several of these festive popsicle stick leprechauns onto a piece of twine or ribbon to create a whimsical garland. This would make a super cute addition to your living room, classroom, or even a child’s bedroom door, instantly adding a touch of Irish cheer. Crafting a garland can also keep kids engaged for hours, transforming individual projects into a collaborative display.
Consider using your leprechauns as unique bookmarks, bringing a little bit of magic to reading time. They also make fantastic party favors for a St. Patrick’s Day celebration, or you could attach them to greeting cards for a personalized touch. Teachers might use them as props for storytelling about leprechauns and Irish folklore, or even as visual aids during lessons. The versatility of this simple craft means that whether you’re making one or a whole host of popsicle stick leprechauns, the process will be fun, easy, and incredibly rewarding, creating lasting memories and festive decor.
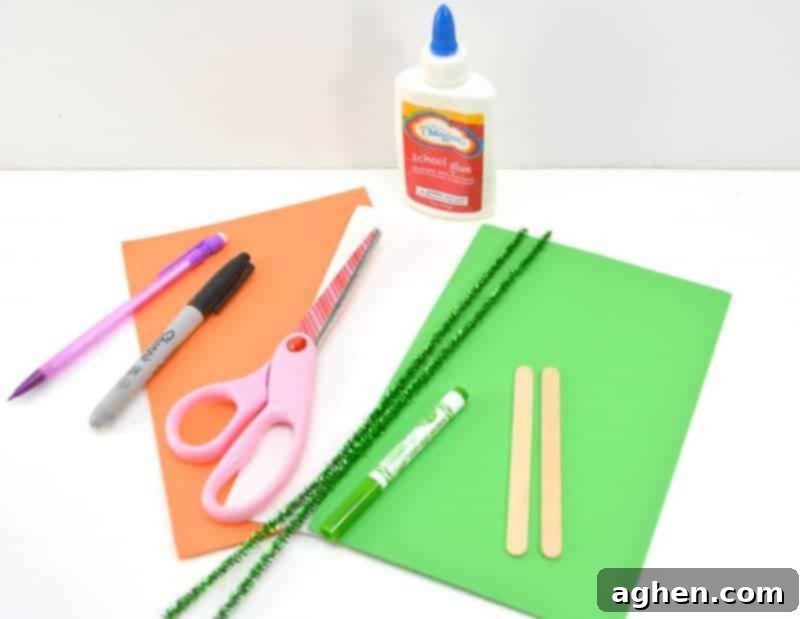
Leprechaun Craft Materials: What You’ll Need
Gathering your supplies is the first exciting step in any craft project. For this charming leprechaun, you’ll need just a few basic items, most of which are likely already in your craft stash or easily found at any craft or dollar store. Here’s a detailed list to ensure you have everything ready for your St. Patrick’s Day crafting session:
- Popsicle stick: The sturdy base for your leprechaun puppet.
- Orange, green, and white craft foam: These vibrant colors are perfect for creating the leprechaun’s beard, hat, shirt, and face. Foam is easy to cut and handle, making it ideal for kids.
- Sharpie: Essential for adding details like the nose, mouth, hat buckle, and buttons, bringing your leprechaun’s character to life.
- Googly eyes: These are a must-have for any fun character craft, adding instant personality and charm to your leprechaun.
- Glue: Standard school glue or craft glue will work perfectly for attaching the foam pieces and googly eyes.
- Green marker: Used to color your popsicle stick, setting the festive tone for your leprechaun’s body.
- Green pipe cleaner: These bendable wonders will form the leprechaun’s arms and legs, adding a playful, three-dimensional element.
- Scissors: For cutting the craft foam shapes. Adult supervision is recommended for younger children.
- Pencil: For tracing shapes onto the craft foam before cutting, ensuring accuracy.
Shop Supplies Easily for Your St. Patrick’s Day Leprechaun Craft:
6 x 9 in. Foam Sheets, 40 packCraft Sticks Wooden Popsicle Sticks, 200Elmer’s School Glue, 2 BottlesPipe Cleaners, 100 countGoogly Eyes, assorted sizesCrayola 10ct Markers
Step-by-Step Leprechaun Craft Instructions: Craft Your Own Lucky Friend!
Creating your popsicle stick leprechaun is a delightful and straightforward process. Follow these simple instructions to bring your magical St. Patrick’s Day character to life. Remember, the goal is to have fun and let creativity flow!
1. Craft the Leprechaun’s Head
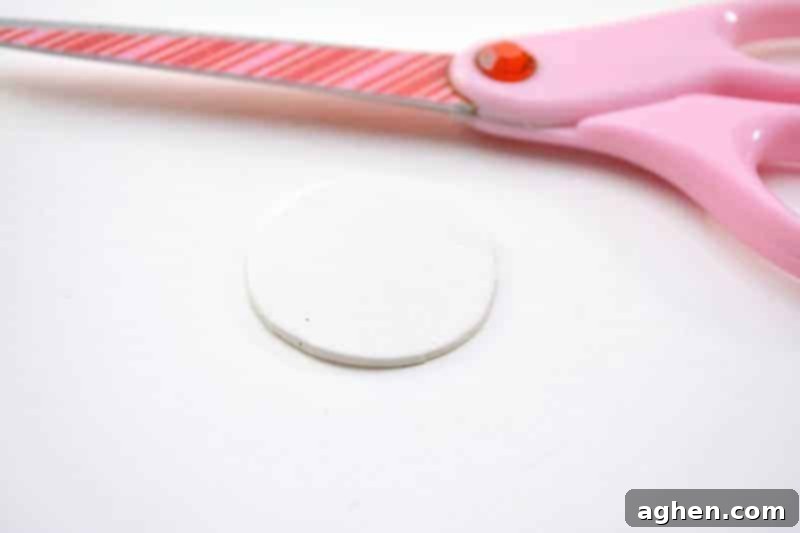
Start by taking your white craft foam. Using a pencil, draw a circle that will serve as the head of your leprechaun. If you’re not comfortable drawing a circle freehand, simply trace around a small, round object like a bottle cap, a quarter, or a small cookie cutter. Carefully cut out this white foam circle using scissors. This piece forms the base for your leprechaun’s face, so aim for a neat cut.
2. Design the Signature Orange Beard
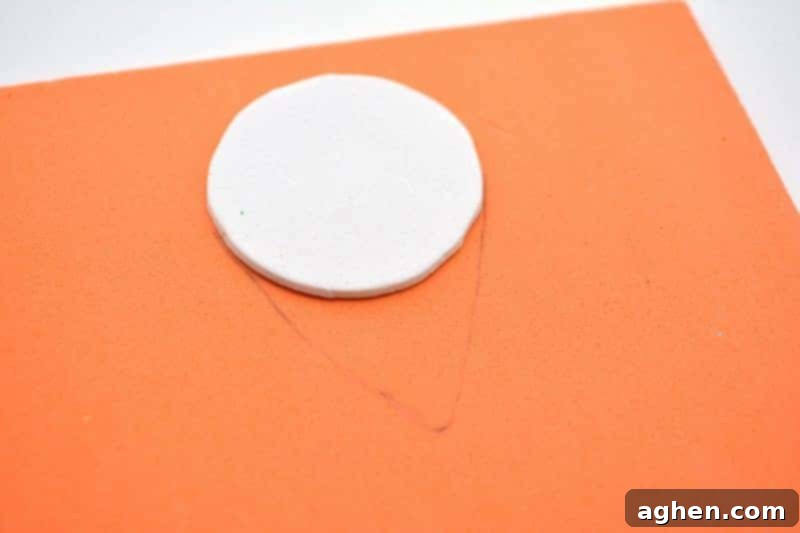
Next, grab your orange craft foam. You’ll need to cut out an orange beard shape that will fit over the lower portion of your white craft foam circle. A great way to do this is to cut an upside-down triangle with a rounded tip. Then, use the white circle you just cut for the head as a guide. Place it on top of your orange beard shape and carefully hollow out a small curved area at the top of the beard. This will ensure the beard fits snugly around the bottom of the leprechaun’s face, creating a classic leprechaun look.
3. Shape the Leprechaun’s Green Shirt
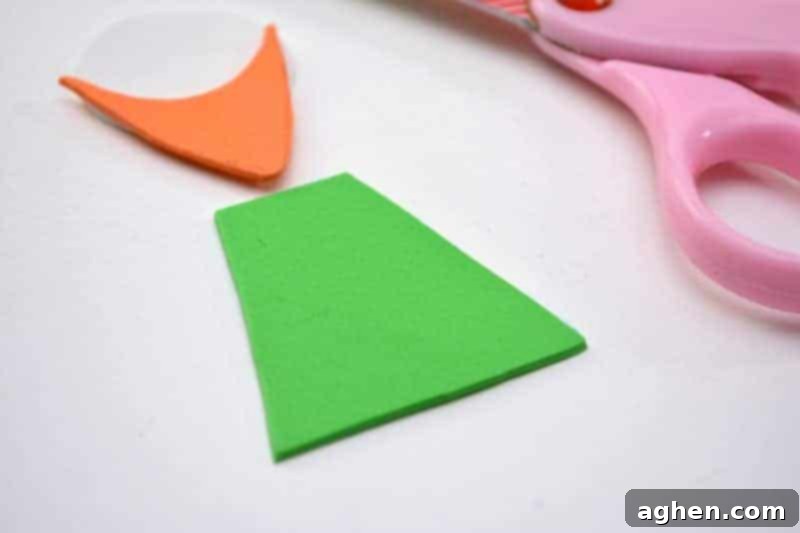
Now it’s time to create the leprechaun’s vibrant green shirt. Take your green craft foam and use your scissors to cut out a trapezoid shape. If you need a visual reference, consult the provided photos, but this is a very simple geometric shape to master. Use the white head shape you previously cut out as a guide to determine the appropriate size for the shirt, ensuring it’s proportionate to the head for a balanced leprechaun figure.
4. Color the Popsicle Stick Base
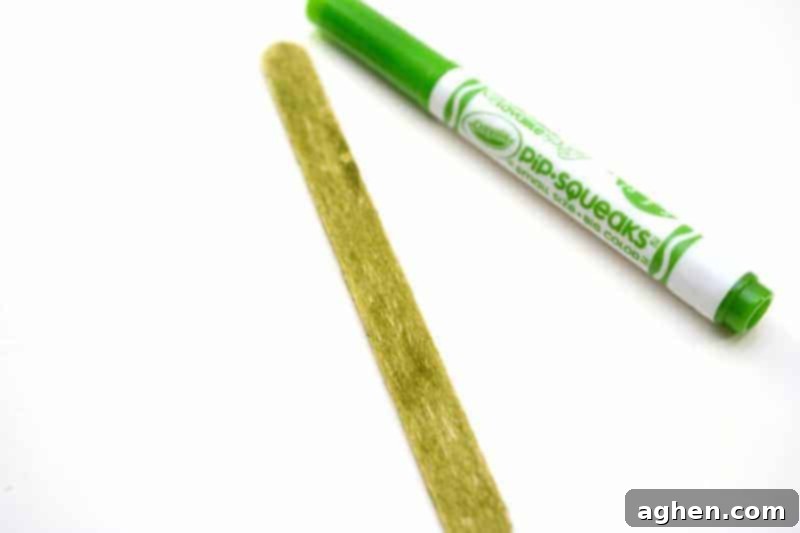
Take your plain wooden popsicle stick and your green marker. Thoroughly color the entire popsicle stick green. This will form the leprechaun’s body and the “stick” part of your puppet. Make sure to color evenly, or let younger kids have fun with a more whimsical, textured green! This step is a quick and easy way to add a festive touch to the base.
5. Attach the Head to the Stick
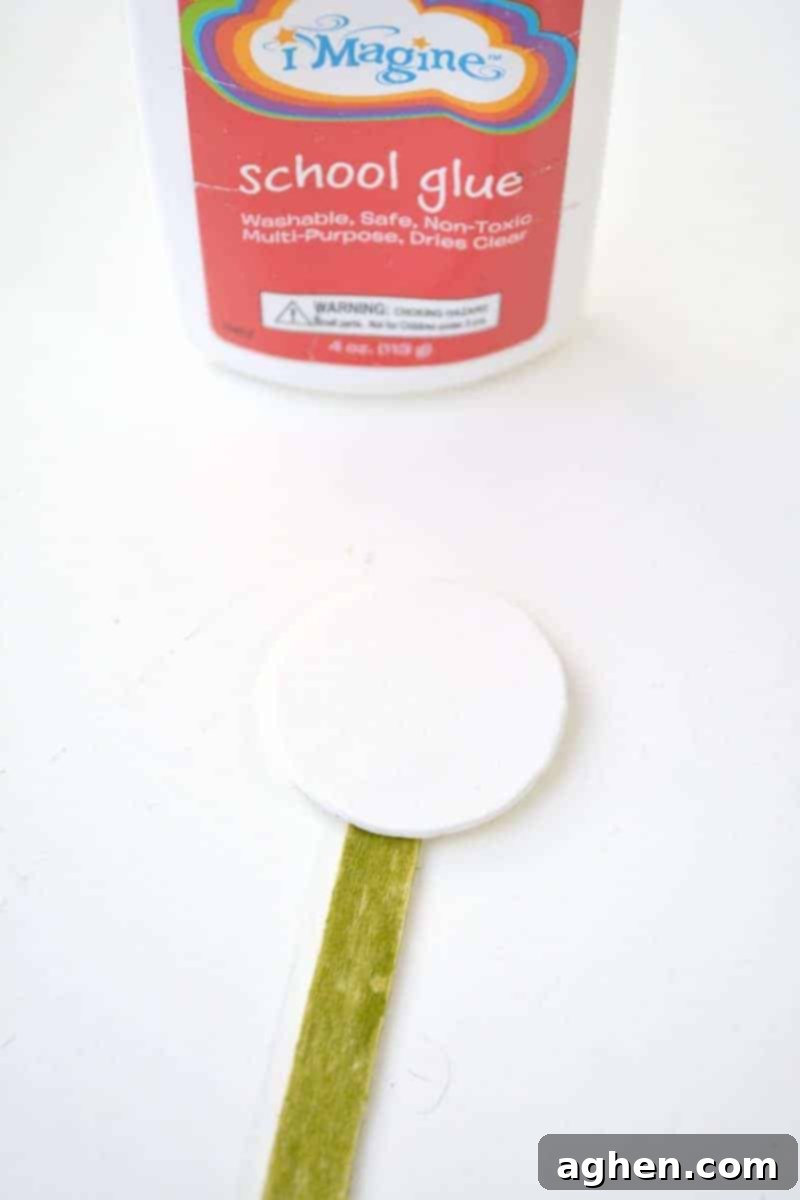
Apply a dab of glue to the top portion of your green popsicle stick. Carefully position and glue the white round head shape onto the very top of the popsicle stick. Press gently to ensure it adheres well. This establishes the leprechaun’s head in place, ready for further features.
6. Glue On the Green Shirt
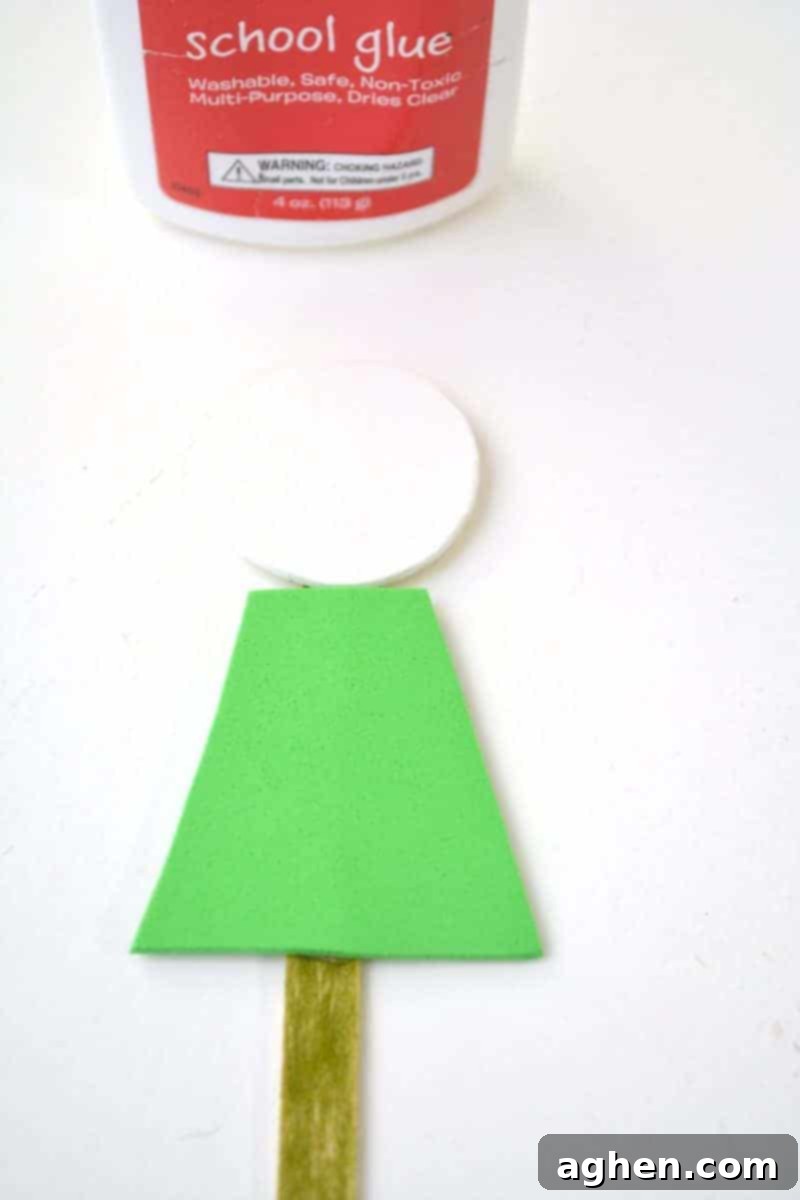
Now, apply glue to the back of your green trapezoid shirt shape. Carefully attach this shirt piece to the front of the popsicle stick, positioning it just below the white head. Make sure it’s centered and straight. This forms the main body of your leprechaun, giving it its iconic green attire.
7. Add the Fiery Orange Beard
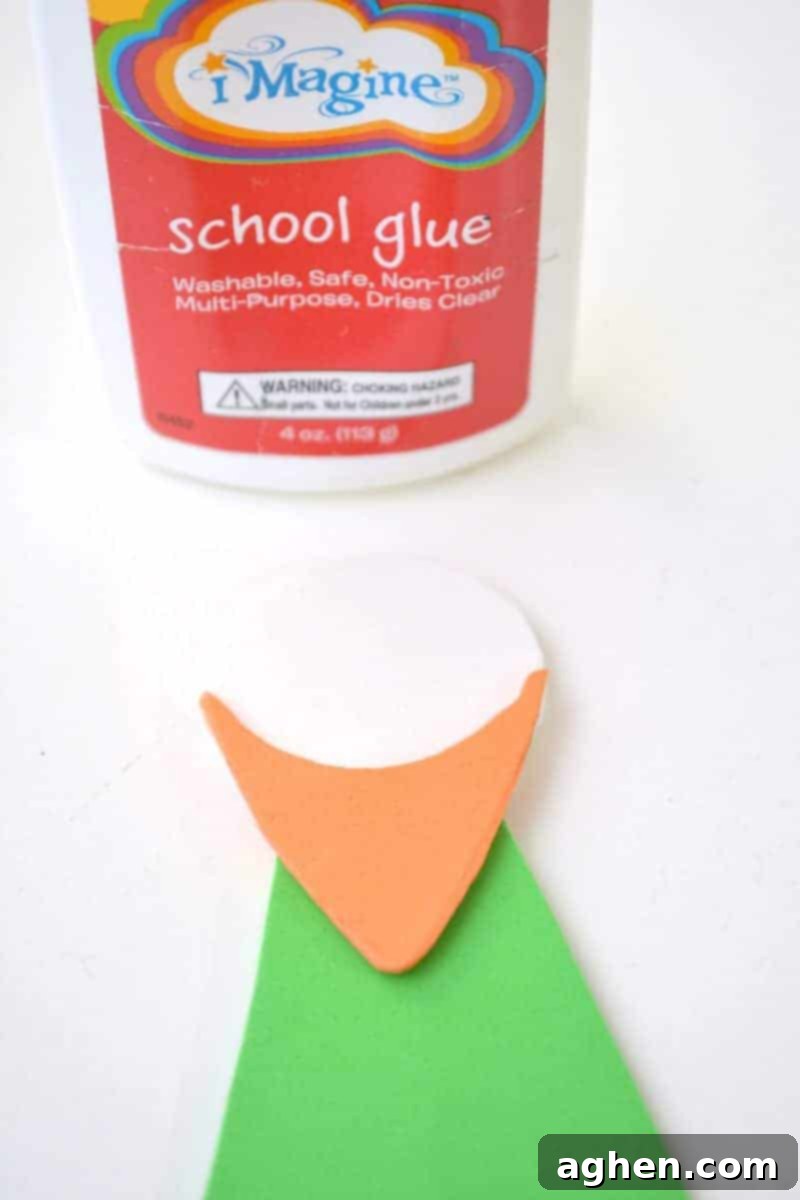
With the head and shirt in place, it’s time for the leprechaun’s most recognizable feature! Apply glue to the back of your orange beard shape. Carefully position and attach it onto the white head shape, ensuring it neatly frames the face. The curved cutout you made earlier should fit perfectly around the top of the head.
8. Give Your Leprechaun a Face
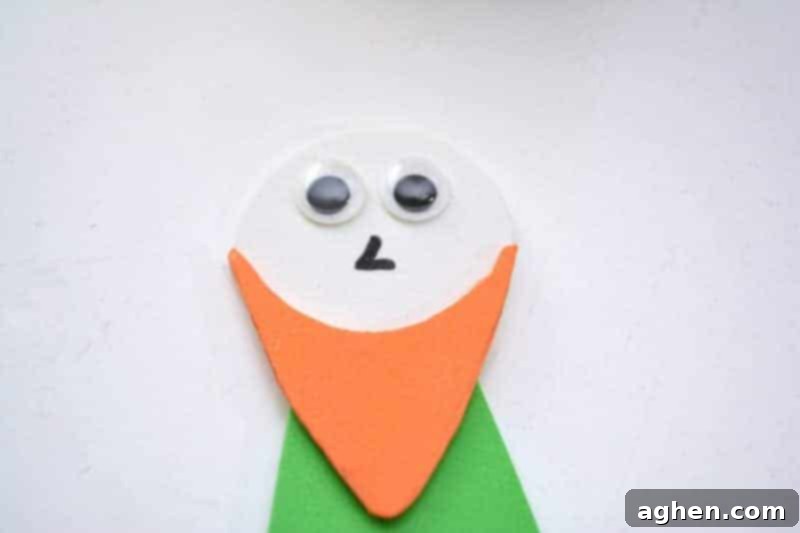
Now for the details that bring your leprechaun to life! Using your Sharpie, draw a small, cheerful nose shape onto the front of your leprechaun’s face, just above the beard. Then, gently peel the backing off your googly eyes (if they are self-adhesive) or apply a tiny dot of glue to the back of each. Position and stick two googly eyes above the nose. These will give your leprechaun a wonderfully expressive and playful gaze.
9. Prepare the Pipe Cleaner Limbs
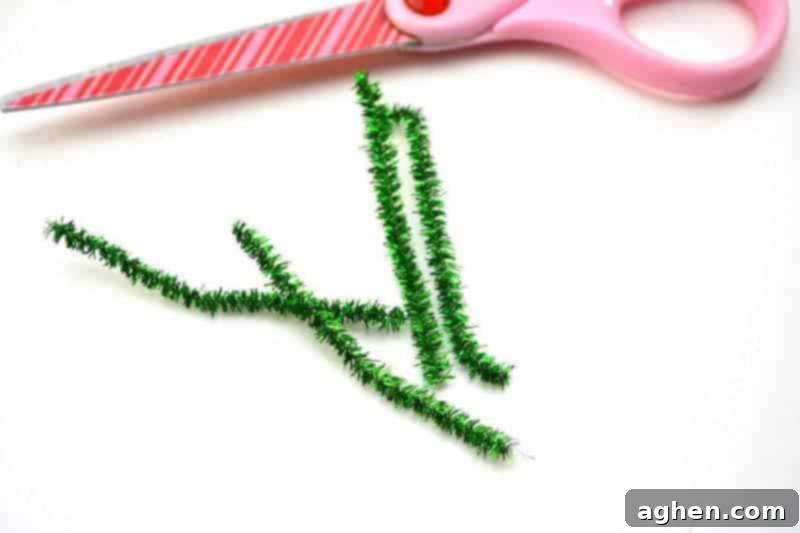
Take one green pipe cleaner and cut it into four equal pieces. Once you have your four segments, take each piece and gently curl the very ends up a little. This will create small, whimsical circles or spirals at the tip of each pipe cleaner piece, which will serve as the leprechaun’s hands and feet. This adds a charming, bendable quality to your puppet’s limbs.
10. Attach Arms and Legs
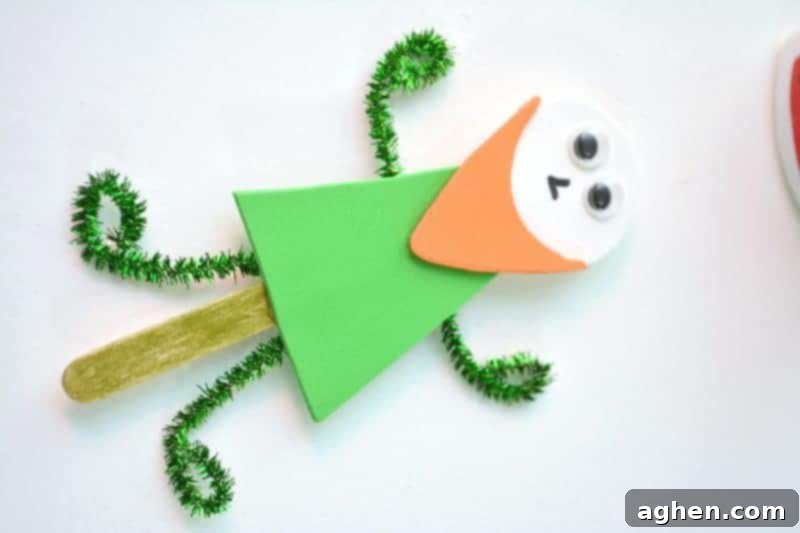
Carefully turn your leprechaun over to work on the back of the popsicle stick. Apply small dots of glue where you want the limbs to attach. Glue two of the prepared pipe cleaner pieces to the sides of the green shirt shape, positioning them as arms. Then, glue the remaining two pipe cleaner pieces to the bottom of the shirt shape, forming the legs. Ensure they are securely fastened so your leprechaun can wave and dance!
11. Craft the Leprechaun’s Iconic Hat
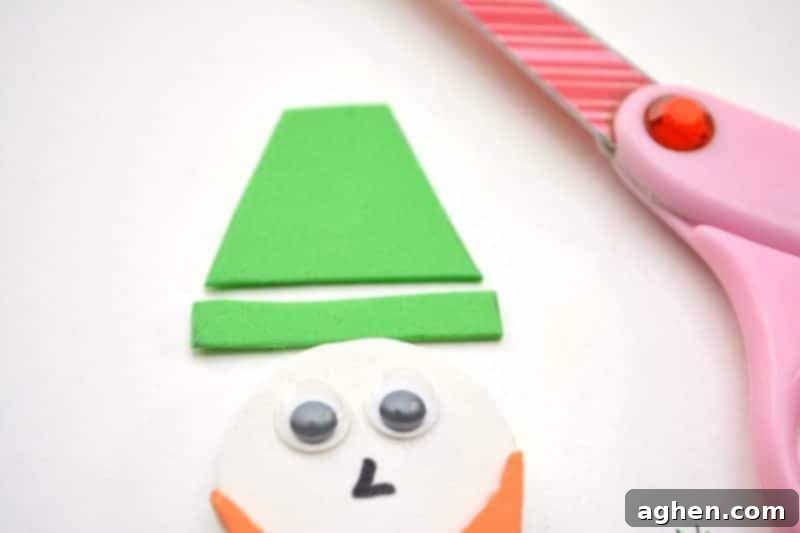
No leprechaun is complete without a signature green hat! From your green craft foam, cut out a small trapezoid shape to form the main body of the hat. Then, cut a small, thin rectangle shape for the hat’s brim. Refer to the provided photo for guidance on these shapes and use your leprechaun’s head size as a guide to ensure the hat fits perfectly. Proportion is key for a well-dressed leprechaun!
12. Assemble the Hat and Final Details
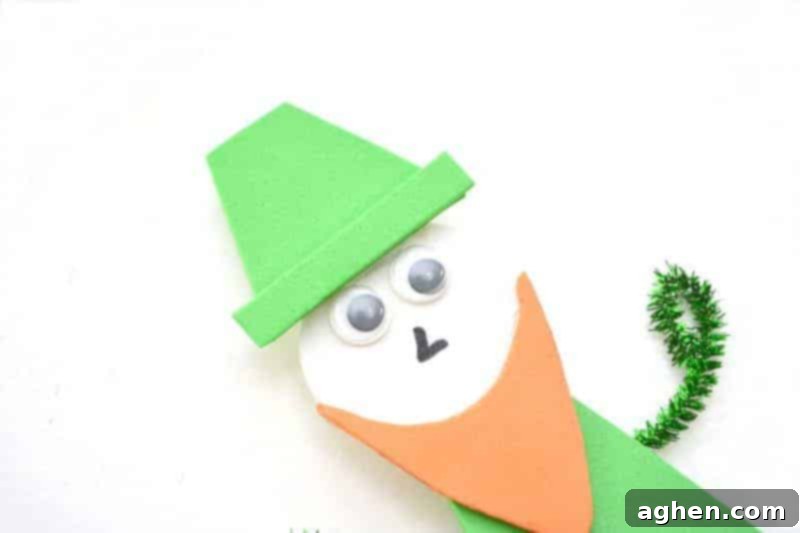
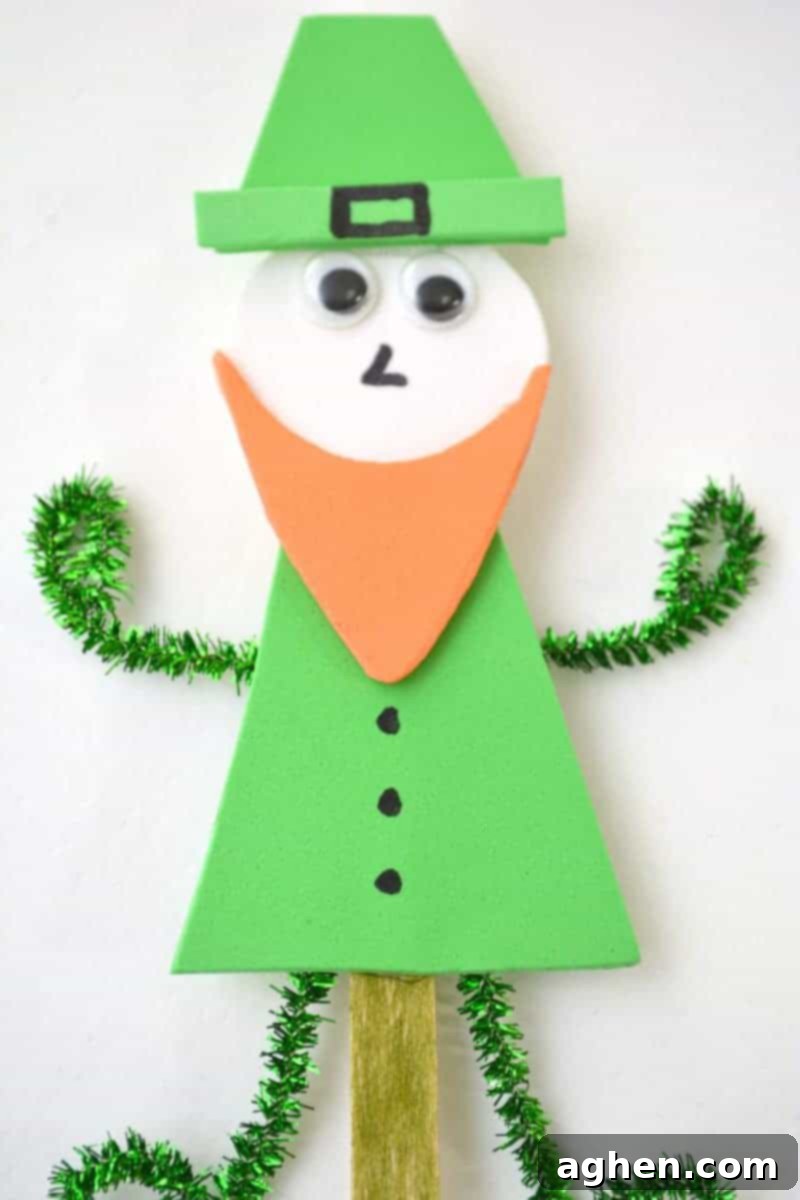
First, apply glue to the bottom edge of your trapezoid hat shape and attach it firmly to the very top of the leprechaun’s white head. Then, take the thin rectangular brim piece, apply glue to it, and attach it to the base of the hat, creating a classic leprechaun hat. Finally, with your Sharpie marker, draw a small, distinctive buckle on the front of the hat and three neat black buttons down the front of the leprechaun’s green shirt. These small details add character and complete the look of your festive friend.
Your Leprechaun is Ready for Adventure!
Once all the glue has thoroughly dried, your adorable leprechaun on a stick is complete and ready to become a puppet! Encourage your children to put on a St. Patrick’s Day show, tell stories, or simply enjoy their new little green friend. This craft not only celebrates the spirit of St. Patrick’s Day but also provides a wonderful opportunity for creativity, learning, and family bonding. Have a fantastic time crafting and a very happy St. Patrick’s Day filled with luck and laughter!
More Fun St. Patrick’s Day Craft Ideas to Explore:
- Hanging Cotton Ball Rainbow: Create a vibrant rainbow, a perfect companion to your leprechaun, leading to a pot of gold!
- Collection of Leprechaun Crafts for Kids: Discover even more imaginative ways to celebrate St. Patrick’s Day with various leprechaun-themed projects.
Pin This Lucky Craft for Later:
