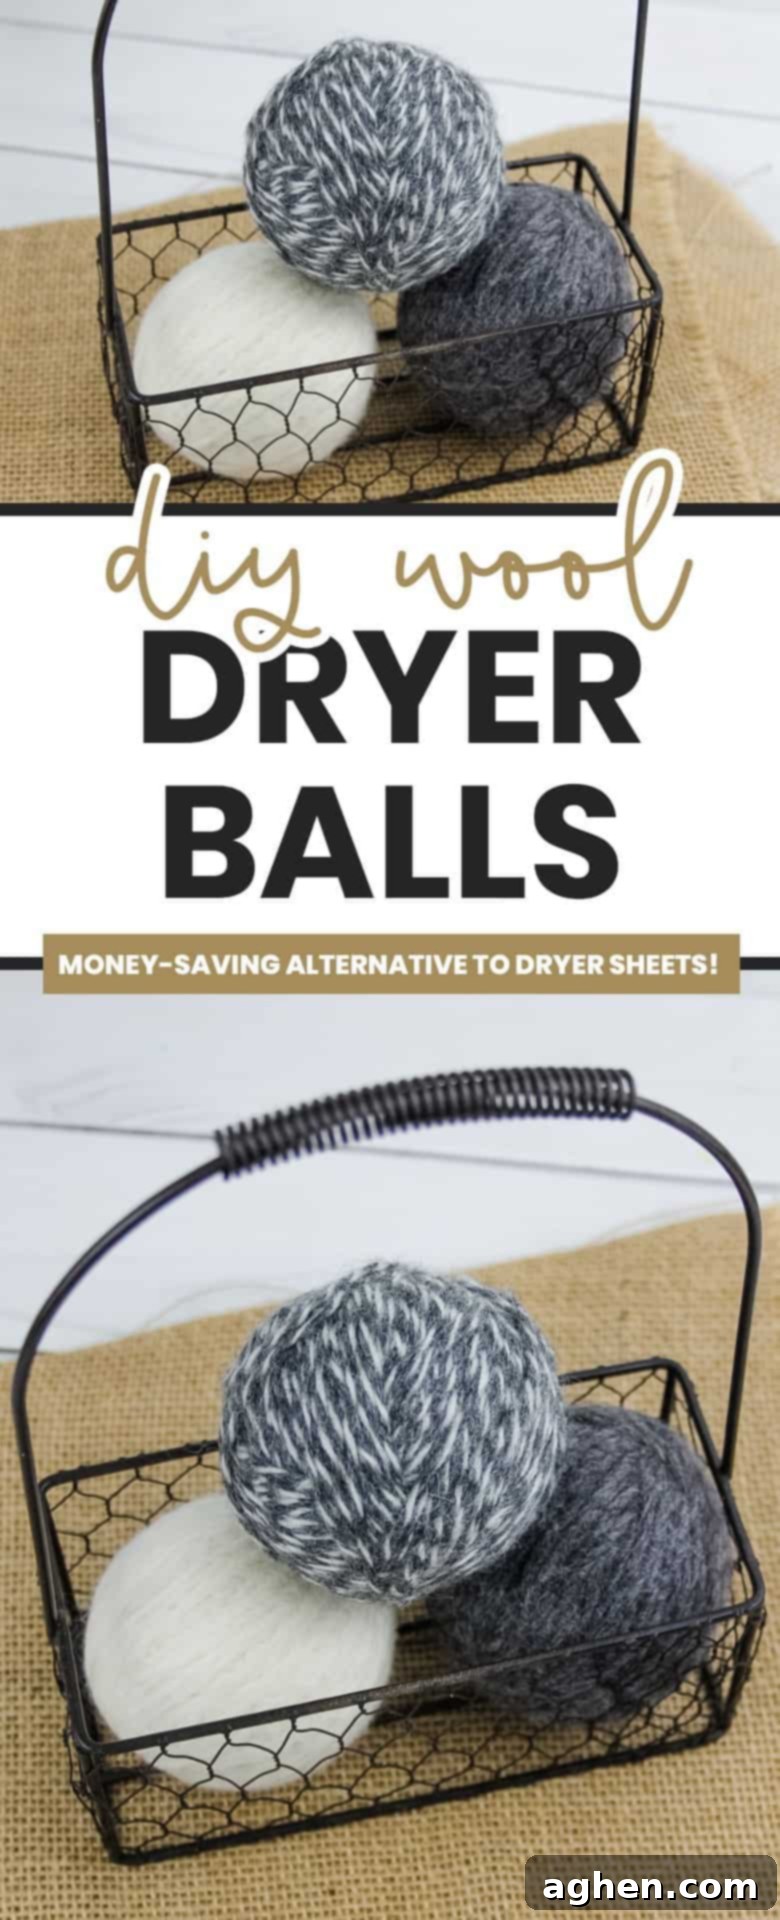
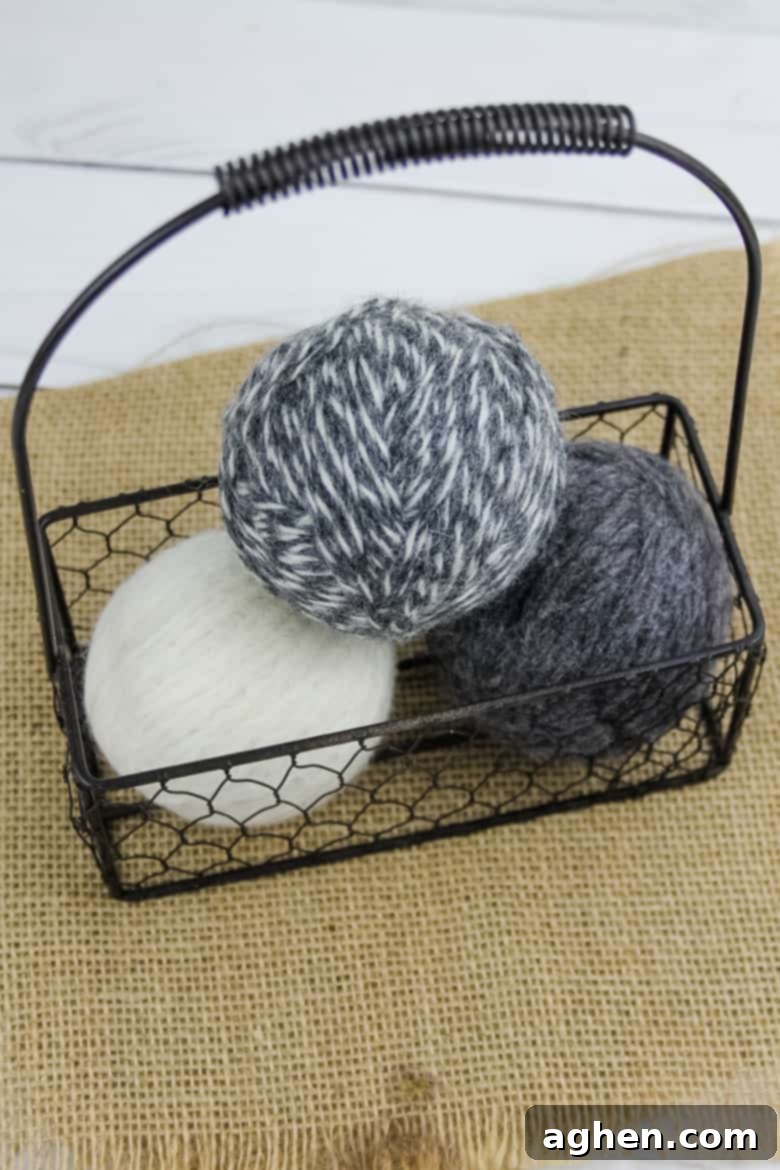
DIY Wool Dryer Balls: Your Ultimate Guide to Natural, Eco-Friendly Laundry
These DIY wool dryer balls are more than just a craft project; they’re a transformative natural alternative to traditional dryer sheets and chemical-laden fabric softeners. Incredibly easy to make and remarkably simple to use, you’ll soon wonder why you didn’t switch to this eco-friendly laundry solution sooner!
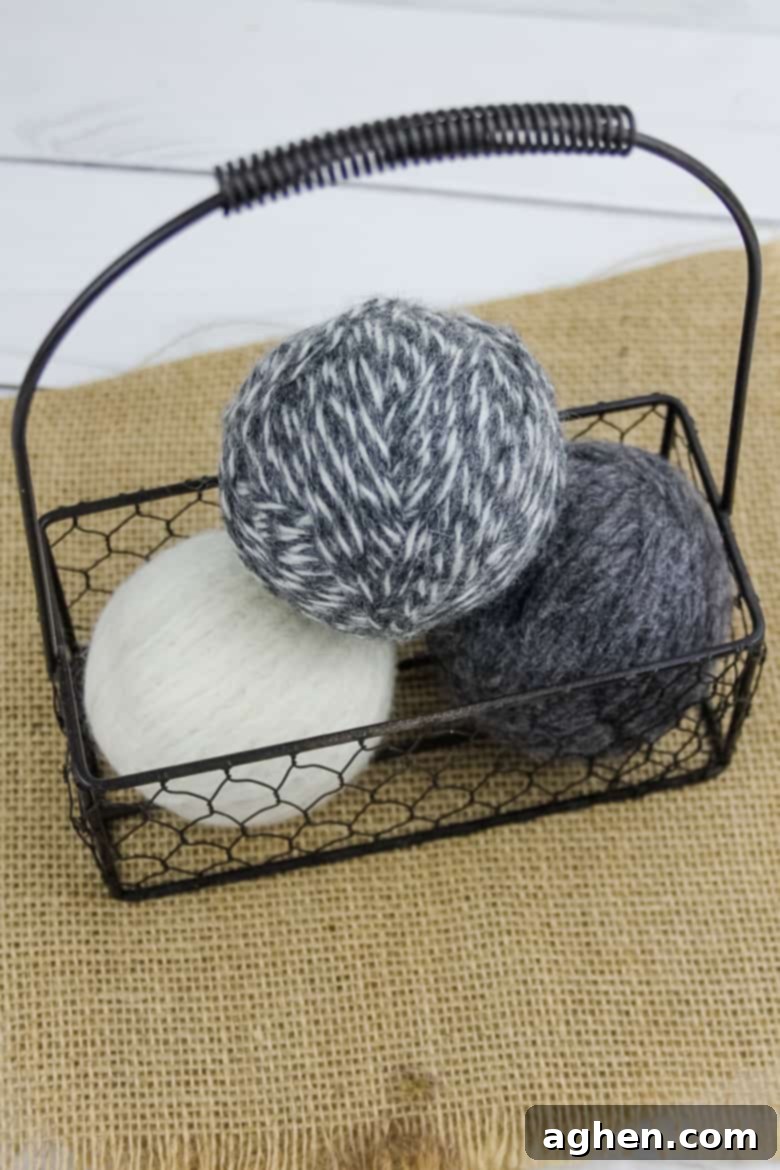
If you’ve followed my other posts, you might notice a recurring theme: my passion for DIY projects and establishing efficient routines, especially around the home. Laundry, often a chore, can be transformed with simple, sustainable changes. That’s precisely where these homemade wool dryer balls come into play. They embody both a rewarding DIY experience and an amazing, long-lasting alternative to conventional fabric softeners and dryer sheets. The amount of money you’ll save over the lifetime of these reusable balls is truly astounding!
Once you integrate these into your laundry routine, you’ll experience firsthand the benefits they offer, making it hard to imagine doing laundry without them.
Why Make Your Own Dryer Balls?
Beyond the significant cost savings, making your own DIY dryer balls is incredibly satisfying. Many people shy away from DIY projects, especially when they involve steps like “felting.” However, I promise you, learning how to make wool dryer balls is far simpler than it sounds. The basic process involves rolling yarn into balls, felting them in your washer and dryer, and then you’re ready to go! Of course, there are a few more details, but the core concept is wonderfully straightforward.
If, despite the simplicity, you’re not in the mood for a DIY session, you can always opt for convenience and order a set of 100% Wool Dryer Balls on Amazon. However, the personal touch and satisfaction of using something you’ve created are truly unmatched.
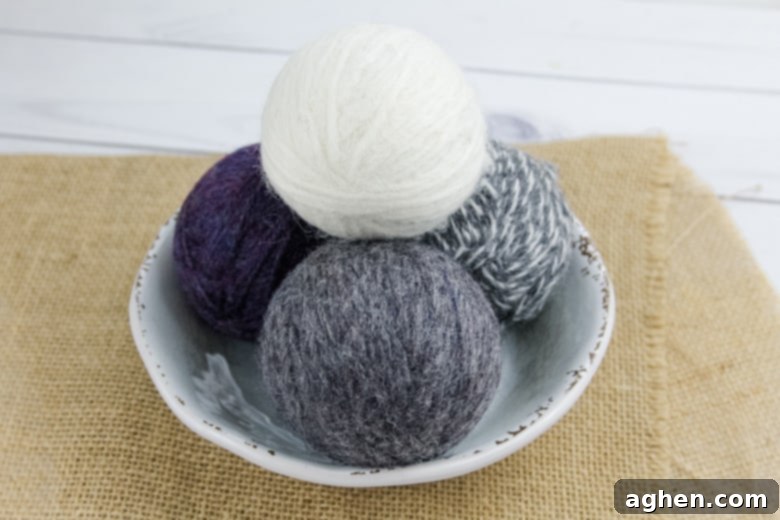
What Exactly Are Dryer Balls?
For those new to the concept, dryer balls are essentially dense balls made from pure wool. They are designed to be tossed into your clothes dryer with your wet laundry. Their primary function is to serve as an effective, natural alternative to conventional dryer sheets and liquid fabric softeners. They work their magic by reducing static cling, softening fabrics, and when a few drops of your favorite essential oils are added, they can even leave your laundry smelling wonderfully fresh!
Key Benefits of Using Wool Dryer Balls:
- Significant Drying Time Reduction: By separating clothes and allowing hot air to circulate more efficiently, wool dryer balls can dramatically cut down on your drying time. This not only saves you money on electricity or gas but also reduces wear and tear on your garments.
- Completely Chemical-Free: Unlike many commercial laundry products that contain harsh chemicals, fragrances, and synthetic softeners, wool dryer balls are made from 100% natural wool. This makes them a perfect choice for those with sensitive skin, allergies, or anyone striving for a healthier home environment.
- Highly Cost-Effective and Reusable: The initial investment in wool yarn is minimal, especially when you consider that these dryer balls can last for hundreds, if not thousands, of loads – typically for many years! This translates to substantial savings compared to continuously buying disposable dryer sheets.
- Maintains Fabric Absorbency: Commercial fabric softeners often leave a residue on towels and other absorbent fabrics, reducing their effectiveness over time. Wool dryer balls soften without coating your fabrics, ensuring your towels remain super absorbent.
- Increased Fluffiness and Decreased Static: As they tumble with your laundry, these wool balls naturally fluff up clothes, sheets, and towels, making them softer to the touch. They also effectively combat static cling, a common nuisance with traditional drying.
- A Superior Natural Alternative: Simply put, they are a fantastic, environmentally friendly substitute for all the synthetic products traditionally used in the dryer!
>> While you’re at it, be sure to check out our DIY fabric softener recipe for another great natural laundry alternative!
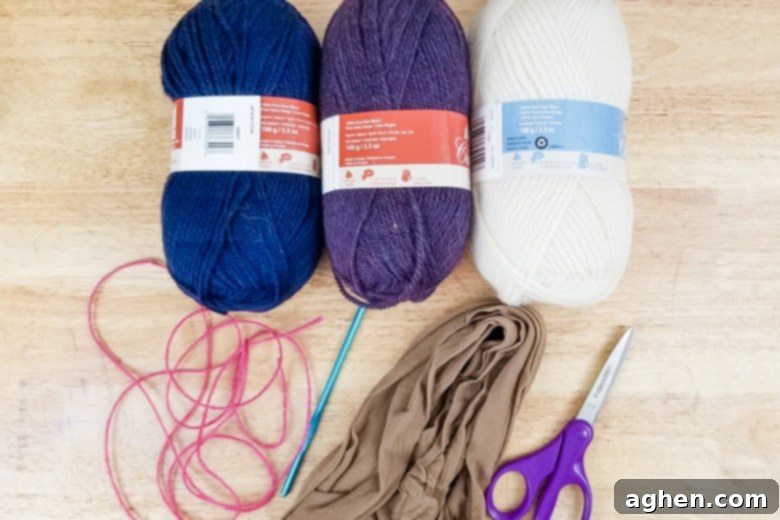
Gather Your DIY Dryer Ball Supplies
Before you begin, ensure you have all the necessary items. The beauty of this project lies in its minimal supply list:
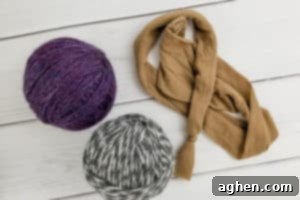
- 100% Wool Yarn: This is the most crucial ingredient. Opt for pure wool, as it’s the only type that will properly felt. Avoid “superwash” or machine-washable wool, as these have been treated to prevent felting. Thick, lightly spun, roving wool also works wonderfully.
- Crochet Hook: A simple tool that will help you tuck in the yarn ends securely, ensuring your dryer balls remain intact through countless cycles.
- Scissors: For cutting the yarn and pantyhose.
- Pantyhose (or old tights): This is essential for the felting process. The pantyhose will keep the wool balls contained and agitated during washing and drying, allowing them to felt properly without unraveling. One pair is usually enough for several balls.
Step-by-Step: How to Make Wool Dryer Balls
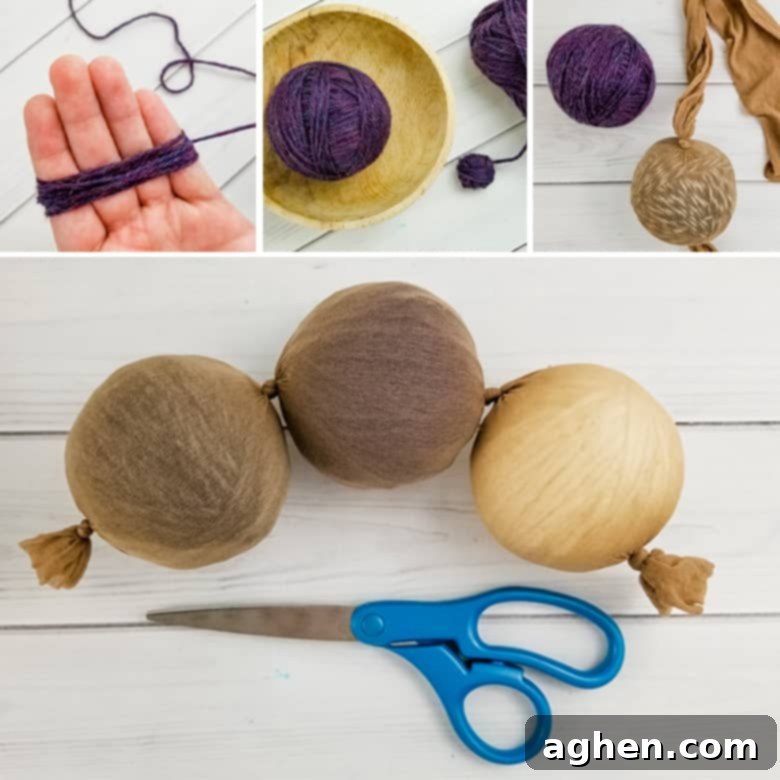
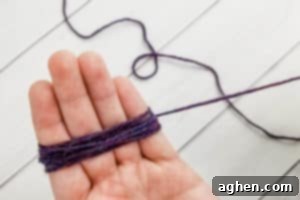
- START YOUR BALL: Begin by finding the end of your wool yarn. Wrap it snugly around your four fingers (held together) horizontally about 10-15 times. Carefully slip the wrapped yarn from your fingers, pinching it closed in the middle to form a small loop. Now, wrap the yarn tightly around the center of this pinched loop approximately 10 more times. This forms the secure base and initial shape of your dryer ball.
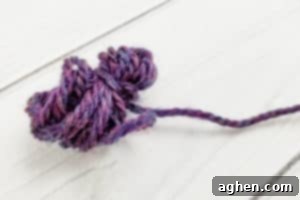
- CONTINUE WRAPPING: With the base established, continue wrapping the yarn around the developing ball. Make sure to alternate directions frequently – this helps create a firm, dense, and spherical shape. Keep wrapping until your ball is roughly the size of a baseball. The denser and larger you make it at this stage, the better and longer-lasting your dryer ball will be. Aim for a really solid feel.
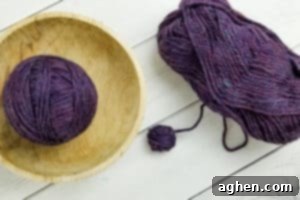
- CUT AND SECURE YOUR YARN: Once you are satisfied with the size and density of your wool dryer ball, cut the yarn, leaving a tail of about 3-4 inches. Using your crochet hook, carefully push this yarn end deeply into the center of the ball. This ensures the yarn is securely tucked away and won’t unravel during the felting process or use.
- REPEAT THE PROCESS: You’ll want a collection of dryer balls for optimal effectiveness. Repeat steps 1-3 to create 3-4 additional wool dryer balls, or as many as you anticipate needing for your typical laundry loads. A good starter set is usually 4-6 balls.
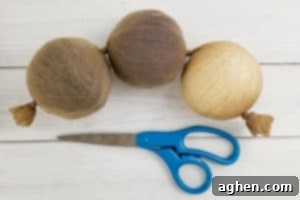
- PREPARE FOR FELTING (WASHING): Take one leg of your pantyhose and cut it off from the waistband. Tie a tight knot at the very end (the foot portion). Carefully push one of your freshly wrapped yarn balls into the pantyhose, all the way down to the knot. Then, tie another tight knot directly above that ball to secure it in place. Repeat this process for your remaining wool dryer balls, placing each one into the pantyhose leg and securing it with a knot before adding the next. You should be able to fit about 4-5 DIY dryer balls into a single pantyhose leg. Finish by tying a final knot at the open end of the pantyhose.
- WASH AND DRY (FELTING PROCESS): Place your pantyhose “sausage” of wool dryer balls into the washing machine. Add a few towels or some other laundry to the load (this helps with agitation and prevents excessive noise from the balls bouncing alone). Run the washing machine on the hottest water setting with a regular cycle. Once the wash cycle is complete, transfer the pantyhose and its contents directly to the dryer and run it on high heat. This hot wash and hot dry cycle is crucial for the felting process, which causes the wool fibers to shrink and bind together, creating a dense, durable ball. If, after one cycle, your dryer balls still feel loose or appear to be unraveling, repeat the hot wash and high heat dry process. It might take 3 or 4 cycles to achieve a fully felted, solid wool ball. You’ll know they’re done when they are dense and no longer look like individual strands of yarn.
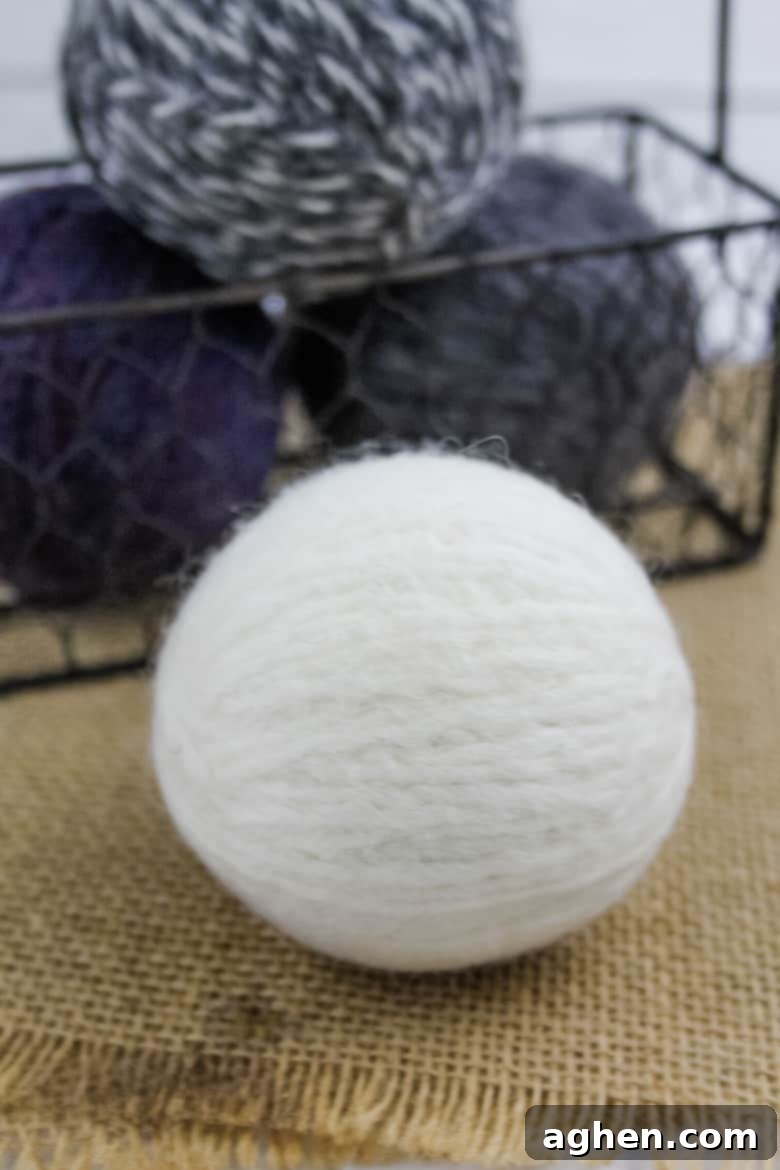
How Do Wool Dryer Balls Work Their Magic?
The science behind wool dryer balls is surprisingly simple yet incredibly effective. As these dense, felted wool balls tumble and bounce around in your dryer alongside your wet laundry, they perform several key functions:
- Separate Laundry: Their physical presence creates space between individual items of clothing, preventing them from clumping together. This allows hot air to circulate much more freely and efficiently throughout the load.
- Absorb Moisture: Wool is a natural desiccant, meaning it can absorb a significant amount of moisture. As the balls bounce, they actively wick away moisture from your clothes, which further accelerates the drying process.
- Mechanical Softening: The constant tumbling and friction between the wool balls and your fabrics gently agitate and fluff the fibers. This natural process helps to soften clothes without the need for chemical softeners.
- Reduce Static and Wrinkles: By separating clothes and distributing moisture more evenly, wool dryer balls naturally reduce friction and static electricity buildup. The fluffing action also helps to relax fabric fibers, leading to fewer wrinkles and less need for ironing.
The combined effect of these actions means your clothes dry faster, come out softer and less wrinkled, and are virtually static-free – all without any chemicals!
Are Wool Dryer Balls Safe for Your Laundry and Dryer?
This is a common and important question, and in my personal experience, the answer is a resounding **yes!** I have been using homemade wool dryer balls daily in my dryer for over five years now without encountering any issues whatsoever. They have consistently performed well without damaging my clothes or my appliance.
Furthermore, extensive research and user testimonials overwhelmingly support the safety of wool dryer balls. There’s no credible evidence to suggest that pure wool dryer balls damage modern dryers or laundry. Unlike some plastic alternatives, wool is soft and will not scratch or scuff the inside of your dryer drum. They are also non-toxic and biodegradable, adding to their safety and eco-friendliness.
The only potential concern sometimes raised is increased lint, but this is a natural byproduct of drying clothes and easily handled by your dryer’s lint trap, which you should be cleaning regularly anyway. Some people also worry about wool leaving fibers on clothes, but once properly felted, this is rarely an issue. Any stray fibers are usually minimal and can be removed with a lint roller.
Choosing the Best Wool for DIY Dryer Balls
To ensure the best results and the most durable dryer balls, the type of wool you use is critical. Always look for 100% pure wool material. It is essential to avoid any yarn that includes added synthetic materials (like acrylic blends) or is specifically labeled “superwash” or “machine washable.” These types of wool have been chemically treated to prevent felting, which is exactly what you need to happen for your dryer balls to become dense and long-lasting.
Virgin wool, often found in skeins labeled for felting, is ideal. You want wool that will shrink and mat together when exposed to hot water and agitation. I’ve also heard excellent feedback about using thick, lightly spun, roving wool for dryer balls, though I personally haven’t tried it yet. The key is to find wool that is natural and untreated, allowing its fibers to bind together effectively.
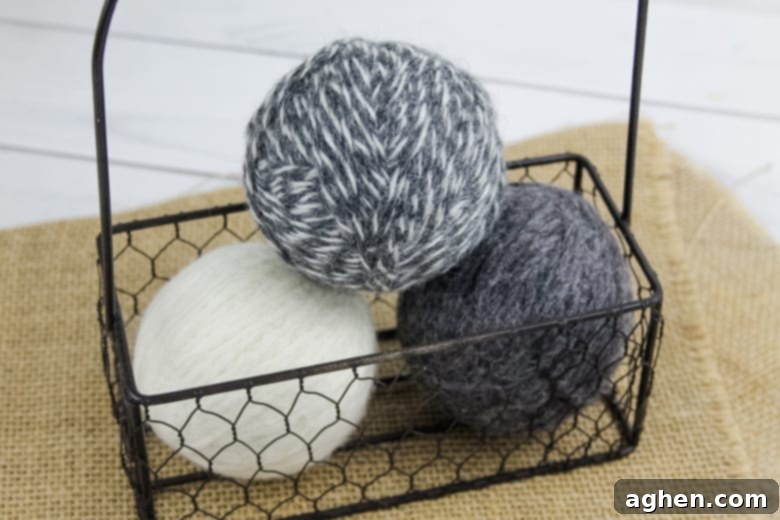
How Many Dryer Balls Should You Use Per Load?
When it comes to wool dryer balls, the general rule is: the more, the better! Using an adequate number of balls maximizes their effectiveness in separating laundry, absorbing moisture, and reducing static. This directly translates to shorter drying times and fluffier clothes.
- For a small to medium load of laundry: I recommend using 4-6 wool dryer balls.
- For larger or heavy loads (like towels or bedding): Aim for at least 6-8 dryer balls.
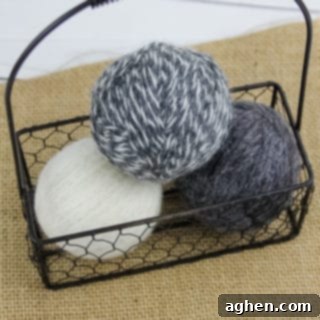
The more balls you use, the more contact they have with your clothes, and the faster your laundry will dry. Experiment a little to find the perfect number for your typical load sizes and dryer efficiency. You can conveniently store your wool dryer balls in a basket or container right above your machines, ready to be tossed in as needed.
When is it Time to Replace Your Dryer Balls?
One of the fantastic benefits of wool dryer balls is their incredible longevity. Properly made and felted balls can last for years – often hundreds, if not thousands, of loads. However, they aren’t immortal. You’ll generally want to consider replacing your dryer balls when you notice a few key signs:
- Unraveling: If the yarn begins to visibly unravel or loosen significantly, it’s a sign that the felting is breaking down, and the ball is losing its integrity. This is the most common indicator.
- Significant Shrinkage or Wear: While they are dense, over time and with extensive use, they may slightly shrink or show signs of wear. If they become noticeably smaller or less effective, it might be time for new ones.
- Loss of Effectiveness: If you find your drying times increasing, static becoming more prevalent, or clothes not feeling as soft as they used to, your dryer balls might be losing their punch.
Assuming they were wrapped nicely and tightly and felted thoroughly from the start, you shouldn’t have to worry about replacing them for several years, making them a truly sustainable and cost-effective laundry solution!
Frequently Asked Questions About DIY Wool Dryer Balls
- Can I use any type of yarn for DIY dryer balls?
- No, you must use 100% pure wool yarn for your dryer balls to felt properly. Synthetic yarns (like acrylic) or wool labeled “superwash” (which is treated to prevent felting) will not work. Felting is the process that makes the balls dense and durable.
- Do wool dryer balls make a lot of noise in the dryer?
- They can create some thumping noise, especially if you have a very small load or they’re bouncing against a hard surface. To minimize noise, throw them in with a full load of laundry, or add a few towels to cushion their bounces.
- How do I scent my laundry with dryer balls?
- For a fresh scent, simply add 2-3 drops of your favorite essential oil (like lavender, lemon, or tea tree oil) to each dryer ball about 10-15 minutes before the end of the drying cycle. This allows the scent to diffuse without being completely dried away by the heat, and helps prevent oil stains on your clothes.
- Are they safe for all fabric types?
- Yes, wool dryer balls are safe for all fabric types, including delicates, synthetics, and natural fibers. They are gentle and chemical-free, making them a versatile choice for your entire wardrobe.
- Can I wash my dryer balls with my regular laundry?
- Once your wool dryer balls are properly felted, you should not put them in the washing machine with your regular laundry. The constant agitation and detergent could eventually cause them to unravel or break down prematurely. They are only meant to go into the dryer for use, and a hot wash is only part of the initial felting process.
DIY Dryer Balls
Author: Jaclyn
Equipment
-
crochet hook
-
Scissors
Supplies
- 2-3 skeins of worsted or 100% wool
- Pantyhose
Instructions
-
Find the beginning piece of yarn and wrap it around your four fingers horizontally 10-15 times.
-
Slip the yarn from your fingers and pinch it closed. Wrap the yarn around the center 10 times.
-
Keep wrapping the yarn around the small ball, alternating directions, until it is the size of a baseball. Continue wrapping until you are satisfied with the overall size of your wool dryer ball.
-
Cut the yarn and push the end of the yarn into one end of the ball with your crochet hook. Repeat this process for as many as you’d like to make.
-
Cut the leg off your pantyhose and tie a knot at the foot. Push a dryer ball into the pantyhose and tie a knot. Repeat for remaining dryer balls and tie a knot at the open end. 4-5 dryer balls should fit per leg.
-
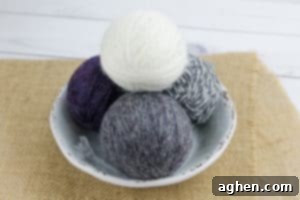
Add to the washing machine and wash on hot. Transfer to the dryer on high heat. This process will fuse the yarn together, you may need to add a few towels to cut down on the noise of the balls bouncing around. If the balls come out of the dryer and still need more felting, repeat the process. It might take 3 or 4 cycles in the washer and dryer to be completely felted.
Notes
Did You Make This Craft?
Share it with me on Instagram @crayonsandcravings and follow on Pinterest @crayonsandcravings for even more!
Pin Craft
Leave A Review
Pin it for later!
Don’t forget to save this guide so you can easily come back to it whenever you’re ready to make your own batch of eco-friendly dryer balls or need a refresher on the benefits and usage tips. Happy felting!
