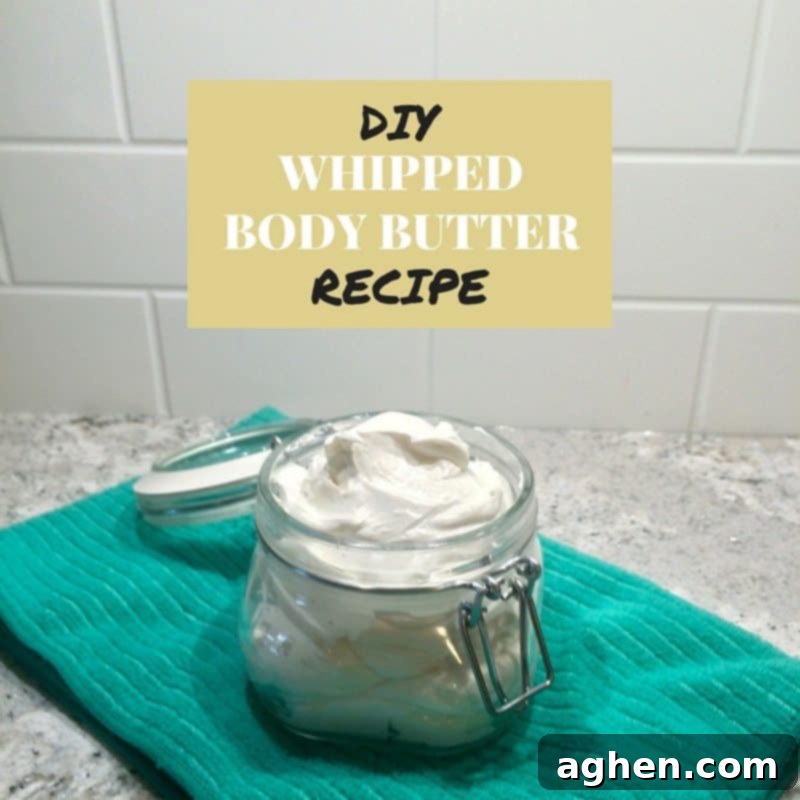
DIY Whipped Body Butter: Your Guide to Luxurious, Natural Skin Care
Imagine a skincare product so rich, so deeply moisturizing, and so utterly luxurious that it transforms your skin from dry and dull to silky smooth and radiant. For many, that’s the magic of a good body butter. And when it comes to choosing between a lightweight lotion and a decadent body butter, a thick, nourishing body butter wins every time. A small amount goes a long way, enveloping your skin in lasting moisture and softness throughout the day.
What if we told you that creating your own incredibly effective and beautifully scented whipped body butter at home is not only possible but also surprisingly easy? The beauty of making your own DIY whipped body butter lies in your complete control over the ingredients. You can ensure that every single component is all-natural, free from harsh chemicals, synthetic fragrances, and unnecessary fillers often found in commercial products. This comprehensive guide will walk you through the simple steps to craft your own batch of this skin-loving indulgence, ensuring pure nourishment for your body and a truly personalized experience.
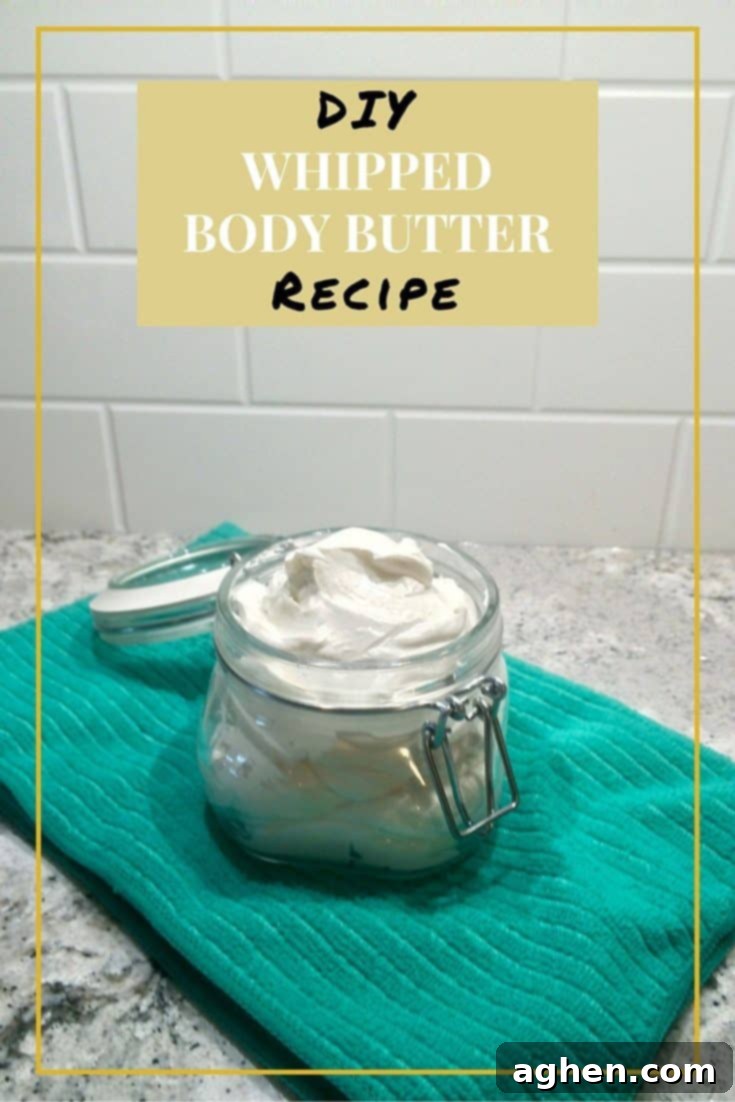
Why Make Your Own Whipped Body Butter? The Unrivaled Benefits of DIY Skincare
Beyond the simple satisfaction of crafting something with your own hands, there are numerous compelling reasons to choose homemade whipped body butter over store-bought alternatives:
- Pure, Natural Ingredients: Commercial body butters often contain preservatives, parabens, phthalates, artificial fragrances, and other synthetic chemicals that can irritate sensitive skin or even have long-term health implications. When you make it yourself, you select only the highest quality, natural ingredients, ensuring your skin receives pure goodness without unwanted additives. This provides peace of mind and genuine nourishment.
- Complete Customization for Your Skin: Do you have particularly dry skin? Are you sensitive to certain scents or specific ingredients? With DIY body butter, you have complete control to tailor the formula to your unique needs. You can adjust the types of carrier oils, experiment with different essential oil blends, or add ingredients like Vitamin E for extra antioxidant benefits, creating a truly personalized skincare solution.
- Cost-Effective Luxury: High-quality, all-natural body butters from premium brands can be quite expensive. Making your own is surprisingly affordable, allowing you to enjoy luxurious, spa-like skincare without breaking the bank. You get more product for less money, and often with superior, fresher ingredients, making it a smart economic choice for consistent use.
- Therapeutic Aromatherapy Benefits: Essential oils do more than just add a pleasant scent; they offer powerful therapeutic benefits. Lavender can be calming and promote sleep, peppermint invigorating, and certain essential oils like tea tree possess antiseptic properties. You can create a body butter that not only moisturizes but also enhances your mood, reduces stress, and contributes to your overall well-being.
- Environmentally Friendly and Sustainable: By making your own products, you actively contribute to reducing waste. You can reuse glass containers, minimize reliance on single-use plastic packaging that comes with many commercial products, and support sustainable sourcing of raw ingredients, fostering a more eco-conscious lifestyle.
- A Fun and Rewarding Hobby: Crafting your own body butter is an enjoyable and creative process. It’s a wonderful way to relax, learn about natural ingredients, and create thoughtful, personalized gifts for friends and family. The sense of accomplishment from making a product that truly benefits your skin is incredibly rewarding.
This recipe focuses on a classic, deeply moisturizing body butter that’s perfect for everyday use. However, if you’re feeling adventurous and want to explore a more whimsical and colorful creation, be sure to check out this unicorn whipped body butter tutorial for a fun twist that adds a vibrant touch to your skincare routine!
Essential Ingredients for Your Luxurious Whipped Body Butter
The beauty of this recipe lies in its simplicity and the concentrated power of a few key, natural ingredients. Each component plays a vital role in nourishing your skin and achieving that coveted whipped texture. Here’s a detailed look at what you’ll need, along with a brief explanation of why each ingredient is so beneficial for your skin:
- 1 cup Organic Raw Shea Butter: This is unequivocally the star of our body butter. Shea butter, extracted from the nuts of the African shea tree, is a true skin superfood. It’s incredibly rich in vitamins A, E, and F, as well as essential fatty acids like oleic, stearic, and linoleic acids. It’s renowned for its exceptional moisturizing properties, its ability to improve skin elasticity, and its natural anti-inflammatory effects. Shea butter helps to heal and protect the skin’s natural barrier, locking in moisture and leaving skin incredibly soft, supple, and smooth. Always opt for raw and unrefined shea butter for maximum therapeutic benefits and a richer nutrient profile.
- 1/2 cup Coconut Oil: A wonderfully versatile and widely available oil, coconut oil serves as a fantastic emollient in our recipe. It’s packed with medium-chain fatty acids, particularly lauric acid, which possesses natural antimicrobial and antibacterial properties. It helps to deeply hydrate the skin, reduce inflammation, and contributes significantly to the body butter’s smooth, luscious texture when melted and whipped. Its unique structure allows it to absorb well into the skin, providing lasting moisture.
- 1/2 cup Almond Oil: A lighter, non-comedogenic (meaning it won’t clog pores) carrier oil, sweet almond oil is perfect for adding extra nourishment without making the body butter feel overly heavy or greasy. It’s abundantly rich in Vitamin E, a powerful antioxidant that helps protect skin cells from damage caused by UV rays and environmental pollutants. It also contains Vitamin K and essential fatty acids. Almond oil is celebrated for its soothing properties, making it an excellent choice for sensitive, dry, or irritated skin. It aids in improving overall complexion and skin tone, leaving a soft, healthy glow.
- 20 drops Lavender Essential Oil: Universally beloved for its profoundly calming and relaxing aroma, pure lavender essential oil is also incredibly beneficial for the skin itself. It possesses anti-inflammatory, antiseptic, and antibacterial properties, making it a powerhouse for soothing irritated skin, reducing redness, and promoting healing. Its gentle, herbaceous scent also significantly aids in relaxation and can improve sleep quality, making this body butter ideal for evening application.
- 5 drops Chamomile Essential Oil: Known for its exceptional soothing and anti-inflammatory capabilities, chamomile essential oil (specifically Roman or German) is a wonderful addition, especially for sensitive or inflamed skin. It helps to reduce redness, calm irritation, and promotes a profound sense of tranquility. Its gentle, sweet, and herbaceous aroma complements lavender beautifully, creating a harmonious and comforting scent profile.
- 10 drops Jasmine Essential Oil: Adding a touch of unparalleled elegance and exotic luxury, jasmine essential oil provides a beautiful, deeply uplifting, and intoxicating floral scent. Beyond its enchanting aroma, jasmine is known for its skin-softening properties and can help to improve skin elasticity and tone. It’s often used for dry, mature, or sensitive skin and contributes to a sophisticated, high-end feel in your homemade body butter, turning a simple moisturizer into a truly indulgent experience.
Step-by-Step Guide: Crafting Your Whipped Body Butter with Ease
Follow these simple, detailed steps to create your own jar of luscious, deeply nourishing homemade whipped body butter. Precision in each stage will ensure the best results!
1. Gently Melt the Shea Butter and Coconut Oil
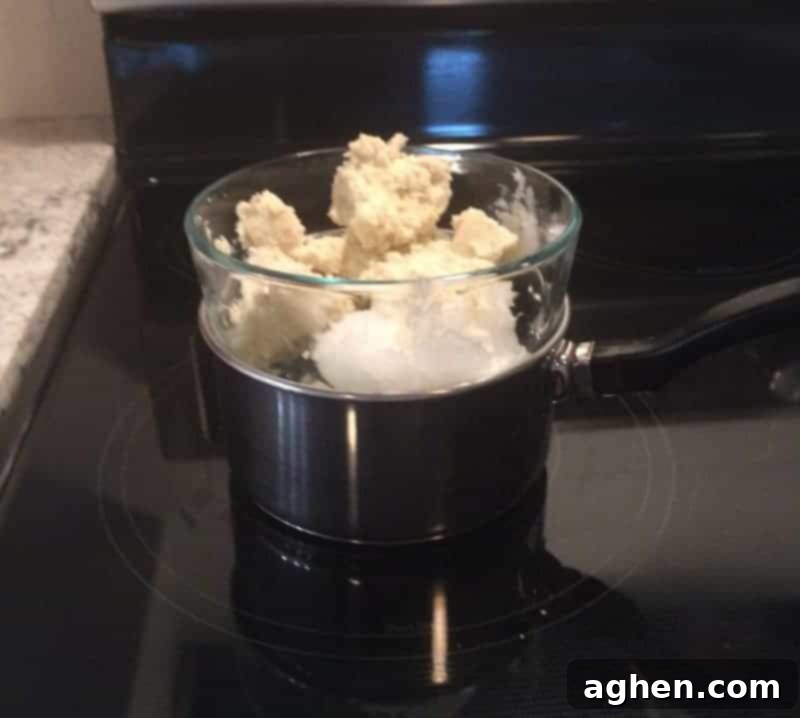
The first crucial step in making your homemade whipped body butter is to gently melt your organic raw shea butter and coconut oil. The ideal method for this is using a double boiler, which provides indirect, gentle heat to protect the delicate properties of the oils. If you don’t own a dedicated double boiler, you can easily create one at home: simply fill a medium saucepan with about an inch or two of water and bring it to a gentle simmer over low to medium heat. Then, place a heat-safe glass bowl (like a Pyrex bowl) on top of the saucepan, ensuring the bottom of the bowl does not touch the simmering water. Add your precisely measured shea butter and coconut oil into this top bowl. Stir occasionally with a clean spoon or spatula until both ingredients are completely melted and combined into a clear, smooth, liquid state. Melting them slowly over indirect heat is key to preserving their beneficial properties and preventing them from becoming overheated or scorched.
2. Cool and Infuse with Carrier & Essential Oils
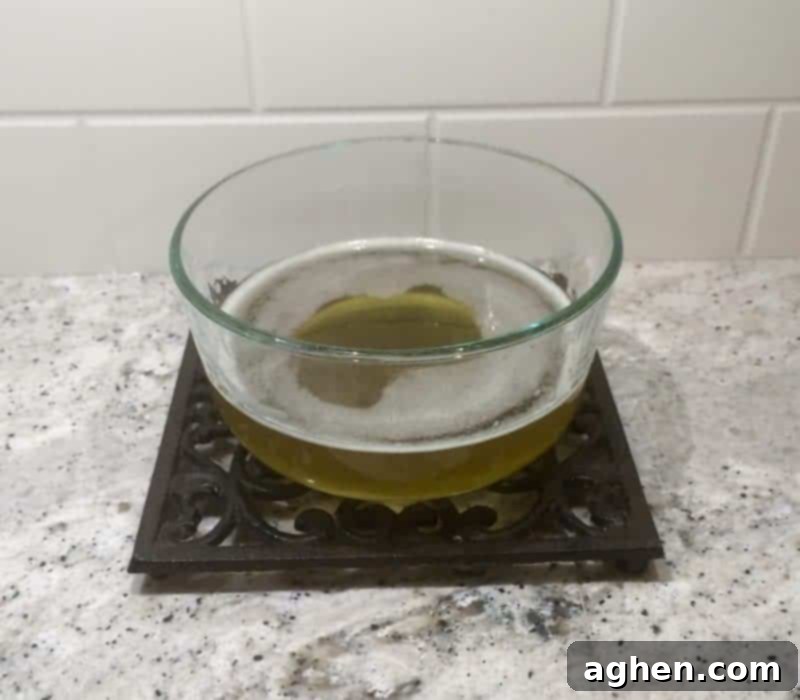
Once the shea butter and coconut oil are fully melted and thoroughly combined into a smooth liquid, carefully remove the bowl from the heat. Allow the mixture to cool at room temperature for approximately 15-20 minutes. During this cooling period, it will begin to thicken slightly but will still remain in a liquid state. This is the perfect moment to stir in your almond oil and your chosen blend of essential oils. For this particular recipe, we’re using the wonderfully fragrant and skin-benefiting combination of jasmine, lavender, and chamomile essential oils. Stir them in thoroughly and gently with a clean spatula or spoon to ensure they are evenly distributed throughout the mixture. Adding the more delicate carrier oil like almond oil and the essential oils at this stage, rather than when the mixture is hot, helps to preserve their delicate aromatic and therapeutic properties, ensuring maximum efficacy.
3. Chill Until Partially Solidified – The Critical Step
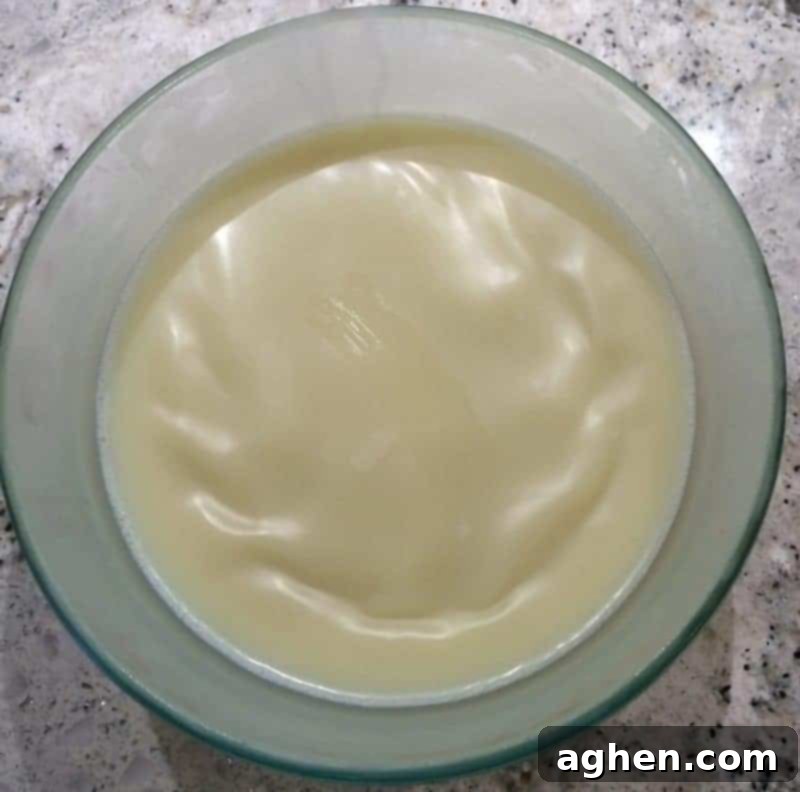
This is arguably the most critical step for achieving that signature light and fluffy whipped consistency. After adding your essential oils, the mixture needs to be placed in the freezer. The goal is for it to become partially solidified – it should not be rock-hard, but rather firm enough around the edges and slightly opaque or creamy in the center, resembling a thick pudding, soft butter, or even a very thick lotion. This chilling process usually takes about 20-30 minutes, but it’s essential to keep a close eye on it as freezer times can vary depending on your freezer’s temperature and the depth of your bowl. It is absolutely crucial to remove it from the freezer when it is just partially solidified. If it’s too watery or completely liquid when you try to whip it, it won’t gain volume and won’t reach that desired fluffy consistency. Conversely, if it solidifies too much and becomes rock-hard, it will be too difficult to whip at all, and you’ll end up with a solid block instead of a butter. Aim for the consistency shown in the picture below: firm enough to hold its shape, but still pliable when pressed with a spoon.
4. Whip to Fluffy Perfection
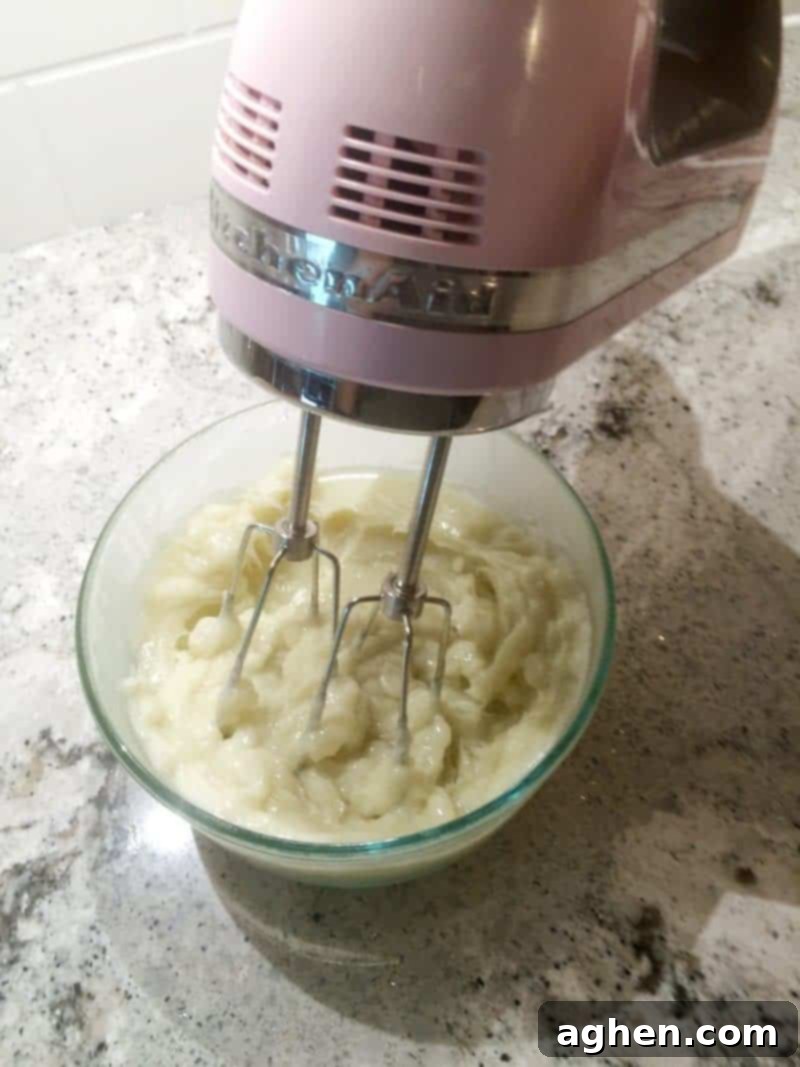
Now for the most satisfying part! Once your mixture has reached the ideal partially solidified state, it’s time to whip it into a beautiful, airy cloud. Transfer the mixture to a large mixing bowl, ensuring it’s suitable for an electric mixer (if it’s not already in one). Using an electric hand mixer (or a stand mixer with a whisk attachment), begin whipping the mixture on medium-high speed. As you whip, you’ll observe a magical transformation: the mixture will gradually lighten in color, increase significantly in volume, and change from a dense, waxy substance into a light, airy, and fluffy butter-like consistency. Continue whipping for at least 5-10 minutes, or until it looks exactly like soft, voluminous whipped cream or frosting. Make sure to scrape down the sides of the bowl periodically with a spatula to ensure everything is evenly incorporated and whipped. The longer and more vigorously you whip, the lighter, fluffier, and more stable your finished body butter will become.
5. Store and Indulge in Your Homemade Creation
Once your body butter is beautifully whipped and has reached that irresistible fluffy consistency, it’s time to transfer it to its storage container. Using a clean spatula or spoon, carefully spoon the whipped body butter into a clean, completely dry, and airtight glass jar. Glass jars are ideal for storing homemade beauty products as they do not absorb essential oil scents, are easily sterilized, and can be reused indefinitely, making them an eco-friendly choice. Ensure the jar is absolutely dry inside to prevent any potential moisture accumulation, which can lead to mold growth. Store your homemade whipped body butter in a cool, dark place away from direct sunlight or excessive heat. While it doesn’t strictly require refrigeration, keeping it in a stable, temperate environment will help maintain its exquisite texture and prevent it from melting or becoming grainy. With proper storage, your body butter should last for several months, thanks to the natural stability of the oils. To use, simply scoop a small amount with clean fingers or a small spatula, massage gently into your skin, and revel in the lasting hydration and luxurious feel!
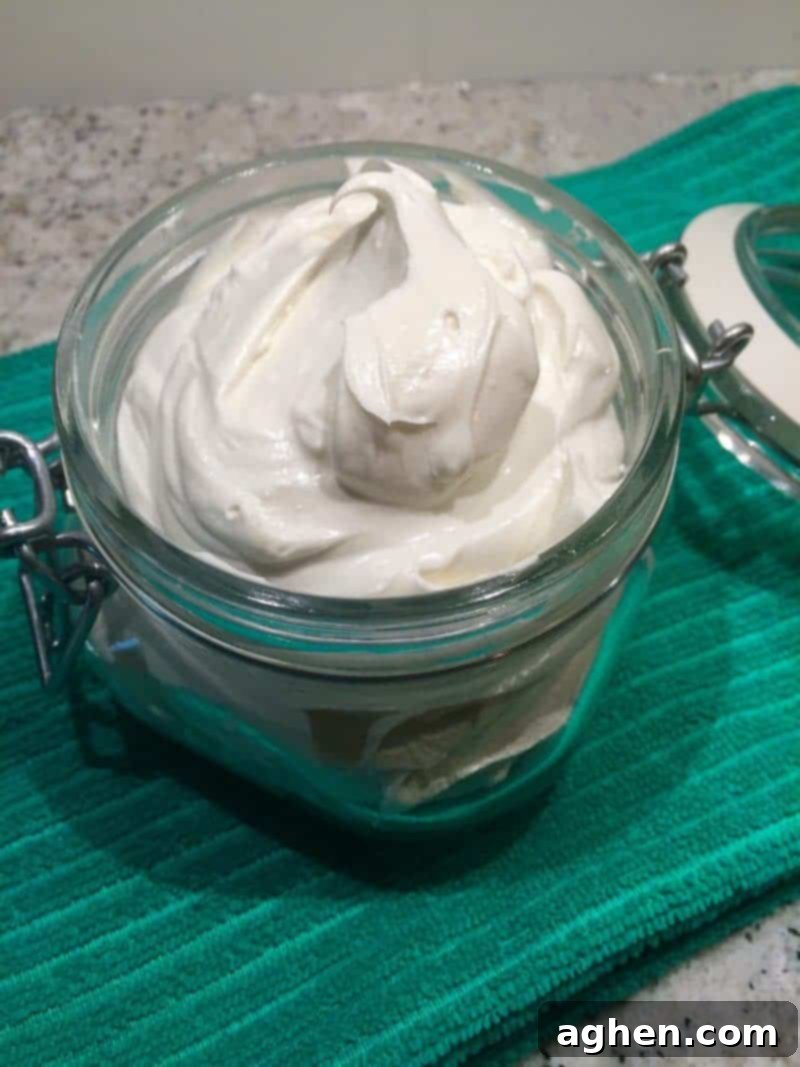
Voila! You’ve successfully created your very own luxurious DIY Whipped Body Butter! That was pretty easy, wasn’t it? Now you have a pure, natural moisturizer that your skin will absolutely adore, crafted exactly to your preferences.
Customizing Your Whipped Body Butter: Endless Possibilities for Personalized Skincare
The truly delightful aspect of making homemade DIY whipped body butter is the unparalleled freedom to customize it to your heart’s content. Once you have this basic recipe down, you can confidently experiment with different scents, textures, and added skin benefits to create a product that’s uniquely yours. Here are a few ideas to get you started on your customization journey:
Experimenting with Scents and Essential Oil Blends
- Adjust Aroma Strength: Is the aroma not strong enough for your liking? Simply add a few more drops of your favorite essential oil until you reach your desired intensity. Remember that essential oils are potent, so start with small additions.
- Refreshing Blends: Looking for an invigorating pick-me-up, especially for morning application or after a workout? Try substituting some or all of the existing essential oils with Peppermint Oil, Eucalyptus Oil, or a bright blend of Lemon and Grapefruit essential oils for a refreshing, zesty body butter.
- Calming & Sleep-Inducing Blends: Enhance the relaxing properties for a perfect nighttime routine by increasing the amount of Lavender or adding other calming oils like Frankincense, Bergamot (ensure it’s bergaptene-free for skin application in sunlight), Vetiver, or Cedarwood essential oils.
- Earthy & Warm Aromas: For a grounding, comforting, or more masculine scent, consider essential oils like Sandalwood, Cedarwood, Patchouli, or a hint of Cinnamon Bark (use sparingly due to skin sensitivity).
- Floral & Sweet Notes: Besides Jasmine, you can create beautiful floral bouquets by adding Ylang Ylang, Rose, Geranium, or Neroli essential oils for a truly luxurious and feminine scent profile.
- Safety First with Essential Oils: Always research essential oil safety, especially regarding skin application and proper dilution rates. Some oils are photosensitive (like certain cold-pressed citrus oils), meaning they can cause skin sensitivity when exposed to sunlight, so use these with caution or at night.
Substituting Carrier Oils for Different Skin Needs
While sweet almond oil is a wonderful all-rounder, you can easily swap it for other skin-loving carrier oils based on your personal preference and specific skin type. Each oil brings its own unique set of benefits:
- Jojoba Oil: Technically a liquid wax, jojoba oil closely mimics the skin’s natural sebum, making it an excellent choice for all skin types, including oily or acne-prone skin, as it helps balance oil production.
- Grapeseed Oil: A very light and fast-absorbing oil, rich in antioxidants, making it particularly suitable for sensitive skin or those who prefer a less oily feel.
- Apricot Kernel Oil: Very similar in texture and properties to almond oil but often preferred by those with nut allergies. It’s nourishing, easily absorbed, and gentle.
- Avocado Oil: A richer and deeply moisturizing oil, packed with vitamins A, D, and E, making it fantastic for very dry, mature, or damaged skin that needs intense hydration.
- Hemp Seed Oil: Known for its balancing properties, high in omega fatty acids, and excellent for soothing inflamed or problematic skin.
Adding Extra Boosters for Enhanced Benefits
- Vitamin E Oil: A powerful antioxidant that not only offers additional skin-healing benefits (like reducing the appearance of scars and fine lines) but can also help to naturally prolong the shelf life of your body butter by preventing oil oxidation. Add about one teaspoon along with your essential oils.
- Arrowroot Powder or Cornstarch: If you find your body butter feels a little too oily or greasy for your liking, you can add 1-2 tablespoons of arrowroot powder (or cornstarch) during the whipping stage. This helps to reduce the oily feel, leaving a more matte and silky finish on the skin without compromising moisture.
- Cosmetic-Grade Mica Powder for Color: If you’re inspired by the unicorn body butter mentioned earlier, you can add a tiny pinch of cosmetic-grade mica powders for a beautiful pop of color! Add it during the whipping stage and continue whipping until the color is evenly distributed throughout your body butter, creating a visually stunning product.
Tips for a Perfect DIY Whipped Body Butter Batch Every Time
Achieving a consistently perfect batch of whipped body butter is easy if you pay attention to a few key details:
- Prioritize Quality Ingredients: Always start with high-quality, unrefined, and organic ingredients whenever possible. This makes a noticeable difference not only in the final product’s efficacy and skin benefits but also in its texture and aroma.
- Maintain Utmost Cleanliness: Ensure all your tools, mixing bowls, and storage containers are sparkling clean and completely dry before you begin. This prevents contamination, extends the shelf life of your homemade product, and ensures purity.
- Patience with the Chilling Step: The chilling phase is absolutely critical! Do not rush it. Be diligent about checking for that perfect partially solidified state, as this directly impacts whether your butter will whip up correctly.
- Whip Thoroughly: Do not skimp on whipping time. The longer and more vigorously you whip (within reason), the lighter, fluffier, and more stable your body butter will become, resulting in that desirable cloud-like texture.
- Store Properly for Longevity: Always keep your finished body butter in an airtight container in a cool, dark place, away from direct sunlight or sources of excessive heat. Avoid extreme temperature fluctuations, which can cause the butters to melt and then re-solidify into an undesirable grainy texture.
Troubleshooting Common DIY Body Butter Issues
Even with simple recipes, sometimes things don’t go exactly as planned. Don’t worry, most common issues with homemade whipped body butter are easily fixable. Here are some frequent problems and how to troubleshoot them:
- My Body Butter Feels Too Oily/Greasy: This is a common concern, especially for those new to body butters. Firstly, ensure you’re not using too much product – a very small amount truly goes a long way. If it still feels too oily, you can try adding a tablespoon or two of arrowroot powder or cornstarch during the whipping phase of your next batch. This helps to absorb some of the oiliness, leaving a more matte and less slick finish on the skin.
- My Body Butter is Grainy or Sandy in Texture: This issue usually arises if the butter melts (e.g., if stored in a warm room) and then re-solidifies slowly. Shea butter, in particular, can crystallize when it cools slowly, leading to a grainy or sandy feel. To fix this, you can gently remelt the entire batch using the double boiler method again, then quickly chill it back to the partially solidified stage (step 3), and then re-whip it thoroughly (step 4). Rapid cooling helps prevent the formation of larger crystals, resulting in a smoother texture.
- My Body Butter Didn’t Whip Up into a Fluffy Texture: This problem is almost always due to incorrect chilling. If the mixture was too liquid or not cold enough when you started whipping, it won’t gain volume or achieve that fluffy consistency. If it’s too liquid, simply put it back in the freezer for another 5-10 minutes and try whipping again. If, on the other hand, it solidified too much and became rock-hard, it couldn’t be broken up and whipped. In this case, let it sit at room temperature for a bit until it softens enough to be broken up with a spoon, then try whipping.
- My Body Butter is Too Hard: If your finished body butter is too firm to easily scoop, it might be due to the proportions of solid to liquid oils. For your next batch, you could try slightly increasing the amount of liquid oil (like almond oil) by a tablespoon or two, or slightly decreasing the shea butter.
Embrace the Art of Natural Skincare: Your Journey to Radiant Skin Begins Here
Creating your own DIY whipped body butter is far more than just following a recipe; it’s an empowering and enjoyable step towards a more natural, mindful, and sustainable approach to self-care. You’re not just making a product; you’re crafting a personalized skincare experience, free from unwanted chemicals and packed with pure, nourishing goodness. Revel in the satisfaction of knowing exactly what you’re putting on your body, tailored precisely to your skin’s unique needs and your aromatic preferences. Experiment with different scents, adjust for your skin type, and enjoy the profound satisfaction that comes from nurturing your skin with homemade love. Your skin will undoubtedly thank you for this luxurious, natural, and incredibly effective treat!
Discover More Easy & Natural DIY Recipes for a Wholesome Lifestyle:
- DIY Brown Sugar Scrub: Exfoliate Naturally for Glowing Skin
- Homemade Peppermint Sugar Scrub: Refresh and Invigorate Your Skin
- Homemade Vapor Rub: A Natural Comfort Remedy for Congestion
