Easy & Festive Christmas Tree Meringue Cookies: Your Ultimate Gluten-Free Holiday Recipe
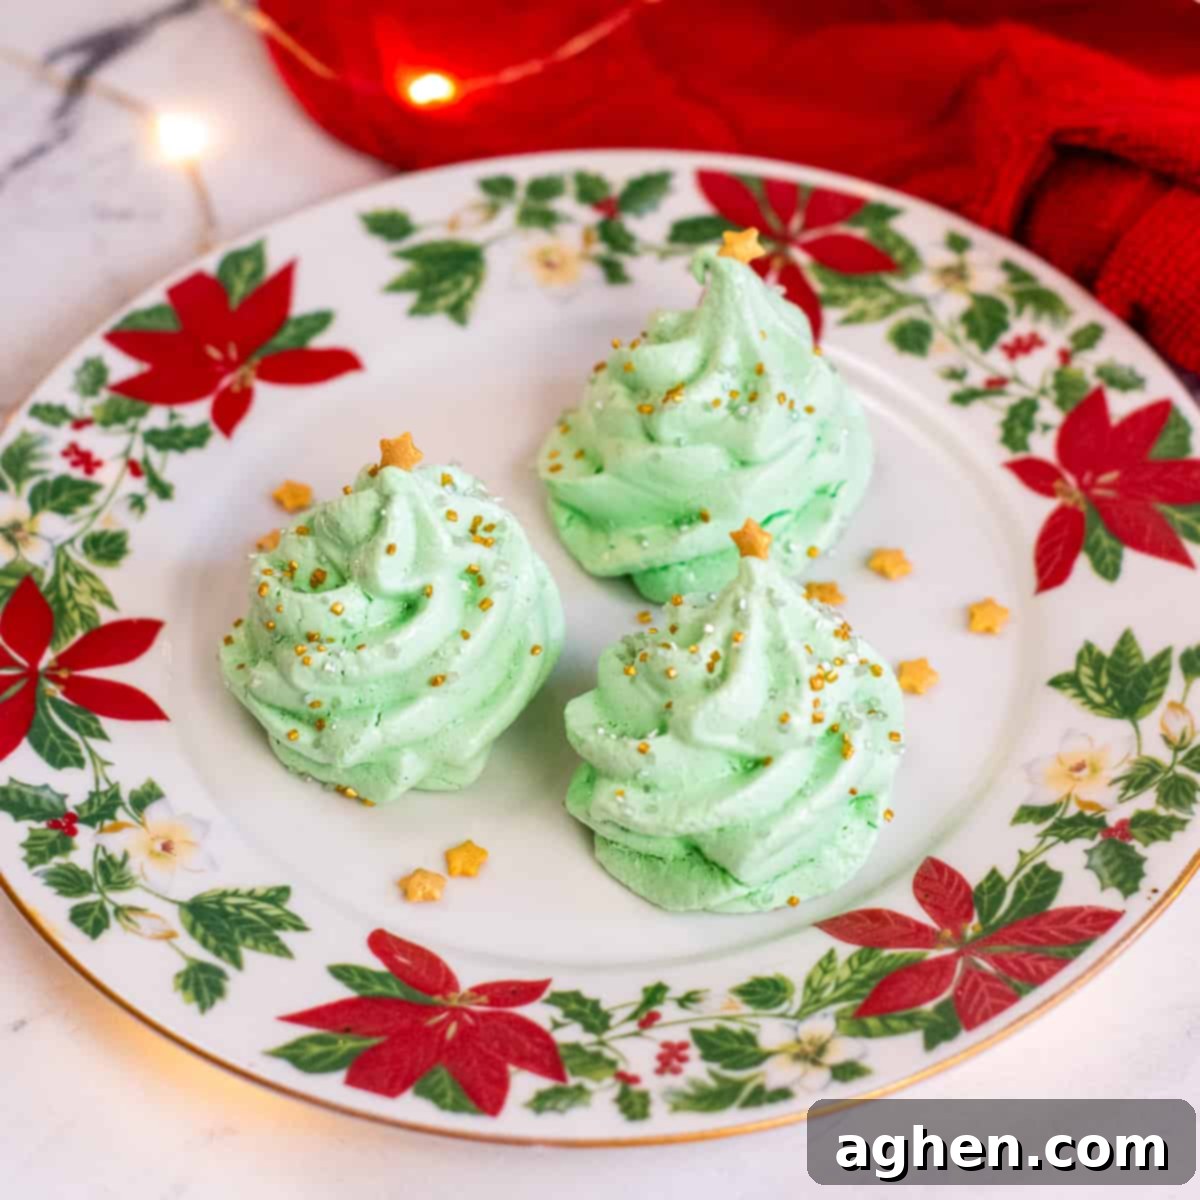
As the holiday season draws near, the air fills with the delightful scents of pine, cinnamon, and freshly baked treats. Among the myriad of festive sweets, these **Christmas Tree Meringue Cookies** stand out as a truly enchanting addition to any celebration. Imagine light, crisp, and airy cookies, beautifully shaped like miniature evergreen trees, adorned with festive sprinkles. They are not just a dessert; they are a decorative centerpiece, a conversation starter, and a moment of pure holiday joy.
These exquisite meringue cookies offer a gorgeous presentation that will captivate family and friends alike. If you’re a fan of classic meringue cookies, prepare to fall in love with this holiday-themed version. Their delicate crunch and melt-in-your-mouth texture make them utterly irresistible. We bet you won’t be able to eat just one! They are perfect for holiday parties, cozy family gatherings, or simply as a sweet treat to enjoy at the end of a festive evening.
Looking for more delightful recipes that capture the essence of a Christmas tree? Explore our other creative holiday ideas such as Christmas Tree Cupcakes, a whimsical Charcuterie Board Christmas Tree, charming Crescent Rolls Christmas Tree, and delightful Strawberry Christmas Trees. Each offers a unique way to bring the festive spirit to your table.
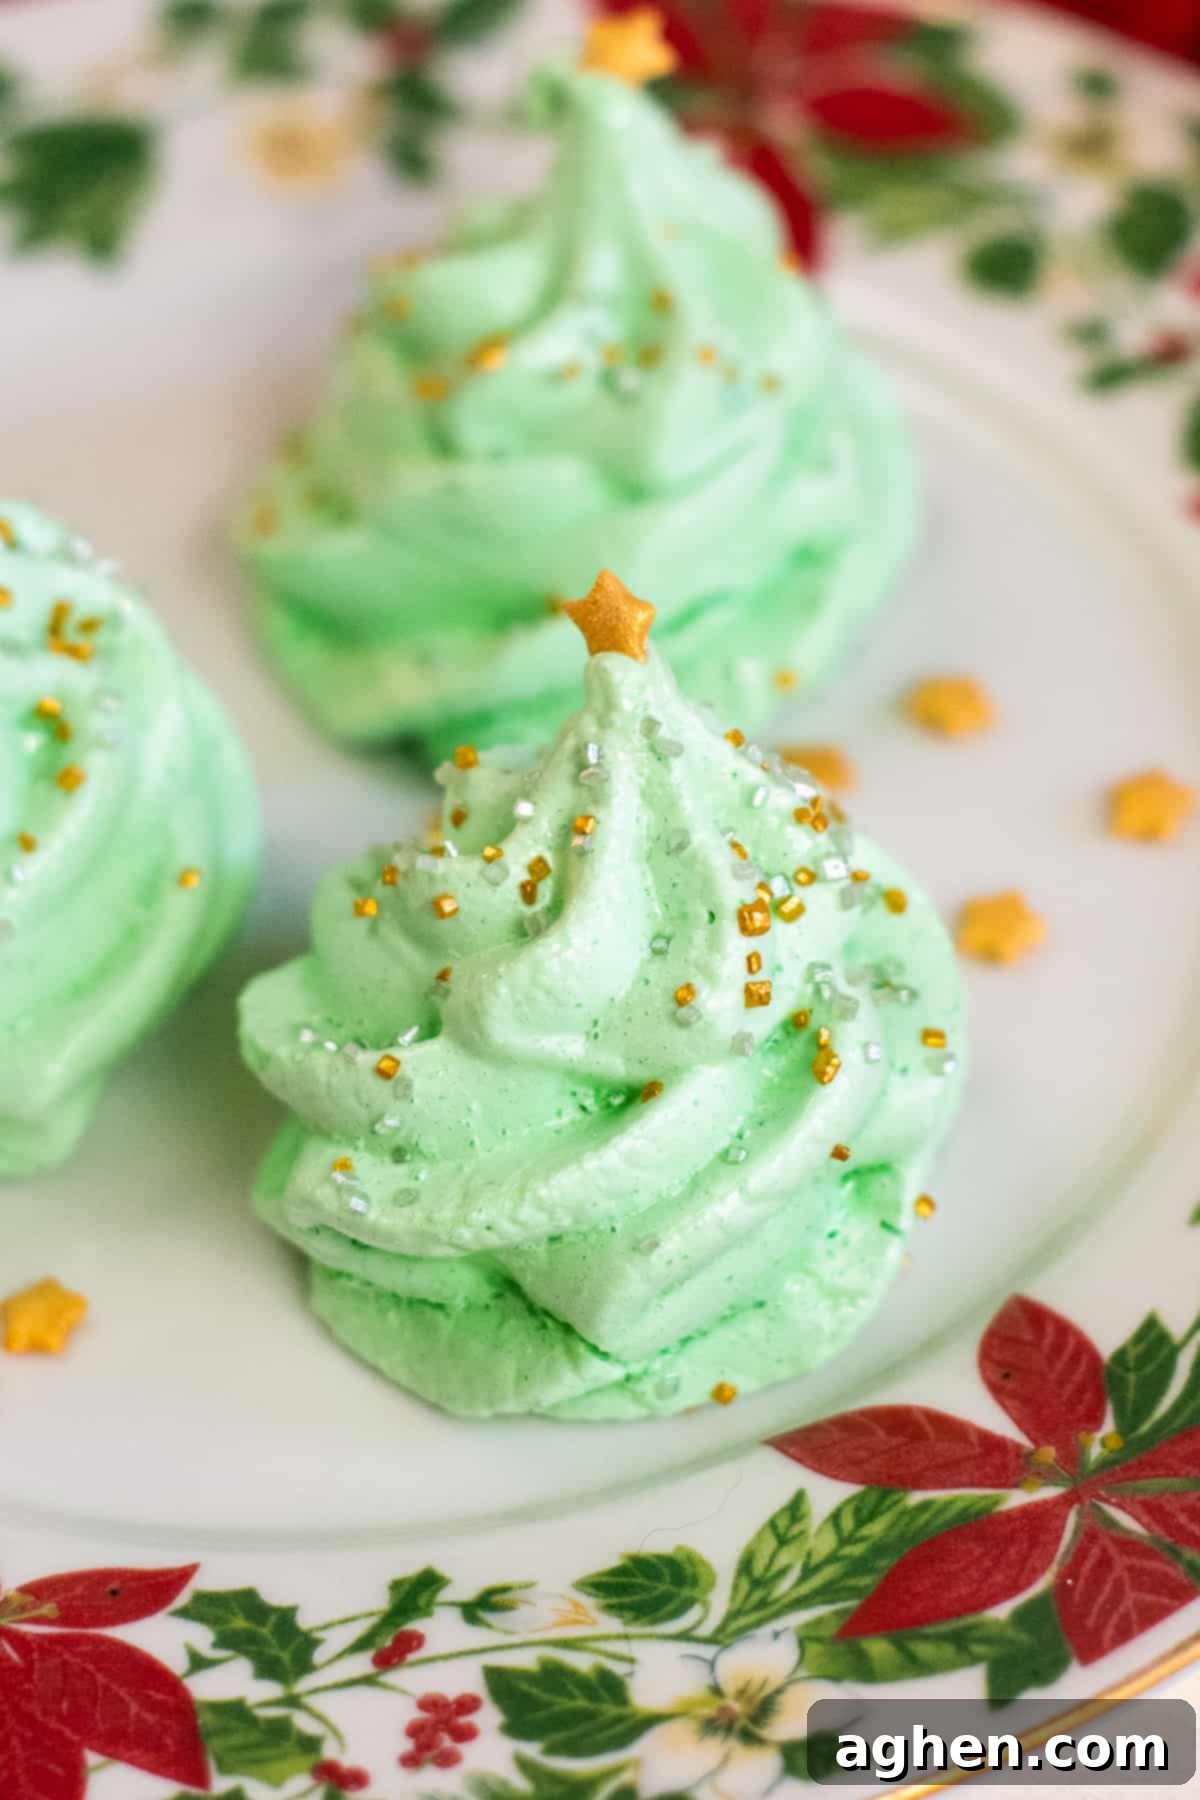
One of the many fantastic aspects of these **meringue Christmas tree cookies** is that they are **naturally gluten-free**, making them a wonderful option for guests with dietary restrictions without sacrificing flavor or festive appeal. For another delicious gluten-free Christmas cookie, be sure to try my Italian Amaretti cookies.
Why You’ll Adore These Christmas Tree Meringue Cookies
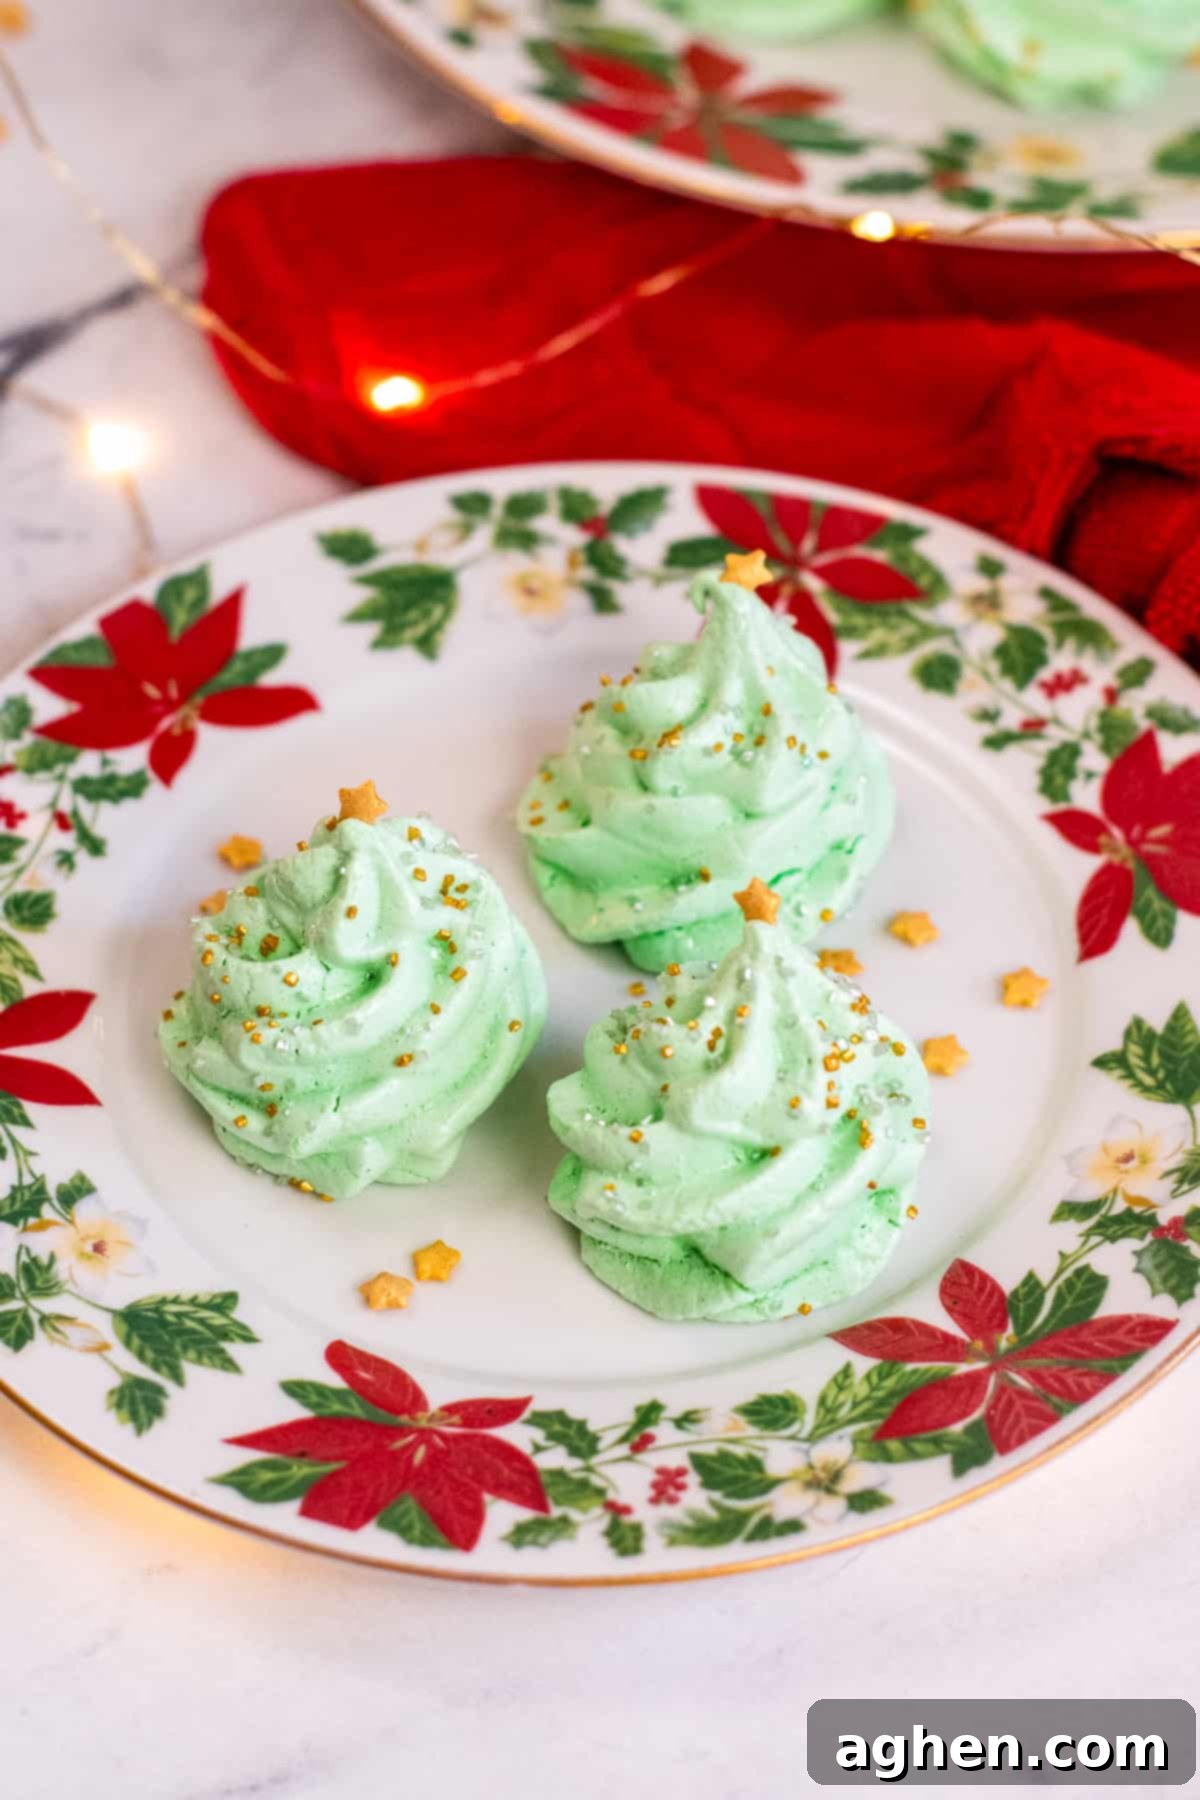
These festive confections are more than just a sweet treat; they’re a delightful experience. Here’s why these **Christmas Meringue Cookies** will quickly become a cherished part of your holiday baking tradition:
- Made with Simple, Accessible Ingredients: You don’t need exotic items for these beauties. Just a handful of pantry staples transforms into something magical.
- Perfect for Planning Ahead: They can be prepared in advance, freeing up your precious time during the busy holiday season. Once baked and properly cooled, they store wonderfully.
- A Versatile Holiday Treat: Whether it’s a lively holiday party, a school bake sale, a cozy family dinner, or a festive brunch, these cookies fit every occasion. Their light texture makes them a perfect ending to a rich meal.
- Thoughtful, Delicious Christmas Gifts: Hand-packed in a decorative box or bag, these meringues make an exquisite homemade gift for loved ones who appreciate delicate, sweet nibbles.
- Endlessly Customizable Decorations: Unleash your creativity! Decorate with any sprinkles, edible glitter, or small candies you desire to create unique and fun festive designs.
- Naturally Gluten-Free: A fantastic option for guests with gluten sensitivities, ensuring everyone can enjoy a taste of the holidays.
- Impressive Presentation, Easy Execution: Despite their stunning appearance, the process of making these cookies is surprisingly straightforward, even for novice bakers.
- Light and Airy Texture: Unlike heavier holiday cookies, meringues offer a delightful crunch followed by a sweet melt, making them a refreshing counterpoint on any dessert platter.
Essential Ingredients for Perfect Meringue Trees
This section provides detailed notes on each ingredient and potential substitution options to help you achieve the best results. For precise measurements and step-by-step instructions, please refer to the printable recipe card located at the end of this post.
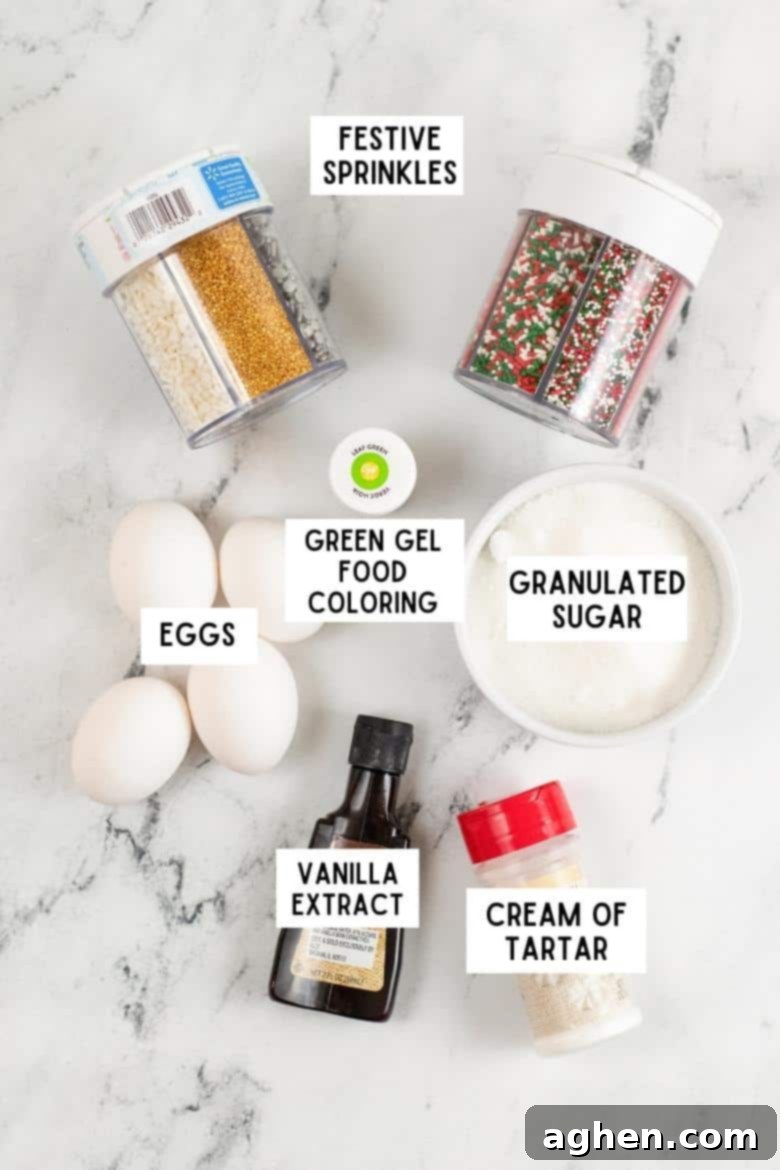
- Eggs: You will only be using the egg whites for this recipe. It’s absolutely crucial to let your eggs come to room temperature before whipping them. Room temperature egg whites whip up with more volume and stability, leading to lighter, fluffier meringues. Also, ensure there is absolutely no trace of yolk in your whites, as fat can prevent them from whipping properly.
- Vanilla Extract: This adds a classic warm, sweet, and comforting flavor that beautifully complements the delicate meringue. Use a good quality pure vanilla extract for the best taste. You can also experiment with other extracts for different flavor profiles.
- Cream of Tartar: This often-overlooked ingredient is truly essential for successful meringues. Cream of tartar is an acidic salt that stabilizes the egg whites, helping them achieve maximum volume and firm, stiff peaks. It also prevents the meringue from collapsing, ensuring your Christmas trees stand tall and proud. If you don’t have cream of tartar, a tiny pinch of lemon juice or white vinegar (about ½ teaspoon for 4 egg whites) can serve as a substitute for the acid, though cream of tartar is highly recommended for optimal results.
- Granulated Sugar: Standard granulated sugar is what you’ll use here. It not only sweetens the meringue but also helps create that crispy, stable structure. The sugar crystals dissolve during whipping, contributing to a smooth, glossy meringue. Ensure you add it gradually for proper incorporation.
- Green Gel Food Coloring: Gel food coloring is my preference because it’s highly concentrated and won’t thin out your meringue mixture like liquid food coloring can. You can easily adjust the amount to achieve your desired shade, from a subtle pastel green to a vibrant, deep forest green for your festive trees.
- Festive Sprinkles: These are the magic touch that truly transforms your meringue into a festive Christmas tree! I used a mix of clear and gold sprinkles to mimic twinkling lights and a gold star for the tree topper, adding an elegant touch. However, don’t limit yourself! Rainbow nonpareils, edible glitter, silver dragees, or even tiny candy pearls would also be incredibly fun and festive.
Creative Variations to Your Meringue Masterpiece
While the classic green Christmas tree is charming, feel free to customize your meringues to suit your taste and aesthetic! Here are some ideas to inspire your creativity:
- Flavoring Adventures: Don’t just stick to vanilla! Experiment with different extracts to give your cookies a unique twist. Consider almond extract for a marzipan-like note, peppermint extract for a refreshing wintery taste, orange extract for a citrusy brightness, or even a hint of coconut, lemon, or coffee extract. You could even add a tiny amount of cocoa powder for chocolate meringues (though this might affect the color and texture slightly, so test carefully).
- “Snow-Dusted” Trees: Instead of elaborate sprinkles, pipe your trees, add just a single star sprinkle to the top, and then dust them lightly with powdered sugar once they’ve cooled completely. This creates a beautiful, ethereal “snow-covered” effect that is both simple and elegant.
- A Spectrum of Colors: Who says Christmas trees must be green? Embrace a whimsical holiday palette! Try turquoise, pink, silver, or even a mix of white and red food coloring to create candy cane striped trees. You could even make a batch of white meringues and decorate them with colorful sprinkles for a modern, minimalist look.
- Decorative Embellishments: Beyond sprinkles, think about other ways to decorate. Use edible glitter sprays for a shimmering finish, pipe small dots of royal icing in different colors for “ornaments,” or gently press mini chocolate chips into the meringue before baking for a darker, richer “ornament” effect.
How To Craft Your Christmas Tree Meringue Cookies
This section provides a detailed, step-by-step guide with accompanying photos to ensure your meringues turn out perfectly. For the full printable recipe, including all measurements and a comprehensive ingredient list, please refer to the recipe card below.
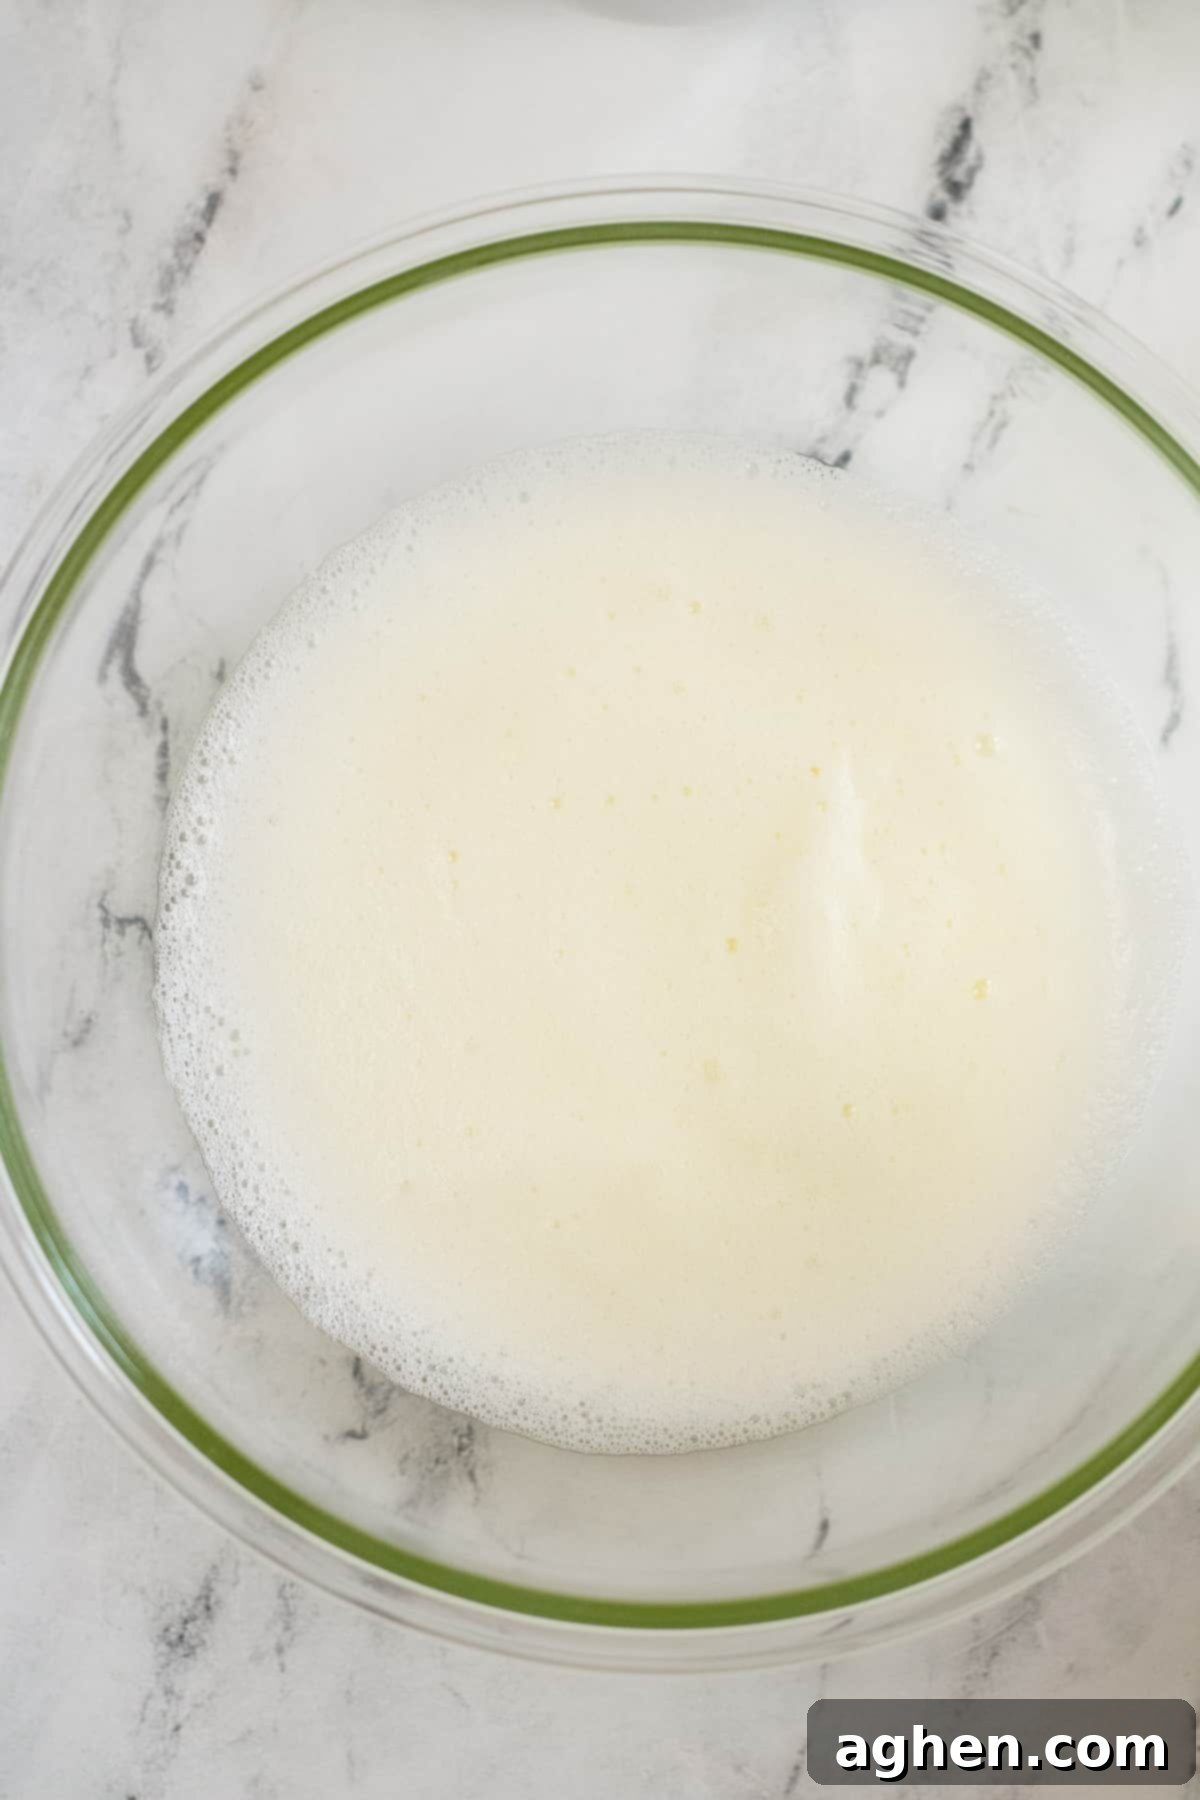
Step 1: Prepare Your Workspace and Whip Egg Whites until Foamy. Begin by preheating your oven to a low 225°F (107°C). Line a large baking sheet with parchment paper – this is crucial to prevent sticking and ensure easy removal. In a very clean, dry mixing bowl (preferably metal or glass, as plastic can retain grease) fitted with a whisk attachment (for a stand mixer or hand mixer), add your room temperature egg whites. Whip them on medium-high speed. Initially, they will look clear and liquid, but as air is incorporated, they will become foamy, resembling soap suds. This is your first visual cue.
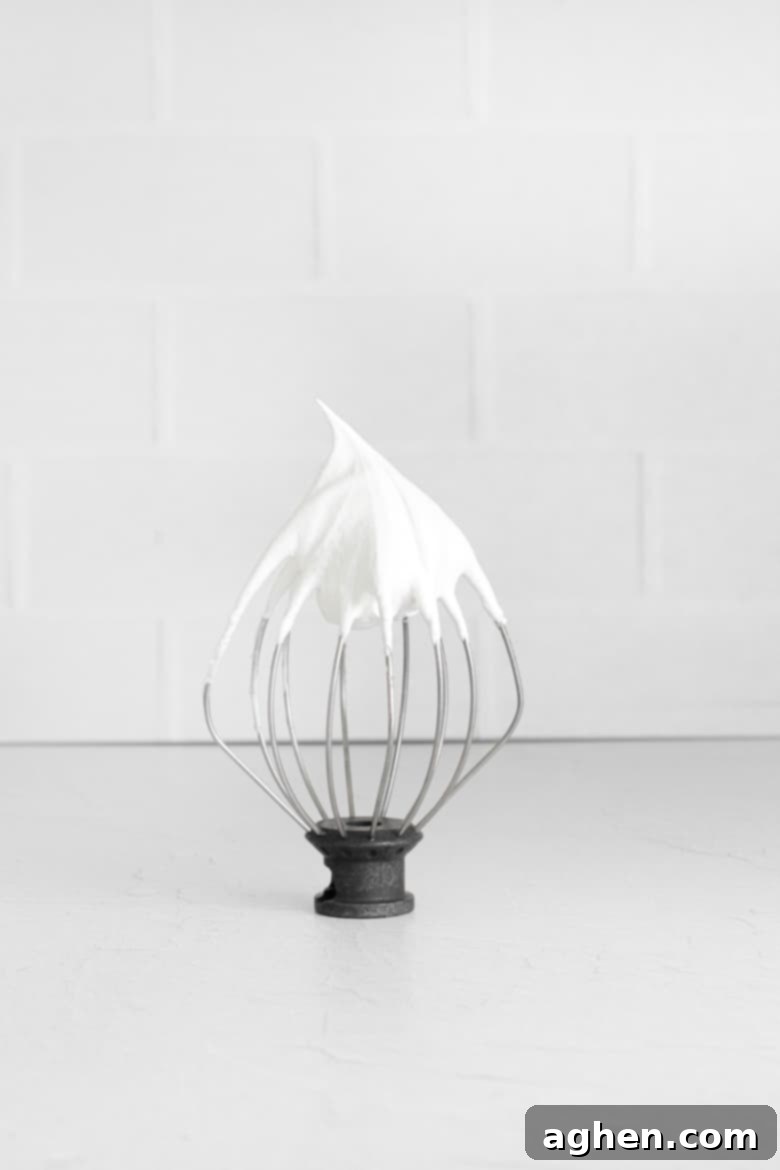
Step 2: Add Cream of Tartar and Gradually Incorporate Sugar to Stiff Peaks. Once the egg whites are foamy, add the cream of tartar. Continue whipping, and begin to gradually add the granulated sugar, about a tablespoon at a time, while the mixer is still running. Do not dump all the sugar in at once, as this can deflate the egg whites. Continue to beat on high speed until the meringue is glossy, thick, and forms stiff, upright peaks. You’ll know it’s ready when you lift the whisk attachment out of the bowl, and the meringue holds its shape firmly without collapsing or drooping. The meringue should also feel smooth when rubbed between your fingers, indicating the sugar has fully dissolved.
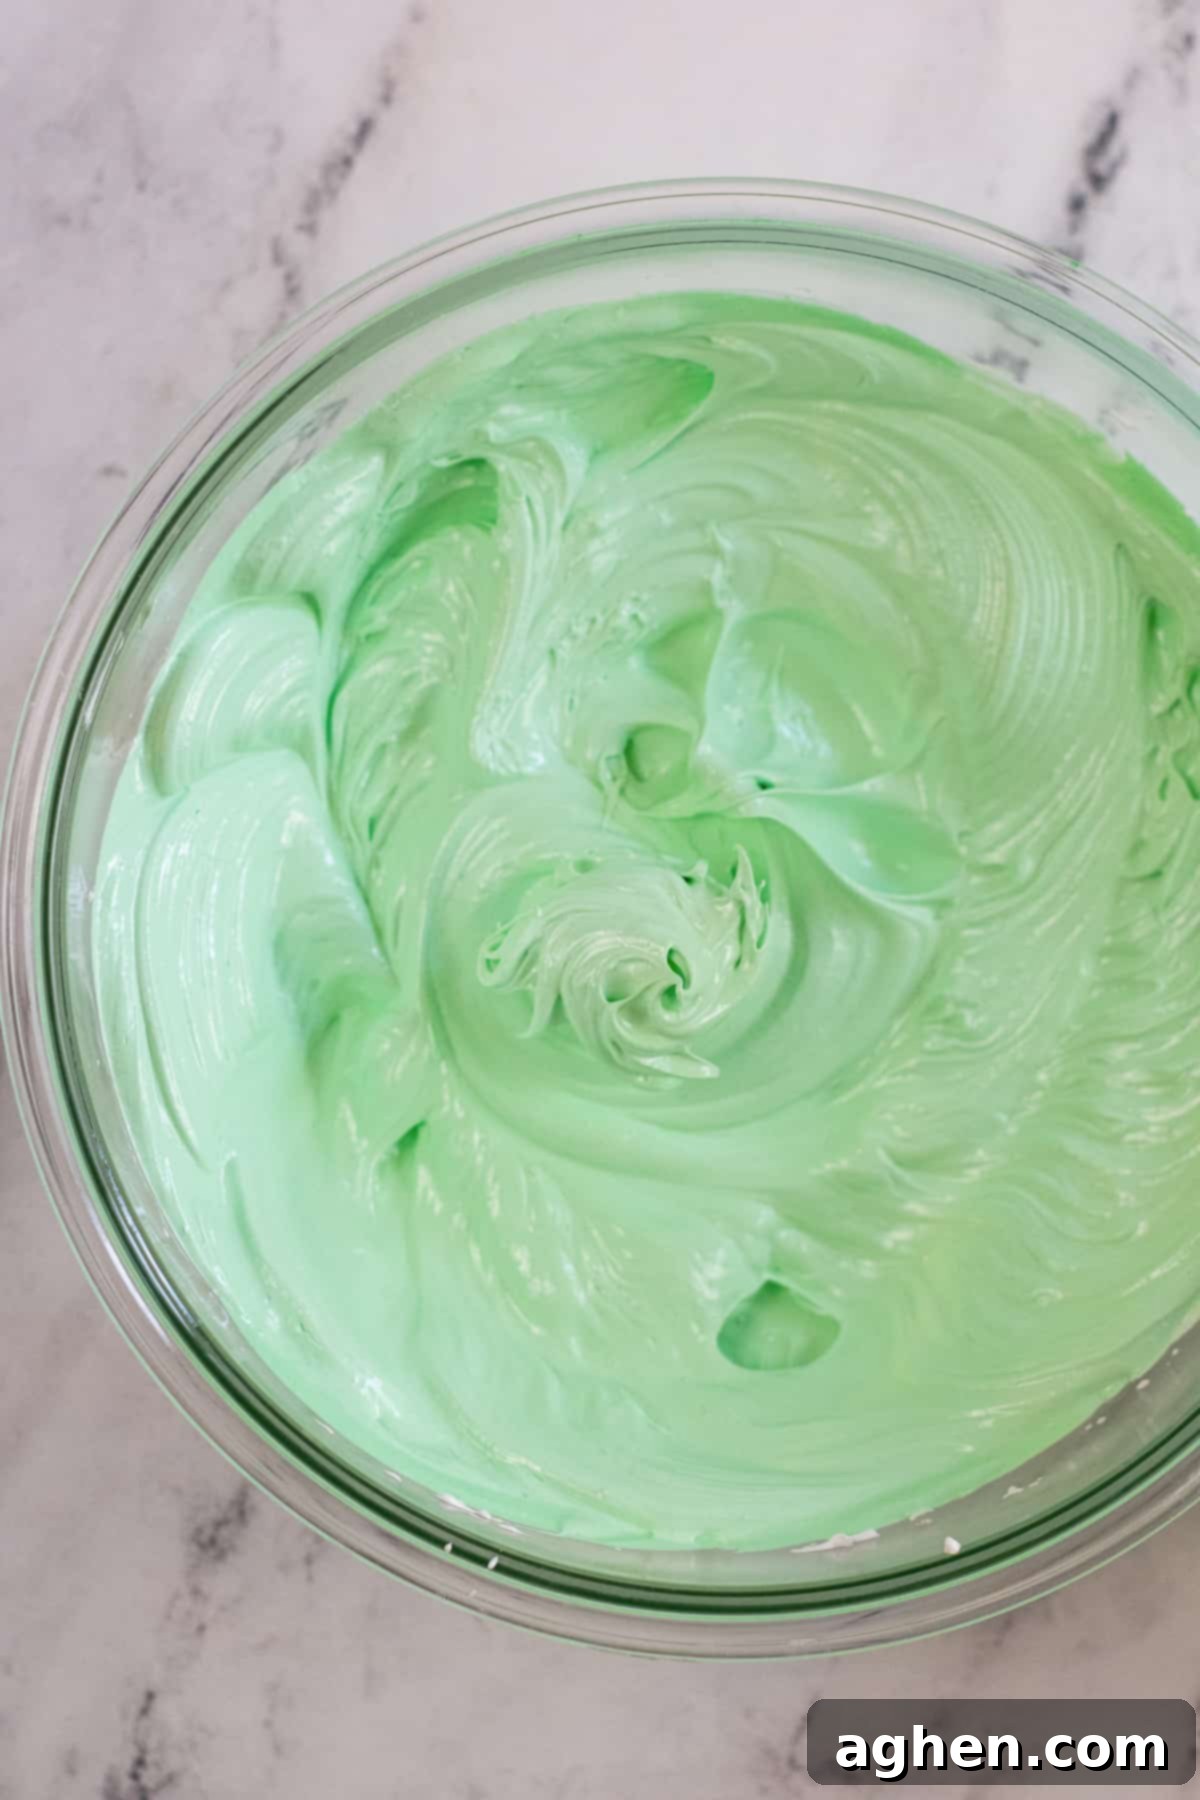
Step 3: Gently Fold in Vanilla and Green Food Coloring. With the meringue at stiff peaks, it’s time to add your flavor and color. Stir in the vanilla extract. Then, add a few drops of green gel food coloring. Gently fold it in with a spatula until the color is evenly distributed. Be careful not to overmix, as this can deflate the meringue. Add more food coloring in tiny increments until you achieve your desired shade of festive green.
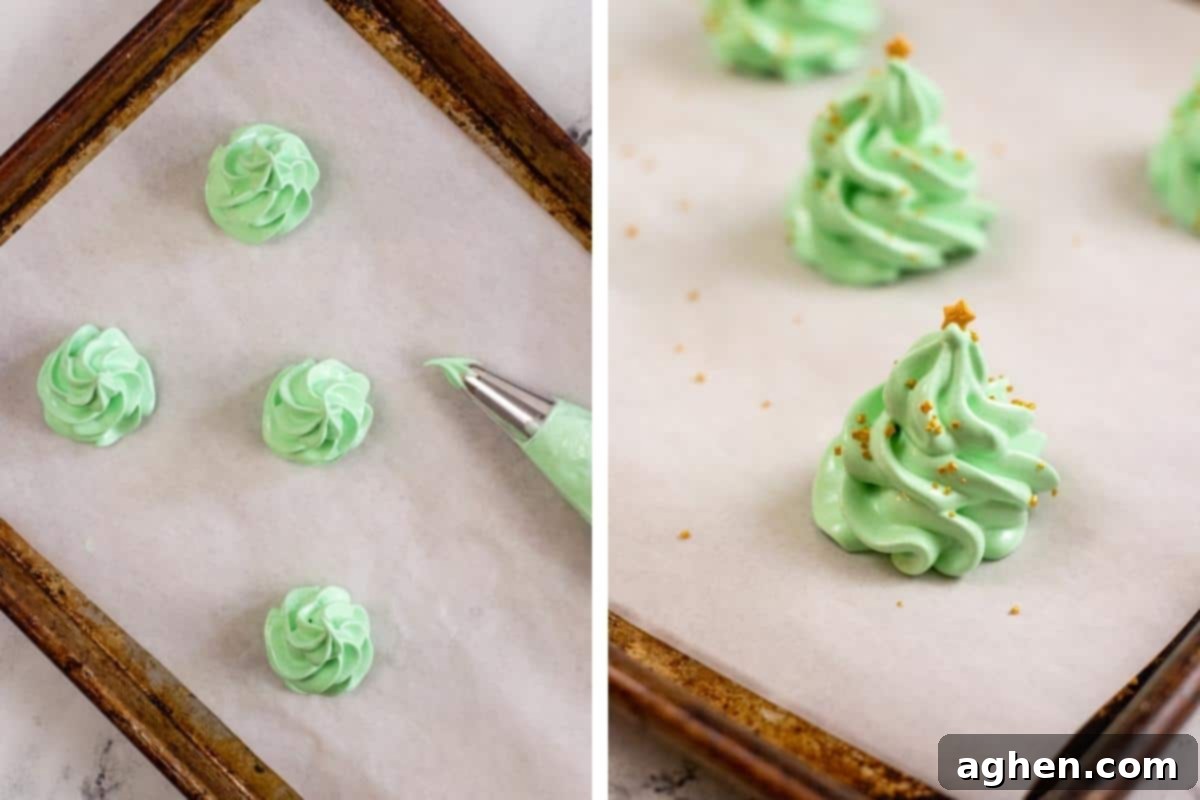
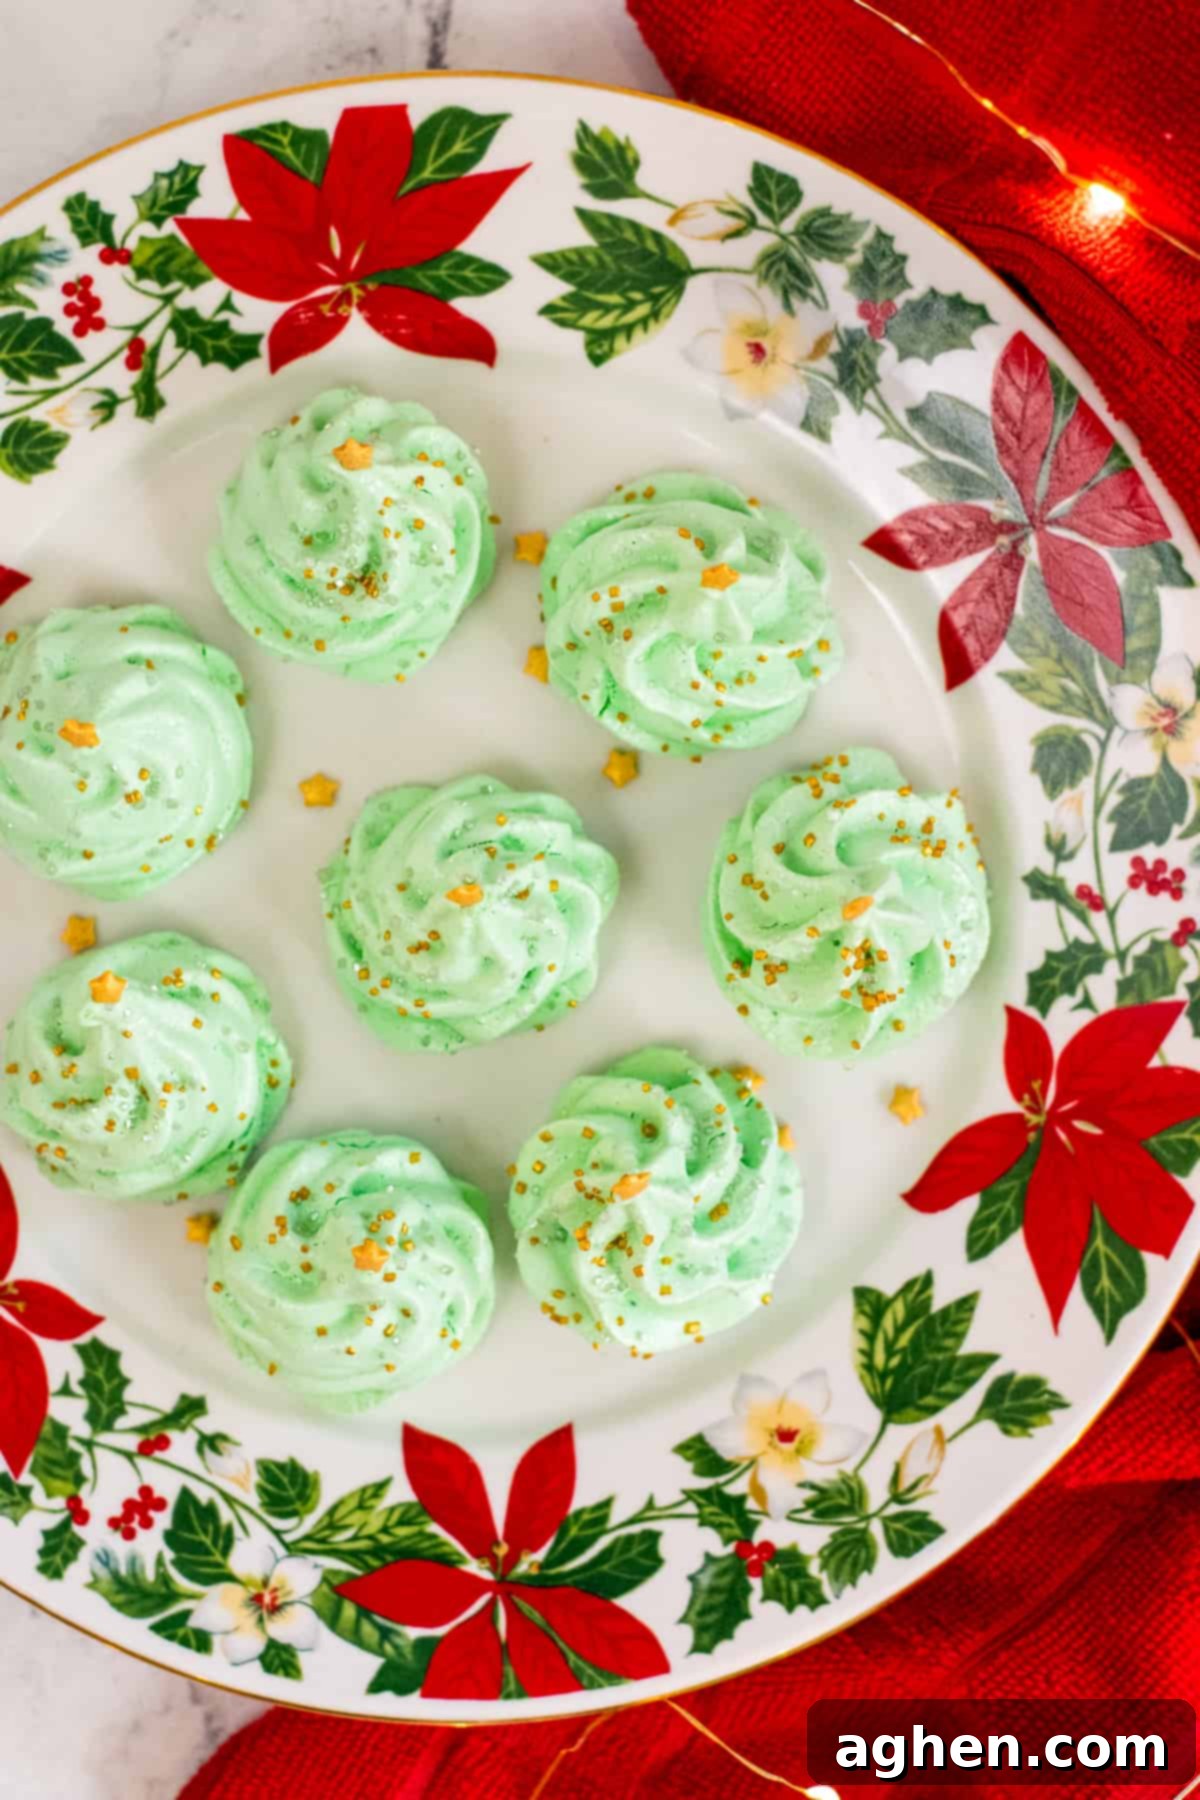
Step 4: Pipe Your Christmas Trees and Decorate Instantly. Transfer the green meringue mixture into a piping bag fitted with a large star tip (a Wilton 1M or 2D works wonderfully for creating a classic Christmas tree swirl). On your prepared parchment-lined baking sheet, pipe out your trees. Start at the base and pipe in a swirling, upward motion to create a conical tree shape. Once each tree is piped, immediately top it with your chosen festive sprinkles. It’s crucial to add sprinkles *before* baking, as they will adhere much better during the low-temperature baking process. If you wait until after baking, they’ll just fall off!
Step 5: Bake Low and Slow, Then Cool Completely in the Oven. Place your baking sheet into the preheated 225°F (107°C) oven and bake for 1 hour. Halfway through the baking time (around the 30-minute mark), rotate your baking sheet 180 degrees to ensure even drying. The meringues aren’t truly “baking” but rather drying out in the low heat. When the hour is up, turn off the oven completely. This next step is absolutely critical for perfectly crisp, non-sticky meringues: do not open the oven door. Leave the meringues undisturbed in the cooling oven until they have cooled completely, which typically takes 1-2 hours, or even overnight. This slow cooling process prevents cracking and keeps them light and airy. Once fully cooled, they can be carefully removed from the oven, served, or stored for later enjoyment.
Proper Storage for Long-Lasting Freshness
To keep your beautiful Christmas Tree Meringues crisp and delightful, proper storage is key. Store the cookies in an airtight container at room temperature for up to 5 days. Meringues are highly susceptible to humidity, and exposure to air will quickly cause them to soften and become chewy or sticky. To prevent this, ensure your container is sealed tightly. If you need to stack your cookies, place a sheet of parchment paper or wax paper between each layer to prevent them from sticking together and preserve their delicate decorations.
Pro Tips for Meringue Cookie Success
Achieving perfect meringues isn’t difficult, but it does require attention to a few key details. These professional tips will help ensure your Christmas Tree Meringues turn out beautifully every time:
- Invest in the Right Equipment: While hand whisking is possible, using a hand mixer or a stand mixer with a whisk attachment is highly recommended. This will significantly speed up the process and make it much easier to achieve the crucial stiff peaks. Attempting to whisk by hand for the required duration can be exhausting and may not yield the necessary volume and stability.
- Cleanliness is Paramount: Any trace of grease or fat in your mixing bowl or on your whisk can prevent egg whites from whipping up properly. Before you start, thoroughly wash and dry your mixing bowl and whisk. You can even wipe them down with a slice of lemon or a paper towel dampened with vinegar to ensure they are absolutely fat-free.
- Room Temperature Eggs: As mentioned, this is vital. Room temperature egg whites have less surface tension and can incorporate more air, resulting in a higher volume and more stable meringue. Plan ahead and take your eggs out of the refrigerator at least 30 minutes to an hour before you start baking.
- Achieving Stiff Peaks: This is the most important step for meringue structure. Stiff peaks mean that when you lift the whisk, the meringue stands straight up and holds its shape, without curling at the tip. If your peaks are soft or droopy, continue whipping. If they are over-whipped, they can become granular and dry, so watch carefully!
- Decorate Before Baking: This is a non-negotiable step for sprinkles. If you try to add sprinkles after the meringues have baked and cooled, they will not adhere and will simply fall off. Press them gently into the piped meringue before it goes into the oven.
- The Essential Oven Cool-Down: Do not skip the step of allowing the cookies to cool completely in the oven for 1-2 hours after baking is finished. This slow, gradual cooling prevents temperature shock, which can cause meringues to crack, weep, or become chewy inside. It allows them to fully dry out and crisp up.
- Resist Opening the Oven Door: Once the meringues are baking and especially during the cooling process, do not open the oven door. Opening the door releases the trapped heat and moisture, which can cause your delicate meringues to fall flat, crack, or become rubbery. If you absolutely must check on them, turn on your oven light and peek through the glass.
- Mind the Humidity: Meringues are very sensitive to humidity. If you live in a particularly humid climate, it can be challenging to achieve perfectly crisp meringues. Try to bake on a dry day, and store them immediately in an airtight container once fully cooled to protect them from moisture.
Delightful Serving Suggestions
These festive meringues are versatile and can be enjoyed in many ways. Here are some ideas to serve your beautiful Christmas Tree Meringues:
- On a Holiday Dessert Platter: Arrange them alongside other Christmas cookies, chocolates, and fresh fruit for a stunning and varied display.
- With Hot Beverages: Pair them with a steaming mug of hot cocoa, a latte, or a gourmet coffee for a cozy winter treat.
- Garnish for Other Desserts: Use them as an elegant garnish for trifles, ice cream sundaes, fruit salads, or even alongside a slice of pie or cake.
- Miniature “Trees” on a Cake: Place a few meringues atop a frosted cake or cupcakes to instantly transform them into a festive wonderland.
- Edible Decorations: Hang them on a small edible garland or a miniature tabletop Christmas tree for a charming and unexpected decoration that doubles as a treat.
Frequently Asked Questions About Meringue Cookies
Got questions? We’ve got answers to help you conquer meringue making!
- Q: Can I make these Christmas Tree Meringues ahead of time?
A: Absolutely! Meringues are excellent for make-ahead baking. Once fully cooled and stored in an airtight container, they will remain crisp and delicious for up to 5 days. This makes them perfect for busy holiday preparations. - Q: Why did my meringues crack or collapse?
A: This is usually due to temperature shock or humidity. Not cooling them slowly in the oven, opening the oven door too soon, or sudden changes in temperature can cause cracking. High humidity can also cause them to weep or soften. Ensure your oven temperature is accurate and follow the cooling instructions carefully. - Q: Can I use liquid food coloring instead of gel?
A: While technically possible, it’s not recommended. Liquid food coloring adds extra moisture to the meringue, which can make it less stable and prevent it from drying out properly, leading to a softer or stickier texture. Gel food coloring is concentrated and ideal for meringues as it adds vibrant color without altering consistency. - Q: How do I know if my meringues are done baking?
A: They should feel firm and dry to the touch, and lift easily from the parchment paper. They won’t brown significantly due to the low baking temperature. The critical step is the cooling in the oven; this is when they fully crisp up and dry out internally. - Q: Are these meringues truly gluten-free?
A: Yes! All the ingredients listed (egg whites, sugar, cream of tartar, vanilla extract, food coloring, and sprinkles) are naturally gluten-free. Always double-check your sprinkle ingredients, but most standard sprinkles are gluten-free. - Q: My meringues are sticky or chewy. What went wrong?
A: This is often a sign of insufficient drying. They might not have baked long enough, or more likely, they weren’t allowed to cool completely in the oven. Humidity can also cause them to absorb moisture and become sticky.
Christmas Tree Meringues
Author: Jaclyn
Ingredients
- 4 egg whites room temperature
- 1 cup granulated sugar
- ⅛ teaspoon cream of tartar
- ½ teaspoon vanilla extract
- green gel food coloring
- festive sprinkles for decorating
Instructions
-
Preheat the oven to 225 F (107°C). Line a baking sheet with parchment paper and set aside.
-
Use a hand mixer or stand mixer fitted with the whisk attachment to whip the eggs whites on medium-high speed until they become foamy and resemble soap suds.
-
Add the cream of tartar. Then, gradually add the granulated sugar, about a tablespoon at a time, mixing well between each addition. Continue whipping on high speed until the meringue is glossy and forms stiff, upright peaks that hold their shape when the whisk is lifted.
-
Gently fold in the vanilla extract and a few drops of green gel food coloring. Add more food coloring as needed, folding carefully, until the desired shade of green is reached. Avoid overmixing.
-
Spoon the mixture into a piping bag fitted with a large star or closed star tip. Pipe the meringue onto the prepared baking sheet in swirling motions to create small tree shapes. Immediately top each piped meringue tree with your festive sprinkles.
-
Bake for 1 hour, rotating your baking sheet halfway through the baking time. When they have finished baking, turn off the oven but do not open the oven door. Leave the meringues inside the cooling oven until they have cooled completely (this can take 1-2 hours, or even overnight) to ensure they are perfectly crisp.
Nutrition
Did You Make This Recipe?
Share it with me on Instagram @crayonsandcravings and follow on Pinterest @crayonsandcravings for even more!
Pin Recipe
Leave A Review
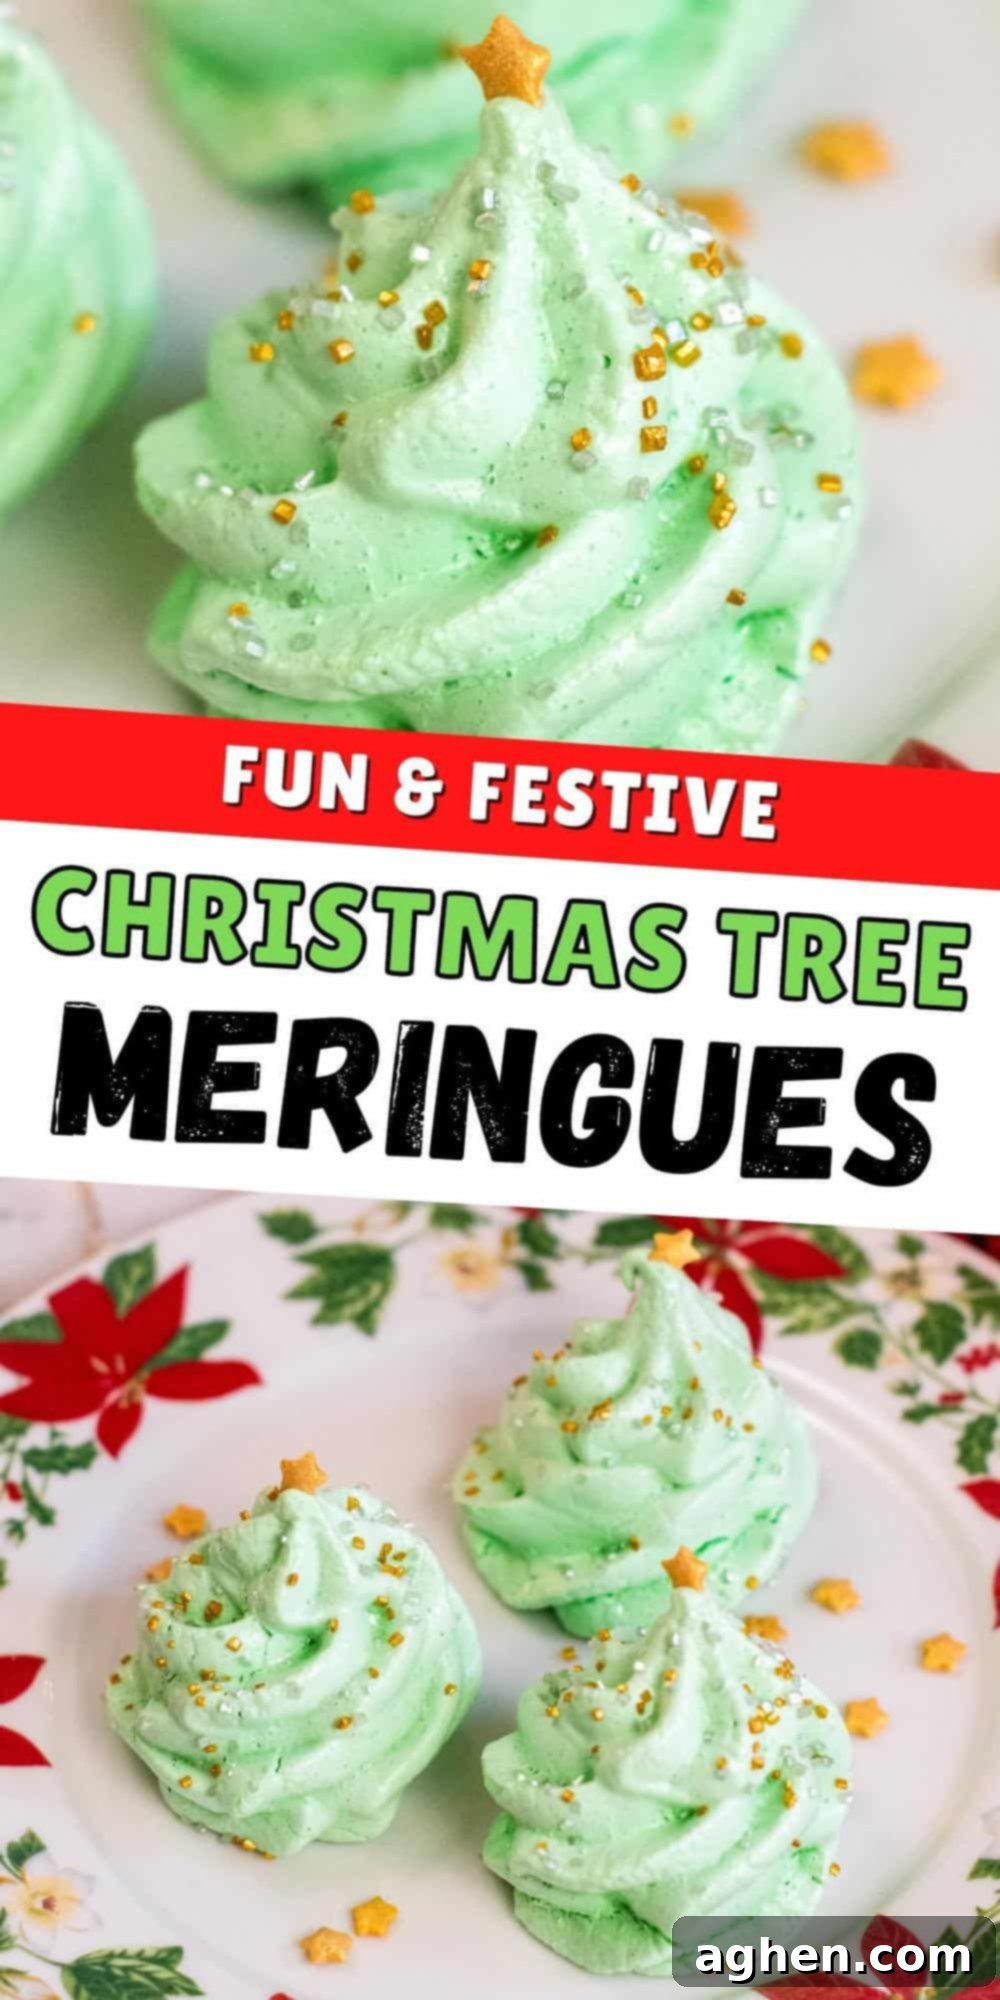
There you have it—a comprehensive guide to creating these enchanting **Christmas Tree Meringue Cookies**. With their light-as-air texture, festive appearance, and naturally gluten-free nature, they are sure to be a star on your holiday dessert table. Happy baking, and happy holidays!
