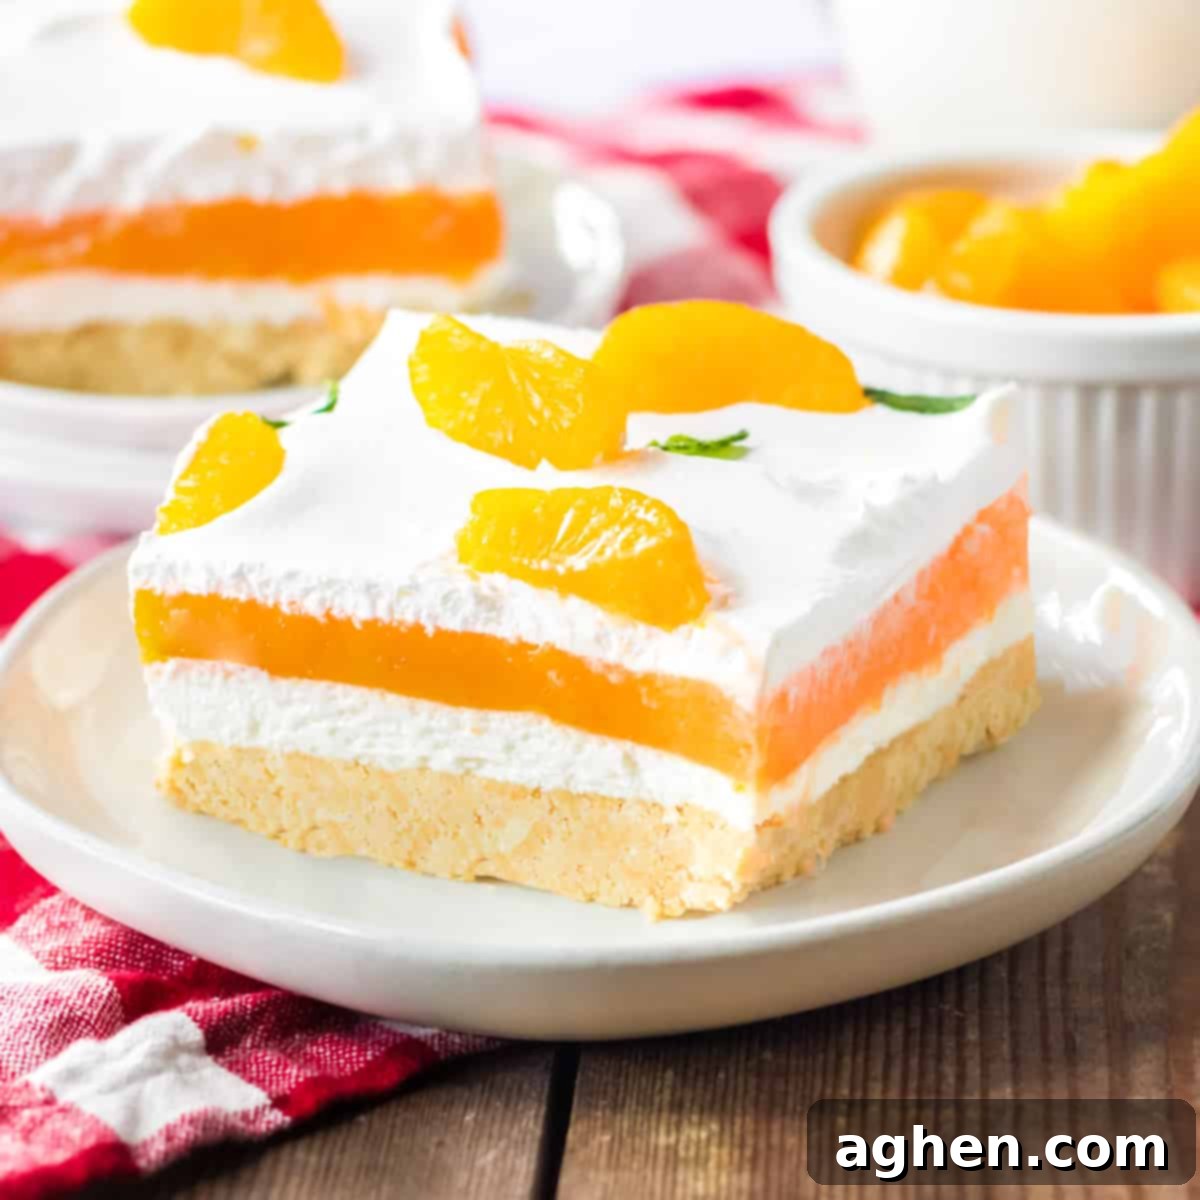
Ultimate No-Bake Orange Creamsicle Lush: Your Perfect Summer Dessert Recipe
Prepare to delight your taste buds with this incredible Orange Creamsicle Lush recipe, a cool, creamy, and utterly delicious no-bake dessert that captures the nostalgic flavors of your favorite childhood treat. Perfect for those sweltering summer days when you crave something refreshing without turning on the oven, this layered dessert is a guaranteed crowd-pleaser at any gathering. Each luscious forkful offers a symphony of textures and tastes: a sweet vanilla cookie crust, a rich, sweetened cream cheese layer, vibrant orange Jell-O swirled with creamy vanilla pudding, all topped with a light, airy whipped topping.
If the bright, citrusy, and creamy notes of creamsicle flavor are what you live for, then you’re in luck! This delightful lush is just one way to enjoy it. You might also adore our Orange Creamsicle Fruit Dip for a lighter snack or a refreshing Orange Creamsicle Drink to sip on a warm afternoon. Get ready to add this impressive, easy-to-make dessert to your summer rotation!
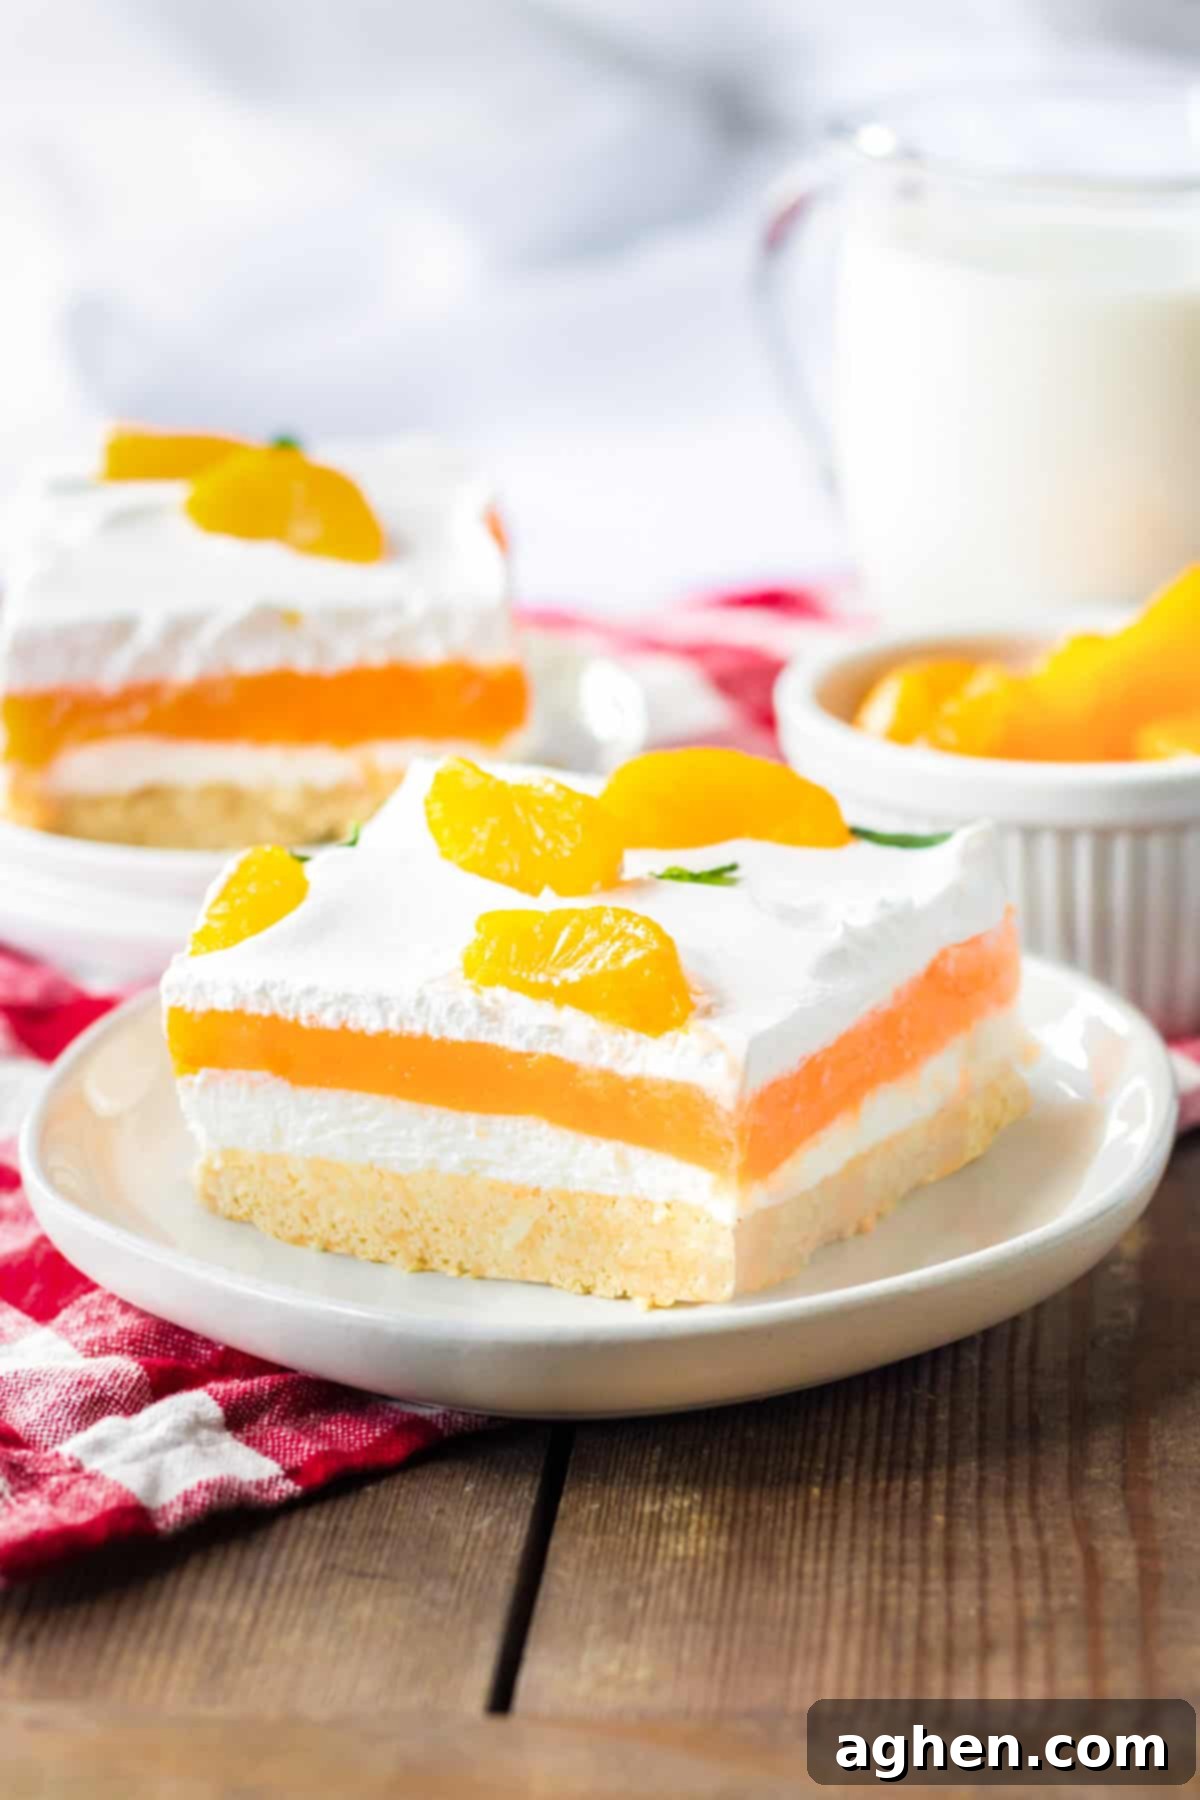
I vividly remember the excitement of hearing the distant chime of the ice cream truck on hot summer afternoons, eagerly awaiting an orange creamsicle popsicle. While those childhood days might be a sweet memory, I’ve found immense joy in recreating that iconic, nostalgic flavor with this incredible orange lush recipe. It’s more sophisticated than a popsicle, yet still delightfully playful and utterly satisfying.
This creamy lush transforms a beloved childhood ice cream treat into an elegant yet simple no-bake dessert that appeals to all ages. Its vibrant, refreshing character makes it an ideal choice for springtime celebrations and summertime gatherings. Whether you’re hosting a casual backyard barbecue, contributing to a Memorial Day potluck, or simply looking for a delightful dessert to share with family, the harmonious blend of creamy orange and vanilla is a flavor profile everyone will adore. It’s light, bright, and surprisingly easy to prepare, making it a stress-free option when you want to impress without the fuss.
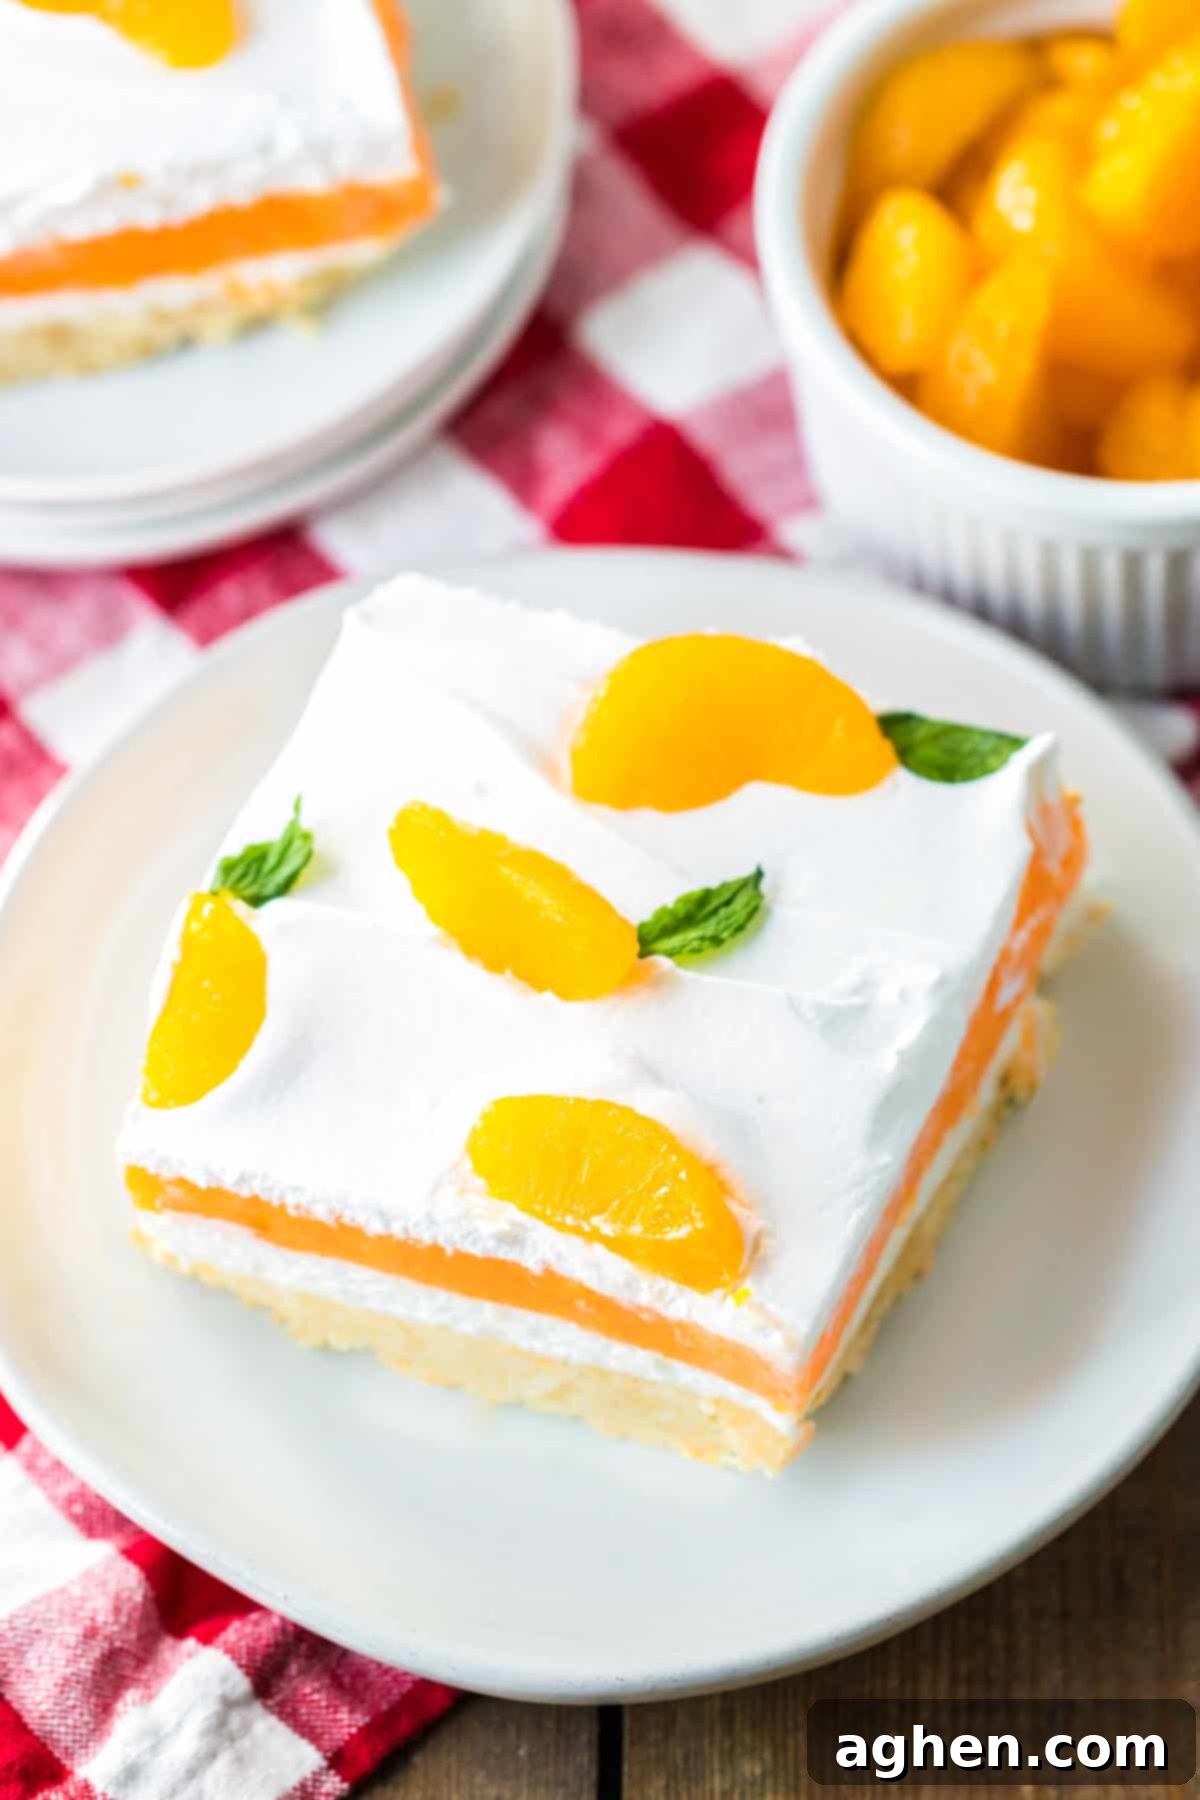
For those who love layered, creamy desserts, this Orange Creamsicle Lush is just the beginning! If you’re seeking more irresistible no-bake treats, be sure to give our refreshing Lemon Lush recipe a try, or indulge in the decadent flavors of my Butterfinger Lush recipe. Each offers a unique spin on the classic lush concept, providing a perfect dessert for any occasion.
Why You’ll Adore This Orange Creamsicle Lush Recipe
This isn’t just another dessert; it’s a delightful experience waiting to happen! Here’s why this Orange Creamsicle Lush will quickly become one of your go-to recipes:
- Effortless No-Bake Preparation: Say goodbye to hot ovens on scorching days! This simple, no-bake recipe comes together with minimal effort and uses readily available, common ingredients, making dessert creation a breeze.
- Ultimate Refreshment for Gatherings: Its cool, creamy texture and vibrant orange-vanilla flavor make it the perfect refreshing dessert for potlucks, barbecues, picnics, and any summer celebration where you need a delightful treat that everyone will love.
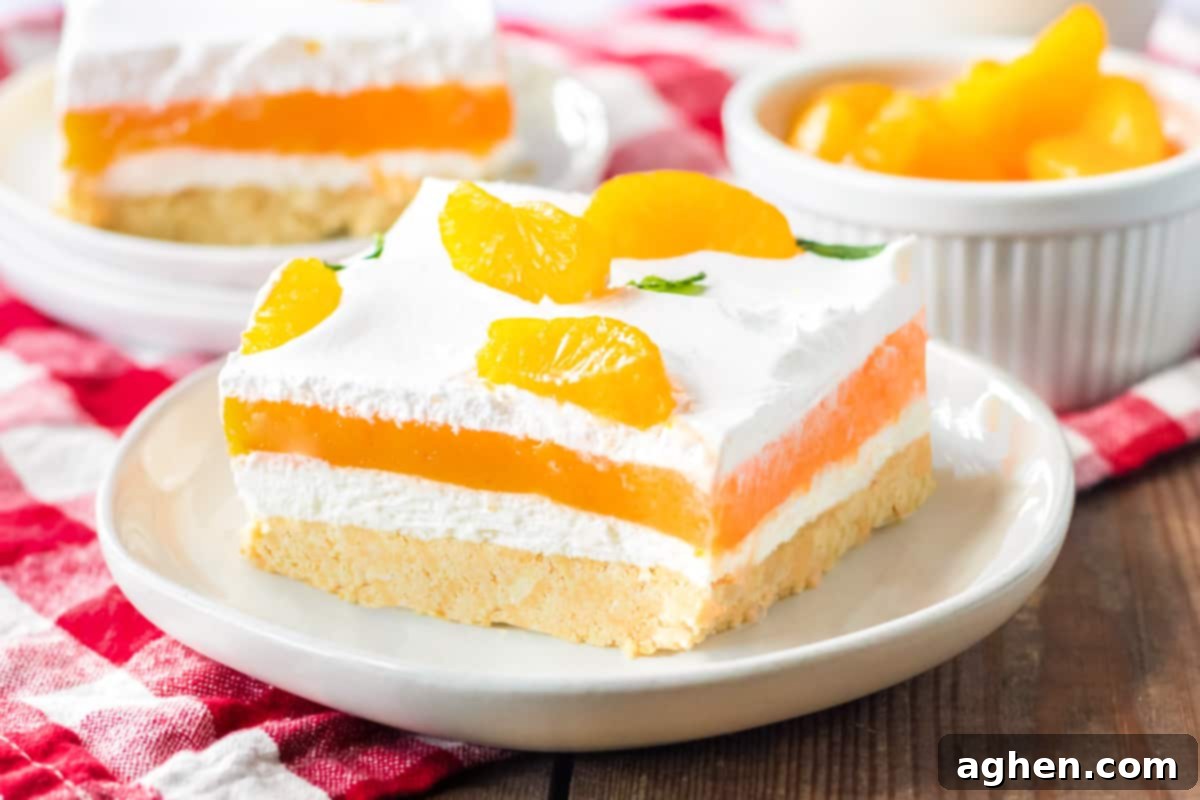
- Visually Stunning Layers: Each carefully crafted layer – from the crunchy cookie crust to the creamy cheesecake, the vibrant orange pudding, and the fluffy whipped topping – creates a visually impressive dessert that looks as amazing as it tastes. It’s a true showstopper!
- Nostalgic Flavor Profile: It perfectly captures the beloved taste of an orange creamsicle popsicle, bringing back sweet memories while offering a more refined and satisfying dessert experience.
- Perfect Make-Ahead Option: This lush needs time to chill, making it an ideal candidate for preparing a day in advance. This frees up your time on the day of your event, allowing you to relax and enjoy the festivities.
Essential Ingredients for Your Creamsicle Masterpiece
This section provides detailed ingredient notes, offering substitution options and tips to ensure your Orange Creamsicle Lush turns out perfectly every time. For precise measurements and step-by-step instructions, please refer to the printable recipe card conveniently located at the end of this post.
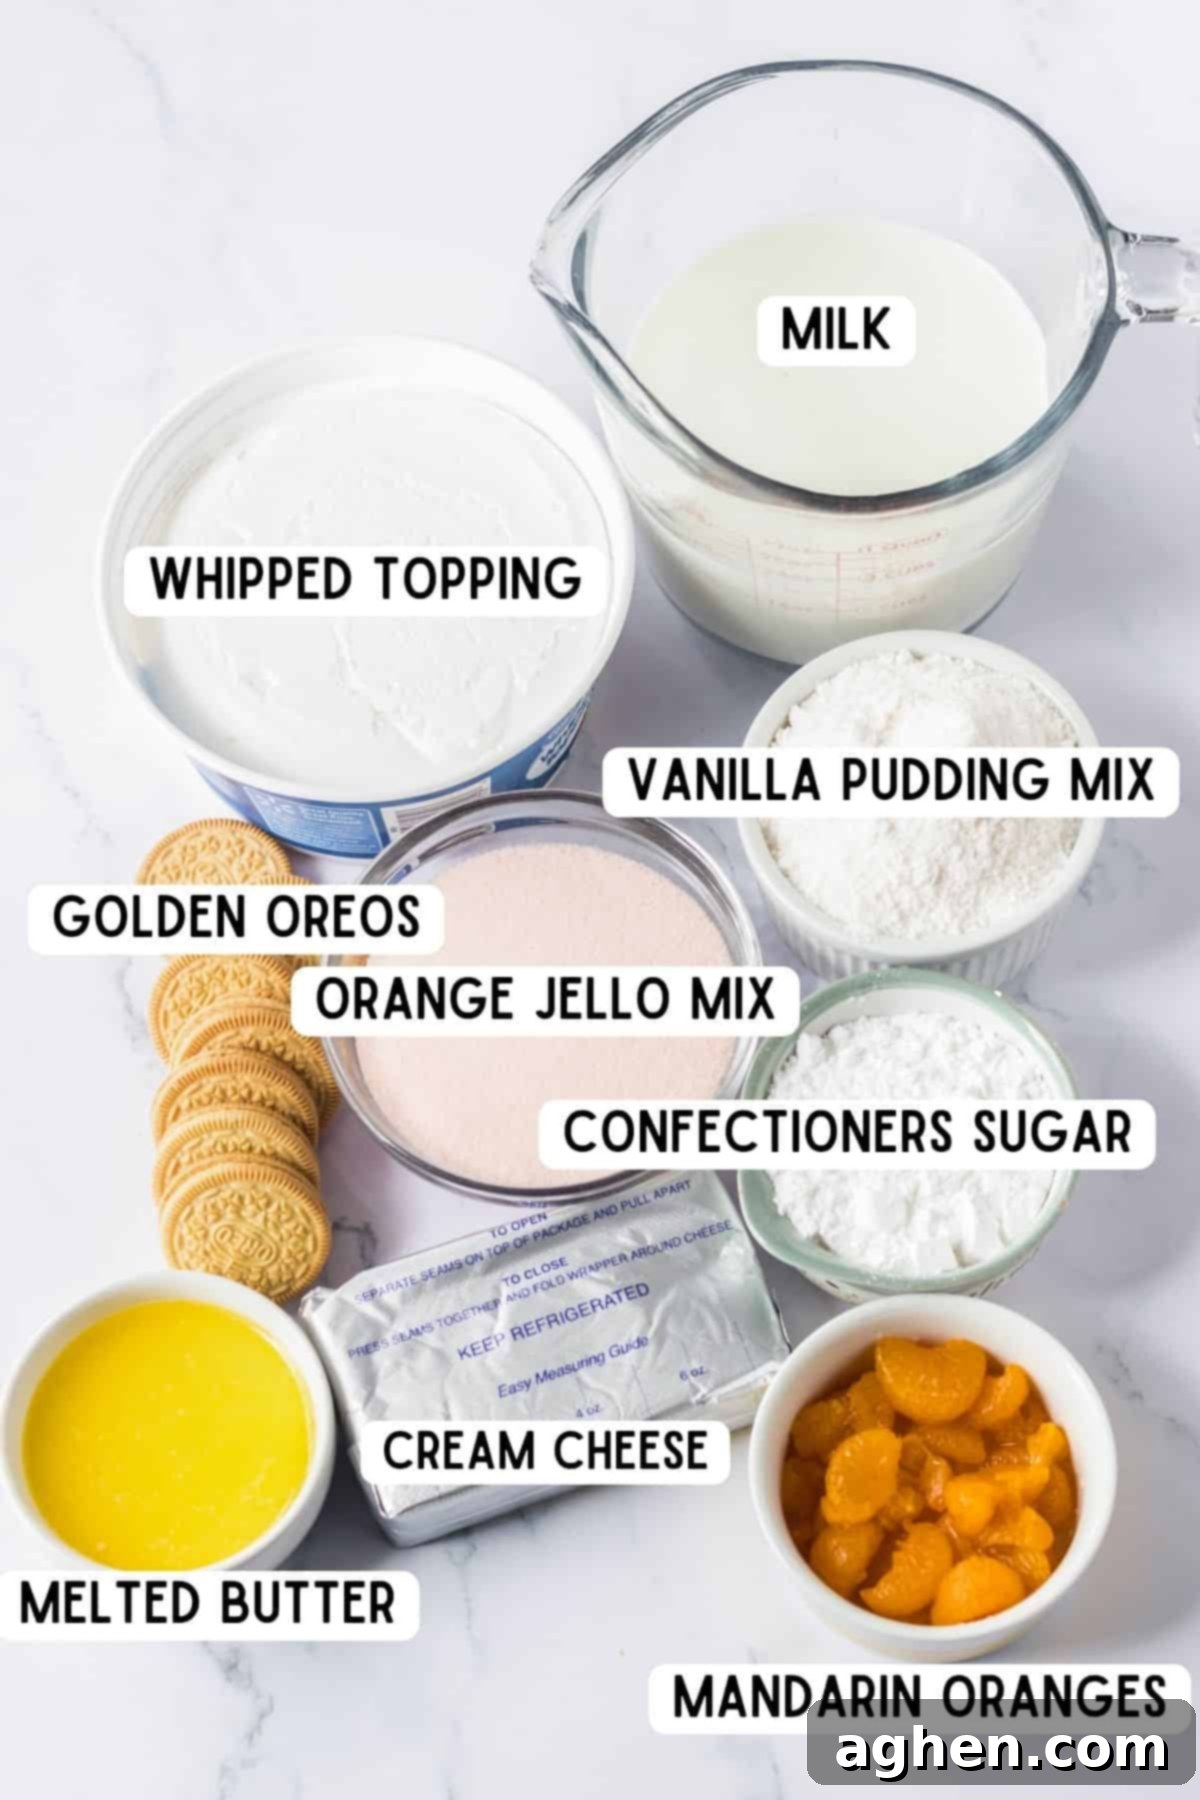
- Golden Oreos: These delightful vanilla sandwich cookies are crushed and combined with melted butter to create the sweet, firm, and flavorful base for our layered dessert. Their subtle vanilla flavor complements the creamsicle theme beautifully. If Golden Oreos aren’t available, vanilla wafers or even graham cracker crumbs make an excellent alternative.
- Butter: Essential for binding the cookie crumbs into a cohesive crust. Both salted or unsalted butter work well; if using salted, you might slightly reduce any added salt in other components, though it’s usually negligible in dessert. Melt it completely for easy mixing.
- Orange Gelatin: You’ll need a total of 6 ounces of orange Jell-O mix. This typically means one large 6-ounce box or two smaller 3-ounce boxes. The Jell-O provides that iconic bright orange color and tangy citrus flavor that is central to the creamsicle experience.
- Boiling Water: Used to fully dissolve the gelatin mix, ensuring a smooth, lump-free orange layer. It’s crucial to use water at a rolling boil for proper dissolution.
- Vanilla Instant Pudding Mix: Two 3.4-ounce packages are required. It’s vital to choose *instant* pudding mix, as cook-and-serve varieties will not set correctly in this no-bake recipe. The vanilla pudding adds a creamy, dreamy element to the orange layer, mimicking the “cream” in creamsicle.
- Cold Milk: This is combined with the instant pudding mix to achieve its thick, creamy consistency. Using cold milk helps the pudding set quickly and properly. Any type of dairy milk (whole, 2%, skim) will work, with whole milk yielding the richest result.
- Cream Cheese: An 8-ounce block of full-fat cream cheese is needed for the rich, sweet, and tangy cream cheese layer. For a perfectly smooth texture, ensure the cream cheese is at room temperature for at least 30 minutes (or even an hour) before you begin preparing the recipe. This prevents lumps and makes it much easier to beat.
- Confectioners’ Sugar: Also known as powdered sugar, this fine sugar adds sweetness and a silky smooth texture to the cream cheese mixture without being grainy.
- Cool Whip: One 16-ounce container (or two 8-ounce containers) of thawed whipped topping is used. This provides a light, airy, and fluffy texture to both the cream cheese layer and as the final topping. Make sure it’s thawed in the fridge overnight for best results; don’t rush it in the microwave.
- Mandarin Oranges and Fresh Mint: These are optional but highly recommended garnishes. Mandarin orange segments add a burst of fresh citrus and a beautiful visual appeal. Fresh mint leaves can be used to create charming “little orange” designs on top, elevating the dessert’s presentation from simple to stunning.
Recommended Equipment for a Seamless Preparation
Having the right tools on hand can make preparing this delightful Orange Creamsicle Lush even easier and more enjoyable:
- Food Processor: This is ideal for quickly transforming the Golden Oreos into fine, even crumbs for the crust. If you don’t have one, a sturdy ziploc bag and a rolling pin can work, though the crumbs might be less uniform.
- Mixing Bowls: You’ll need several medium and large mixing bowls for preparing the different layers. Having them ready will streamline your workflow.
- 9×13 Baking Dish: A standard 9×13-inch glass baking dish is perfect for showcasing the beautiful layers of this dessert. Glass is ideal because it allows you to see the vibrant colors and distinct layers from the side, enhancing its visual appeal.
- Electric Mixer (Handheld or Stand): While a whisk works for some steps, an electric mixer is highly recommended for beating the cream cheese and confectioners’ sugar until perfectly smooth and lump-free, ensuring a luscious and creamy layer.
- Whisk: For combining the Jell-O and pudding mixes thoroughly.
- Spatula or Offset Spatula: Useful for evenly spreading the layers in the baking dish.
Crafting Your Orange Creamsicle Lush Dessert: Step-by-Step Guide
Follow these detailed steps, complete with helpful tips, to create your own show-stopping Orange Creamsicle Lush. For a printer-friendly version with all precise measurements, please refer to the comprehensive recipe card below. Enjoy the process!
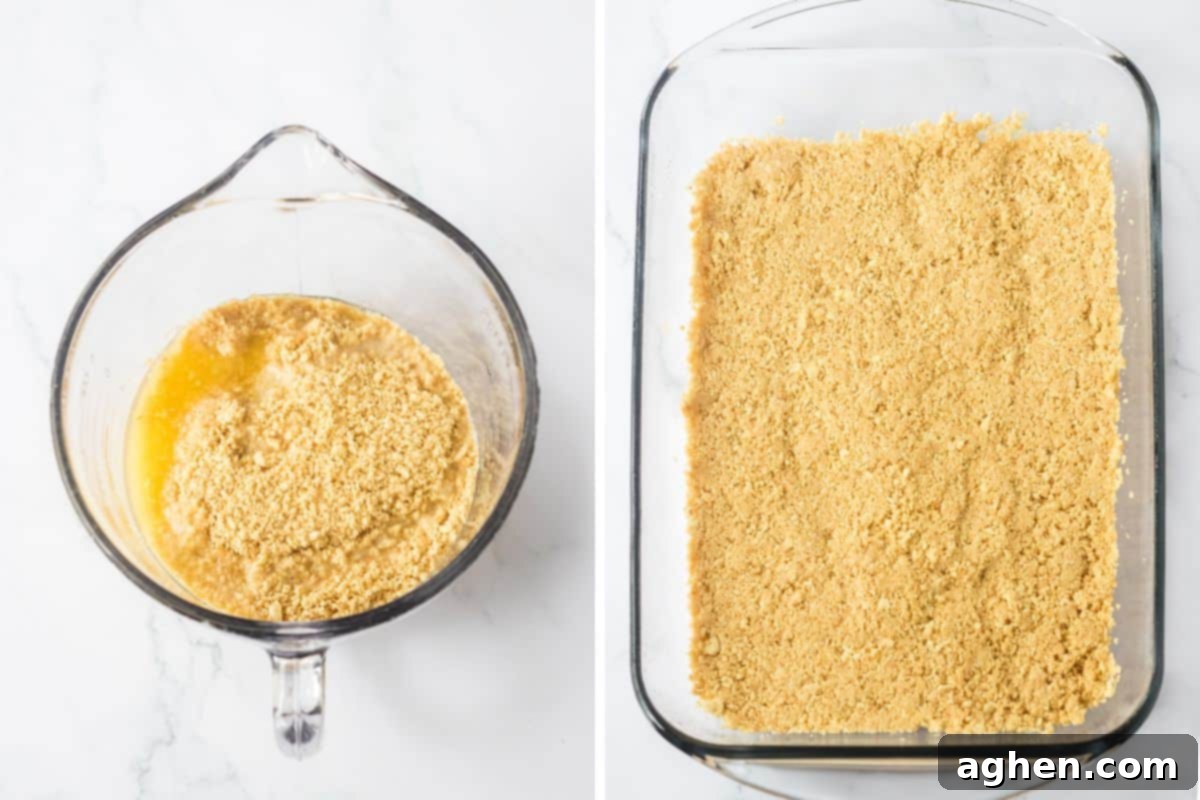
Step 1: Prepare the Golden Cookie Crust. Begin by crushing the Golden Oreos. Place the entire package of cookies into a food processor and pulse until they are transformed into fine, consistent crumbs. Depending on the size of your food processor, you may need to do this in two batches to ensure even crumbling. Once crushed, transfer these delightful crumbs to a small mixing bowl. Pour in the melted butter and stir thoroughly until all the crumbs are moistened and resemble wet sand. Press this mixture evenly into the bottom of a 9×13-inch glass baking dish. Use the back of a spoon or your clean hands to compact it firmly. Place the dish in the refrigerator to chill while you prepare the creamy filling layers; this helps the crust set.
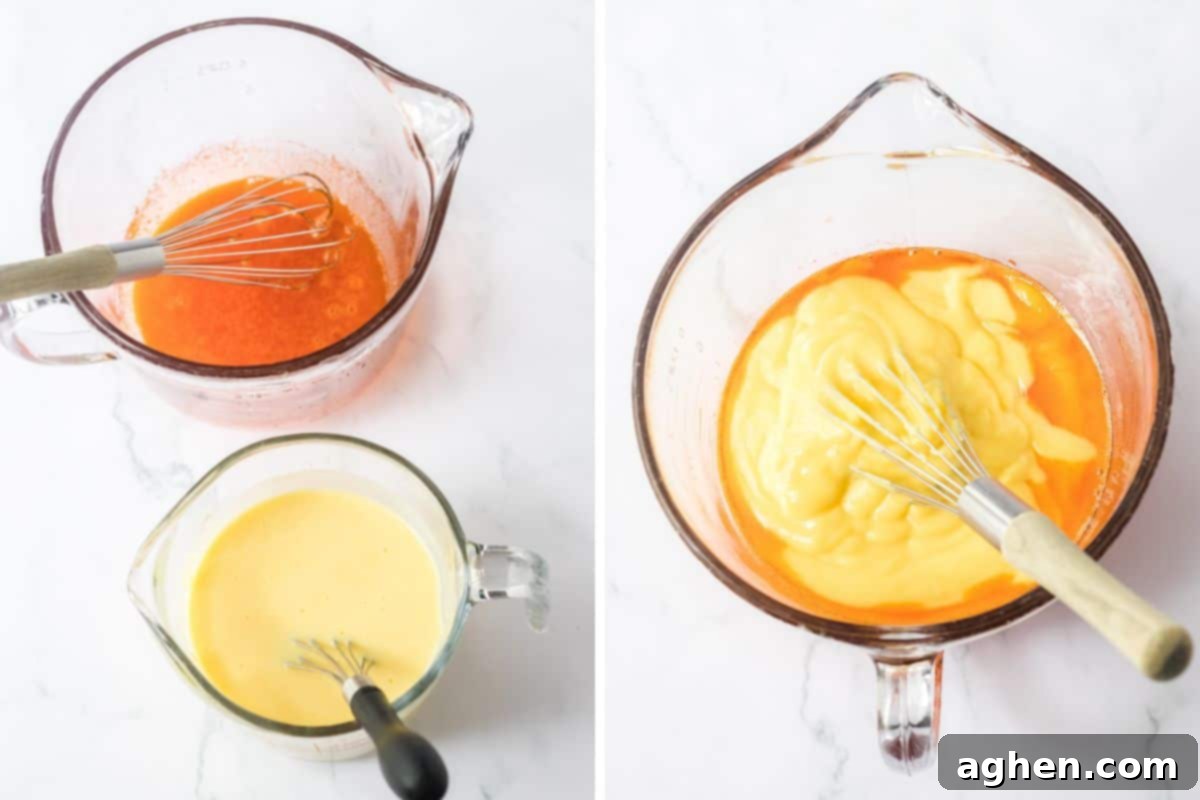
Step 2: Dissolve the Orange Gelatin. In a medium-sized heatproof bowl, combine the orange Jell-O mix with the boiling water. Whisk these two ingredients together vigorously for at least 2 minutes, or until the gelatin powder is completely dissolved and there are no granules remaining. Set this vibrant orange mixture aside to cool slightly while you prepare the pudding.
Step 3: Combine Pudding and Gelatin for the Orange Creamsicle Layer. In a separate, second bowl, whisk together the instant vanilla pudding mixes and the cold milk. Continue whisking for about 2 minutes, or until the mixture begins to thicken to a smooth, pudding-like consistency. Now, carefully pour the prepared vanilla pudding mixture into the bowl with the dissolved orange gelatin. Whisk them together until thoroughly combined, creating a beautifully uniform, creamy orange mixture that embodies the creamsicle flavor. Set this aside as well.
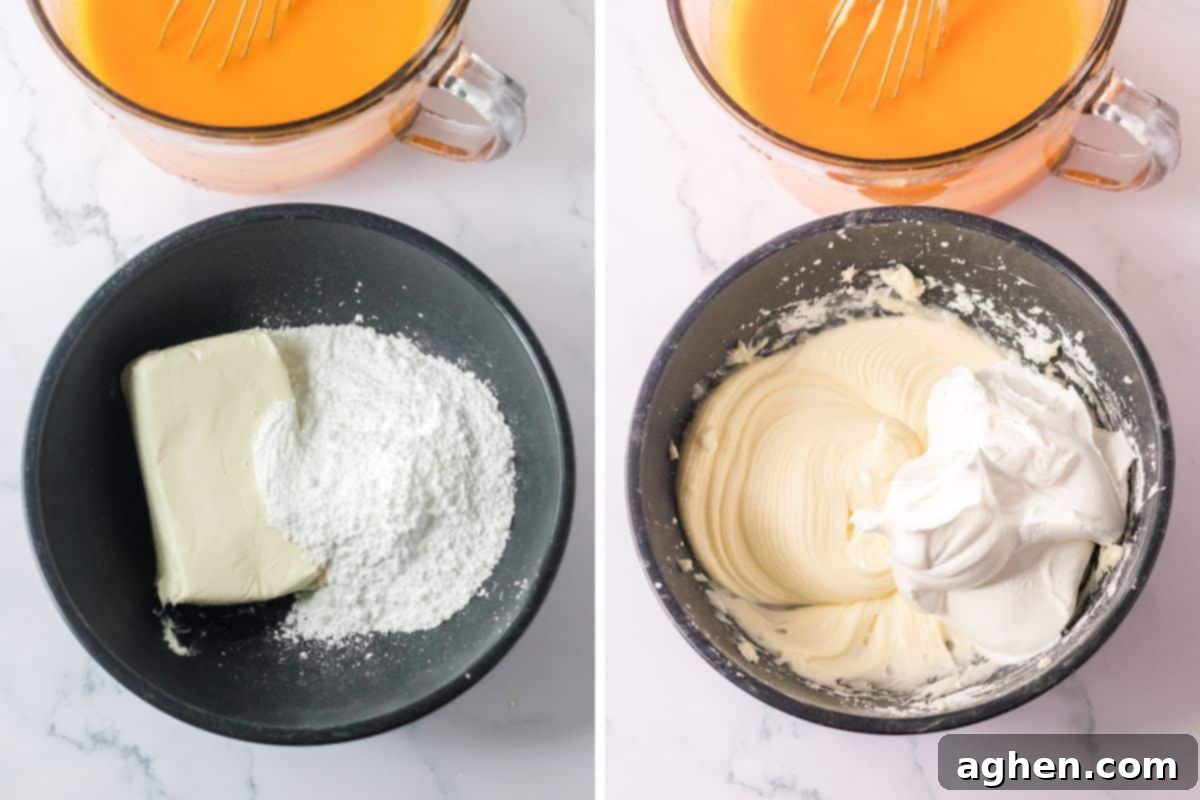
Step 4: Prepare the Cream Cheese Layer. In a large mixing bowl, use an electric mixer (either a handheld or stand mixer) to beat the softened cream cheese and confectioners’ sugar together. Beat on medium speed until the mixture is light, fluffy, and completely smooth, with no lumps of cream cheese remaining. This usually takes 2-3 minutes. Once smooth, gently fold in 2 cups of the thawed whipped topping. Be careful not to overmix, as you want to maintain the airiness of the whipped topping. Reserve the remaining whipped topping for the final layer.
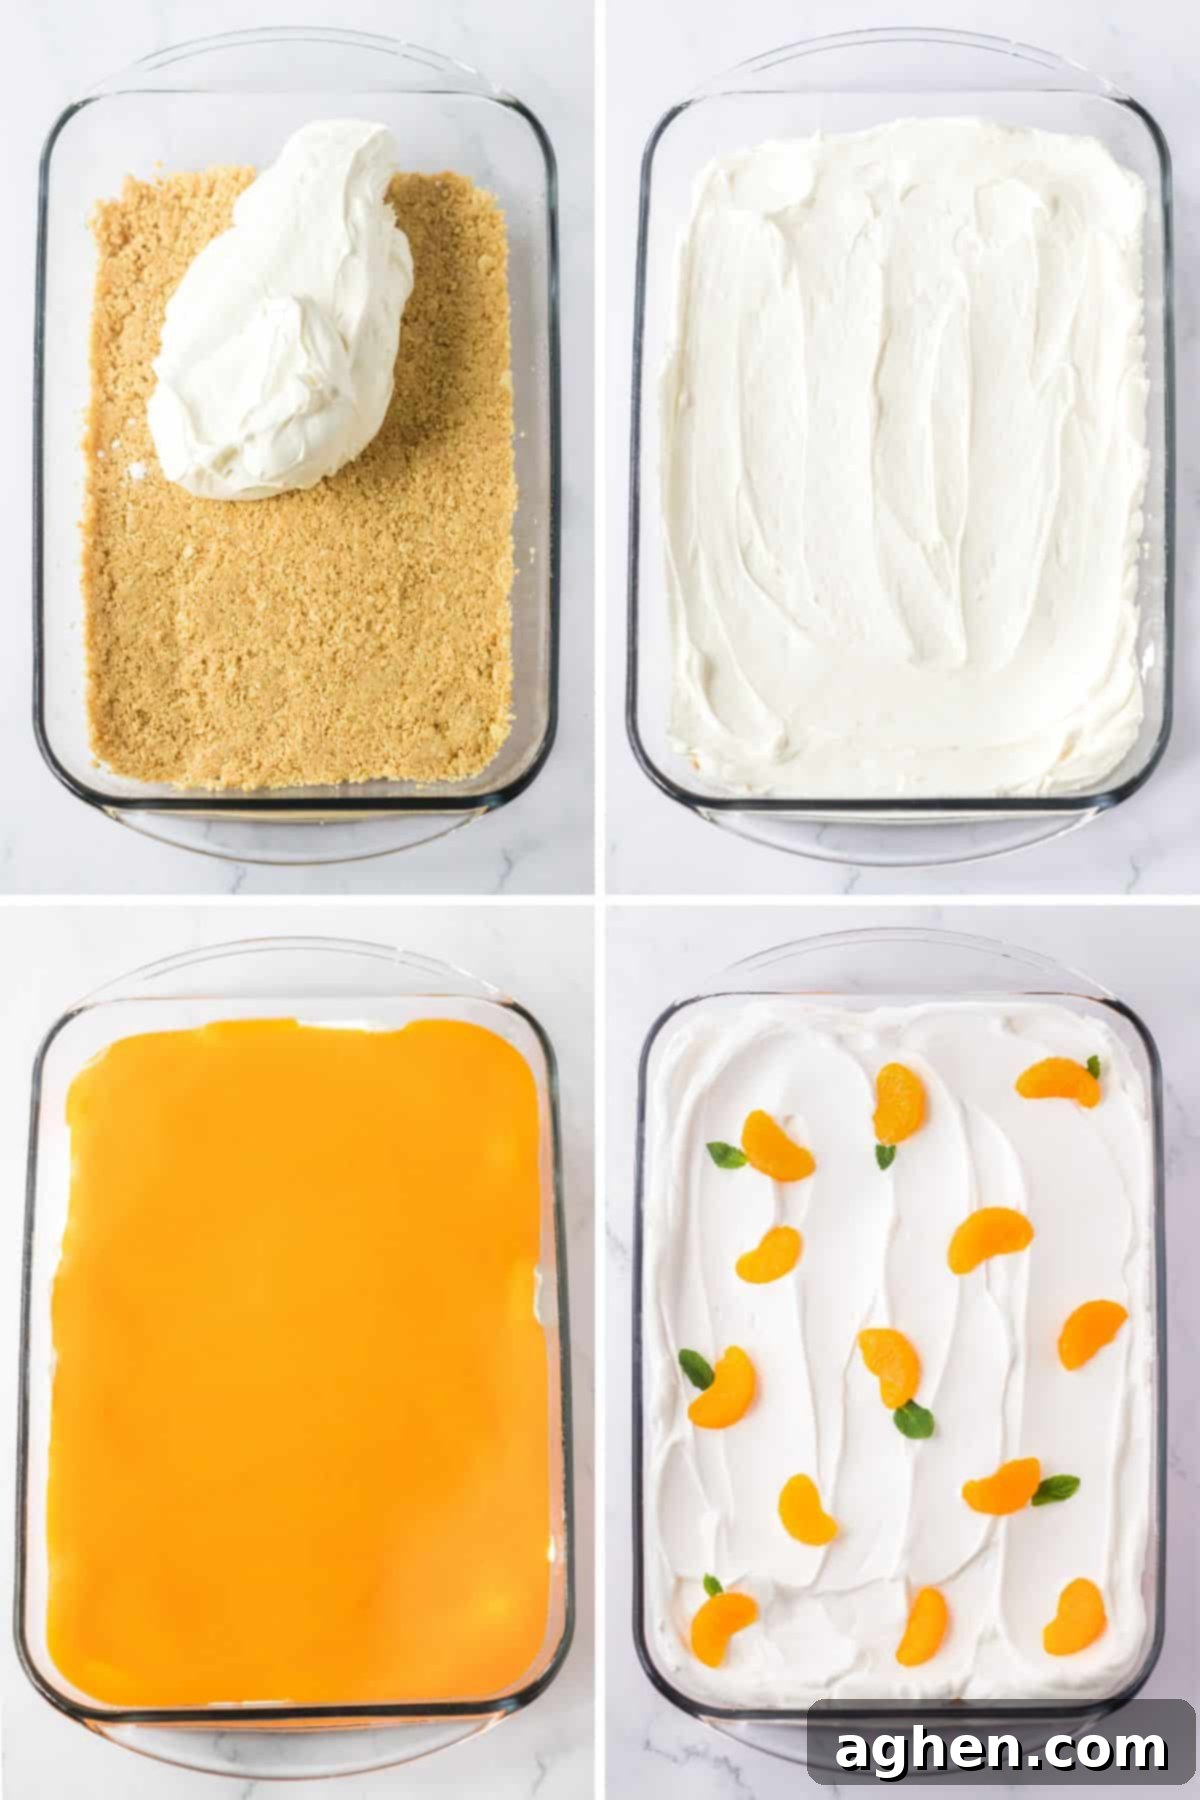
Step 5: Assemble and Chill Your Lush. Retrieve your chilled cookie crust from the refrigerator. Carefully and evenly spread the prepared cream cheese mixture over the crust, ensuring it reaches all edges. Next, gently pour the orange Jell-O and pudding mixture over the cream cheese layer, spreading it out to form an even, vibrant orange layer. Finally, top the entire dessert with the remaining whipped topping, spreading it smoothly across the surface. Once all layers are assembled, cover the baking dish tightly with plastic wrap and refrigerate for a minimum of 4 hours, or ideally, overnight. Adequate chilling time is crucial for the layers to set properly and for the flavors to meld beautifully.
Step 6: Garnish and Serve. Before serving, add an optional but highly recommended garnish. Arrange drained mandarin orange segments decoratively over the top of the whipped topping. For an extra charming touch, place small fresh mint leaves at one end of each orange slice to make them resemble miniature oranges. Slice into generous portions and serve chilled to enjoy this refreshing, layered no-bake dessert.
Storage Guidelines for Your Orange Creamsicle Lush
To maintain the freshness and creamy texture of your Orange Creamsicle Lush, proper storage is key. Always store the dessert tightly covered in plastic wrap or an airtight container in the refrigerator. It will keep beautifully for up to 4 days. It is absolutely essential to serve this dessert chilled, as its delightful consistency relies on the cold. Due to the dairy components (cream cheese, milk, whipped topping), it should never be left at room temperature for an extended period, as this can compromise its safety and texture.
Make Ahead Marvel: Planning for Perfection
This Orange Creamsicle Lush is an absolute dream for entertaining, as it’s a perfect make-ahead dessert! Its flavors deepen and its layers set more firmly with time, making it even better when prepared in advance. Simply assemble the entire dessert the night before your event, cover it securely with plastic wrap or a lid, and refrigerate it. This allows all the layers to fully meld and solidify, ensuring beautiful, clean slices and a truly rich flavor. When the time comes to serve, simply pull it out, add your garnishes, and enjoy a stress-free dessert experience.
Expert Tips & Tricks for the Best Orange Creamsicle Lush
Achieve perfection with your no-bake orange creamsicle dessert by following these helpful tips and tricks:
- Showcase the Layers in Glass: For a truly stunning presentation, opt for a clear glass 9×13-inch baking dish. This allows your guests to admire the vibrant and distinct layers of the cookie crust, creamy white, and bright orange, making the dessert even more enticing.
- Achieve Pristine Slices: If you desire perfectly clean, photo-worthy slices, try freezing the dessert for 20-30 minutes before cutting. This firms up all the layers, making it easier to get sharp edges. Dip your knife in hot water and wipe clean between each slice for the best results.
- Patience is a Virtue (and Key to Setting!): While 4 hours of chilling is the minimum recommended, letting the dessert chill overnight truly yields the best results. The layers will be perfectly set, the flavors will deepen, and the overall texture will be much firmer and more cohesive. This is why it excels as a make-ahead recipe.
- Soften Cream Cheese Properly: Don’t skip the step of softening your cream cheese to room temperature. This is crucial for achieving a smooth, lump-free cream cheese layer. Cold cream cheese will result in a clumpy texture that’s difficult to spread.
- Thaw Cool Whip Correctly: For the best consistency, thaw your Cool Whip in the refrigerator overnight. Attempting to thaw it quickly at room temperature or in the microwave can cause it to become watery or lose its fluffy texture.
- Drain Mandarin Oranges Well: If using canned mandarin oranges for garnish, ensure they are thoroughly drained before placing them on top. Excess moisture can make the whipped topping watery.
Exciting Additions and Flavor Variations
While this classic Orange Creamsicle Lush is perfection on its own, don’t hesitate to get creative and personalize it with these delightful additions and variations:
Explore Different Fruity Flavors. This versatile lush recipe can be adapted to many fruit flavors! If you want to stick with the vibrant citrus family, consider making a refreshing lime lush by swapping orange Jell-O for lime Jell-O and garnishing with lime zest or slices. Alternatively, venture into berry territory with a sweet strawberry lush or a tangy raspberry lush, using the corresponding Jell-O flavor and appropriate fruit toppings. The possibilities are endless!
Indulge with a Hint of Chocolate. You can never go wrong by adding chocolate to a dessert! For a delightful twist, use chocolate Oreo cookies for the crust instead of Golden Oreos. You could also gently fold some mini chocolate chips into the vanilla pudding layer or sprinkle them over the top for a subtle chocolatey crunch.
Boost the Orange Flavor. For true orange enthusiasts, intensify the citrus kick! Grate a bit of fresh orange zest into the cream cheese layer or the orange pudding mixture. A few drops of orange extract could also be added to the pudding for an extra burst of flavor. Garnishing with more orange zest on top is always a fantastic idea.
Add a Nutty Crunch. For added texture, consider mixing finely chopped nuts (like pecans or walnuts) into your cookie crust or sprinkling them lightly between layers. This provides a lovely contrast to the creamy elements.
Coconut Kiss. For a tropical twist, incorporate a layer of toasted coconut flakes on top of the whipped cream, or even mix some into the cookie crust. It pairs wonderfully with the orange flavor.
Orange Creamsicle Lush FAQs
While it’s technically possible to crush the OREO cookies by hand using a rolling pin, I’ve found that this method often results in larger, inconsistent crumbs that don’t create as uniform or firm of a crust. For the best texture and structure, a food processor is highly recommended to achieve fine, even crumbs. If you don’t have a food processor, a good alternative is to use a pre-made box of graham cracker crumbs, which provides a consistently fine texture and makes for an excellent graham cracker crust instead.
For those who truly love an intense orange flavor, there are several ways to enhance this dessert! You can mix a bit of fresh orange zest directly into the vanilla pudding mix or the no-bake cream cheese layer for a bright, aromatic punch. Adding a few drops of pure orange extract (start with a small amount and taste) to either of these layers will also boost the citrus profile significantly. Finally, don’t forget to sprinkle extra orange zest generously over the top of the finished icebox cake for both flavor and a beautiful visual appeal.
Yes, you absolutely can! While Cool Whip offers convenience and stability, homemade whipped cream provides a richer, fresher flavor. If using homemade whipped cream, ensure it’s stiffly beaten with a bit of powdered sugar and vanilla extract. Keep in mind that homemade whipped cream might not be as stable as Cool Whip, so it’s best to add it right before serving or be aware that the top layer might soften slightly faster.
More Tasty No-Bake Desserts to Explore
If you love the ease and deliciousness of this no-bake Orange Creamsicle Lush, you’ll surely enjoy these other fantastic no-bake dessert recipes:
- No-Bake Eclair Cake: A chocolatey, custard-filled delight without the oven!
- Blueberry Yum Yum: A sweet and fruity dessert with layers of creamy goodness.
- No-Bake Peanut Butter Pie: Rich, creamy, and incredibly satisfying for peanut butter lovers.
- Pistachio Pudding Icebox Cake: My husband’s absolute favorite dessert, bursting with pistachio flavor!
- No-Bake Strawberry Cheesecake Bars: Fruity and creamy, these bars are perfect for sharing.

Orange Creamsicle Lush
Author: Jaclyn
Ingredients
- 1 package (13.29 ounces) Golden OREO Cookies about 33 cookies, for the perfect vanilla crust
- 6 Tablespoons butter melted, to bind the crust
- 6 ounces orange Jello mix (two 3-ounce boxes), for vibrant citrus flavor
- ⅓ cup boiling water, to dissolve the gelatin
- 6.8 ounces vanilla instant pudding mix (two 3.4-ounce-boxes), ensure it’s instant, not cook-and-serve
- 2 ½ cups cold milk, for mixing with pudding
- 8 ounces cream cheese softened to room temperature
- 1 cup confectioners’ sugar, for sweetness and smooth texture
- 16 ounces whipped topping thawed and divided, like Cool Whip
- mandarin orange slices drained, for garnish (fresh or canned)
- fresh mint optional garnish, for a fresh look
Instructions
-
1. Prepare the Cookie Crust: Place the Golden OREO cookies in a food processor and pulse until they are finely ground into crumbs. It may be necessary to process in batches depending on your food processor’s size. Transfer the crumbs to a small mixing bowl.
-
2. Form the Crust: Stir the melted butter into the cookie crumbs until well combined. Press this mixture evenly and firmly into the bottom of a 9×13-inch glass baking dish. Place the dish in the refrigerator to chill while you prepare the remaining layers.
-
3. Dissolve Gelatin: In a large bowl, whisk together the orange gelatin mix and boiling water for 2 minutes, or until the gelatin is completely dissolved. Set aside.
-
4. Create Orange Pudding Layer: In a medium bowl, whisk the instant vanilla pudding mix and cold milk together for about 2 minutes, until smooth and thickened. Add this vanilla pudding mixture to the dissolved orange gelatin mixture and stir well to combine. Set aside.
-
5. Prepare Cream Cheese Layer: In a large mixing bowl, use an electric mixer to beat the softened cream cheese and confectioners’ sugar together until the mixture is smooth and creamy. Gently fold in half (approximately 2 cups) of the thawed Cool Whip, reserving the remaining Cool Whip for the topping.
-
6. Layer the Dessert: Spread the cream cheese mixture evenly over the chilled cookie crust. Follow this with an even layer of the orange jello/pudding mixture. Finally, top with the remaining Cool Whip, spreading it smoothly across the surface.
-
7. Chill Thoroughly: Cover the baking dish tightly with plastic wrap and refrigerate for at least 4 hours, or ideally, overnight, to allow all the layers to set completely and flavors to meld.
-
8. Garnish and Serve: Just before serving, top the lush with drained mandarin orange segments. For an extra decorative touch, add small fresh mint leaves to the ends of the orange slices to resemble tiny oranges. Slice and serve chilled.
Notes
If you don’t have a food processor to crush the Golden Oreos, you can easily substitute a box of pre-made graham cracker crumbs for the crust. This will still provide a delicious and firm base for your layered dessert.
For an even stronger orange flavor, consider adding 1/2 teaspoon of orange extract to the pudding mixture along with the gelatin.
Nutrition

Did You Make This Recipe?
We’d love to see your creations! Share your Orange Creamsicle Lush with us on Instagram @crayonsandcravings and make sure to follow us on Pinterest @crayonsandcravings for even more delicious recipes and inspiration!
Pin Recipe
Leave A Review
