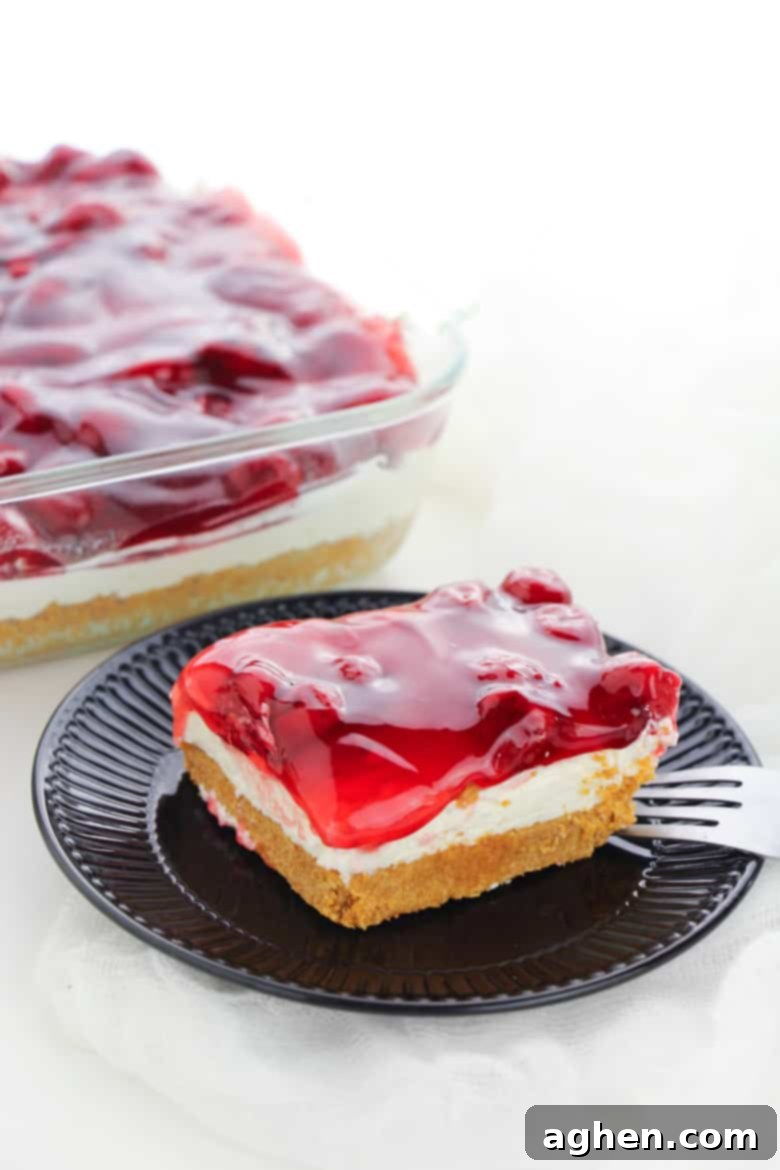
The Ultimate Easy No Bake Cherry Cheesecake: Your Perfect No-Oven Dessert
Craving a delightful dessert that’s both incredibly easy to make and requires no oven? Look no further than this fantastic No Bake Cherry Cheesecake! It’s a beautifully layered treat featuring a buttery graham cracker crust, a rich, creamy no-bake cheesecake filling, and is generously crowned with a vibrant cherry pie filling. This recipe is a true crowd-pleaser, perfect for summer gatherings, potlucks, or simply a sweet family treat.
Just like our other beloved no-bake creations, such as the mini chocolate chip cookie cheesecakes, the easy no-bake strawberry cheesecake, and the delightful no-bake strawberry cheesecake bars, this cherry version utilizes an incredibly simple and quick no-bake cheesecake filling. This ensures a silky-smooth texture and a decadent flavor without the hassle of baking.
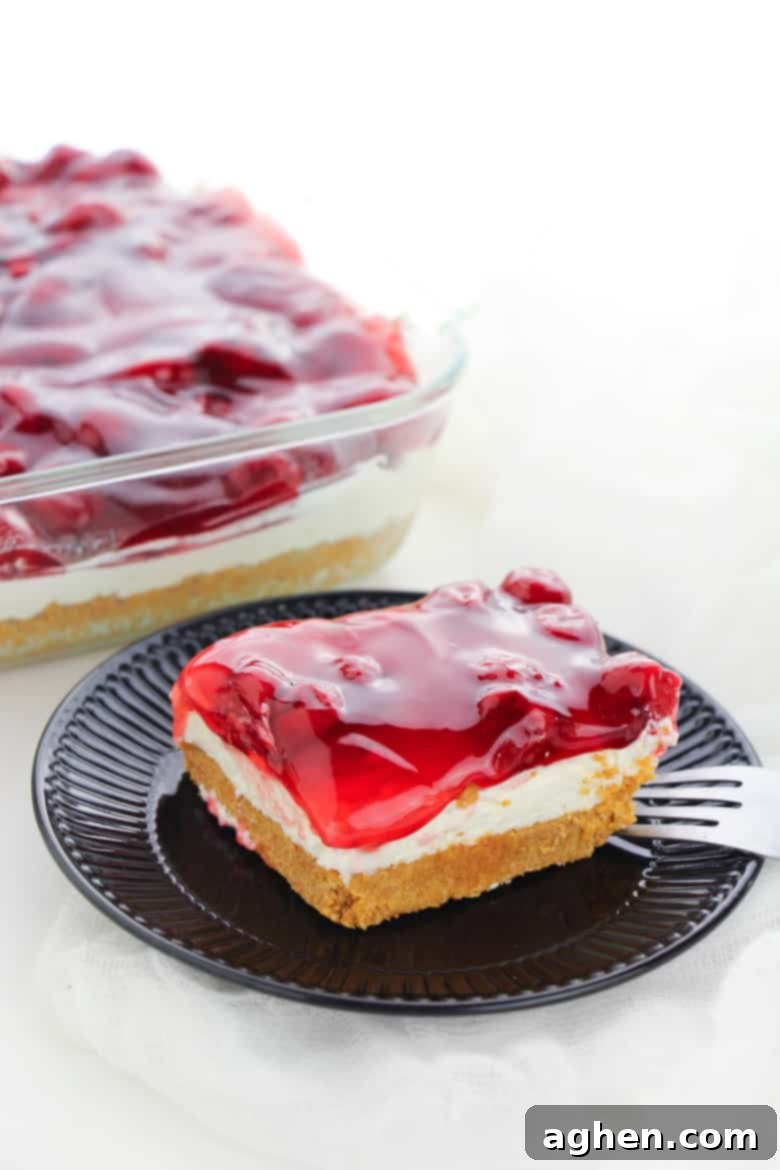
Why You’ll Love This Easy No-Bake Cherry Cheesecake
It’s no secret that I am a huge fan of no-bake desserts. They are a lifesaver, especially during those sweltering summer months when the absolute last thing anyone wants to do is turn on the oven and heat up the kitchen. This cherry icebox cake joins the ranks of other favorites like lemon icebox cake, strawberry pie with jello, and cookie dough dip as a refreshingly cool and effortlessly delicious treat.
But let’s be honest, the appeal of no-bake desserts extends far beyond just avoiding the heat. Their simplicity, minimal prep time, and incredible taste make them a go-to dessert all year long. My family simply can’t get enough of them, and I often find myself whipping up batches for holidays, weeknight dinners, or just because we need a little something sweet. This No Bake Cherry Cheesecake is no exception – it consistently disappears quickly, earning rave reviews every time.
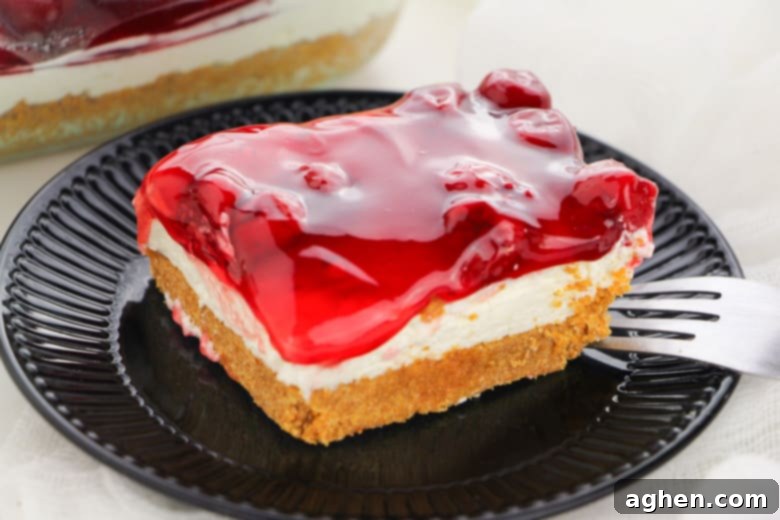
Crafting Your No-Bake Cherry Cheesecake Layered Dessert
This amazing cherry cheesecake layered dessert truly shines in its simplicity, requiring just a few basic, accessible ingredients. You’ll need:
- Graham Crackers: The foundation of our buttery, crunchy crust.
- Granulated Sugar & Melted Butter: To bind the crust and give it that perfect sweetness.
- Cream Cheese: The star of our rich, tangy cheesecake filling (make sure it’s softened!).
- Cool Whip (Whipped Topping): Adds lightness and a fluffy texture to the filling, making it airy and delightful.
- Confectioners’ Sugar (Powdered Sugar): Sweetens the cream cheese filling and helps achieve its smooth consistency.
- Cherry Pie Filling: The vibrant, fruity topping that ties all the layers together with its sweet-tart flavor.
These common pantry staples come together to create a dessert that tastes far more elaborate than it actually is to prepare. For those who adore cherry desserts, you might also enjoy my cherry chip cake or the adorable cherry pie cupcakes.
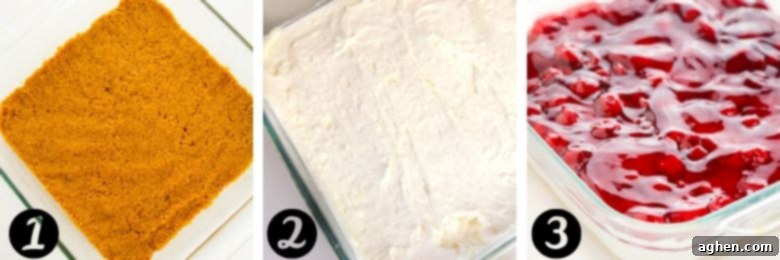
Assembling the Delicious Layers
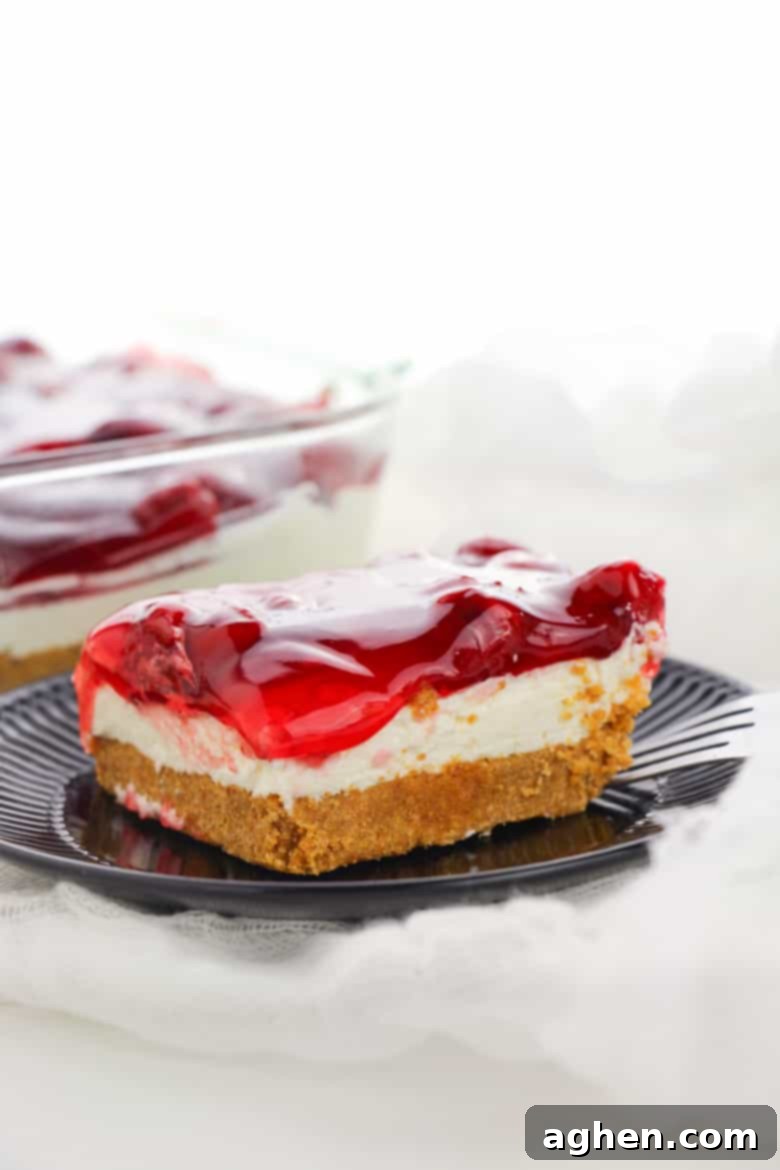
The magic of this unbaked cake lies in its three distinct, yet harmonious, layers. Each one contributes to the overall texture and flavor profile, creating a truly irresistible dessert:
-
The Graham Cracker Crust Base
First, the base layer is created by crushing graham crackers into fine crumbs. These crumbs are then combined with melted butter and a touch of sugar. This mixture forms a firm, flavorful crust when pressed into an 8×8 inch baking dish. The crust then needs to be placed in the fridge to chill for at least 1 hour. This crucial step allows the butter to solidify, creating a sturdy base that won’t crumble when sliced.
-
The Creamy No-Bake Cheesecake Filling
Next, the star of the show: the creamy cheesecake filling. Softened cream cheese, light and airy Cool Whip (or your favorite whipped topping), and powdered sugar are combined until smooth and lump-free. It’s important that your cream cheese is at room temperature to achieve a silky, uniform consistency. This decadent filling is then carefully spread evenly over the chilled graham cracker crust, forming a thick, luscious layer.
-
The Sweet Cherry Pie Topping
Finally, the dessert is crowned with a vibrant and sweet cherry pie filling. Spooned gently over the cream cheese layer, the glistening red cherries provide a beautiful contrast in color and a delightful burst of fruity flavor. Once the cherry layer is complete, the entire cake is returned to the fridge to chill thoroughly until it’s firm and ready for serving. This final chill time is essential for the layers to set properly, making for clean slices and a perfect texture.
The combination of crunchy crust, smooth and tangy cheesecake, and sweet cherries makes every bite an absolute dream. It’s a symphony of textures and flavors that will leave everyone wanting more.
Tips for the Perfect No-Bake Cherry Cheesecake
- Softened Cream Cheese is Key: Ensure your cream cheese is at room temperature. This is crucial for achieving a smooth, lump-free cheesecake filling. Cold cream cheese will result in a lumpy texture.
- Chill Time Matters: Don’t rush the chilling process! The graham cracker crust needs time to firm up, and the cheesecake filling needs to set completely. A minimum of 2-3 hours (or even overnight) will yield the best results for slicing and serving.
- Even Layers: Take a moment to spread each layer evenly. This not only makes for a more visually appealing dessert but also ensures every slice has a balanced taste.
- Adjust Sweetness: Taste your cream cheese filling before spreading. If you prefer a sweeter dessert, you can add a tablespoon or two more of confectioners’ sugar.
- Variations on the Crust: While graham crackers are classic, you can experiment with other cookie crumbs like vanilla wafers, shortbread cookies, or even chocolate cookies for a different twist.
- Homemade Whipped Cream: For an even richer filling, you can substitute the store-bought whipped topping with freshly whipped heavy cream, folding it gently into the cream cheese mixture.
- Serving Suggestions: This cherry icebox cake is an absolute hit at potlucks, barbeques, family dinners, and other parties. It’s so beloved that guests often come back for seconds (or even thirds!) – so you might want to consider making a double batch, especially for larger gatherings!
- Storage: Store any leftover cheesecake in an airtight container in the refrigerator for up to 3-4 days.
Don’t Miss Our Other No-Bake Dessert Favorites
If you’re a fan of easy, no-bake treats, be sure to explore some of our other cherished recipes:
- Pistachio Pudding Icebox Cake: A refreshing green delight.
- No-Bake Fruit Pizza: Colorful and fruity, perfect for a light dessert.
- Watergate Salad Recipe: A classic fluffy, pistachio-flavored treat.
- Lemon Lush: Bright, zesty, and incredibly creamy.
- Blueberry Yum Yum: A sweet and fruity blueberry dream.
- Berry Trifle: Layers of cake, cream, and fresh berries.
- Lemon Icebox Pie: Tangy, sweet, and oh-so-refreshing.
These recipes prove that you don’t need to turn on your oven to create spectacularly delicious and memorable desserts!
No Bake Cherry Cheesecake
Author: Jaclyn
Ingredients
- 2 cups crushed graham crackers
- 1/2 cup butter melted
- 1/3 cup granulated sugar
- 1-8 ounce package cream cheese softened
- 2 cups whipped topping thawed (like Cool Whip)
- 1 cup confectioners’ sugar
- 1-18 ounce can cherry pie filling
Instructions
-
Prepare the Dish: Lightly grease an 8 x 8 inch baking dish with a non-stick cooking spray. Set aside while you prepare the crust.
-
Make the Graham Cracker Crust: In a medium-sized bowl, combine the crushed graham cracker crumbs, melted butter, and granulated sugar. Mix well until the crumbs are thoroughly moistened. Press this mixture firmly and evenly into the bottom of your prepared 8×8 inch dish. Place the dish in the refrigerator to chill for at least 1 hour to allow the crust to set.
-
Prepare the Cheesecake Filling: In another medium bowl, beat together the thawed whipped topping (Cool Whip), softened cream cheese, and confectioners’ sugar until the mixture is completely smooth and creamy. Ensure there are no lumps of cream cheese. Carefully spoon this luscious filling on top of the chilled graham cracker crust and use a spatula to spread it out into an even, smooth layer.
-
Add the Cherry Topping: Gently spoon the cherry pie filling over the cream cheese layer, spreading it out evenly to cover the entire surface.
-
Chill & Serve: Return the assembled cheesecake to the refrigerator and chill for a minimum of 2 hours, or until the dessert is fully set and firm. For best results and easier slicing, an overnight chill is recommended. Once chilled, slice, serve, and enjoy your delicious No-Bake Cherry Cheesecake!

Did You Make This Recipe?
We’d absolutely love to see your creations! Share a photo of your delicious No Bake Cherry Cheesecake on Instagram. Don’t forget to tag us @crayonsandcravings and follow us on Pinterest @crayonsandcravings for even more inspiring recipes and dessert ideas!
Pin Recipe
Leave A Review
Pin for Later:
Don’t forget to save this incredible No Bake Cherry Cheesecake recipe for your next gathering or sweet craving!
This delightful recipe was also proudly shared over on The Weekend Potluck and Meal Plan Monday.
