Irresistible No-Bake Little Debbie Zebra Cake Balls (4-Ingredient Truffles!)
Step into a world of nostalgic delight with these incredible Little Debbie Zebra Cake Balls, also lovingly known as truffles! If you’re a devoted fan of those classic striped snack cakes, prepare to have your dessert dreams come true. This recipe transforms your favorite childhood treat into a sophisticated, creamy, bite-sized confection with astonishing ease. Requiring just four simple ingredients and absolutely no baking, these delightful truffles are the ultimate quick and easy dessert. Whether you’re planning a party, looking for a festive holiday treat, or simply yearning for a satisfying sweet craving, these Zebra Cake Balls are guaranteed to be a show-stopper and a beloved snack for all ages.

For those who’ve indulged in the festive fun of my Little Debbie Christmas Tree Cake Balls, you already know the magic that happens when snack cakes meet a no-bake truffle. This Zebra Cake version offers the same fantastic ease and delicious outcome, but with that iconic vanilla and fudge stripe flavor that only Little Debbie Zebra Cakes can provide. You’re about to discover a new go-to treat that’s just as simple and utterly irresistible.
The beauty of this recipe lies in its straightforward process: a simple mix, roll, chill, and dip. Each step is designed for maximum ease and minimal fuss. Chilling the cake balls is a crucial step that ensures a perfectly smooth, crumb-free coating when you dip them, creating a professional-looking finish. The final flourish of a delicate chocolate drizzle not only adds to their signature ‘zebra’ appearance but also provides an extra layer of chocolatey goodness. These truffles are a definite crowd-pleaser, appealing to anyone who adores the rich, creamy texture of cheesecake truffles or the nostalgic charm of Little Debbie treats.
Why You’ll Love These Zebra Cake Truffles
- Effortless 4-Ingredient Recipe: Forget complicated ingredient lists or specialty store trips. This recipe keeps it incredibly simple with just four readily available ingredients. You’ll be amazed at how such a small list can create such a show-stopping dessert, saving you time and stress on grocery runs.
- No-Bake Bliss: Say goodbye to turning on your oven! These Little Debbie Zebra Cake Balls are a dream come true for no-bake dessert enthusiasts. They’re ideal for hot summer days, busy holiday seasons, or anytime you crave a delicious treat without the heat and hassle of baking.
- A Taste of Childhood Nostalgia: Revisit your fondest memories with this playful take on the beloved Little Debbie Zebra Cakes. Transforming them into truffles adds an elegant twist while retaining all the familiar, comforting flavors you grew up with. It’s a fun and creative way to enjoy a classic!
- Guaranteed Crowd-Pleaser: Whether you’re hosting a grand holiday gathering, a casual party with friends, or simply treating your family, these Zebra Cake Truffles are always a hit. Their unique flavor, irresistible texture, and charming appearance make them universally loved and highly sought after.
Essential Ingredient Notes & Smart Substitutions
This section provides crucial details on the ingredients for your Zebra Cake Balls, along with helpful substitution tips to ensure your truffles turn out perfectly. All exact measurements and step-by-step instructions can be found in the comprehensive recipe card located at the very end of this post.
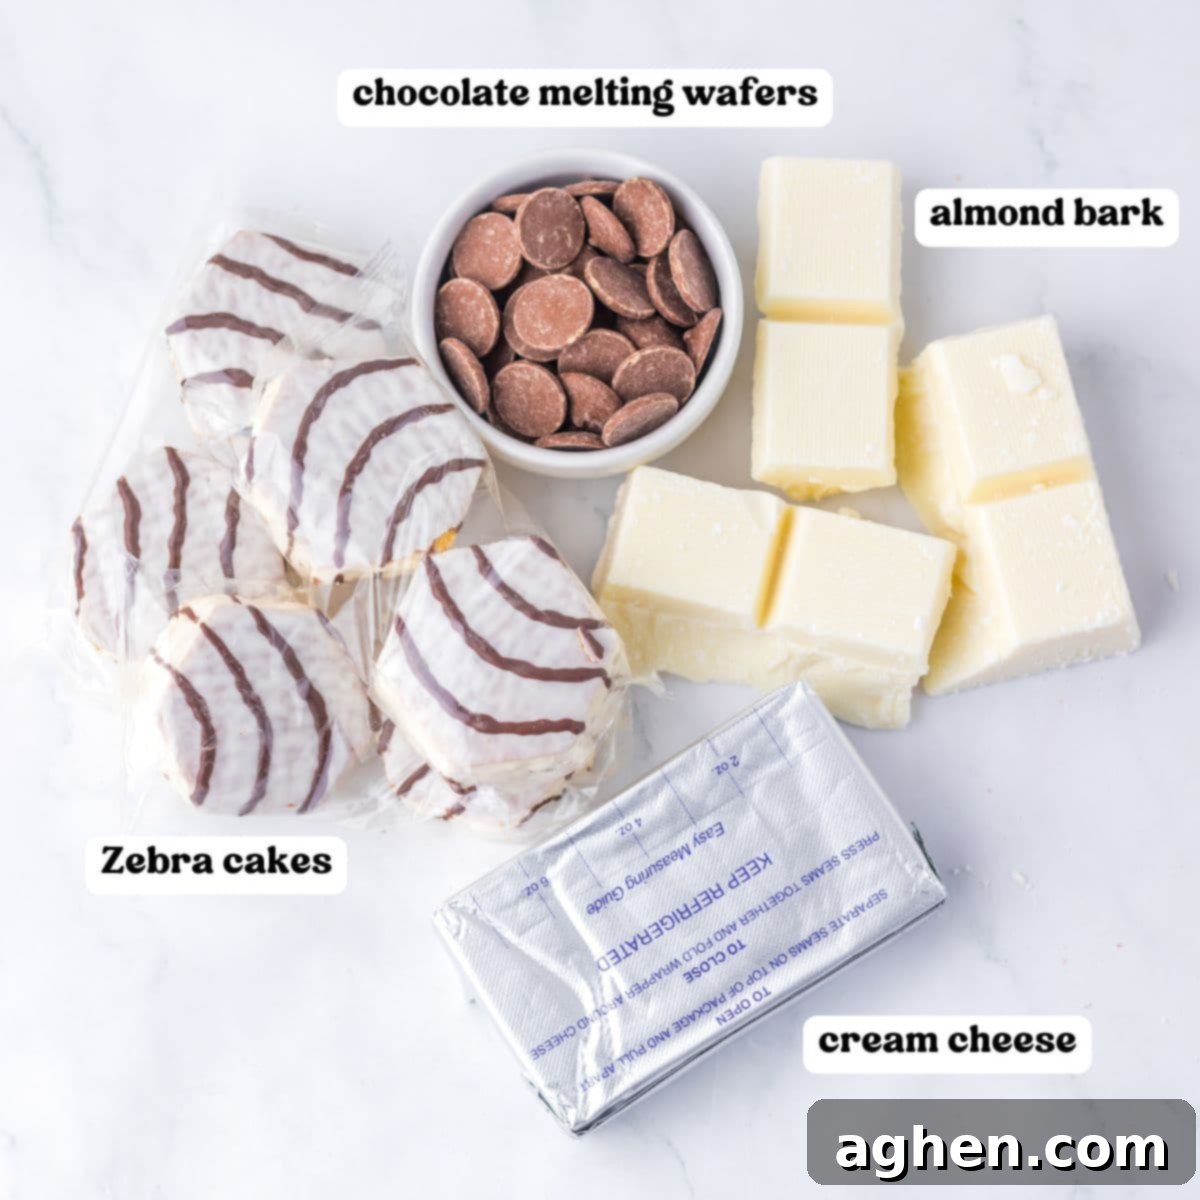
- Little Debbie Zebra Cakes: These iconic snack cakes are undeniably the star of our show! Their unique vanilla cake base and signature fudge stripe filling provide the perfect foundation for these truffles, lending a soft, moist texture and an unforgettable flavor. For this recipe, you’ll need approximately 16 individual Zebra Cakes, which typically means purchasing two standard boxes. If you’re having trouble finding them at your local grocery store, don’t worry – you can often conveniently order them online to ensure you have them on hand for this delightful project.
- Cream Cheese: For the best results and a rich, creamy, cheesecake-like interior, we highly recommend using full-fat cream cheese. It’s essential that your cream cheese is softened to room temperature before mixing. This crucial step ensures that it blends smoothly with the crushed Zebra Cakes, creating a uniform, lump-free mixture that’s easy to roll and yields a superior texture. Avoid low-fat or whipped cream cheese, as they may alter the consistency and flavor.
- Vanilla Almond Bark: This ingredient is key to achieving that perfectly smooth, sweet, and crisp white coating that gives our truffles their elegant finish. While it’s called “bark,” it’s essentially a confectionery coating that melts beautifully and sets quickly. When melting, always do so slowly in the microwave, using short 30-second intervals and stirring thoroughly between each, or follow the specific package directions. Overheating can cause it to seize. As an alternative, high-quality white chocolate melting wafers can also be used for a similar effect.
- Chocolate Melting Wafers: For the classic zebra stripes, we’ll use chocolate melting wafers. Brands like Ghirardelli offer excellent melting quality, but feel free to use your preferred semi-sweet or milk chocolate chips. For best drizzling consistency, especially if your melted chocolate seems too thick, stir in about 1 teaspoon of coconut oil or shortening. This will thin it out slightly, making it much easier to achieve those fine, delicate stripes with precision.
Step-by-Step Guide: Crafting Your Zebra Cake Balls
This section walks you through the straightforward process of making these delightful no-bake truffles, complete with helpful tips and step-by-step photos. For a complete, printable version of the recipe, please refer to the recipe card at the bottom of this post.
Step 1: Prepare Your Workspace. Begin by lining a large baking sheet with parchment paper. This non-stick surface is essential for easy handling and preventing your truffles from sticking as they chill and set. Set it aside, ready for your rolled cake balls.
Step 2: Create the Cake Ball Mixture. In a spacious mixing bowl, combine the Zebra Cakes and the softened cream cheese. Using an electric mixer (handheld or stand mixer), beat the mixture thoroughly until it achieves a completely smooth, uniform consistency. There should be no large lumps of cake remaining; aim for a dough-like texture. Once combined, use a cookie scoop (a #60 scoop is ideal for 1 to 1.5-inch balls) to portion out the mixture, then gently roll each portion between your palms to form perfectly round balls. Arrange them on your prepared baking sheet, leaving a small space between each.
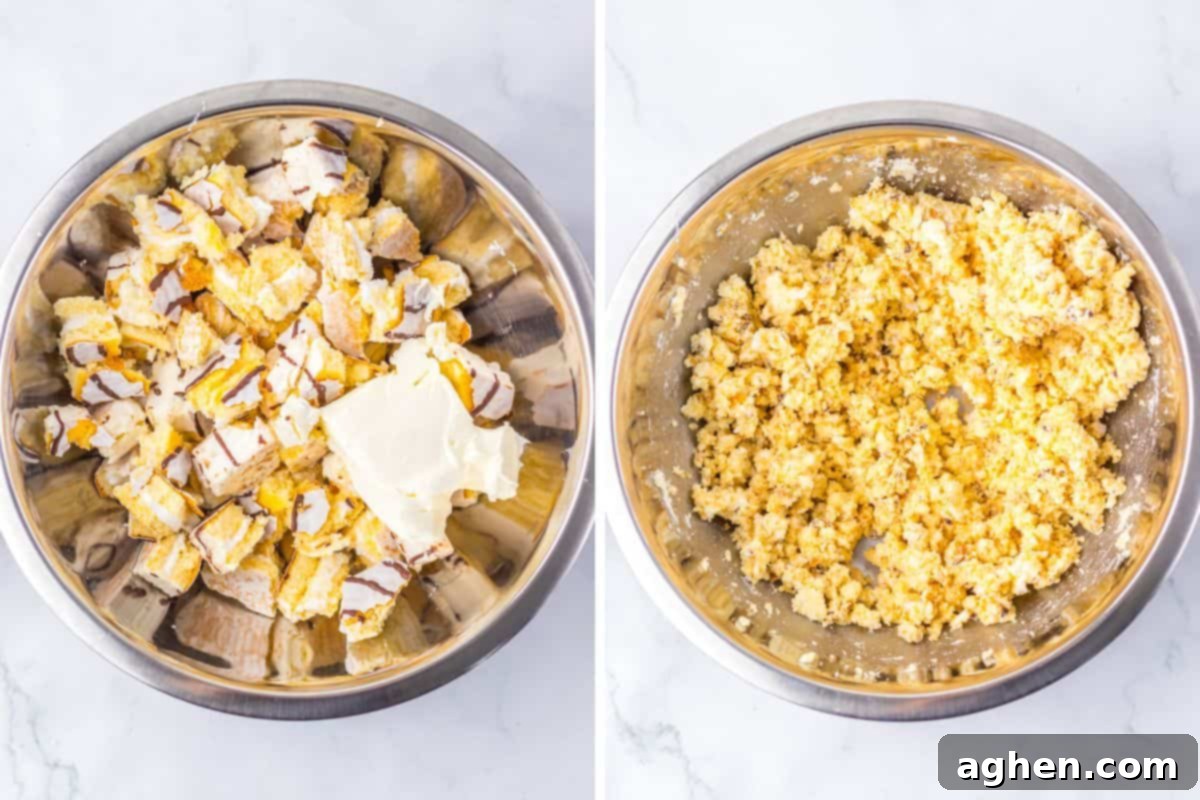
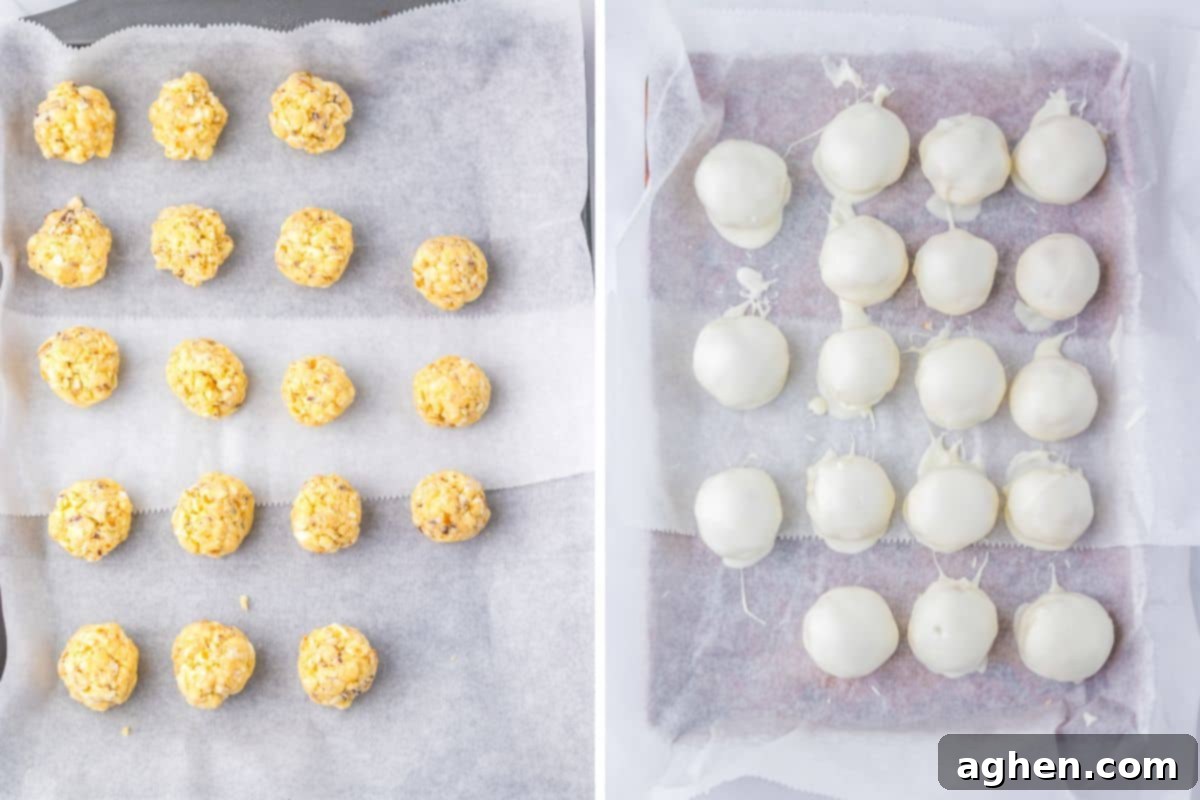
Step 3: Chill for Perfection. Cover the baking sheet with plastic wrap and transfer it to the refrigerator. Allow the cake balls to chill for at least 1 hour, or ideally, overnight. This chilling period is crucial as it firms up the balls, making them much easier to handle and ensuring a smooth, even coating with the almond bark without crumbling.
Step 4: Coat in Vanilla Bark. In a microwave-safe bowl, melt the vanilla almond bark. Heat it in 30-second intervals, stirring well after each interval, until it is completely smooth and fluid. Be careful not to overheat it, as this can cause it to become thick and clumpy. Using a fork or a specialized dipping tool, carefully dip each chilled cake ball into the melted almond bark, ensuring it’s fully coated. Gently tap off any excess coating and return the dipped balls to the parchment-lined baking sheet. Place the coated truffles back into the refrigerator for about 15 minutes to allow the almond bark to set completely.
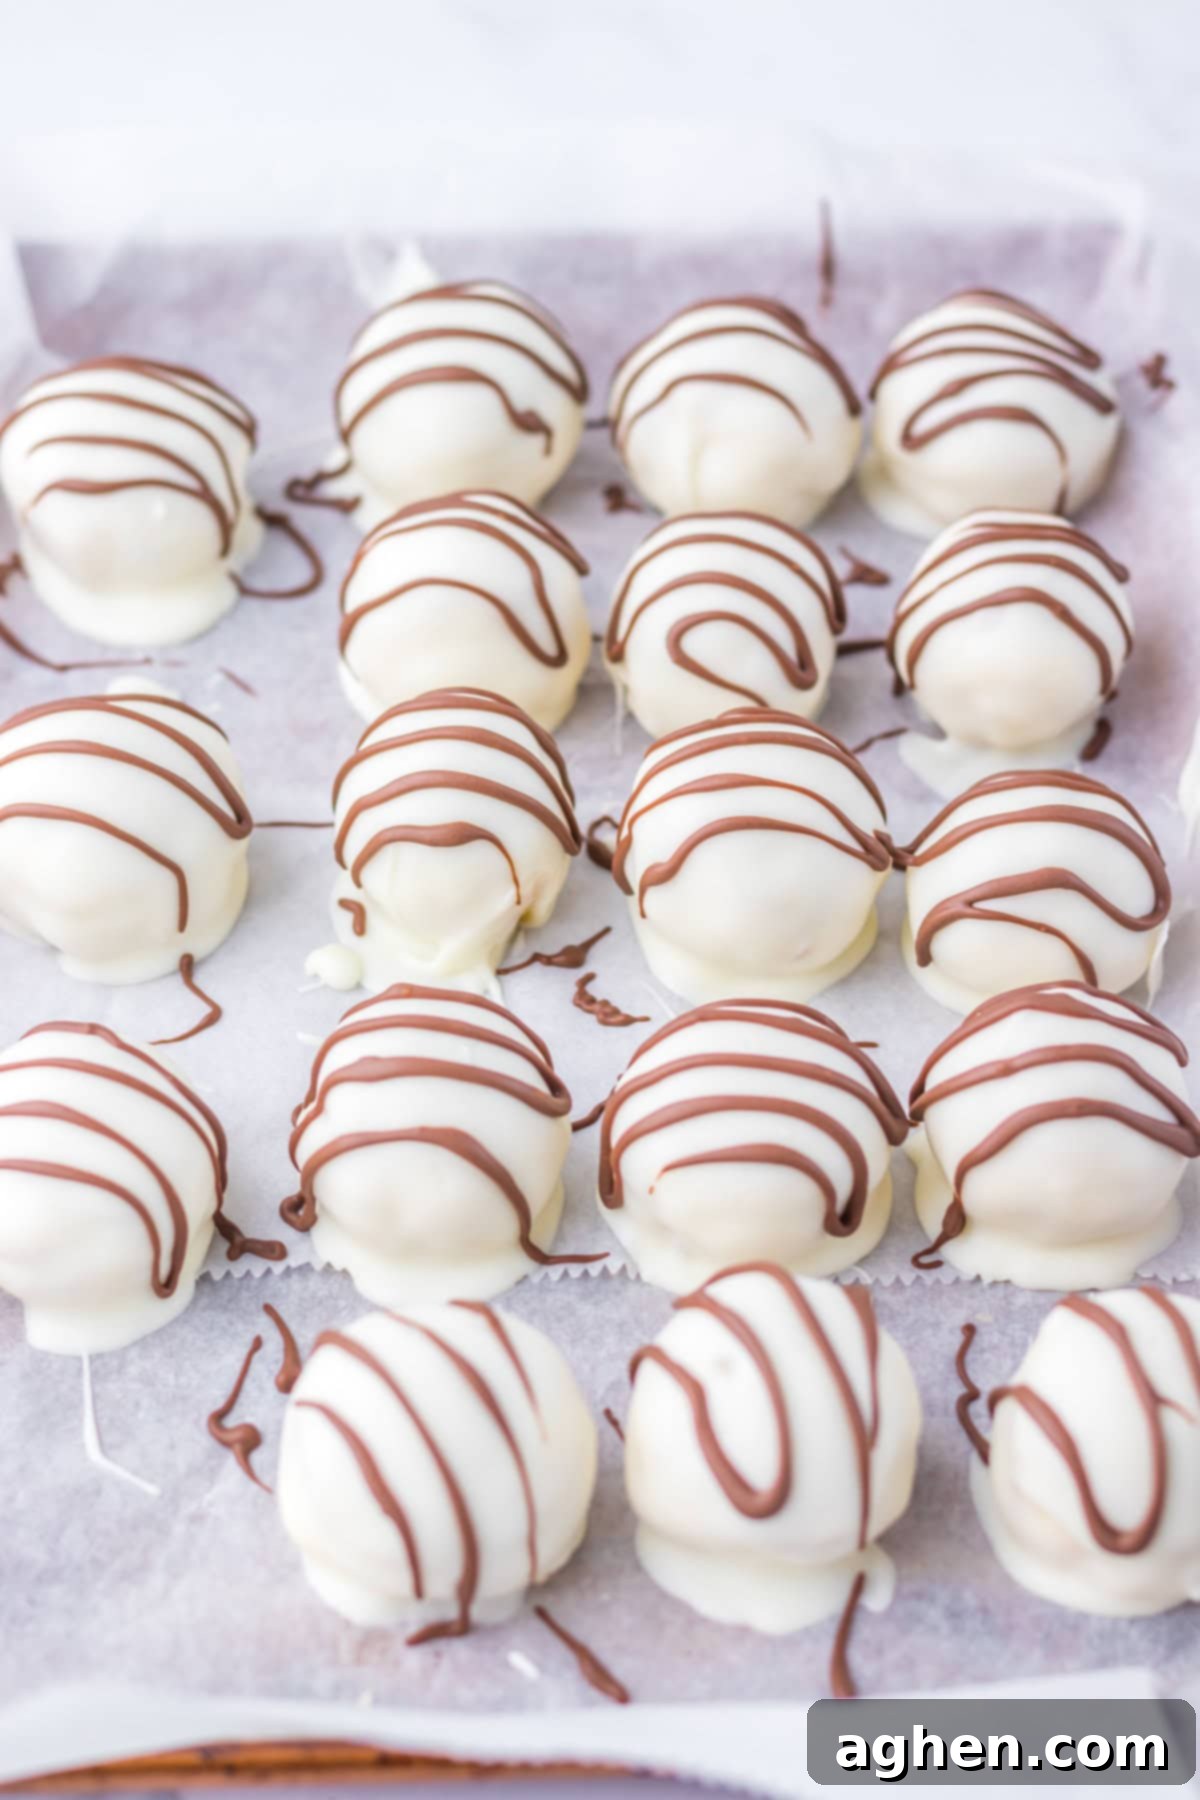
Step 5: Drizzle Your Zebra Stripes. While the almond bark is setting, melt your chocolate melting wafers in a separate microwave-safe bowl, again using 30-second intervals and stirring until smooth. If the chocolate is too thick for drizzling, stir in a teaspoon of coconut oil or shortening until it reaches the desired consistency. Transfer the melted chocolate to a piping bag or a small freezer bag with a tiny corner snipped off. Retrieve your now-set truffles from the fridge and elegantly drizzle the melted chocolate over each ball, creating distinctive zebra stripes. Return them to the refrigerator for another 15-20 minutes, or until the chocolate drizzle is fully set. Once firm, these delightful Little Debbie Zebra Cake Balls are ready to be served or stored!
Pro Tip for Perfect Drizzles:
Achieving those delicate, precise zebra stripes is easier than you think! If your melted chocolate for drizzling appears too thick, simply stir in 1 teaspoon of shortening or coconut oil. This small addition will thin out the chocolate, allowing it to flow more smoothly from your piping bag and create beautifully fine lines, giving your Zebra Cake Balls that authentic striped finish.
Storage Instructions: Keeping Your Truffles Fresh
Proper storage ensures your Zebra Cake Balls remain delicious and fresh for as long as possible. Here’s how to store them:
- Refrigerator: To maintain their optimal taste and texture, store your Zebra Cake Truffles in an airtight container in the refrigerator. They will stay fresh and delightful for up to 5 days. Be sure the container is sealed tightly to prevent them from absorbing other odors or drying out.
- Freezer: For longer enjoyment, these cake balls freeze beautifully! Place them in a single layer in a freezer-safe airtight container. For best quality, they can be frozen for up to 2 months. When you’re ready to enjoy them, simply transfer them to the refrigerator to thaw slowly for a few hours before serving.
- Pro Storage Tip: If you plan to stack your cake balls within a container, layer them with sheets of parchment paper or wax paper. This simple step will prevent them from sticking together, preserving their perfect shape and delicate coating.
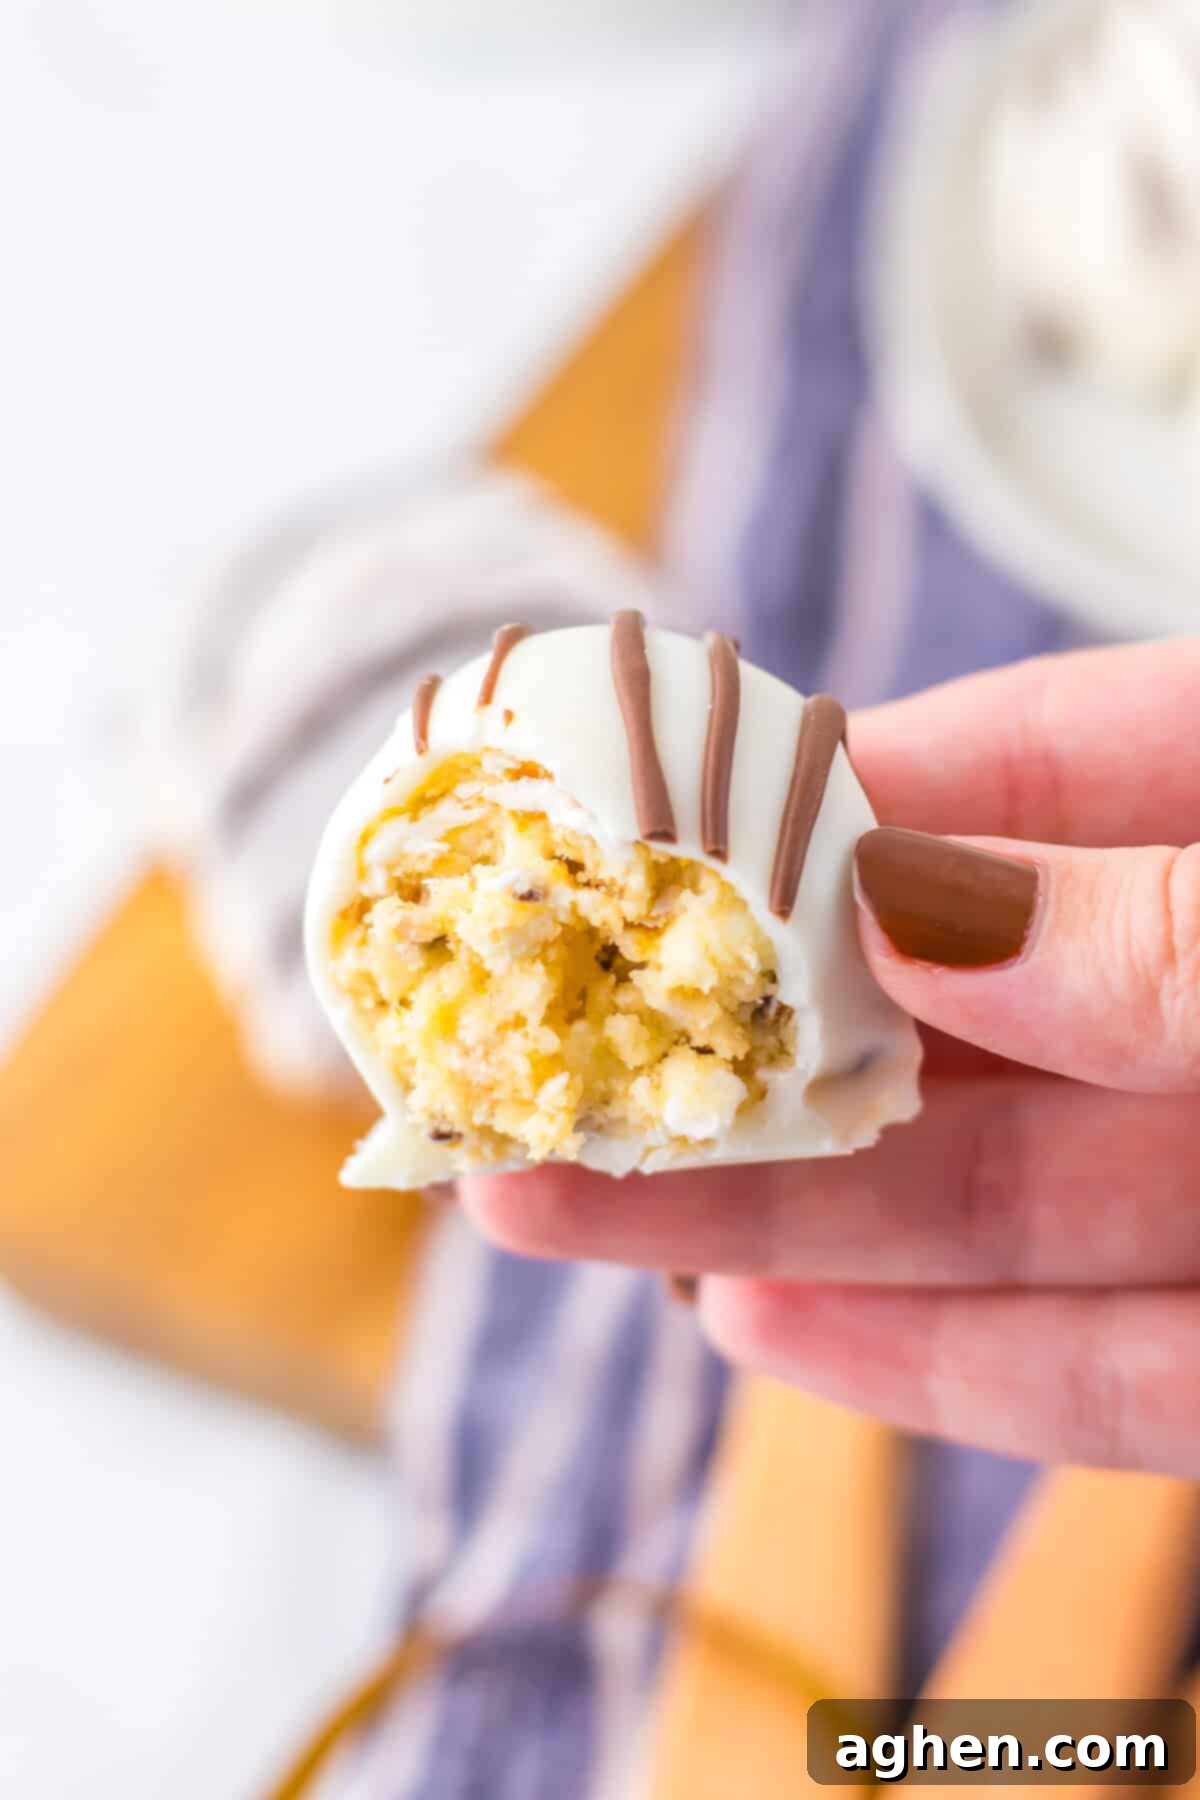
Expert Tips for Making the Best Zebra Cheesecake Balls
- Always Use Room Temperature Cream Cheese: This is perhaps the most critical tip for a smooth mixture. Softened cream cheese blends effortlessly with the crushed Zebra Cakes, preventing lumps and ensuring a consistently creamy, dream-like texture in your cake balls. Plan ahead and let it sit out for about 30-60 minutes before you start.
- Utilize a Cookie Scoop for Uniformity: For professional-looking truffles that are consistent in size and shape, a cookie scoop is your best friend. A #60 scoop (or roughly 1 tablespoon size) is perfect for portioning out the mixture, making the rolling process much quicker and ensuring even dipping.
- Thorough Chilling is Non-Negotiable: Do not rush the chilling step! Ensuring your cake balls are thoroughly firm and cold before dipping prevents them from falling apart, minimizes crumbs, and guarantees a smooth, even, and thin coating of almond bark. Cold balls also help the coating set faster.
- Work in Small Batches for Dipping: To maintain the firmness of your cake balls and achieve the best coating, it’s advisable to work in small batches when dipping. Keep the remaining un-dipped balls in the refrigerator while you coat a few at a time. This prevents them from warming up and becoming too soft to handle.
Creative Variations to Customize Your Zebra Cake Truffles
While the classic Little Debbie Zebra Cake Balls are undeniably delicious, don’t hesitate to get creative with these fun variations:
- Transform into Festive Cake Pops: For an extra special presentation, turn these truffles into adorable cake pops! Simply insert lollipop sticks into the chilled cake balls before dipping them into the melted almond bark. They’re perfect for parties and easy for little hands to enjoy.
- Add a Pop of Color with Sprinkles: Before the almond bark coating fully sets, add a generous sprinkle of your favorite colorful sprinkles! This is a fantastic way to customize them for birthdays, baby showers, or just to make them extra festive and fun.
- Holiday-Themed Drizzles: Get into the holiday spirit by swapping out the standard chocolate drizzle for colored candy melts. Imagine red and green drizzles for Christmas, pastel shades for Easter, or orange and black for Halloween. The possibilities are endless for seasonal celebrations!
- Experiment with Different Coatings: Instead of vanilla almond bark, consider using dark chocolate or even peanut butter melting wafers for a different flavor profile. Just ensure they melt smoothly and set firmly.
- A Hint of Extract: For an additional layer of flavor, you could try adding a tiny drop (1/4 teaspoon) of almond or vanilla extract to your cream cheese mixture before rolling, enhancing the overall taste.

Discover More Easy No-Bake Truffle Recipes!
If you loved making these Little Debbie Zebra Cake Balls, you’re in for a treat! Explore some of my other popular and equally simple no-bake truffle recipes perfect for any occasion:
- Snickerdoodle Truffles
- Biscoff Truffles
- Sugar Cookie Truffles
- Brownie Truffles
Zebra Cake Balls
Author: Jaclyn
Equipment
-
1 Tablespoon cookie scoop (#60)
Ingredients
- 16 zebra cakes
- 4 ounces cream cheese softened
- 10 ounces vanilla almond bark
- ⅓ cup chocolate melting wafers
Instructions
-
Line a baking sheet with parchment paper. Set aside.
-
In a large mixing bowl, beat zebra cakes and softened cream cheese until smooth.
-
Scoop and roll the mixture into 1 – 1 ½ inch balls. Place on the lined baking sheet, cover with plastic wrap, and chill for at least 1 hour (or overnight).
-
Melt almond bark in a microwave-safe bowl in 30-second intervals, stirring each time, until smooth (or as per package instructions).
-
Use a fork or dipping tool to coat the chilled balls in the melted almond bark. Tap off excess and return them to the baking sheet.
-
Refrigerate the coated balls for 15 minutes, or until the almond bark sets.
-
Melt chocolate candy melts in a microwave-safe bowl, stirring every 30 seconds, until smooth (or as per package instructions). Spoon into a piping or freezer bag and snip off a small corner.
-
Drizzle chocolate over the balls to create zebra stripes. Chill for 15 minutes, or until fully set, before serving or storing.
Notes
Nutrition

Did You Make This Recipe?
Share it with me on Instagram @crayonsandcravings and follow on Pinterest @crayonsandcravings for even more!
Pin Recipe
Leave A Review
