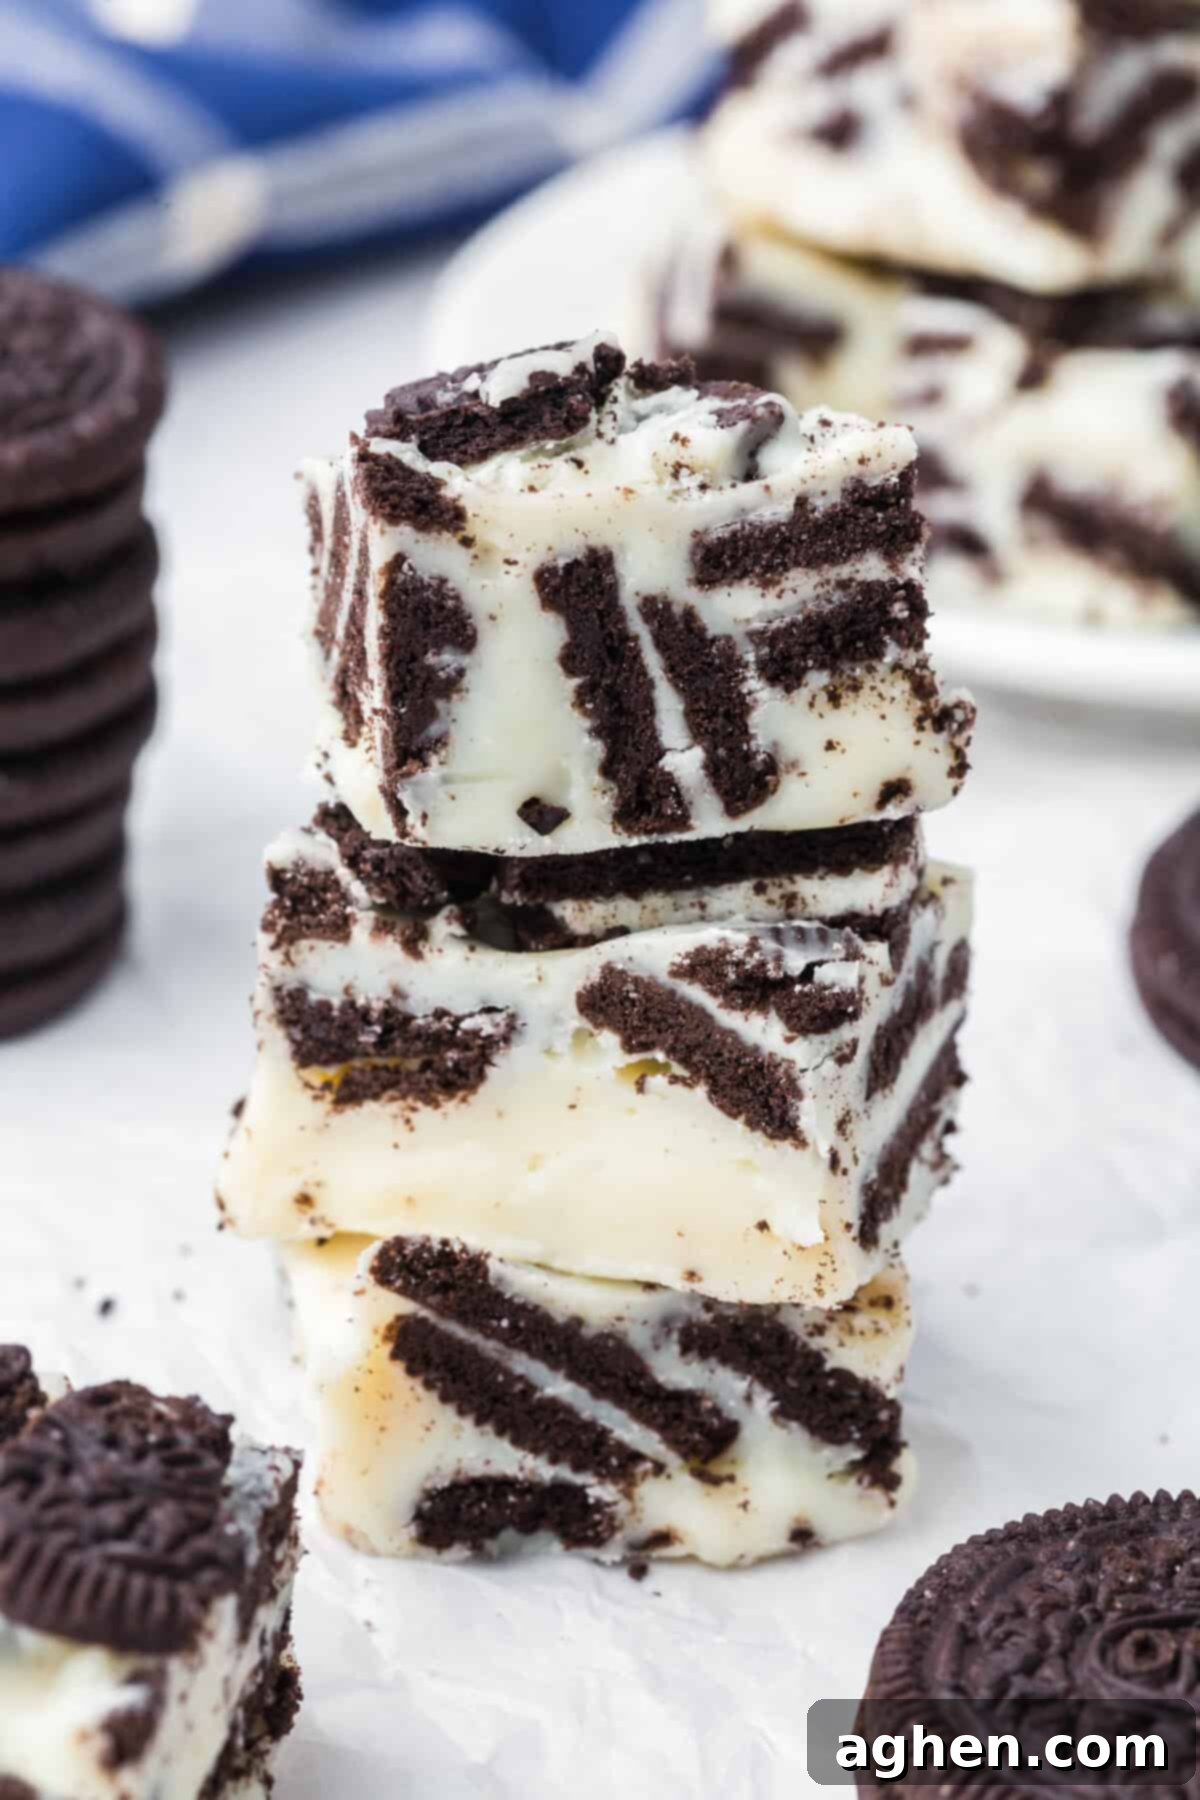
Easy 3-Ingredient Oreo Fudge: The Ultimate No-Bake Cookies and Cream Delight
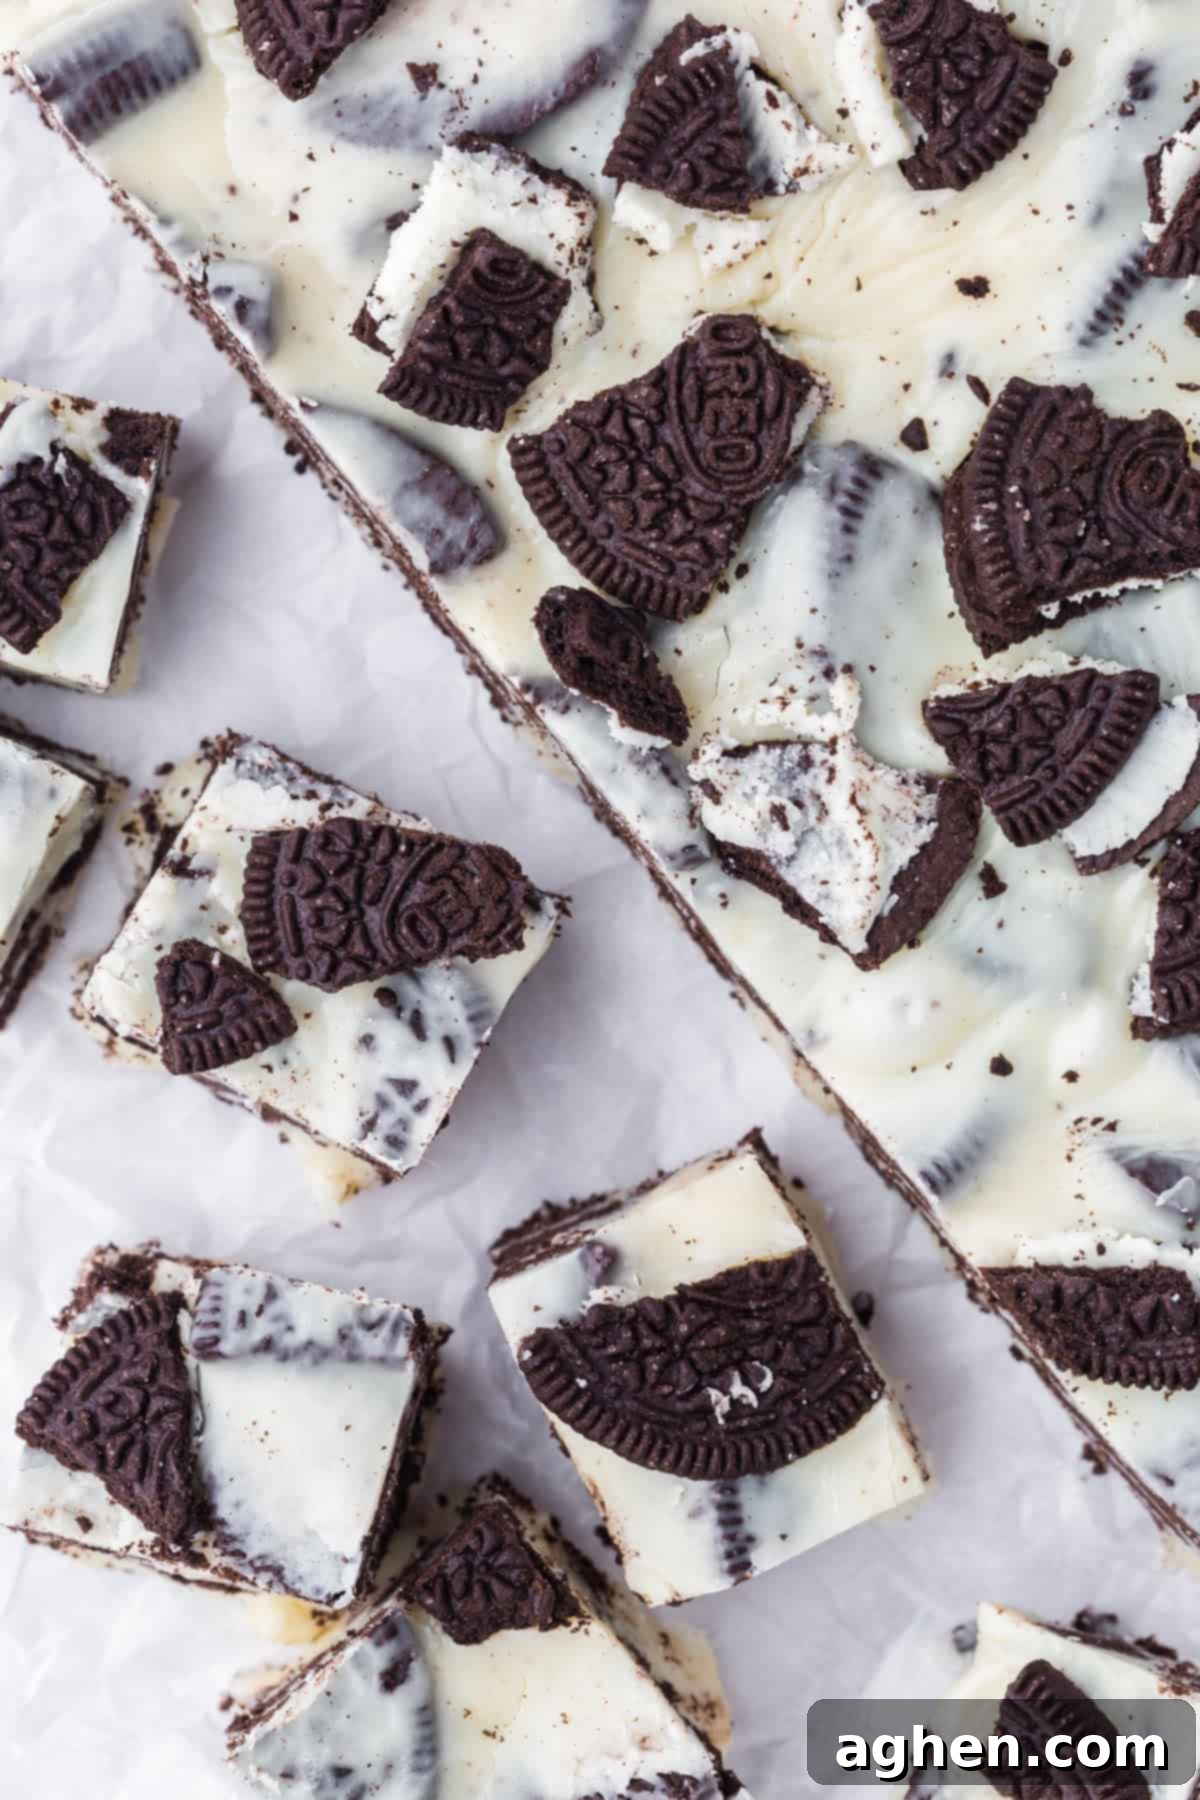
Prepare to delight your taste buds with this unbelievably simple 3-ingredient Oreo fudge recipe! This decadent dessert captures the beloved flavors of cookies and cream in a rich, creamy, and melt-in-your-mouth consistency. Crafted with just sweetened condensed milk, white chocolate chips, and iconic Oreo cookies, it’s the perfect treat to share with loved ones or savor on your own.
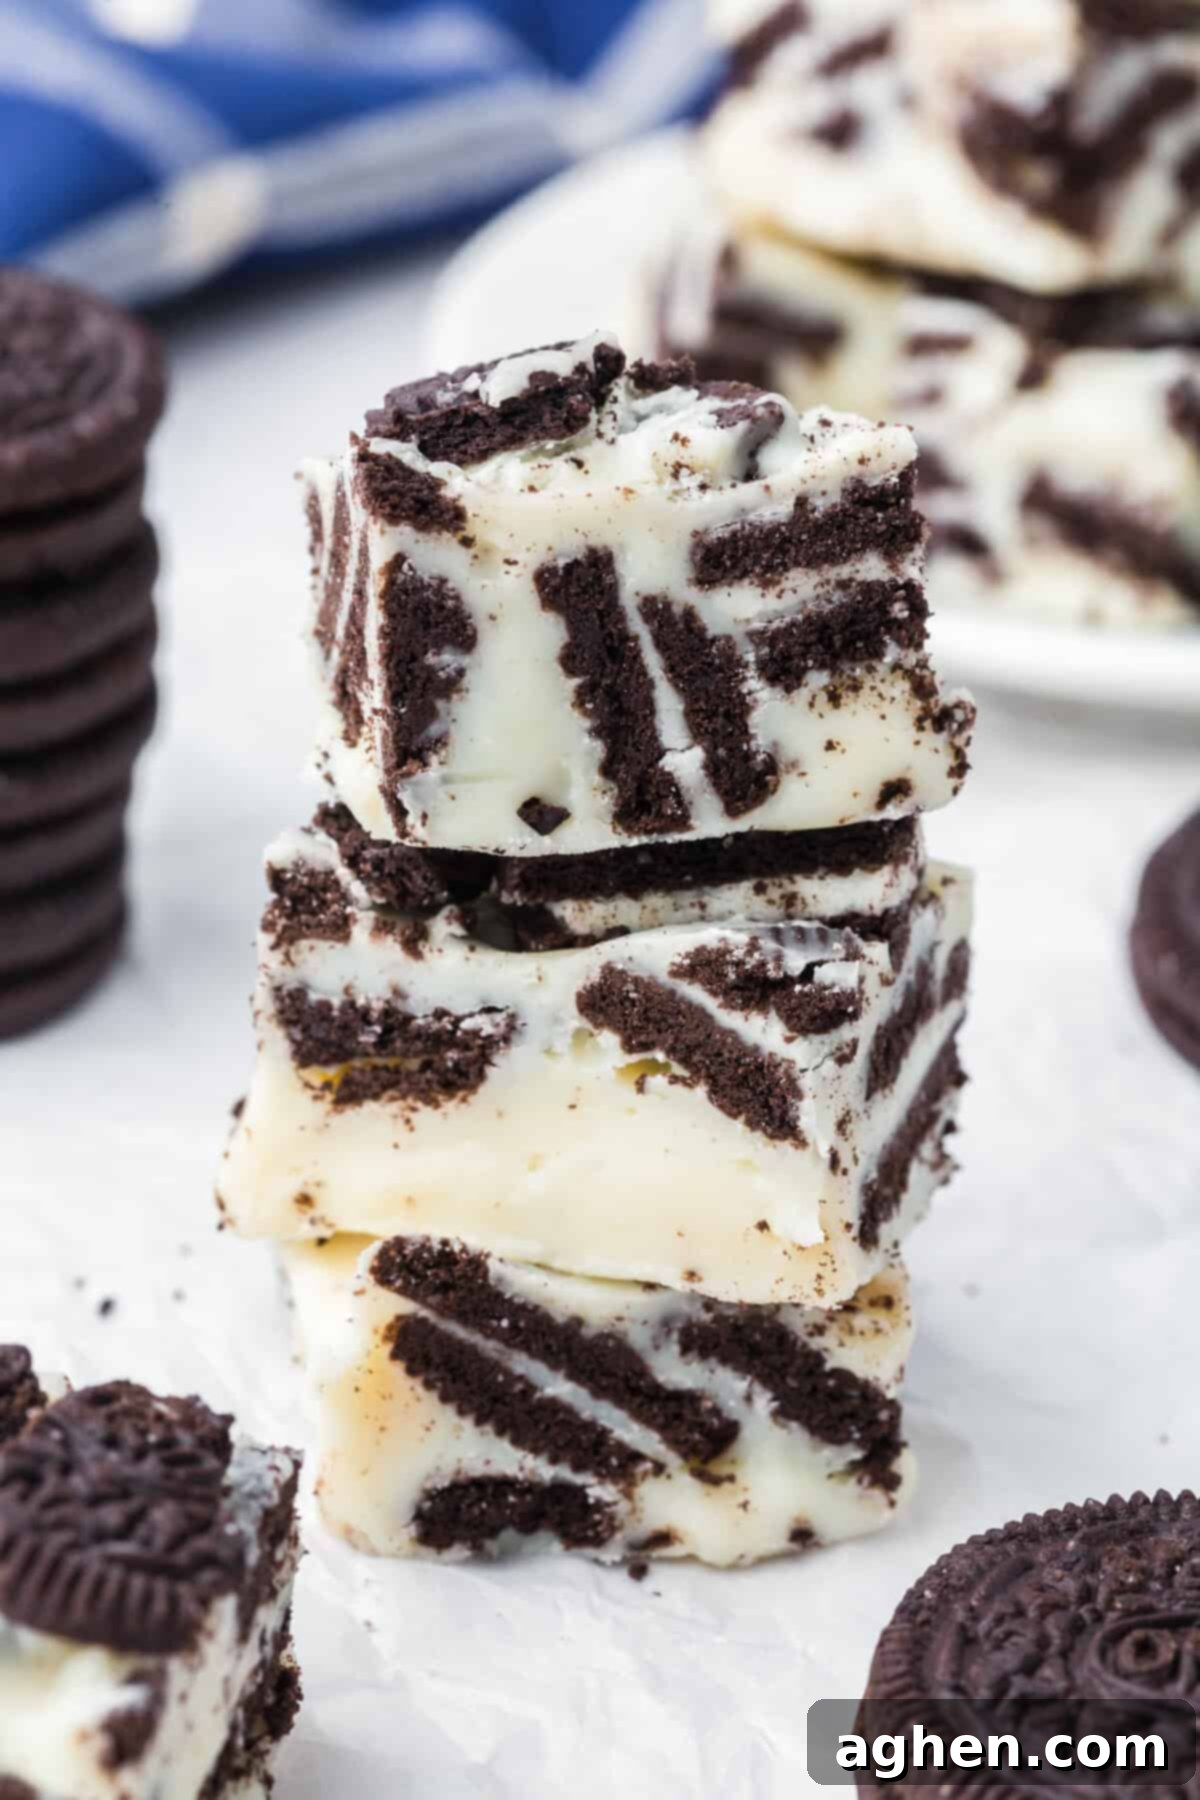
Once you experience how incredibly easy and satisfying this 3-ingredient Oreo fudge is to make, you’ll undoubtedly find yourself reaching for a second batch. Trust me when I say, no matter how much you plan to make, it’s always wise to prepare a little extra. This fudge is so irresistible, it tends to disappear quickly!
Whether you’re exploring different fudge flavors, like a classic 3-ingredient chocolate peanut butter fudge, a refreshing 3-ingredient Andes mint fudge, or simply more of this sensational Oreo fudge, you’ll be thrilled with your decision to whip up more of these delightful confections!
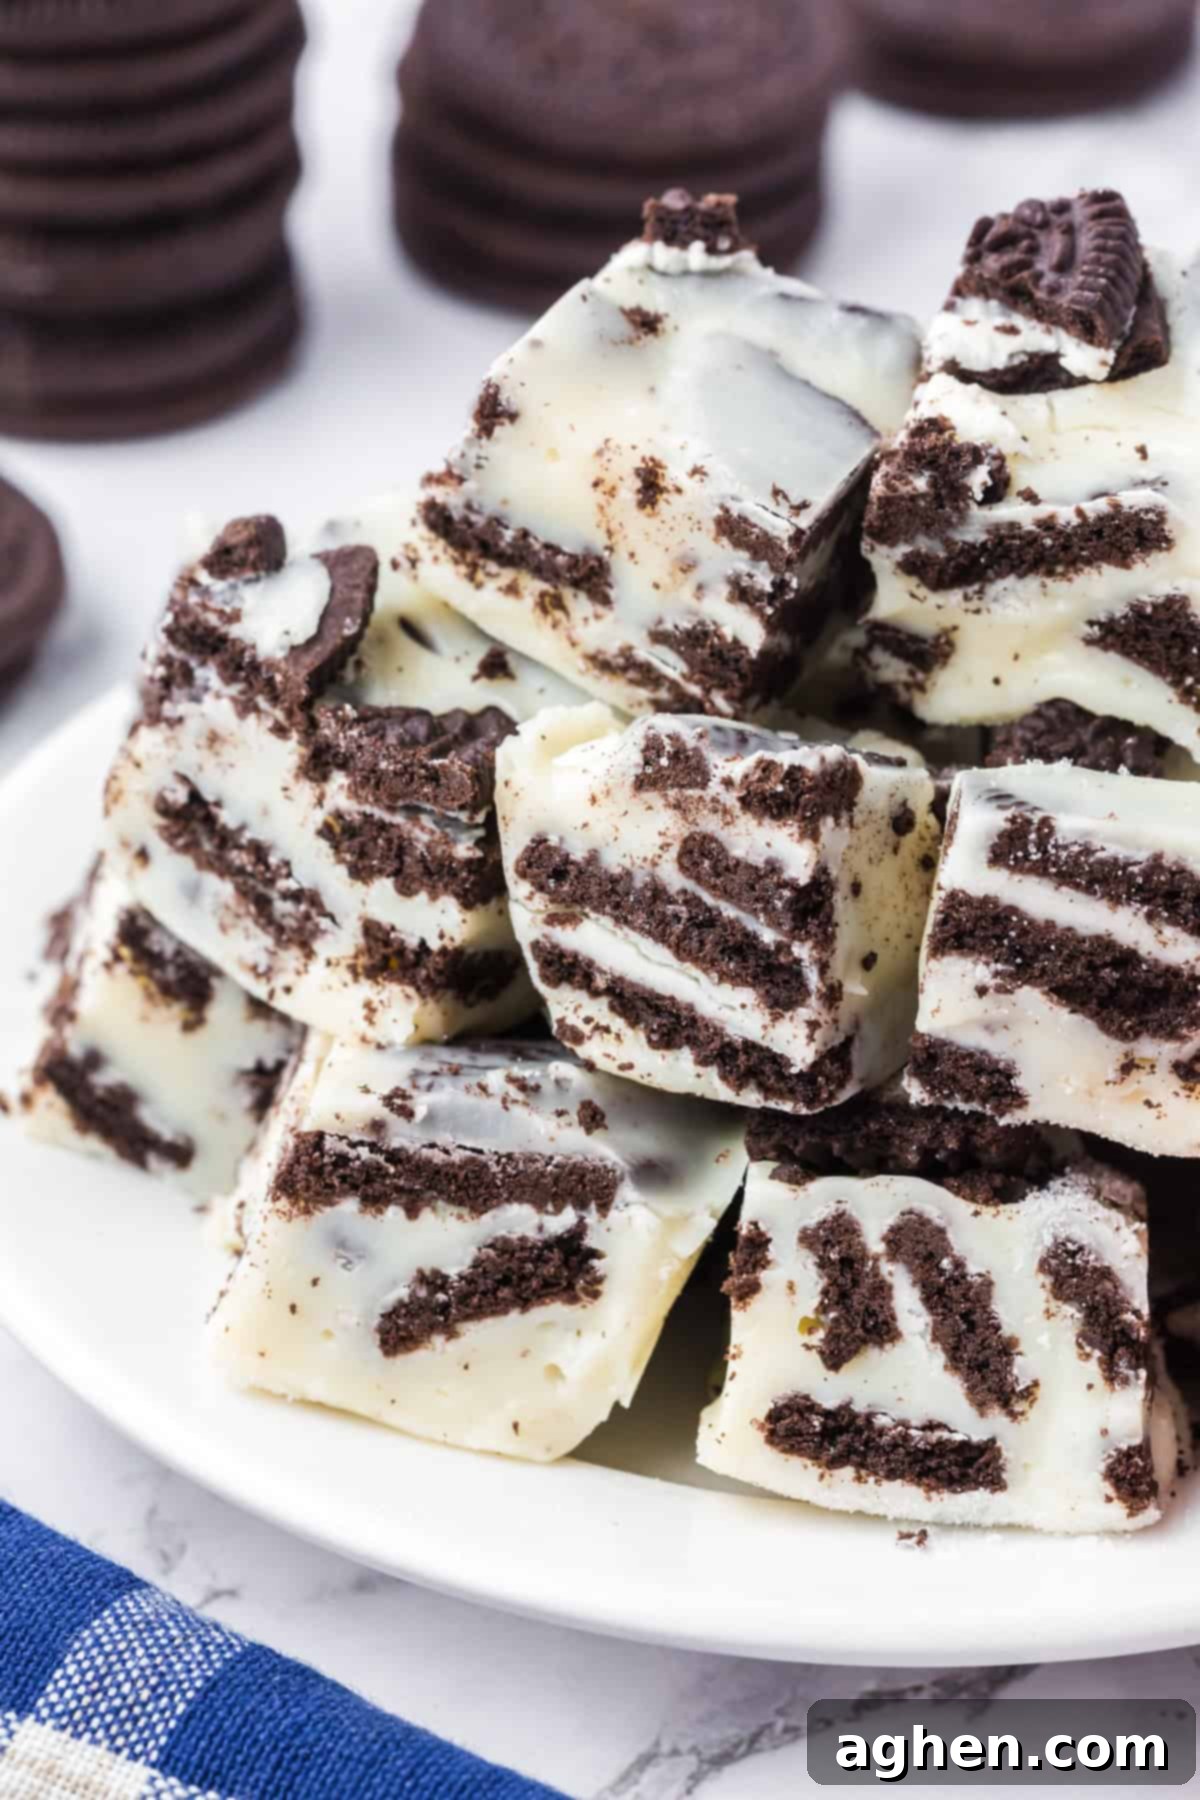
One of the many advantages of making fudge is its excellent shelf life, making it a perfect candidate for batch cooking. You can easily make a large quantity and freeze portions for those sudden sweet cravings, unexpected last-minute guests, school bake sales, or as effortless dessert options throughout the busy holiday season. Its versatility and make-ahead nature truly make it a standout treat.
While the visual contrast of the bright white fudge against the dark chocolate Oreo pieces is undeniably appealing and fun, feel free to experiment with the flavors and colors! Imagine the delicious possibilities with milk chocolate chips and Golden Oreos, or perhaps even a peanut butter Oreo variation. The creative combinations are endless!
Why You’ll Absolutely Love This Easy Oreo Fudge Recipe
This 3-ingredient Oreo fudge isn’t just a dessert; it’s a culinary revelation that simplifies indulgence without compromising on flavor or texture. Here’s why this recipe will quickly become a favorite in your household:
- Unbelievably Simple Ingredients: You only need three common items to create this masterpiece. This means less shopping, less fuss, and more time to enjoy your delicious creation. Perfect for beginners and seasoned bakers alike!
- Quick Microwave Method: Forget complicated sugar thermometers and lengthy cooking processes. This is an easy microwave fudge recipe that requires only about 10 minutes of active prep time. It’s the fastest way to get from craving to indulgence.
- Make-Ahead and Freezer-Friendly: Planning a party or need a sweet treat ready on demand? This fudge can be prepared well in advance and stored in the freezer for up to three months, making it incredibly convenient for any occasion.
- Perfect for Sharing and Gifting: Whether you’re bringing a platter to a potluck, creating homemade holiday gifts, or just want a delightful dessert spread, this Oreo fudge is always a crowd-pleaser and ideal for sharing with friends and family.
Essential Ingredients for Your White Oreo Fudge
This section provides detailed ingredient notes, tips for selecting the best products, and exciting substitution options to customize your fudge. For precise measurements, a comprehensive ingredient list, and step-by-step instructions, please refer to the printable recipe card located at the end of this post.
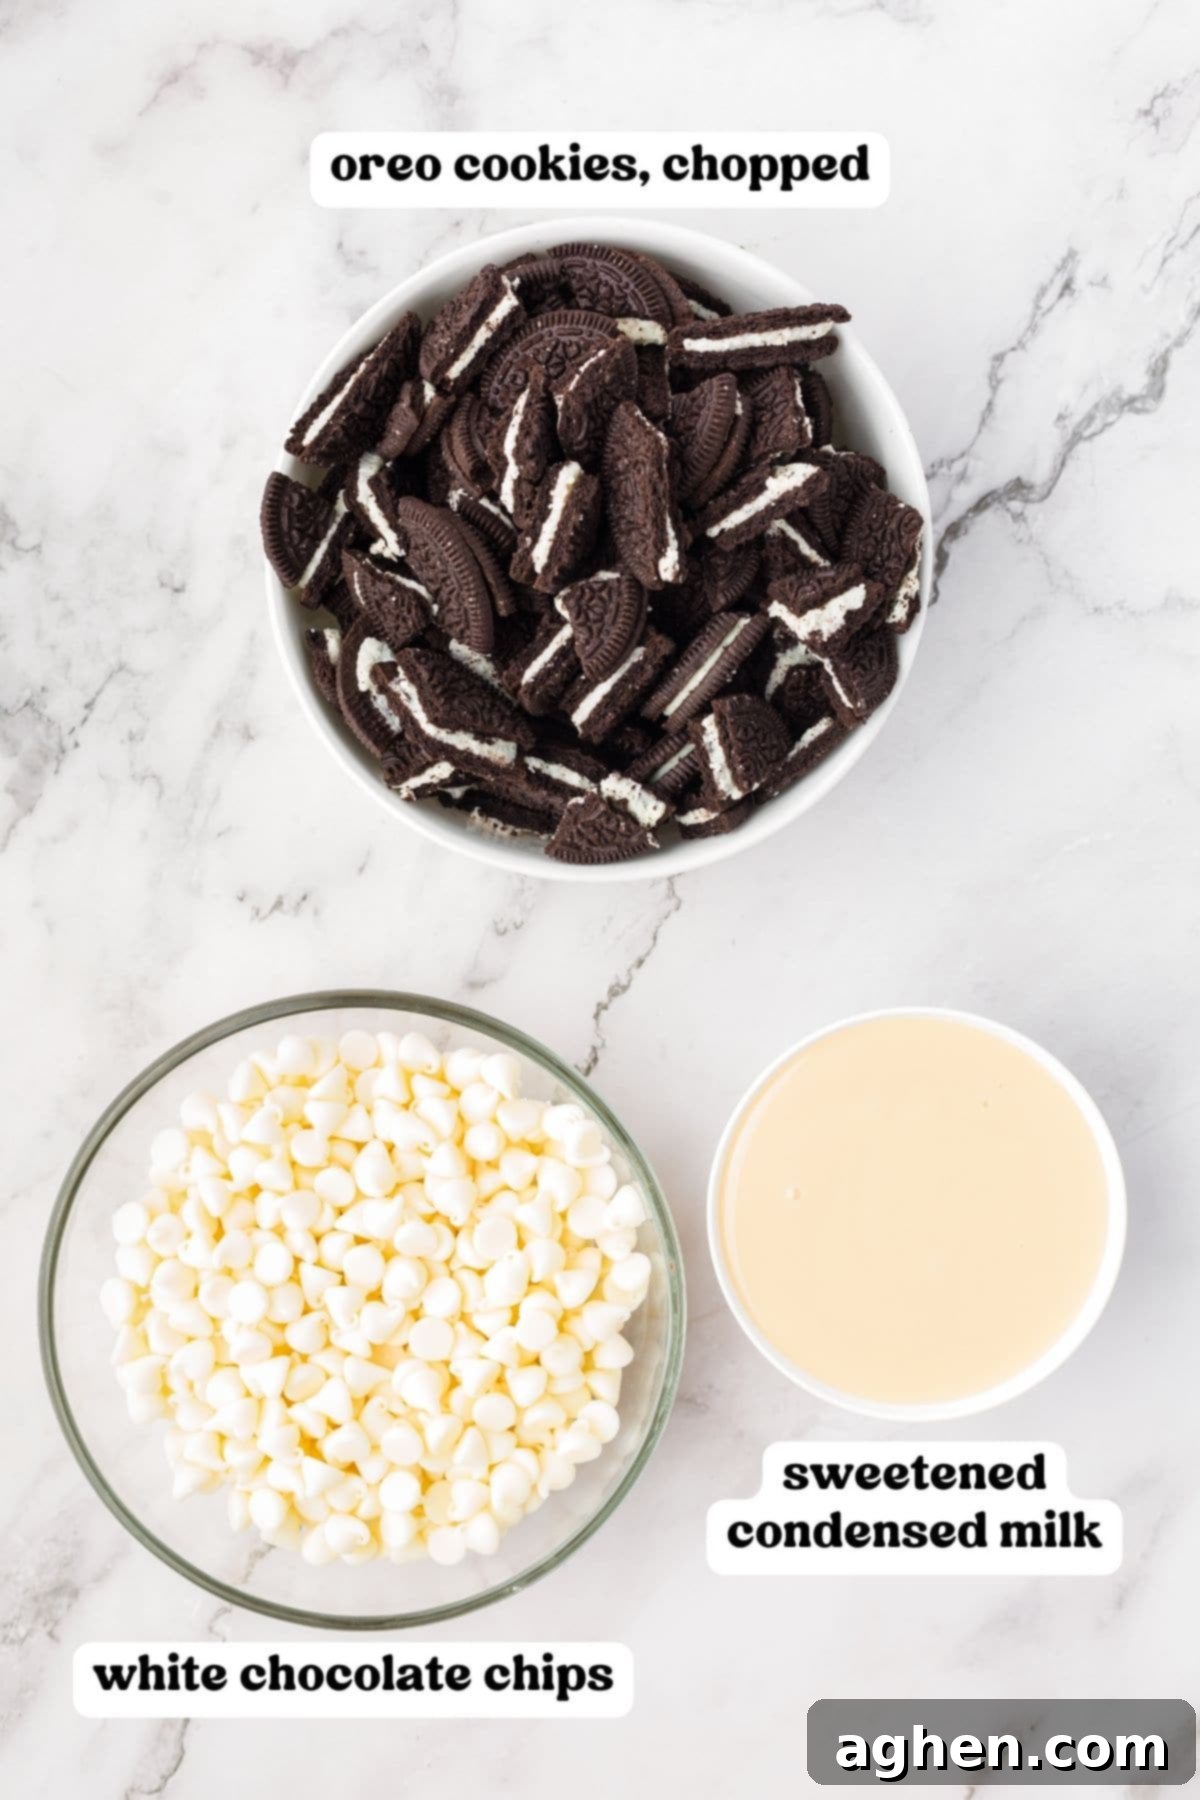
- Sweetened Condensed Milk: This is the secret ingredient that gives our fudge its signature creamy, fudgy texture. It’s regular milk from which a significant portion of water has been removed, resulting in a thick, rich liquid, to which sugar is then added. Be sure to use sweetened condensed milk and not evaporated milk, as they are not interchangeable in this recipe.
- White Chocolate Chips: These chips form the luxurious base of our fudge, imparting a wonderfully sweet and creamy flavor that pairs perfectly with the Oreos. For the best results and a smooth melt, I highly recommend using a high-quality brand such as Ghirardelli or Guittard. While white chocolate is traditional for the “cookies and cream” look, feel free to twist the flavor by using semi-sweet, milk chocolate, or even dark chocolate chips.
- Oreo Cookies: You’ll need approximately one sleeve of classic Oreo cookies, but it’s always a good idea to have a few extra on hand. You can crush them roughly, chop them into bite-sized pieces, or even use a food processor for a finer crumb. Remember to reserve about a quarter of the chopped cookies to sprinkle on top of the fudge for that irresistible visual appeal and extra crunch.
Step-by-Step: How to Make Irresistible Oreo Cookie Fudge
This detailed section guides you through the entire process of making this delightful fudge, complete with step-by-step photos for clarity. For the complete, printable recipe card with all measurements and nutrition facts, please scroll down to the end of this post.
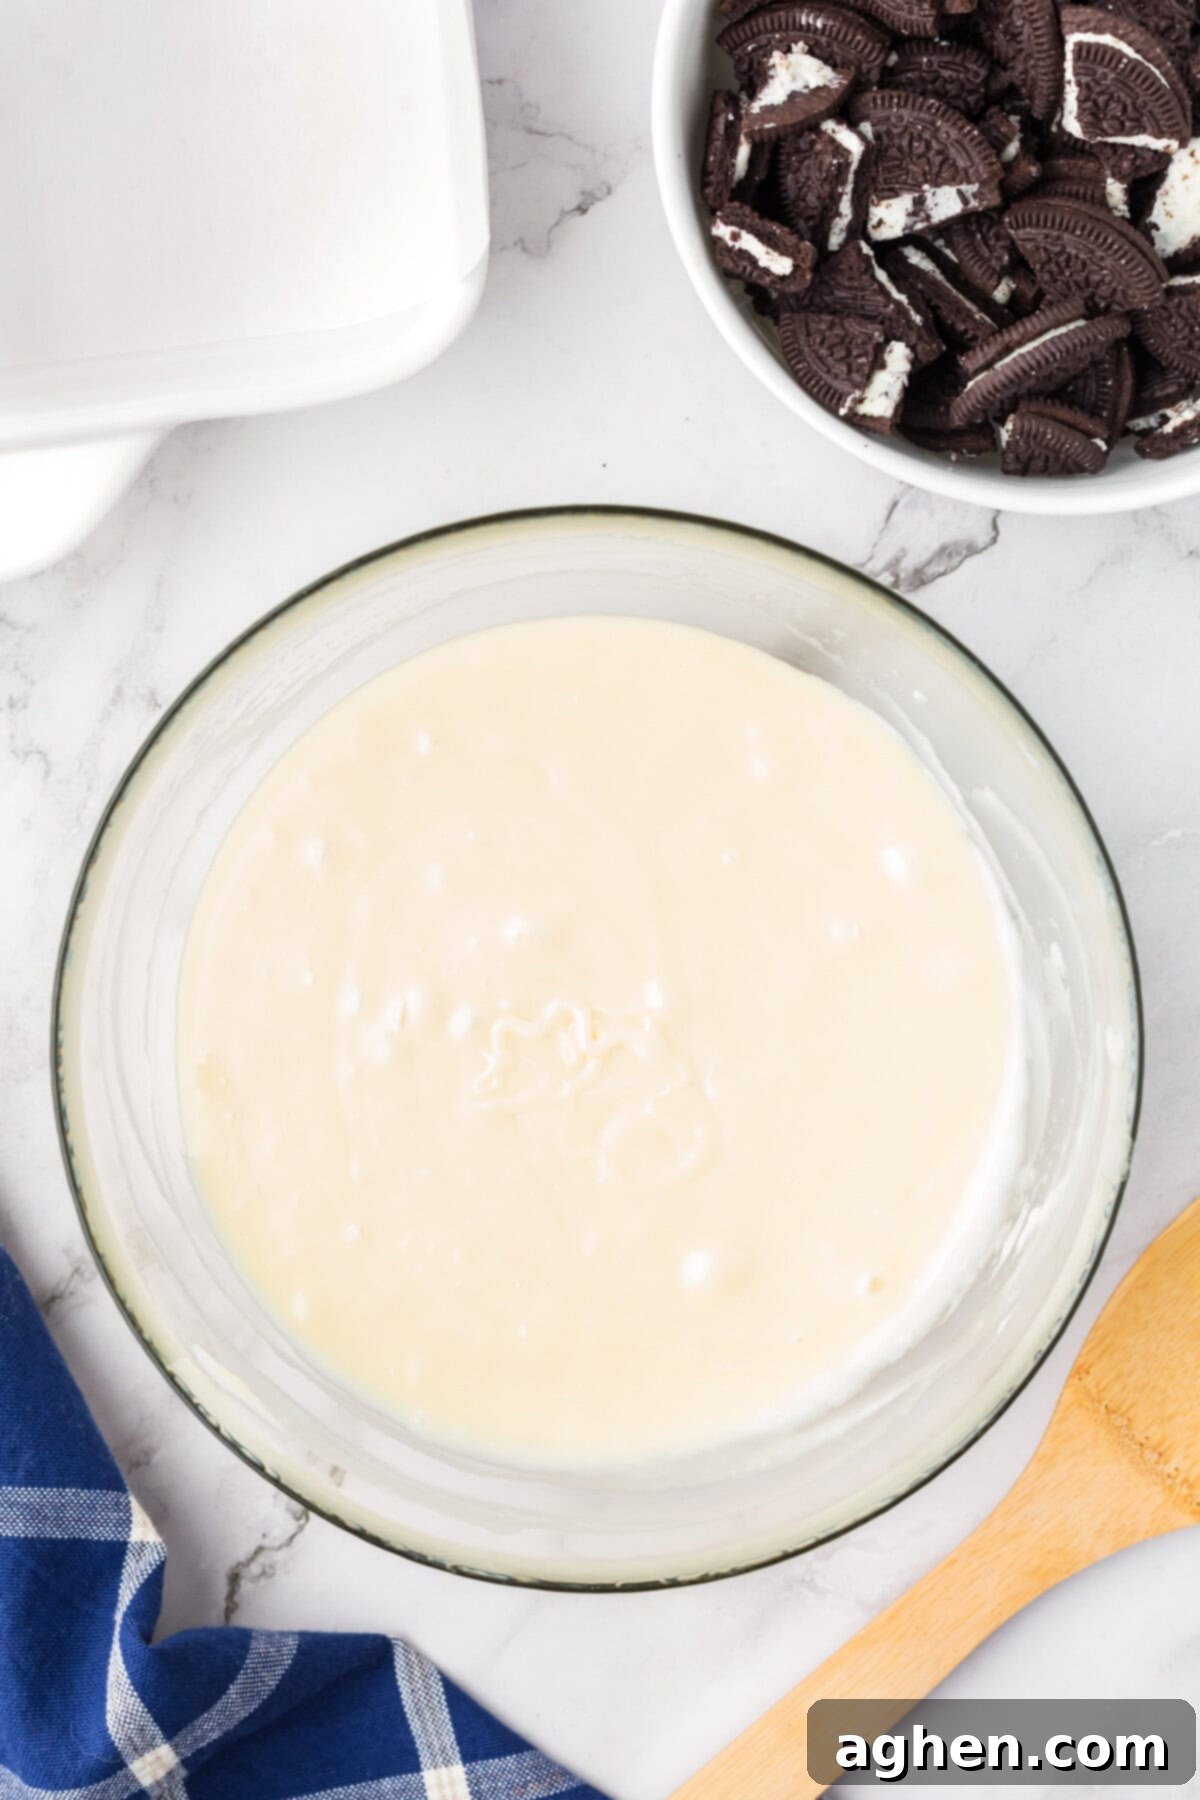
Step 1: Melt the Base. Begin by pouring the sweetened condensed milk into a large, microwave-safe bowl. Heat it in the microwave for approximately 1 minute. The goal is to warm it slightly, preparing it to melt the chocolate chips evenly. Next, add all the white chocolate chips to the warm condensed milk. Stir continuously until the chocolate chips are fully melted and the mixture is smooth and glossy. If you notice any stubborn lumps or if the chocolate isn’t melting completely, microwave for an additional 30 seconds, stirring thoroughly afterward, until you achieve a perfectly smooth consistency. Don’t overheat!
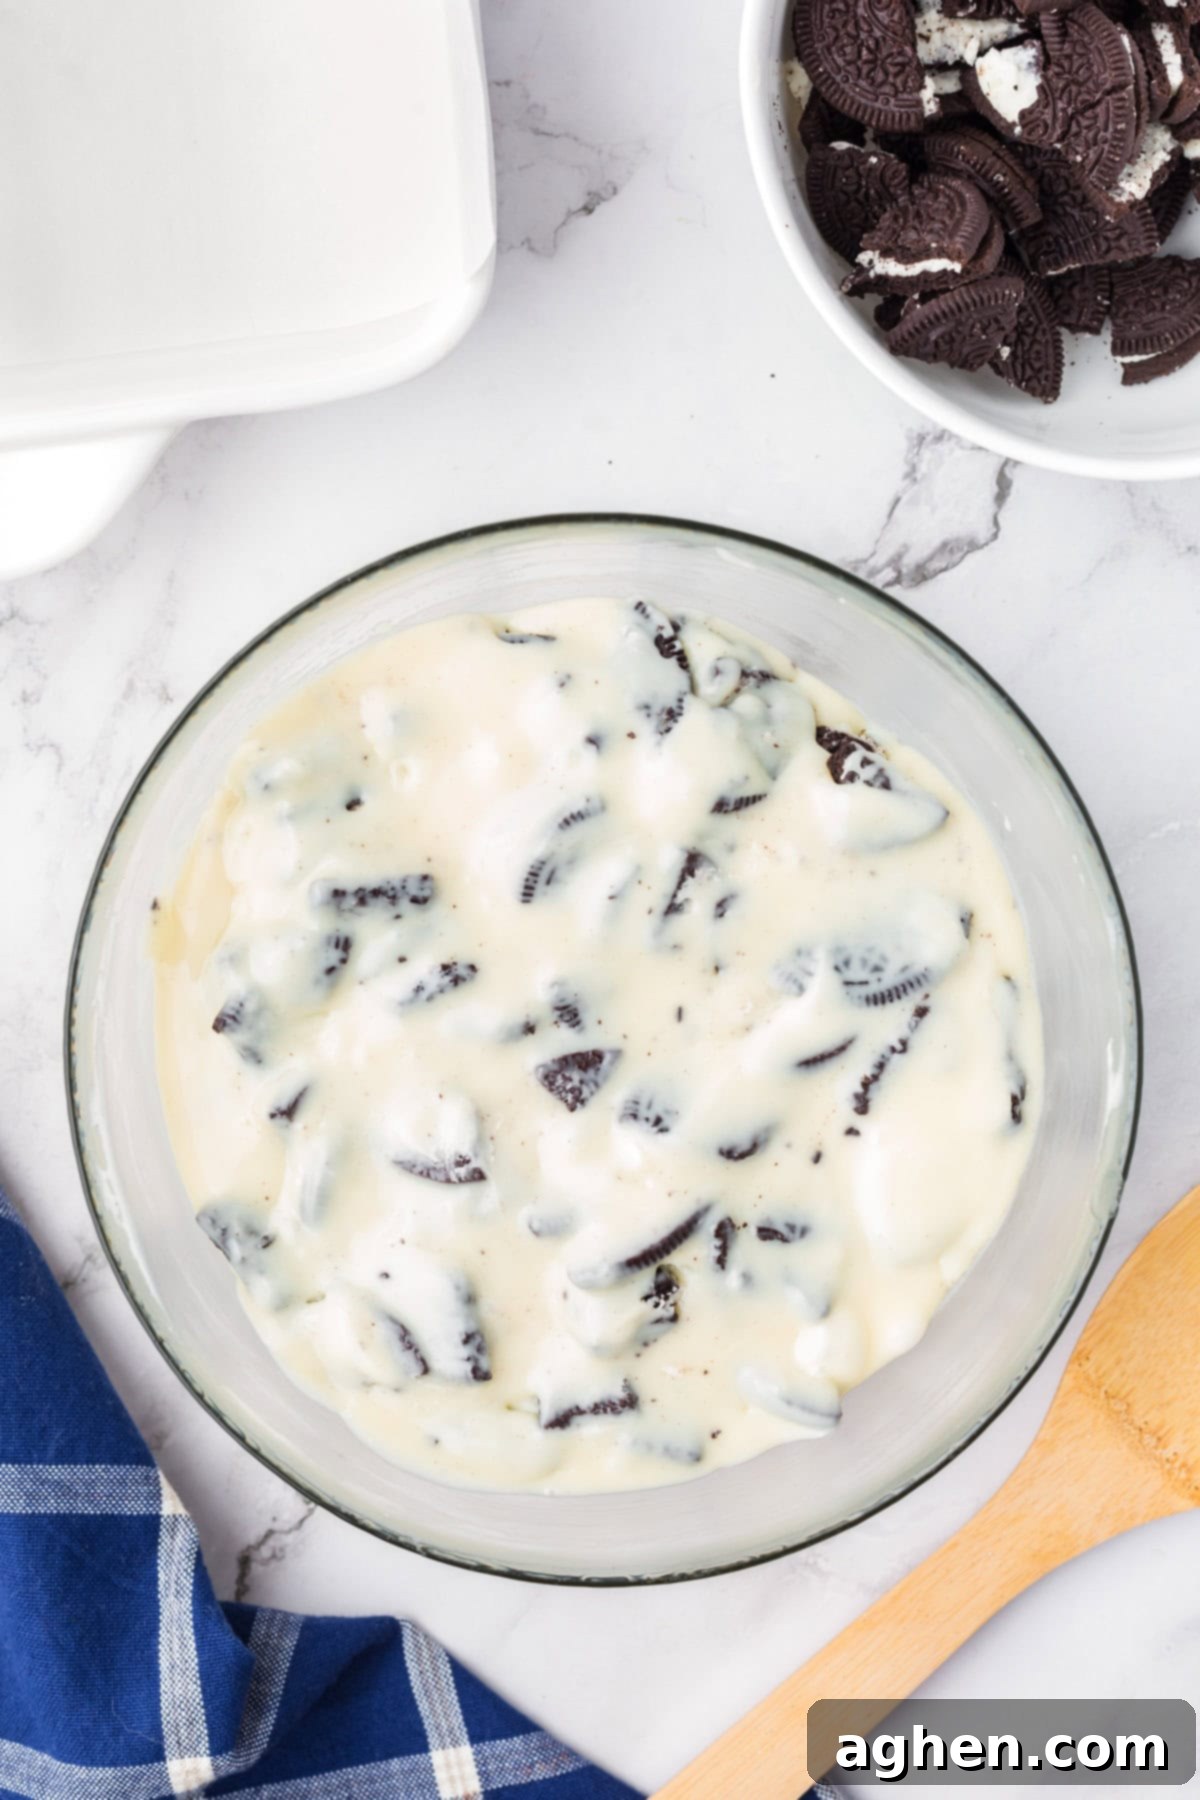
Step 2: Incorporate the Cookies. Once your chocolate base is smooth and ready, quickly stir in 1 and 1/4 cups of the chopped or crushed Oreo cookies. Work efficiently, as the fudge mixture begins to set quite rapidly. Ensure the cookies are evenly distributed throughout the luscious white chocolate mixture, creating that classic “cookies and cream” look and texture.
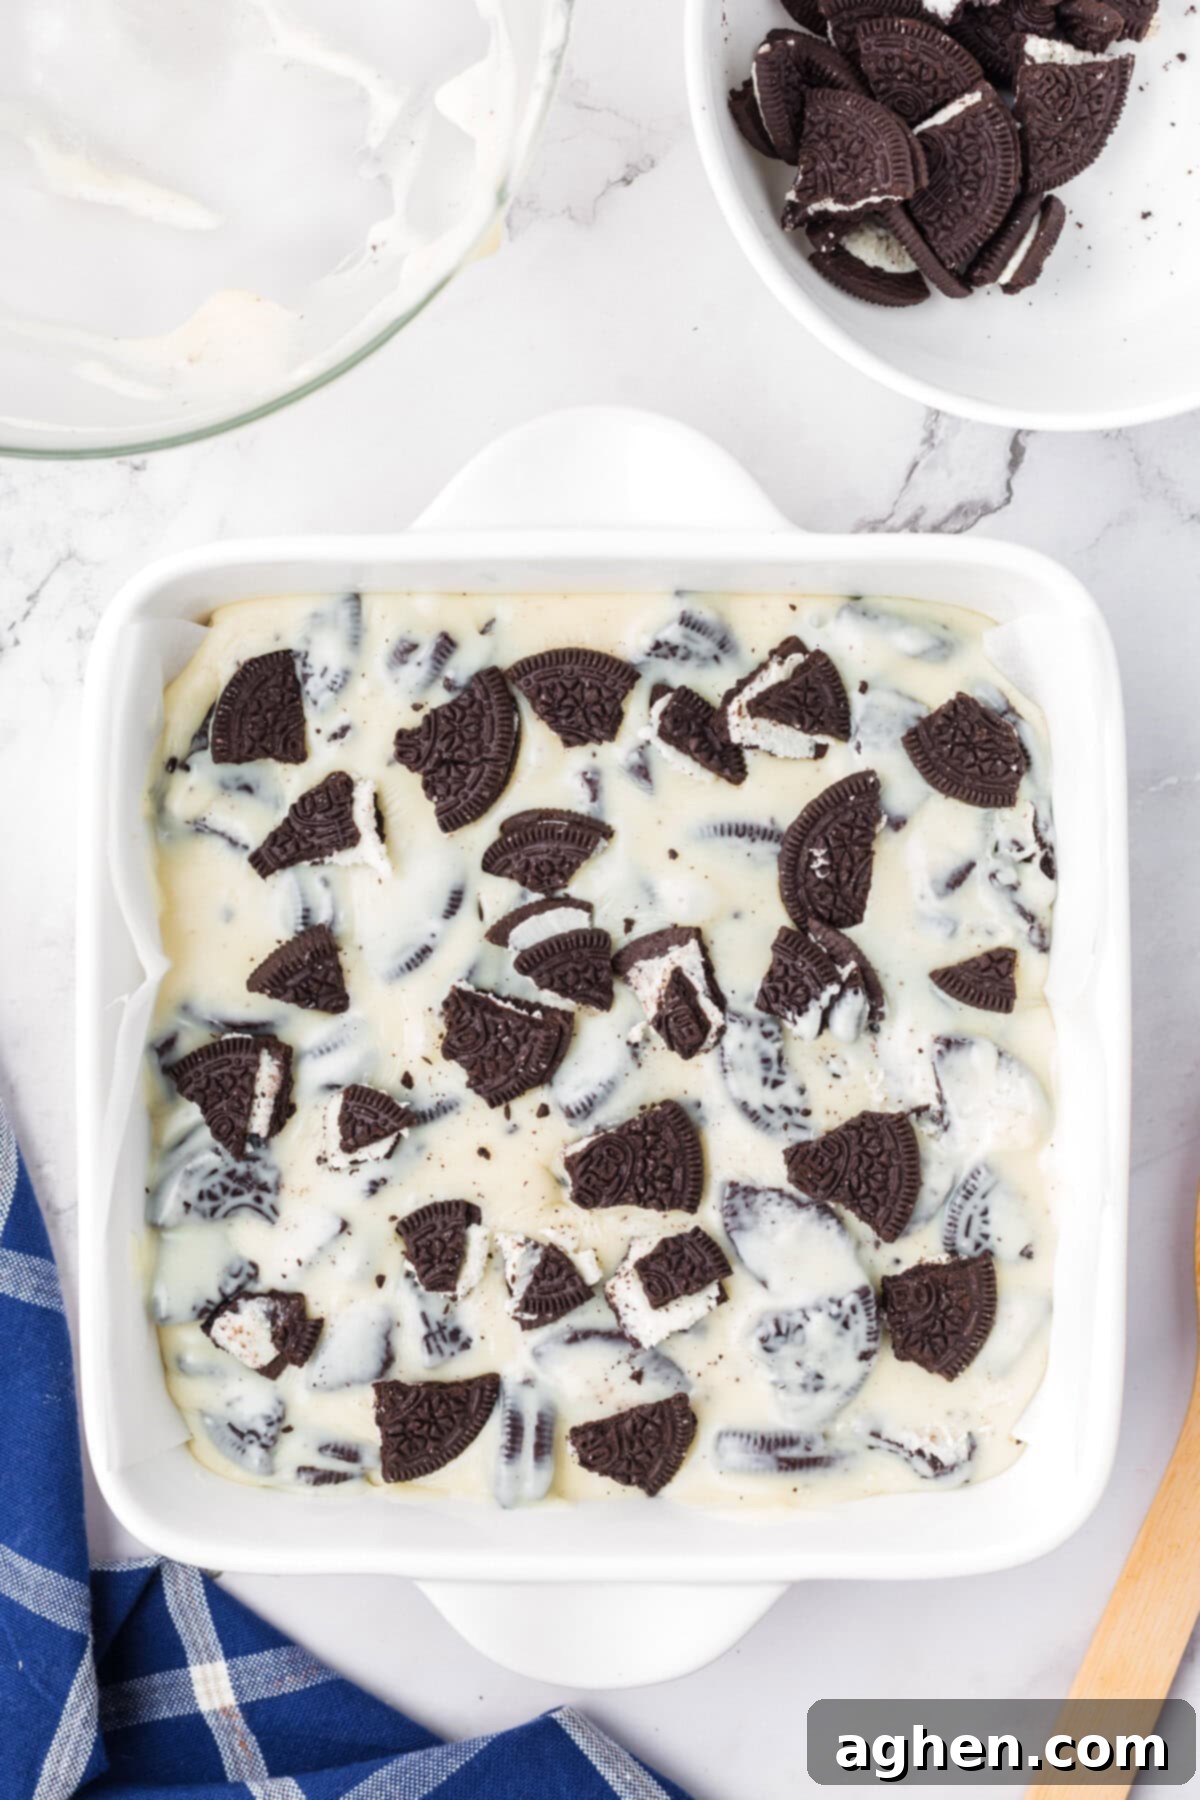
Step 3: Prepare and Press. Pour the warm chocolate and Oreo mixture into your prepared 8×8-inch square pan, which should be lined with parchment paper. Use an offset spatula or the back of a spoon to quickly spread and smooth the mixture into an even layer across the pan. Time is of the essence here, as the fudge will start to firm up. Immediately after smoothing, generously sprinkle the remaining reserved Oreo pieces over the top of the fudge. Gently press them down lightly to ensure they adhere to the surface as it sets.
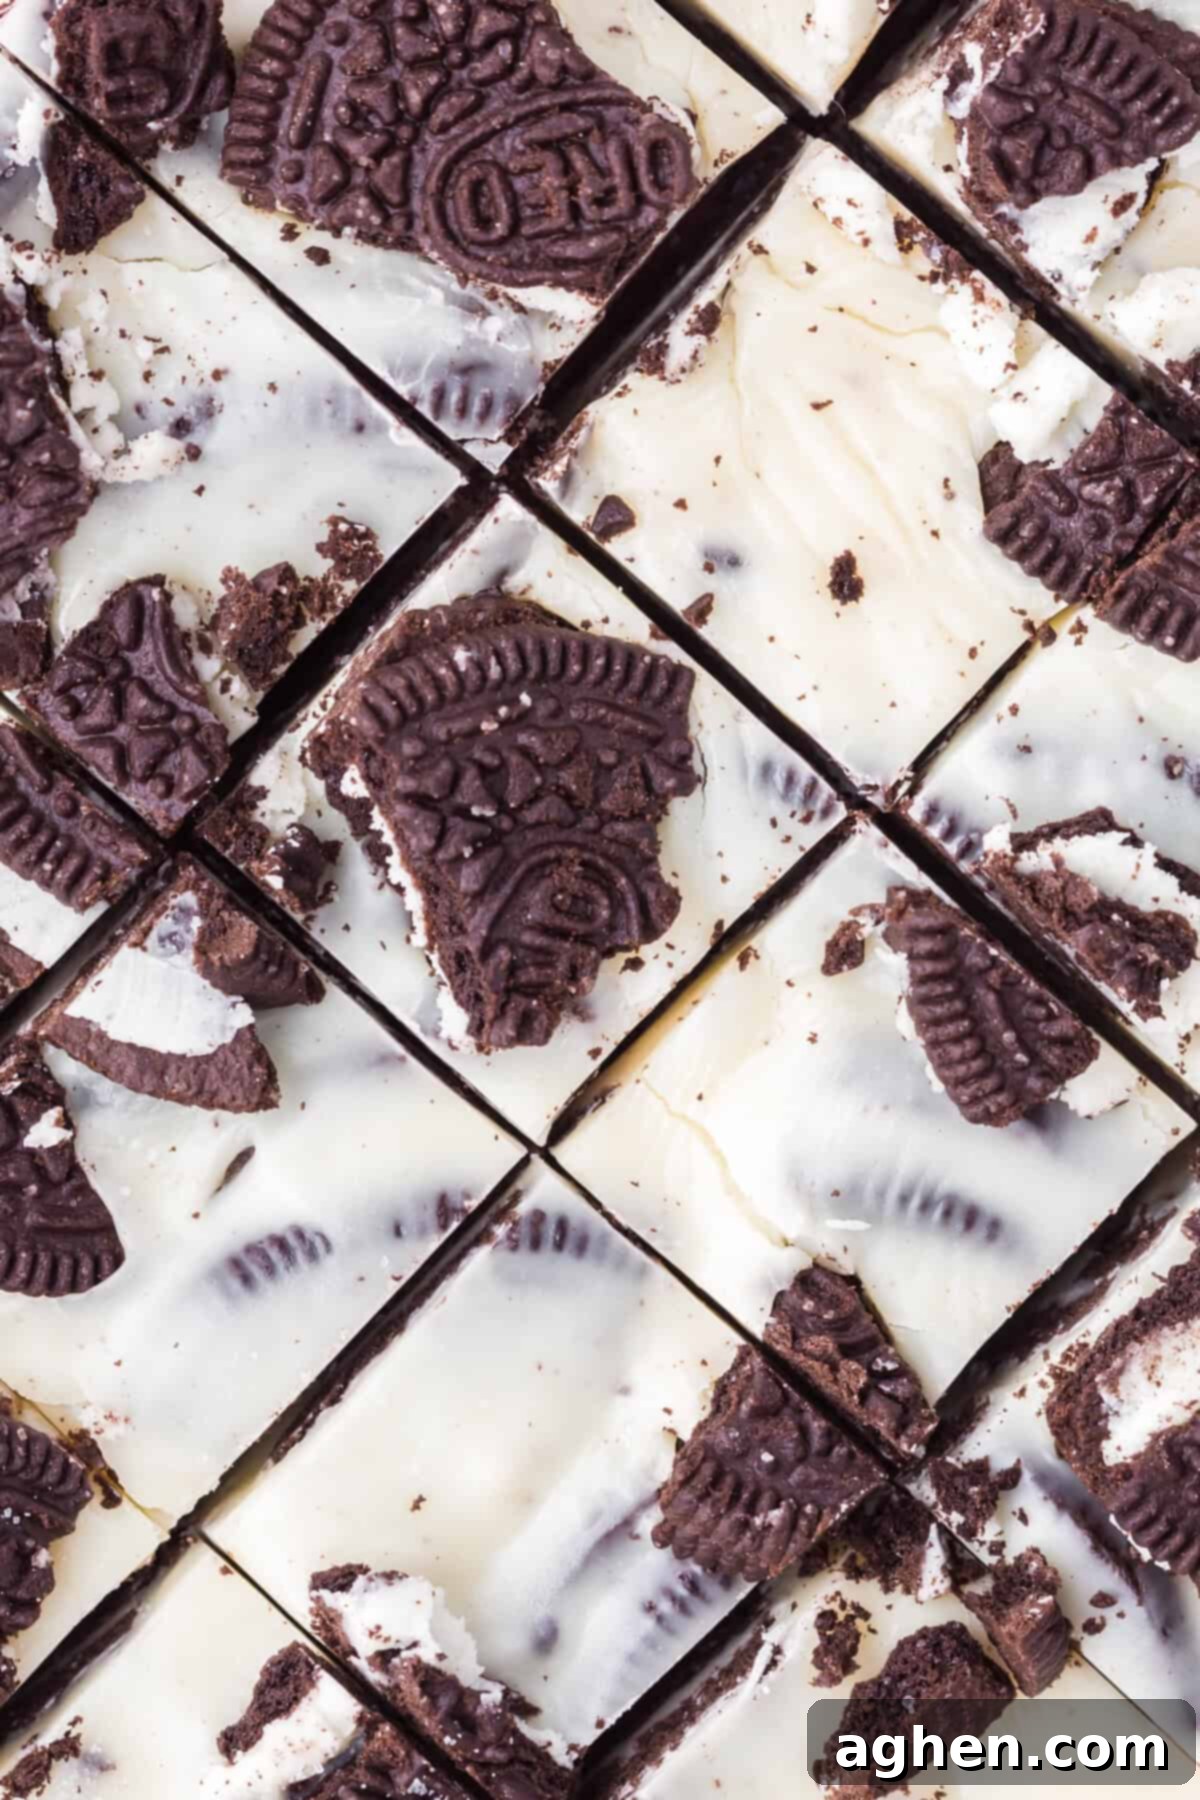
Step 4: Set and Serve. Allow the fudge to sit undisturbed at room temperature for approximately 2 hours, or until it has fully solidified and is firm to the touch. Once set, lift the fudge out of the pan using the parchment paper overhangs. Transfer it to a cutting board, slice it into perfect bite-sized squares, and get ready to enjoy your homemade, melt-in-your-mouth Oreo fudge!
Pro Tip for Perfect Fudge: Work Quickly!
One of the most crucial tips for making this creamy white chocolate fudge is to work fast! The mixture sets quite quickly once the warm condensed milk and chocolate chips are combined. Ensure you have your chopped Oreo pieces ready and your pan lined before you begin melting. Stir in the Oreo pieces and smooth the fudge into the pan immediately, and don’t forget to sprinkle the extra Oreos on top without delay. Speed ensures a beautifully integrated and perfectly set fudge.
Storage Solutions for Your Delicious Oreo Fudge
Proper storage is key to keeping your homemade fudge fresh and delicious for as long as possible. Fortunately, this white chocolate Oreo fudge is quite forgiving!
For short-term storage, your fudge is best kept at room temperature. Place it in an airtight container, away from direct sunlight or heat, where it will remain fresh and delightful for up to 2 weeks. This allows the fudge to maintain its perfect texture.
If you’ve made a larger batch or want to enjoy this treat later, it’s incredibly freezer-friendly. To freeze your white chocolate Oreo fudge, first, wrap the fudge tightly in plastic wrap. You can do this with the entire block or individual pieces, depending on how you plan to use it later. Then, transfer the wrapped fudge into a freezer-safe bag or an additional airtight container to prevent freezer burn. It can be kept frozen for up to 3 months. When you’re ready to enjoy it, simply let it thaw at room temperature for a few hours until it reaches its original soft, fudgy consistency before biting into this delightful treat!
Additional Recipe Tips for Success
- Always Line the Pan: This is a non-negotiable step for easy removal. Make sure the parchment paper hangs over the sides of your baking dish. These “flaps” will act as convenient handles, allowing you to lift the entire block of fudge out of the pan effortlessly once it’s set.
- Patience is a Virtue: As tempting as it is to cut your fudge and indulge immediately, it truly needs time to fully set up. Resist the urge to cut it too soon, or you’ll end up with a messy, sticky situation. Trust the process and let it chill!
- Pan Size Matters: If you opt for a larger pan than the recommended 8×8-inch, just be aware that your fudge will be thinner. This might slightly alter the setting time, potentially making it quicker, and the resulting pieces will be flatter. Conversely, a smaller pan will yield thicker pieces and might require longer setting time.
- Achieve Clean Edges: For perfectly neat and tidy squares, use a sharp, non-serrated knife. For the cleanest possible cuts, wipe the knife blade clean with a damp cloth or paper towel between each slice. This prevents the fudge from sticking and smudging.
- Quality Ingredients Make a Difference: While it’s a simple recipe, using good quality white chocolate chips (like Ghirardelli or Guittard) can significantly impact the final texture and flavor of your fudge, ensuring a smooth, rich melt.
- Don’t Overheat the Chocolate: When melting the chocolate and condensed milk, heat in short intervals and stir frequently. Overheating can cause the chocolate to seize or become grainy, affecting the fudge’s texture.
Delicious Variations and Serving Ideas
This 3-ingredient Oreo fudge is fantastic as is, but its simplicity also makes it a perfect canvas for creative variations and serving suggestions:
- Chocolate Base Swaps: Instead of white chocolate, try milk chocolate chips for a richer chocolate flavor, or semi-sweet chocolate for a less sweet, more intense profile. You could even use dark chocolate for a sophisticated twist.
- Oreo Flavor Adventures: Don’t limit yourself to classic Oreos! Experiment with Golden Oreos for a vanilla-based cookies and cream fudge, Peanut Butter Oreos for a nutty twist, Mint Oreos for a festive holiday treat, or even seasonal varieties.
- Add-Ins & Toppings: Swirl in a tablespoon of peanut butter (after melting the chocolate) for a marbled effect. Sprinkle with colorful sprinkles for a party treat, or add a pinch of sea salt on top to enhance the chocolate flavors. Crushed nuts or mini chocolate chips can also be folded in or sprinkled on top.
- Extract Enhancements: A quarter teaspoon of vanilla extract or almond extract can deepen the flavor profile, though it’s perfectly delicious without. For mint Oreo fudge, a few drops of peppermint extract would be divine.
More Irresistible Oreo Dessert Recipes to Try
If you’re an Oreo aficionado, you’re in luck! There are countless ways to incorporate these beloved cookies into mouth-watering desserts. Here are some more fan-favorite Oreo recipes to satisfy your cravings:
- Light and Creamy Oreo Fluff
- Decadent Oreo Pudding Poke Cake
- Rich Oreo Peanut Butter Pie
- Effortless No-Bake Oreo Cheesecake Bars
- Classic Oreo Dirt Pudding with Gummy Worms

3-Ingredient Oreo Fudge
Author: Jaclyn
10 minutes
1 hour
1 hour 10 minutes
Ingredients
- 14 ounces Sweetened Condensed Milk
- 2 cups white chocolate chips
- 1 ½ cups Oreo cookies chopped and divided
Instructions
-
Line an 8 X 8-inch baking pan with parchment paper.
-
Pour the sweetened condensed milk into a large microwave-safe bowl and microwave for 1 minute. Put the chocolate chips in the warmed sweetened condensed milk and stir until melted. Microwave for an additional 30 seconds if the chocolate is not melting well. Stir in all but about ¼ of the chopped Oreos. Do this fast, the fudge starts to set rather quickly.
-
Pour the chocolate mixture into the baking pan and smooth into an even layer, working quickly before it starts to set. Top with the remaining Oreo pieces, gently pressing them down into the top of the fudge.
-
Allow the fudge to sit at room temperature until set, about 2 hours. Remove from the pan, cut into bite-size squares, and serve.
Notes
Nutrition

Did You Make This Recipe?
Share it with me on Instagram @crayonsandcravings and follow on Pinterest @crayonsandcravings for even more!
Pin Recipe
Leave A Review
