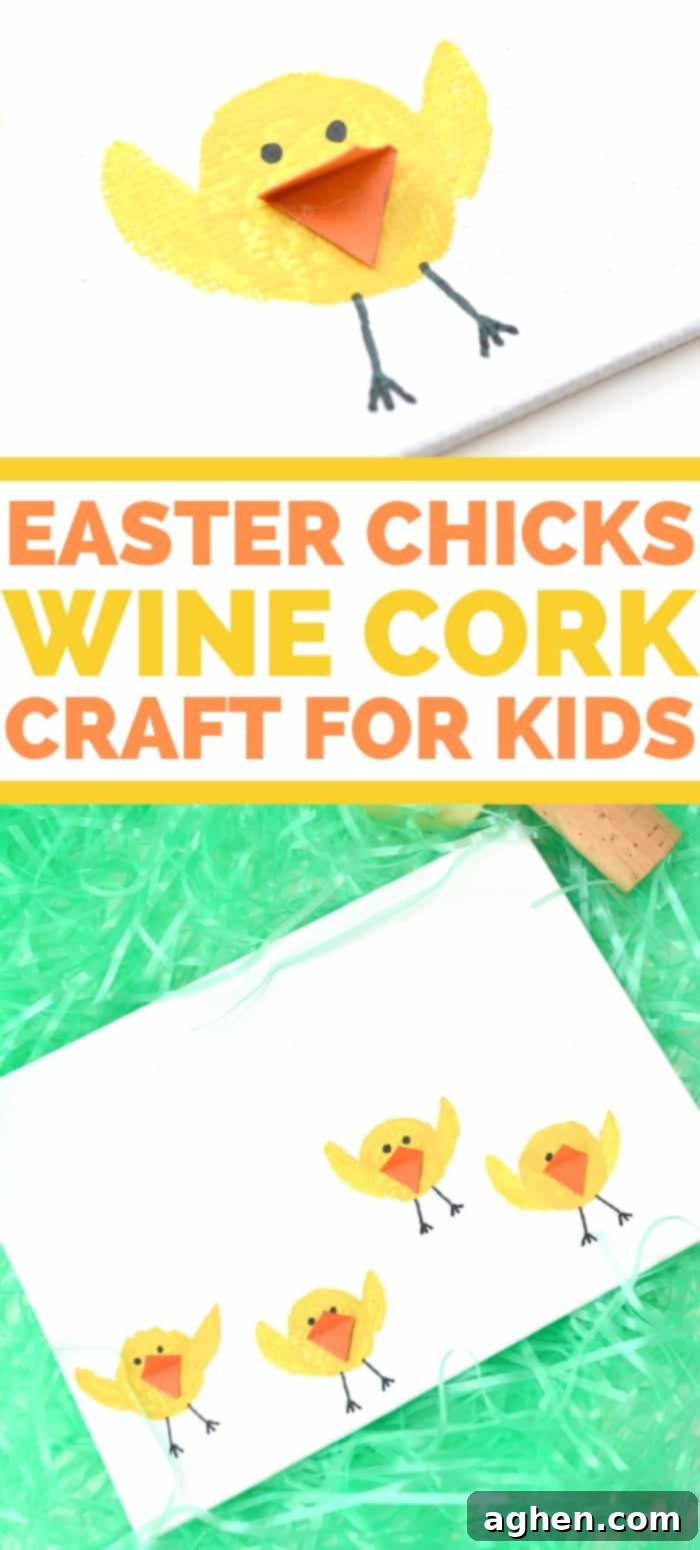
Easy Wine Cork Easter Chick Craft for Kids: A Fun DIY Spring Decoration Project
Are you searching for a delightful and engaging activity to welcome Spring and celebrate Easter? Look no further! This adorable Easter chicks wine cork craft offers a fantastic opportunity for kids to get creative, develop fine motor skills, and produce charming decorations. Using simple household items like wine corks and paint, children can bring these cute baby chicks to life through a fun stamping technique. It’s the perfect kids’ activity for those transitional days leading up to Easter, whether they are rainy or even surprisingly snowy!
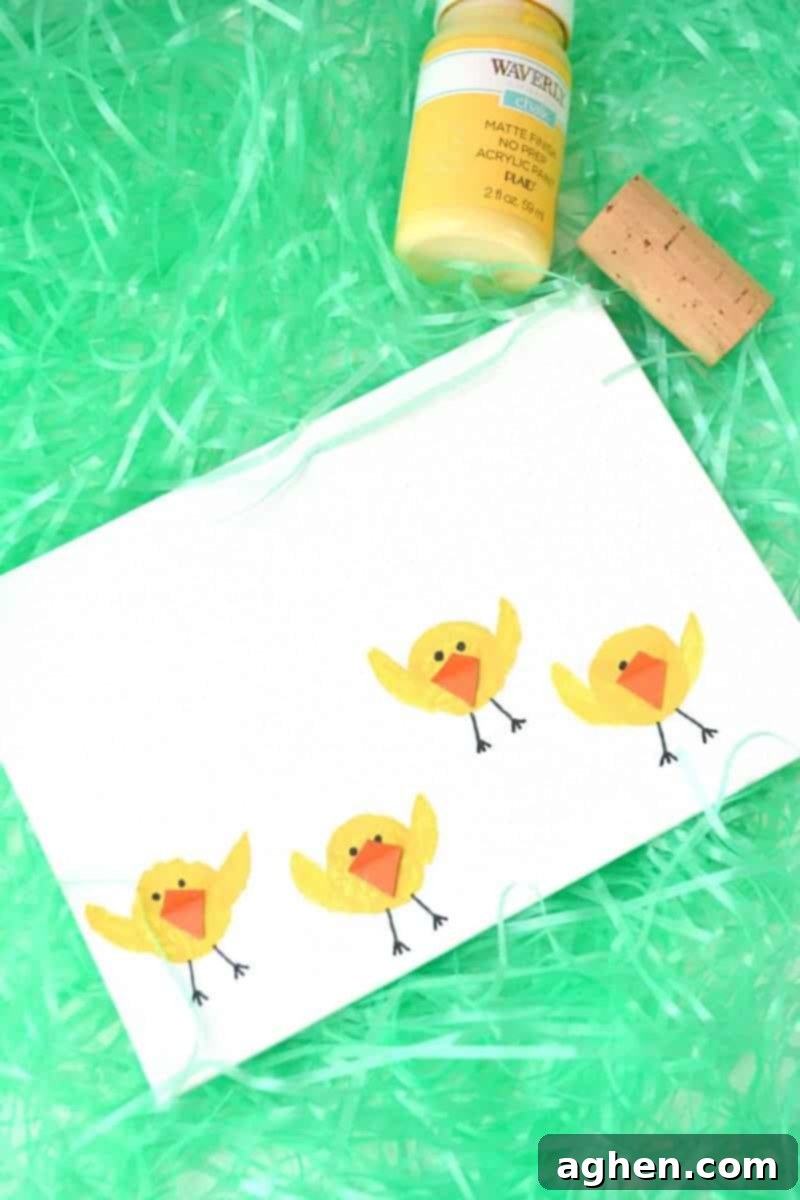
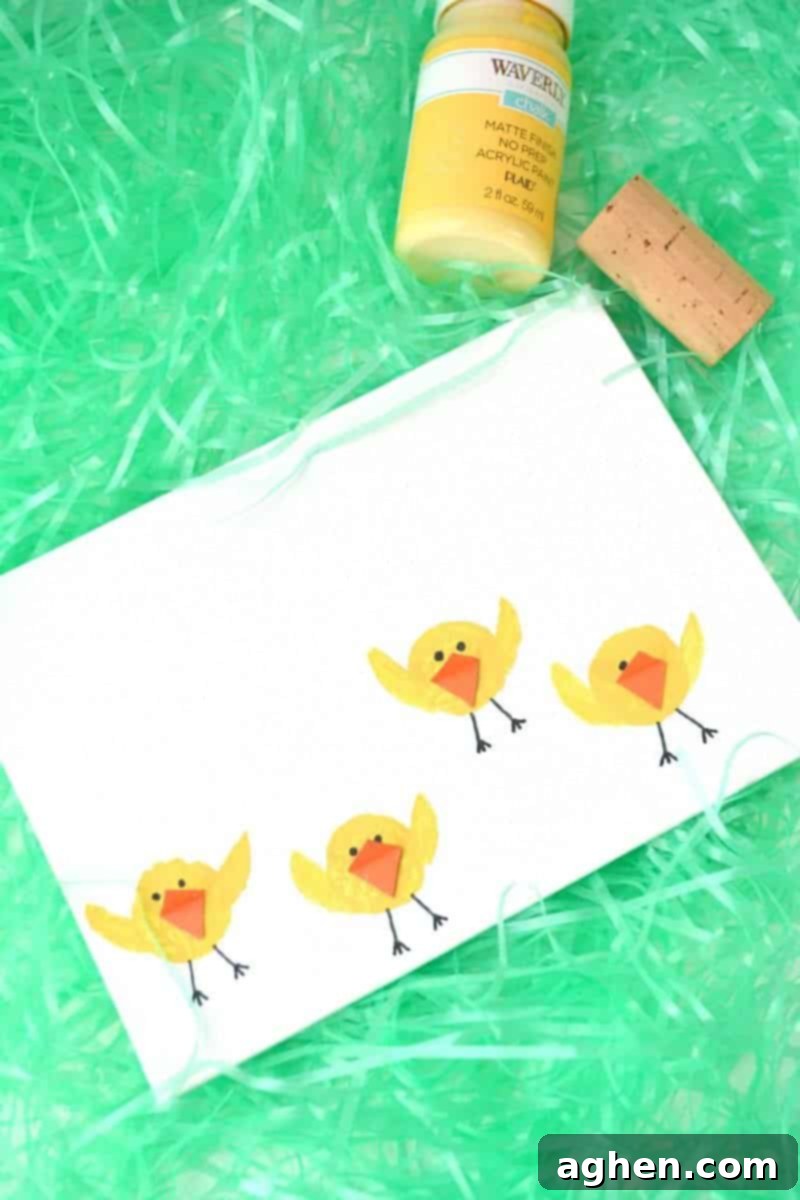
Crafting is not just about making something pretty; it’s about the process, the learning, and the joy of creation. This particular Spring chick craft is not only incredibly fun to make, but the finished pieces also serve as wonderful DIY Easter decorations. Imagine a collection of these cheerful little chicks adorning your classroom, brightening a windowsill at home, or becoming a handmade gift for grandparents. They add a personal, heartwarming touch to any festive display.
What makes this such a great Easter craft idea is its blend of simplicity and room for creativity. It allows children to express themselves through color and design, while also taking just enough time to feel like a satisfying project without being overly complex. It’s an activity that fosters patience, concentration, and artistic exploration, all while building anticipation for the Easter holiday.
Related: Sparkle Up Your Easter with a Salt Glitter Easter Egg Canvas Art Project
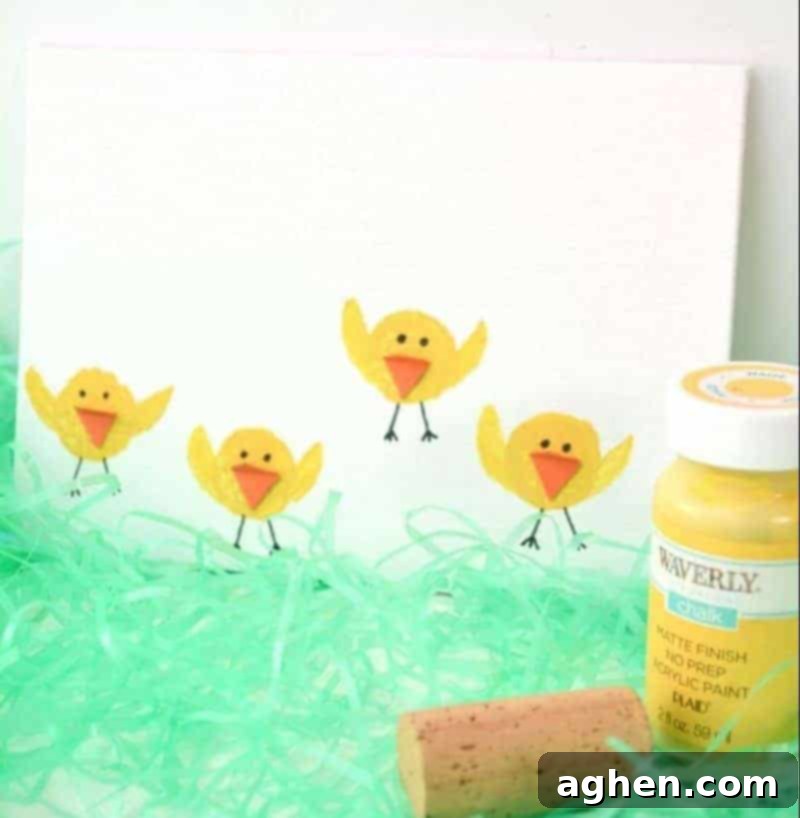
Children will absolutely adore using the unique texture of wine corks to stamp and create the round, fluffy bodies of these cute little Easter chicks. For adults, the best part is seeing their faces light up with pride as they complete their masterpiece. And, of course, you’ll love having these charming, handmade creations to use as festive decorations around the house or classroom throughout the entire Spring season. They’re a lovely reminder of the fun times spent together.
While you could certainly create this craft using standard construction paper, for a project that truly lasts and can be displayed year after year, we highly recommend opting for sturdier materials. Cardstock is an excellent choice, providing a firm base that holds up well to paint and glue. For an even more professional and lasting result, consider using a small art canvas. This elevates the craft from a simple paper project to a genuine piece of art that can be cherished as a keepsake.
This Easter chicks craft is wonderfully adaptable, making it a fantastic choice for kids of all ages. Younger children, such as preschoolers or toddlers, will delight in the sensory experience of dipping the corks in paint and stamping them onto the surface to form the chick’s bodies. They may need a bit of assistance with the more intricate details like cutting out beaks or drawing eyes and legs. Older children, however, will be able to handle all steps independently, from stamping to adding their own creative flair with expressions and background elements. This versatility ensures everyone can participate and enjoy the crafting process.
Easter Chicks Craft Materials You’ll Need
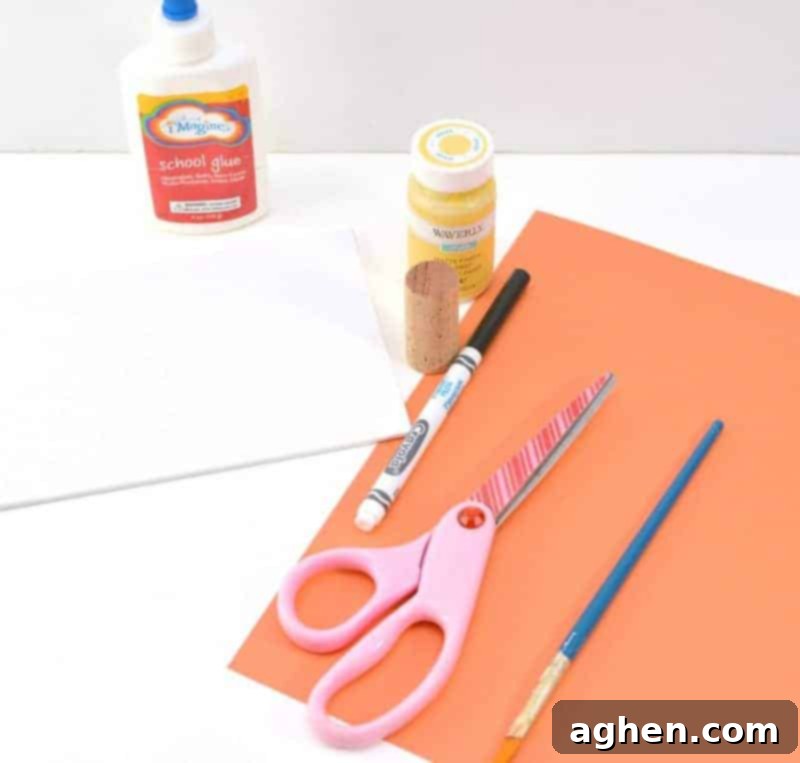
Gathering your supplies is the first exciting step in any crafting adventure. For this adorable Easter chick project, you’ll find most items are common craft staples, making it easy to get started. Here’s a detailed list:
- **White Paper or a Small 5×7 Canvas:** The foundation of your artwork. As mentioned, cardstock or a canvas will provide a more durable and display-worthy finish than regular paper.
- **Wine Cork:** The star of our stamping show! Any standard wine cork will work perfectly to create the round chick bodies. This is a great way to upcycle.
- **Yellow Paint:** Acrylic paint works best for its vibrant color and quick drying time. A bright, cheerful yellow is ideal for our little chicks.
- **Black Marker:** For drawing the eyes and legs, a fine-tip or medium-tip black marker will give you clean, distinct lines.
- **Paintbrush:** A small brush is useful for adding the wings and any other small details you might want, such as green grass or blue sky in the background.
- **Orange Paper or Cardstock:** To create those cute little beaks. Cardstock will give the beaks more dimension and durability.
- **Scissors:** Child-safe scissors are recommended for younger crafters, especially when cutting the small diamond shapes.
- **Glue:** Standard school glue or craft glue will work well to attach the beaks securely to your stamped chicks.
Shop Essential Easter Chicks Craft Supplies
Heavyweight Construction Paper, 500-count Assorted Colors5 x 7 Canvas, Set of 6Cardstock, Assorted ColorsApple Barrel Acrylic Paint SetPaint Trays, Set of 20Paintbrush SetElmer’s School Glue, 2 BottlesChildren’s Smocks
Simple Step-by-Step Easter Chicks Craft Instructions
Get ready to transform simple corks into adorable Easter decorations! Follow these easy steps to create your very own flock of happy chicks.
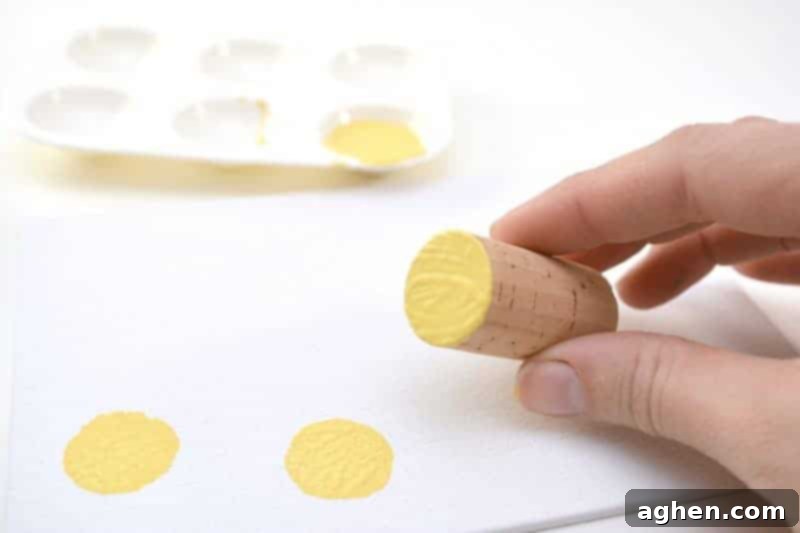
Step 1: Create the Chick Bodies with Cork Stamps
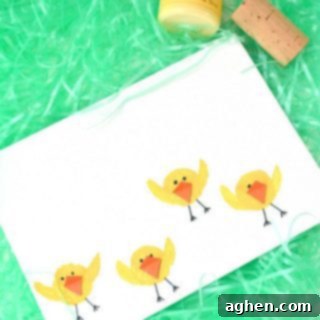
Begin by pouring a small amount of vibrant yellow paint onto a disposable plate or a shallow tray. Take one end of your wine cork and gently dip it into the yellow paint, ensuring that the entire circular surface of the cork end is covered. If there’s too much excess paint, you can lightly dab it on a paper towel to prevent drips, but make sure enough paint remains to make a clear impression. Now, press the paint-covered cork firmly onto your white paper or canvas. Lift straight up to reveal a perfect round chick body. For each chick you want to make on your canvas, repeat this stamping process, creating a cheerful row or cluster of yellow circles.
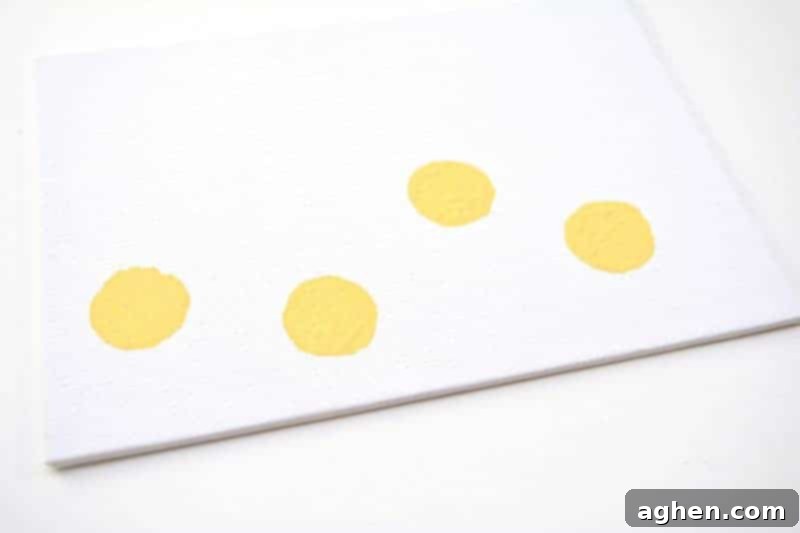
Step 2: Spacing and Drying the Stamped Circles
As you stamp each chick body, be sure to leave adequate space between your circles. This is crucial as you’ll need room to add the chick’s wings, legs, and other details later on. Giving them enough breathing room prevents the elements from crowding each other and makes the final product look neat and professional. Once all your chick bodies have been stamped, set your paper or canvas aside in a safe place to dry completely. Depending on the thickness of your paint, this might take anywhere from 20 minutes to an hour. Patience is key for the best results!
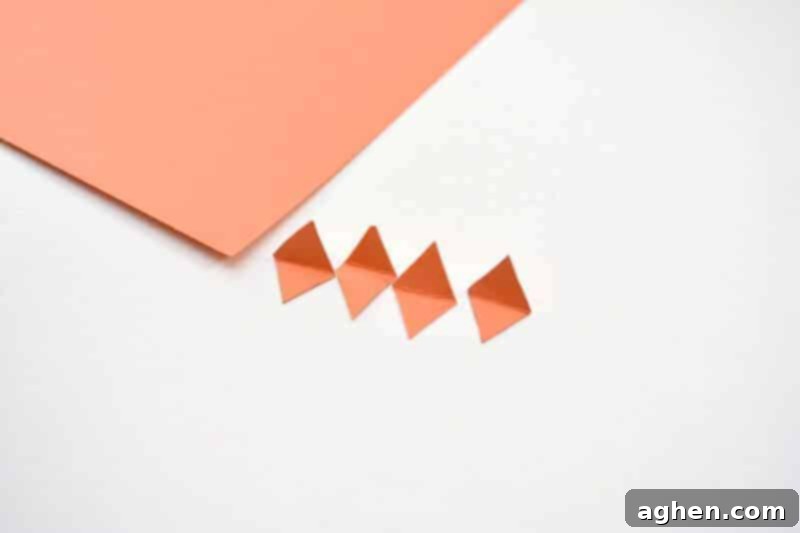
Step 3: Crafting the Tiny Beaks
While your yellow chick bodies are drying, you can move on to preparing the beaks. Take your orange paper or cardstock and, using scissors, carefully cut out small diamond shapes. These don’t need to be perfectly uniform; slight variations can add character to your chicks. Once you have your diamond shapes, fold each one precisely in half. This fold will create a three-dimensional beak that adds a wonderful touch of realism to your chicks. Remember to make one beak for every chick you’ve stamped on your canvas.
Step 4: Adding Expressive Eyes and Legs
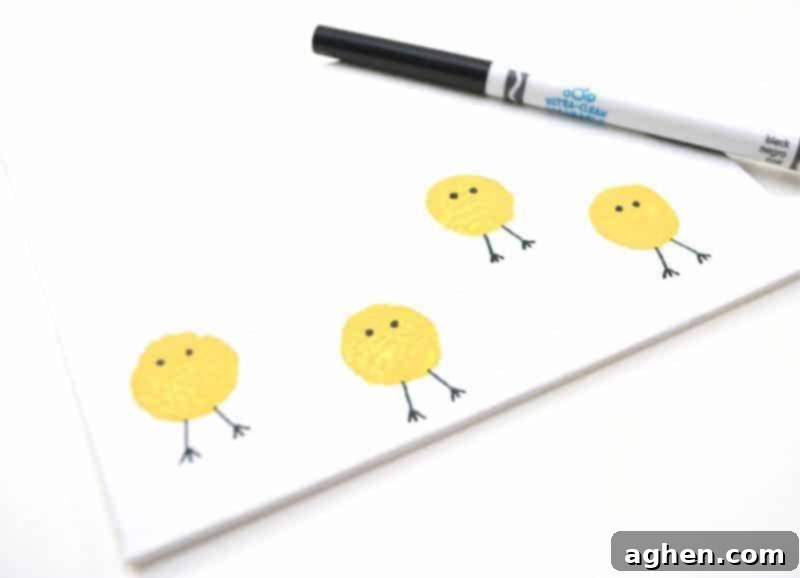
Once the yellow paint on your chick bodies is completely dry to the touch, it’s time to bring them to life with facial features and tiny feet. Using your black marker, carefully draw two small, round eyes on each chick, positioning them towards the top of the stamped yellow circle. You can make them simple dots or add tiny eyelashes for extra charm. Next, draw two slender legs extending from the bottom of each chick’s body, finishing each leg with a few small lines to represent little feet. This step allows for a lot of personalization – give your chicks different expressions!
Step 5: Painting the Fluffy Wings
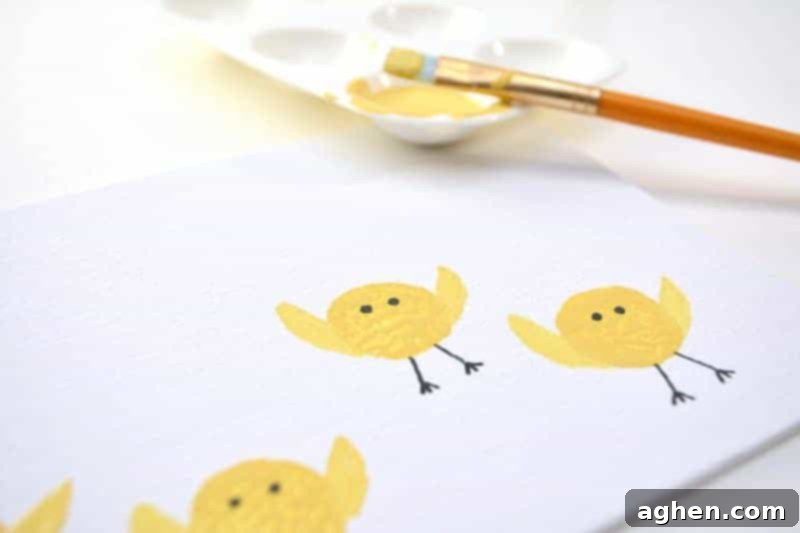
Now, grab your paintbrush and a small dab of yellow paint. Carefully paint on small, fluffy wing shapes, one on each side of each wine cork circle on your canvas. You can make these wings look soft and feathery by using light, short strokes. The wings don’t need to be perfectly symmetrical; a little asymmetry can add to their cute, natural appearance. Let the paint dry thoroughly before moving on to the final touches.
Step 6: Attaching the Beaks and Final Drying
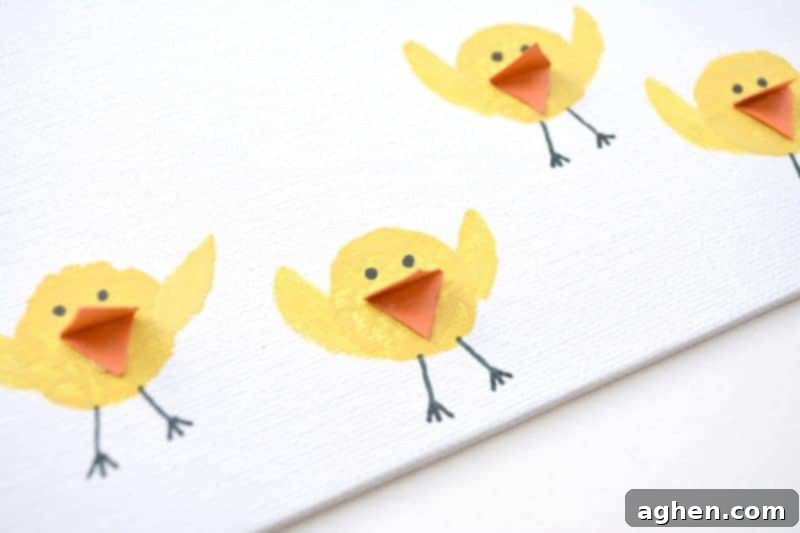
Almost done! Take your pre-folded orange beaks. Apply a tiny dot of glue to the folded edge of each beak. Carefully position and press each beak onto the front of each wine cork circle, just below the eyes you’ve drawn. Hold it in place for a few seconds to ensure it adheres properly. Once all the beaks are glued on, your charming Easter chicks are nearly complete!
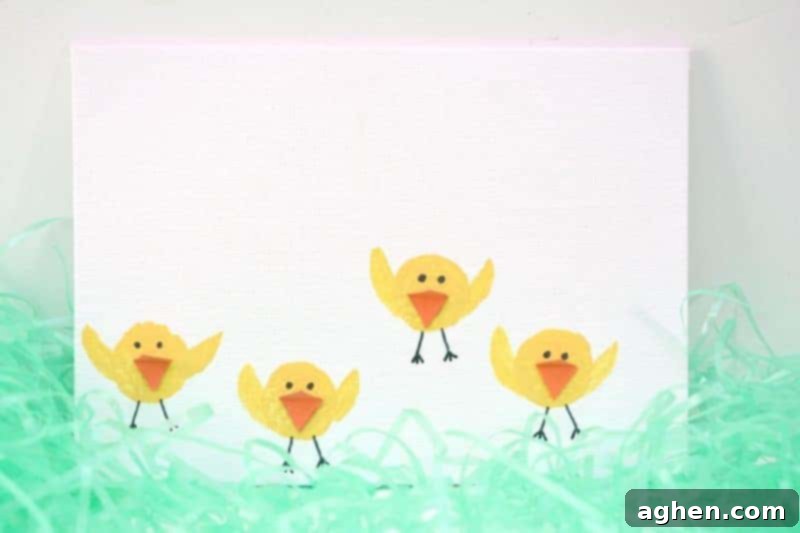
Allow all the paint and glue to dry completely before proudly displaying your awesome Easter chicks decoration. This ensures everything is set and prevents any smudges or accidental damage. Consider adding extra details once dry, like a green painted “grass” line at the bottom, or even tiny painted flowers to create a complete Spring scene around your chicks.
Creative Variations & Personalization
Don’t stop at just yellow chicks! This craft is incredibly versatile. If you wanted, you could also make a canvas using brown paint to make chubby little bunnies by following a similar cork-stamping and drawing method. Imagine a vibrant green background, or perhaps some glitter sprinkled on the wings while the paint is still wet for a touch of sparkle. You could even glue on small googly eyes instead of drawing them, or use different shades of yellow for more dynamic chicks. Encourage kids to experiment with different expressions for their chicks – some happy, some curious, some even a little sleepy!
Tips for a Successful Crafting Session
- Preparation is Key: Lay down newspaper or a protective mat to make cleanup easier, especially with paint.
- Dress for Success: Consider having children wear old clothes or smocks to protect from paint splatters.
- Guided vs. Independent: For very young children, pre-cut the diamond shapes for the beaks. Older kids can practice their cutting skills.
- Patience with Drying: Ensure each layer of paint or glue is dry before adding the next element to prevent smudging.
- Encourage Creativity: Let children choose their own arrangements for the chicks, or add extra elements like painted clouds, sun, or grass to their scene.
I genuinely hope that you and your little ones enjoy creating this adorable and fun Easter chicks craft. It’s a wonderful way to spend quality time together, unleash creativity, and make lasting memories. If you decide to make this charming project, we would absolutely love to hear about it! Please share your experiences and photos in the comments below – we’d be thrilled to see your unique flocks of Easter chicks!
More Fun Easter Ideas For Kids:
- Exciting DIY PEEPS Puff Paint Project
- Delicious Edible Silly Putty Made With Gummy Worms
- Creative Easter Peeps Mobiles Craft Idea
- Free Printable Easter Egg Coloring Page for Kids
Easter Chicks Cork Stamping Art
Author: Jaclyn
Equipment
-
1 black marker
-
1 paint brush
-
1 Scissors
Supplies
- 1 canvas or white cardstock
- 1 wine cork
- 1 yellow paint
- 1 orange paper or cardstock
- 1 glue
Instructions
-
Dip cork into yellow paint. Dab off any excess paint on a paper towel, if necessary. Use the cork to stamp circles onto the canvas. Space out the circles so that there will be room to add wings and feet later. Once all circles have been stamped, set the canvas aside to dry.
-
While drying, use scissors to cut out small diamond shapes out from the orange paper. Fold each diamond in half to form a beak. Make one beak for each circle on the canvas.
-
Once the paint has fully dried, use a black marker to draw eyes, legs, and feet on each chick.
-
Glue an orange paper beak on each chick, just below the eyes.
-
Using a paintbrush and yellow paint, add wings to the side of each chick’s body.
-
Allow paint and glue to dry fully before displaying your Easter chick canvas.
Did You Make This Craft?
Share it with me on Instagram @crayonsandcravings and follow on Pinterest @crayonsandcravings for even more!
Pin Craft
Leave A Review
