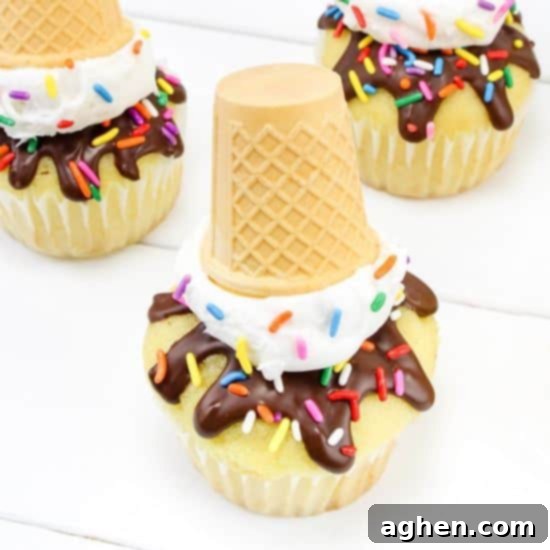
Unforgettable Melting Ice Cream Cone Cupcakes: Your Go-To Easy Summer Dessert
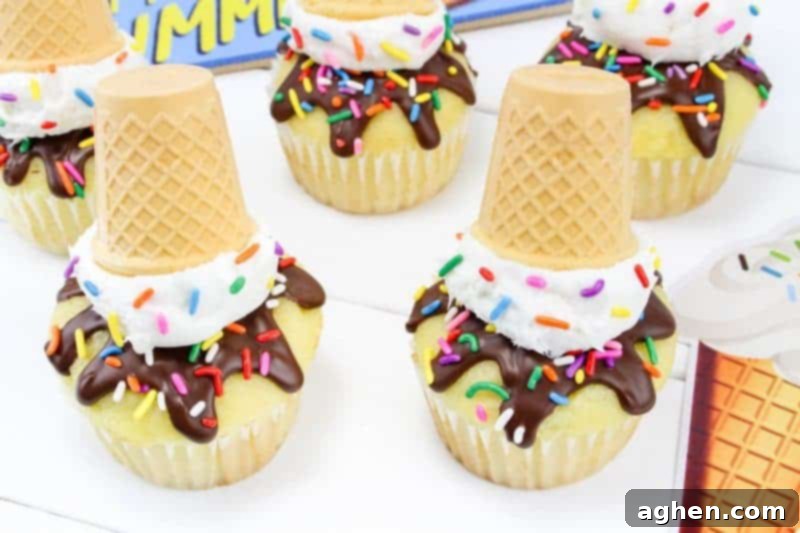
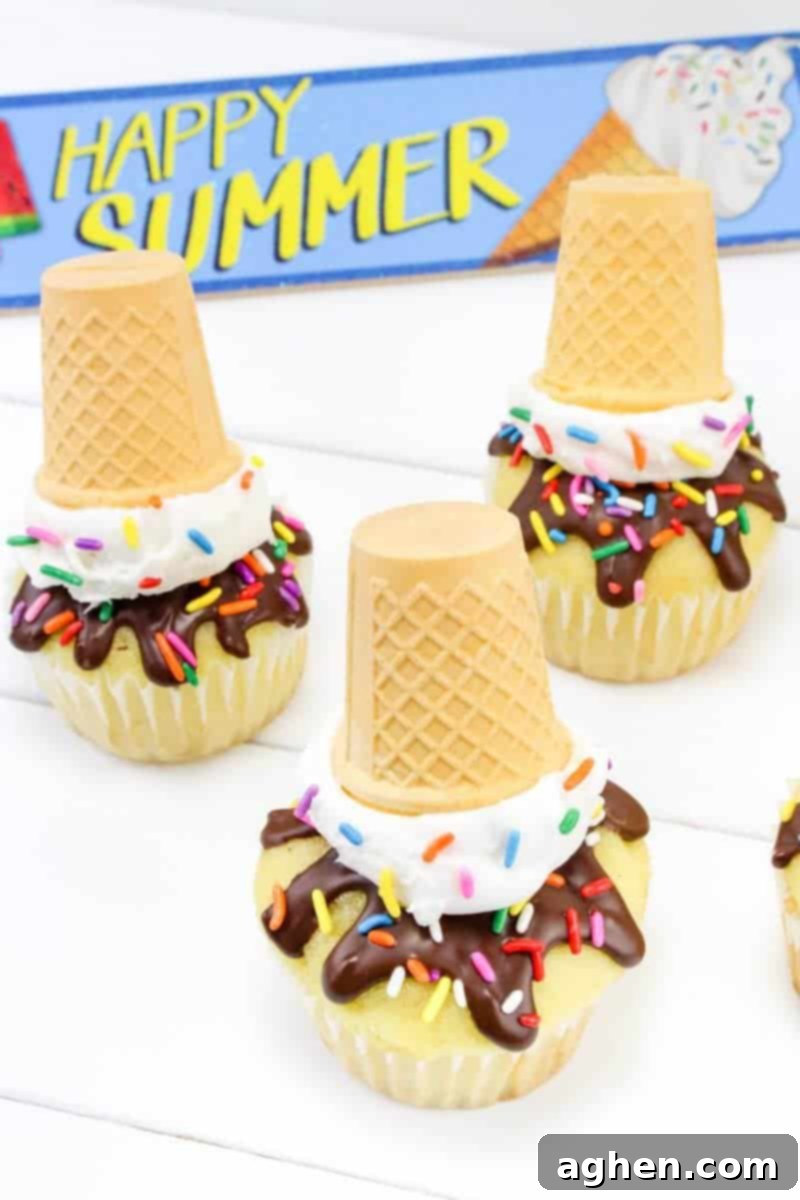
Imagine the perfect summer day, bright sunshine, laughter, and the sweet promise of an ice cream cone. Now, imagine that playful treat taking an adorable tumble – but instead of a mess, you get a delightful dessert! These melting ice cream cone cupcakes are an ingenious and incredibly easy treat designed to capture the whimsical look of an upside-down ice cream cone that has just begun to melt, complete with colorful sprinkles and a sweet, drippy chocolate “puddle.” They’re not just cute; they’re a true showstopper for any gathering.
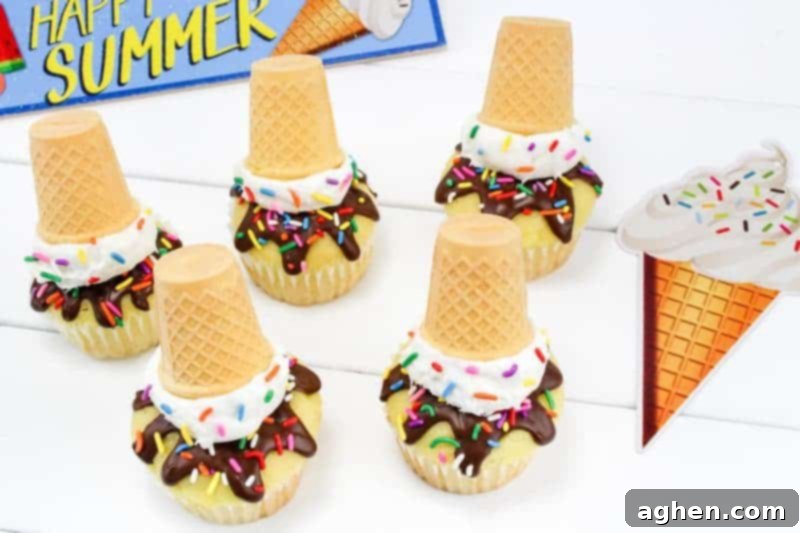
Summer calls for vibrant, fun, and effortless desserts, and we’ve been on a roll finding them! From delicious watermelon rice krispie treats that scream picnic fun to charming clam shell cookies perfect for a beach-themed party, our kitchen has been a hub of creative sweet concoctions. Today, we’re adding another fantastic creation to our repertoire: these utterly adorable melting ice cream cone cupcakes.
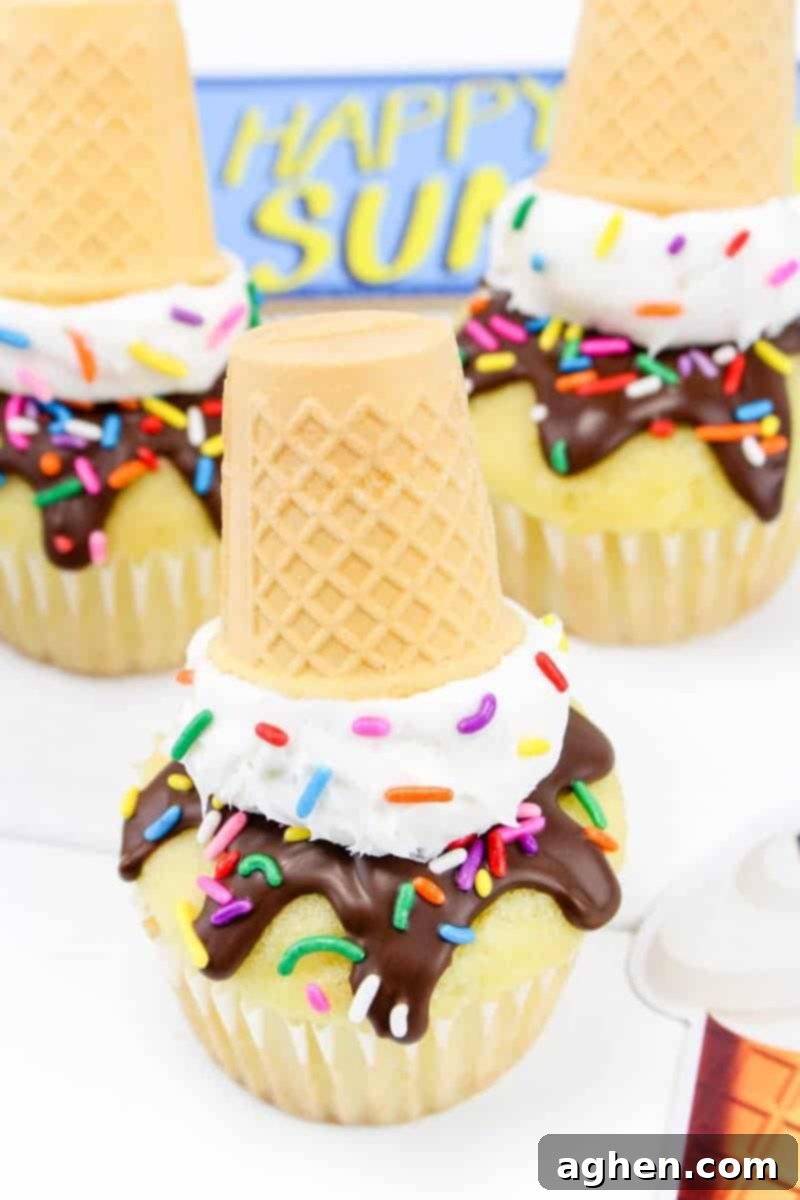
There’s hardly anything more disappointing than the moment a beautifully scooped ice cream cone slips from your grasp and lands with a splat. That perfect swirl of frozen delight instantly becomes a sad puddle on the ground. Ugh! But what if that mishap could be transformed into something wonderful? These melting ice cream cone cupcakes do just that. They mimic the charming chaos of a dropped cone, turning a potential disaster into an irresistibly cute and delicious dessert. In fact, they are so darn adorable, they might just become your new favorite summer bake!
Why You’ll Love These Easy Ice Cream Cone Cupcakes
These unique cupcakes offer so much more than just a sweet bite. Here’s why they’re perfect for your next summer celebration:
- Uniquely Adorable Design: Their whimsical “melted” look is a guaranteed conversation starter and brings smiles to faces of all ages. They truly stand out from ordinary cupcakes.
- Deceptively Simple: Despite their impressive appearance, these cupcakes are incredibly easy to make. You don’t need expert baking or decorating skills to achieve a professional-looking result.
- Kid-Friendly Fun: This recipe is perfect for involving little helpers in the kitchen. Kids will love decorating their own “melted” treats, especially adding all those colorful sprinkles!
- Customizable: Easily adapt the flavors, colors, and sprinkles to match any party theme or personal preference.
- No Freezer Required: Get the look and feel of ice cream without the mess and melting anxiety of actual ice cream cones, making them ideal for outdoor parties.
Melting Ice Cream Cone Cupcake Ingredients & Essential Supplies
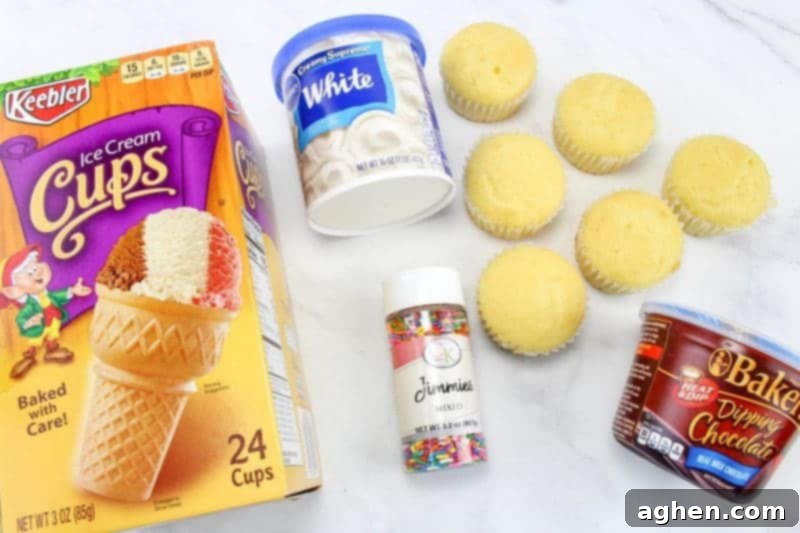
One of the best aspects of these melting ice cream cone cupcakes is their versatility and the simplicity of their core ingredients. They are perfect for all your summer parties and can be whipped up with minimal fuss. You can start with your choice of vanilla cupcakes – whether you prefer to bake them from scratch for that homemade touch or opt for a convenient box mix, the outcome will be equally delightful. Don’t feel pressured to spend hours baking; a good quality boxed cupcake mix works wonderfully and saves precious time, allowing you to focus on the fun decorating!
Beyond your basic vanilla cupcakes, you will need the following key ingredients:
- Dipping Chocolate: This is crucial for creating that delicious “puddle” and holding the sprinkles. You can use melting wafers, chocolate chips melted with a bit of coconut oil, or even colored candy melts for a vibrant effect.
- Sprinkles: A must-have for that classic ice cream look! Rainbow sprinkles are always a hit, but feel free to get creative with different colors or shapes to match your party theme.
- Ice Cream Cones: Standard cake cones work best for this recipe. Sugar cones or waffle cones can be a bit trickier to cut cleanly due to their thicker, more brittle nature, but can be used with extra care.
- White Frosting: This forms the “scoop” of ice cream. A store-bought tub of vanilla frosting is perfectly fine, or you can whip up your favorite homemade buttercream for an extra special touch.
And here are the simple supplies that will help bring your melting ice cream cone cupcakes to life:
- Sharp Knife: Essential for cleanly cutting the ice cream cones.
- Cutting Board: Provides a stable surface for safe cutting.
- Spoon: For drizzling and spreading the melted chocolate.
- Toothpick: Great for perfecting those “drips” and intricate chocolate patterns.
- Small Cookie Dough Scoop: Ideal for portioning the frosting evenly and creating a nice, rounded “ice cream” shape.
- Cupcake Liners: While not listed, don’t forget these for baking your cupcakes!
- Wire Rack: Useful for allowing chocolate to set without sticking.
How to Make Delightful Melting Ice Cream Cone Cupcakes
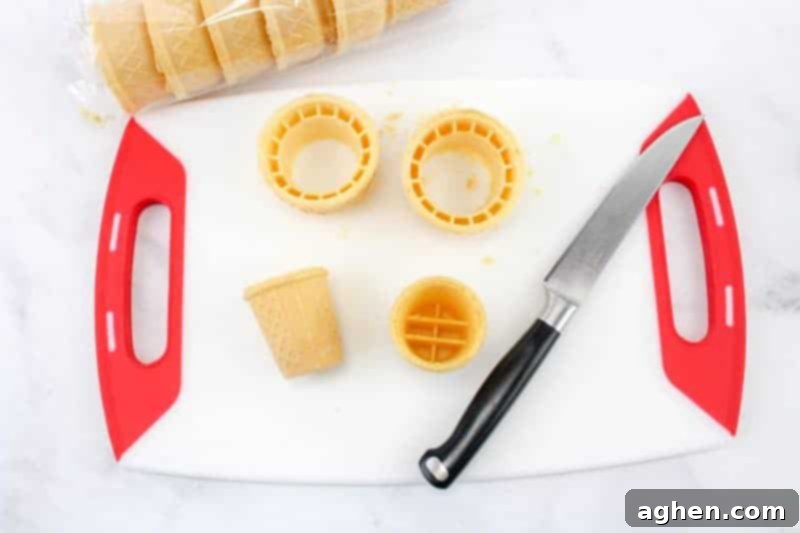
Let’s get started on creating these adorable treats! The process is surprisingly straightforward, and the biggest “challenge” is usually the first step, so take your time and you’ll do great. The goal is to make these look like a cone that’s tipped over, and that starts with preparing your cones.
Step 1: Prepare Your Ice Cream Cones
The trickiest part of this recipe is carefully removing the rim from your ice cream cones. This is where a sharp knife and a steady hand come in. Place an ice cream cone on a cutting board and, with gentle pressure, saw off the top rim. The key is to be careful not to crack or crush the delicate cones. Go slow and use a light touch. You’ll only be using the bottom, pointed part of the cone for the “dropped” effect, so discard the removed rims. Having perfectly cut cones will make the final presentation even more impactful!
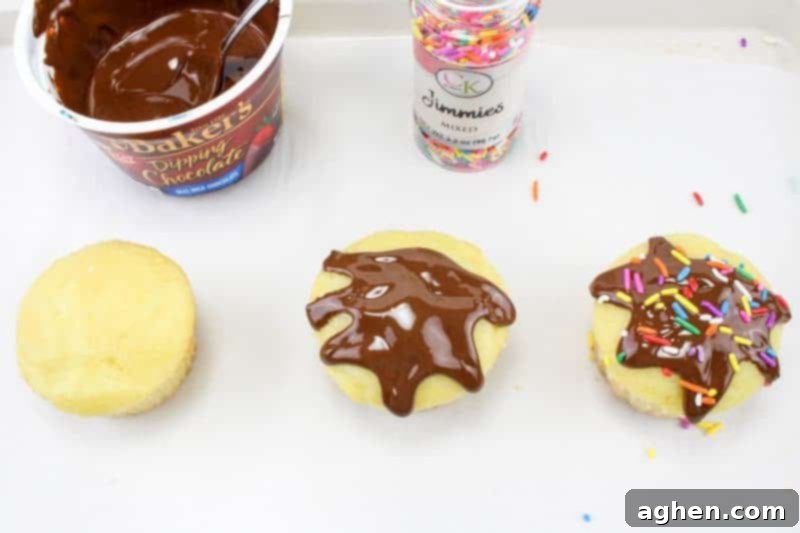
Step 2: Drizzle with Melted Chocolate
Once your vanilla cupcakes are cooled and your cones are prepped, it’s time for the “melting” magic. Melt your dipping chocolate according to the package instructions. We found microwavable Baker’s dipping chocolate works wonderfully for its smooth consistency and ease of use, but feel free to use your preferred melting chocolate. Once melted, take a spoon and pour a small amount of chocolate onto the center of each plain vanilla cupcake. Don’t aim for perfection here – the goal is a natural, drippy look! Use a toothpick to gently coax the chocolate towards the edges, creating those characteristic “melted” drips flowing down the sides of the cupcake. This simple step adds so much character to your design.
Step 3: Add the Sprinkles
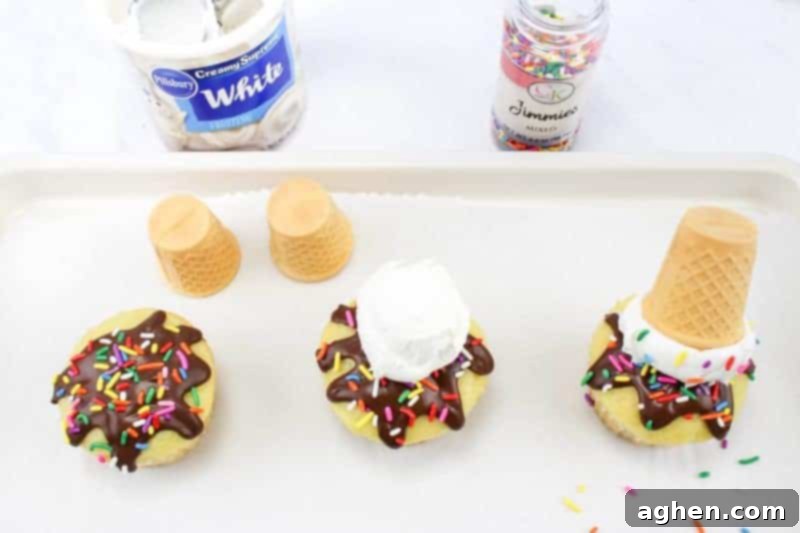
Timing is key for this step! Immediately after drizzling the chocolate, generously add your sprinkles. The melted chocolate acts as the perfect adhesive, so you want to get those sprinkles on before it begins to set. Rainbow sprinkles are a classic choice and add a vibrant pop of color, making your “melted” ice cream even more appealing. Feel free to use themed sprinkles for holidays or special events!
Step 4: Let the Chocolate Set
Once the sprinkles are in place, allow your cupcakes to sit undisturbed until the chocolate has completely hardened. This usually takes about 20 minutes, depending on the type of chocolate and room temperature. You can even pop them into the refrigerator for a few minutes to speed up the setting process. A firm chocolate base is essential for the next steps.
Step 5: Scoop on the Frosting
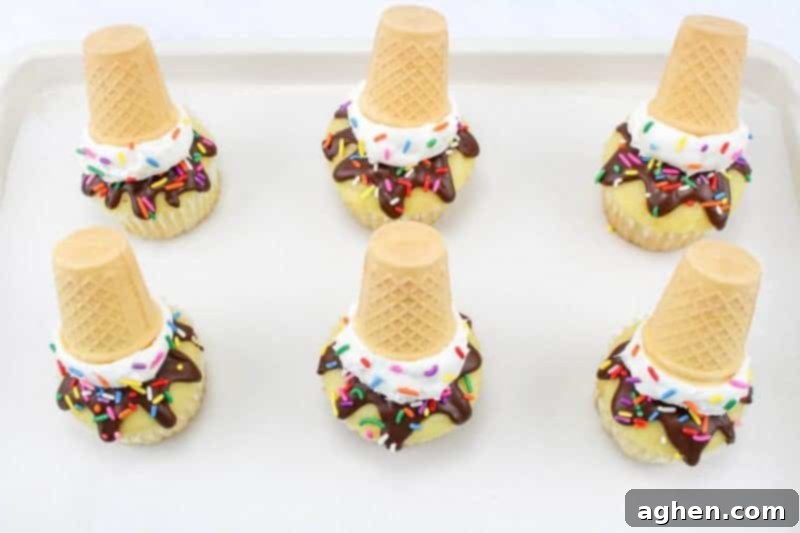
Now for the “ice cream” part! Using a small cookie dough scoop is ideal here as it helps create a perfectly rounded dome of frosting, mimicking a scoop of ice cream. Place a generous scoop of white frosting directly on top of the hardened chocolate layer on each cupcake. This forms the base for your upside-down cone.
Step 6: Add the Ice Cream Cone & Final Sprinkles
Carefully take one of your prepped ice cream cone bottoms and gently press it down into the center of the frosting scoop. The cone should sit securely in the frosting, creating the illusion of it having just fallen. To complete the look, add a final scattering of sprinkles over the frosting and around the base of the cone. Because, let’s be honest, you can never have enough sprinkles!
Wasn’t that incredibly simple? In just a few easy steps, you’ve transformed ordinary vanilla cupcakes into an imaginative and delightful summer treat!
Creative Variations & Serving Suggestions
These melting ice cream cone cupcakes are incredibly versatile! Here are a few ideas to customize them:
- Flavor Combinations: Use chocolate, strawberry, or even funfetti cupcakes. Match your frosting flavor to your cupcake or opt for contrasting flavors.
- Colored Chocolate: Use white candy melts and food coloring to create vibrant “melted” puddles in blue, pink, or green for themed parties.
- Different “Ice Cream” Flavors: Tint your white frosting with food coloring to create pink (strawberry), brown (chocolate), or mint green “ice cream” scoops.
- Toppings Galore: Beyond sprinkles, consider adding a mini chocolate chip, a small candy cherry, or a drizzle of caramel or strawberry syrup over the frosting.
If you’re planning an ice cream party, these cupcakes would be an absolute hit to serve alongside your traditional scoops. They offer a fantastic alternative for those who might prefer cake, or simply add another layer of fun to the dessert table. It might be hard to believe, but there are indeed some people who aren’t huge fans of ice cream (shocking, we know!). For those “anti-ice cream” partygoers, or guests with dietary restrictions, these cute ice cream-themed cupcakes provide a perfect, delicious solution.
Storage Tips
Store these melting ice cream cone cupcakes in an airtight container at room temperature for up to 2-3 days. If your frosting is buttercream with dairy, it’s best to refrigerate them, but allow them to come to room temperature for about 15-20 minutes before serving for the best flavor and texture. The cones might soften slightly over time, but they’ll still be delicious!
More Fun & Easy Summer Party Treats
Looking for more dessert inspiration to make your summer gatherings extra special? Check out these other delightful and easy recipes:
- Watermelon Rice Krispie Treats: A refreshing and colorful twist on a classic.
- Clam Shell Cookies: Perfect for a beach-themed bash, these are as cute as they are tasty.
- Strawberry Ladybugs: Healthy, adorable, and super simple for a garden party.
Melting Ice Cream Cone Cupcakes
Author: Jaclyn
Ingredients
- 6 unfrosted vanilla cupcakes prepared according to directions on package
- 6 ice cream cones
- 1 container dipping chocolate microwavable
- Rainbow sprinkles
- 1 tub white frosting
Instructions
-
Using a sharp knife, carefully remove the top rim of each ice cream cone. Discard the rims, as you will be only using the bottoms for this recipe.
-
Melt chocolate per package instructions. Using a spoon, pour a small amount of chocolate onto the top of each cupcake. Use a toothpick as needed to help spread the chocolate out and into “drips” going down the side of cupcakes.
-
Add sprinkles immediately, before the chocolate begins to set.
-
Allow cupcakes to set until the chocolate hardens (about 20 minutes).
-
Using a small cookie dough scoop, add a scoop of frosting on top of the chocolate on each cupcake.
-
Gently press an ice cream cone into each cupcake, on top of the scoop of frosting.
-
Finish by adding a few sprinkles to the frosting.

Did You Make This Recipe?
We’d love to see your creations! Share your melting ice cream cone cupcakes with us on Instagram @crayonsandcravings and follow us on Pinterest @crayonsandcravings for even more delicious and easy recipe ideas!
Pin Recipe
Leave A Review
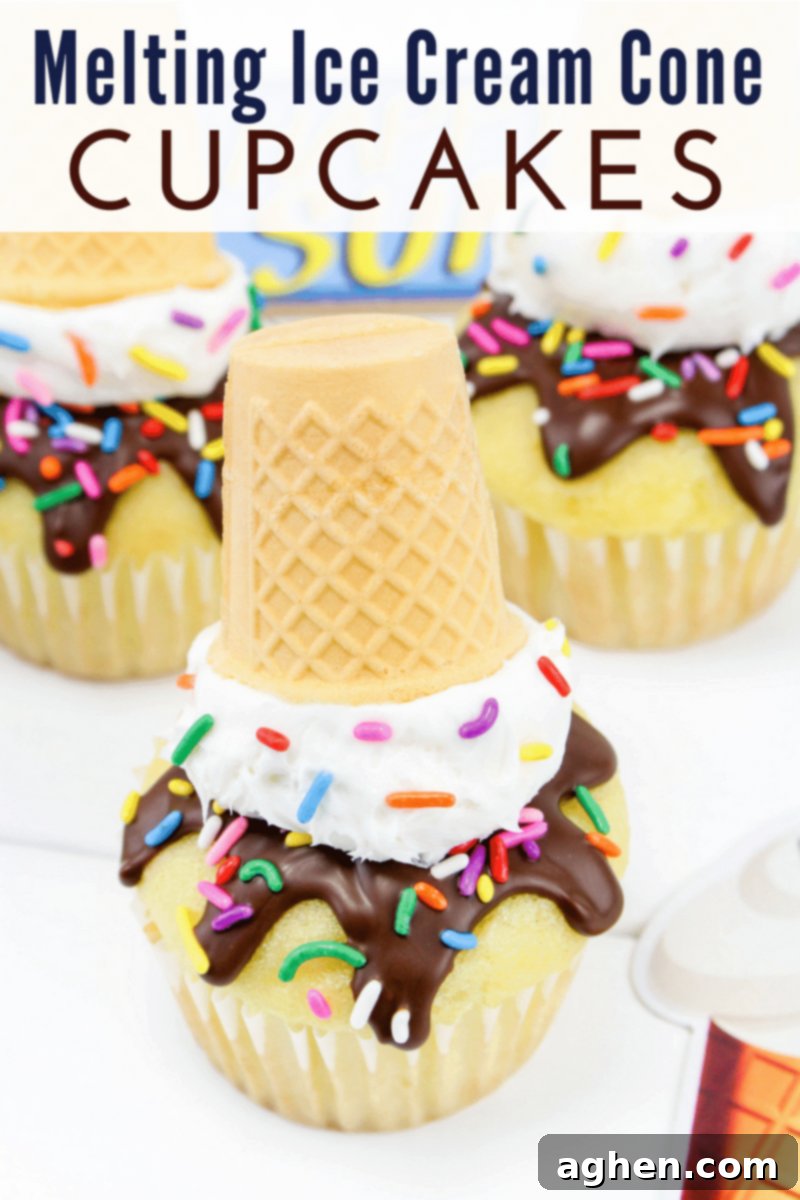
Pin for Later: Your Go-To Summer Cupcake Recipe
Don’t forget to save this fantastic recipe for your next summer get-together! Pin the image below to your favorite dessert board on Pinterest so you can easily find it whenever you need a fun and easy treat idea.
This fun summer cupcake recipe was proudly featured on Meal Plan Monday and The Weekend Potluck! We’re thrilled to share these delightful treats with you.
