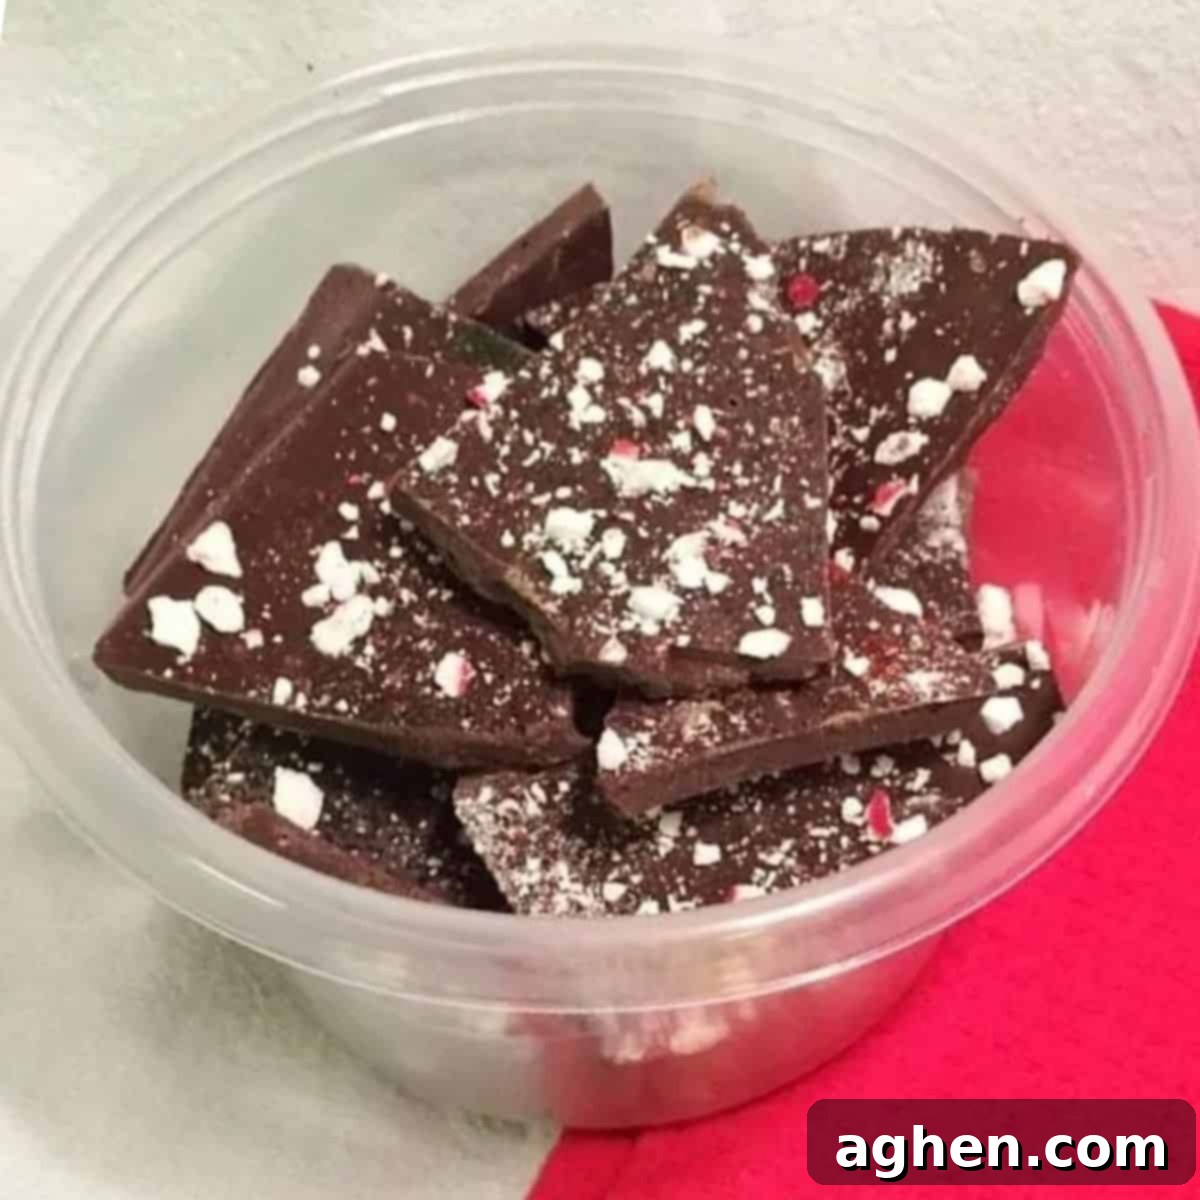
Easy Homemade Christmas Peppermint Bark: Your Essential Holiday Treat Guide
Welcome to the most wonderful time of the year, filled with festive cheer, cozy gatherings, and, of course, delicious homemade treats! Among the many iconic holiday confections, Christmas Peppermint Bark stands out as a timeless classic. This easy Christmas Peppermint Bark recipe is designed to bring joy and simplicity to your holiday baking, featuring rich semi-sweet chocolate, refreshing peppermint candies, and vibrant red & green sprinkles for that perfect festive touch.
While traditional peppermint bark often includes layers of both dark and white chocolate, this simplified version focuses on the deep, satisfying flavor of semi-sweet chocolate, making it incredibly quick and straightforward to prepare. It’s perfect for busy holiday schedules, spontaneous gifting, or simply enjoying a moment of sweet indulgence by the fireplace. Get ready to create a stunning and delicious holiday treat that will impress everyone!
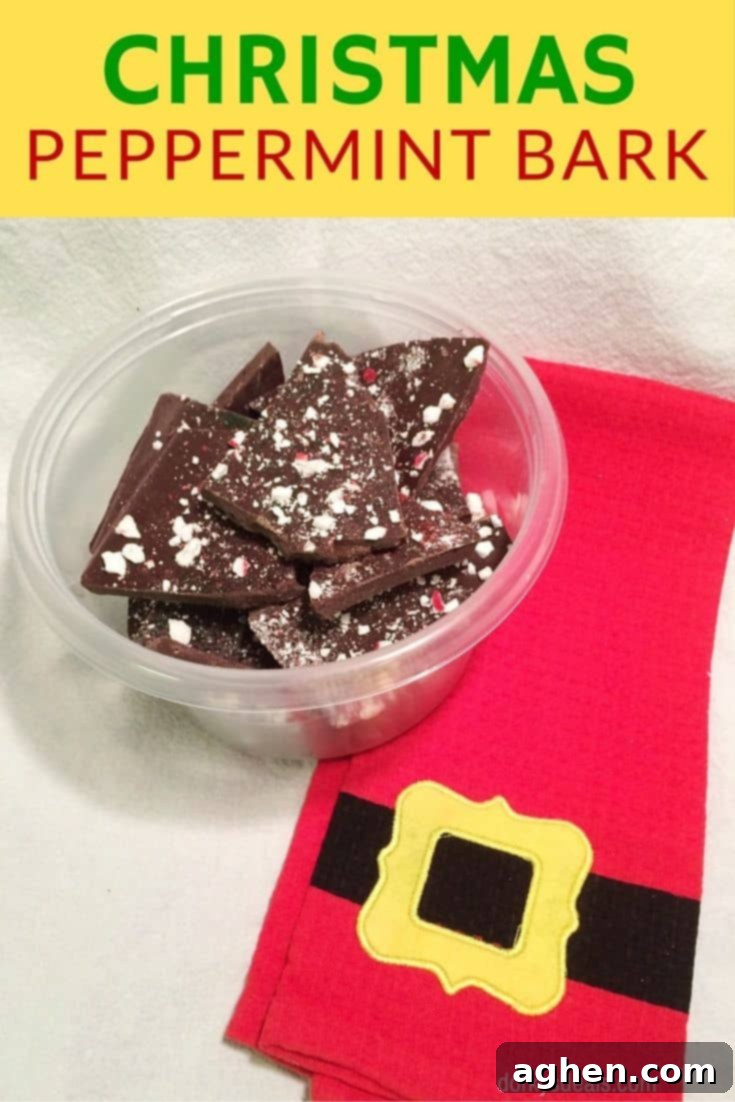
Why This Easy Peppermint Bark Recipe is a Must-Try This Christmas
There’s something uniquely enchanting about the combination of chocolate and peppermint, especially during the Christmas season. This specific Christmas peppermint bark recipe takes a beloved classic and simplifies it without sacrificing an ounce of flavor or festive appeal. Here’s why you’ll love making this homemade holiday treat:
- Simplified Perfection: Unlike multi-layered barks, this recipe focuses on a single, decadent layer of semi-sweet chocolate. This not only speeds up the process but also creates a rich, intense chocolate base that perfectly complements the cool burst of peppermint.
- Accessible Ingredients: You won’t need a special trip to a gourmet store for this. Semi-sweet chocolate chips (or bars), standard peppermint candies, and festive sprinkles are readily available, making this a truly last-minute holiday hero.
- Vibrant Holiday Look: The combination of the deep chocolate, white peppermint bits, and red & green sprinkles creates a visually stunning treat that screams “Christmas!” It’s as much a feast for the eyes as it is for the palate.
- Endless Customization: While we love the classic combination, bark is incredibly versatile. You can easily adapt this recipe with different types of chocolate or additional toppings (more on that below!) to suit your taste or what you have on hand.
- Perfect for Gifting: Homemade gifts are always cherished, and this peppermint bark is ideal. Package it in festive bags or tins, and you have thoughtful, delicious presents for friends, neighbors, teachers, and colleagues.
- A Great Addition to Cookie Platters: If you’re hosting a holiday party or participating in a cookie swap, this peppermint bark will be a welcome addition to any dessert spread. Its distinct flavor and texture provide a lovely contrast to traditional cookies.
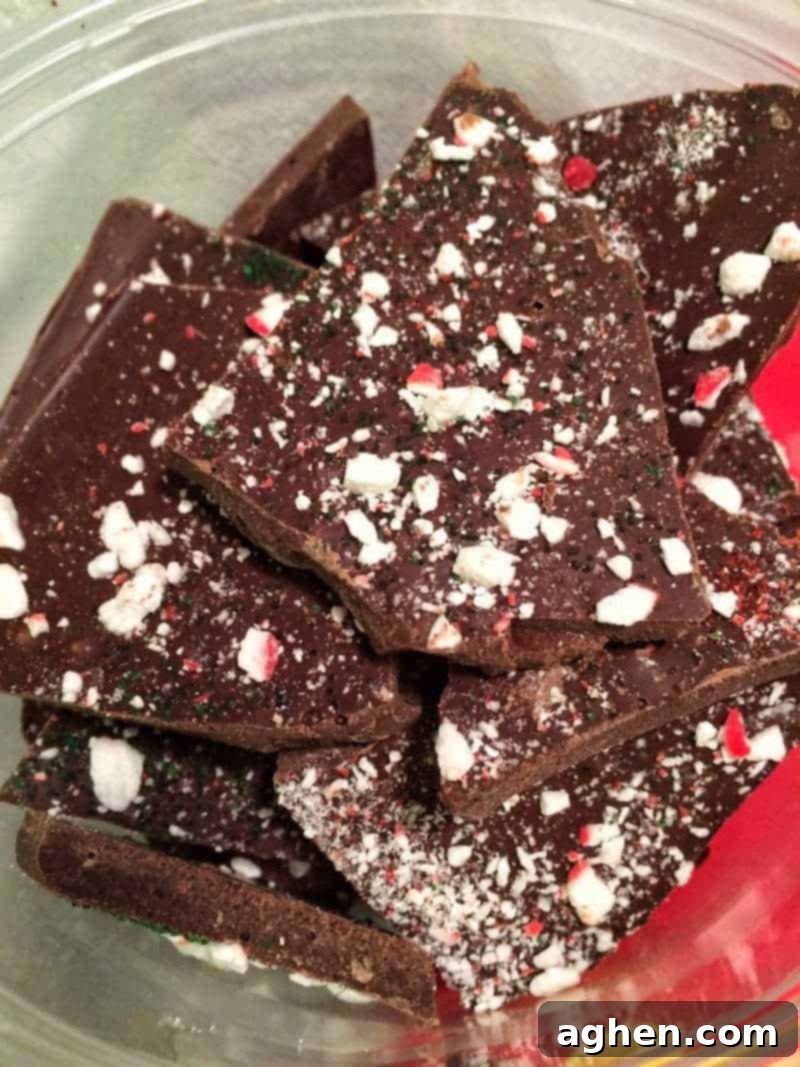
The Magic of Chocolate Bark: A Canvas for Creativity
Chocolate bark is wonderfully forgiving and incredibly fun to make. It’s essentially a blank canvas for your culinary creativity. This simple bark recipe proves how enjoyable customizing a chocolate treat can be. You can literally throw anything on top of melted chocolate, let it set, and it will taste amazing! Want to get even more creative with your holiday bark? Consider trying this Reindeer Bark or this Grinch Bark for other festive twists!
Gather Your Ingredients for Festive Flavor
One of the best things about making homemade Christmas peppermint bark is that it requires just a few simple ingredients, most of which you might already have in your pantry. Quality ingredients make a noticeable difference in the final product, so choose wisely!
- Semi-Sweet Chocolate (24 ounces, chopped into 1/2″ pieces): This forms the delicious foundation of your bark. Using good quality semi-sweet chocolate is key for a smooth, rich melt and a fantastic flavor. You can use chocolate chips, but good quality baking bars (chopped) often melt more smoothly and yield a shinier, more professional-looking bark.
- Peppermint Candy (8 pieces): While candy canes are traditional, round peppermint candies work just as wonderfully and are often easier to crush. The refreshing crunch and cool flavor of peppermint are essential for this festive treat.
- Red Sanding Sugar (2 teaspoons): Sanding sugar adds a beautiful sparkle and a touch of festive color. It holds its shape and shimmer better than regular granulated sugar, giving your bark an extra special holiday glow.
- Green Sanding Sugar (2 teaspoons): Complementing the red, green sanding sugar enhances the Christmas aesthetic, making your bark even more appealing.
More Easy Christmas Treats:
- 3-Ingredient Christmas pretzel hugs
- Crockpot Christmas Candy
- Sugar cookie Christmas fudge
- Peppermint patty stuffed chocolate cookies – only 4 ingredients!
- Christmas crack
- Peppermint bark muddy buddies – easy 3 ingredient recipe!
- Peanut and almond nut brittle
Christmas Peppermint Bark
Author: Jaclyn
Ingredients
- 24 ounce semi-sweet chocolate chopped into 1/2″ pieces
- 8 pieces peppermint candy
- 2 teaspoons red sanding sugar
- 2 teaspoons green sanding sugar
Instructions
-
Line a 9″ x 13″ baking sheet with aluminum foil, shiny side up. Smooth out any wrinkles, then set aside. This step is crucial for easy removal of the bark once it’s set.
-
Place peppermint candies in a sturdy plastic baggie. Crush into small, irregular chunks using a meat tenderizer or the bottom of a heavy pan. Aim for a mix of fine dust and larger pieces for varied texture, then set aside.
-
Melt the chocolate either in a double boiler (recommended for gentle, even melting) or in the microwave. If using the microwave, heat in 30-second increments, stirring thoroughly after each interval, until the chocolate is smooth and fully melted. Be careful not to overheat to prevent seizing.
-
Pour the melted chocolate onto the prepared baking sheet. Using an offset spatula or the back of a spoon, spread the chocolate evenly into a thin layer (about 1/4-inch thick). Gently tap the baking sheet on the counter a few times to help the chocolate spread evenly and release any trapped air bubbles for a smooth finish.
-
Immediately and generously sprinkle the crushed peppermint candy and colored sanding sugars over the melted chocolate. Work quickly as the chocolate will begin to set.
-
Place the baking sheet in the refrigerator until the chocolate is completely firm (this usually takes at least 45 minutes). Once firm, use the foil to lift the bark out of the baking sheet. Peel off the foil, and then break the bark into irregular, bite-sized pieces.
Notes
Nutrition
Pro Tips for Perfect Peppermint Bark
Achieving perfectly smooth, shiny, and crisp chocolate bark is easier than you think with a few simple tricks:
- Use Quality Chocolate: As mentioned, good quality chocolate melts better and tastes superior. Look for chocolate specifically for baking.
- Mind the Moisture: Chocolate and water are enemies. Even a tiny drop of water can cause chocolate to seize, turning it into a stiff, crumbly mess. Ensure all your equipment is completely dry.
- Don’t Overheat: Overheating chocolate can cause it to burn or seize, and it also affects its texture and shine. Slow and steady melting is the key.
- Temper for Shine (Optional but Recommended): For the absolute best shine and snap, you can temper your chocolate. This involves a specific heating and cooling process. If you’re new to making bark, don’t worry about tempering; simply melting it carefully will still yield delicious results.
- Work Quickly with Toppings: Once the chocolate is melted and spread, add your peppermint and sprinkles immediately. The chocolate starts to set quickly, and you want the toppings to adhere well.
- Even Thickness: Try to spread your chocolate to an even thickness for uniform setting and easy breaking. About 1/4 inch is ideal.
Exciting Variations to Explore
This Christmas peppermint bark recipe is a fantastic starting point, but feel free to let your imagination run wild with variations! Here are some ideas to inspire you:
- Layered Bark: For a more traditional look, add a white chocolate layer! Once your semi-sweet chocolate layer is firm, melt 12-16 ounces of good quality white chocolate (chips or bar, chopped). Spread it over the semi-sweet layer, then immediately top with more crushed peppermint and sprinkles. Chill again until firm.
- Different Chocolate Bases:
- Milk Chocolate: For a sweeter, creamier bark that’s kid-friendly.
- Dark Chocolate: For a more intense, less sweet treat, perfect for dark chocolate lovers.
- Extra Peppermint Flavor: Add 1/2 teaspoon of pure peppermint extract to your melted chocolate before spreading it, for an even more intense minty kick.
- Crunchy Additions:
- Crushed Pretzels: Adds a salty-sweet crunch that’s irresistible.
- Chopped Nuts: Almonds, walnuts, or pecans can add a lovely texture and nutty flavor.
- Toffee Bits: For an extra buttery, crunchy dimension.
- Fruity Twists: Sprinkle dried cranberries or dried cherries along with the peppermint for a festive and tangy element.
- Other Candies: Mini chocolate chips, holiday M&M’s, or even chopped gummy candies can be fun additions, especially for a playful bark.
- Salted Peppermint Bark: A pinch of flaky sea salt sprinkled over the top just after the peppermint adds a sophisticated touch that enhances the chocolate flavor.
Serving and Gifting Your Homemade Bark
This easy homemade Christmas Peppermint Bark is not just a treat; it’s a versatile holiday staple. Here are some ideas for how to serve and gift it:
- Dessert Platters: Break it into various sizes and arrange it artfully on a holiday dessert platter alongside cookies, fudge, and other seasonal sweets.
- Coffee & Hot Chocolate Companion: Serve small pieces with coffee or hot chocolate. The peppermint melts slightly, infusing your drink with a wonderful flavor.
- Edible Gifts: This bark makes a thoughtful and budget-friendly gift. Package pieces in cellophane bags tied with festive ribbons, or layer them in decorative tins. Don’t forget to attach a handmade tag!
- Cookie Swaps: It’s a fantastic item to bring to a holiday cookie swap. It’s unique, easy to transport, and always a crowd-pleaser.
- Everyday Indulgence: Keep a stash in your refrigerator for a quick pick-me-up during the busy holiday season. You deserve a little treat!
Storage and Shelf Life
Proper storage is key to keeping your Christmas Peppermint Bark fresh and delicious. Once it’s completely set and broken into pieces, transfer it to an airtight container. While it can technically be stored at room temperature (in a cool, dry spot), we highly recommend keeping it in the refrigerator. This prevents the chocolate from becoming too soft, especially if your home is warm, and helps the peppermint maintain its crisp texture. Stored in the refrigerator, your homemade peppermint bark will stay fresh for up to 2-3 weeks. For longer storage, you can even freeze it in an airtight container for up to 2-3 months. Just be sure to thaw it in the refrigerator before serving to prevent condensation.
Making your own Christmas Peppermint Bark is a rewarding holiday tradition that yields a truly delightful treat. With this simple recipe and a few creative twists, you’ll be spreading cheer one chocolatey, minty piece at a time. Enjoy the process and the delicious results!

Did You Make This Recipe?
We’d love to see your festive creations! Share your beautiful Christmas Peppermint Bark with us on Instagram @crayonsandcravings and be sure to follow us on Pinterest @crayonsandcravings for even more delicious and inspiring recipes all year round!
Pin Recipe
Leave A Review
