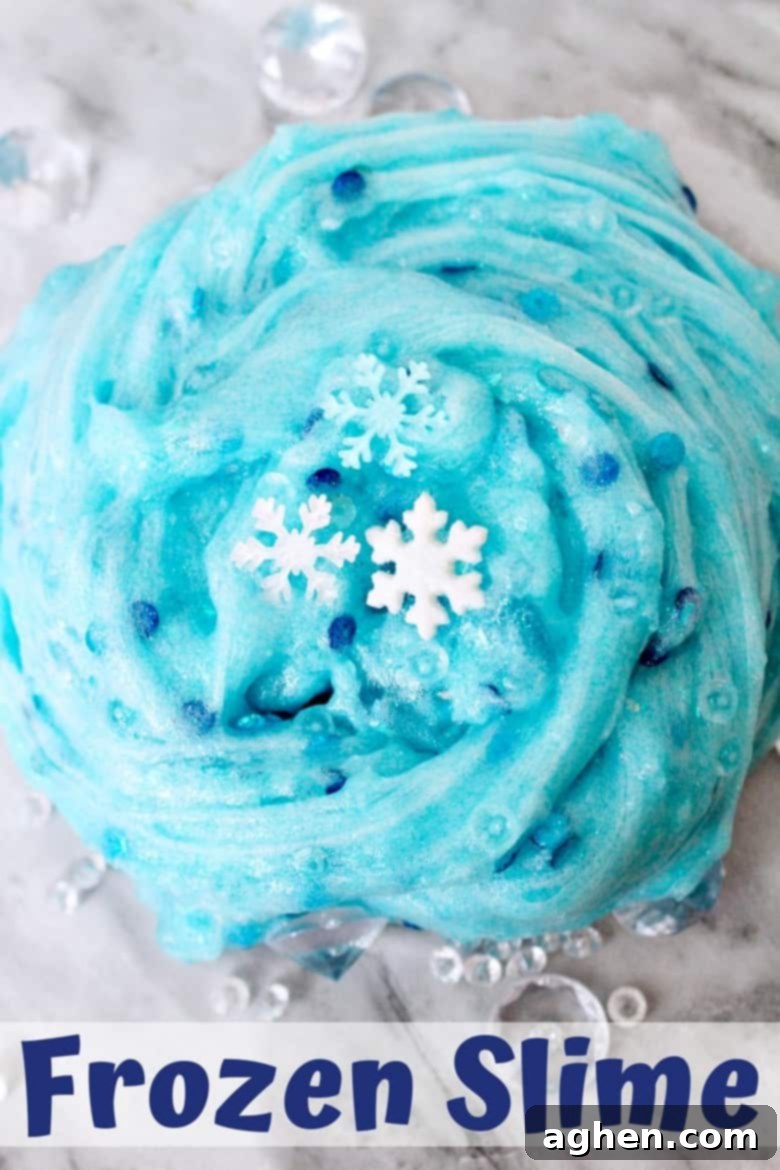
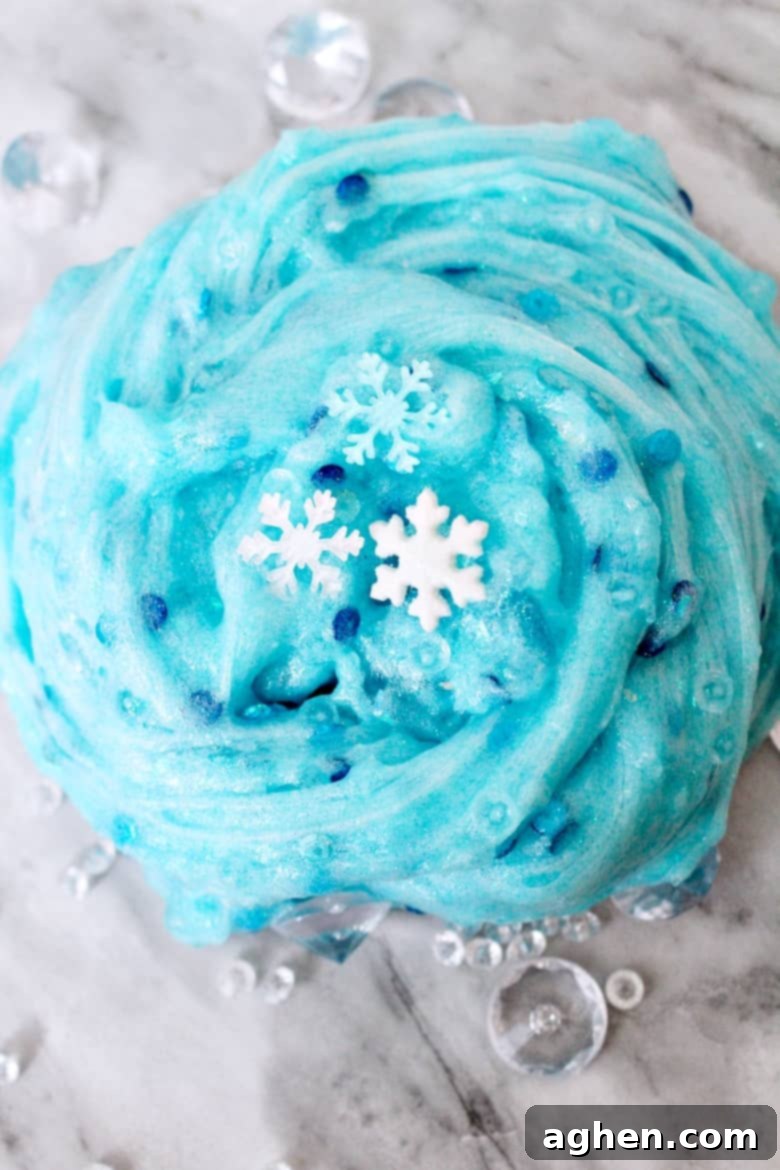
DIY Frozen Slime: A Magical Borax-Free Snowflake Slime Recipe for Kids & Winter Fun
Step into the enchanting world of Arendelle with our easy-to-make, glittery Frozen Slime recipe! This isn’t just any slime; it’s a sparkling snowflake wonderland, crafted to perfection and guaranteed to earn Queen Elsa’s royal approval. Ideal for captivating winter sensory play, this homemade slime promises hours of imaginative fun for any child who dreams of snow, ice, and magical adventures.
Embrace the Magic of Frozen with Homemade Slime
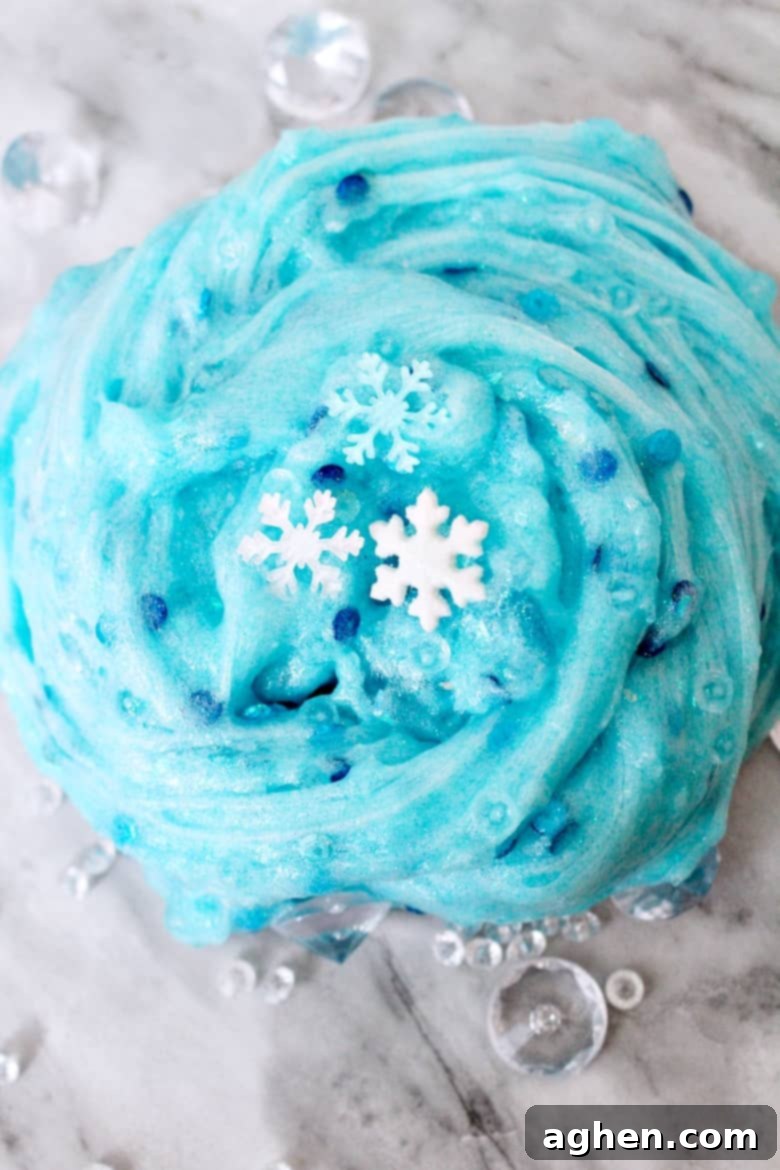
Even years after its initial release, Disney’s Frozen continues to captivate the hearts and imaginations of children worldwide. The allure of Elsa, Anna, Olaf, and the magical kingdom of Arendelle remains as strong as ever. This Elsa-inspired slime brings a piece of that magic directly into your home, offering a unique and engaging activity for young fans. It’s more than just a craft; it’s an invitation to explore a world of icy wonder right at their fingertips.
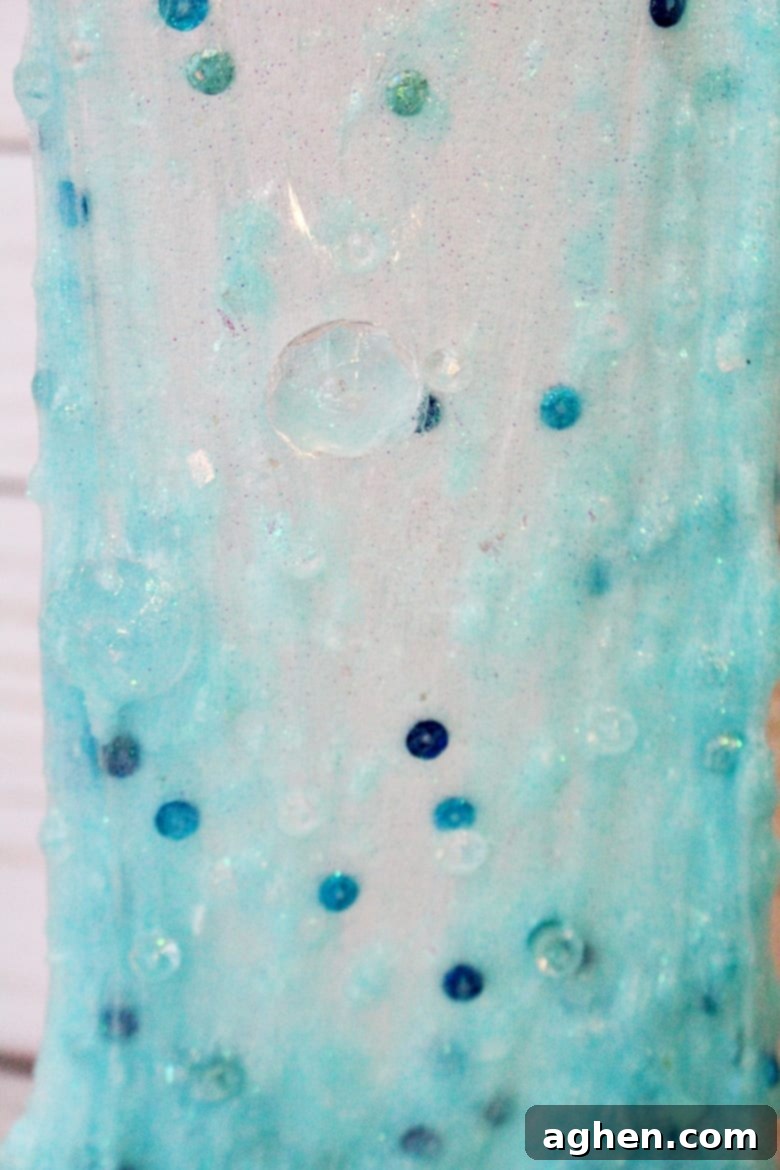
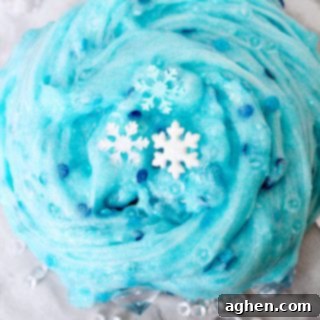
Our Frozen Slime is designed to be a dazzling creation, full of shimmering blue hues, glitter, and tiny snowflakes, reminiscent of Elsa’s ice powers. Beyond its stunning appearance, this slime offers incredible benefits as a sensory play activity. Sensory play is crucial for children’s development, stimulating their senses, enhancing fine motor skills as they squish and stretch, and encouraging imaginative storytelling. It’s a wonderful way to keep children engaged and entertained, especially during those colder winter months when outdoor play might be limited.
What makes our recipe truly special? It’s easy-to-make, completely Borax-free, and incredibly beautiful – reflecting the elegance and charm of Elsa herself. Parents can rest assured knowing they’re providing a safe and fun activity. The vibrant blue color, combined with an abundance of sparkles and faux snow, transforms ordinary slime into a truly extraordinary winter wonderland experience. This hands-on activity not only sparks creativity but also provides a calming, tactile experience that children often find soothing.
Looking for more creative slime ideas? Don’t Miss: Our Enchanting Unicorn Slime!
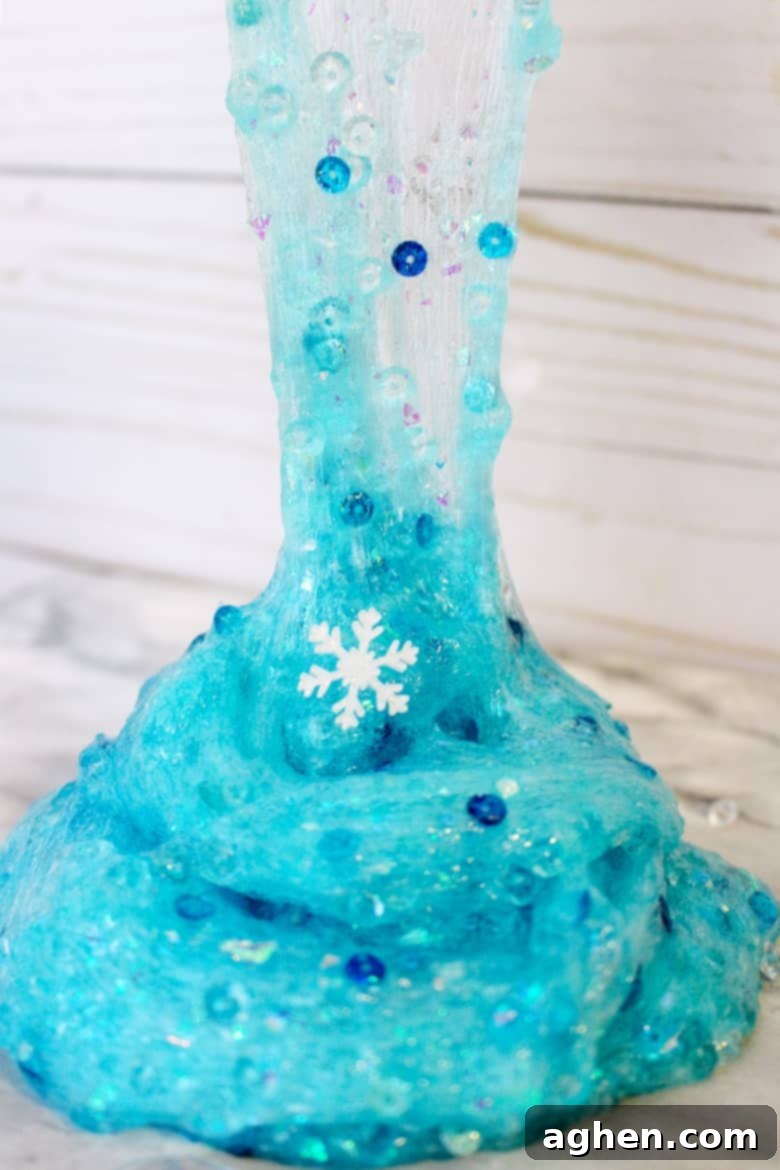
This glittering snowflake slime is packed with elements that evoke the frosty beauty of Frozen, making it a perfect indoor winter sensory play activity. From its captivating texture to its sparkling appearance, every detail is designed to delight. It encourages open-ended play, allowing children to manipulate, stretch, and create with their hands, fostering a deeper connection to their favorite characters and stories.
Borax-Free and Kid-Friendly: The Safety of Our Frozen Slime
When it comes to crafting with children, safety is always a top priority. Many traditional slime recipes use Borax as an activator, which, while effective, can sometimes cause skin irritation or allergic reactions in sensitive individuals. Our recipe thoughtfully avoids Borax, opting for a safer, more gentle alternative: saline solution. This makes our Frozen Slime recipe an excellent choice for parents and educators seeking a worry-free crafting experience.
Using saline solution (which contains sodium borate and boric acid in very small, controlled amounts, making it a gentle activator) ensures that your slime-making adventure is both fun and safe for little hands. This method yields a perfectly stretchy and pliable slime that’s just as captivating as its Borax-containing counterparts, without the potential concerns. It’s a win-win: beautiful, high-quality slime and peace of mind for parents.
Gathering Your Enchanting Frozen Slime Supplies
Creating this magical Frozen Slime requires a few basic craft supplies, most of which you likely already have or can easily find at your local craft store or supermarket. The beauty of this recipe lies in its simplicity and the spectacular results it delivers. Gather these essentials to begin your journey into Arendelle’s icy wonder:
Core Slime Ingredients: The Foundation of Your Winter Creation
- 5 oz Clear Glue: Clear glue is essential for achieving that translucent, icy look. White glue works too, but clear glue truly allows the glitter and mix-ins to shine through, mimicking the clarity of ice.
- 1/2 cup Water: Water helps dilute the glue, giving the slime its characteristic stretchiness and making it easier to mix the other ingredients.
- 1/2 tsp Baking Soda: This is a crucial ingredient that works with the saline solution to activate the slime. Baking soda acts as a buffer, helping to create the perfect slime consistency.
- 1 tbsp Saline Solution: Look for a brand that contains sodium borate and boric acid, as these are the activators for the slime. This is our safe, Borax-free alternative, ensuring the slime solidifies beautifully.
- Blue Colorant: To achieve that iconic Frozen blue, you’ll need a blue colorant. Food coloring (gel or liquid), acrylic paint, or pigment powder are all great options. Start with a few drops and add more gradually until you reach your desired shade – from a soft icy blue to a deep wintry sapphire.
- Blue Glitter: No Frozen Slime is complete without sparkle! Fine blue glitter, iridescent glitter, or even a mix of silver and blue will create a stunning, frosty effect. The more glitter, the more magical!
Bringing Arendelle to Your Slime: The Perfect Mix-Ins
These optional, yet highly recommended, additions will truly bring your Frozen Slime to life, giving it that unmistakable Elsa-approved aesthetic:
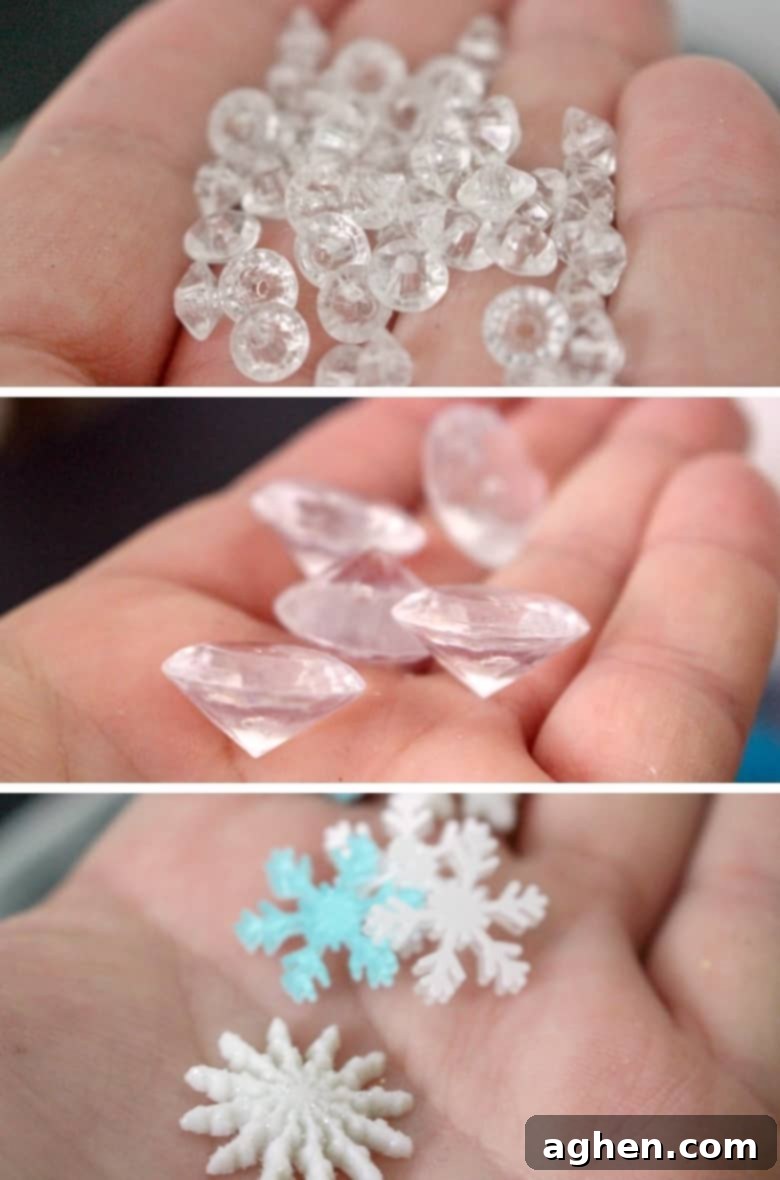
- Blue Sequins: Flat, shiny blue sequins add another layer of texture and shimmer, resembling shimmering ice flakes.
- Faux Snow (Confetti): Tiny bits of artificial snow or white glitter confetti will give your slime a wonderful “snow-in-a-jar” appearance and a unique tactile experience.
- Beads: Small clear, white, or light blue beads can be added for extra texture and visual appeal, like frozen ice droplets.
- ‘Diamond’ Beads: These iridescent or clear faceted beads mimic the sparkle of diamonds or ice crystals, adding an elegant touch.
- Snowflake Charms: Small plastic or metallic snowflake charms are the ultimate Frozen-themed addition, making your slime truly special and personalized.
Remember, creativity is key! Feel free to mix and match these additions, or substitute them with other winter-themed embellishments you might have on hand. Even if you can’t find every single item, your slime will still be an awesome, sparkling success!
Crafting Your Own Elsa-Inspired Slime: A Step-by-Step Guide
Once you have all your magical supplies gathered, making your very own Elsa-inspired Frozen Slime is a straightforward and enjoyable process. Follow these simple steps to bring your icy creation to life:
Detailed Instructions:
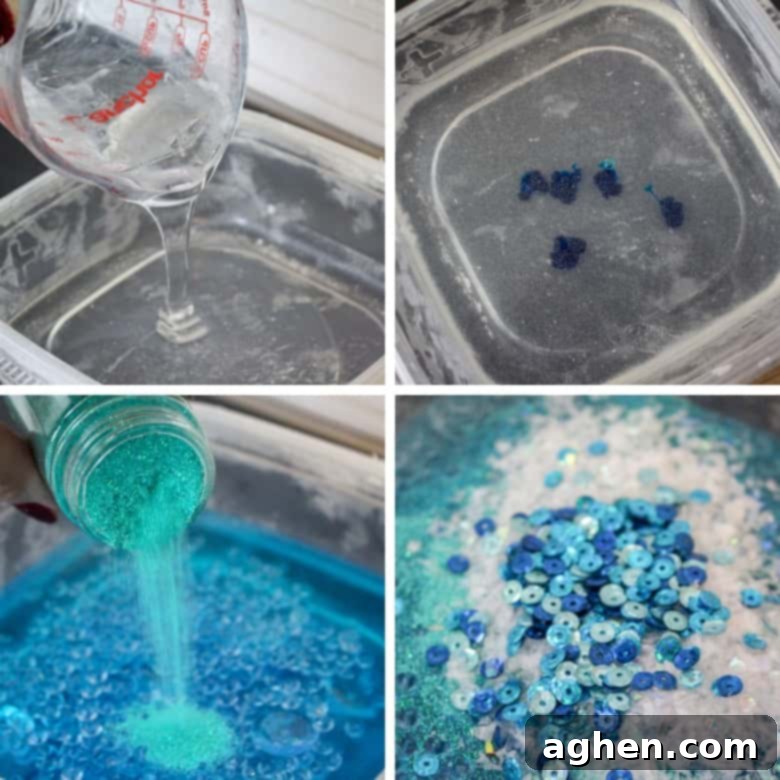
- Combine Glue and Water: In a medium-sized mixing bowl, pour in your 5 oz of clear glue, followed by 1/2 cup of water. Use a spoon or craft stick to mix these two ingredients thoroughly. Keep stirring until the glue is completely dissolved and smoothly combined with the water, forming a uniform liquid. This creates the foundational base for your slime.
- Add Blue Color and Initial Sparkle: Now for the magic! Add a few drops of your chosen blue colorant to the glue and water mixture. Stir well. Continue to add drops gradually, mixing after each addition, until you achieve the desired shade of icy blue – from a pale, frosty hue to a deeper, enchanted blue. Once you’re happy with the color, sprinkle in your blue glitter. Stir again to ensure the glitter is evenly distributed, making your slime shimmer like freshly fallen snow.
- Incorporate Your Magical Mix-Ins: This is where your slime truly takes on its Frozen persona! Add the rest of your chosen mix-ins: blue sequins, faux snow, clear/blue beads, ‘diamond’ beads, and snowflake charms. Gently stir everything together, ensuring the enchanting elements are well-dispersed throughout the mixture. Don’t worry if it looks a bit chunky at this stage; it will come together.
- Activate the Slime: It’s time to transform the liquid into stretchy slime! Stir in 1/2 teaspoon of baking soda until it’s fully dissolved. Baking soda acts as a catalyst for the saline solution. Next, add 1 tablespoon of saline solution. This is the primary activator. Stir continuously and vigorously. You’ll notice the mixture beginning to thicken and pull away from the sides of the bowl almost immediately. Keep stirring until a distinct blob of slime starts to form and detaches from the container walls.
- Kneading for Perfection: Once the slime has started to form and pulls away from the sides, it’s time to get hands-on! Dig your hands into the bowl and begin kneading the slime. At first, it will be incredibly sticky and might cling to your fingers. Don’t be discouraged! This is completely normal. Continue to knead the slime for several minutes. As you work it, the stickiness will gradually decrease, and the slime will become smooth, stretchy, and less messy. The more you knead, the better the consistency will be. If after a few minutes of kneading it’s still too sticky, you can add a tiny bit more saline solution (a few drops at a time) and continue kneading until it reaches your desired non-stick consistency.
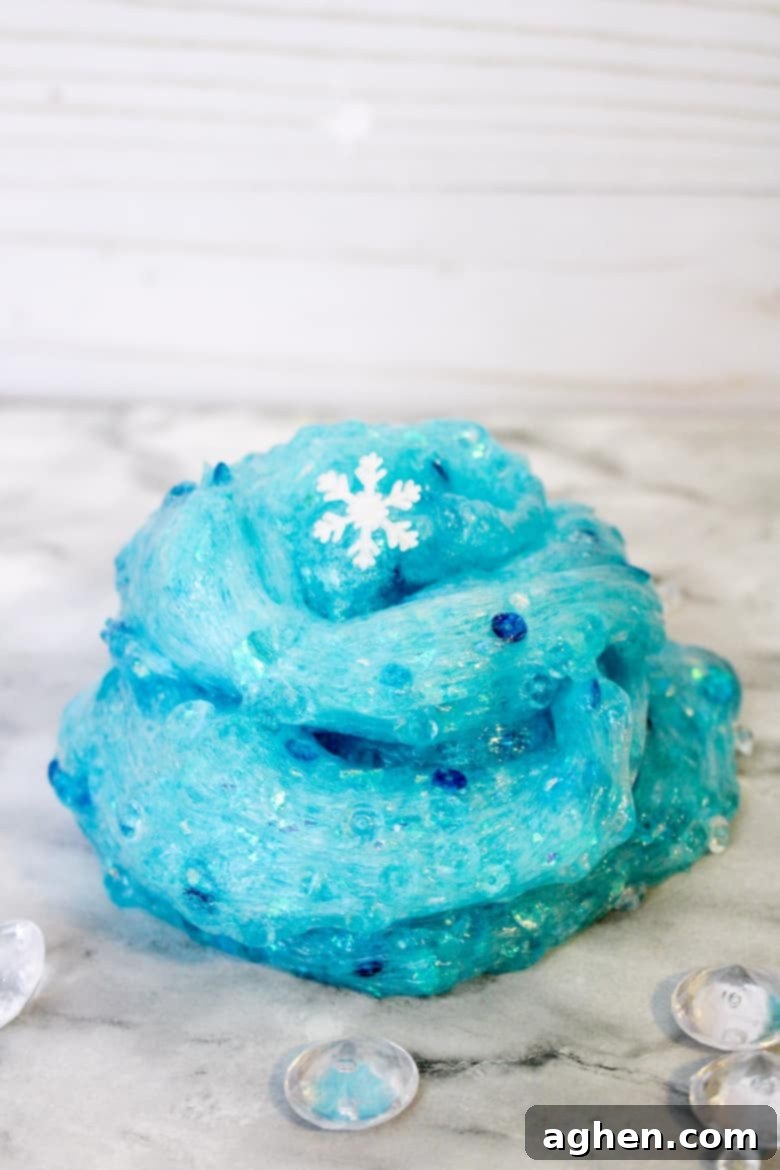
You can print out the detailed slime supply list and instructions using the convenient “recipe card” below for easy reference during your crafting session.
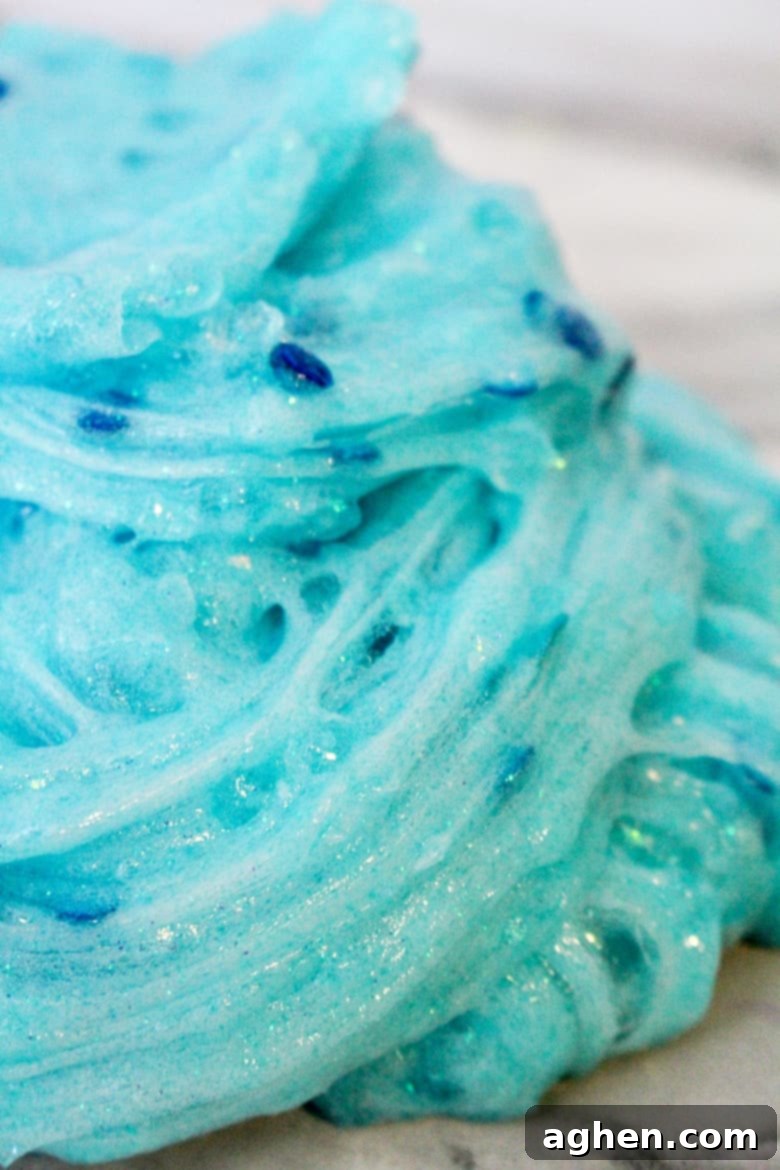
I genuinely hope that you and your little ones have an absolutely magical time creating and playing with this fun Frozen Slime! It’s a fantastic way to bond and create lasting memories.
Caring for Your Frozen Slime: Storage and Longevity
To ensure your enchanting Frozen Slime lasts for many play sessions, proper storage is key. Always store your slime in an airtight container immediately after use. This prevents it from drying out and helps maintain its stretchy, pliable texture. A simple plastic food container with a lid or a resealable plastic bag works perfectly. Keep the container in a cool, dry place, away from direct sunlight or extreme temperatures, which can affect its consistency.
With proper care, your homemade slime can last for several days, or even up to a week or two, providing continuous sensory fun. If it starts to feel a bit stiff or less stretchy over time, you can try adding a tiny drop of lotion or a few drops of water and kneading it in to revitalize its texture. However, if it begins to grow mold or develops an unpleasant odor, it’s best to discard it and make a fresh batch for optimal hygiene and enjoyment.
Frequently Asked Questions about Frozen Slime
Is this slime truly Borax-free?
Yes, absolutely! Our recipe is specifically formulated to be Borax-free, using saline solution (contact lens solution) as the activator. Saline solution contains sodium borate and boric acid in very small, safe concentrations, making it a gentle and effective alternative to powdered Borax, reducing the risk of skin irritation.
What if my slime is too sticky?
If your slime remains too sticky after a few minutes of kneading, don’t worry! This is a common issue and easily fixable. Add a very small amount (a few drops at a time) of saline solution and continue kneading. Keep adding and kneading until the slime reaches your desired non-stick consistency. Be careful not to add too much at once, as it can make the slime too stiff.
What if my slime is too stiff or breaks easily?
If your slime turns out too stiff or rips rather than stretches, it likely has too much activator. To soften it, you can try adding a tiny amount of lotion, a few drops of water, or even a small amount of clear glue, then knead it thoroughly. This will help rehydrate and loosen the slime’s structure, making it more pliable.
How long does this homemade Frozen Slime last?
When stored correctly in an airtight container at room temperature, your Frozen Slime can last anywhere from one to two weeks. The exact lifespan can vary depending on how often it’s played with and the cleanliness of the hands handling it. If you notice any mold or a change in smell, it’s time to make a new batch!
Can I customize the color or mix-ins?
Absolutely! The beauty of DIY slime is its versatility. While we recommend blue for the Frozen theme, you can experiment with different shades or even add a touch of purple for an “Enchanted Forest” vibe. Feel free to use any mix-ins you have on hand – tiny beads, different glitter colors, or even small plastic animal figurines to enhance the sensory experience and storytelling.
Shop Slime Supplies:
Sparkling SnowTeal Metallic SequinsAcrylic Gem ConfettiSnowflake CharmsExtra Fine Glitter18 Color Skin-Safe Dye SetElmer’s Liquid School Glue
More Easy Slime Recipes to Try:
If your children enjoyed this Frozen Slime, they’ll love exploring these other exciting and simple slime creations. Each recipe offers a unique sensory adventure:
- Mermaid Slime: Dive into an underwater world with shimmering, ocean-inspired slime.
- Galaxy Slime: Explore the cosmos with a swirling, sparkly galaxy in the palm of your hand.
- Gingerbread Slime: A festive, aromatic slime perfect for holiday sensory play.
- Glow in the Dark Slime: Experience a magical glow-in-the-dark adventure with this easy recipe.
- Cinnamon Slime: Embrace the scents of autumn with this wonderfully fragrant slime.
Frozen Slime
Author: Jaclyn
Equipment
-
medium-size bowl
Supplies
- 5 oz clear glue
- 1/2 cup water
- blue colorant you can also use food coloring, paint or pigment
- teal glitter
- 1 Tablespoons saline solution
Mix-Ins
- blue sequins
- faux snow
- clear and blue beads
- ‘diamond’ beads
- snowflake charms
- 1/2 tsp baking soda
Instructions
-
Combine glue and water in a medium size bowl. Mix until glue breaks up and incorporates into the water.
-
Add a few drops of blue colorant, mixing and adding more drops until you achieve your desired shade of blue.
-
Add glitter and stir to mix well.
-
Add the remainder of your mix-ins (snow, beads, snowflakes, sequins, etc…) and stir to mix well.
-
Stir in baking soda.
-
Add saline solution and stir well to combine. Stir until the slime begins to form and pull away from the sides of the container.
-
Knead the slime. It will be very sticky at first but keep kneading and it will get less sticky.
Notes
Did You Make This Craft?
Share it with me on Instagram @crayonsandcravings and follow on Pinterest @crayonsandcravings for even more!
Pin Craft
Leave A Review
Pin Frozen Slime for Later:
