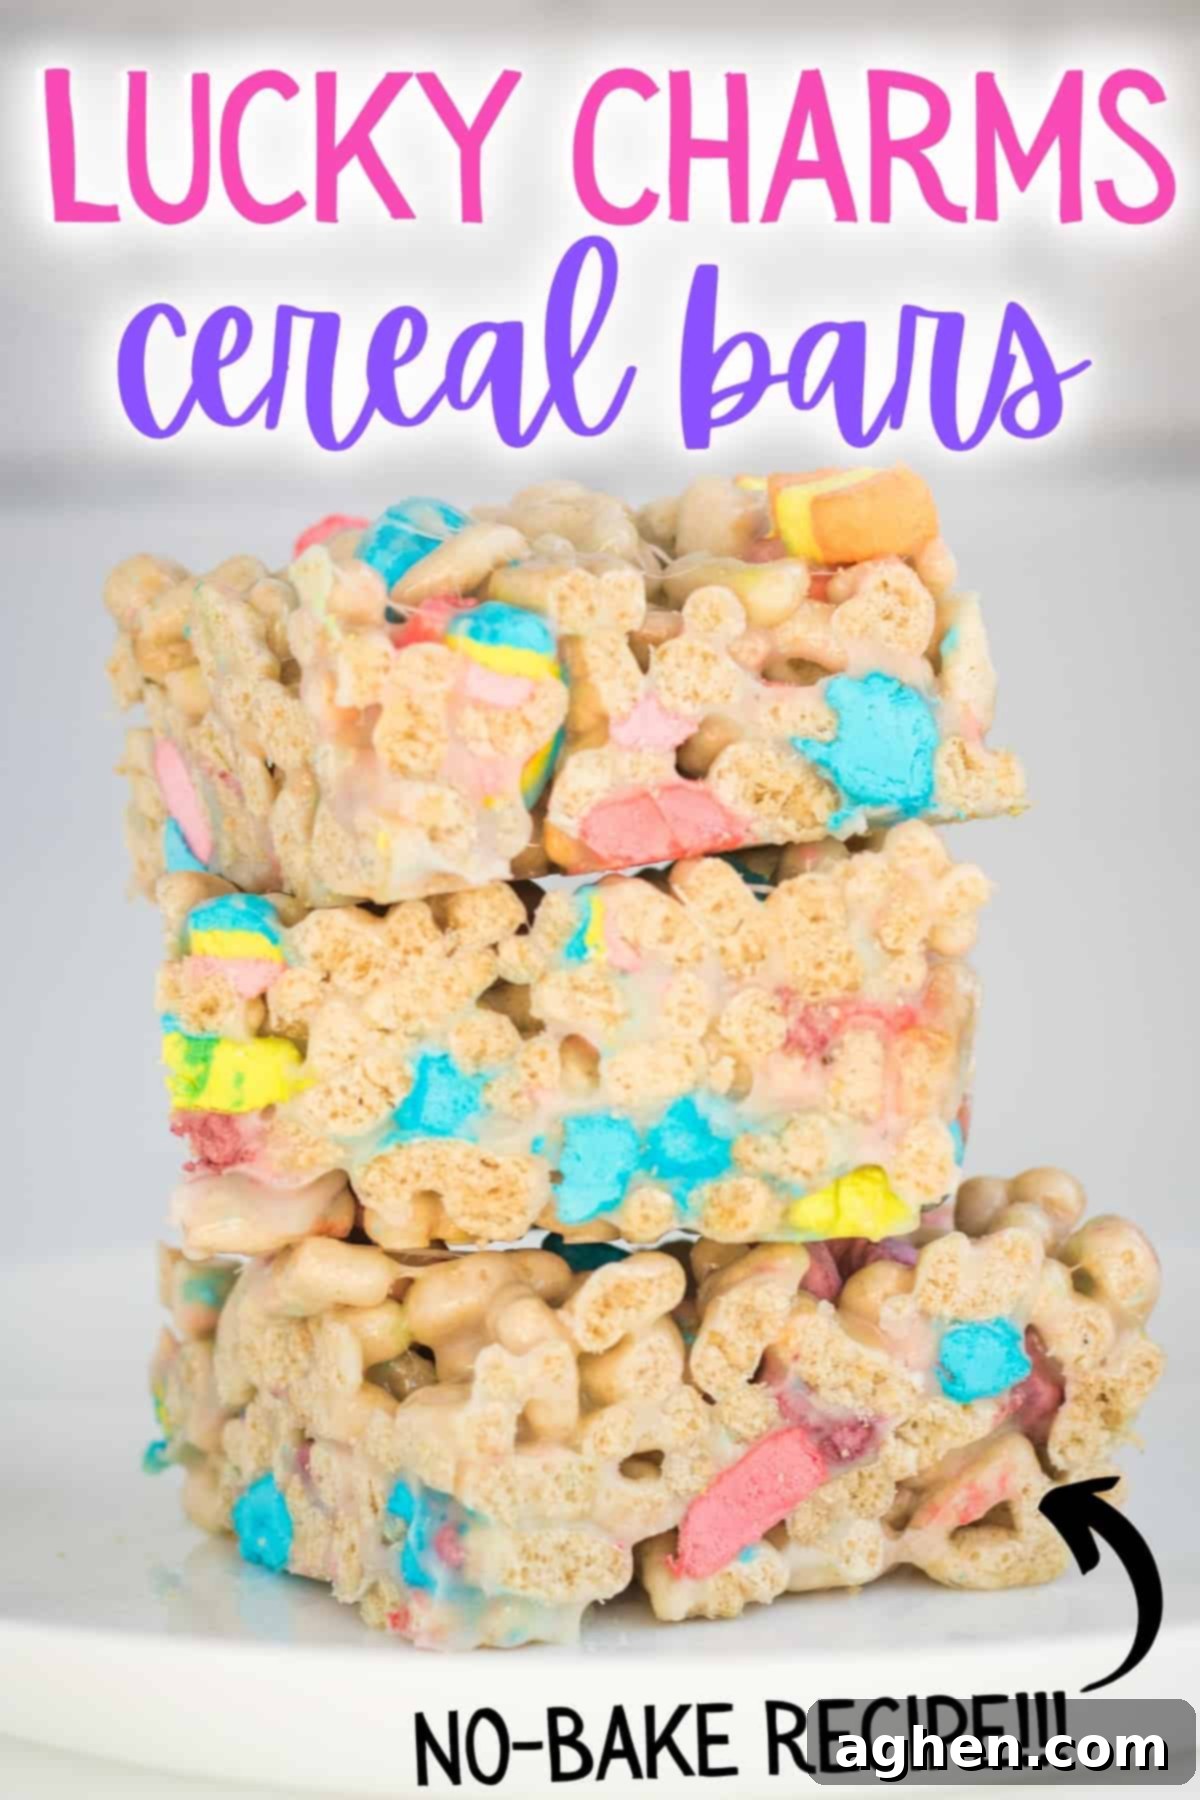
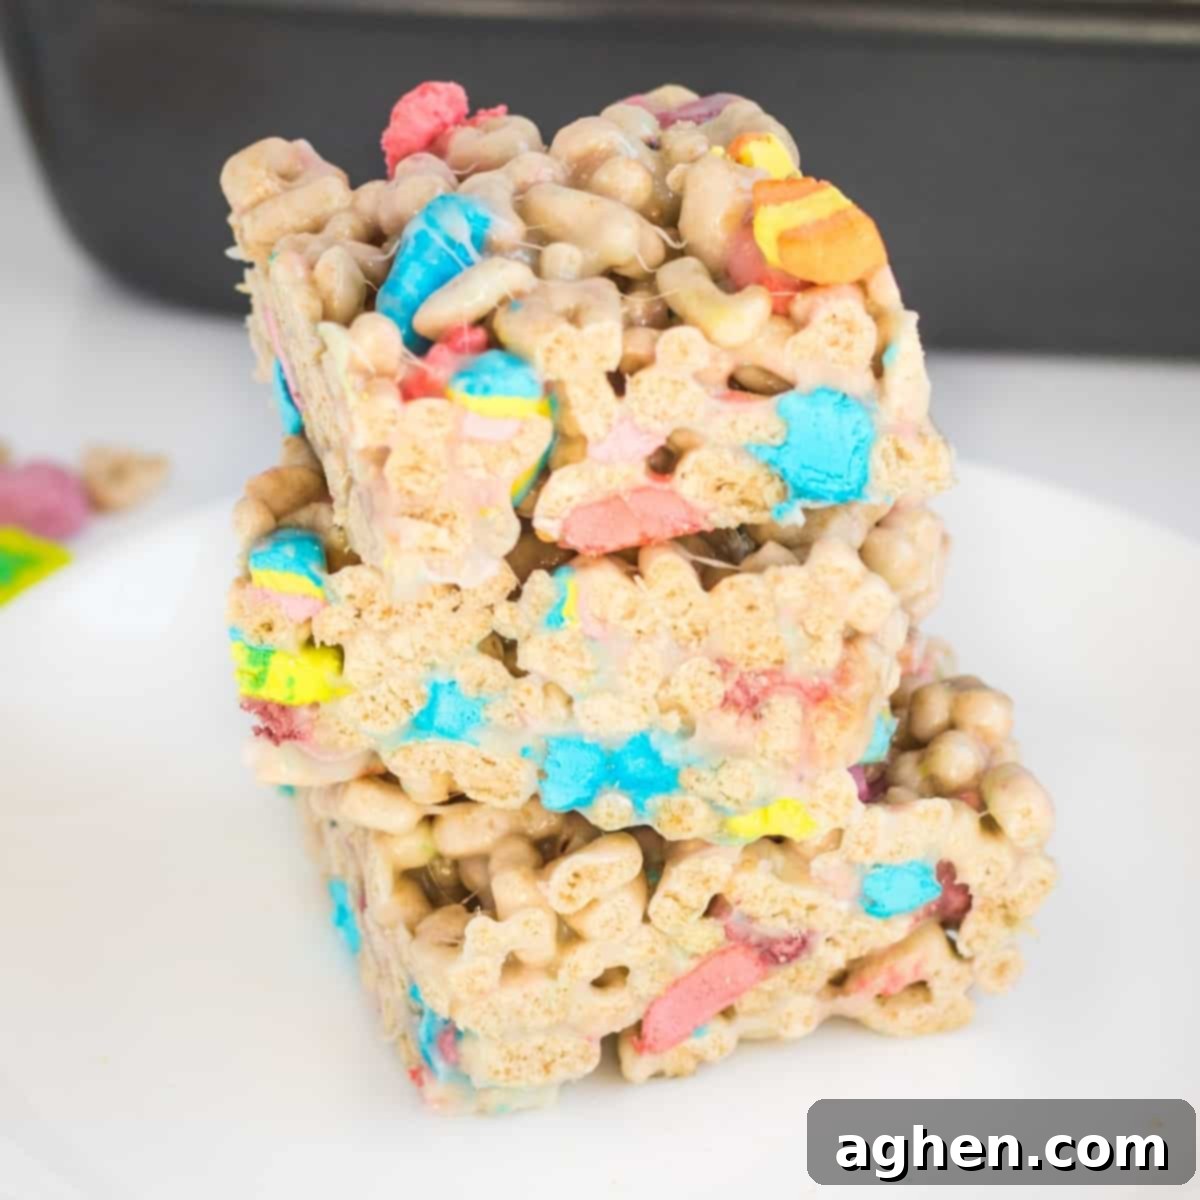
Easy No-Bake Lucky Charms Bars: The Ultimate Chewy Marshmallow Cereal Treat Recipe
Get ready to infuse a touch of magic and a burst of color into your dessert routine with these incredibly simple and utterly delicious Lucky Charms Bars! Combining the beloved whimsical cereal with the classic gooey marshmallow treat formula, this recipe creates a delightful twist on a timeless favorite. Forget your typical Rice Krispies treats for a moment – while we adore them, these vibrant Lucky Charms treats offer a fun and visually appealing alternative that’s perfect for any occasion, especially when you need a quick and charming dessert.
Whether you’re celebrating St. Patrick’s Day, planning a whimsical party, or simply craving a nostalgic sweet snack, these marshmallow cereal bars are guaranteed to bring smiles. They’re packed with those iconic, colorful Lucky Charms marshmallows, making every bite a delightful adventure. The best part? This recipe is incredibly quick and requires no baking, coming together in just 10 minutes with only 4 basic ingredients!
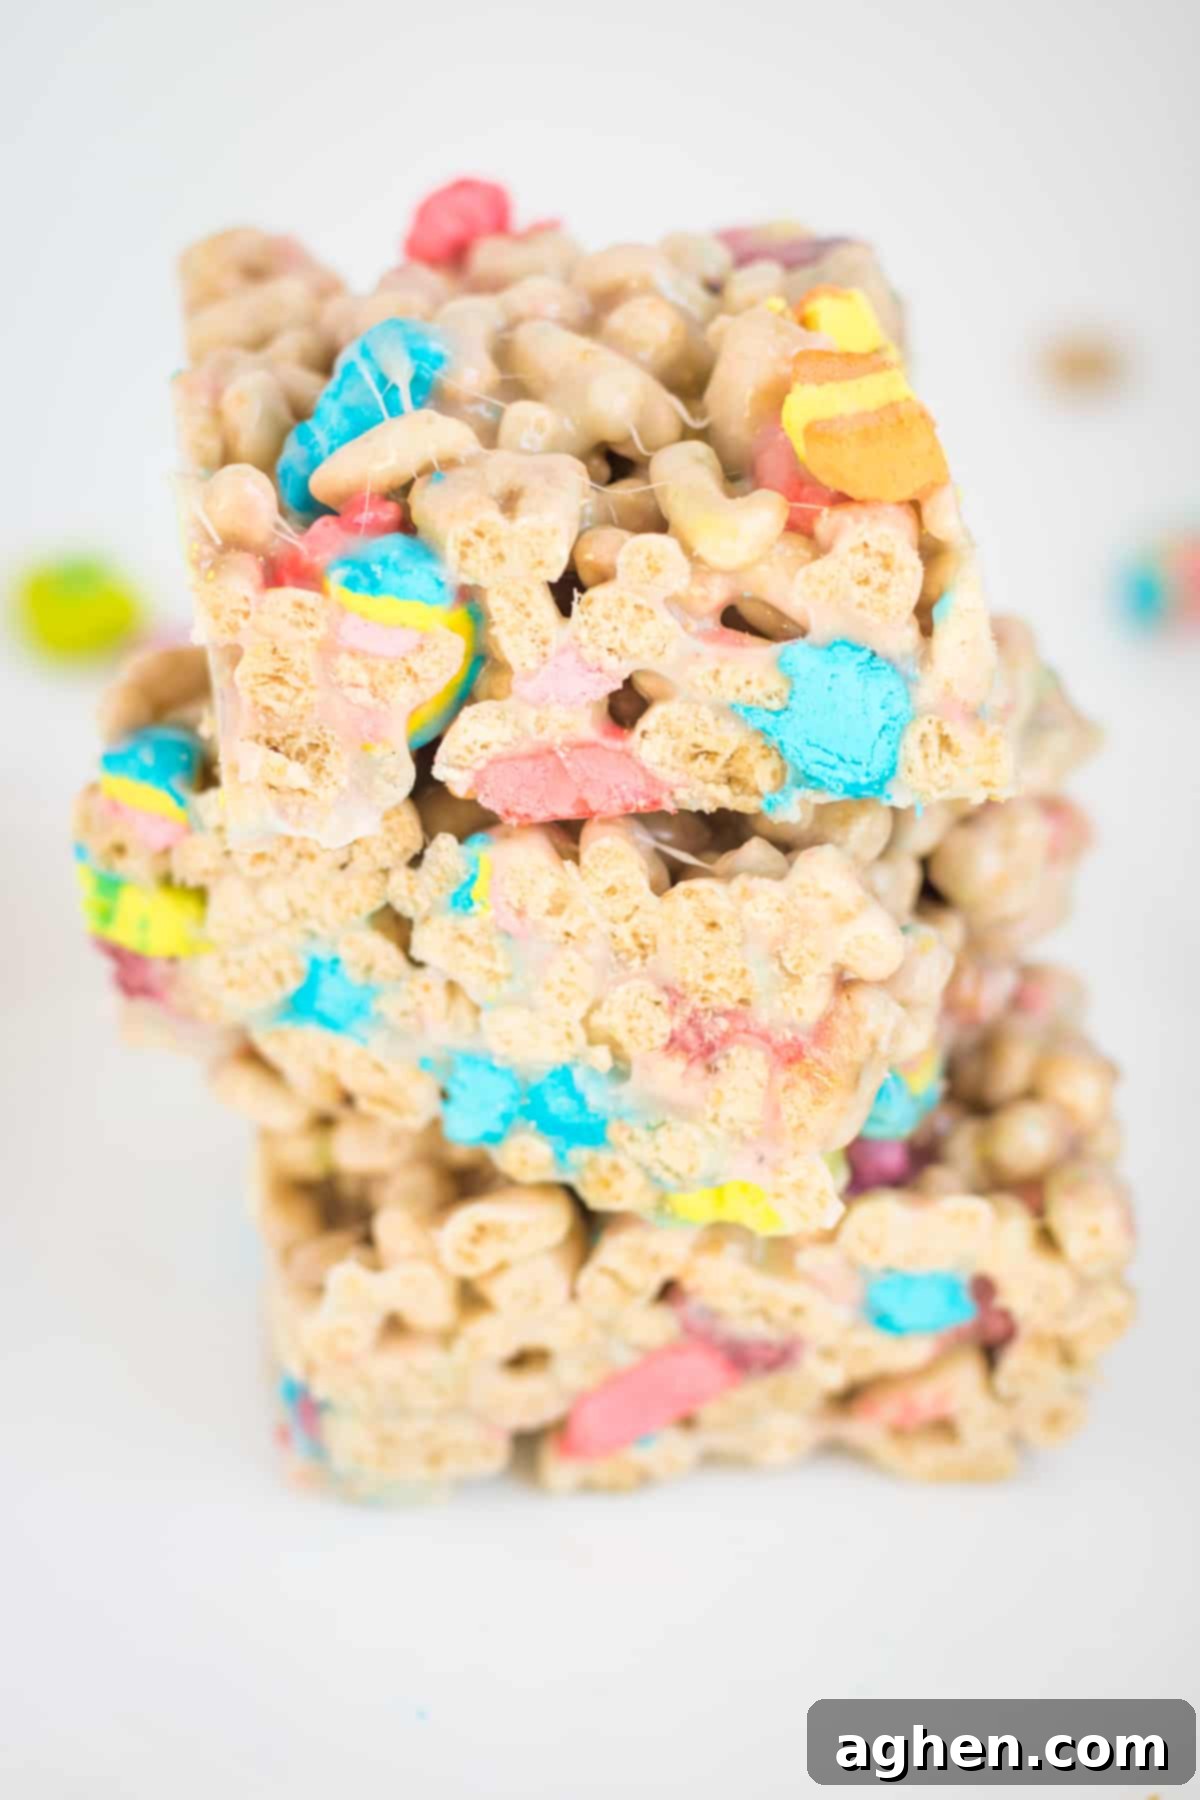
This recipe truly embodies simplicity. You won’t need to pull out a measuring cup for much more than a pinch of salt (which is optional anyway!). We’re talking about using an entire box of Lucky Charms cereal, a full bag of mini marshmallows, and a stick of butter. It’s designed to be effortlessly easy, ensuring you can whip up a batch of these magical treats with minimal fuss and maximum fun. For more enchanting Lucky Charms-inspired desserts, be sure to check out my Lucky Charms cake and Lucky Charms pudding parfaits.
Essential Ingredients for Lucky Charms Bars
Creating these delightful Lucky Charms bars requires just a handful of straightforward ingredients. The beauty of this recipe lies in its simplicity and the readily available nature of its components. Here’s what you’ll need to gather:
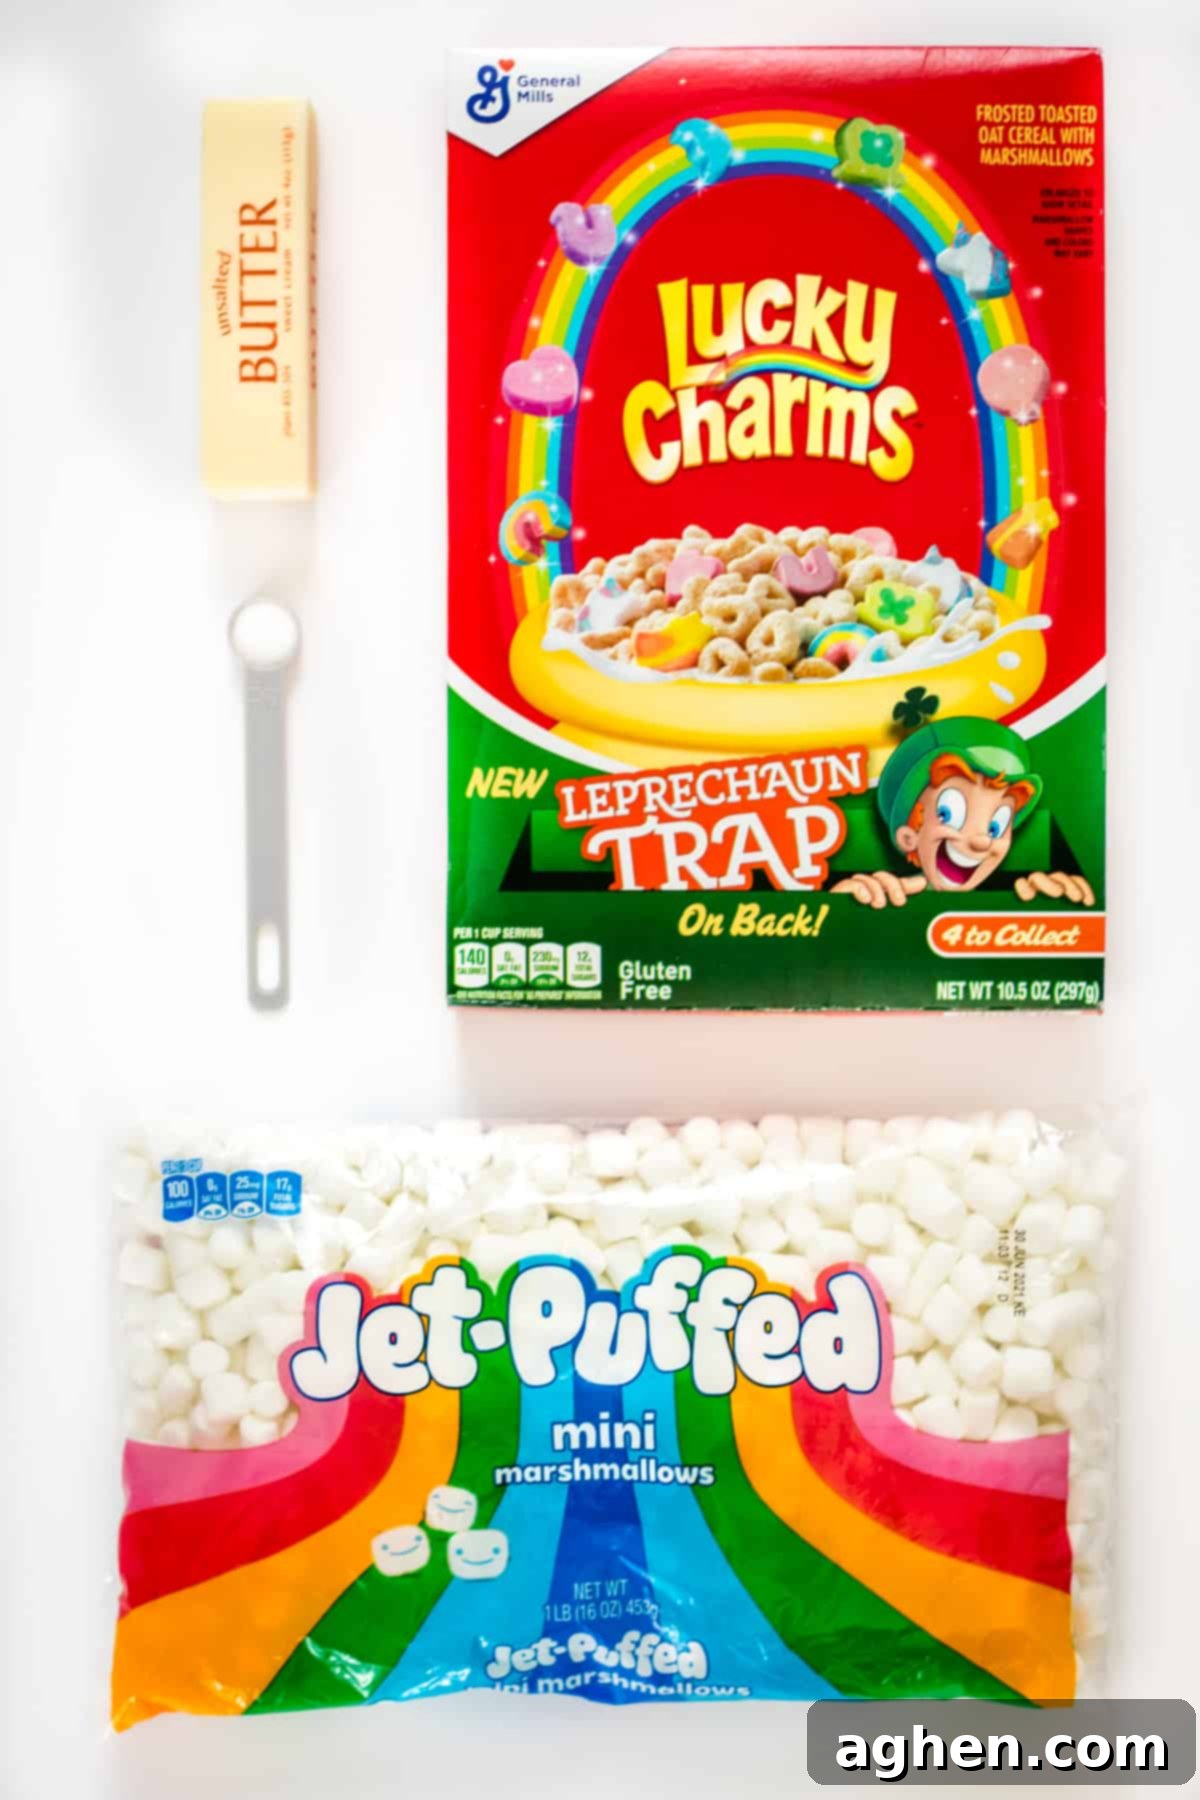
- ½ cup unsalted butter (1 stick): Using unsalted butter gives you better control over the overall saltiness of your treats.
- 1 (16-ounce) bag mini marshmallows: Fresh mini marshmallows melt most smoothly and contribute to that perfect chewy texture. A full bag makes it easy!
- ½ teaspoon salt (optional): A touch of salt helps to balance the sweetness of the marshmallows and cereal, enhancing all the flavors.
- 1 (10.5-ounce) box Lucky Charms (approximately 9 cups): The star of our show! One standard box is usually enough for one batch.
Substitutions and Creative Additions
While this recipe is fantastic as is, there are several ways to customize your Lucky Charms bars to suit your preferences or to add an extra layer of flavor and festivity.
- Salted Butter: If you only have salted butter on hand, you can absolutely use it! Simply reduce the amount of additional salt in the recipe to ¼ teaspoon, or even omit it entirely. Taste your melted marshmallow mixture before adding the cereal to ensure it’s not overly salty.
- Vanilla Extract: For a deeper, richer flavor that complements the sweet marshmallows beautifully, stir in 1 tablespoon of pure vanilla extract with the melted butter and marshmallows before adding the cereal. This simple addition can elevate your treats significantly.
- Other Extracts: Feeling adventurous? Try adding a few drops of almond extract for a nutty undertone, or even a tiny bit of mint extract (especially festive for St. Patrick’s Day!). Start with a small amount and add more to taste.
- Colorful Sprinkles: To make these bars even more festive, gently fold in some rainbow or St. Patrick’s Day-themed sprinkles along with the cereal. You can also press them onto the top of the bars after they’re in the pan for an extra pop of color.
- White Chocolate Drizzle: Once the bars have cooled completely, melt some white chocolate chips and drizzle them over the top for an elegant touch and added sweetness.
- Food Coloring: If you want to lean into the St. Patrick’s Day theme even more, add a few drops of green food coloring to the melted marshmallow mixture before stirring in the cereal.
How to Make Perfect Lucky Charms Bars
Creating these magical marshmallow treats is incredibly straightforward. Just follow these simple steps for perfectly chewy and delightful bars every time:
Step 1: Prepare Your Pan. Begin by lightly coating a 9 x 13-inch baking pan with non-stick cooking spray. If you prefer thicker bars, you can use two 8 x 8-inch baking pans instead. Ensuring the pan is well-greased will make removing and slicing your bars much easier once they’ve set. Set the prepared pan aside.
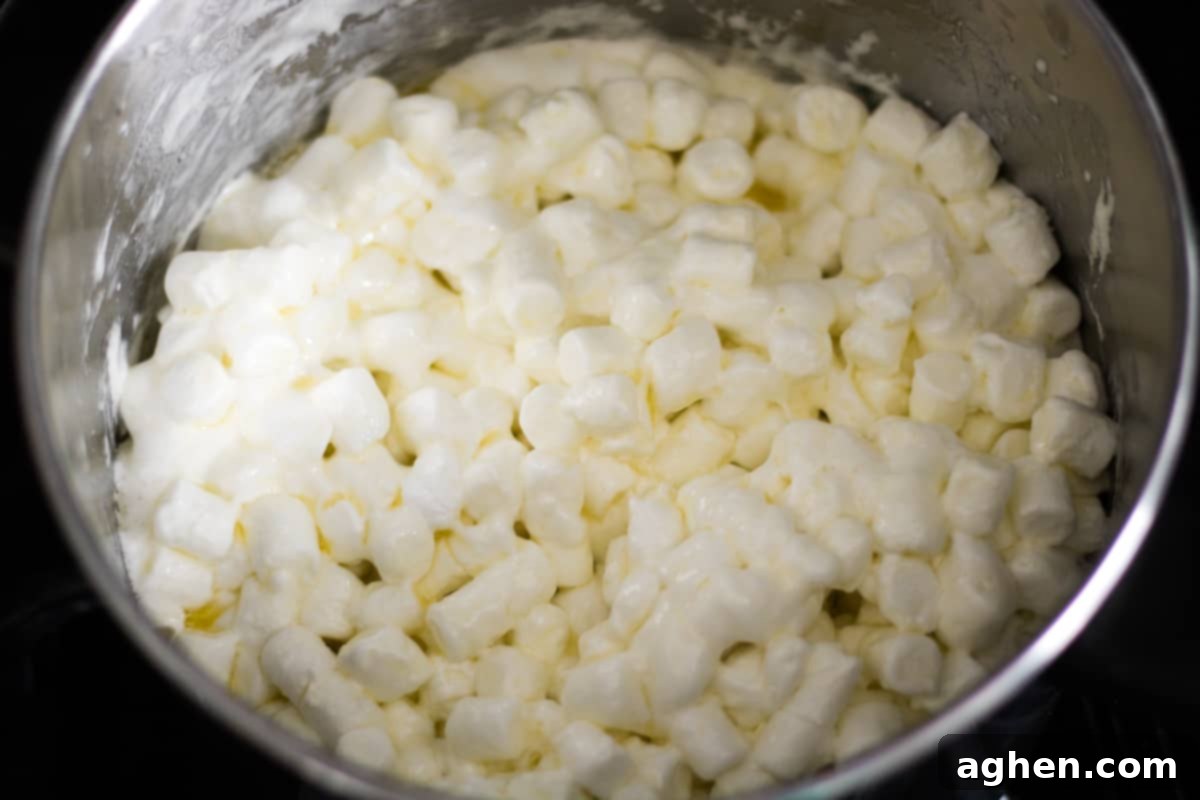
Step 2: Melt Butter and Marshmallows. In a large, heavy-bottomed pot, melt the unsalted butter over medium-low heat. It’s crucial to use low heat to prevent the butter from browning too quickly, which can affect the flavor of your treats. Once the butter has fully melted, add the optional salt and the entire bag of mini marshmallows. Stir constantly with a spatula or wooden spoon until the marshmallows are completely melted and the mixture is smooth and gooey. Avoid overheating the marshmallow mixture, as this can lead to hard bars.
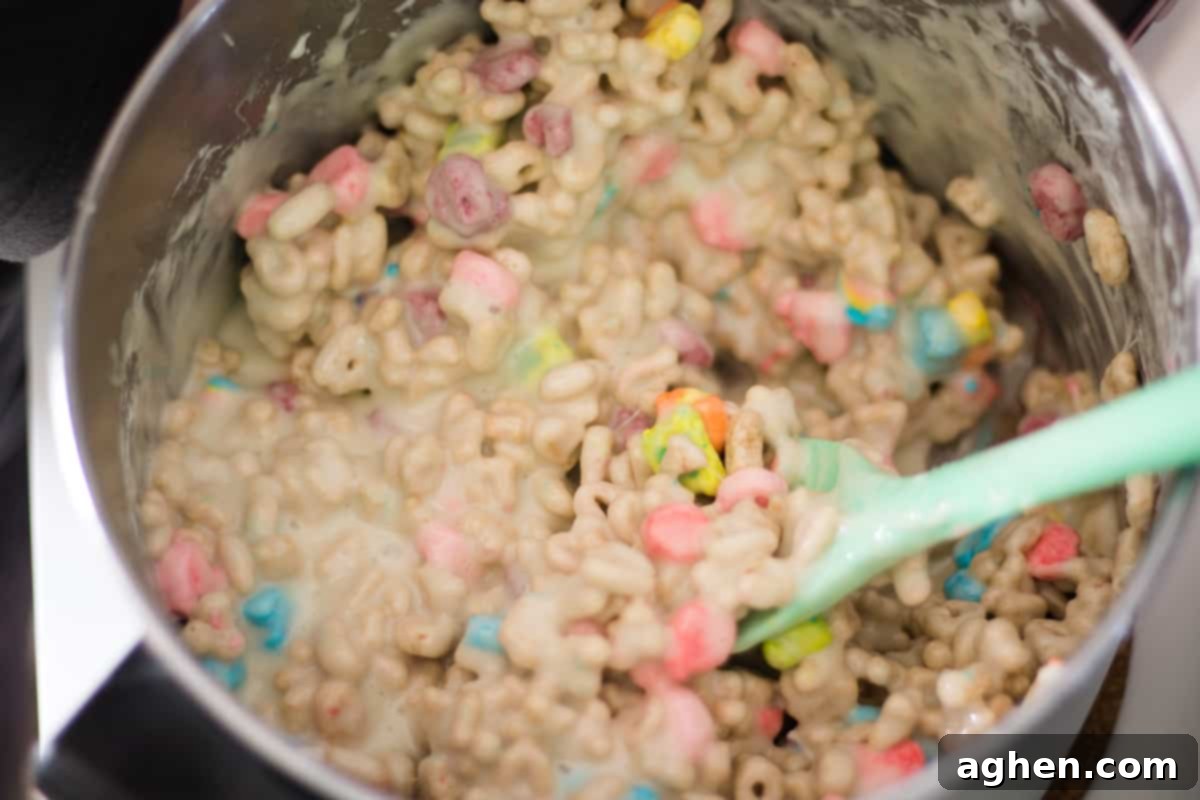
Step 3: Combine Cereal. Immediately remove the pot from the heat once the marshmallows are melted. Gently pour the Lucky Charms cereal into the melted marshmallow mixture. Stir carefully, just until the cereal is evenly coated. Over-mixing at this stage can crush the delicate cereal pieces and compress the marshmallows, resulting in a tougher, less desirable texture.
Step 4: Press into Pan. Transfer the warm cereal mixture into your prepared baking pan. Using a greased spatula or your lightly buttered hands, gently press the mixture down into an even layer. The key here is to press lightly – do not compact the mixture too much. Over-compressing the treats can squeeze out the air, leading to dense, hard bars instead of soft, chewy ones.
Tip: Resist the urge to press down too hard or too much! Just a light, even pressure is all you need to form the bars, ensuring they remain wonderfully soft and chewy.
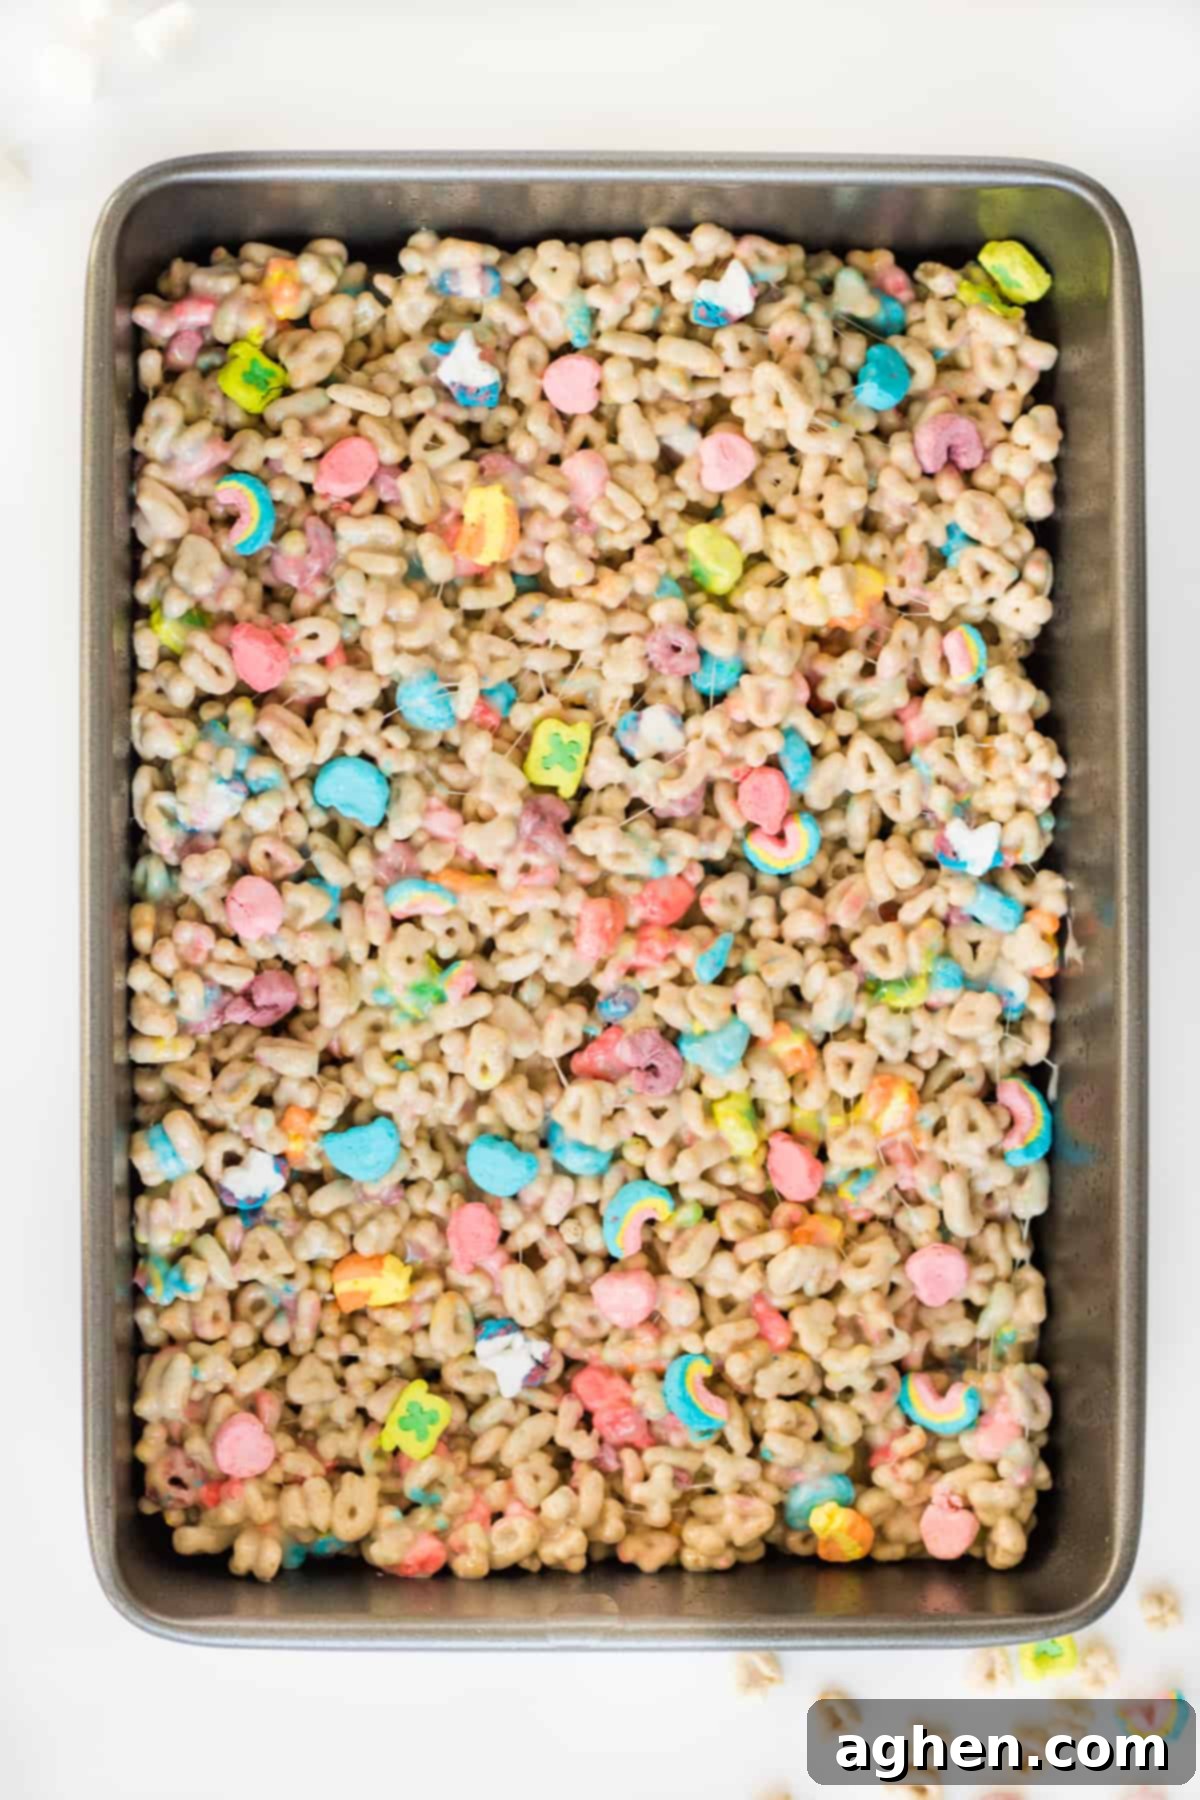
Step 5: Cool and Enjoy. Allow the Lucky Charms bars to cool completely at room temperature before slicing and serving. This usually takes about 1 hour, allowing the marshmallow to fully set and firm up to a perfect chewy consistency. Patience is a virtue here!
Storage Tips for Optimal Freshness
To keep your Lucky Charms bars at their best, proper storage is essential. They are best enjoyed within a few days of making them, but they can also be stored longer if needed.
- At Room Temperature: Store your Lucky Charms cereal bars in an airtight container or a large zip-top bag at room temperature for up to 5 days. To prevent them from sticking together, place a piece of wax paper or parchment paper between layers of bars.
- In the Freezer: For longer storage, these treats freeze wonderfully! Place them in a freezer-safe container or a heavy-duty freezer bag, separating each treat with wax paper to prevent sticking. They can be frozen for up to two months. When you’re ready to enjoy them, simply thaw them at room temperature for an hour or so.
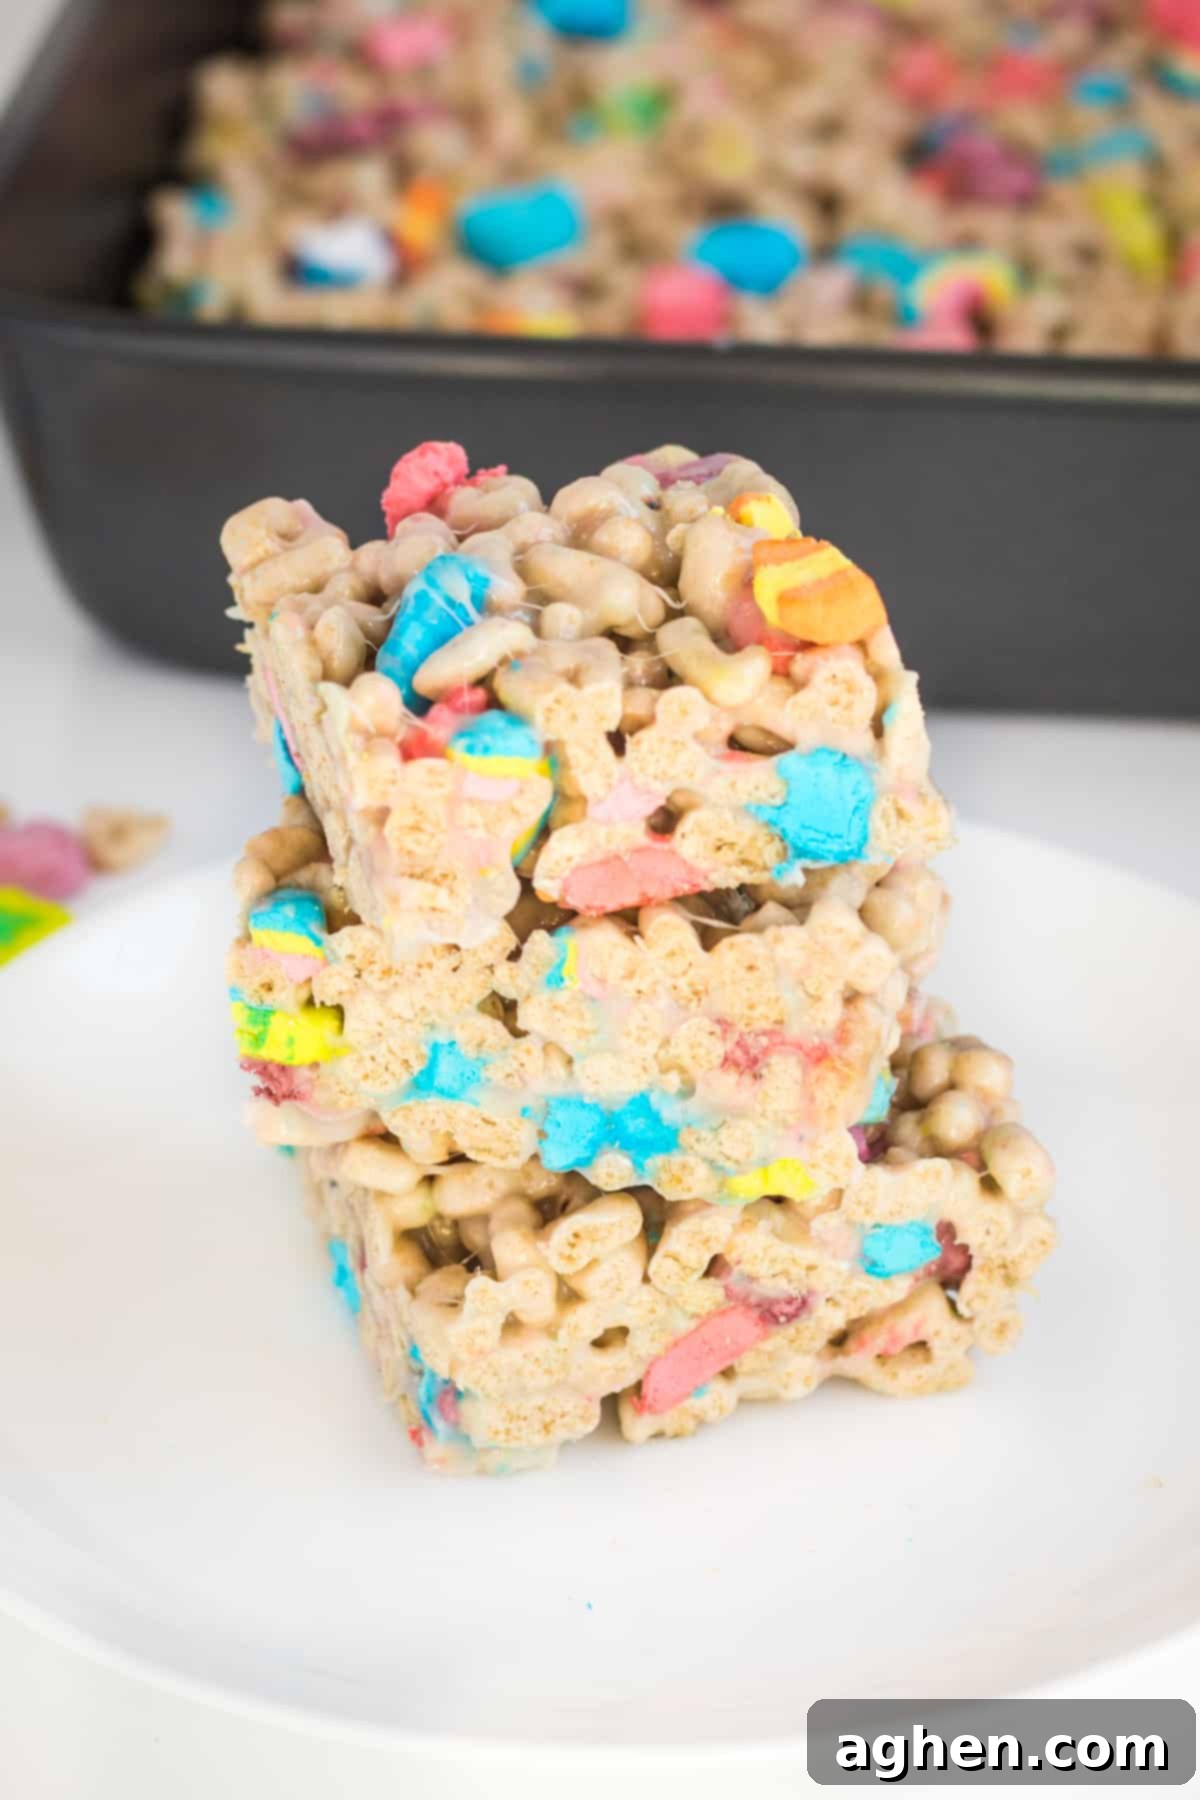
Pro Recipe Tips for Soft and Chewy Lucky Charms Treats
Have you ever wondered why some cereal bars turn out perfectly soft and chewy, while others become unpleasantly hard and firm? The secret lies in a few simple techniques. Follow these pro tips to achieve the best soft and chewy Lucky Charms treats every single time!
- Don’t Overmix: When stirring the cereal into the melted marshmallow mixture, do so gently and only until just combined. Excessive mixing can crush the cereal and break down the marshmallow’s delicate structure, leading to a denser, harder bar. Treat it with a light touch!
- Don’t Overpack: This is arguably the most crucial tip for soft bars. Once you transfer the mixture to the pan, resist the urge to press it down too tightly. A gentle, even pressure is all that’s needed to spread the mixture into a uniform layer. Over-compressing forces out air, resulting in tough, compacted treats.
- Wait to Cut: For the ultimate soft and chewy experience, wait until just before serving to cut your bars. Once cut, more surface area is exposed to the air, which can cause the marshmallow to firm up faster. Slicing them just before enjoying helps maintain their optimal texture.
- Use Fresh Ingredients: Always use fresh marshmallows and cereal. Stale marshmallows don’t melt as smoothly, and old cereal can taste stale, impacting the overall quality and texture of your bars.
- Low Heat is Key: When melting the butter and marshmallows, keep the heat on medium-low. High heat can burn the butter and cause the marshmallows to become brittle once cooled, leading to hard bars. Patience here pays off!
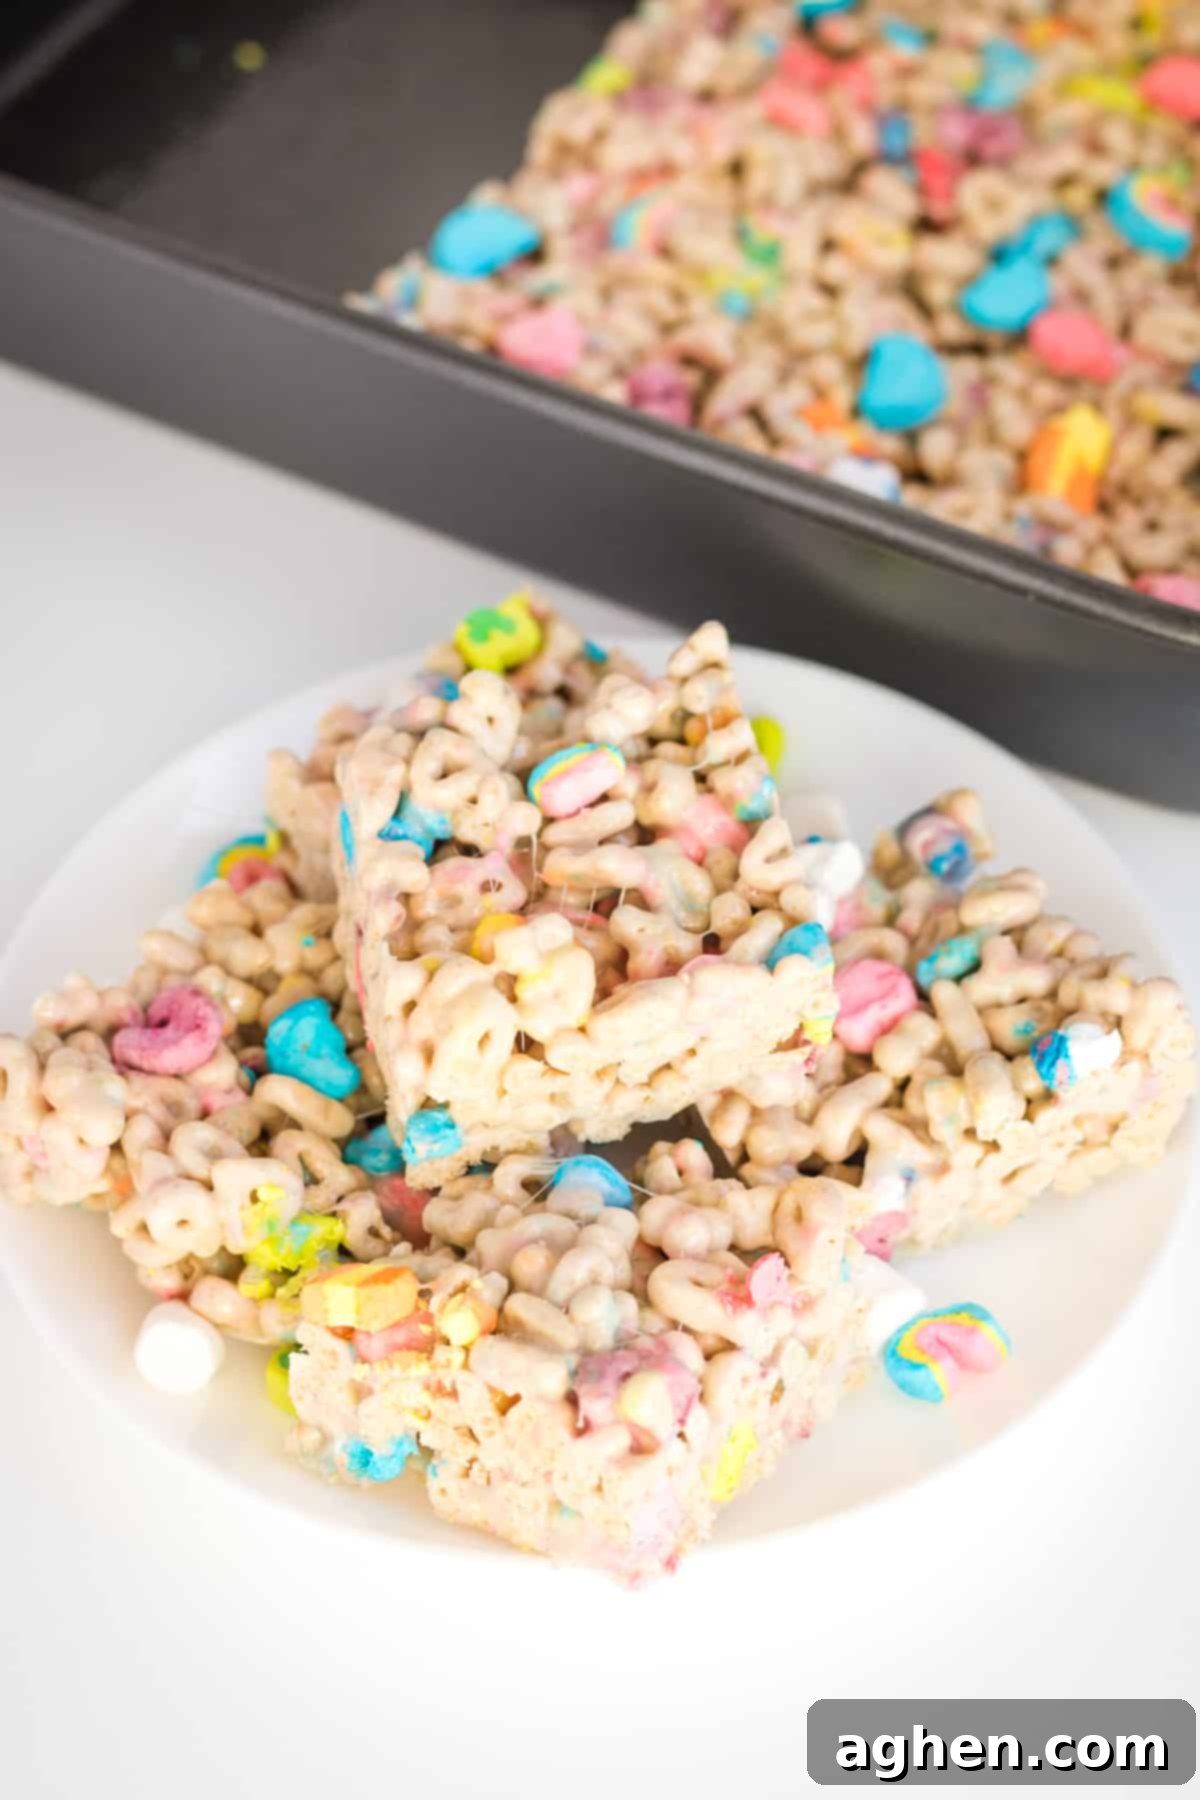
Pro Tip: To make your bars extra magical and visually appealing, set aside a small handful of the colorful Lucky Charms marshmallows before mixing the cereal into the marshmallow base. After you’ve pressed the mixture into the pan, gently press these reserved marshmallows onto the top of the treats. This adds an extra pop of vibrant color and a charming finish!
More Easy No-Bake St. Patrick’s Day Treats
If you love simple, no-bake desserts and are looking for more festive ideas, especially for St. Patrick’s Day, here are some other fantastic recipes to try:
- Copycat Shamrock Shake
- St. Patrick’s Day Fudge
- Pistachio Pudding Icebox Cake
- Pot o’ Gold Oreo Truffles
Lucky Charms Bars
Author: Jaclyn
Ingredients
- ½ cup unsalted butter 1 stick
- 1 16-ounce bag mini marshmallows
- ½ teaspoon salt optional
- 1 10.5-ounce box Lucky Charms (9 cups)
Instructions
-
Coat a 9 x 13 baking pan or two 8 x 8 baking pans with non-stick cooking spray; set aside.
-
Melt the butter over medium-low heat in a large pot. Add the salt (if using) and marshmallows. Stir constantly until the marshmallows have melted completely.
-
Remove from heat and gently stir in Lucky Charms cereal.
-
Spoon into the baking pan, pressing down gently with a greased spatula or your hands into an even layer.
-
Allow the cereal bars to cool at room temperature before slicing and serving.
Notes
Add 1 tablespoon of pure vanilla extract to the recipe for added flavor.
Do not press down the bars down too firmly into the pan or the bars will end up being hard.
For best results, wait until just before serving to cut your bars. This will keep them as soft and chewy as possible.
Store bars at room temperature in an airtight container for up to 5 days. Separate bars with wax or parchment paper so that they do not stick together.
Nutrition

Did You Make This Recipe?
Share it with me on Instagram @crayonsandcravings and follow on Pinterest @crayonsandcravings for even more!
Pin Recipe
Leave A Review
Pin this Recipe for Later!
