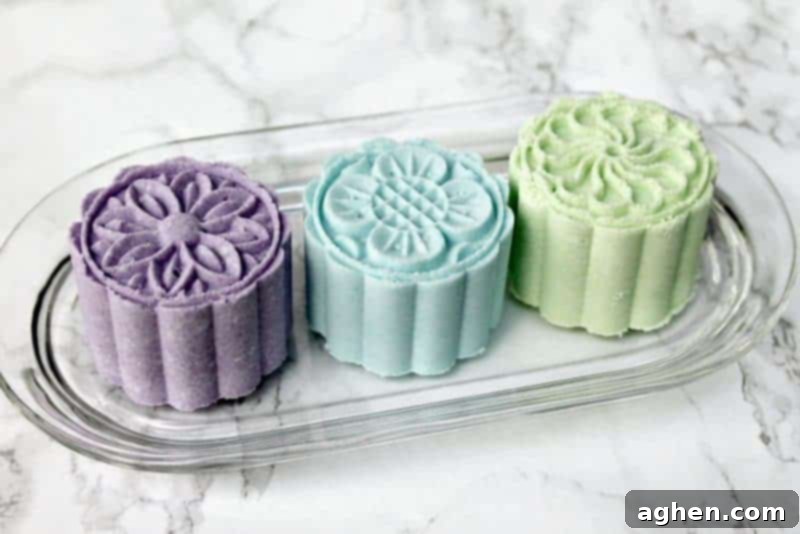
Craft Stunning Homemade Bath Bombs with a Moon Cake Press: Your Ultimate DIY Guide
Transform your bath time into a luxurious spa experience with these easy-to-make homemade bath bombs. Using a simple moon cake press, you can create beautifully intricate designs that are perfect for pampering yourself or gifting to loved ones. Learn how to achieve perfect, fizzy, and fragrant bath bombs every time!
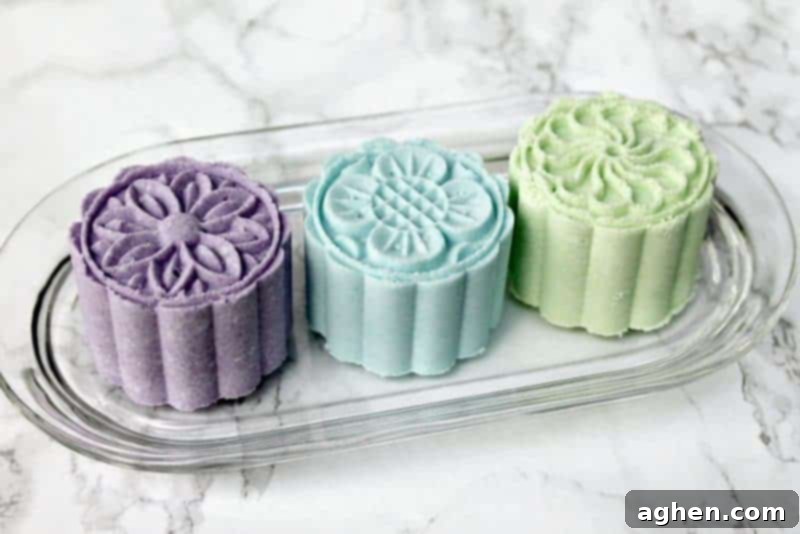
Since sharing our popular recipe for headache relief bath bombs, we’ve received an overwhelming number of requests for more exciting bath bomb creations. Today, we’re thrilled to deliver with these absolutely **gorgeous** – and surprisingly simple – moon cake press bath bombs.
Unleash Your Creativity with Moon Cake Press Bath Bombs
Moon cake presses are an affordable and versatile tool, readily available on platforms like Amazon. While traditionally used for pastries, their intricate designs and easy-to-use plunger mechanism make them an ideal choice for crafting stunning, professional-looking bath bombs. You’ll be amazed at the beautiful, flowery patterns they produce.
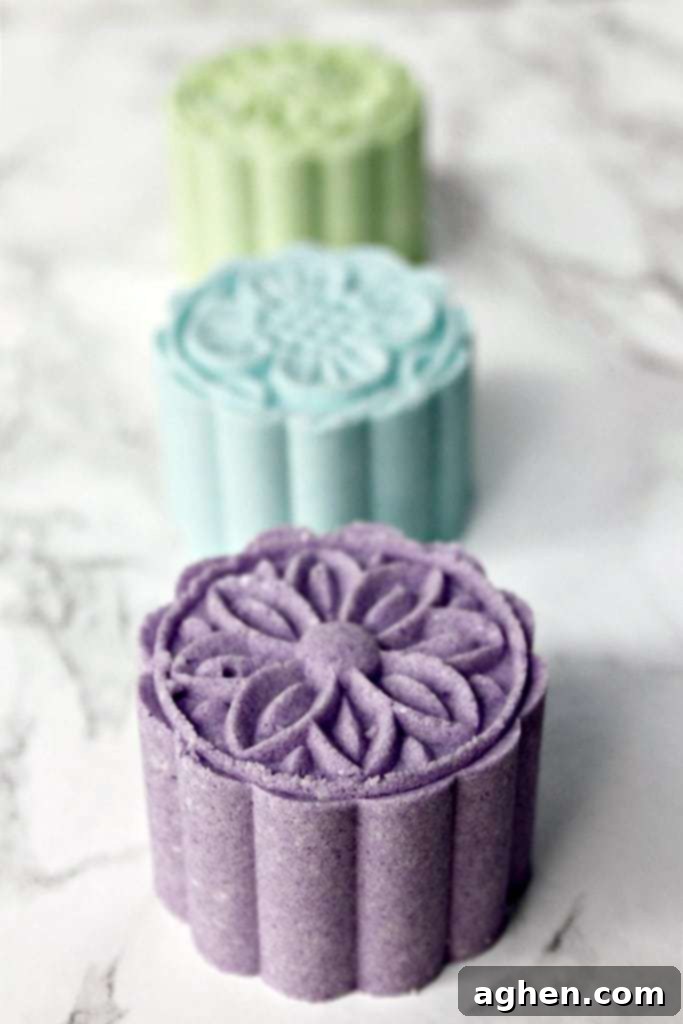
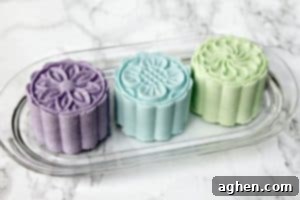
Just look at how exquisitely these moon press bath bombs turned out! We’re absolutely captivated by this innovative method for shaping bath bombs. The delicate patterns add a touch of elegance that elevates them from simple DIY crafts to works of art.
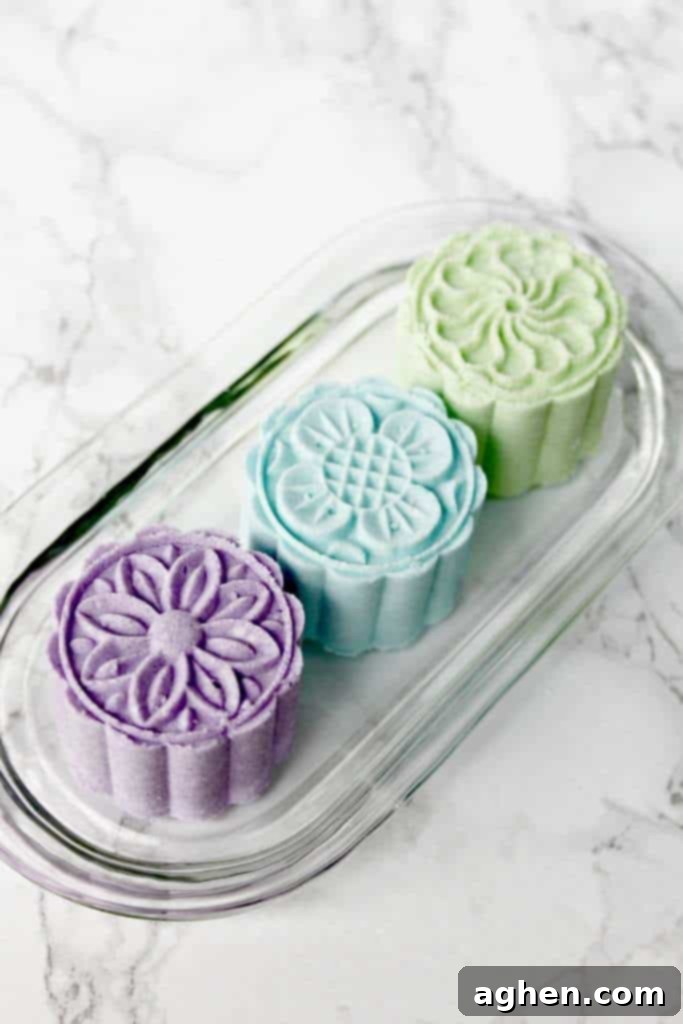
These handmade bath bombs make for an incredibly thoughtful and personal gift. Whether it’s for Mother’s Day, Teacher Appreciation Day, birthdays, holiday gifts, or just a token of appreciation, who wouldn’t adore receiving a relaxing and beautifully crafted bath bomb? Imagine the delight of soaking in a warm bath infused with fragrant essential oils, knowing these little spheres of joy were made with care.
Essential Supplies for Your Moon Cake Press Bath Bombs
Ready to get started? Gather your ingredients and equipment. Crafting your own bath bombs is a fun and rewarding process, and having everything prepared beforehand makes it even smoother. Here’s a detailed look at what you’ll need to create your stunning moon cake press bath bombs. Each ingredient plays a crucial role in achieving the perfect fizz, fragrance, and shape.
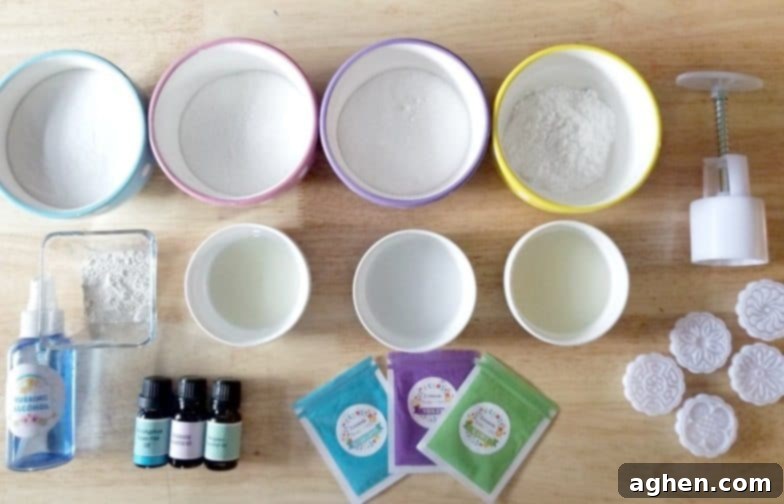
- 1 cup baking soda: The primary fizzing agent, reacting with citric acid.
- 1/2 cup citric acid: The second half of the fizzing equation, providing that delightful bubbly action.
- 1/2 cup SLSA (Sodium Lauryl Sulfoacetate): A gentle, natural surfactant that creates luxurious foam and bubbles, giving your bath bombs that spa-like feel.
- 1/4 cup cream of tartar: Helps to stabilize the mixture and enhance the fizzing reaction.
- 1 tbsp kaolin clay (optional but highly recommended): This natural clay acts as a hardening agent, giving your bath bombs structural integrity and a smoother feel, making them less prone to crumbling.
- 2 tbsp coconut oil: A wonderful moisturizer for your skin, it also acts as a binder, helping the mixture hold its shape.
- 2 tbsp rubbing alcohol: Used as a non-water binder that evaporates quickly, preventing premature fizzing. You’ll also need a small amount for the spray bottle.
- 1 tsp polysorbate 80 (optional but recommended): An emulsifier that helps disperse the oils and colors in the water, preventing a greasy residue and colorful rings around your tub. It also enhances bubble production.
- Essential oils of your choice: For fragrance and aromatherapy benefits. We love Chamomile for soothing, Bergamot for uplifting, and Eucalyptus for invigorating. Choose what inspires you!
- Mica Powder Pigments: To add vibrant color to your bath bombs. We used purple, green, and blue for a beautiful blend.
- Spray bottle of rubbing alcohol: Essential for fine-tuning the moisture content of your mixture.
- Moon Press mold (or this press with other pretty designs): The star of the show for achieving those intricate patterns.
How to Master Homemade Bath Bombs Using a Moon Cake Press
Crafting perfect bath bombs is all about precision and consistency, especially when it comes to moisture. Below, you’ll find the **full, printable instructions** in the “how to” card at the bottom of this post. Simply click the “PRINT” button for a printer-friendly version. However, let’s dive into some crucial tips to ensure your bath bombs turn out beautifully.
The Critical Importance of Moisture
The single most important factor determining the success of your bath bombs is the **right amount of moisture** in your mixture. It needs to be just wet enough to hold its shape, but not so wet that it starts to activate prematurely. This delicate balance is key to firm, well-formed bath bombs that fizz perfectly when used.
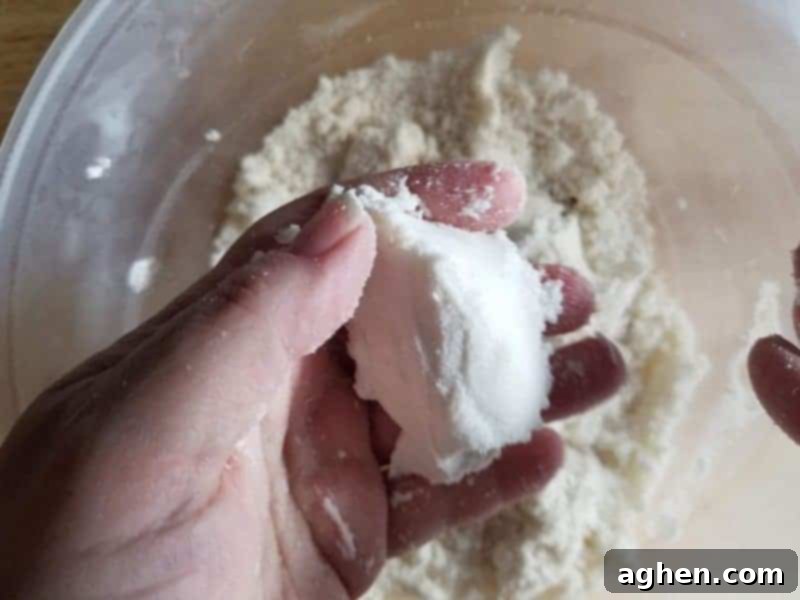
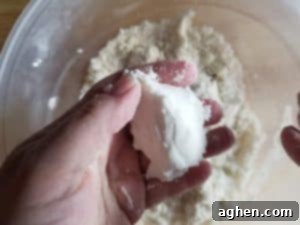
To test the consistency, take a small handful of your bath bomb mixture and squeeze it firmly. When you open your hand, the mixture should hold its compressed form, almost like wet sand. If it **crumbles** or doesn’t hold together, it’s too dry. Add 3-5 sprays of rubbing alcohol from your spray bottle, mix thoroughly, and test again. Repeat this process, adding small amounts of alcohol, until the mixture holds its shape perfectly.
A word of caution: Be careful not to overdo it with the rubbing alcohol. Adding too much can make the mixture too wet, leading to premature fizzing and soft, fragile bath bombs. A little bit truly goes a long way in achieving the ideal consistency.
Another essential tip: Once your mixture reaches the perfect consistency, it’s vital to **work quickly**. The rubbing alcohol evaporates, causing the mixture to dry out. If it starts to dry, you might need a few more sprays to regain the ideal texture before pressing.
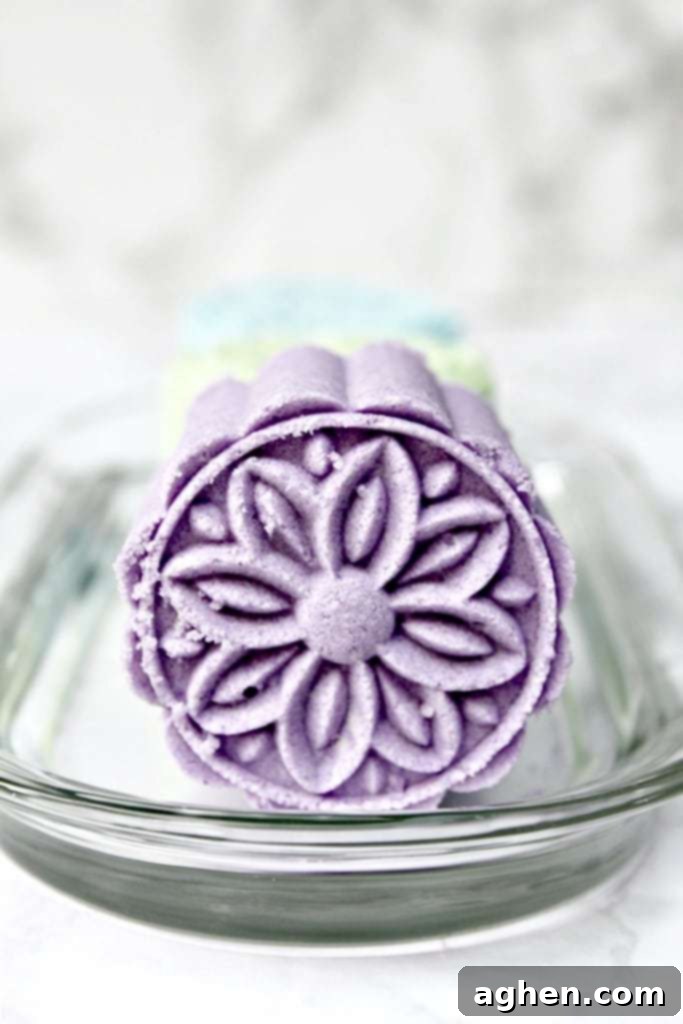
Do I Absolutely Need a Moon Cake Press for These Bath Bombs?
While a moon cake press is fantastic for creating those unique and beautiful patterns, it’s not strictly mandatory. If you don’t have one readily available and prefer not to purchase one, that’s perfectly fine!
You can easily substitute with a traditional bath bomb mold (the two-half sphere type) or even silicone molds. This versatile bath bomb recipe will still yield wonderful DIY bath bombs. The only difference will be the design, which will reflect the mold you choose.
That being said, we strongly encourage you to **definitely** consider trying a moon cake press for your bath bombs at some point. They are incredibly easy to use and the results are consistently stunning, adding an extra touch of artisanal charm to your creations. The intricate designs are truly captivating!
Now, grab the full, detailed instructions in the recipe card below, and get ready to enjoy crafting your own lovely, fragrant bath bombs!
More Must-Try DIY Goodies for Self-Care and Gifting
If you’ve enjoyed making these bath bombs, you’ll love exploring other handmade treats for your skin and senses. Here are a few more popular DIY projects from our collection:
- Unicorn whipped body butter: A magical, moisturizing treat for your skin.
- Doughnut bath bombs: Fun and whimsical bath bombs shaped like your favorite sweet treat.
- Peppermint sugar scrub: A refreshing and exfoliating scrub made with just 3 simple ingredients!
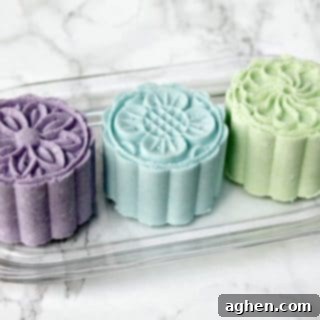
Moon Cake Press Bath Bombs
Author: Jaclyn
Equipment
-
Two medium-sized mixing bowls
-
A small bowl for each color you want to create (we used 3)
-
Sifter or mesh strainer for dry ingredients
-
Whisk for thorough mixing
-
Spoon for packing the molds
-
Moon cake press mold (or alternative mold)
-
Small spray bottle for rubbing alcohol
-
Parchment or wax paper for drying
Supplies
- 1 cup baking soda
- 1/2 cup citric acid
- 1/2 cup Sodium Lauryl Sulfoacetate SLSA
- 1/4 cup cream of tartar
- 1 Tablespoons kaolin clay optional but highly recommended for hardness
- 2 Tablespoons coconut oil
- 2 Tablespoons rubbing alcohol plus extra for spray bottle
- 1 tsp polysorbate 80 optional but recommended for bubbles and dispersion
- Essential oils of your choice
- Mica powder pigments
Instructions
-
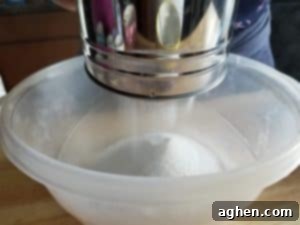
Step 1: Combine Dry Ingredients. In a large mixing bowl, thoroughly combine all your dry ingredients: baking soda, citric acid, SLSA, cream of tartar, and kaolin clay. Use a sifter or mesh strainer to ensure there are no lumps or hard pieces, achieving a fine, consistent powder.
-
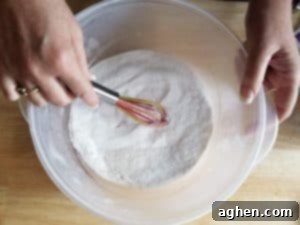
Step 2: Whisk Away Lumps. After sifting, use a whisk to further break down any remaining lumps in the dry mixture, ensuring it’s light and airy. This helps with even distribution of ingredients.
-
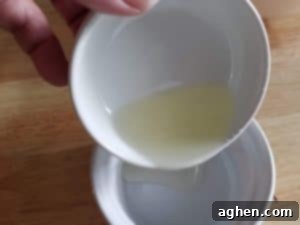
Step 3: Prepare Liquid Ingredients. In a separate small bowl, whisk together your liquid ingredients: melted coconut oil, rubbing alcohol, and polysorbate 80. Ensure they are well combined.
-
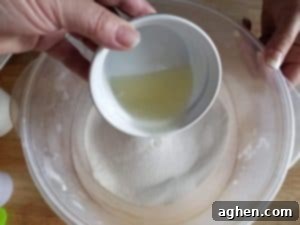
Step 4: Gradually Add Liquids to Dry. Slowly add the liquid mixture to your dry ingredients, about 1 tablespoon at a time. This gradual addition prevents the mixture from fizzing prematurely.
-
Step 5: Achieve Perfect Consistency. Whisk well after each addition to ensure all ingredients are fully combined. The mixture is perfect when you can press it together firmly in your hands and it holds its shape (as seen in the image above). If it crumbles or won’t stick, add 3-4 sprays of rubbing alcohol from your spray bottle, mix well, and test again. Repeat until the mixture holds consistently. Remember, a little rubbing alcohol goes a long way, so be careful not to make the mixture too wet.
-
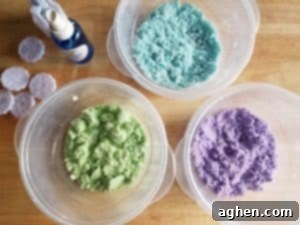
Step 6: Add Color and Essential Oils. Divide the mixture evenly into separate bowls for each color you wish to make. Add your chosen essential oil drops and mica powder pigment to each bowl, then whisk to combine thoroughly. Keep your spray bottle of rubbing alcohol nearby, as the mixture can dry out quickly, and you may need to add a spray or two as you work.
-
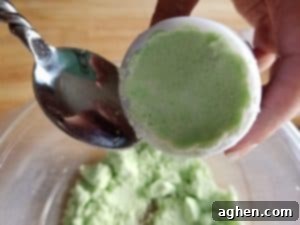
Step 7: Pack the Moon Press. Firmly pack the colored mixture into your moon press mold. Use the back of a spoon to press it down tightly, ensuring the mixture fills all the intricate design cavities. This firm packing is crucial for a well-formed bath bomb.
-
Step 8: Prepare for Release. Place the moon press firmly down onto a piece of parchment or wax paper. Press down once or twice more to further compact the mixture within the mold. This step helps create a denser, more stable bath bomb.
-
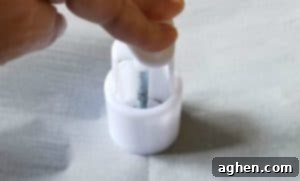
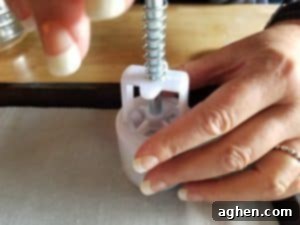
Step 9: Release the Bath Bomb. Hold the moon cake press approximately 1/2 inch above your prepared surface (parchment/wax paper, as shown in the photo). Carefully push down on the handle of the press. While maintaining pressure on the handle, slowly lift the entire press upwards to gently release the beautifully formed bath bomb onto the paper.
-
Step 10: Dry and Store. Allow your freshly pressed bath bombs to dry completely overnight (or for at least 8 hours) on a tray or plate lined with parchment paper. This curing time is crucial for them to harden properly. Once fully dry, transfer them to an airtight container for storage until you’re ready to use them. When it’s time for some relaxation and aromatherapy, simply drop one or two bath bombs into your warm bathwater and enjoy the luxurious fizz and fragrance!
Notes
- This bath bomb recipe is adaptable and will work beautifully with other types of molds, such as traditional spherical bath bomb molds or silicone molds, if you prefer not to use a moon cake press.
- Kaolin clay is a beneficial additive that serves to harden your bath bombs, making them more durable and less prone to breakage. It also aids in providing a smoother texture.
- Polysorbate 80 is an excellent optional ingredient that acts as an emulsifier. It helps to disperse the oils and mica powders throughout the bathwater, preventing them from floating on the surface or leaving a colored ring around your tub. It also enhances the bubbling action.
- Feel free to customize the fragrance of your bath bombs! We used a relaxing blend of Chamomile, uplifting Bergamot, and invigorating Eucalyptus essential oils, but you can choose any essential oils that appeal to you.
- The final number of bath bombs you’ll create will vary depending on the specific size and depth of the moon cake press or other molds you utilize, as well as how densely you pack the mixture.
Did You Make This Craft?
We’d love to see your beautiful creations! Share your moon cake press bath bombs with us on Instagram @crayonsandcravings and make sure to follow us on Pinterest @crayonsandcravings for even more inspiring DIY craft ideas and recipes!
Pin Craft
Leave A Review
