Soft, Sweet, and Irresistible: The Ultimate Italian Ricotta Cookies Recipe
There’s something truly magical about Italian ricotta cookies. They are the epitome of comfort and celebration, especially when the holidays roll around. Imagine a cookie that’s incredibly soft, almost like a delicate cake, bursting with a subtle sweetness, and crowned with a luscious glaze and vibrant sprinkles. These aren’t just cookies; they’re tiny morsels of joy that make any occasion feel extra special. Easy to whip up and destined to become the star of your Christmas cookie platter, these melt-in-your-mouth delights are an absolute must-try for any baking enthusiast.
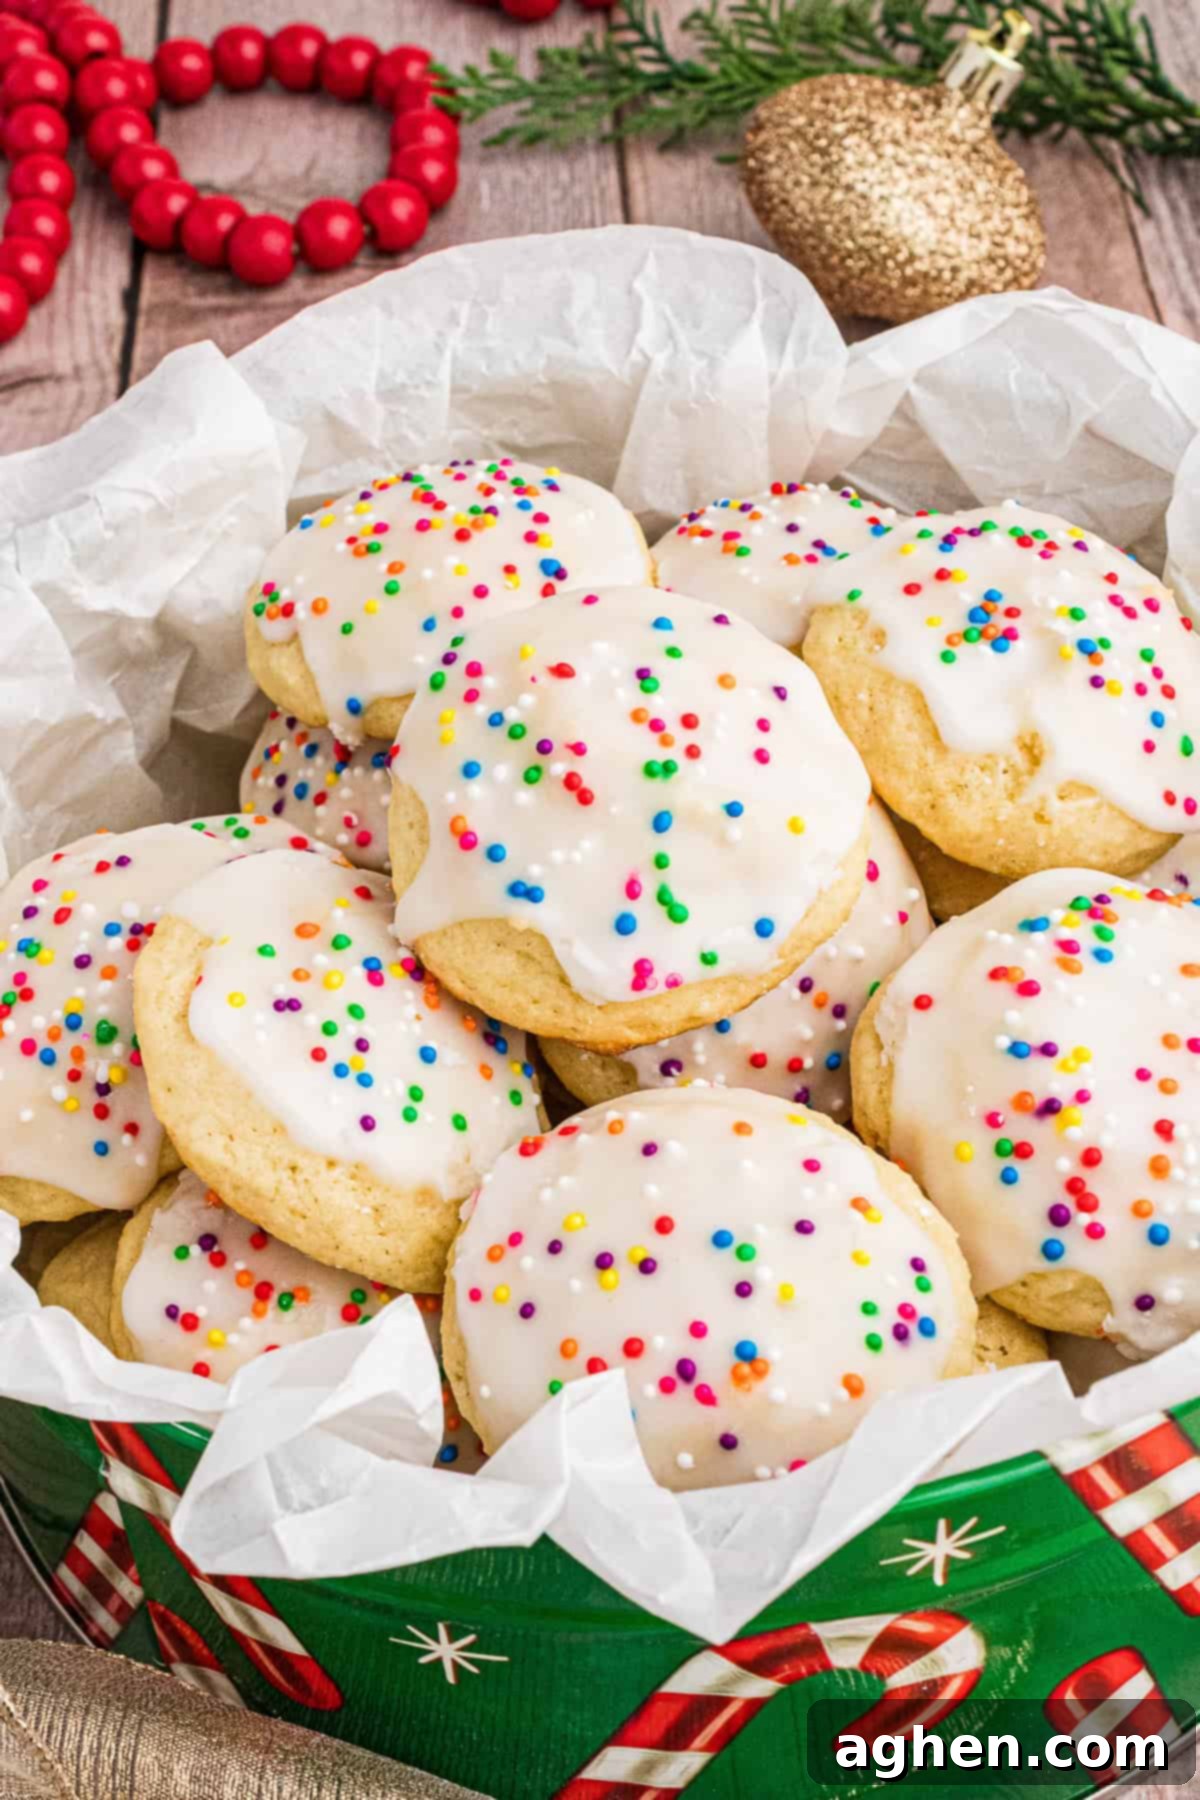
Much like my beloved Italian Anise Cookies, these ricotta cookies carry an Old-World charm that instantly transports you to a traditional Italian Christmas. Both recipes are fantastic for sharing with loved ones or for making a memorable impression at a holiday cookie exchange. This particular ricotta cookie recipe is incredibly generous, yielding a massive batch of six dozen cookies, making them truly perfect for sharing, gifting, or simply ensuring you have enough to last through the festive season.
The secret to their exquisite texture lies in the star ingredient: fresh ricotta cheese. It imbues these Italian cookies with an unparalleled moisture and tenderness, reminiscent of delightful cream cheese cookies. What’s even better is that the dough freezes exceptionally well, offering a wonderful advantage for busy holiday schedules. You can prepare it in advance, then bake fresh cookies whenever a craving strikes. Whether you’re honoring a cherished family tradition or eager to try a new, show-stopping dessert, this ricotta cookie recipe is guaranteed to be a sensational success and a family favorite for years to come!
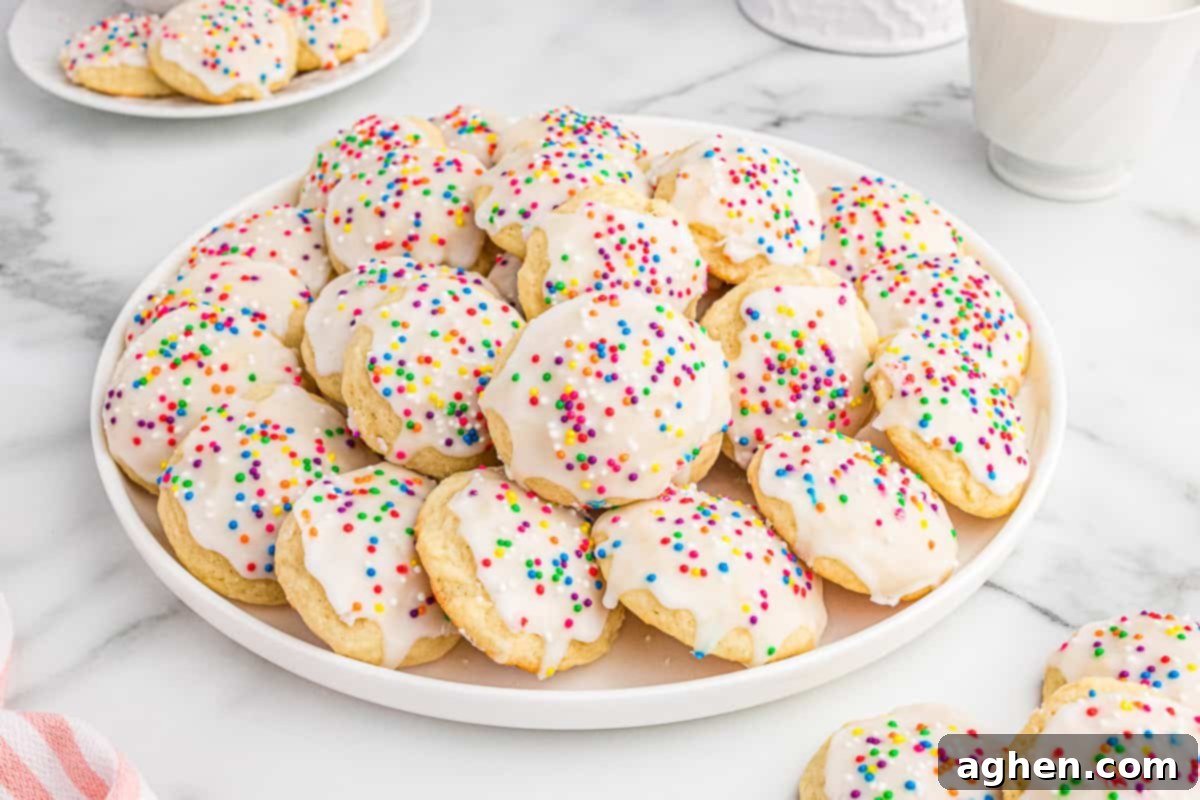
Why You’ll Fall in Love with This Italian Ricotta Cookie Recipe
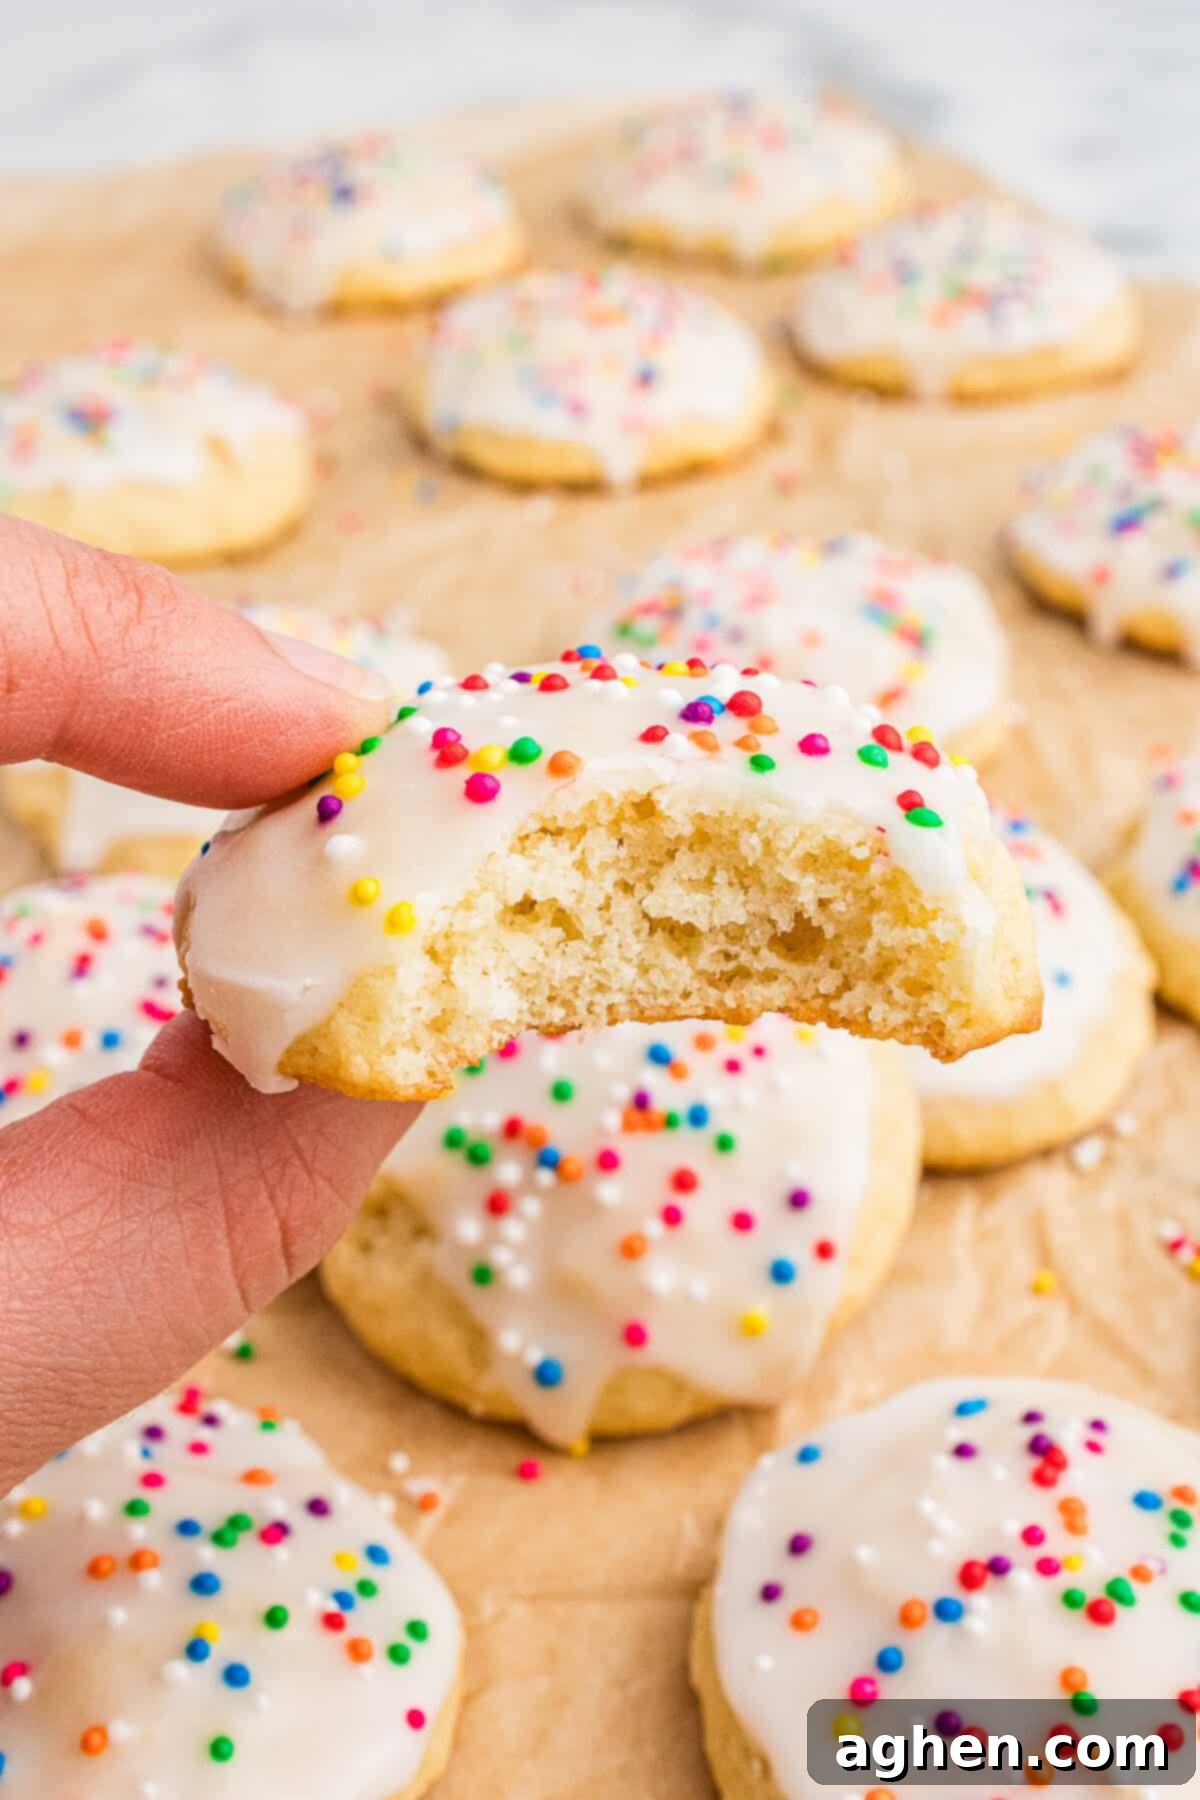
- Soft Cake-Like Texture: The fresh ricotta cheese is the magic ingredient here, ensuring these cookies are wonderfully moist and incredibly tender, almost like a miniature cake. They truly melt in your mouth with every bite.
- Delicious, Balanced Flavor: These cookies offer a sweet, simple, and utterly satisfying taste that appeals to everyone. Their delicate flavor makes them versatile enough for any celebration, from casual gatherings to elegant holiday feasts.
- Surprisingly Easy to Make: Don’t let their elegant appearance fool you! This recipe uses straightforward ingredients and requires no complicated rolling or cutting, making it accessible for bakers of all skill levels.
- Festive and Eye-Catching: The simple yet elegant glaze, coupled with a shower of colorful sprinkles, transforms these cookies into a visual delight. They instantly add a joyful and festive touch to any holiday dessert spread.
- Make-Ahead Friendly: Planning ahead for busy times is a breeze with this recipe. Both the cookie dough and the unglazed baked cookies freeze beautifully, allowing you to prepare them well in advance and enjoy fresh treats whenever you desire.
Essential Ingredient Notes for Perfect Ricotta Cookies
This section provides crucial ingredient notes and valuable substitution options to help you achieve the best possible results. For all precise measurements, ingredients list, and detailed instructions, please refer to the printable recipe card located at the very end of this comprehensive post.
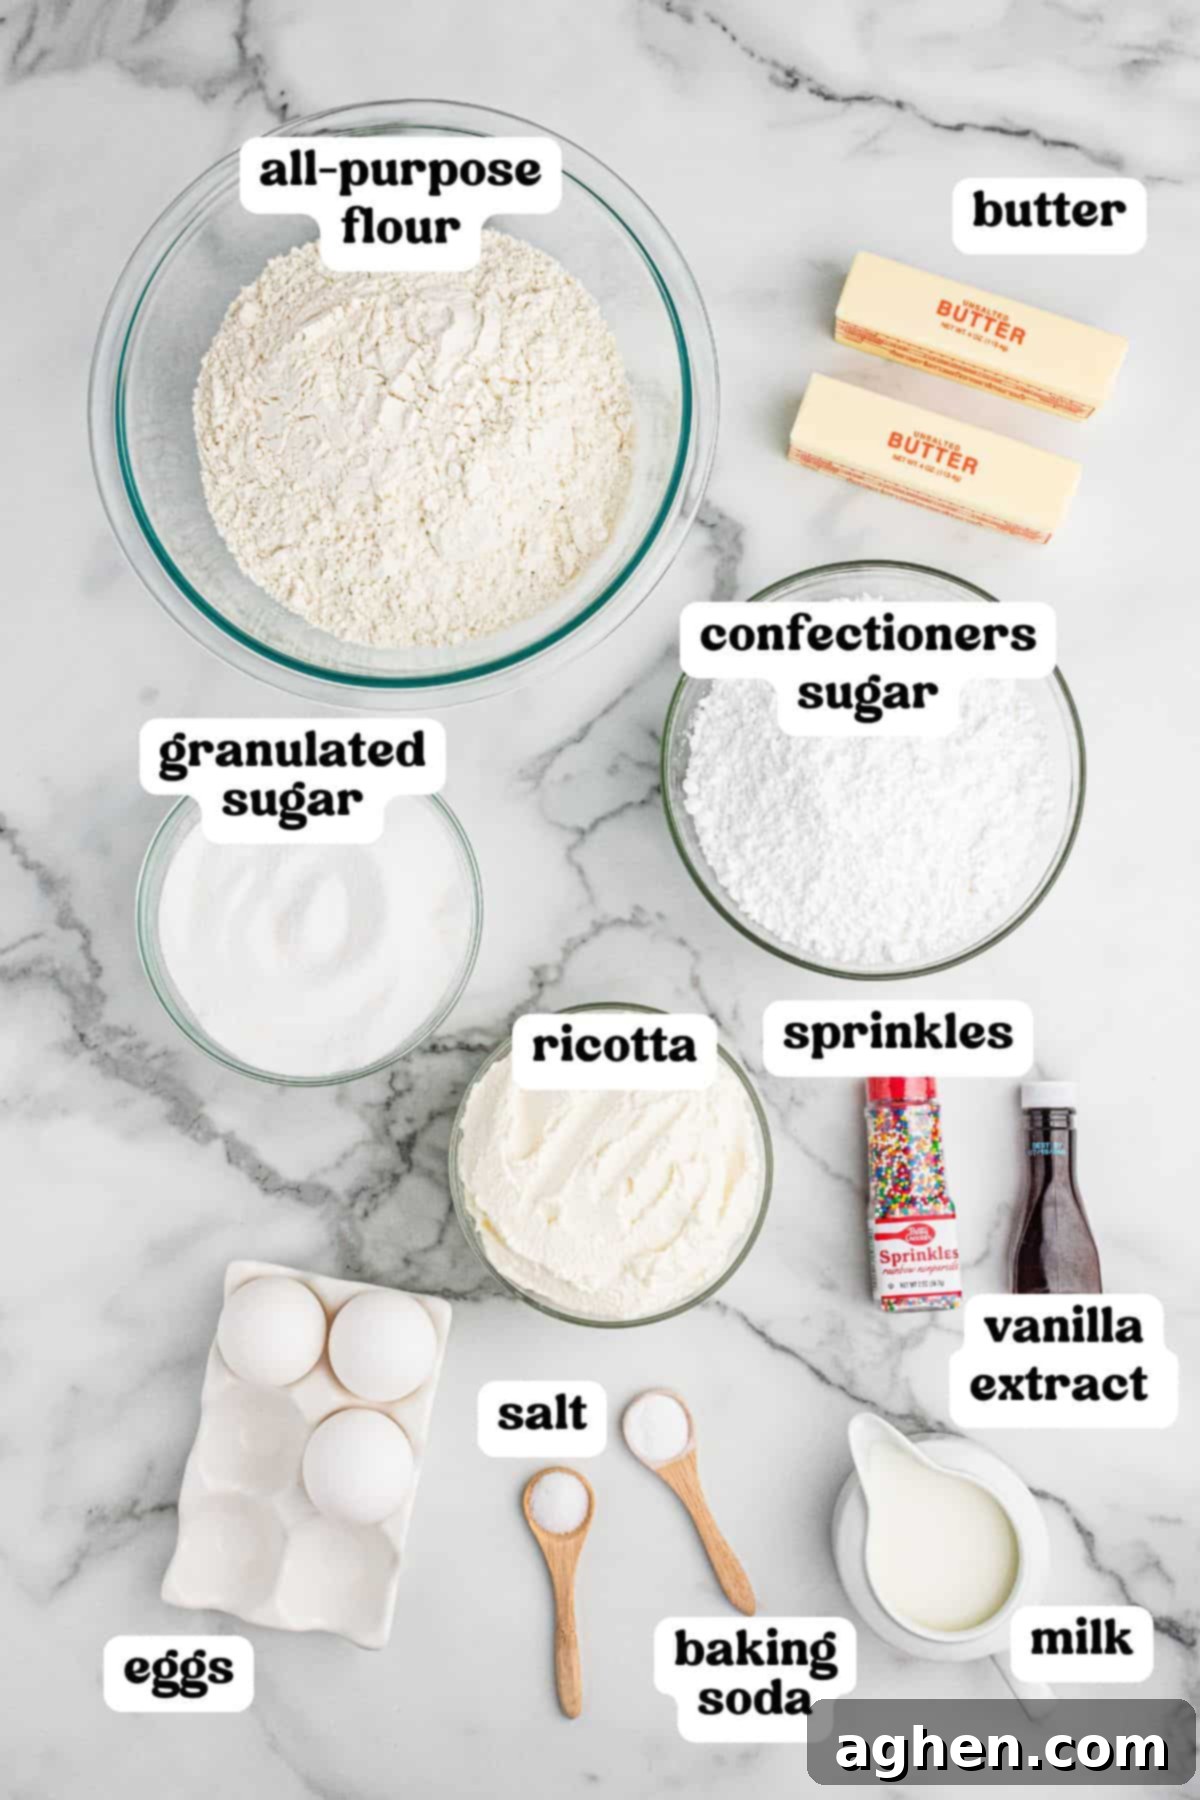
- Unsalted Butter: The temperature of your butter is key! Ensure it’s at room temperature (softened but not melted) for optimal creaming with the sugar. This step incorporates air, leading to a lighter, fluffier cookie. If you opt for salted butter, remember to omit the additional salt specified in the recipe to avoid an overly salty taste.
- Ricotta Cheese: For the most authentic flavor and incredibly tender texture, always choose whole milk ricotta cheese. Low-fat or watery ricotta varieties can drastically alter the consistency of your cookie dough, potentially making it too thin or less flavorful. Draining excess liquid from your ricotta beforehand can also be beneficial, especially if it appears particularly wet.
- Vanilla Extract: Vanilla is a fundamental flavor enhancer, adding a warm, sweet, and comforting aroma to your cookies. As with all baking, using pure vanilla extract will yield the richest and most authentic taste compared to artificial alternatives.
- All-Purpose Flour: Precise measurement of flour is critical. The best method is to lightly spoon the flour into your measuring cup and then level off the excess with a straight edge. Packing the flour into the cup or scooping directly from the bag can result in too much flour, leading to dense, dry cookies instead of the desired light and airy texture.
- Baking Soda: This leavening agent is essential for giving the cookies their characteristic rise and maintaining their light, fluffy internal structure. Always ensure your baking soda is fresh; stale baking soda will not activate properly, resulting in flat, heavy cookies. You can test its freshness by mixing a small amount with vinegar; if it fizzes, it’s good to go!
- Confectioners Sugar (for the Glaze): Also known as powdered sugar, this is the base for your smooth, sweet glaze. Sifting the confectioners sugar is highly recommended, especially if it has lumps, to guarantee a perfectly smooth, silky glaze free of any gritty texture.
- Milk: Used to achieve the ideal consistency for your glaze. Start with the recommended 4 tablespoons and gradually add more, just a teaspoon at a time, until the glaze reaches your desired pourable or spoonable thickness. Too much milk can make the glaze too runny, while too little will make it too thick.
- Rainbow Nonpareils: These classic, tiny round sprinkles provide a wonderful festive touch and a satisfying pop of color. While rainbow nonpareils are traditional, feel free to get creative and use holiday-themed sprinkles (like red and green for Christmas) or any colors that match your specific occasion or party theme.
Jaclyn’s Kitchen Faves: The Secret to Uniform Cookies
Achieving perfectly uniform cookies has never been easier, and it significantly streamlines the baking process! Using a cookie scoop ensures that every single cookie is the same size, which means they’ll bake evenly and look professionally made. I absolutely adore my set of three scoops; they’re incredibly versatile and perfect for making cookies of all sizes, from bite-sized delights to larger, more indulgent treats. This simple tool will elevate your baking game!
How to Bake Delightful Italian Ricotta Cookies: A Step-by-Step Guide
This section walks you through the entire baking process with helpful step-by-step photos and clear instructions, ensuring your Italian ricotta cookies turn out perfectly every time. For the full printable recipe, including detailed ingredient lists and nutrition facts, please consult the recipe card further below.
Step 1: Prepare Your Workspace. Begin by preheating your oven to 350°F (175°C). Line two large baking sheets with parchment paper, which prevents sticking and ensures easy cleanup. Set these prepared sheets aside while you mix the dough.
Step 2: Mix the Irresistible Batter. In a large mixing bowl, ideally using a stand mixer with a paddle attachment, cream together the room-temperature unsalted butter and granulated sugar until the mixture becomes visibly light and fluffy. This usually takes about 3-4 minutes, creating an airy base for your cookies. Next, incorporate the large eggs, adding them one at a time and mixing well after each addition until fully combined. Finally, gently stir in the whole milk ricotta cheese and pure vanilla extract until just blended. In a separate bowl, whisk together the all-purpose flour, baking soda, and salt. With your mixer on low speed, gradually add these dry ingredients to the wet mixture. Mix only until the ingredients are just combined and no streaks of flour remain, being careful not to overmix, which can lead to tough cookies.
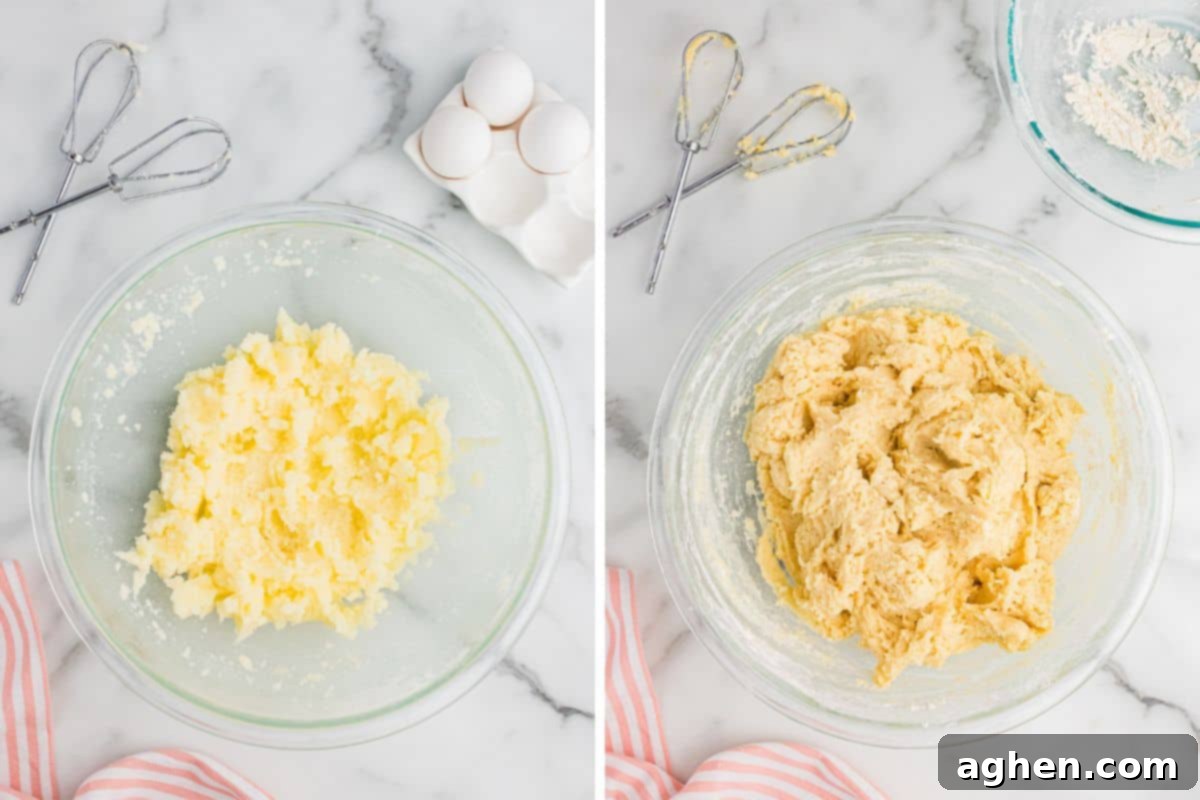
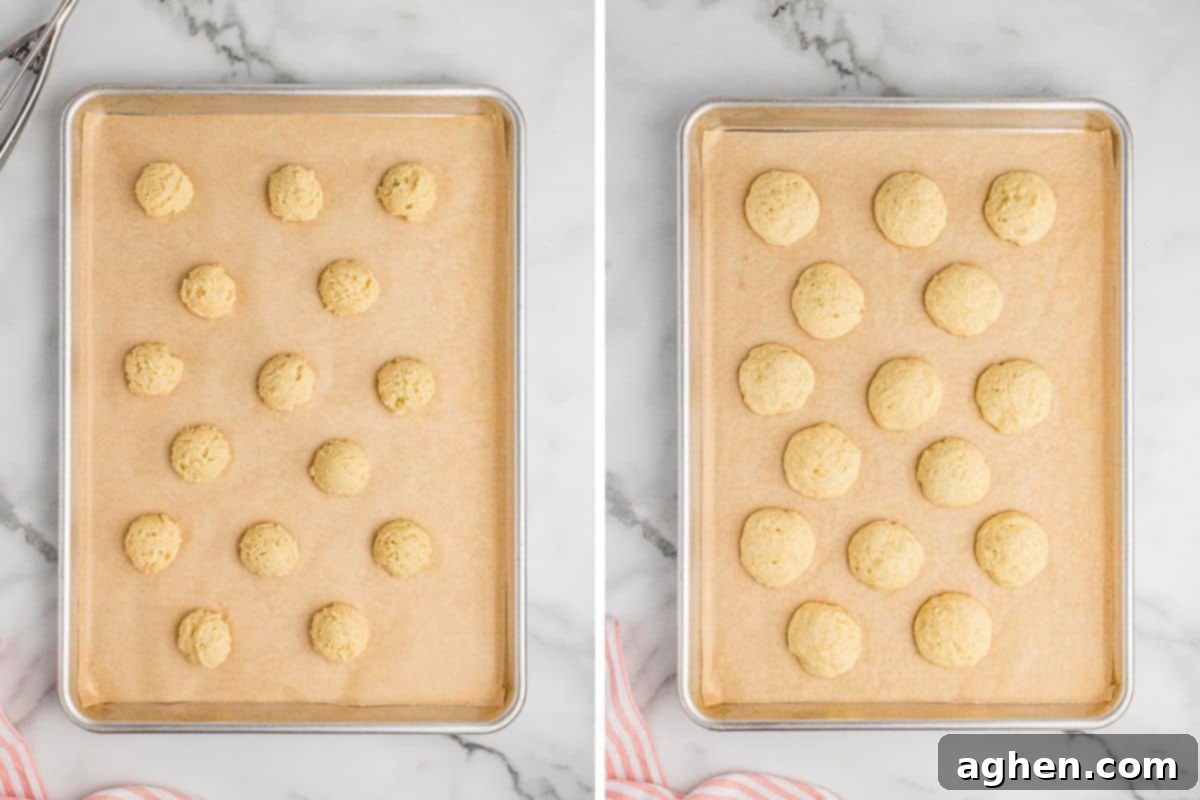
Step 3: Bake to Golden Perfection. Using a tablespoon or a #60 cookie scoop (as recommended in Jaclyn’s Kitchen Faves!), drop rounded spoonfuls of cookie dough onto your prepared baking sheets, ensuring they are spaced about 2 inches apart to allow for spreading. Bake in the preheated oven for 12-14 minutes. The cookies are ready when their tops appear set and the edges or bottoms are lightly golden brown. Be careful not to overbake, as this can dry them out. Once baked, let the cookies cool on the baking sheets for about 10 minutes before carefully transferring them to a wire rack to cool completely. Cooling thoroughly is essential before glazing.
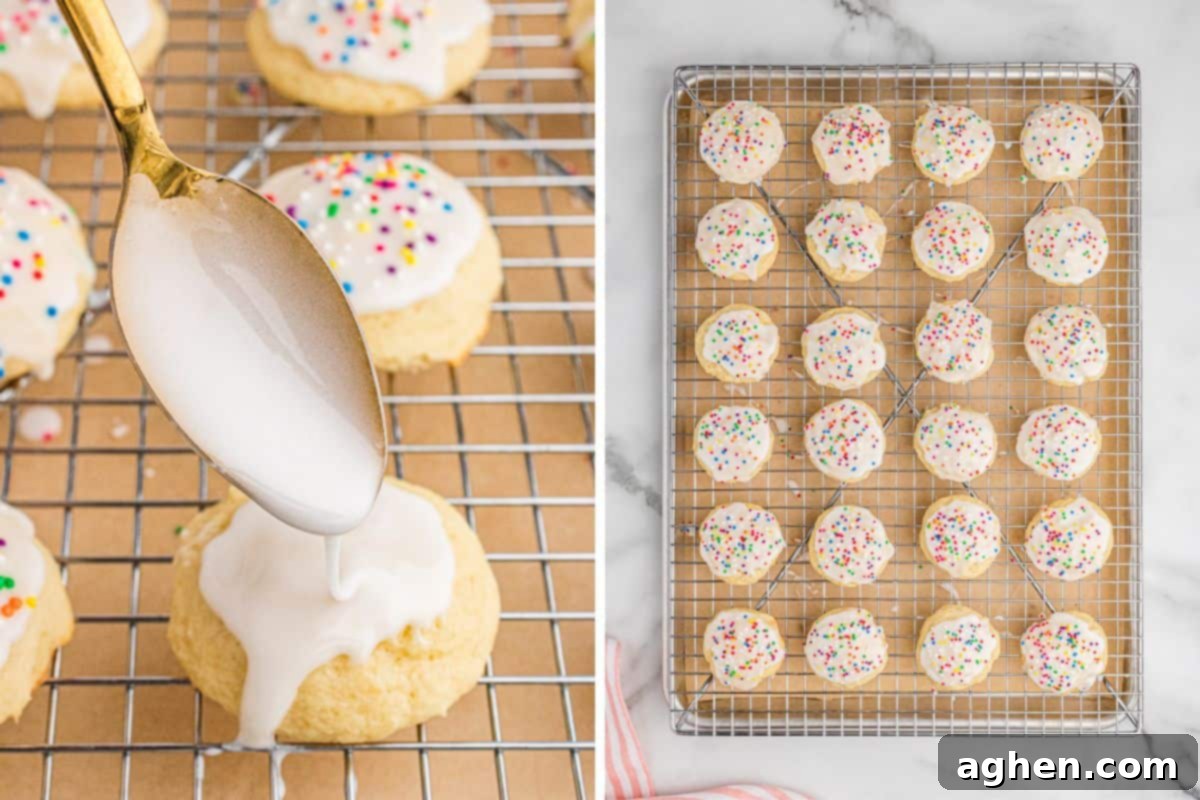
Step 4: Glaze and Decorate with Sprinkles. While your cookies cool, prepare the delightful glaze. In a medium bowl, whisk together the sifted confectioners sugar and 4 tablespoons of milk until smooth. If the glaze appears too thick, add additional milk, a teaspoon at a time, until you achieve a consistency that is easy to spoon or dip. Once the cookies are completely cool, spoon the glaze generously over each cookie. Immediately after glazing every two to three cookies, generously top them with your desired sprinkles, such as rainbow nonpareils. The glaze sets relatively quickly, so adding sprinkles promptly ensures they adhere beautifully. Allow the glaze to fully set before serving or storing your perfectly decorated Italian ricotta cookies.
Flexible Glazing Options for Your Ricotta Cookies
When it comes to glazing your Italian ricotta cookies, you have a couple of excellent methods to choose from, both yielding beautiful results. I personally find it easiest and enjoy the control of spooning the glaze over each cooled cookie. This allows for even coverage and helps manage the amount of glaze. However, if you prefer, dipping the top of each cooled cookie directly into the bowl of glaze works just as well and can be a faster method for larger batches. Simply choose the technique that feels most comfortable and efficient for you to create these perfectly coated treats!
Proper Storage for Your Italian Ricotta Cookies
Ensuring your delicious Italian ricotta cookies stay fresh and look their best is simple with these storage tips:
Room Temperature: Once glazed, these cookies can be stored in an airtight container at room temperature for up to 3 days. For optimal presentation, especially if you’re keen on keeping the sprinkles from bleeding their colors into the white glaze, it’s best to glaze them on the very day you plan to serve them. The moisture from the glaze can sometimes cause the colors to run over time.
Refrigerator: If you need to extend their freshness beyond a few days, store the unglazed cookies in an airtight container in the refrigerator. They will remain fresh for up to a week. Glaze them just before serving for the best texture and appearance.
Freezer: Both the uncooked cookie dough and the unglazed baked cookies are freezer-friendly, making this recipe excellent for meal prep. To freeze unglazed baked cookies, arrange them in a single layer on a baking sheet until solid. Once frozen, transfer them to a freezer bag or a freezer-safe container, separating layers with parchment or wax paper to prevent sticking. They can be stored for up to 3 months. When you’re ready to enjoy them, simply thaw the cookies at room temperature and then apply the glaze and sprinkles as directed.

Expert Tips for Crafting the Best Italian Ricotta Cookies
- Don’t overmix the dough: The key to soft, tender cookies is a light hand. Mix the dry ingredients into the wet ingredients only until they are just combined. Overmixing develops the gluten in the flour, resulting in a tougher, denser cookie texture, which is the opposite of what we want for these delicate ricotta delights.
- Drop cookies, not rolled: These Italian ricotta cookies are intentionally soft and moist, making them too delicate to be rolled by hand into balls. Instead, use a spoon or, ideally, a cookie scoop to drop uniform portions of dough onto your parchment-lined baking sheet. This ensures a consistent size and even baking.
- Chill the dough if too sticky: If you find your cookie dough is excessively sticky and difficult to scoop, don’t fret! Simply cover the bowl and refrigerate the dough for about 15 to 30 minutes. Chilling the dough will firm it up, making it much easier to handle and scoop neatly onto the baking sheets.
- Add sprinkles quickly: The sweet glaze for these cookies sets quite rapidly. To ensure your festive sprinkles adhere beautifully and don’t just roll off, make sure to add them immediately after glazing every 2-3 cookies. Work efficiently to capture that perfect sprinkle-to-glaze bond.
- Prevent sprinkles from bleeding: For the most vibrant and pristine appearance, especially if you’re preparing them for a special event or gift-giving, it’s best to glaze and sprinkle your cookies on the same day you plan to serve them. This minimizes the chance of the sprinkle colors bleeding into the white glaze due to moisture over time.
Exciting Variations to Elevate Your Ricotta Cookies
While the classic Italian ricotta cookie is perfect as is, these variations allow you to customize the flavor profile to suit any taste or season, adding a delightful twist to this beloved treat:
- Lemon Ricotta Cookies: For a bright and zesty twist, incorporate 1-2 teaspoons of finely grated lemon zest directly into the cookie dough. The citrusy aroma and flavor will beautifully complement the creamy ricotta, creating a refreshing version of this classic.
- Tangy Lemon Glaze: To intensify the lemon experience, substitute the milk in your glaze recipe with fresh lemon juice. This simple swap delivers a vibrant, tangy burst of lemon flavor that balances the cookie’s sweetness perfectly.
- Nutty Almond Extract: For those who appreciate a richer, nutty undertone, replace 1 teaspoon of vanilla extract with almond extract in the cookie dough. Almond extract adds a sophisticated depth of flavor that is often found in traditional Italian pastries.
- Chocolate Chip Ricotta Cookies: A fun and universally loved variation! Gently stir about 1/2 cup of mini chocolate chips into the cookie dough just before scooping. The melting chocolate will add pockets of gooey sweetness, creating a comforting and familiar favorite.
- Custom Holiday Sprinkles: Beyond the classic rainbow nonpareils, customize your cookies for any holiday or occasion. Use festive red and green sprinkles for Christmas, pastels for Easter, or school colors for a graduation party. The visual appeal is endless!
More Italian-Inspired Desserts You’ll Adore
If you’ve fallen in love with these Italian ricotta cookies, you’ll definitely want to explore more delicious treats inspired by Italian culinary traditions. Here are a few more recipes to satisfy your sweet tooth:
- Easy Ricotta Cake with Cake Mix: A simple yet elegant cake that’s incredibly moist thanks to ricotta cheese, perfect for any occasion.
- Soft Italian Almond Amaretti Cookies: Delicate and chewy, these almond-flavored cookies are a classic Italian treat, ideal for pairing with coffee or after-dinner drinks.
- Delectable Cannoli Dip: All the irresistible flavors of traditional cannoli filling in a fun, dippable form, perfect for entertaining and a true crowd-pleaser.
Italian Ricotta Cookies
Author: Jaclyn
30 minutes
12 minutes
42 minutes
72
cookies
Saved!
Ingredients
Cookies
-
1
cup
unsalted butter
room temperature -
2
cups
granulated sugar -
3
large eggs
room temperature -
15
ounces
whole-milk ricotta cheese -
3
teaspoons
vanilla extract -
4
cups
all-purpose flour -
1
teaspoon
baking soda -
1
teaspoon
salt
Glaze
-
3 ½
cups
confectioners sugar -
4-7
Tablespoons
milk -
rainbow nonpareils
Instructions
For the cookies
-
Preheat the oven to 350°F. Line baking sheets with parchment paper and set aside.
-
In the bowl of a stand mixer fitted with the paddle attachment, or using a hand mixer and a large bowl, cream butter and sugar until light and fluffy, about 3-4 minutes.
-
Beat in the eggs, one at a time.
-
Mix in the ricotta and vanilla extract. Set aside.
-
In a large mixing bowl, whisk to combine the flour, baking soda, and salt.
-
With the mixer on low speed, gradually add the dry ingredients to the wet ingredients, mixing until just combined.
-
Scoop by the Tablespoon (or use a #60 cookie scoop) on to lined pans 2 inches apart.
-
Bake for 12-14 minutes or until the tops are set and the bottoms are light golden brown.
-
Allow cookies to cool for about 10 minutes on the baking sheets before transferring to a wire rack to cool completely.
For the glaze
-
In a medium bowl, whisk to combine powdered sugar and 4 Tablespoons milk. If too thick, add additional milk a little bit at a time until the desired consistency is achieved.
-
Spoon the glaze over the cooled cookies and top with sprinkles. Glaze sets quickly so add sprinkles after glazing every couple cookies. Allow glaze to set before serving or storing.
Notes
Chill Dough: If the dough is too sticky to drop, refrigerate for 15-30 minutes.
Storage: Store glazed cookies in an airtight container at room temperature for up to 3 days, in the fridge for up to 1 week, or freeze unglazed cookies for up to 3 months.
Prevent Sprinkles from Bleeding: For best presentation, glaze and sprinkle cookies the day of serving.
Nutrition
Calories:
106
kcal
|
Carbohydrates:
17
g
|
Protein:
2
g
|
Fat:
4
g
|
Saturated Fat:
2
g
|
Polyunsaturated Fat:
0.2
g
|
Monounsaturated Fat:
1
g
|
Trans Fat:
0.1
g
|
Cholesterol:
17
mg
|
Sodium:
56
mg
|
Potassium:
19
mg
|
Fiber:
0.2
g
|
Sugar:
11
g
|
Vitamin A:
116
IU
|
Vitamin C:
0.002
mg
|
Calcium:
16
mg
|
Iron:
0.4
mg

Did You Make This Recipe?
Share it with me on Instagram @crayonsandcravings and follow on Pinterest @crayonsandcravings for even more!
Pin Recipe
Leave A Review
