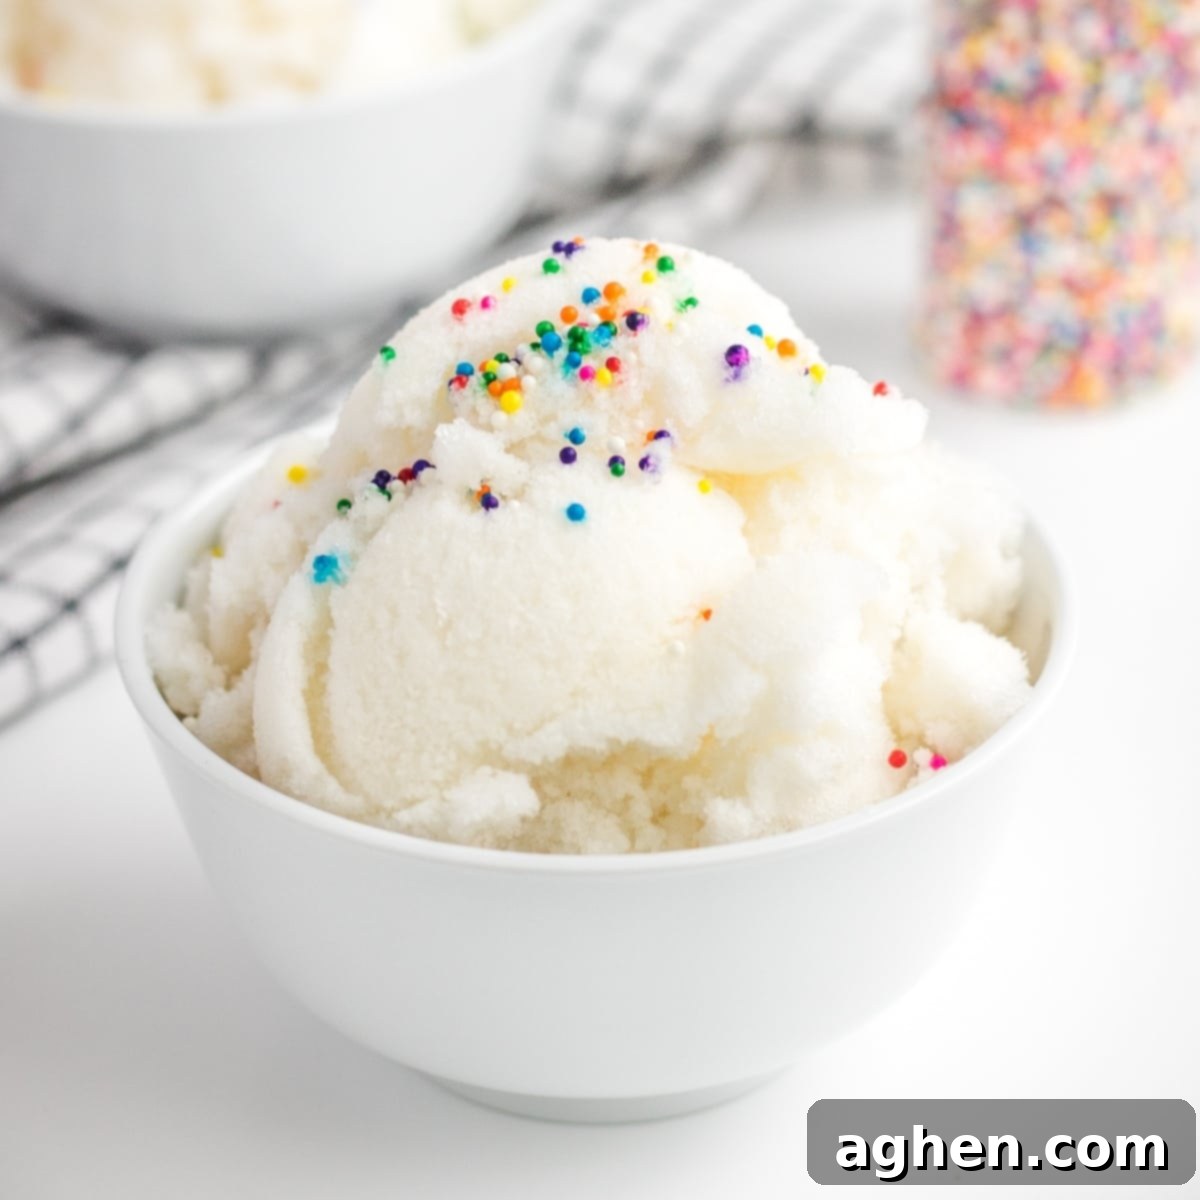
The Ultimate Guide to Making Easy Homemade Snow Ice Cream: A Fun Winter Treat for All Ages
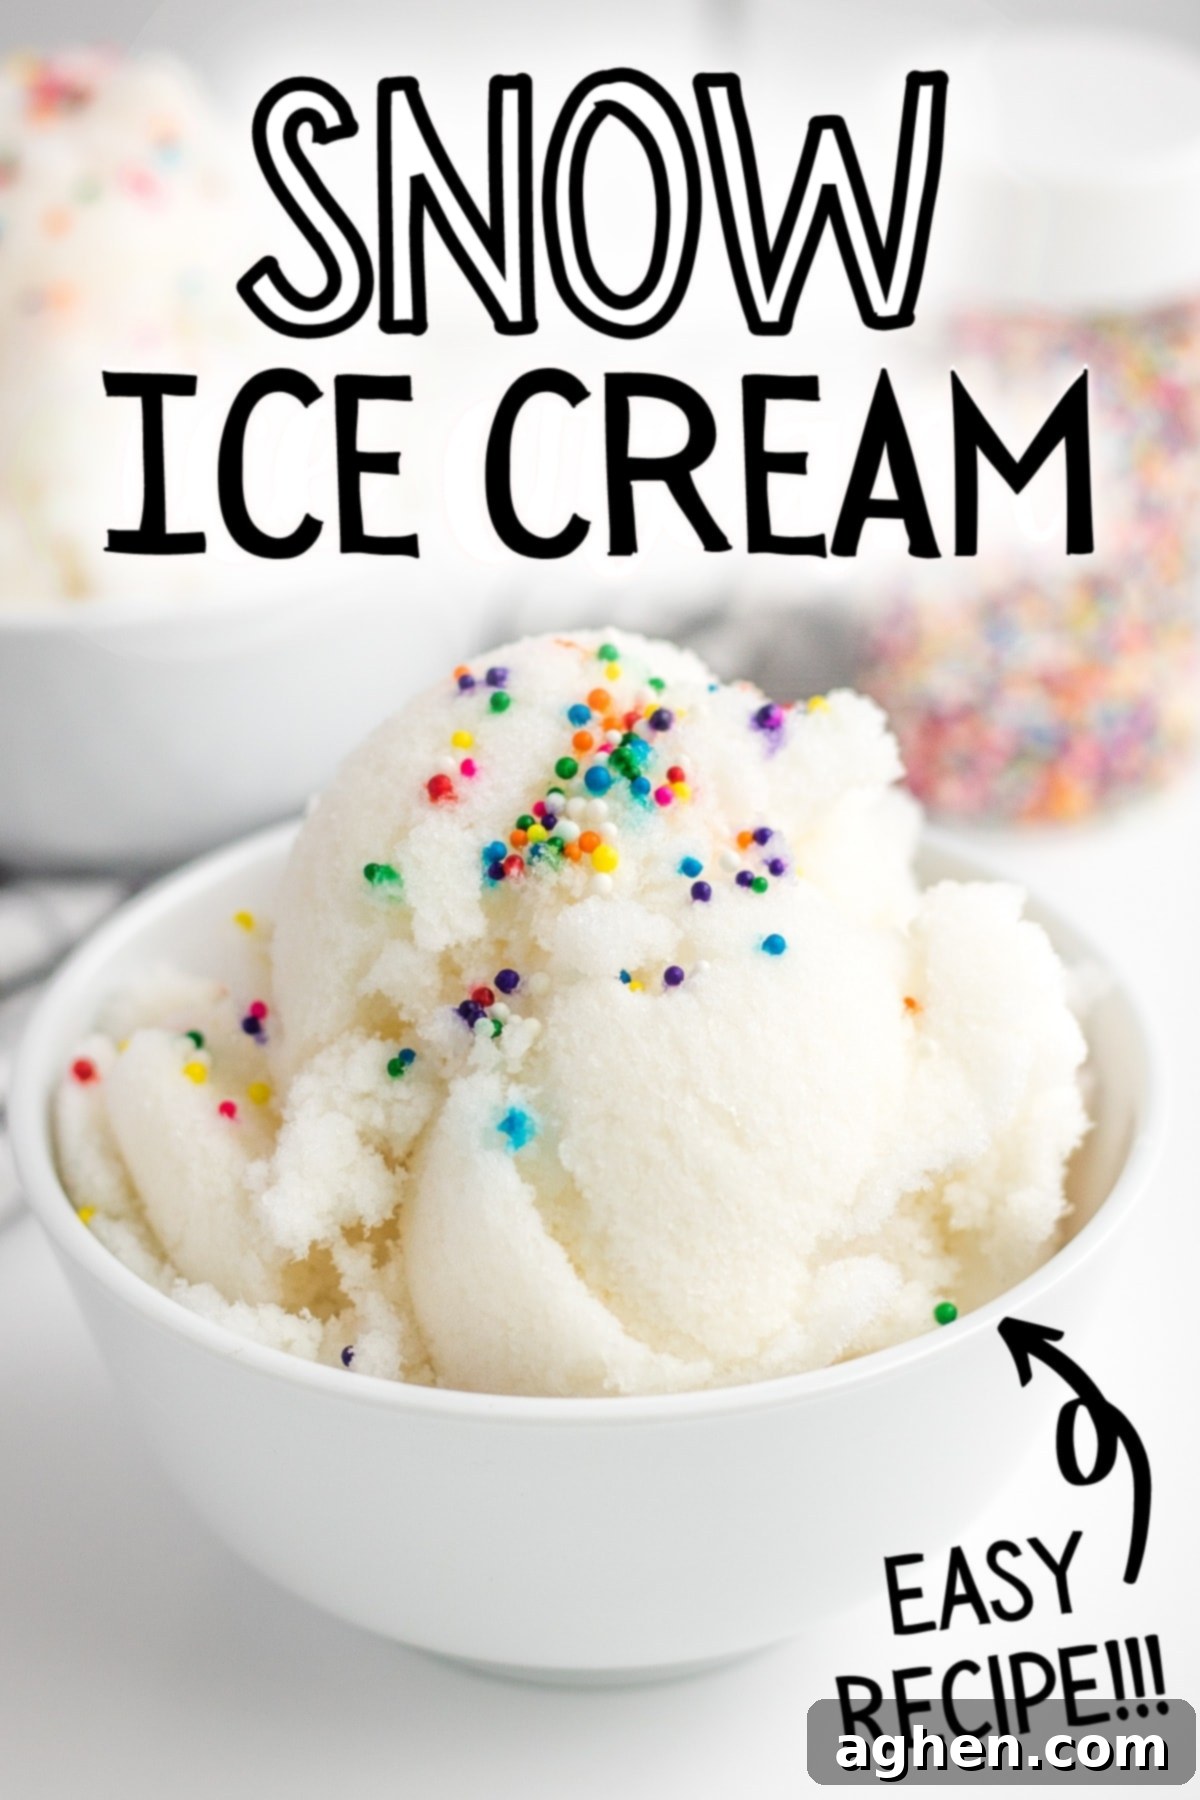
There’s nothing quite like a fresh blanket of snow to transform a winter day into a magical wonderland. And what better way to celebrate a snowy day than by whipping up a delightful, creamy treat directly from nature’s bounty? This easy snow ice cream recipe is a cherished childhood favorite, bringing joy to both kids and adults alike. Made with just a few simple ingredients – fresh snow, whole milk, sugar, vanilla, and a hint of salt – it’s a quick, fun, and delicious activity perfect for those cozy days indoors when the snow is piled high outside.
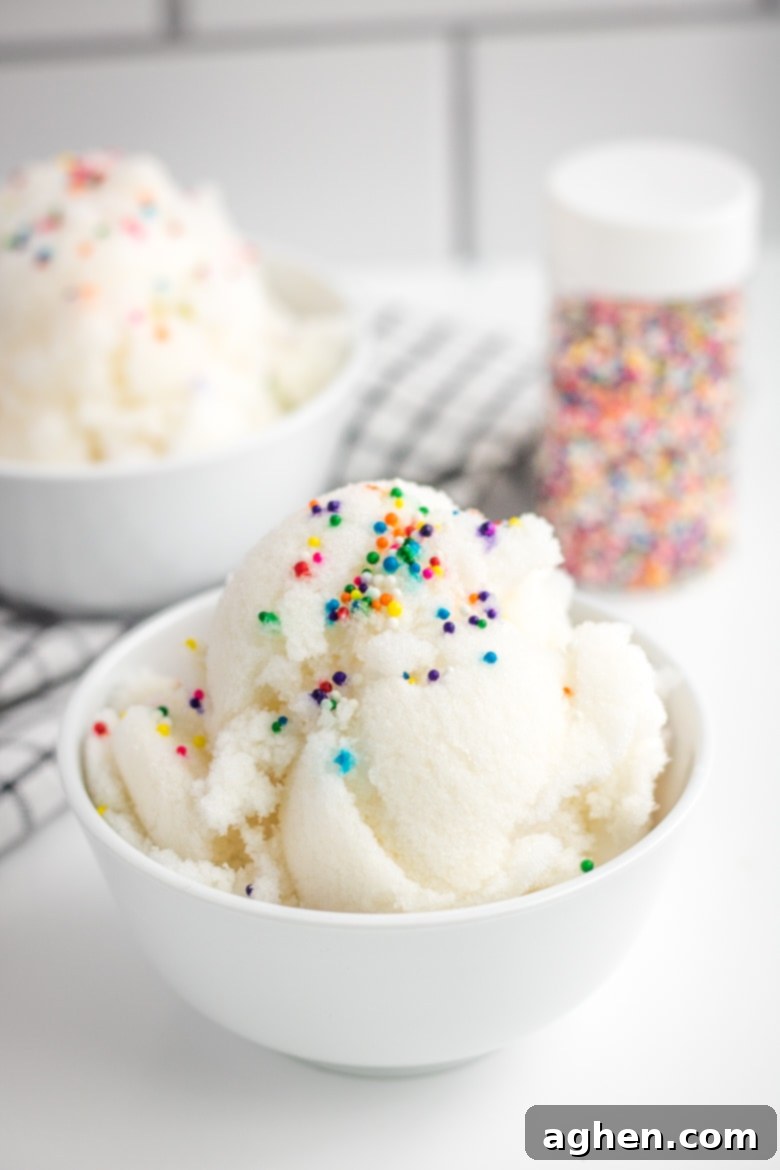
Just recently, our corner of Western New Jersey was blessed with an impressive two feet of snow. Seeing all that pristine, freshly fallen snow immediately transported me back to my own childhood winters. One of my fondest memories was always heading outside with a big bowl, collecting snow, and turning it into a sweet, icy treat with my family. This year, I couldn’t resist sharing this nostalgic tradition with my own 3-year-old son, and it was every bit as wonderful as I remembered.
Why This Milk-Based Snow Ice Cream Recipe is a Must-Try
Many popular snow ice cream recipes call for ingredients like sweetened condensed milk or evaporated milk. While those certainly work, this particular recipe stands out because it uses regular milk. Why is that a game-changer? Simply put, during a snowstorm or a spontaneous snow day, you’re far more likely to have a carton of fresh milk in your fridge than canned milk products in your pantry. Making a last-minute trip to the grocery store when the roads are covered in snow is hardly ideal, and this recipe ensures you can enjoy a delicious treat without any extra hassle.
Using regular milk also gives you more control over the sweetness and richness, allowing you to tailor the snow ice cream perfectly to your taste. It results in a lighter, yet still incredibly creamy, texture that’s reminiscent of soft-serve ice cream or a delightful snow cone. However, if you do prefer the richer consistency that sweetened condensed milk or evaporated milk offers, don’t worry – we’ll also cover how to easily adapt this recipe further down in the post.
This recipe is not just about convenience; it’s about embracing the simplicity and magic of a snow day. It’s an interactive and engaging activity that creates lasting memories. Imagine the joy of collecting the snow, mixing the ingredients, and watching as it magically transforms into a delicious dessert right before your eyes. It’s perfect for engaging little ones in the kitchen and turning an ordinary winter afternoon into an extraordinary culinary adventure.
Gather Your Ingredients and Supplies
Before you dash out to collect your snow, make sure you have all your ingredients and kitchen tools ready to go. This ensures the snow stays as cold and fluffy as possible, leading to the best ice cream consistency.
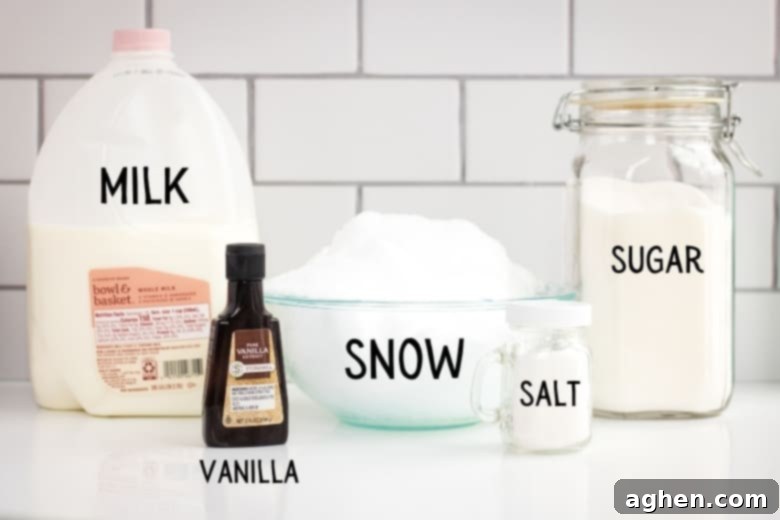
Essential Ingredients:
- Milk: We typically use whole milk for its rich, creamy texture, which translates beautifully into snow ice cream. However, feel free to use whatever milk you have on hand – 2%, 1%, or even skim milk will work, though the final product might be slightly less creamy. For a dairy-free option, you can experiment with almond, oat, or soy milk (see variations below).
- Vanilla Extract: Pure vanilla extract is key for that classic, comforting ice cream flavor. Don’t skimp on quality here; a good vanilla can make all the difference.
- Fresh Snow: This is the star of the show! It’s crucial to use clean, freshly fallen snow. More on how to safely collect snow below.
- Salt: Just a pinch of salt helps to balance the sweetness and actually enhances all the other flavors, making them pop.
- Granulated Sugar: Regular white granulated sugar is perfect for this recipe. You can adjust the amount to your preferred sweetness level.
- Sprinkles (Optional, but highly recommended!): What’s ice cream without sprinkles? They add a burst of color and a touch of extra fun, especially for kids.
Pro Tip: To get the best results, have your mixing bowl and all your liquid ingredients (milk, sugar, vanilla, salt) pre-measured and thoroughly whisked together *before* you even step outside to collect the snow. This minimizes the time the snow spends at room temperature, helping it stay cold and preventing it from melting too quickly. A colder base mixture will result in a firmer, more ice cream-like consistency.
Kitchen Supplies You’ll Need:
- Large Mixing Bowl: For combining the snow and the liquid mixture.
- Medium Mixing Bowl: To whisk together your milk, sugar, vanilla, and salt.
- Whisk: Essential for thoroughly combining your liquid ingredients.
- Spoon or Spatula: For stirring the snow into the mixture and serving.
- Measuring Cups and Spoons: For accurate ingredient measurement.
How to Make Snow Ice Cream with Whole Milk: Step-by-Step
This recipe is incredibly straightforward, making it perfect for novice cooks and little helpers.
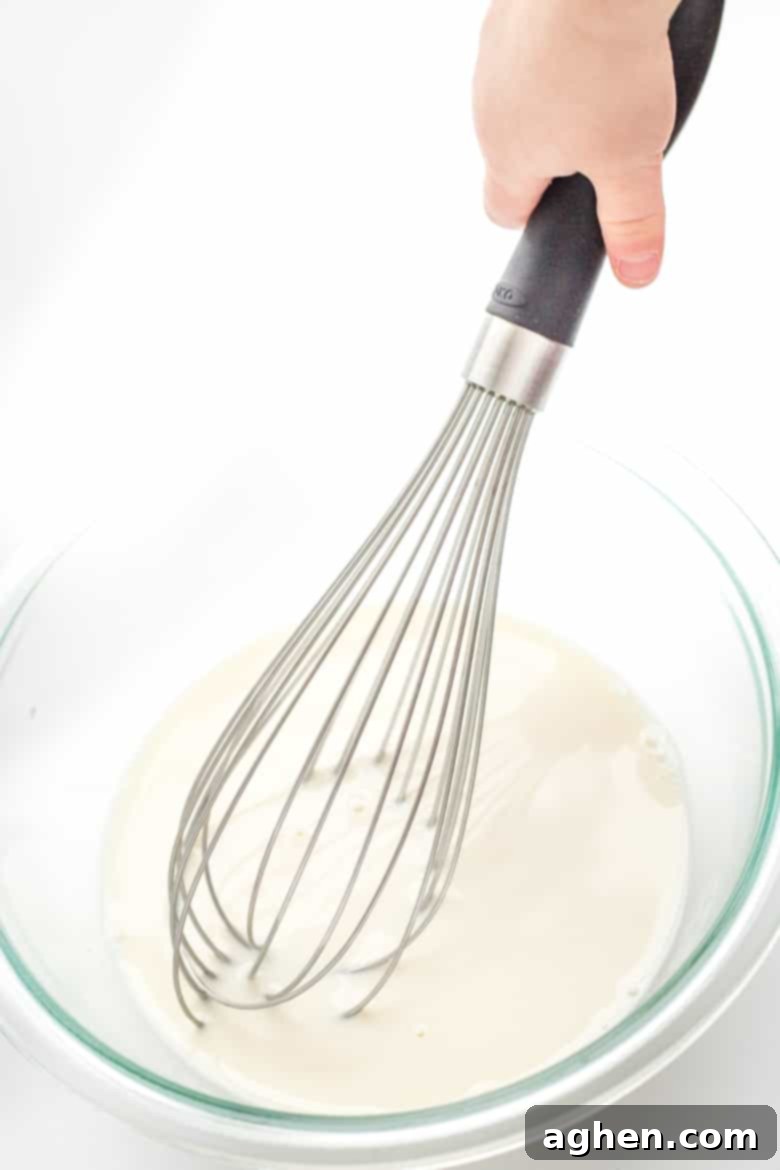
- Prepare the Liquid Base: In your medium mixing bowl, combine the milk, granulated sugar, vanilla extract, and a pinch of salt. Whisk vigorously until the sugar is completely dissolved. This ensures your ice cream won’t be grainy.
- Collect Your Snow: Once your liquid base is ready, head outside with your large mixing bowl and scoop up about 8 cups of fresh, clean snow. Remember our important note on snow safety below!
- Combine and Stir: Bring the snow inside immediately. Pour the whisked milk mixture evenly over the collected snow in the large bowl.
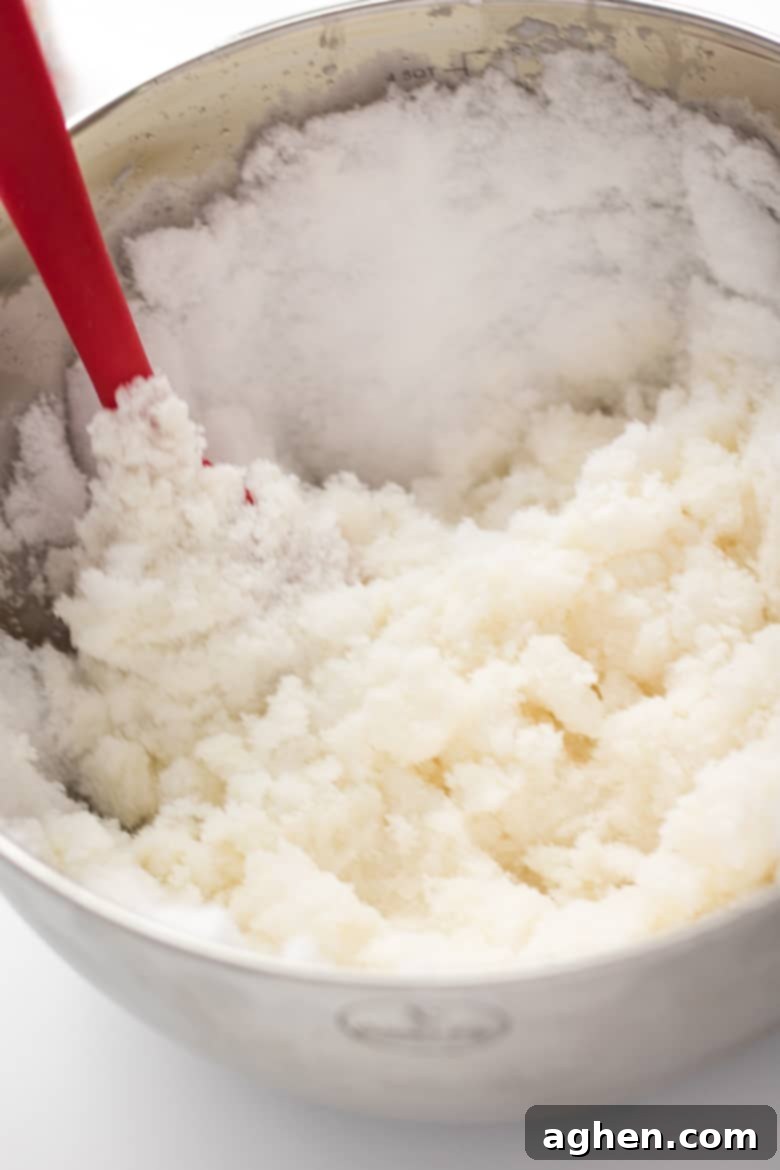
- Mix to Perfection: Using a sturdy spoon or spatula, gently yet thoroughly stir the milk mixture into the snow. Keep mixing until the snow has absorbed the liquid and transformed into a soft, creamy, ice cream-like consistency.
- Adjust Consistency (if needed): The amount of snow required can vary significantly based on its consistency. Light, fluffy snow, fresh off a cold day, will require more volume than dense, wet snow. If your mixture seems too thin, gradually add 1-2 more cups of snow, stirring well after each addition, until you reach your desired creamy texture. If it’s too thick, a tiny splash more milk can loosen it up.
- Serve Immediately: Scoop the freshly made snow ice cream into individual bowls. Top with your favorite sprinkles, chocolate syrup, or other fun toppings, and enjoy this delightful winter treat right away!
Snow Ice Cream Variations and Dairy-Free Options
While our base recipe is fantastic, there are many ways to customize your snow ice cream to suit different tastes and dietary needs.
Using Canned Milks:
- Sweetened Condensed Milk: If you prefer a richer, denser, and sweeter snow ice cream, you can substitute the regular milk and granulated sugar with one 14-ounce can of sweetened condensed milk. Simply whisk the condensed milk with the vanilla extract and salt, then pour over the snow and stir. No additional sugar is needed as condensed milk is already heavily sweetened. This version is incredibly decadent!
- Evaporated Milk: For a creamy texture without the added sweetness of condensed milk, use a 12-ounce can of evaporated milk in place of regular milk. You will still need to add the granulated sugar, vanilla, and salt as directed in the original recipe. This provides a rich base but allows you to control the sugar level.
Dairy-Free Snow Ice Cream:
- Sweetened Condensed Coconut Milk: To make a delicious dairy-free snow ice cream, substitute the regular milk and sugar with one can of sweetened condensed coconut milk. This alternative offers a lovely tropical hint and a rich, creamy texture. Just like with regular sweetened condensed milk, you won’t need to add extra sugar.
- Other Dairy-Free Milks: You can also use unsweetened almond milk, oat milk, or soy milk. In this case, simply follow the original recipe, replacing dairy milk with your preferred plant-based milk. Be sure to use the granulated sugar, vanilla, and salt as directed. The final consistency might be slightly less creamy than with whole milk, but it will still be a delightful treat.
Flavor Enhancements:
- Chocolate Snow Ice Cream: Whisk in 2-3 tablespoons of unsweetened cocoa powder into your liquid base before combining with the snow.
- Mint Snow Ice Cream: Add ½ teaspoon of peppermint extract along with the vanilla extract for a refreshing twist. A drop of green food coloring can make it visually appealing too!
- Coffee Snow Ice Cream: Dissolve 1-2 teaspoons of instant coffee or espresso powder in a tablespoon of hot water, then add it to your liquid base.
- Fruit Flavors: You can blend in a tablespoon or two of fruit purees (like strawberry or raspberry) into the milk mixture for a fruity snow ice cream.
- Nutty Flavors: A few drops of almond extract or a swirl of peanut butter can add interesting dimensions.
Topping Ideas:
Beyond sprinkles, unleash your creativity with toppings:
- Chocolate syrup or caramel sauce
- Whipped cream
- Chopped nuts (pecans, walnuts)
- Mini chocolate chips
- Fresh berries
- Gummy bears or other small candies
- Shredded coconut
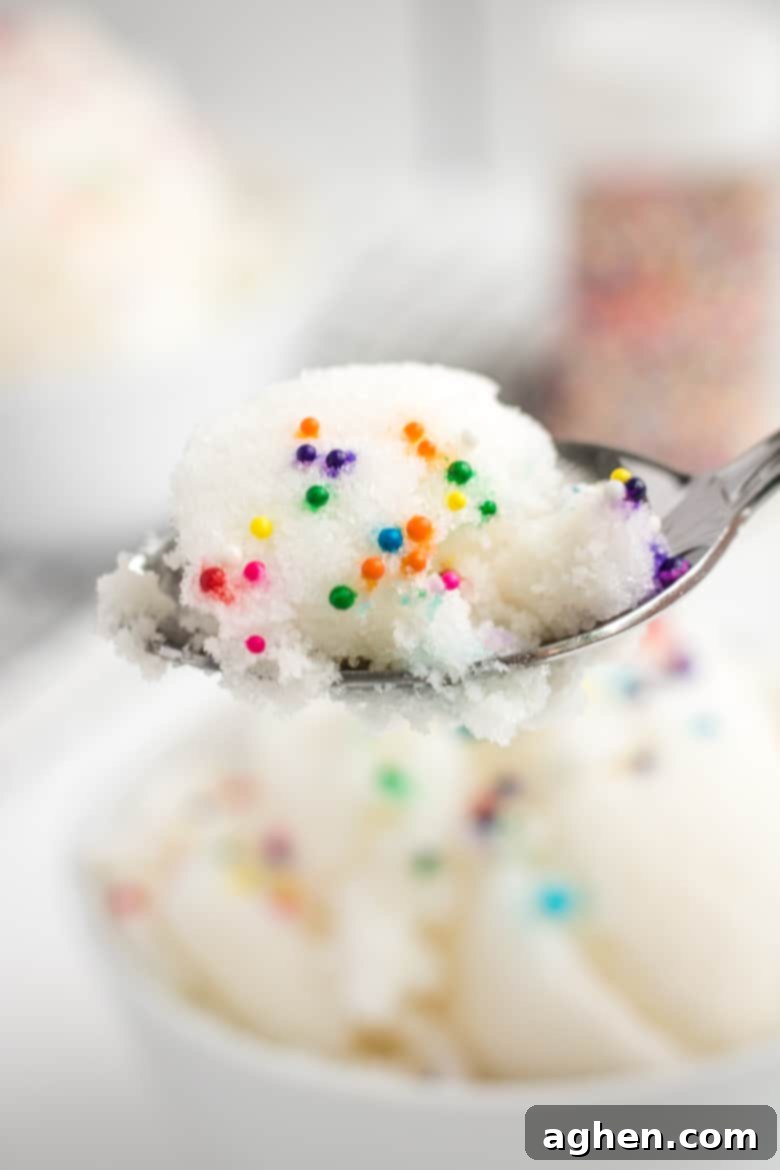
We truly hope that you and your family enjoy this sweet and simple snow day treat! It’s a wonderful way to connect with nature and create beautiful memories during the winter season.
Important Note: Snow Safety and Consumption
While making snow ice cream is a cherished tradition for many, it’s crucial to exercise caution and prioritize safety when consuming snow. Snow is essentially frozen water, but it can accumulate impurities as it falls and sits on the ground. When collecting snow for consumption, please keep the following in mind:
- Freshly Fallen is Best: Always use snow that has fallen very recently, ideally within a few hours. This minimizes the time it has had to pick up environmental contaminants.
- Choose Clean Locations: Collect snow from an area that is visibly clean and untouched. Avoid snow that is:
- Near roads or driveways, as it can contain vehicle exhaust, salt, and other chemicals.
- Underneath trees, which may drop debris, sap, or animal droppings.
- From rooftops, as it can contain roofing materials, moss, or bird droppings.
- Discolored or has visible dirt, debris, or footprints.
- Top Layer Only: Scoop only the very top, pristine layer of snow, leaving any potentially dirtier layers beneath.
- Understand the Risks: Despite precautions, snow can still contain microscopic pollutants, bacteria, or other substances from the air or ground. Therefore, consuming snow ice cream, or snow in general, is done at your own discretion and risk. If you have concerns about air quality in your area, or if the snow doesn’t appear perfectly clean, it’s best to err on the side of caution.
I am personally comfortable consuming snow ice cream and serving it to my family, but I want to ensure everyone understands the considerations involved. Prioritize a safe and enjoyable experience for everyone!
More Delicious Homemade Ice Cream Recipes
If you loved this fun snow ice cream, be sure to check out these other easy homemade ice cream recipes that you can enjoy any time of year, no snow required!
- Mason Jar Ice Cream: A super simple no-churn method perfect for individual servings.
- No-Churn Chocolate Ice Cream: Rich, creamy chocolate goodness without an ice cream maker.
- Bubblegum Ice Cream: A vibrant, fun flavor that kids especially adore.
Classic Snow Ice Cream
Author: Jaclyn
Ingredients
- 1 cup whole milk
- ½ cup granulated sugar
- 1 teaspoon pure vanilla extract
- pinch of salt
- 8-10 cups fresh clean snow
- sprinkles optional, for garnish
Instructions
-
In a medium-size bowl, whisk together the milk, sugar, vanilla extract, and salt until the sugar is fully dissolved.
-
Add 8 cups of fresh, clean snow to a large bowl. Pour the prepared milk mixture over the snow and stir immediately to combine. Continue stirring until it reaches a soft, creamy ice cream consistency. If needed, gradually stir in up to 2 additional cups of snow to achieve your desired thickness.
-
Scoop the snow ice cream into individual bowls, add sprinkles or your favorite toppings, and enjoy immediately!
Notes

Did You Make This Recipe?
Share your delightful snow ice cream creations with us on Instagram @crayonsandcravings and follow us on Pinterest @crayonsandcravings for even more inspiring recipes and fun ideas!
Pin Recipe
Leave A Review
This recipe was proudly shared on the weekend potluck.
