Create Your Own Rustic Farmhouse Christmas Floral Centerpiece: An Easy Dollar Tree Tin Can DIY Guide
If you’re searching for a charming and budget-friendly DIY Christmas floral centerpiece that perfectly complements your rustic farmhouse decor, look no further! This delightful Dollar Tree DIY Christmas tin can craft is an absolute must-try. It’s a simple project that allows you to transform ordinary household items into a stunning holiday display, adding a personalized touch to your festive celebrations without breaking the bank.

Embrace Rustic Christmas Décor This Holiday Season
As the holiday season approaches, there’s a unique joy in adorning your home with handmade pieces that reflect warmth and character. This DIY farmhouse Christmas decor project is designed to bring that cozy, rustic feel right into your living space. Imagine this beautifully crafted tin can centerpiece gracing your dining table, mantelpiece, or entryway console – it’s sure to be a conversation starter! With its charming country appeal and incredibly straightforward assembly, you’ll be eager to showcase this stunning creation at all your upcoming holiday gatherings.
For those who adore the farmhouse aesthetic and constantly seek new opportunities to integrate rustic elements into their home decor, this project is truly a dream come true. It offers a wonderful way to express your creativity while staying true to a style that emphasizes simplicity, natural textures, and a lived-in, inviting atmosphere. This tin can craft perfectly embodies the spirit of a rustic Christmas, making your home feel more welcoming and festive.

The Magic of a Dollar Tree Christmas Floral Centerpiece Craft
One of the most appealing aspects of this festive tin can craft is its incredible affordability. It stands out as a genuinely inexpensive Dollar Tree Christmas decoration, much like our popular DIY sweater wreath! The cost-effectiveness of this project is truly remarkable, proving that beautiful holiday decor doesn’t require a hefty budget.
We all know how quickly craft supplies can accumulate in expense, making many DIY endeavors feel out of reach. That’s why it’s so satisfying when you can source most of your materials from a Dollar Tree store and create stunning, high-impact DIY projects like this one for just a few dollars. This craft transforms everyday items into something extraordinary, allowing you to adorn your home with unique, handmade charm without straining your wallet.
Gathering Your Affordable Supplies for This Easy Christmas Craft
To get started, you’ll need just a few basic items, many of which you might already have or can easily find at your local Dollar Tree. First, save a large tin can from your kitchen – an empty coffee can or a large vegetable can works perfectly. Then, grab your trusty hot glue gun, and head over to Dollar Tree for the rest of your supplies! It truly can’t get much easier (or cheaper!) than that.

Here’s a detailed list of what you’ll need:
- Large tin can (cleaned and label removed)
- Holiday-themed napkins (single-ply works best)
- Foam brush
- Mod Podge (matte or gloss, depending on desired finish)
- Ribbon (wide, rustic-style is ideal)
- Floral foam (dry foam for artificial flowers)
- Assorted floral sprigs (artificial poinsettias, berries, pine, eucalyptus)
- Hot glue gun and glue sticks
- Spanish moss (or other decorative filler moss)
- Twine or jute string
While the specific napkins we used might not have originated from Dollar Tree, they typically offer a fantastic variety of festive holiday napkins to choose from. So, you’re bound to find something that perfectly fits your vision! The only essentials you might not find at Dollar Tree are a hot glue gun (though sometimes they have mini craft versions) and, of course, the recycled tin can itself. However, with a little searching, you might even discover certain food products packaged in tin cans at Dollar Tree, making it a true one-stop shop for almost everything on your list!
How to Make Your Dollar Tree Christmas Floral Centerpiece: A Step-by-Step Guide
Creating this rustic farmhouse floral centerpiece is an enjoyable and straightforward process. Follow these easy steps to bring your vision to life:
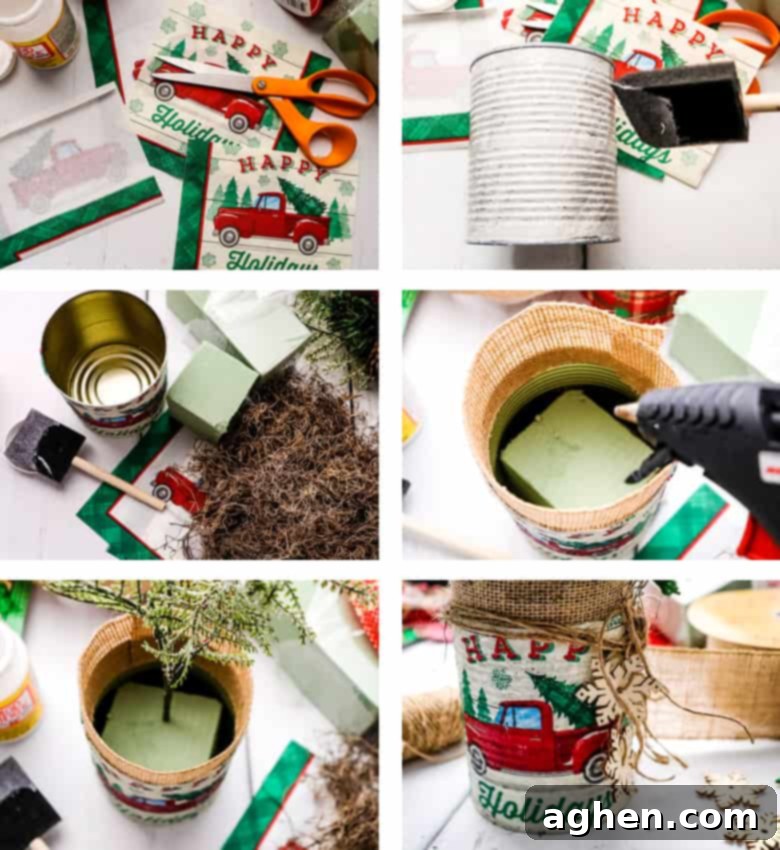
- Prepare Your Tin Can: Start by thoroughly washing and drying your large tin can. Ensure all labels and adhesive residue are completely removed for a smooth surface.
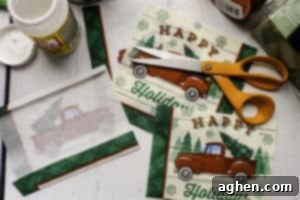
- TRIM NAPKINS: Carefully cut your one-ply holiday napkins to size. You’ll want them to wrap vertically around the can with a slight overlap to ensure full coverage. If you’re using multi-ply napkins, gently separate the layers to use only one ply – this makes them easier to work with and provides a smoother finish.
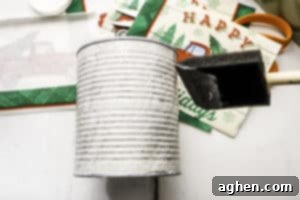
- APPLY MOD PODGE: Using a foam brush, spread a thin, even layer of Mod Podge onto a section of the tin can. Immediately and carefully smooth your trimmed napkin piece onto the Mod Podge, pressing out any air bubbles or wrinkles. Work in sections if necessary to avoid the Mod Podge drying too quickly.
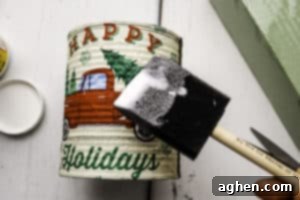
- SEAL & DRY: Once the napkin is smoothly applied, add another thin layer of Mod Podge over the top of the napkin using gentle strokes with your foam brush. Be extremely careful not to rip the delicate napkin. This top coat seals and protects the napkin, giving it a durable finish. Set the can aside in a well-ventilated area and allow it to dry completely. This might take a few hours, or even overnight, for the Mod Podge to fully cure.
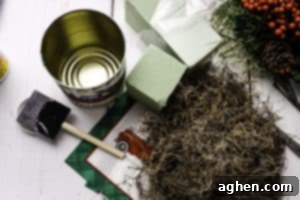
- FILL CAN WITH FLORAL FOAM: Once the can is dry, trim a piece of floral foam so that it fits snugly inside the can. This foam will provide a stable base for your floral arrangements.
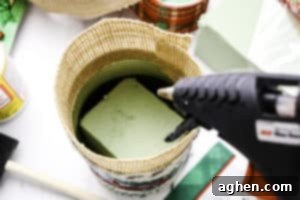
- ADD RIBBON & FLORALS: Cut a piece of wide ribbon to fit around the inside rim of the can. Use your hot glue gun to secure this ribbon to the inside edge, adding a clean finish and a subtle decorative touch. Next, begin adding your floral sprigs. Push the stems firmly down into the floral foam base, arranging them to create a balanced and aesthetically pleasing display. Experiment with different heights and textures to create fullness.
- FINISH WITH MOSS: To conceal the floral foam and add an organic, rustic touch, gently place Spanish moss inside the can, filling any gaps. Allow some of the moss to spill slightly over the edges for a natural, soft look.
- DECORATE & EMBELLISH: For the final touch, add some embellishments and wrap twine or jute string around the outside of the can. You can tie the twine in a bow, or attach small holiday-themed charms or mini pinecones with hot glue. Your beautiful, rustic farmhouse floral centerpiece is now finished!

Frequently Asked Questions About This Rustic Christmas Centerpiece
What are the best napkins to use for this project?
For optimal results, it’s best to use single-ply napkins that feature your favorite festive holiday designs. These thinner napkins adhere more smoothly to the can and create fewer wrinkles. If you only have access to double-ply or multi-ply napkins, you’ll want to carefully pull the layers apart before trimming and applying them. Using just one ply will give you the best, most professional-looking finish for your DIY Christmas floral centerpiece.
What kind of embellishments could I add to personalize my tin can craft?
The beauty of DIY is endless customization! You can add anything you’d like to truly make it your own. Holiday-themed charms, small jingle bells, miniature ornaments, dried orange slices, cinnamon sticks, or even small pinecones gathered from your yard work wonderfully. These can be tied to the end of your twine, hot glued directly onto the can, or tucked into the floral arrangement to enhance the rustic Christmas decor feel.
Can I use a rusted tin can for this project?
While the idea of a naturally rusted can might seem appealing for a rustic aesthetic, it’s generally not recommended for this particular Mod Podge craft. Rusted cans can pose several challenges: the rust might transfer through the napkin, it can cause the Mod Podge to adhere unevenly, and the surface may be too rough for a smooth finish. If you desire a distressed or antique look, it’s better to use a clean can and achieve a faux rusted effect with paint and craft techniques, ensuring a more durable and predictable result for your holiday centerpiece.

More Festive DIY Projects for a Handmade Christmas
If you enjoyed crafting this Dollar Tree Christmas floral centerpiece, you’ll love exploring other creative ways to decorate your home for the holidays. Here are a few more fun Christmas DIY projects to inspire your festive crafting:
- Wine Cork Candle Ornament
- Burlap Ribbon Christmas Tree
- DIY Wooden Christmas Tree Craft
- Mason Jar Lid Christmas Ornament

Rustic Farmhouse Floral Can Craft for Christmas
Author: Jaclyn
Equipment
-
Foam brush
-
hot glue gun
Supplies
- Holiday napkins
- Large tin can
- Mod podge
- 2 1 ⁄2” wide ribbon
- Floral foam
- Floral sprigs
- Twine
Instructions
-
Cut your one-ply napkins to size vertically and fit properly around the tin can.

-
Spread mod podge on the can using a foam brush and then smooth the napkins on.

-
Gently add mod podge over the top of the napkins, being careful not to rip them and then set aside to dry.

-
Trim a piece of floral foam and place inside the can.

-
Hot glue ribbon to the inside of the can.

-
Add floral sprigs to fill the can, pushing it into the foam base. Add moss inside the can to fill it and allow some to fill out over the edges.

-
Add some embellishments and twine to the outside of the can.


Did You Make This Craft?
We’d love to see your beautiful creations! Share it with me on Instagram @crayonsandcravings and follow on Pinterest @crayonsandcravings for even more inspiring DIY projects, decor ideas, and budget-friendly crafts!
Pin Craft
Leave A Review
Pin this Charming Christmas Craft for Later Inspiration!
