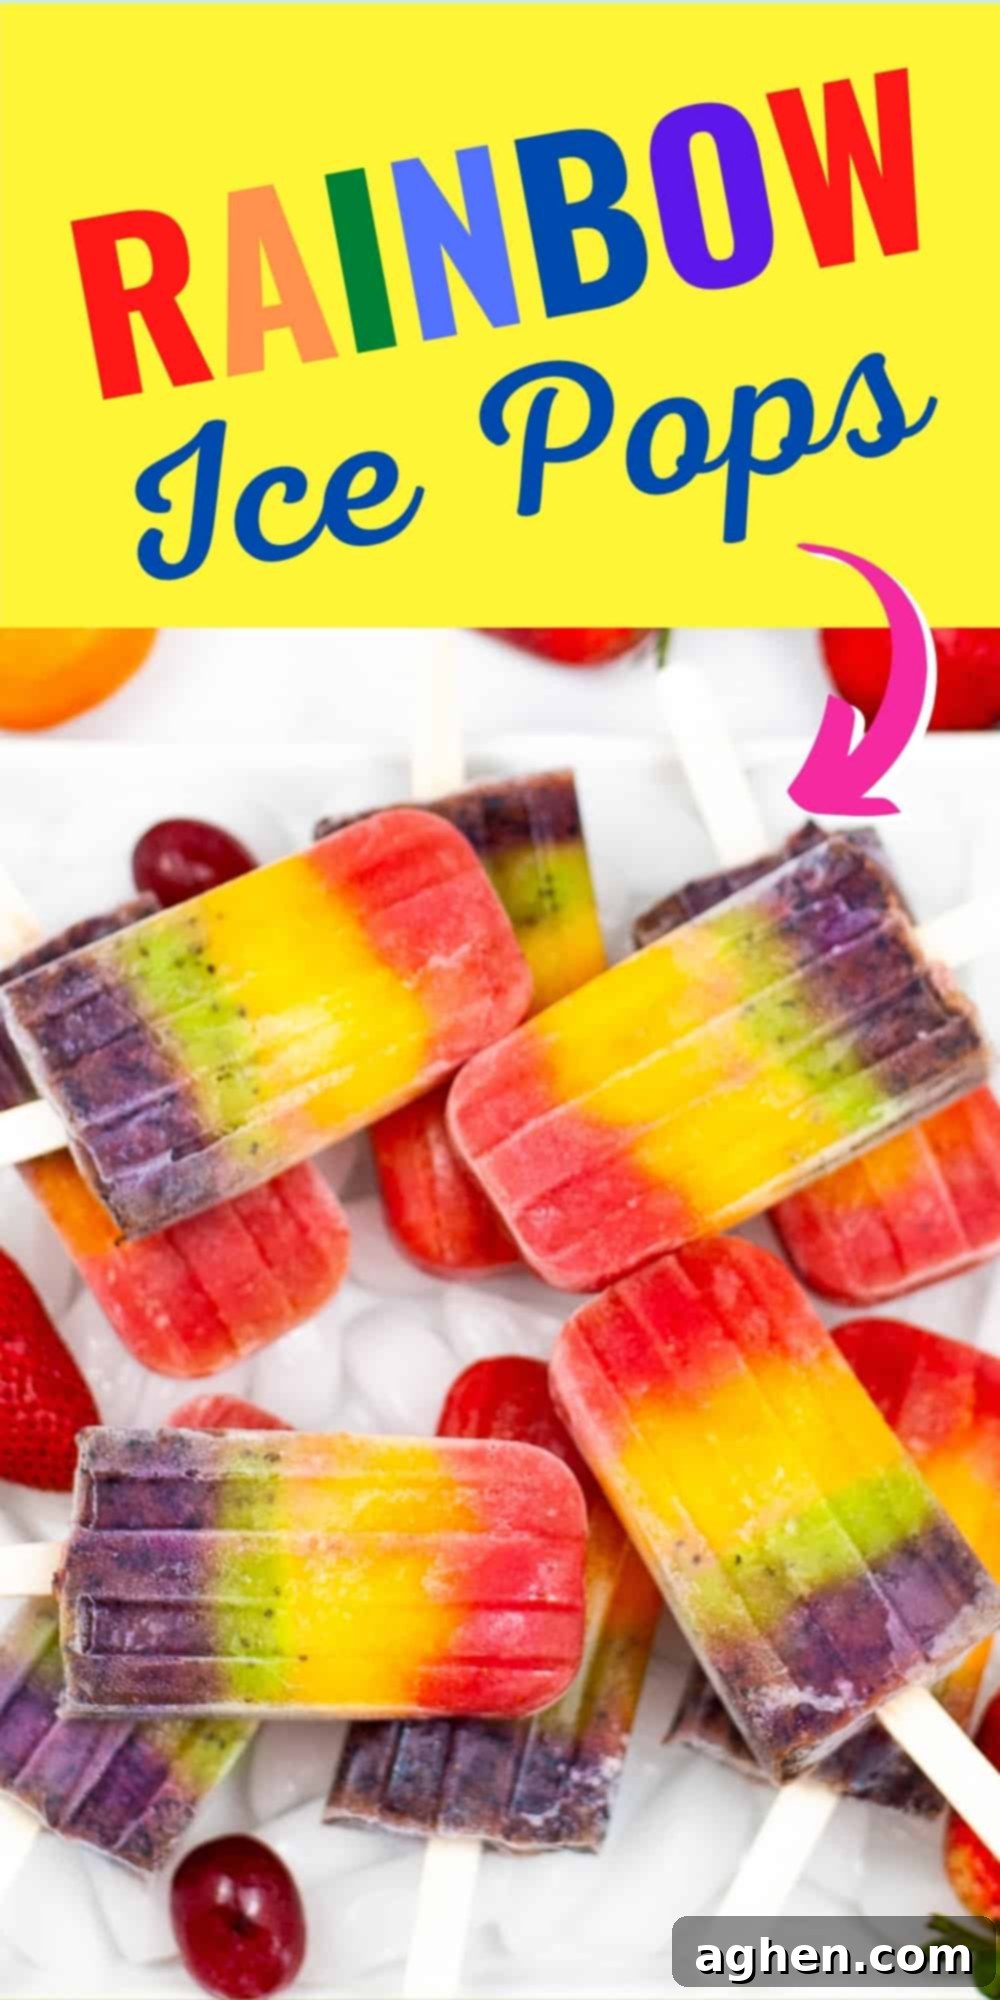
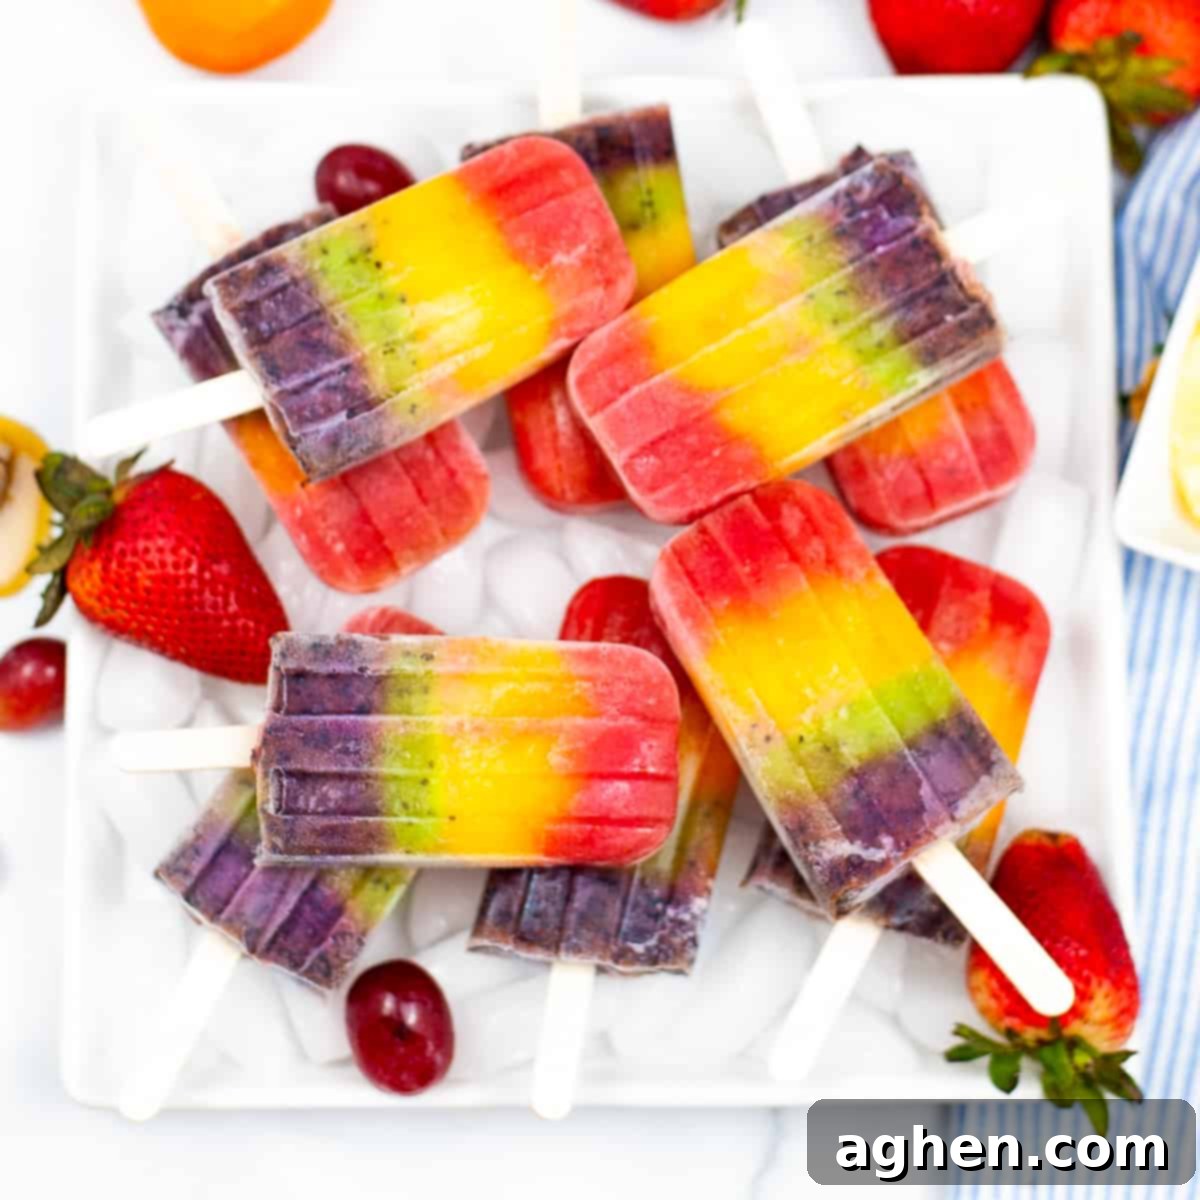
Vibrant Rainbow Popsicles: An Easy & Healthy Fruit and Honey Recipe for Summer
Dive into a world of color and flavor with these incredibly easy-to-make rainbow popsicles! Crafted with nothing but fresh, natural fruit and a touch of honey, these homemade frozen treats are the perfect way to cool down on a hot summer day. Not only are they visually stunning, but they’re also a remarkably healthy snack for kids and adults who crave something sweet without artificial ingredients. Forget sugary store-bought options; these all-natural fruit ice pops are bursting with real fruit goodness.
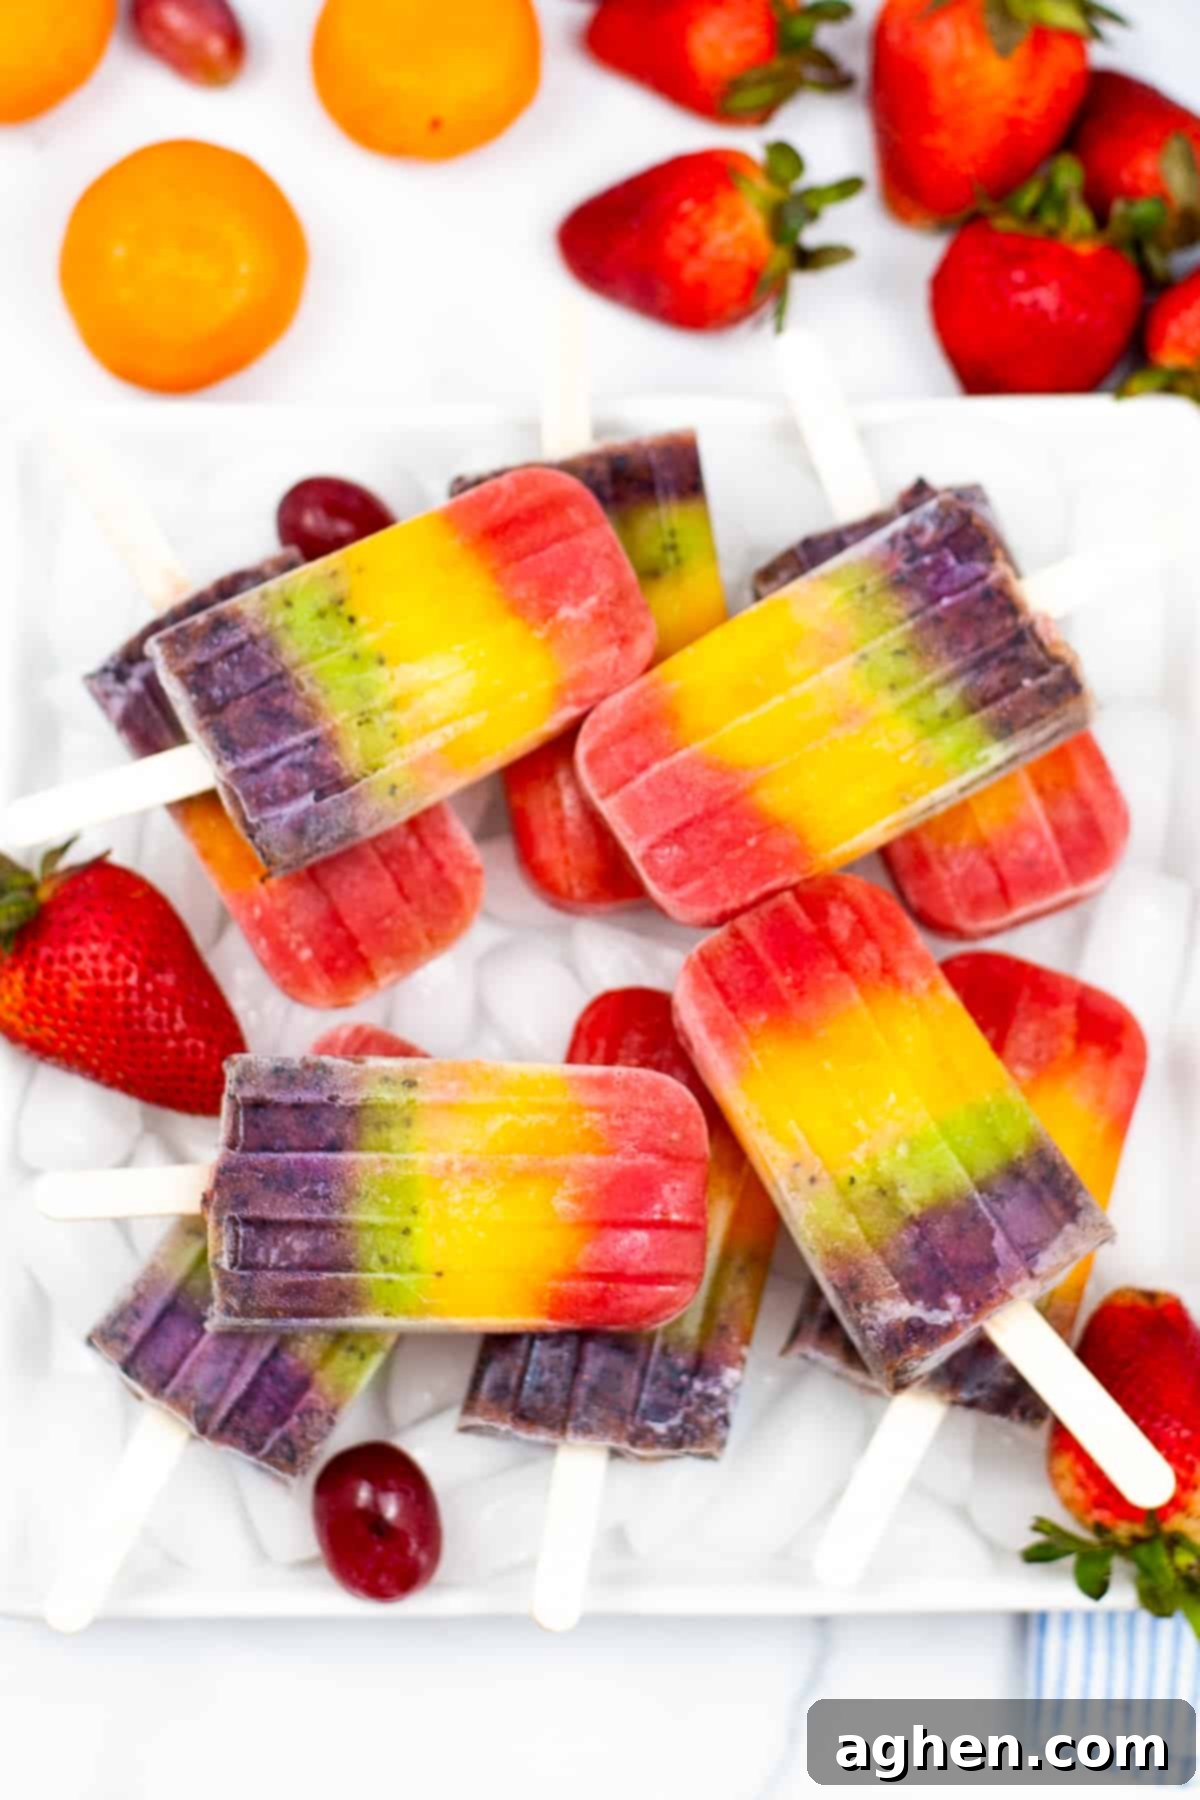
These delightful popsicles hold a special charm, especially for young Cocomelon fans! Many toddlers and preschoolers will instantly recognize them as “Cocomelon rainbow popsicles.” The popular children’s show features an engaging rainbow popsicle song that helps teach children their colors in a fun, interactive way. The catchy tune goes, “It‘s time for rainbow popsicles, Yummy yummy colorful popsicles, It‘s time for rainbow popsicles, What color do we need?” The song then beautifully cycles through each color of the rainbow, finding corresponding fruits, making it an educational and adorable earworm that sticks with you long after the song ends. This recipe brings that beloved song to life, allowing kids to enjoy their favorite colorful snack right at home.
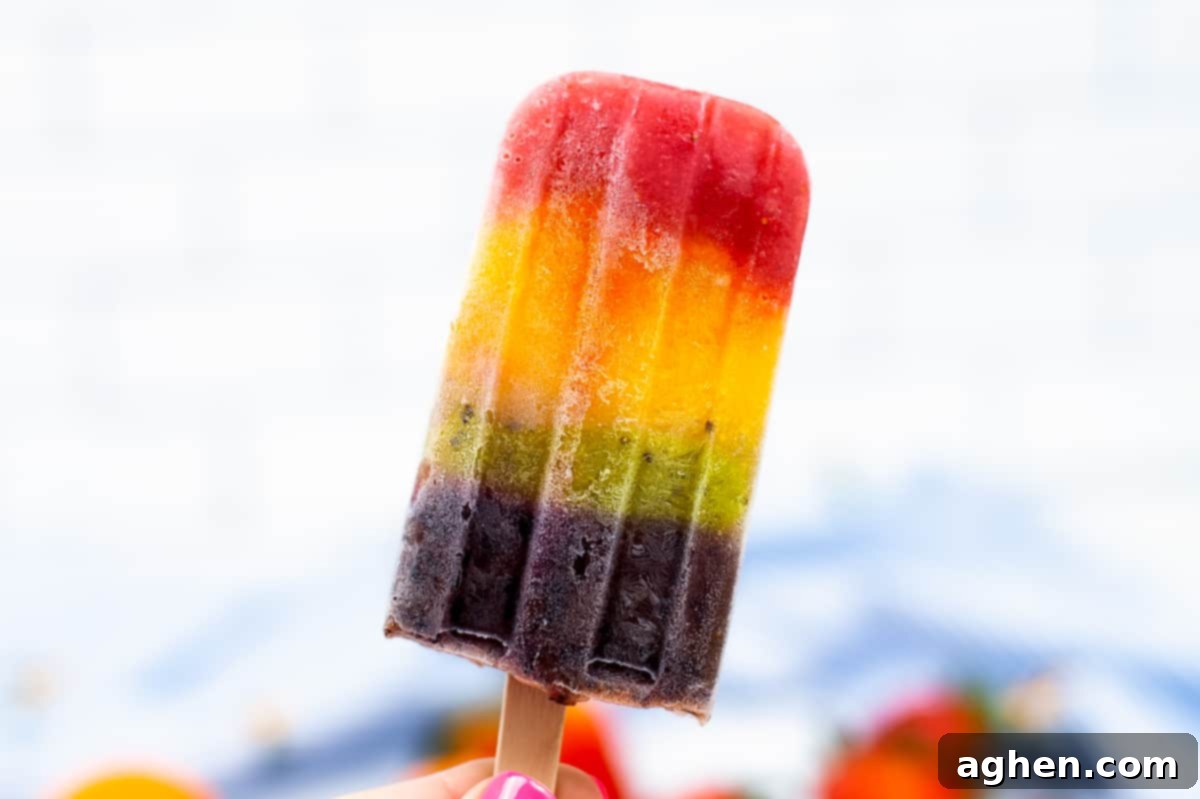
But let’s be clear: these rainbow fruit popsicles aren’t just for kids! Adults will adore them just as much. Packed with naturally sweet, refreshing fruit flavors, they are an absolute dream for cooling down when the temperatures soar. Whether you’re lounging by the pool, hosting a backyard BBQ, or simply seeking a healthy sweet treat, these popsicles hit the spot every time. Their vibrant hues also make them a wonderfully fun and symbolic treat for Pride celebrations or any occasion where you want to add a splash of joy and color!
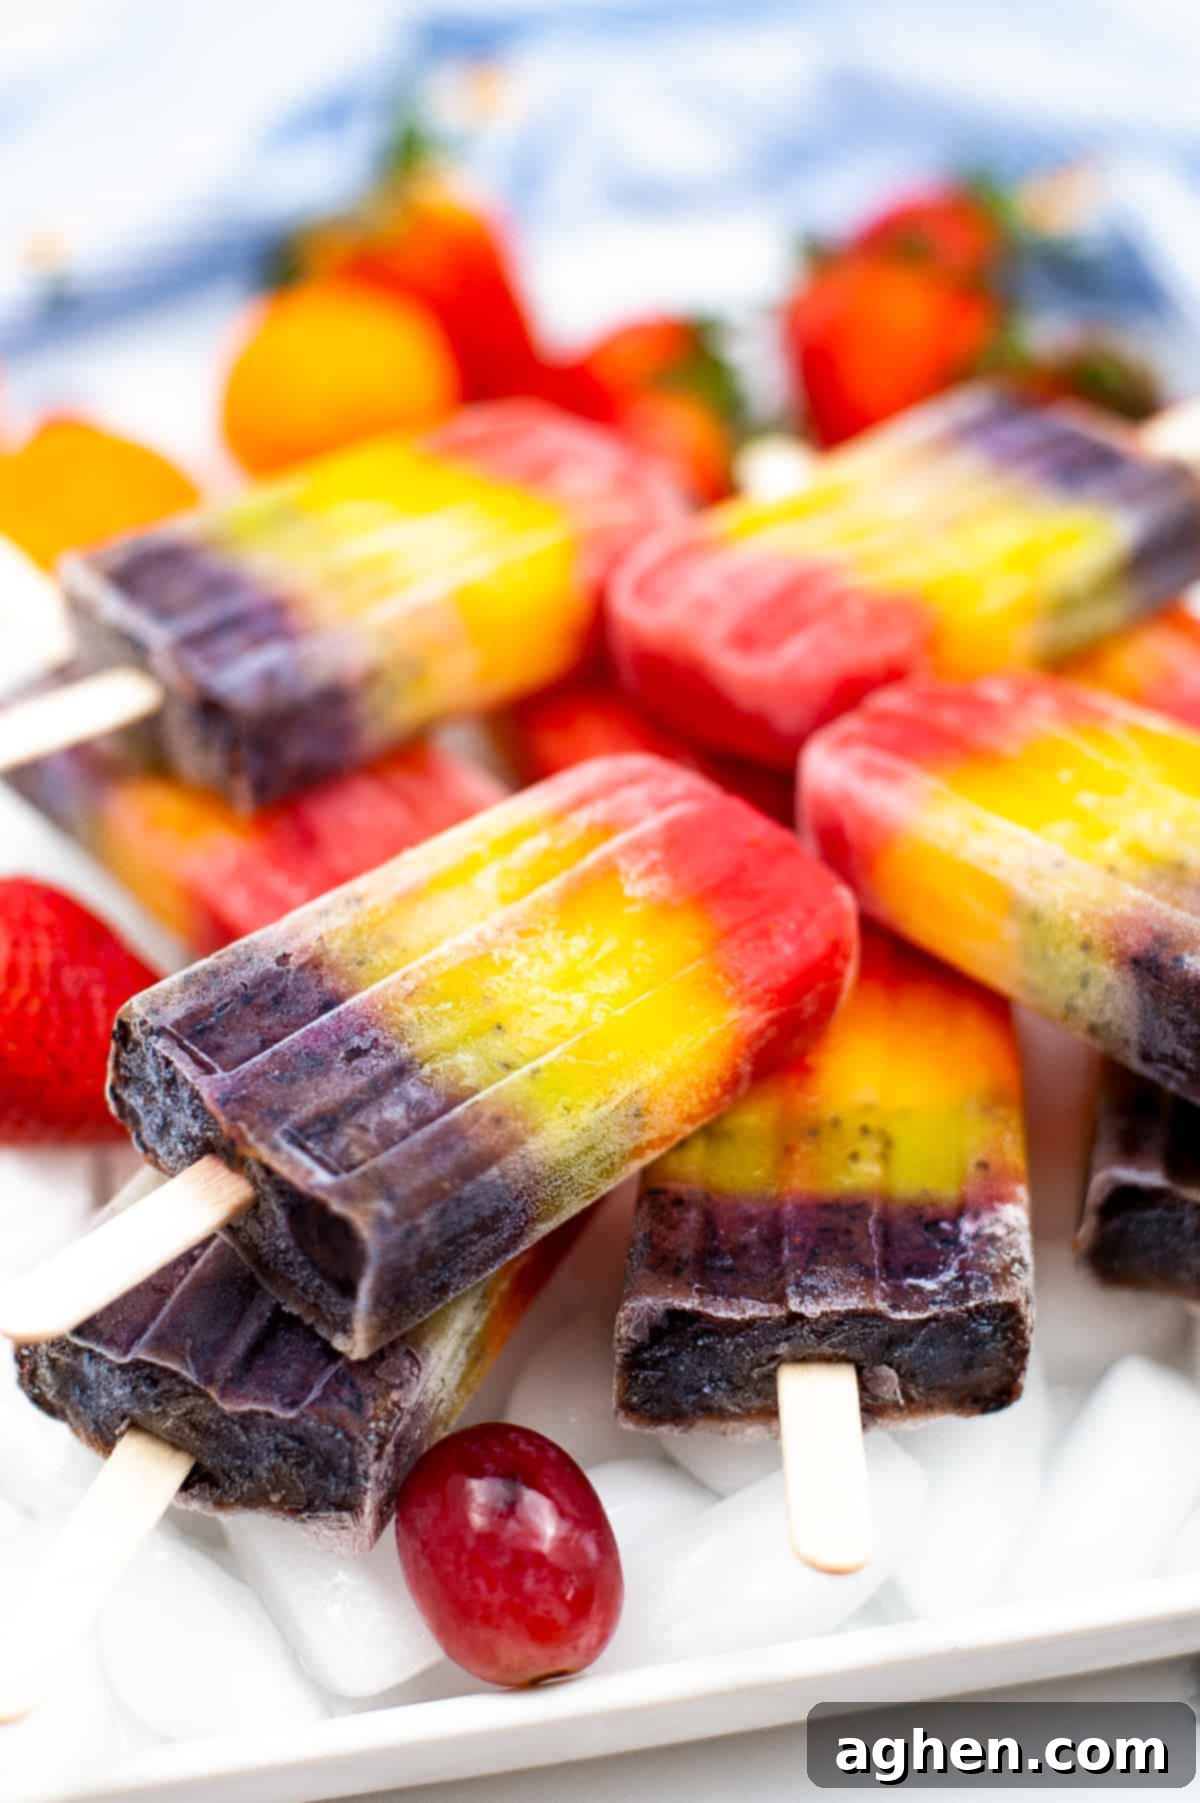
Why Choose Homemade Fruit Popsicles?
Opting for homemade fruit popsicles offers numerous benefits over their store-bought counterparts. First and foremost, you have complete control over the ingredients, ensuring that your family is consuming only wholesome, natural goodness. No artificial colors, flavors, or high-fructose corn syrup – just pure fruit and natural sweetener. This makes them an excellent choice for a healthy snack that supports a balanced diet. Furthermore, making popsicles at home can be a fun and engaging activity for the whole family, especially for children who love to help in the kitchen. It’s also often more cost-effective to make a large batch at home than to continuously purchase individual popsicles, making it a win-win for both health and your wallet.
Ingredients for Your Rainbow Popsicles
Gathering your ingredients is the first exciting step towards creating these beautiful treats. For this vibrant recipe, you will need:
- Sliced Strawberries: For that beautiful deep red layer. Strawberries are packed with Vitamin C and offer a sweet-tart flavor.
- Mandarin Oranges: Providing a bright orange hue and a wonderfully sweet citrus kick. These are also a great source of Vitamin C.
- Pineapple Chunks: To create the sunny yellow layer, pineapple brings a tropical sweetness and is known for its digestive enzymes.
- Sliced Kiwi: The vibrant green of kiwi adds a refreshing, slightly tangy note and is rich in Vitamin K and C. Ensure they are peeled before slicing.
- Blueberries: For the cool blue layer, blueberries are tiny powerhouses of antioxidants and offer a subtle sweetness.
- Seedless Grapes: Completing the rainbow with a regal purple, grapes are naturally sweet and hydrating.
- Honey: A natural sweetener that perfectly complements the fruit flavors. You can adjust the amount to your sweetness preference.
In addition to your delicious fruits and honey, you’ll need a few essential kitchen tools:
- A blender: To achieve smooth, consistent fruit purees.
- A popsicle mold: Silicon molds are great for easy removal, but any standard popsicle mold will work.
- Popsicle sticks: For easy handling of your frozen creations.
A crucial tip for vibrant, distinct layers: While you can use frozen, canned, or fresh fruit, I highly recommend using frozen fruit for all layers. If using canned or fresh fruit, freeze it first. This extra step is key to creating thicker purees that won’t readily mix when layered, ensuring your rainbow colors stay beautifully separated. Freezing the fruit also results in a colder, firmer popsicle texture faster.
Creative Additions and Substitutions
One of the best parts about making homemade popsicles is the freedom to customize! Feel free to switch up the fruit in this recipe to account for allergies, personal preferences, or simply what you have on hand in your kitchen. Here are some fantastic alternatives and additions:
- Fruit Swaps:
- Red: Raspberries, watermelon, cherries (pitted).
- Orange: Mango, cantaloupe, peaches (peeled).
- Yellow: Bananas (will oxidize quickly, so consume faster or mix with lemon juice), starfruit, yellow plums.
- Green: Green apples, honeydew melon, green grapes.
- Blue/Purple: Blackberries, mixed berries, plums.
- Sneaky Veggies (Fruit and Vegetable Popsicles): Elevate the nutrition by pairing fruit with a vegetable of a similar color. Kids often won’t even notice!
- Green: Blend a small handful of fresh spinach or kale with your kiwi puree.
- Red: A small cooked beet with strawberries can enhance the red color and add nutrients.
- Orange: Cooked carrots can be blended with mandarin oranges for an extra beta-carotene boost.
- Creamy Layers: For a creamier texture, add a tablespoon of Greek yogurt or full-fat coconut milk to each fruit puree before blending. This can make them feel more indulgent.
- Herbal Infusions: A tiny sprig of fresh mint or basil blended with green fruits (like kiwi or honeydew) can add a sophisticated, refreshing twist for adults.
Simple Instructions for Layered Perfection
Creating these rainbow popsicles is straightforward, but a few steps ensure those beautiful distinct layers:
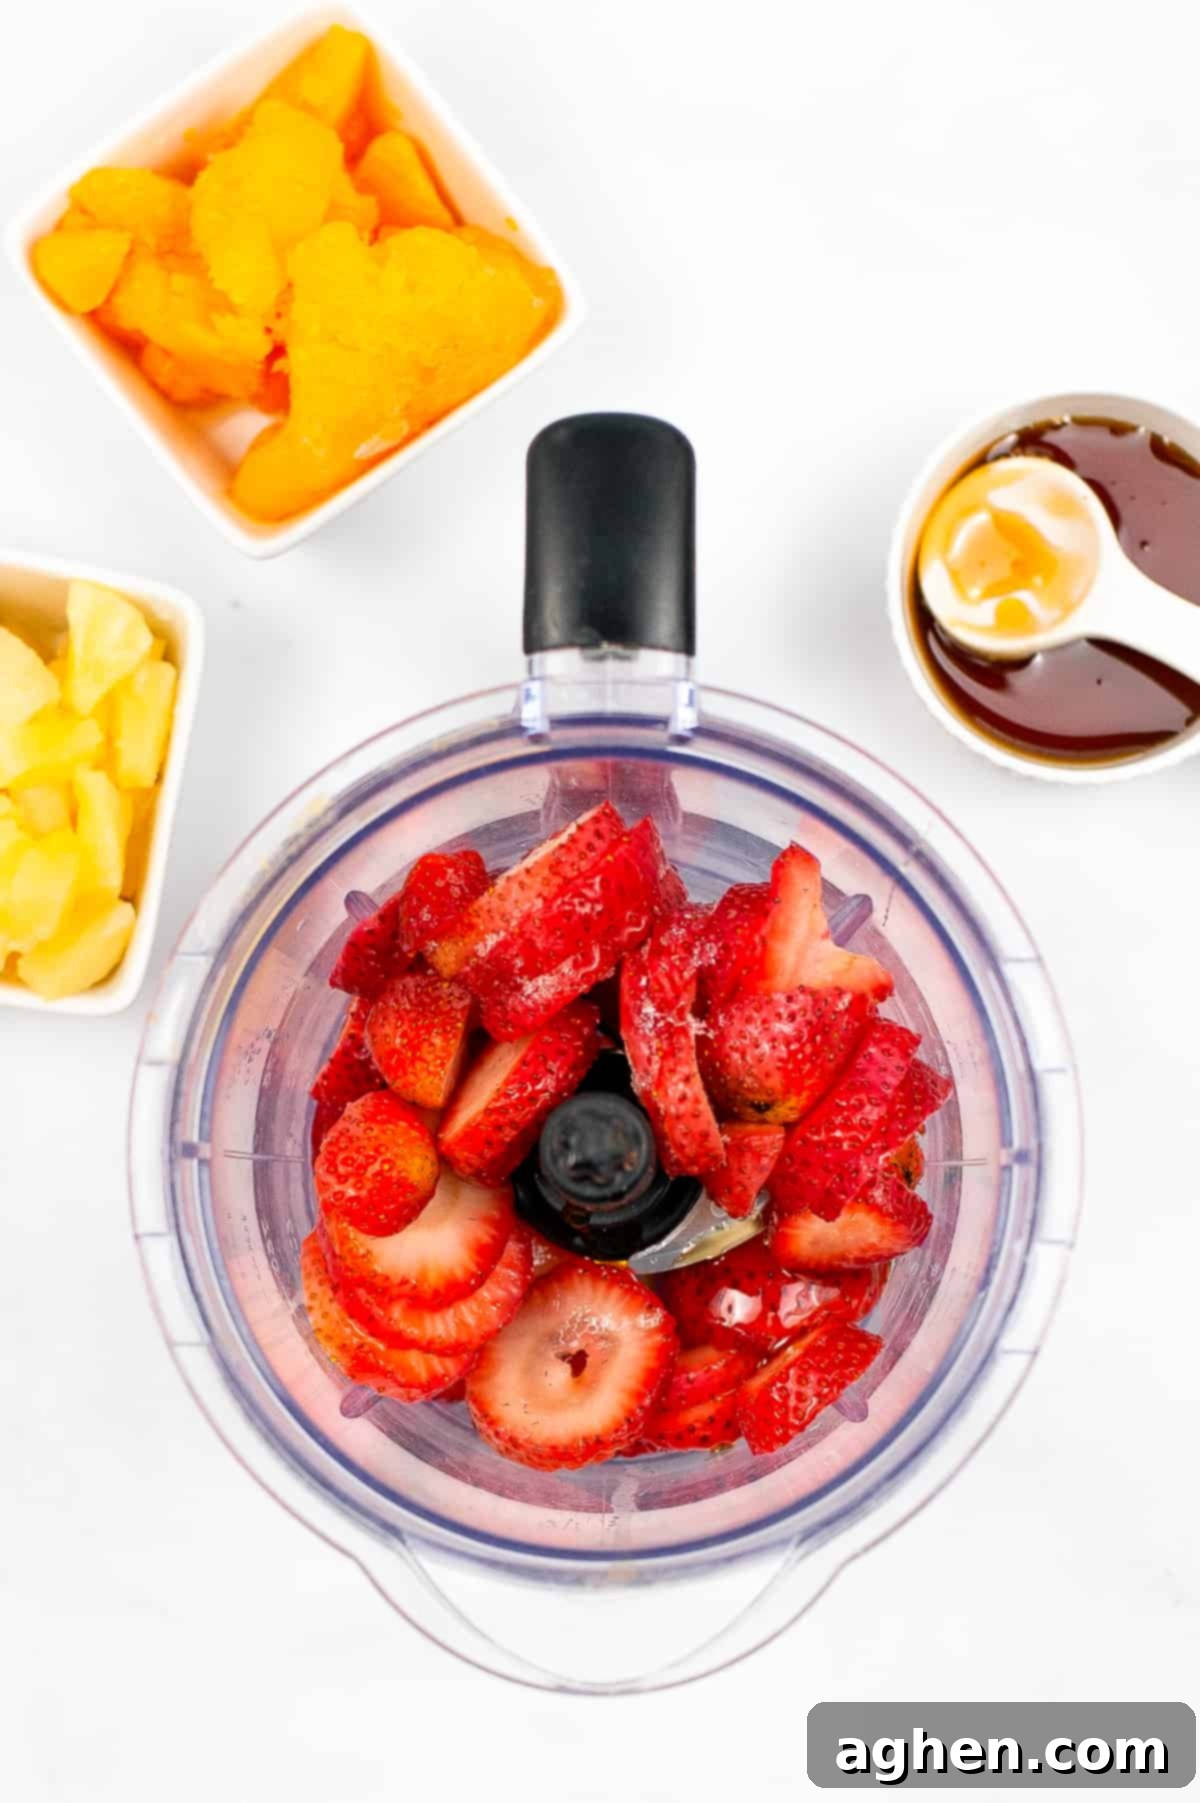
- Prepare the Fruit Purees: For each fruit (e.g., strawberries, mandarin oranges, pineapple, kiwi, blueberries, grapes), place the frozen fruit into a blender. Add 2 teaspoons of honey. Blend until a smooth, thick puree forms. The thickness is crucial for preventing colors from bleeding. After blending each fruit, clean out the blender thoroughly. This step is essential to prevent color mixing and keep your rainbow layers distinct and vibrant.
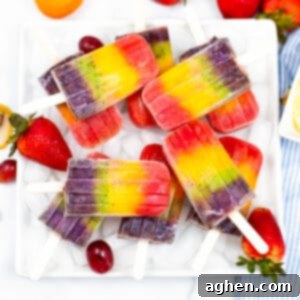
- Layer the Colors: Using a spoon, carefully add a layer of each fruit puree to your popsicle molds. Follow the traditional order of the rainbow for a classic look:
- Red: Strawberries
- Orange: Mandarin oranges
- Yellow: Pineapple
- Green: Kiwi
- Blue: Blueberries
- Purple: Grapes
Take your time with this step to ensure clean lines between each color.
- Insert Sticks and Freeze: Once all layers are in, gently insert popsicle sticks into each mold. Place the molds in the freezer and allow them to freeze until completely solid. This usually takes about 6-8 hours, but for best results, overnight freezing is recommended.
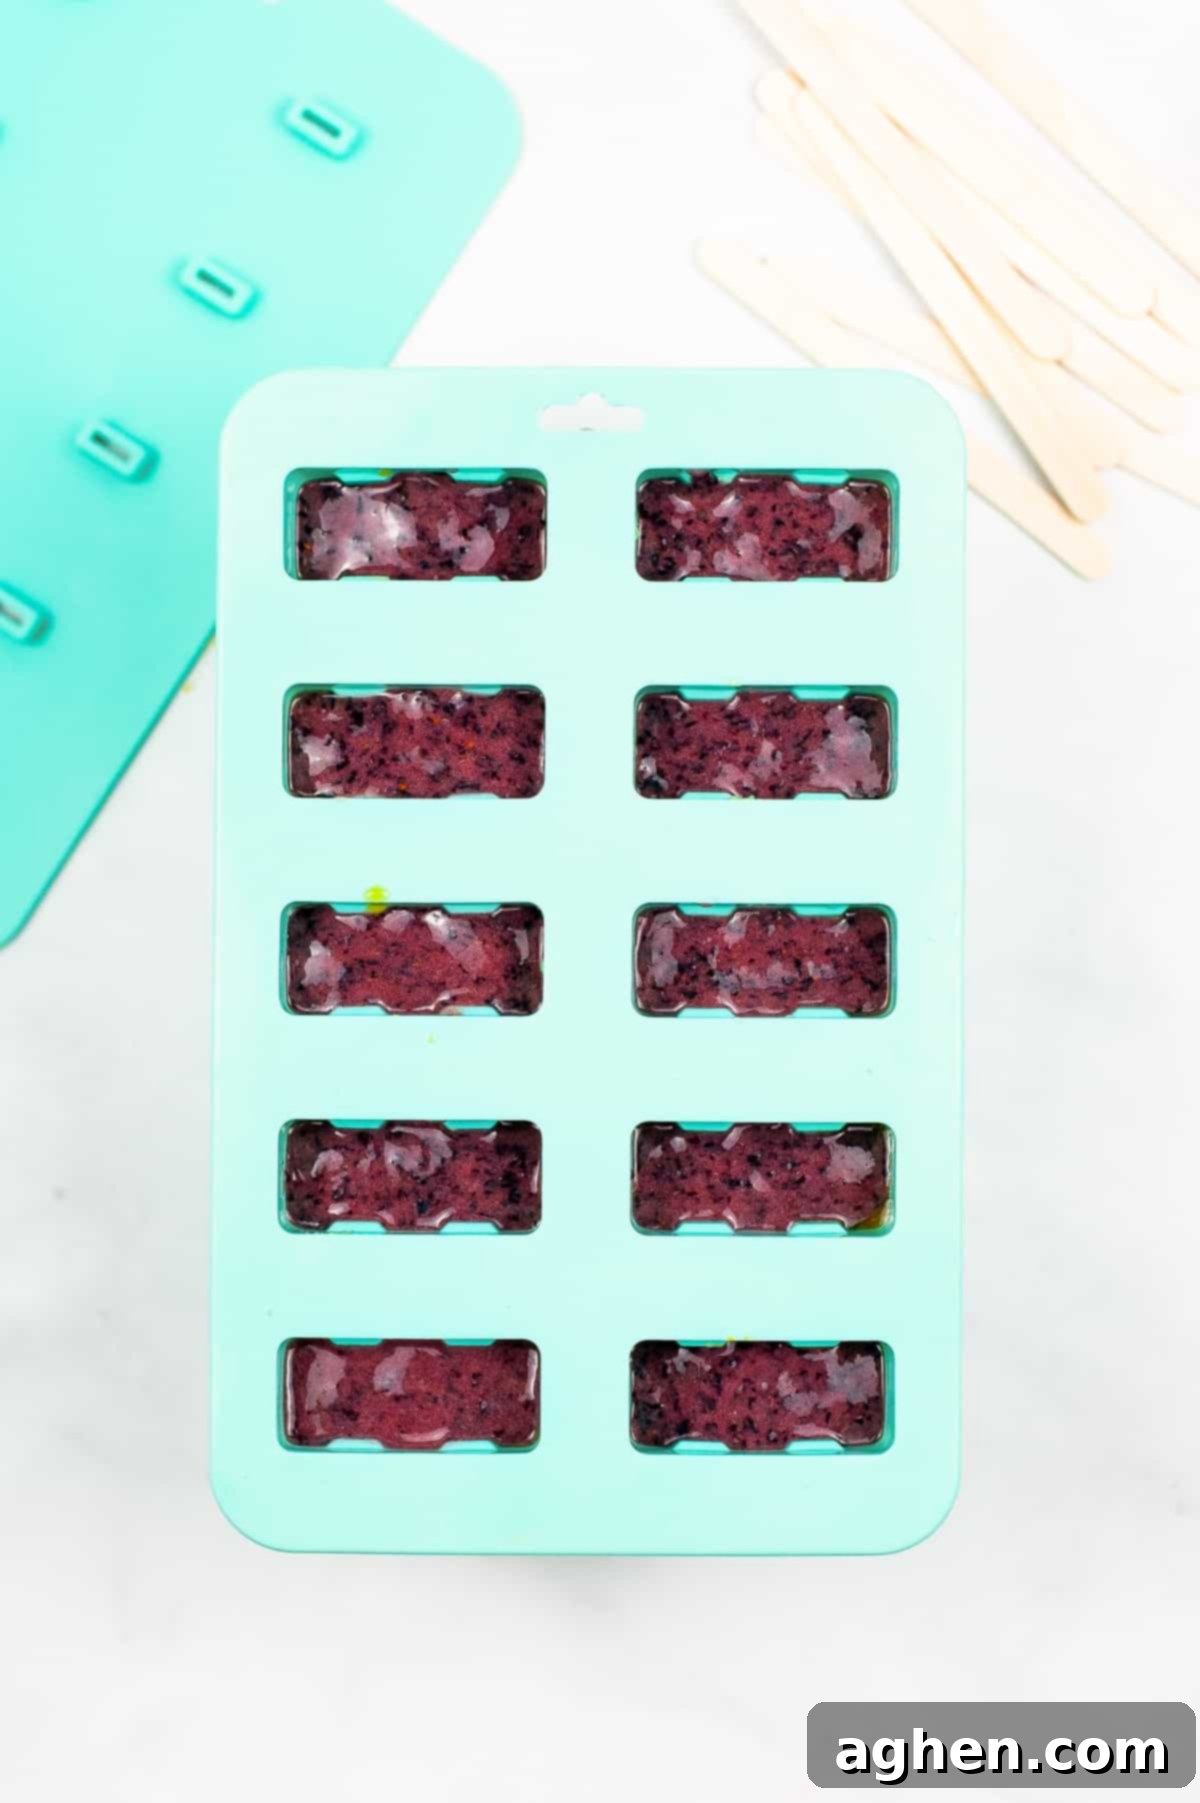
Once frozen solid, your beautiful rainbow popsicles are ready to be enjoyed!
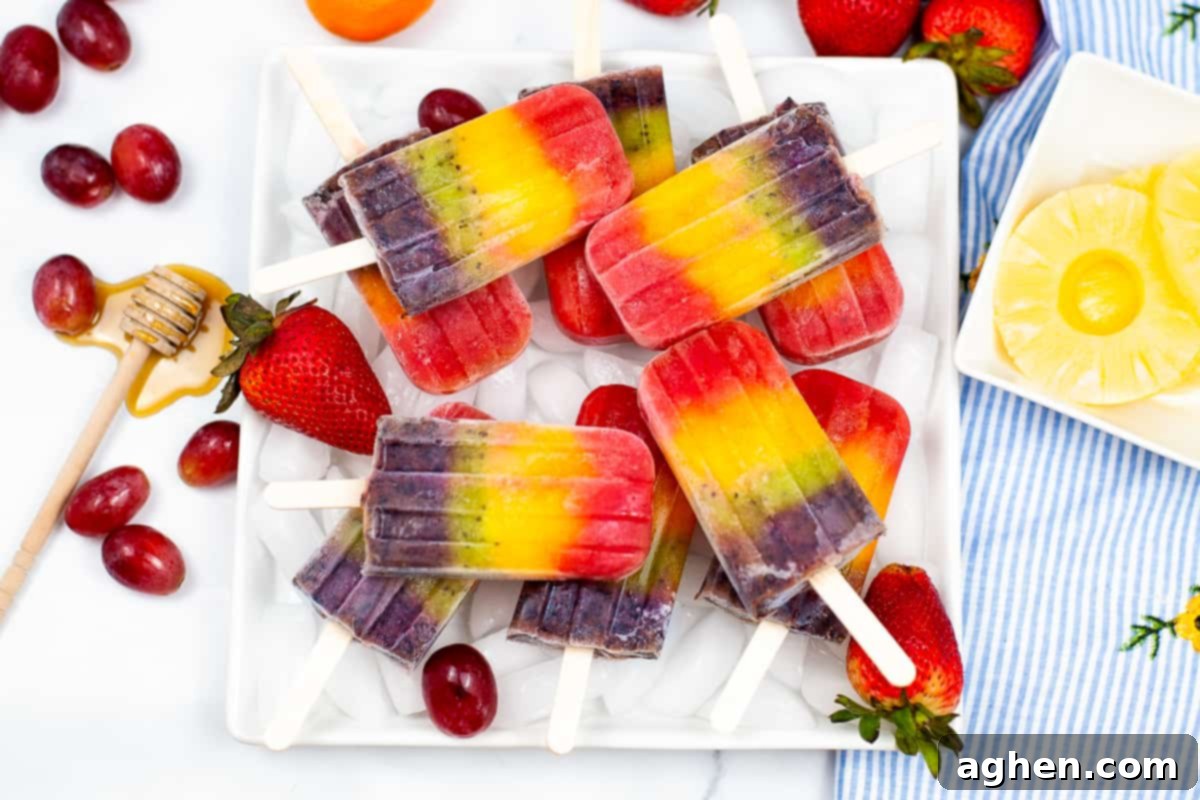
Expert Tips for Making The Best Rainbow Popsicles
- Achieving the Right Consistency: If you find that any of your fruit layers are too thick and not blending well, add a very small amount (a teaspoon at a time) of water, fruit juice, or coconut water to the blender to thin them out a bit. Be cautious not to add too much; you want the purees to remain thick enough to create distinct layers without bleeding into each other.
- Preventing Color Bleeding (Optional Advanced Step): Some slight blending of colors at the edges can occur, which is perfectly natural and doesn’t detract from the deliciousness. However, if you’re aiming for extra-perfect, super-defined color layers, you can freeze the popsicles for about 30-60 minutes after adding each layer before adding the next. This allows each layer to firm up just enough to prevent mixing.
- Easy Demolding: Are your rainbow fruit popsicles stubbornly stuck in the mold? Don’t force them out! Simply run the popsicle mold under warm tap water for about 15-20 seconds. This gentle warmth will slightly melt the outer layer, helping the popsicles unstick from the sides of the mold, making them easy to slide out.
- Sweetness Adjustment: The amount of honey suggested is a guide. Feel free to taste your fruit purees before freezing and adjust the sweetness to your liking. Some fruits are naturally sweeter than others, and personal preferences vary. You can also substitute honey with maple syrup or agave nectar for a vegan option.
- Storage: Once your popsicles are completely frozen, remove them from the molds and store them in an airtight freezer bag or container. This prevents freezer burn and keeps them fresh for up to 2-3 weeks, though they rarely last that long!
More Must-Try Popsicle Recipes
If you loved making these rainbow popsicles, you’ll definitely want to explore more delicious frozen treats. Here are a few other fantastic popsicle recipes to try:
- Banana Pudding Popsicles – Incredibly creamy and only 3 ingredients!
- Berry & Yogurt Popsicles – A healthy and delicious way to start your day or enjoy a light snack.
- Sparkling Water Fruit Ice Pops – Light, refreshing, and surprisingly fizzy!
- Fruity Pebbles Popsicles – A fun, colorful, and nostalgic treat that kids adore.
Rainbow Popsicles
Author: Jaclyn
Ingredients
- 1 cup sliced strawberries frozen
- 1/2 cup mandarin oranges frozen
- 1/2 cup pineapple chunks frozen
- 1/2 cup sliced kiwi peeled and frozen
- 1 cup blueberries frozen
- 1 cup seedless grapes frozen
- 1/4 cup honey divided
Instructions
-
In a blender, blend each portion of frozen fruit with 2 teaspoons of honey. Repeat with each fruit, thoroughly cleaning out the blender in between to prevent colors from mixing.
-
Using a spoon, add a layer of each fruit puree to the popsicle molds, following the order of the colors of the rainbow: strawberries for red, mandarin oranges for orange, pineapple for yellow, kiwi for green, blueberries for blue, and grapes for purple.
-
Insert popsicle sticks into the center of each popsicle and freeze until completely solid, which typically takes about 6-8 hours.
Notes
- You can use frozen, canned, or fresh fruit. However, for best results and to help thicken the layers and prevent them from mixing, I highly recommend freezing your fresh or canned fruit before blending.
- If you find that any of the fruit layers are too thick and not blending well, add a small amount of water (or fruit juice) to the blender to thin them out a bit. Remember not to add too much – you want the layers to remain thick for distinct separation.
- While some colors may blend together slightly, which is usually not a big deal, if you desire extra perfect and defined color layers, you can freeze the popsicles for about 1 hour between adding each layer.
- Having trouble getting your ice pops out of the mold? Simply run the mold under warm water for approximately 20 seconds. This will gently loosen the popsicles from the sides, making them much easier to remove.
Nutrition
Did You Make This Recipe?
Share it with me on Instagram @crayonsandcravings and follow on Pinterest @crayonsandcravings for even more!
Pin Recipe
Leave A Review
