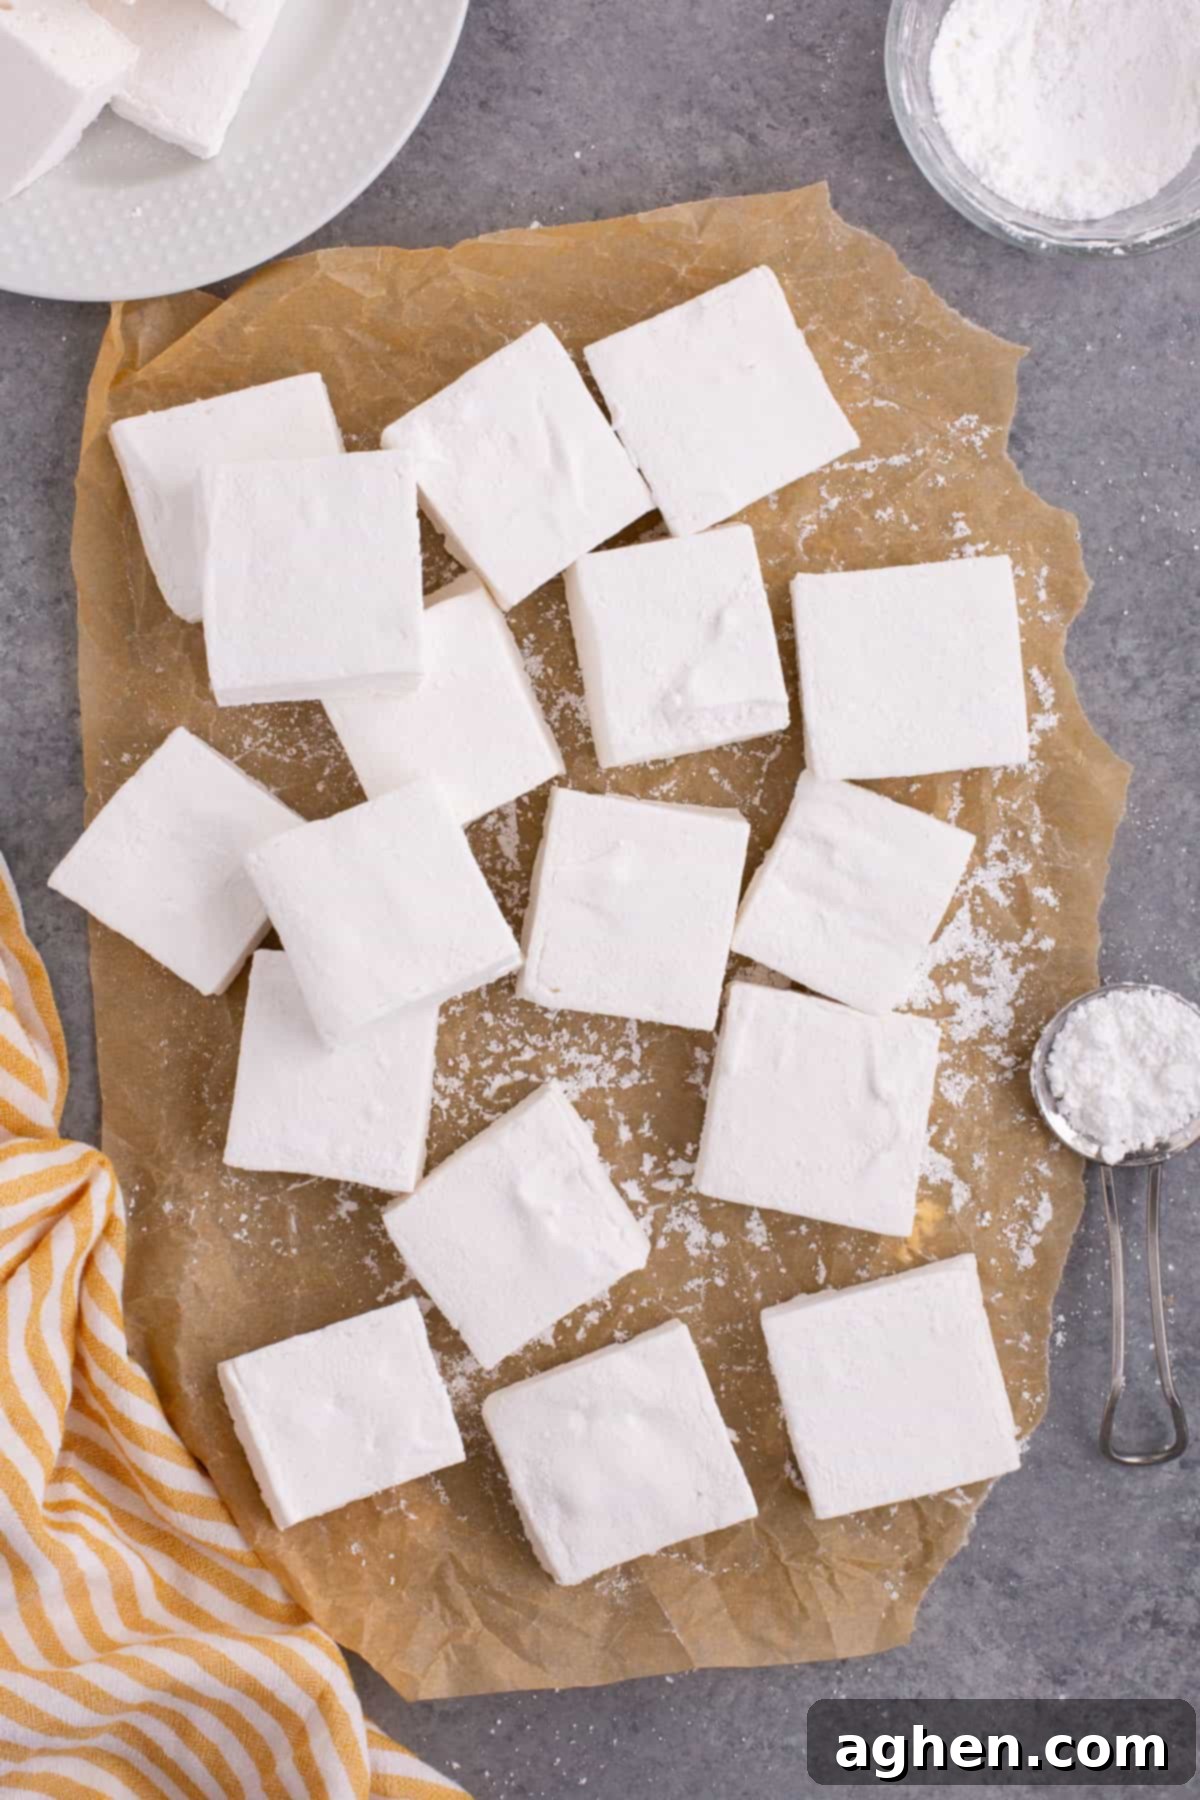
Easy Homemade Marshmallow Recipe: Soft, Fluffy & Better Than Store-Bought
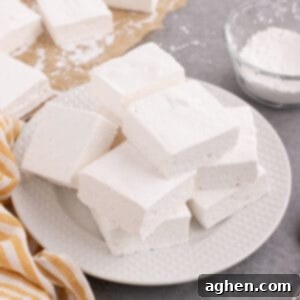
Prepare to elevate your dessert game with the magic of homemade marshmallows! Forget the tough, bland store-bought varieties; these homemade delights are incredibly soft, wonderfully fluffy, and bursting with a rich, authentic flavor that simply can’t be matched. Whether you’re upgrading your hot chocolate, creating gourmet s’mores, or simply enjoying them as a standalone sweet treat, you’ll find yourself reaching for these pillowy clouds again and again.
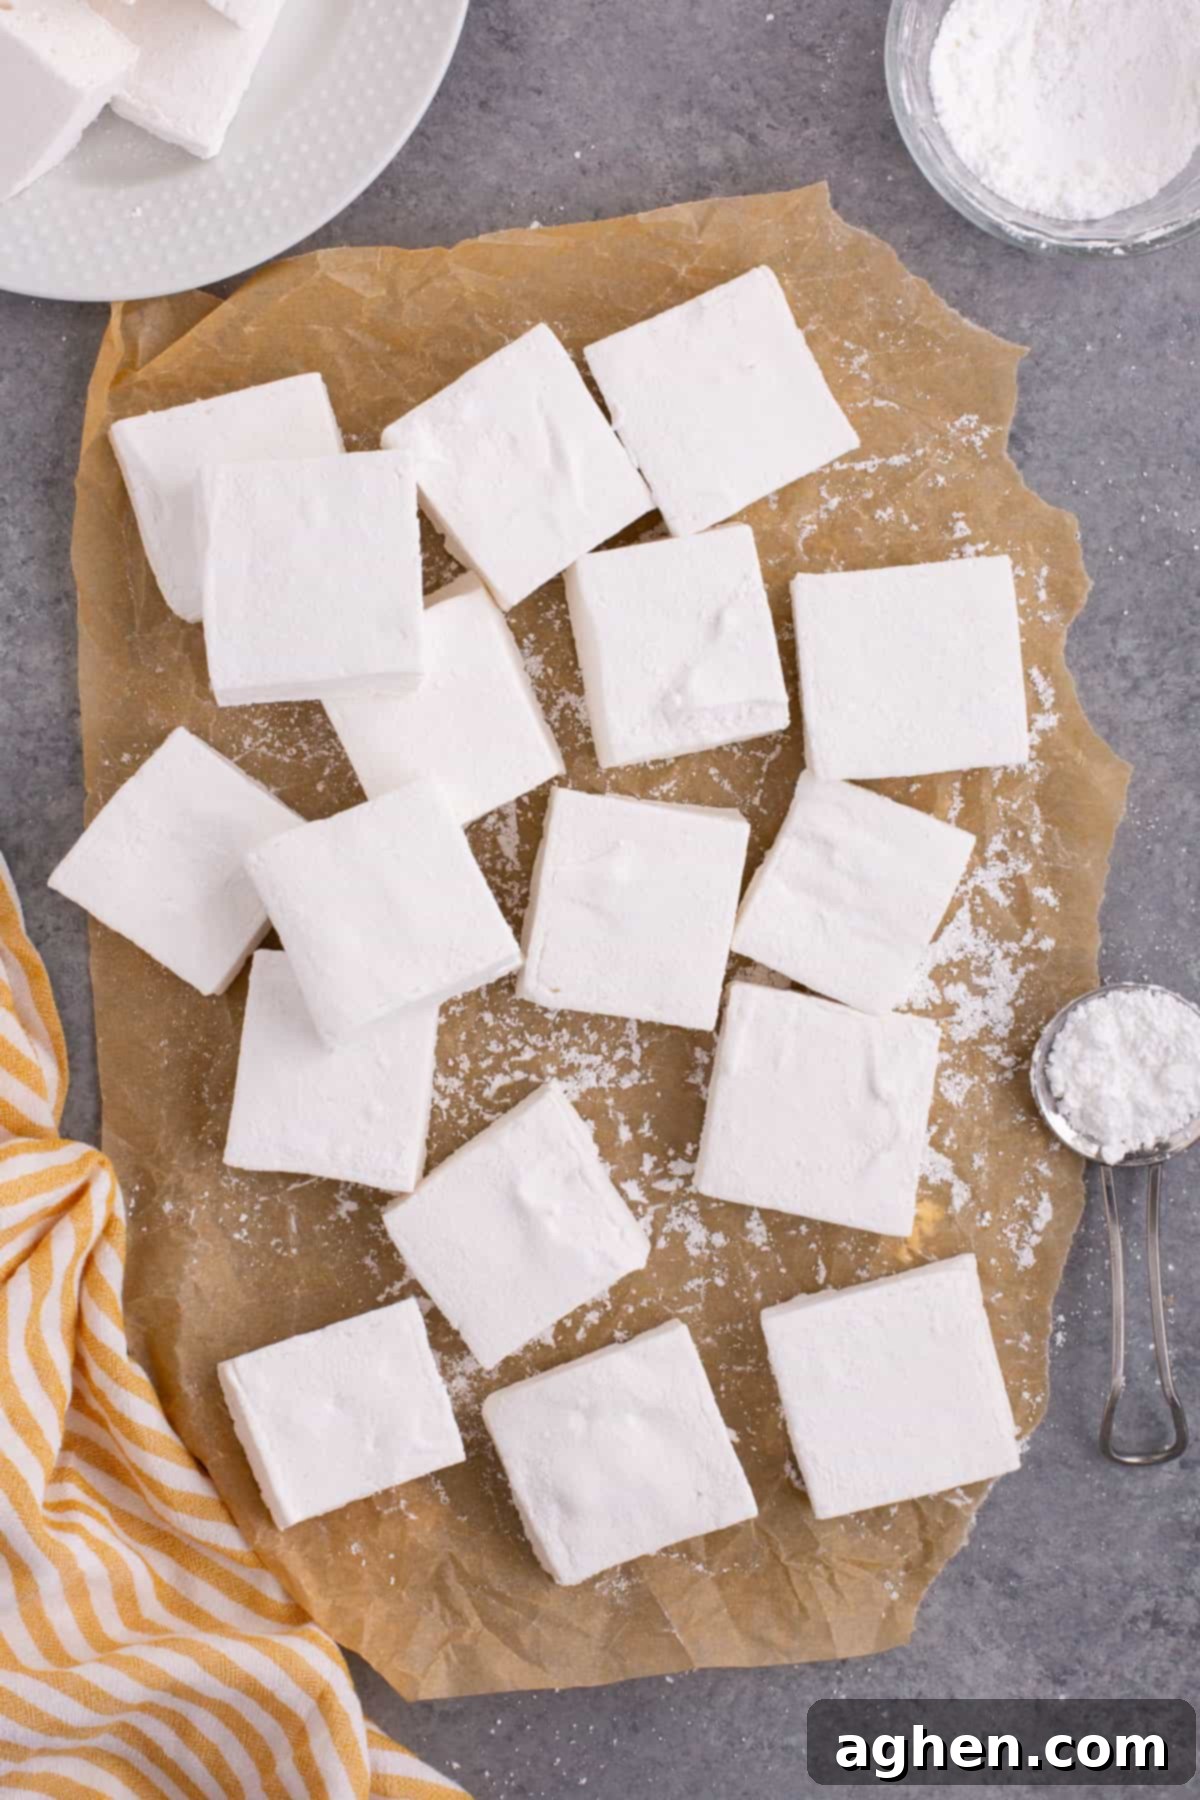
Crafting Perfect Gelatin Marshmallows from Scratch
This comprehensive guide will walk you through every step of making your own gelatin marshmallows from scratch, complete with detailed step-by-step photos and all the expert tips and tricks you need for guaranteed success. We’ll demystify the process, ensuring that even first-time candy makers can achieve perfect results. Beyond the basic recipe, we’ll also share creative ways to customize your marshmallows with different flavors, colors, and shapes, making them perfect for any occasion or holiday.
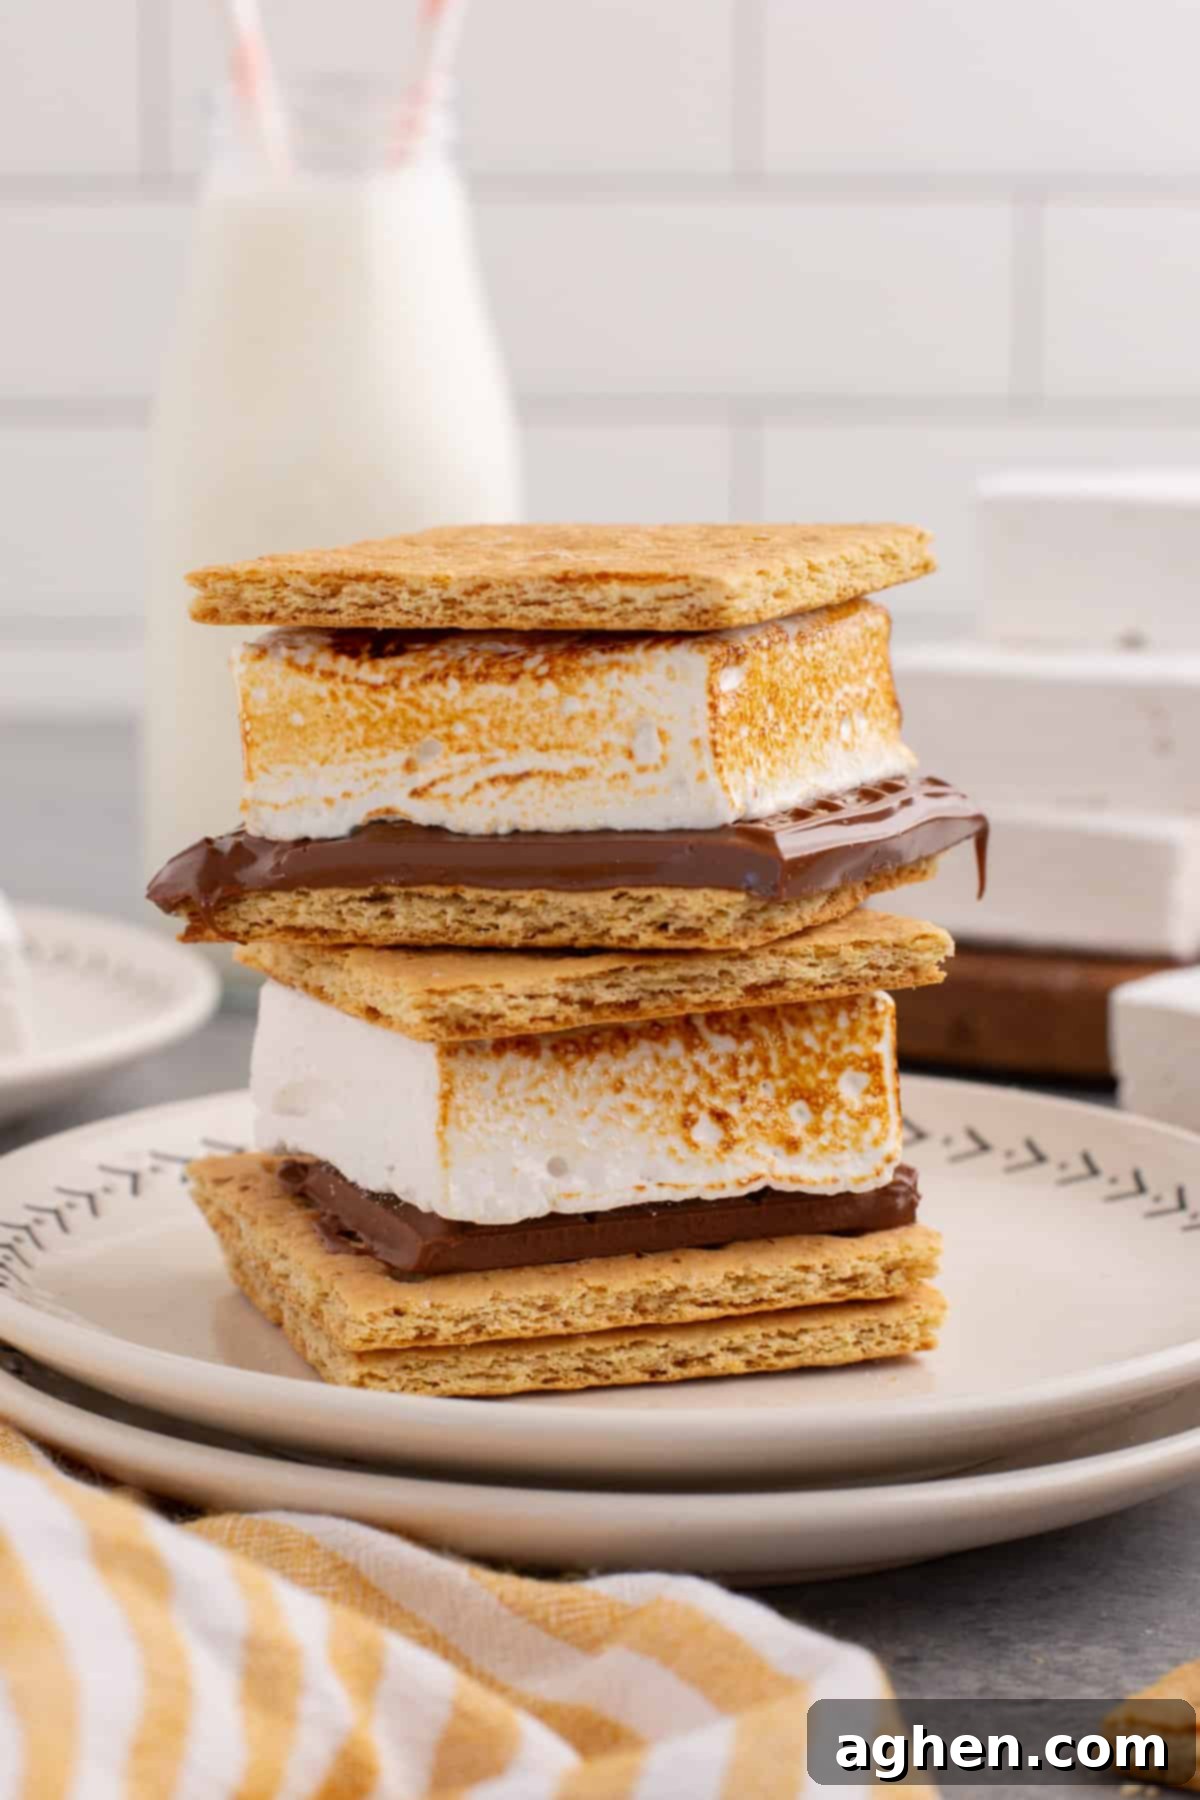
Whether you indulge in these exquisitely pillowy treats on their own, or let them melt into a warm cup of cocoa, we encourage you to give this surprisingly simple recipe a try. We are confident that you’ll fall head over heels for homemade marshmallows, just as we have!
Why You’ll Fall in Love with This Recipe
Making marshmallows at home is a rewarding experience, and this recipe stands out for several key reasons:
- Unrivaled Softness & Pillowy Texture: Prepare for a melt-in-your-mouth experience. Our homemade marshmallows boast a tender, airy texture that far surpasses anything you can buy in a grocery store.
- Endlessly Customizable: This recipe serves as a perfect canvas for your creativity. Easily adapt it with various flavors, vibrant colors, or fun shapes to match any theme, holiday, or personal preference.
- Surprisingly Fun & Simple to Make: Don’t let the idea of making candy intimidate you. With our clear, easy-to-follow steps, you’ll find the process enjoyable, requiring only about 20 minutes of active prep time.
- Incredibly Versatile: These fluffy treats aren’t just for hot cocoa and s’mores. They make a fantastic sweet snack on their own, a delightful addition to baked goods, or an unexpected twist in dessert salads.
Essential Ingredients for Fluffy Marshmallows
This section details each ingredient, offering notes and potential substitution options to help you achieve the best results. For precise measurements and a full list of ingredients and instructions, refer to the printable recipe card located at the end of this post.
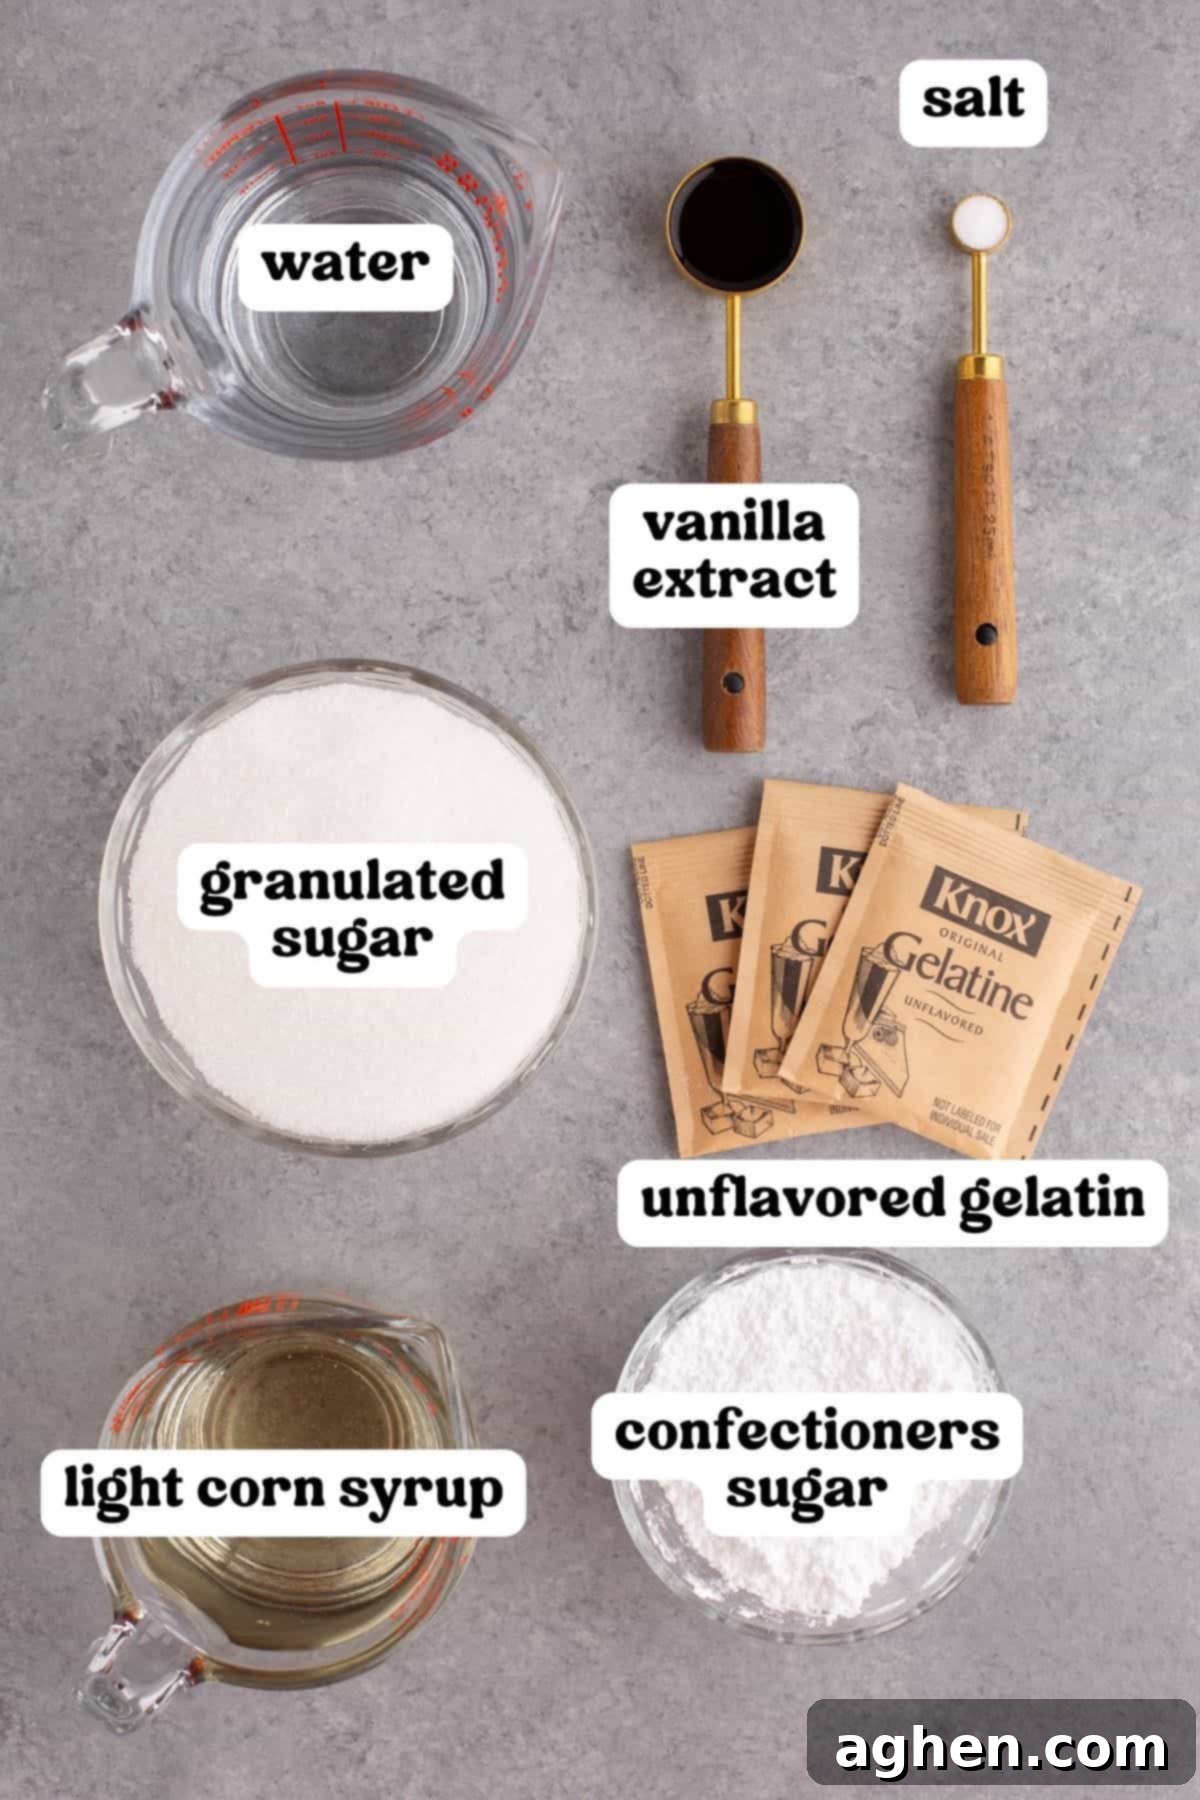
- Unflavored Gelatin: This is the backbone of your marshmallows, providing structure and that characteristic bounce. We recommend using high-quality unflavored gelatin, such as Knox gelatin. You’ll need 3 packets, totaling approximately .75 ounces or 7 teaspoons. Proper blooming of the gelatin is crucial for a smooth texture.
- Granulated Sugar: Standard white sugar provides the primary sweetness and structure for the syrup.
- Light Corn Syrup: A vital ingredient that helps prevent sugar crystallization, ensuring your marshmallows remain smooth, soft, and beautifully bright white. Do not confuse it with high-fructose corn syrup; light corn syrup is a different product.
- Water: Used for both blooming the gelatin and creating the sugar syrup.
- Vanilla Extract: A classic and essential flavoring that adds warmth and depth to the marshmallows. For an even more intense vanilla flavor, consider using vanilla bean paste. Don’t hesitate to experiment with other extracts for diverse flavor profiles (more on this in the variations section below).
- Salt: Just a pinch of salt balances the sweetness and enhances all the flavors in the marshmallows.
- Confectioners’ Sugar (Powdered Sugar): This finely ground sugar is essential for coating the finished marshmallows. It prevents them from sticking together, makes them easier to handle, and creates that appealing matte finish.
Essential Equipment for Marshmallow Making
Having the right tools makes the marshmallow-making process smooth and enjoyable:
- Stand Mixer with Whisk Attachment: This is non-negotiable for whipping the marshmallow mixture into its characteristic fluffy texture. A hand mixer won’t achieve the necessary volume or consistency.
- Measuring Cups/Spoons: For accurate ingredient measurement.
- Medium Saucepan: To prepare the sugar syrup.
- Candy Thermometer (this is the one I use): Crucial for precise temperature control of the sugar syrup, ensuring proper setting and texture.
- 9×13 Inch Pan: The ideal size for standard marshmallow thickness. A 9-inch square pan can be used if you prefer thicker, chunkier marshmallows.
- Sifter or Mesh Strainer: Essential for evenly dusting confectioners’ sugar without clumps.
- Rubber Spatula: For scraping down the mixer bowl and spreading the marshmallow mixture.
- Cutting Board: A clean, flat surface for cutting your set marshmallows.
- Sharp Knife or Pizza Cutter: For cleanly slicing the marshmallow slab.
How to Make Delicious Homemade Marshmallows from Scratch: Step-by-Step Guide
Follow these detailed steps, complete with photos, to successfully create your own batch of soft and fluffy marshmallows. For the complete printable recipe with exact quantities, please see the recipe card provided below.
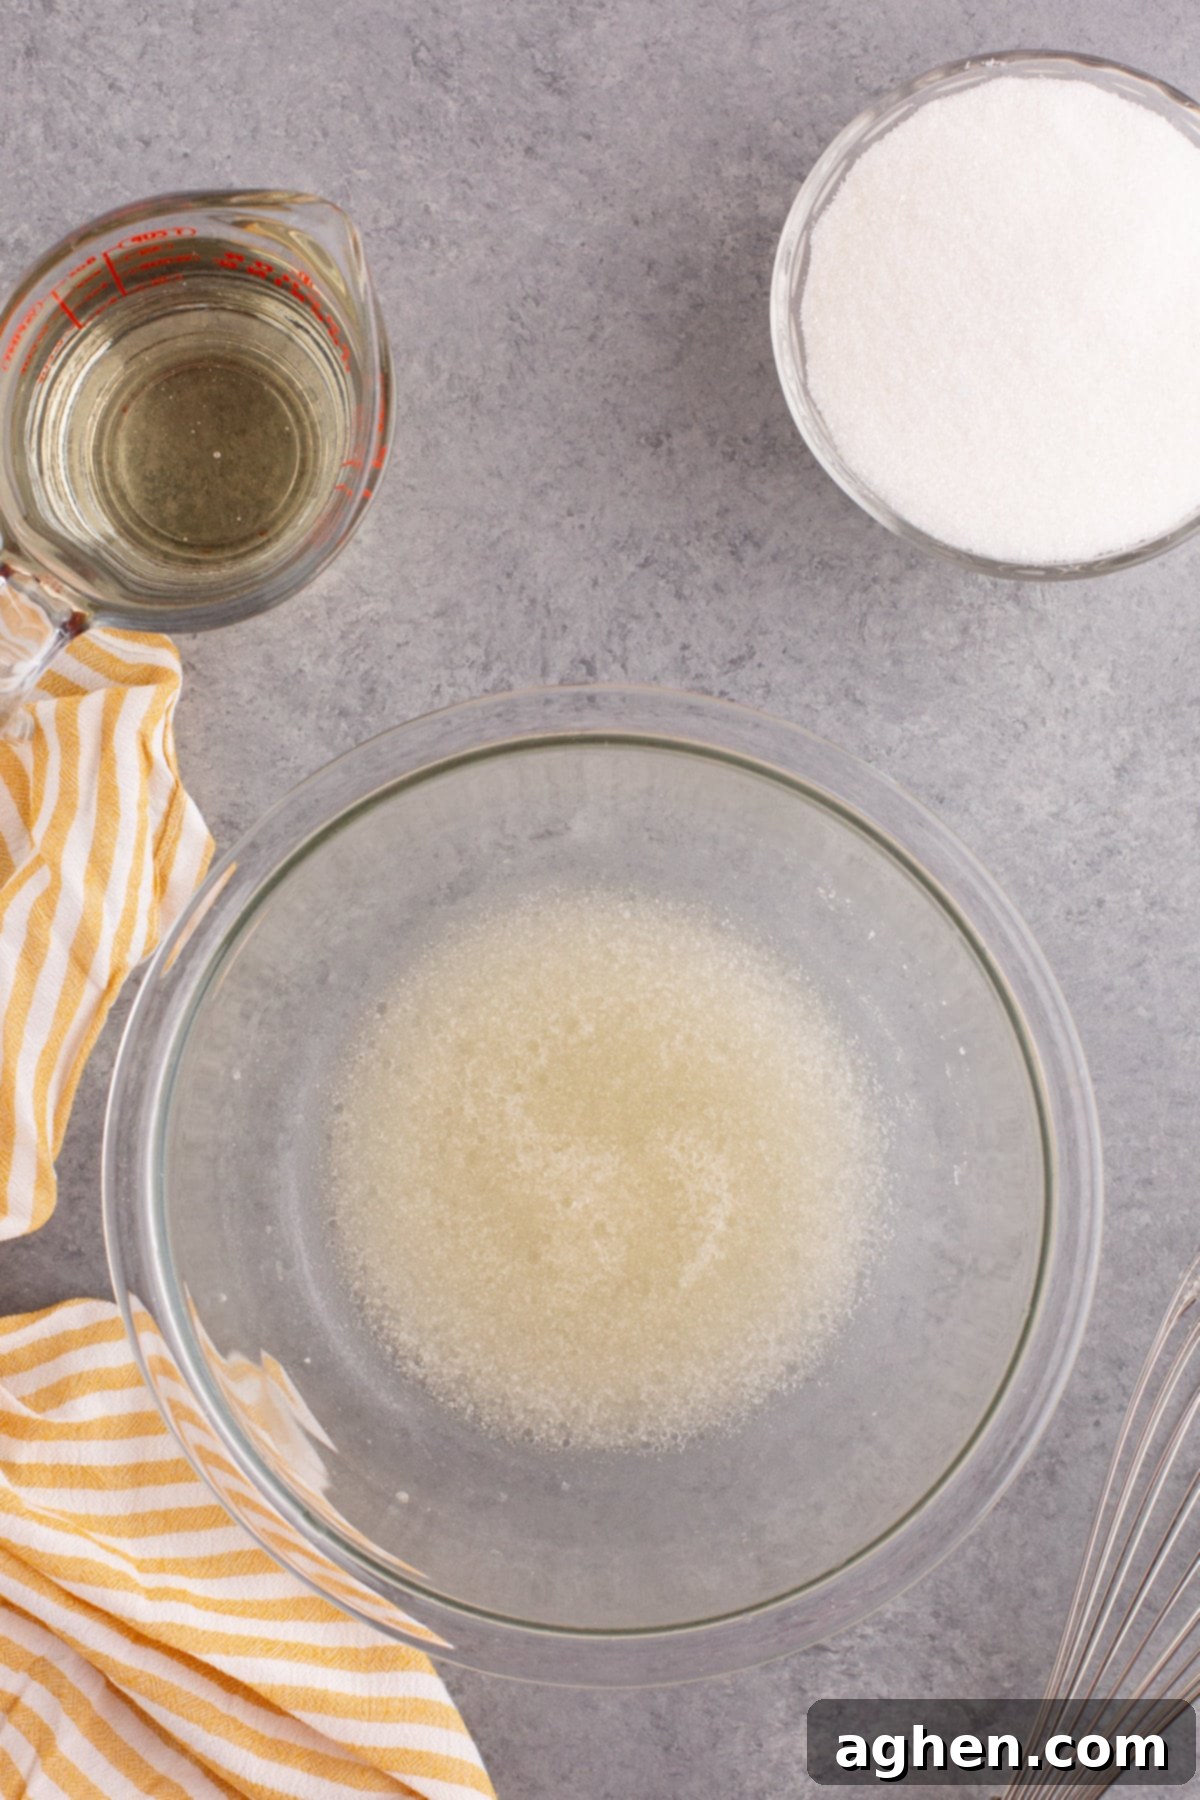
Step 1: Bloom the Gelatin. In a small bowl or directly in the bowl of your electric stand mixer, combine the gelatin powder with 1/2 cup of cool water. Stir briefly to ensure all the gelatin is moistened. Then, set this mixture aside for about 5-10 minutes. This step is absolutely crucial as it allows the gelatin granules to fully absorb water and “bloom” or hydrate. Proper blooming ensures that the gelatin will evenly disperse and dissolve when it’s mixed with the hot sugar syrup, leading to a smooth, uniform marshmallow texture without any gritty bits.
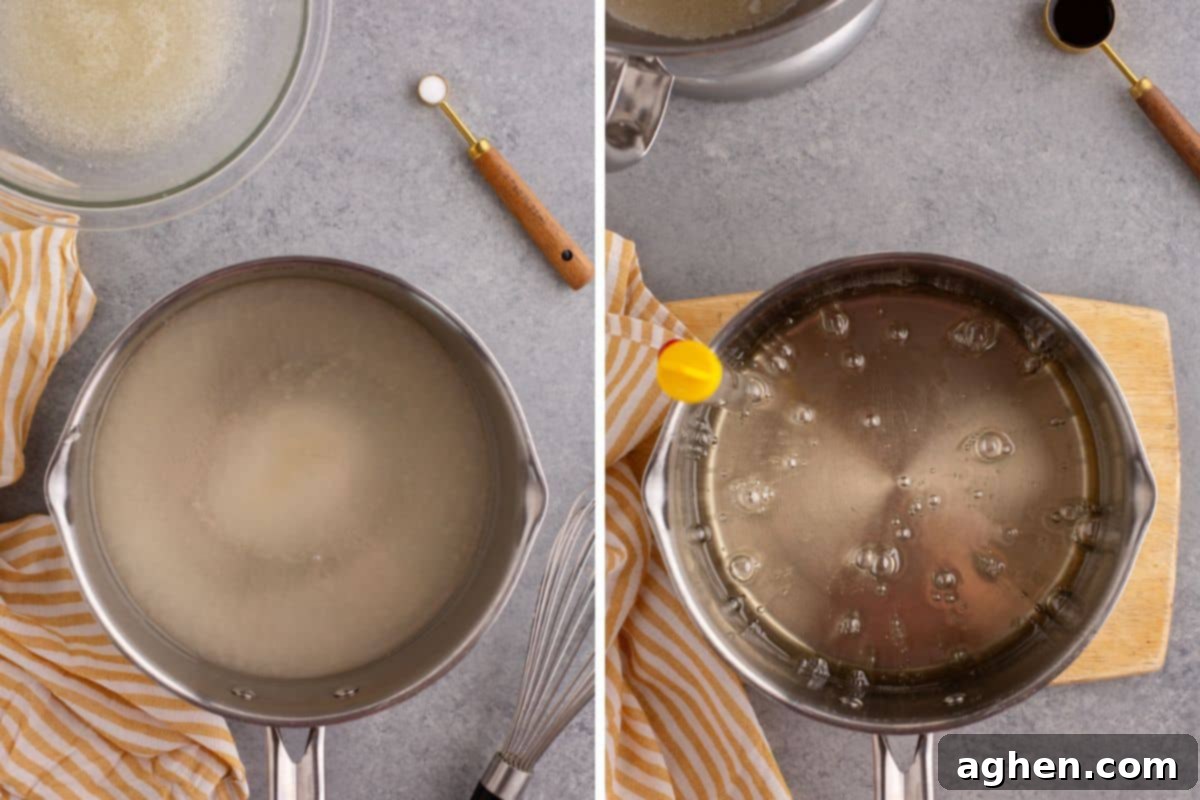
Step 2: Prepare the Sugar Syrup. In a medium-sized, heavy-bottomed saucepan, combine the granulated sugar, light corn syrup, the remaining 1/2 cup of water, and salt. Place the saucepan over medium-high heat and bring the mixture to a boil, stirring occasionally with a heat-proof spatula or wooden spoon to ensure the sugar dissolves completely and doesn’t scorch at the bottom of the pan. Once boiling, attach your candy thermometer to the side of the pan. It’s vital to monitor the temperature closely; allow the syrup to reach precisely 240°F (115°C). This temperature, known as the “soft ball stage,” ensures the syrup has the correct concentration of sugar for the marshmallows to set properly and achieve their desired texture. Once 240°F is reached, immediately remove the pan from the heat.
Important Candy Thermometer Tip
For accurate readings, ensure the tip of your candy thermometer is suspended in the syrup mixture and does not touch the bottom of the pan. Contact with the pan can lead to an artificially high and inaccurate temperature reading. Also, always use a dedicated candy thermometer, as meat thermometers are designed for different temperature ranges and may not be suitable for the higher temperatures required for candy making.
Step 3: Whip the Mixture. With your stand mixer fitted with the whisk attachment, begin mixing the bloomed gelatin on low speed. While the mixer is running, gradually and carefully pour the hot sugar syrup into the gelatin mixture in a slow, steady stream. Start on low speed to prevent splashing and ensure the gelatin fully dissolves and integrates with the syrup. Once all the syrup has been added, gradually increase the mixer speed to high. Whip the mixture continuously for approximately 10-12 minutes, or until it becomes incredibly thick, glossy, and has cooled significantly. This vigorous whipping incorporates a large amount of air into the mixture, which is solely responsible for creating the marshmallows’ signature light, airy, and fluffy texture. The mixture should also increase substantially in volume.
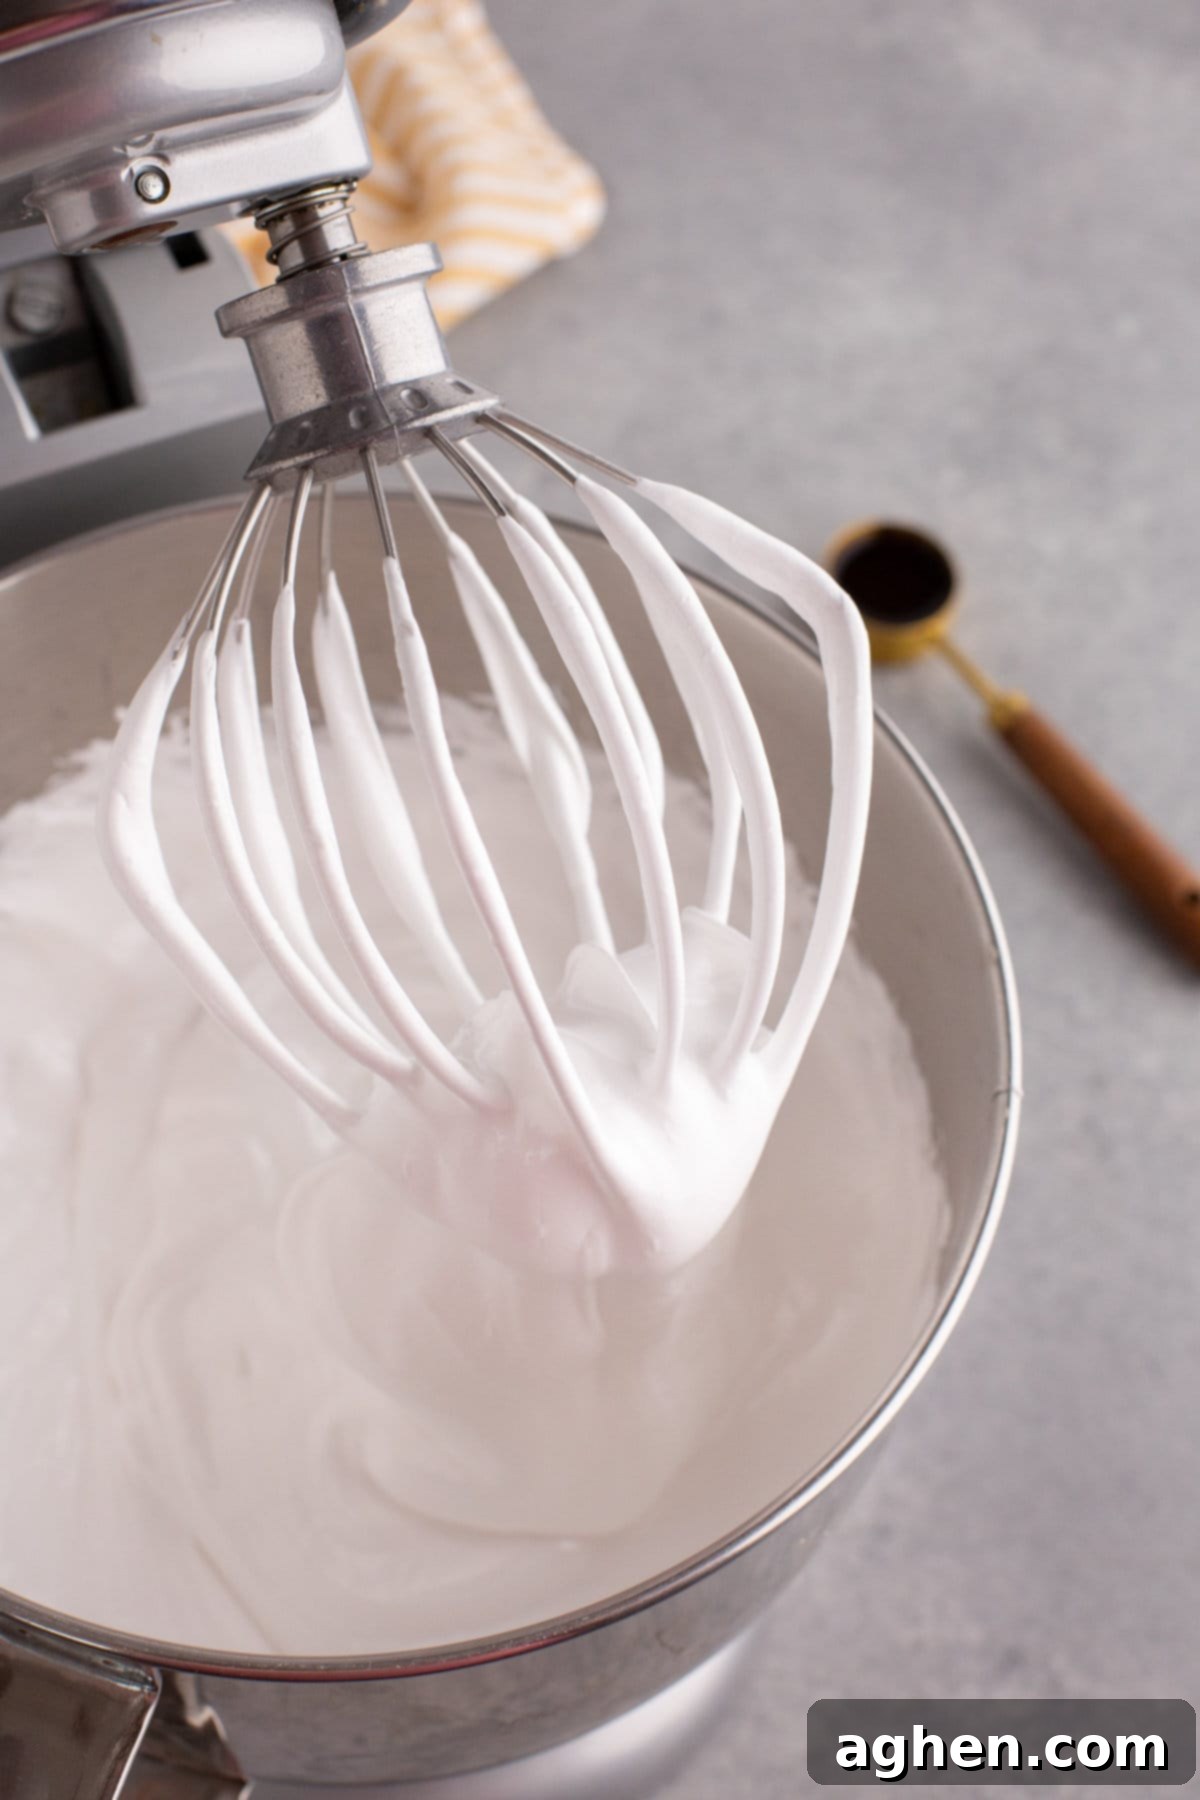
Step 4: Flavoring and Setting. Once the marshmallow mixture is wonderfully cooled, light, fluffy, and glossy (as pictured above), turn the mixer to low and add the vanilla extract (or your chosen flavoring). Mix for just about a minute until it’s fully incorporated. Immediately, pour and spread the marshmallow mixture evenly into your prepared 9×13 inch pan. To prepare the pan, generously dust it with confectioners’ sugar, ensuring every surface that will touch the marshmallow is coated to prevent sticking. Use a lightly greased offset spatula or the back of a spoon to spread the mixture smoothly. Once spread, generously dust the entire top surface of the marshmallow mixture with even more confectioners’ sugar. This double dusting is key to preventing stickiness. Cover the pan tightly with plastic wrap, making sure the wrap doesn’t directly touch the marshmallow surface. Allow the marshmallows to set undisturbed at room temperature for at least 8 hours, or ideally overnight, to fully solidify.
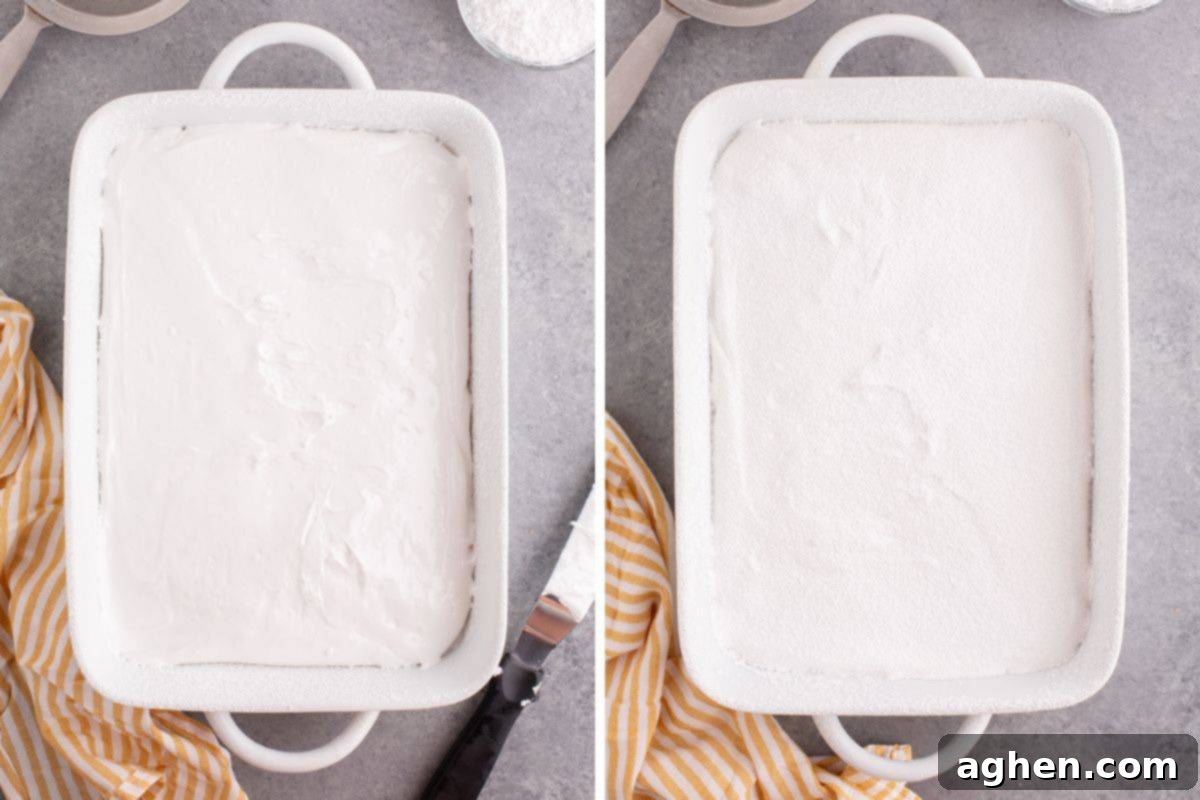
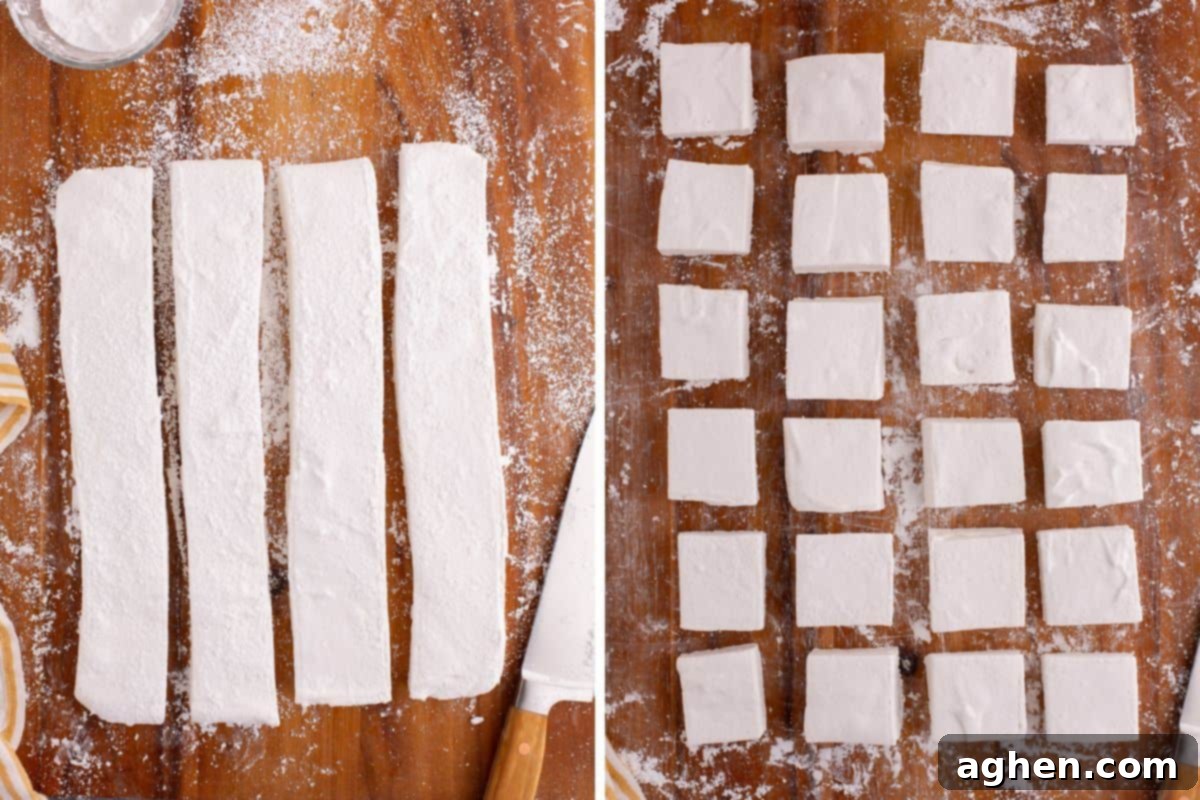
Step 5: Cut Marshmallows: After the marshmallows have fully set and are firm to the touch, it’s time to cut them. Generously dust your cutting board or a clean counter surface with confectioners’ sugar. Using a butter knife or a thin spatula, carefully run it along the edges of the pan to loosen the marshmallow slab. Invert the pan onto the powdered surface, allowing the marshmallow block to release. Dust the top of the marshmallow slab with additional confectioners’ sugar. Now, using a sharp knife or a pizza cutter, slice the marshmallows into your desired shapes, typically squares. For best results and to prevent sticking, continuously dust your knife with confectioners’ sugar between cuts and lightly dust the cut sides of the marshmallows as needed. This ensures clean cuts and easy handling.
Storage Best Practices for Homemade Marshmallows
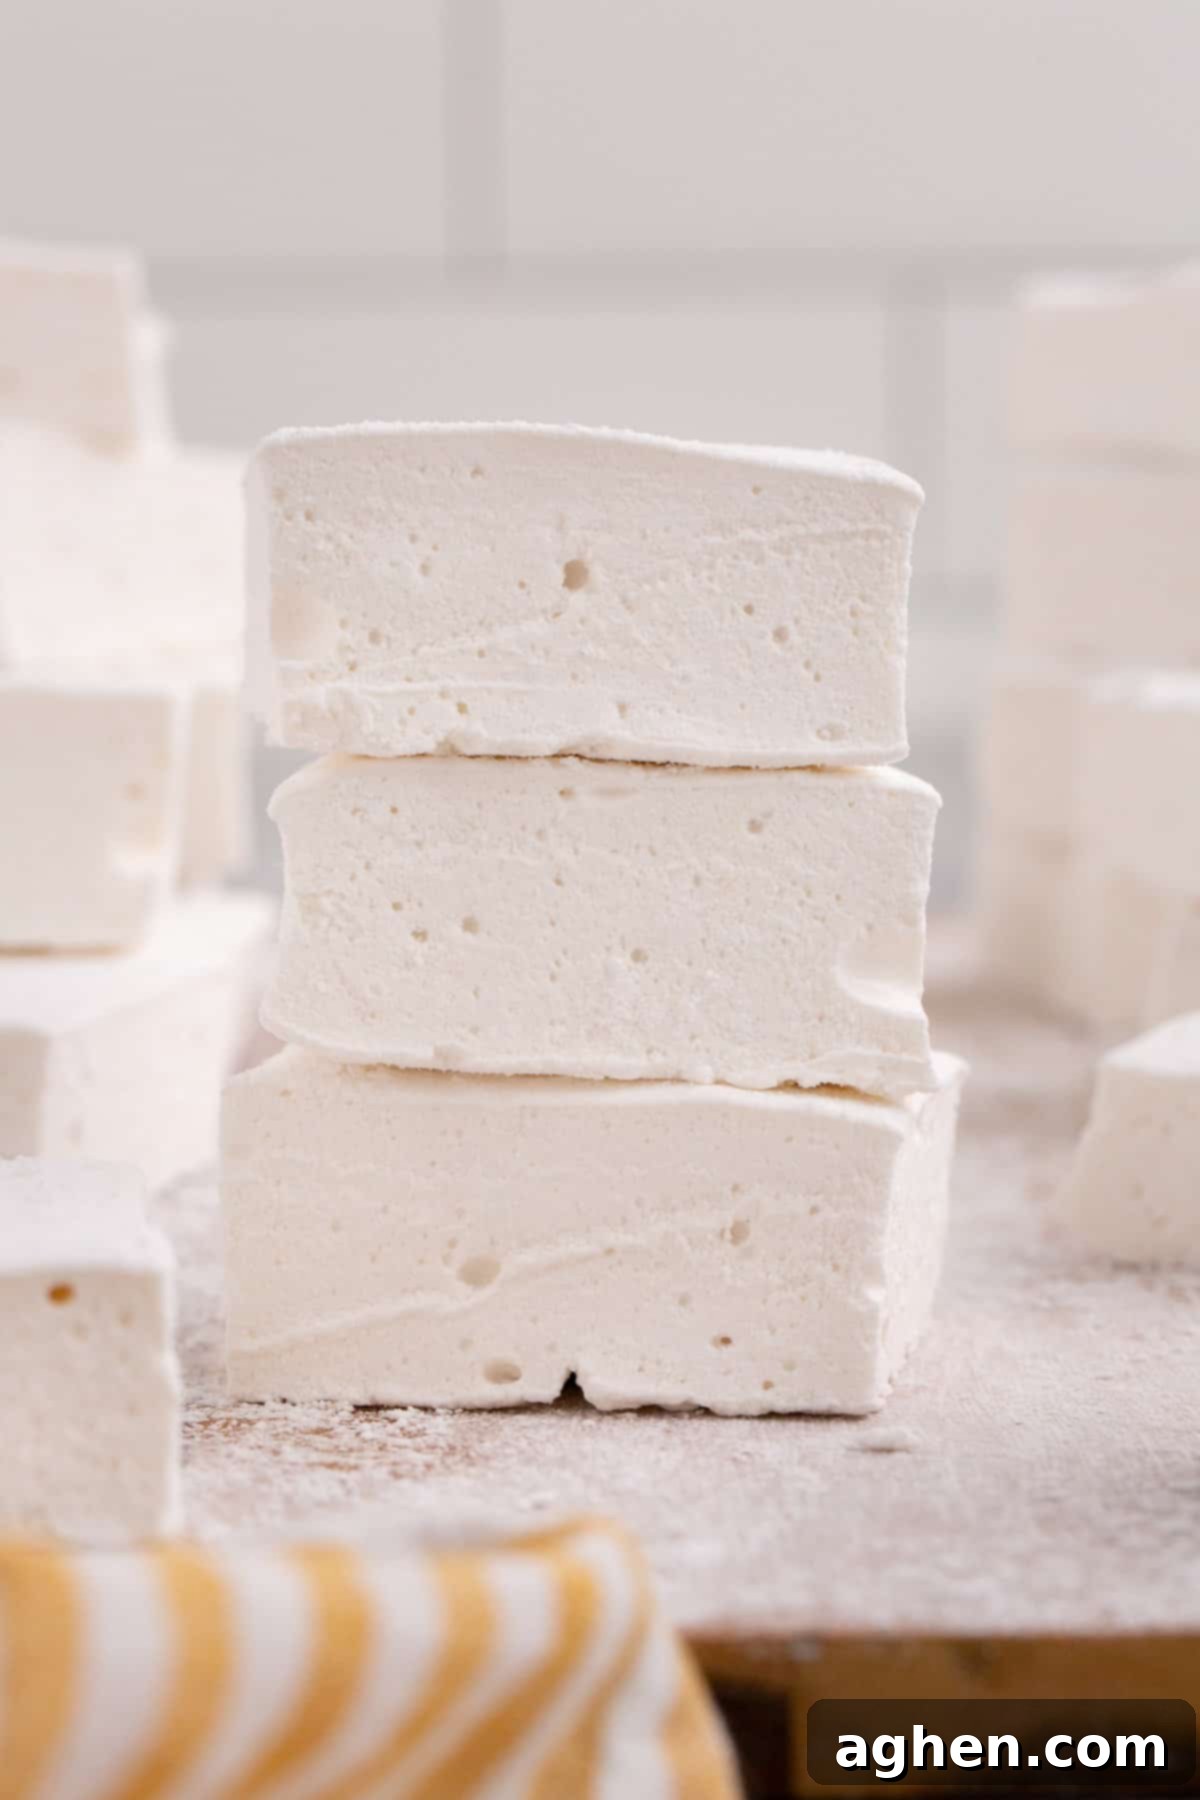
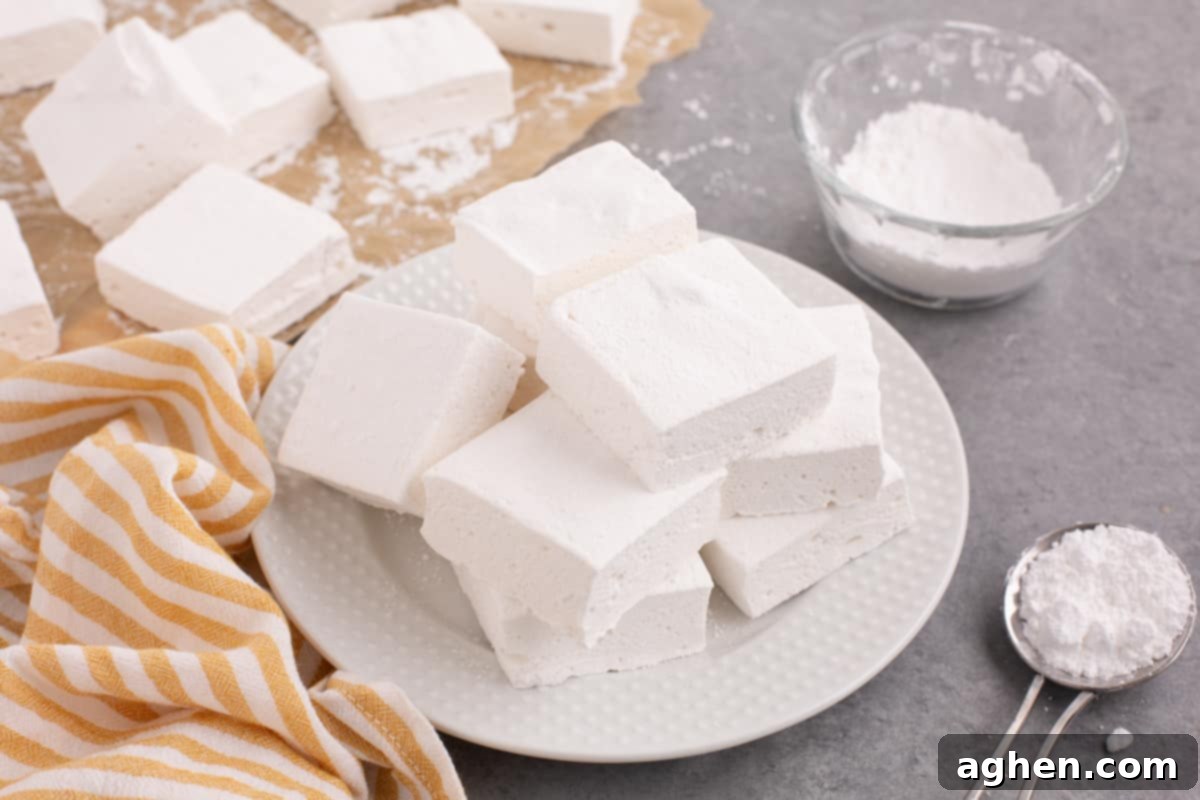
Proper storage is key to maintaining the freshness and texture of your homemade marshmallows. Store them at room temperature in an air-tight container, making sure they are well-dusted with confectioners’ sugar to prevent sticking. When stored correctly, they will remain wonderfully soft and fresh for up to 2 weeks.
We do not recommend freezing or storing homemade marshmallows in the refrigerator. The cold, humid environment of a refrigerator can cause them to become stiff and absorb moisture, leading to a gummy texture. Freezing can also alter their delicate structure, resulting in a less desirable consistency once thawed.
Expert Tips for Guaranteed Marshmallow Success
- Bloom Gelatin Properly: This step is fundamental. Ensure your gelatin is fully hydrated in cool water before introducing any hot syrup. This prevents lumps and guarantees a smooth, consistent texture in your finished marshmallows.
- Monitor Sugar Syrup Closely: Precision is paramount here. Always use a reliable candy thermometer to heat the sugar syrup to exactly 240℉ (the soft ball stage). Removing it promptly from the heat at this point is crucial for the marshmallows to set correctly without becoming too hard or too soft.
- Whip to the Right Consistency: The whipping stage is where the magic happens. Continue whipping the mixture on high speed until it’s not only thick and glossy but also significantly cooled down. This incorporates sufficient air and develops the fluffy, light texture that defines a perfect marshmallow.
- Dust Generously with Powdered Sugar: To combat stickiness, be liberal with your confectioners’ sugar! Dust the pan, your cutting surface, the marshmallow slab, and your knife (re-dusting frequently) to ensure easy release, clean slices, and marshmallows that don’t cling to each other.
Creative Additions and Flavor Variations
One of the best parts about making marshmallows from scratch is the endless possibilities for customization:
- Vibrantly Colored Marshmallows: For a fun pop of color, add a few drops of your favorite food coloring (gel or liquid) after the whipping stage, mixing for an additional 30-60 seconds until the color is evenly distributed.
- Elegant Swirled Marshmallows: After whipping, spread half of the plain marshmallow mixture into your prepared pan. Then, mix food coloring into the remaining half of the mixture. Dollop the colored portion over the white base and gently swirl with a knife or skewer to create a beautiful marbled effect before setting.
- Exciting Flavored Marshmallows: Beyond vanilla, a world of flavors awaits! Reduce the vanilla extract to 1 teaspoon and add ¼ teaspoon of your preferred extract. Popular choices include peppermint, spearmint, orange, raspberry, strawberry, lemon, or almond extract. Adjust the amount to taste, adding more in ¼ teaspoon increments and whipping well after each addition to ensure even distribution.
- Fun Shaped Marshmallows: Once your marshmallow slab is fully set, get creative with cookie cutters! Dust your favorite cookie cutters with powdered sugar and press them into the marshmallow to create unique shapes, perfect for themed parties or holidays.
- Delightful Add-ins: Elevate your marshmallows with textural and flavor bursts. Gently stir in crushed candies (like peppermints or toffee bits) or mini chocolate chips just before spreading the marshmallow mixture into the pan. This creates a delightful surprise in every bite.
Creative Ways to Enjoy Your Homemade Marshmallows
Once you’ve made a batch of these glorious homemade marshmallows, you’ll find countless ways to enjoy them:
- Gourmet S’mores: Transform this classic campfire treat by replacing store-bought marshmallows with your homemade ones. Their superior melt and flavor will take your s’mores to an entirely new level of deliciousness. Or try this tasty twist on s’mores (no campfire needed).
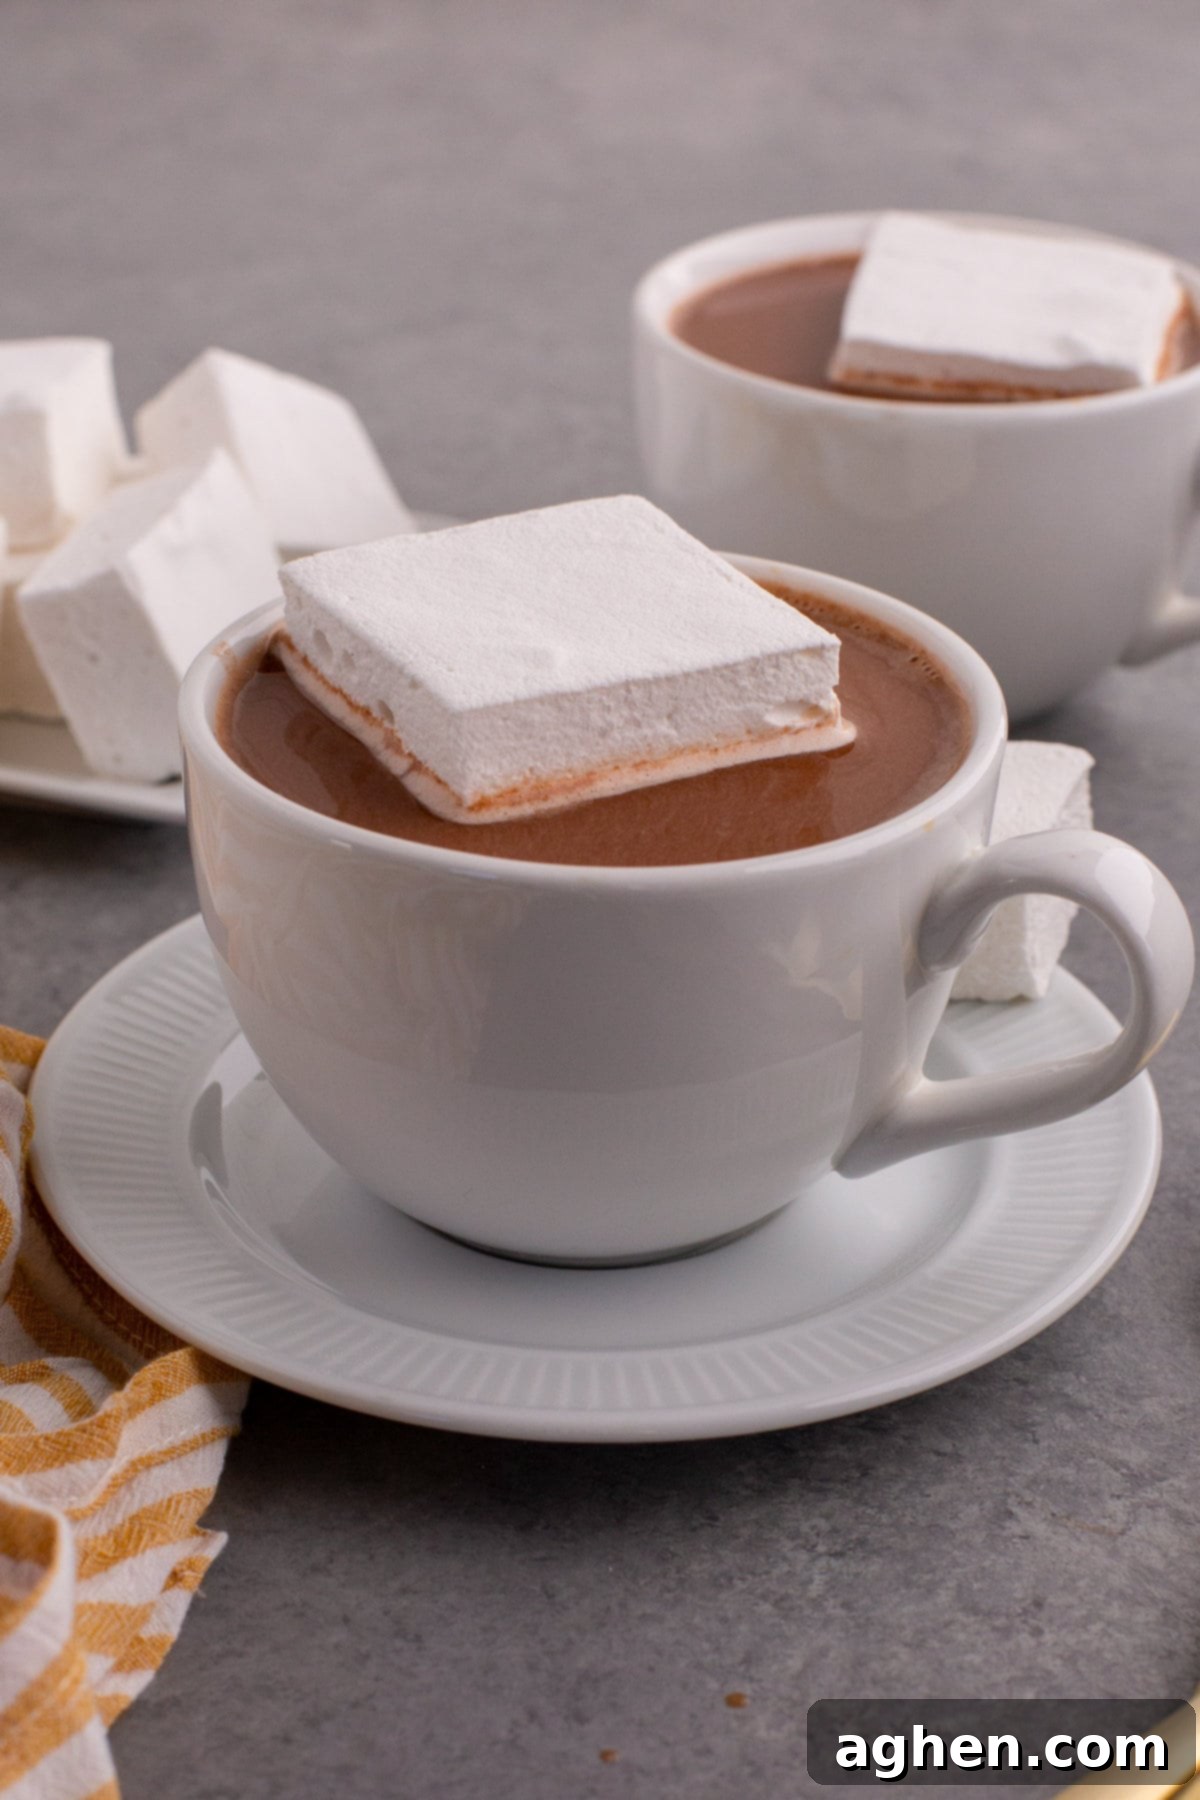
- Luxurious Hot Chocolate: Drop a large, fluffy homemade marshmallow into a mug of your favorite hot chocolate for an extra special, melt-in-your-mouth experience. Watch it slowly dissolve, adding a creamy richness to your drink. Or try them in this incredible salted caramel hot chocolate.
- Elevated Rice Krispies Treats: Use your homemade marshmallows in Rice Krispies treats for a remarkably richer, creamier, and chewier texture that’s far superior to traditional versions.
- Delicious Dessert Salads: Chop them up into smaller pieces and add them to vibrant marshmallow fruit salad or other delightful dessert salad recipes for added sweetness and texture.
- Decadent Homemade Candy: Combine your fluffy marshmallows with melted chocolate and crunchy nuts to craft irresistible homemade rocky road candy.
- Unique Cookies: Incorporate them into your baking! Make a batch of marshmallow-topped hot chocolate cookies for a warm, gooey center.
Frequently Asked Questions (FAQ) About Homemade Marshmallows
While a candy thermometer provides the most accurate results, you can use the “cold water test” as an alternative. To do this, drop a small amount of the boiling sugar syrup into a glass of cold water. If it forms a soft, pliable ball that flattens when removed from the water, it has reached the soft ball stage (240°F/115°C) and is ready. However, for consistent and precise results, a candy thermometer is highly recommended.
Several factors can lead to marshmallows not setting correctly. The most common reasons include not boiling the sugar mixture to the precise temperature of 240°F (soft ball stage), not whipping the mixture for a sufficient amount of time (it needs to become very thick, glossy, and cool), or improperly hydrated gelatin (ensure it blooms fully in cool water before adding the hot syrup).
When stored in an airtight container at room temperature, homemade marshmallows can last for up to 2 weeks. It’s crucial to ensure they are thoroughly dusted with confectioners’ sugar on all sides to prevent sticking and to help protect them from absorbing moisture from the air, which can make them gummy.
The best way to prevent sticking is to generously dust your knife with confectioners’ sugar before each cut. Re-dust the knife as necessary, especially if it starts to get sticky. You can also lightly grease the knife with a neutral oil, but powdered sugar is generally preferred for a cleaner finish.
Yes, while light corn syrup is highly recommended because it effectively prevents sugar crystallization and contributes to that perfectly soft and fluffy texture, you can use alternatives. Agave syrup, maple syrup, honey, or golden syrup can be good substitutes, though they might impart a slight flavor and color to your marshmallows, and the texture might vary slightly.
Homemade Marshmallow Recipe
Author: Jaclyn
Ingredients
- 1 cup water divided
- 3 packets unflavored gelatin .75 ounces
- 1 ½ cups granulated sugar
- 1 cup light corn syrup
- ¼ teaspoon salt
- 1 Tablespoon vanilla extract
- confectioners sugar for dusting
Instructions
-
In the bowl of a stand mixer fitted with the whisk attachment, whisk ½ cup of cool water with gelatin powder and set aside while you prepare the sugar syrup.
-
In a medium saucepan, combine granulated sugar, corn syrup, remaining ½ cup of water, and salt. Bring to a boil over medium-high heat, stirring occasionally to ensure sugar does not burn on the bottom. Using a candy thermometer, heat mixture to 240℉ then remove from heat.
-
With the mixer on low speed, slowly pour the hot sugar mixture into the gelatin mixture. Continue to mix on low until the gelatin dissolves, about 1 minute. Gradually increase the speed to high, whipping until cool, thick, and glossy (about 10-12 minutes).
-
Add vanilla extract (or your preferred flavoring), mixing until incorporated, about 1 minute).
-
Generously dust a 9×13 inch baking dish with confectioners sugar. Spread marshmallow mixture evenly into the pan. Dust top with confectioners sugars. Cover tightly with plastic wrap, being careful not to let it touch the surface of the marshmallows. Allow to set at room temperature for 8 hours or overnight.
-
When ready to cut marshmallows, generously dust work surface with confectioners sugar. Run a knife along the edge of the pan to loosen marshmallow slab and invert to release. Using a knife dusted with confectiners sugar, cut marshmallows into desired sizes. Continue to dust the knife, work surface, and marshmallows as necessary to prevent sticking.
Notes
- When placing the thermometer onto the pot ensure the tip is suspended in the syrup mixture and not directly touching the bottom of the pan, as this can give an inaccurate reading.
- Store in an air-tight container at room temperature for up to 2 weeks.
- For 1 ½ inch marshmallows, cut 4 strips lengthwise. Then cut each strip into 6 pieces.
- The recipe yields 24 large 1½-inch-marshmallows, the perfect size for s’mores. If you slice your marshmallows smaller the yield will be higher.
Nutrition

Did You Make This Recipe?
Share it with me on Instagram @crayonsandcravings and follow on Pinterest @crayonsandcravings for even more!
Pin Recipe
Leave A Review
