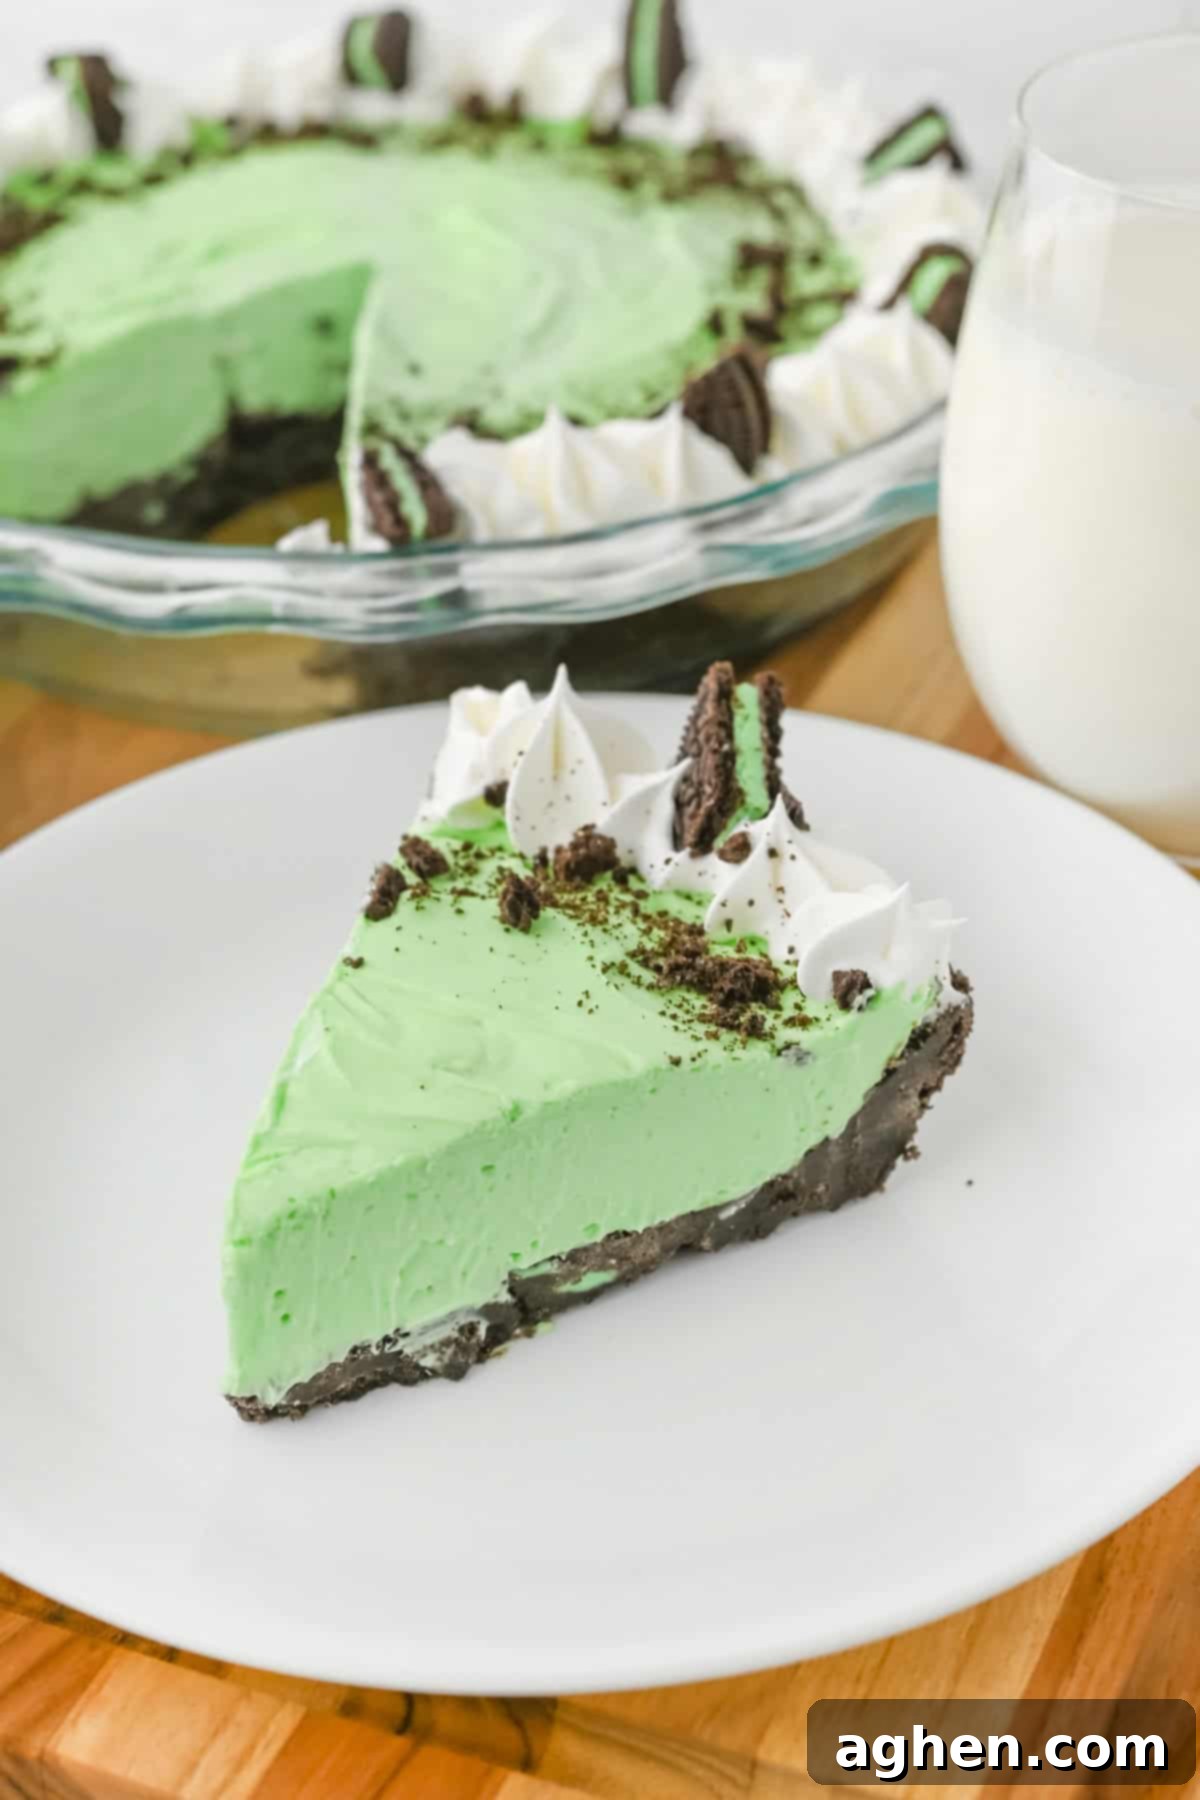
Indulge in the Ultimate No-Bake Grasshopper Pie: A Creamy Mint Chocolate Dream
Prepare to be enchanted by this phenomenal No-Bake Grasshopper Pie! Featuring a velvety, intensely minty filling nestled within a rich, dark chocolate cookie crust, this frozen dessert is a spectacular treat. Chilled to perfection, every decadent bite tastes like a classic Grasshopper cocktail transformed into an irresistible pie, offering a refreshing and luxurious experience without ever needing to turn on your oven.
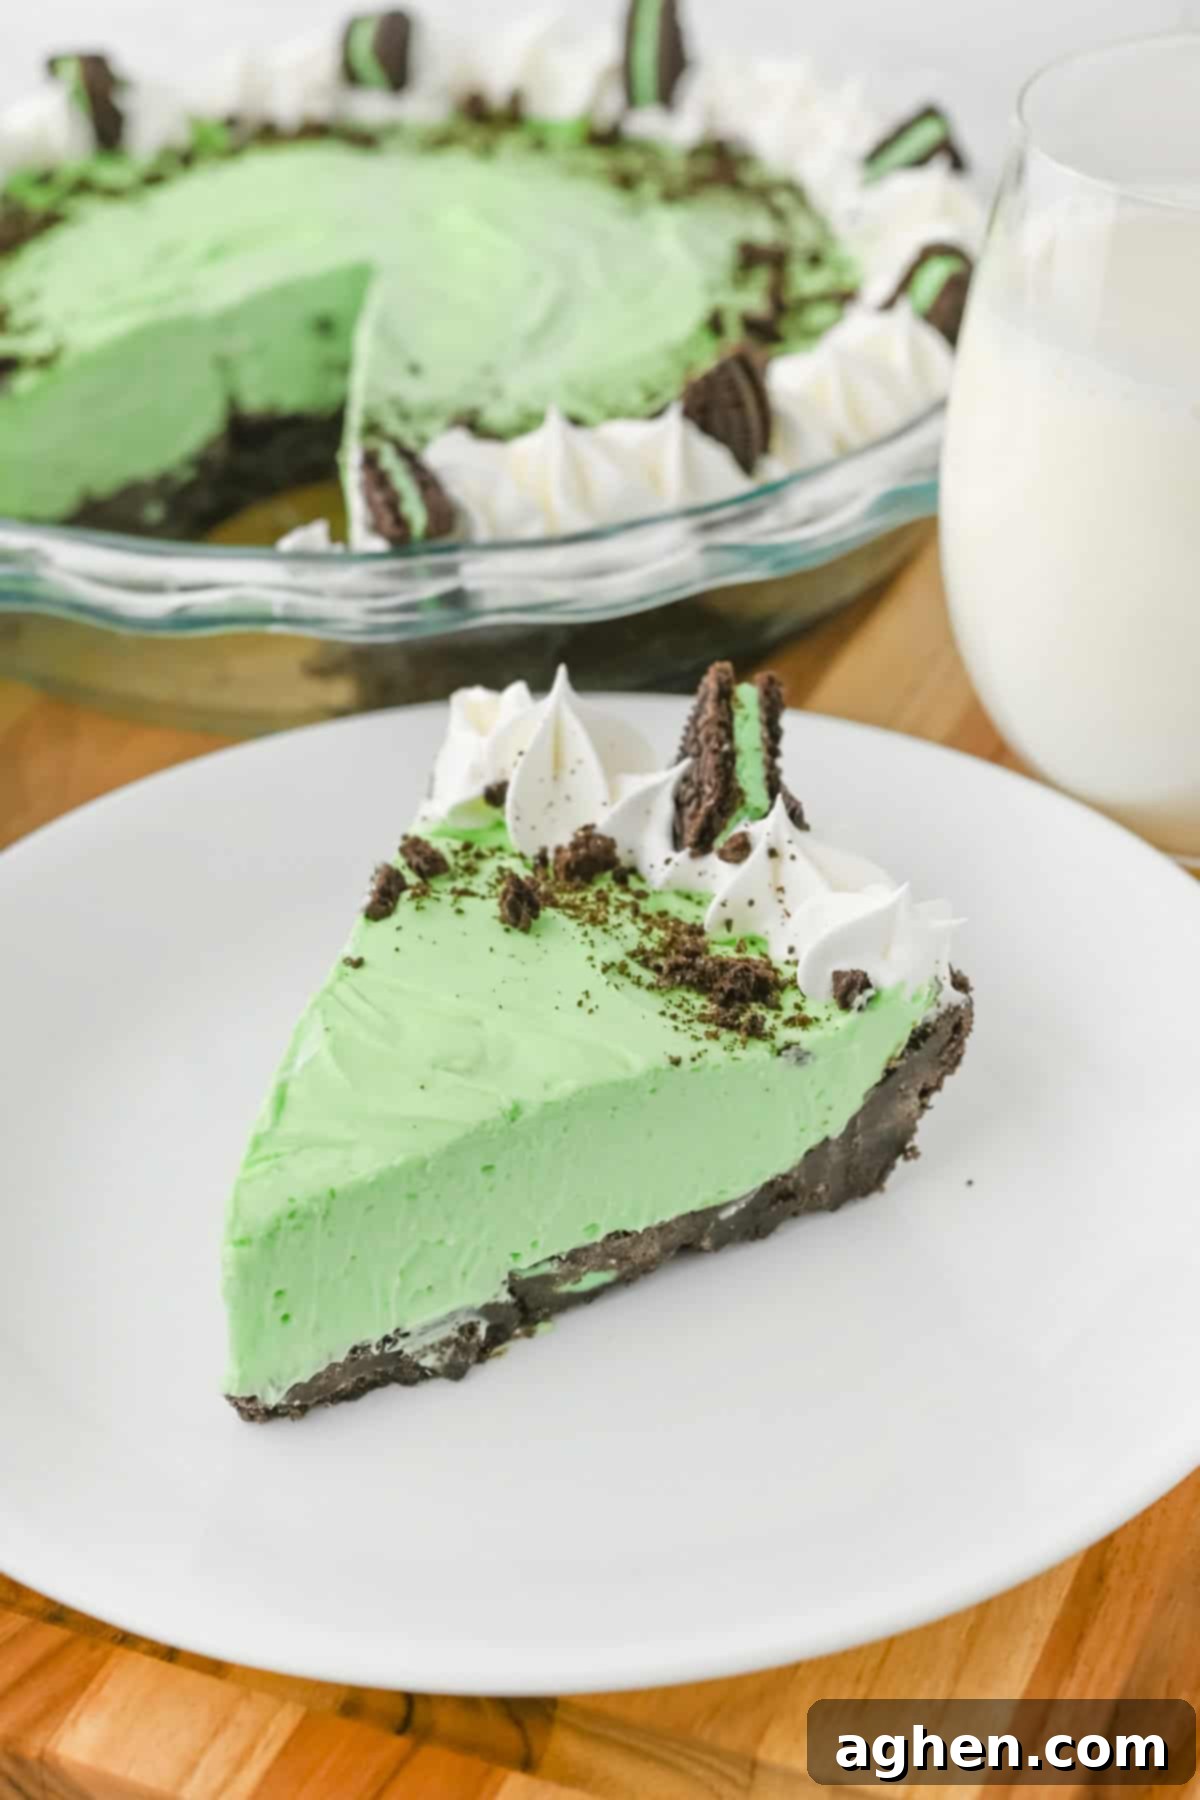
Just like my popular Mint Chocolate Chip Dip and decadent Andes Mint Fudge, this incredible Mint Oreo Pie is my go-to recipe when I want an effortlessly impressive mint chocolate dessert. It’s not only incredibly delicious but also adds a stunning pop of vibrant green to any dessert table, making it a feast for both the eyes and the palate. Its cool, creamy texture and refreshing mint flavor are universally loved, guaranteeing smiles all around.
Whether you’re celebrating St. Patrick’s Day, hosting a lively summer barbecue, enjoying a cozy family dinner, or simply craving a delightful mid-week treat, this Frozen Grasshopper Pie is guaranteed to be an absolute showstopper. Its make-ahead convenience and delightful flavor profile make it a perfect choice for any occasion, big or small. Looking for more delightful and easy-to-prepare no-bake desserts? Don’t miss these amazing 11 no-bake pie recipes, offering a world of effortless indulgence!
Why This No-Bake Grasshopper Pie Will Be Your New Favorite Dessert
- Effortless Elegance: No Baking Required! This pie is your best friend on hot summer days or when oven space is precious. It comes together quickly with minimal fuss, making it ideal for busy schedules without compromising on taste or presentation.
- Irresistible Flavor & Texture: Experience the perfect harmony of a rich, deeply chocolatey cookie crust and an unbelievably creamy, light, and refreshing mint filling. It’s a delightful textural contrast that will keep you coming back for more.
- Visually Stunning & Versatile: The vibrant green hue makes this pie a fun and festive dessert, perfect for themed parties like St. Patrick’s Day, Christmas, or any gathering where you want to add a touch of color and whimsy.
- Fantastic for Meal Prep: This pie is designed for convenience! You can easily prepare it ahead of time and store it in the freezer, making it a stress-free option for entertaining or whenever a craving strikes.
- Tastes Like a Giant Mint Oreo Dream: If you adore the classic combination of mint and chocolate found in Mint Oreos, then this pie is your ultimate indulgence. It captures that iconic flavor in a luxurious, frozen dessert format.
Key Ingredients for Your Perfect Mint Grasshopper Pie
This section provides detailed notes on the essential ingredients and offers helpful substitution options. For precise measurements, a comprehensive list of all ingredients, and step-by-step instructions, please refer to the complete printable recipe card located at the very end of this post.
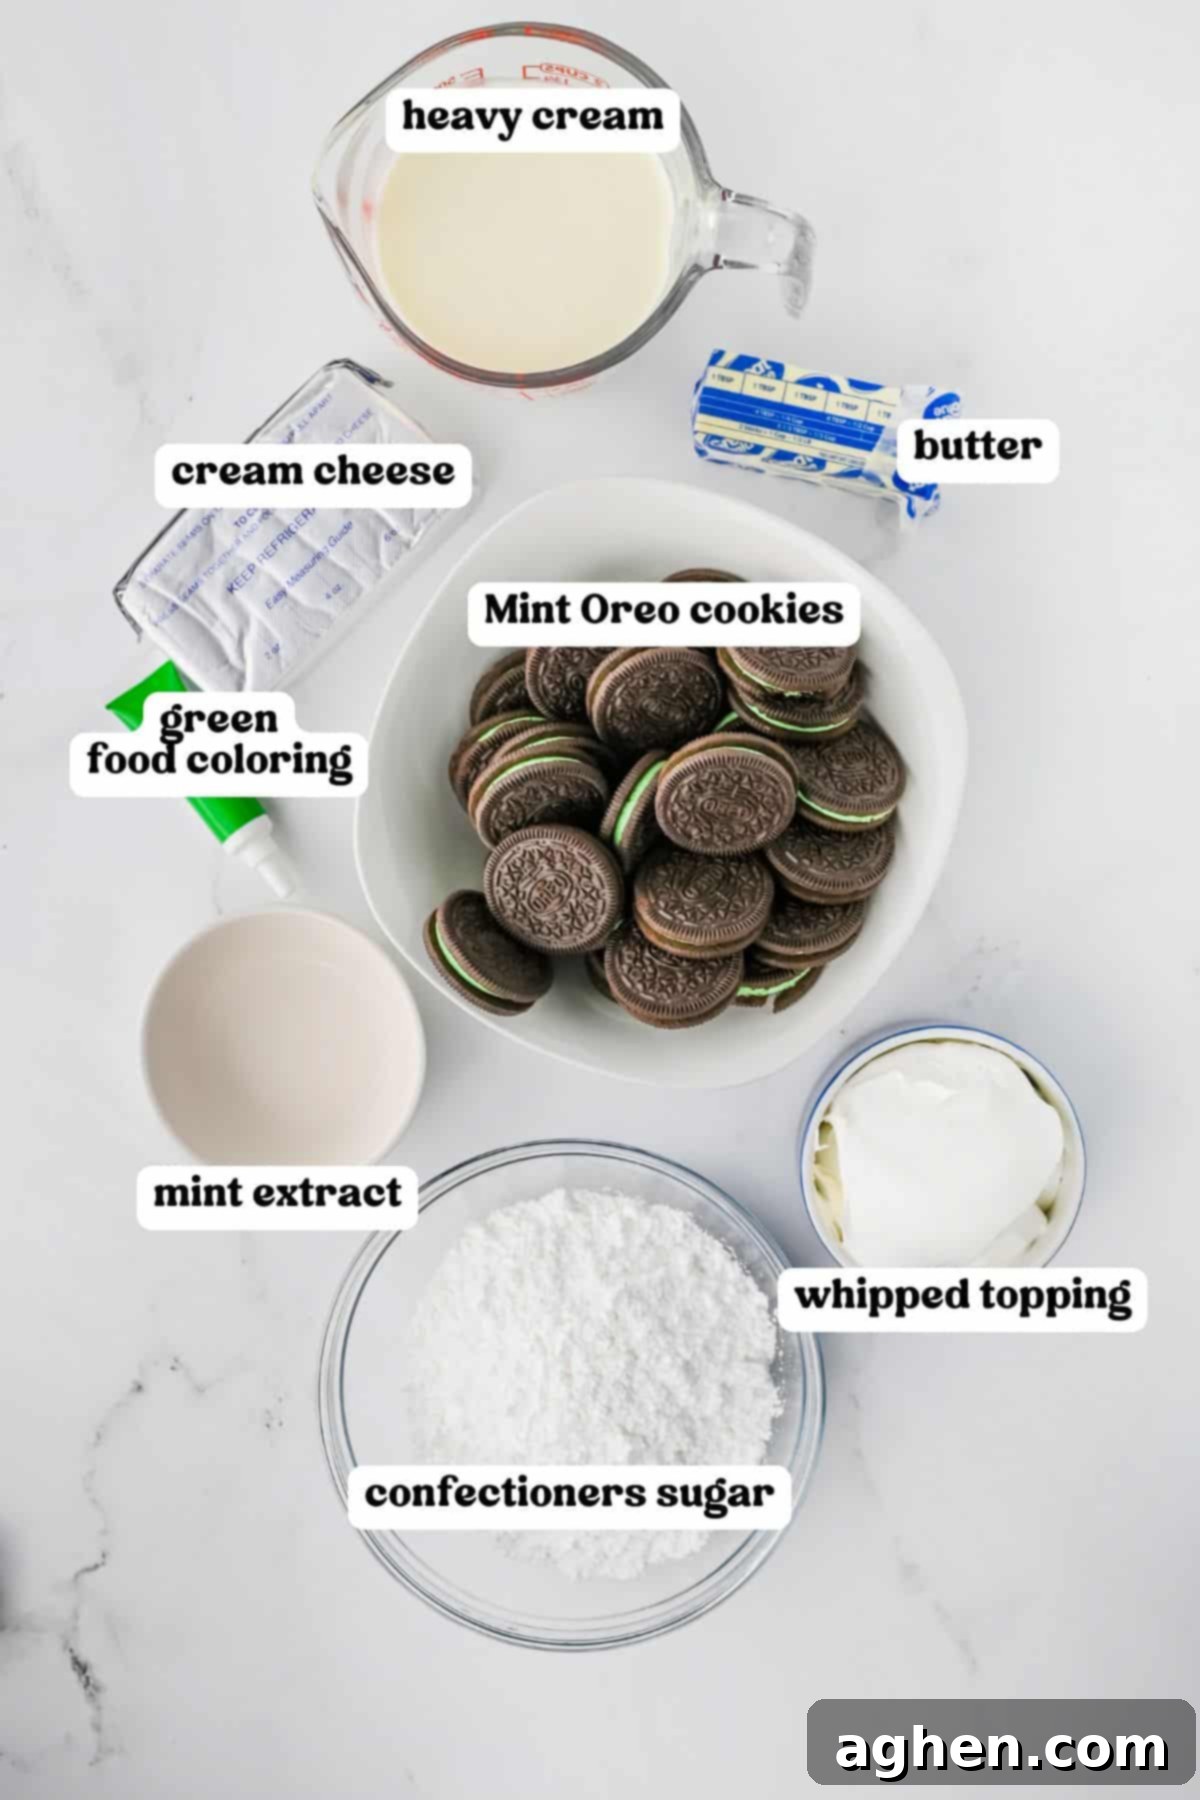
- Mint Oreo Cookies: These iconic cookies are the star of our chocolate crust, infusing it with that quintessential chocolate-mint flavor and satisfying crunch. For an equally delicious twist, you can use regular Oreo cookies if Mint Oreos are unavailable, or even a combination of both for a subtle mint hint.
- Unsalted Butter: Essential for binding the crushed Oreo crumbs together, creating a firm and delicious pie crust. While unsalted butter is preferred for better control over the overall saltiness, salted butter can also be used; just be mindful of the added pinch of salt in the filling.
- Heavy Cream: This is the secret to a light, airy, and incredibly fluffy filling. When whipped, it transforms into a decadent cloud-like texture that perfectly complements the rich flavors. Ensure it’s very cold before whipping for the best results.
- Cream Cheese: Provides the luscious, creamy base and delightful tang for our filling. For the richest flavor and best consistency, always opt for full-fat cream cheese. Remember to allow your cream cheese to soften to room temperature before you begin mixing; this prevents lumps and ensures a perfectly smooth filling.
- Mint Extract: This is what gives our pie its distinct and refreshing grasshopper flavor. Adjust the amount to your preference – a little extra can provide a bolder minty kick. For a slightly different profile, peppermint extract can be used for a more intense, sharp mint flavor.
- Green Food Coloring: While optional, a few drops of green food coloring are what give this dessert its signature festive look, making it a true grasshopper pie! Gel food coloring is recommended over liquid, as it delivers a vibrant color without altering the filling’s consistency.
- Cool Whip (or homemade whipped cream): Used for decorating the top of the pie, adding an extra layer of creaminess and visual appeal. You can pipe it elegantly around the edges or spread it generously over the entire surface. If you prefer, freshly whipped homemade cream is an excellent alternative for a more gourmet touch.
- Confectioners’ Sugar: Also known as powdered sugar, this fine sugar blends seamlessly into the filling, providing sweetness and contributing to its smooth, creamy texture.
- A Pinch of Salt: A tiny bit of salt helps to balance the sweetness and enhance all the other flavors, particularly the chocolate and mint.
How to Effortlessly Create Your Mint Grasshopper Pie
This section provides clear, step-by-step instructions accompanied by helpful photos to guide you through the recipe. For the complete, printable recipe, including all ingredient quantities and detailed instructions, please refer to the dedicated recipe card found below.
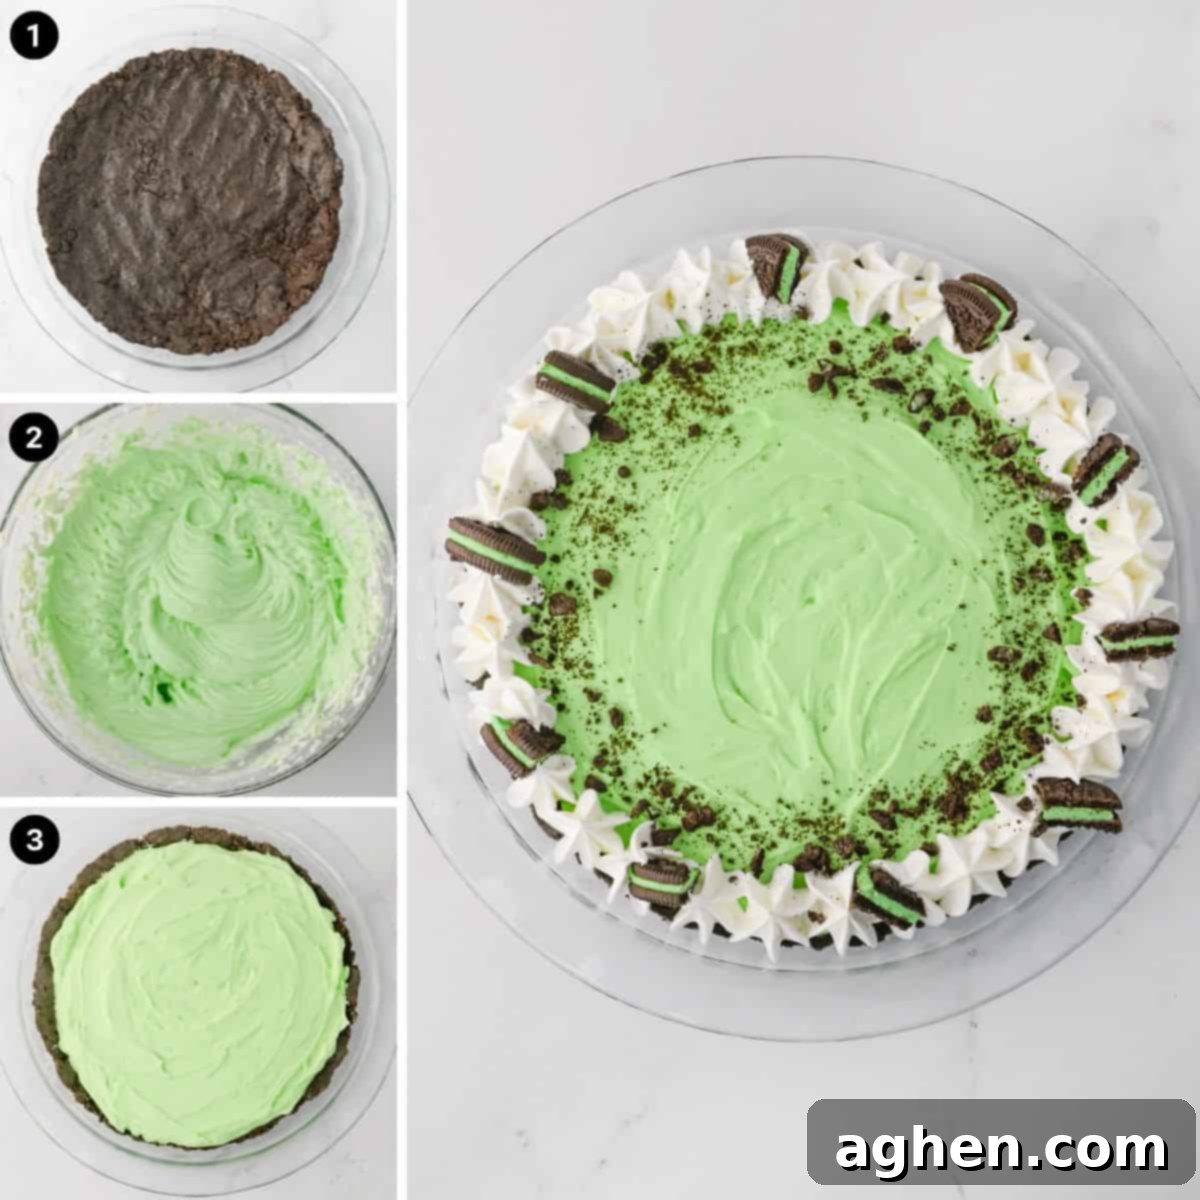
Creating this stunning No-Bake Grasshopper Pie is remarkably simple. Just follow these easy steps:
Step 1: Prepare the Chocolate Cookie Crust. Begin by crushing approximately 30 Mint Oreo cookies into very fine crumbs. A food processor works wonders for this, but you can also place them in a zip-top bag and crush them with a rolling pin. Once you have fine crumbs, transfer them to a bowl and mix thoroughly with 5 tablespoons of melted unsalted butter. Press this mixture firmly and evenly into a 9-inch pie pan to form your crust. For best results, use the bottom of a glass or a flat measuring cup to compact the crumbs. Place the pie crust in the freezer to chill and firm up while you prepare the filling.
Step 2: Whip the Cream and Prepare the Mint Filling Base. In a large mixing bowl, using a stand mixer fitted with the whisk attachment or a hand mixer, beat the cold heavy cream until stiff peaks form. The cream should hold its shape when the whisk is lifted. Set this whipped cream aside. In a separate, clean bowl, beat the softened cream cheese until it is completely smooth and creamy. Gradually add the confectioners’ sugar, a pinch of salt, mint extract, and a few drops of green food coloring to the cream cheese mixture. Continue to beat until all ingredients are well combined and the color is uniform and vibrant. Remember, the color will lighten slightly when you fold in the whipped cream, so aim for a slightly deeper shade than your desired final color.
Step 3: Combine and Pour the Filling. Gently fold the prepared whipped cream into the mint cream cheese mixture. Use a spatula and a light hand to ensure the whipped cream’s airy texture is maintained. Fold until just combined, being careful not to overmix. Pour this luscious, minty green mixture evenly into your chilled chocolate cookie crust. Use the back of a spoon or an offset spatula to smooth the top for a polished finish.
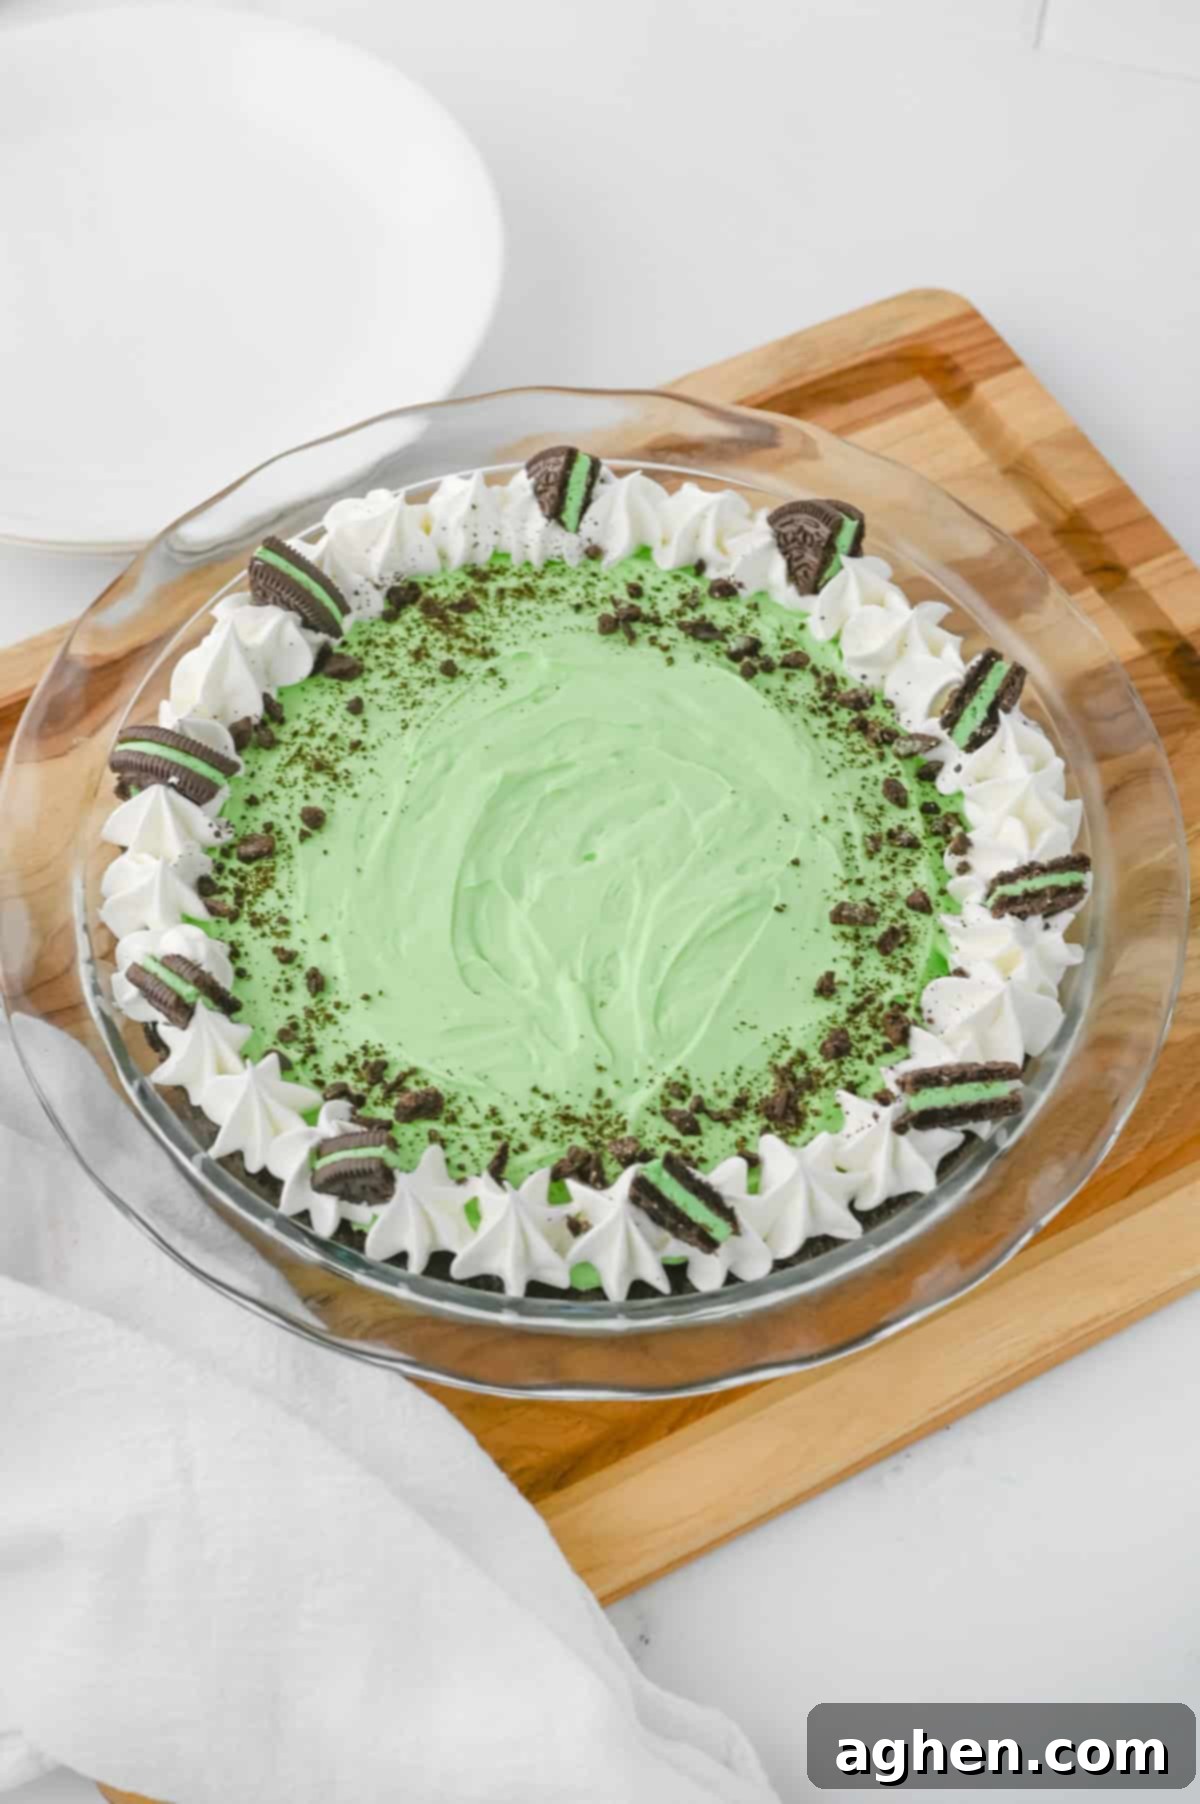
Step 4: Freeze and Garnish. Place the pie in the freezer for a minimum of 6 hours, or ideally, overnight, to allow it to set completely. This ensures a perfectly firm and sliceable pie. Once frozen, if desired, you can add beautiful finishing touches. Garnish the top of your pie with piped whipped topping (Cool Whip or homemade whipped cream), a sprinkle of additional crushed Mint Oreos, or elegant Mint Oreo pieces for an extra flourish. Serve chilled and enjoy this delightful frozen treat!
Pro Tip for Perfect Slicing:
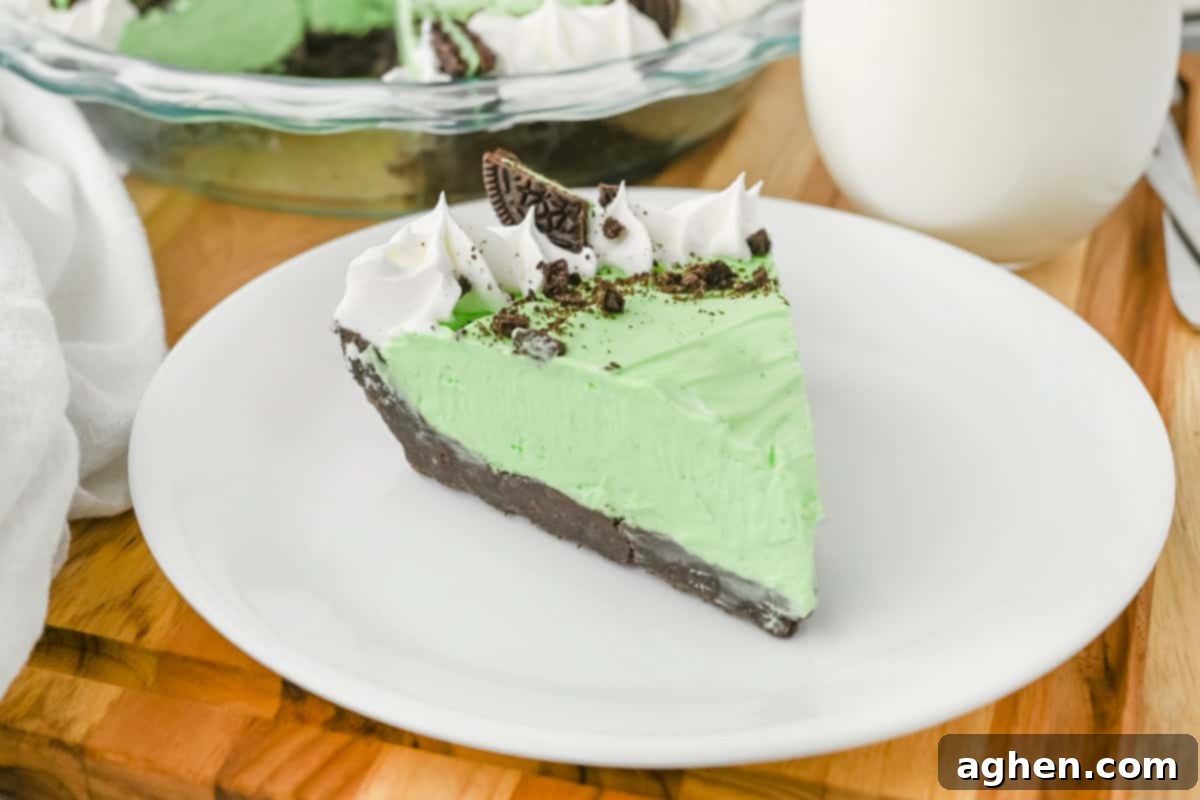
Achieving clean, beautiful slices of your frozen pie is simple with this trick! About 10 minutes before you plan to serve, remove the pie from the freezer and let it slightly temper at room temperature. For each slice, dip a sharp knife into hot water, wipe it completely dry, and then make your cut. Repeat this process for every slice to ensure smooth, neat edges that look professionally done. The warm knife glides through the frozen pie with ease.
Storage Solutions for Your Frozen Grasshopper Pie
To keep your delicious pie fresh and prevent freezer burn, ensure it is tightly wrapped in plastic wrap. For even better protection, place the plastic-wrapped pie in an airtight freezer-safe container. Stored properly in the freezer, this pie will maintain its delightful texture and flavor for up to 2-3 weeks, making it an excellent make-ahead dessert option.
Expert Recipe Tips to Master Your Mint Oreo Pie
- Choose the Right Food Coloring: For the most vibrant green hue without compromising the filling’s texture, always use gel food coloring. Liquid food coloring can thin out the mixture and dilute the richness.
- Achieve Your Desired Shade: When adding green food coloring, aim for a slightly deeper shade than your desired final color. The color will naturally lighten a bit once you fold in the white whipped cream, so starting darker ensures you achieve that perfect grasshopper green.
- Pre-Freeze the Crust: For a stable and firm foundation, always freeze your chocolate pie crust for at least 15-20 minutes before adding the creamy filling. This prevents the crust from becoming soggy and helps it hold its shape.
- Consider a Springform Pan: While a standard pie dish works perfectly, a 9-inch springform pan can make removal and slicing incredibly easy, especially if you want to present a pristine, crust-only-side pie for a more elegant look.
- Don’t Overmix the Filling: When folding in the whipped cream, do so gently and only until just combined. Overmixing can deflate the air from the whipped cream, resulting in a dense rather than airy filling.
- Room Temperature Cream Cheese: This is crucial for a smooth filling. Cold cream cheese will result in lumps, so ensure it’s fully softened before beating.
Exciting Additions and Flavor Variations
- Extra Chocolate Crunch: Fold in a handful of mini chocolate chips or finely chopped chocolate chunks into the mint filling for an extra layer of chocolatey goodness and delightful texture.
- Oreo Alternatives: If Mint Oreos are hard to find, don’t fret! Regular Oreo cookies make an equally delicious chocolate crust, allowing the mint filling to shine even brighter. You can also try other chocolate sandwich cookies.
- Speedy Shortcut: For an even faster dessert, use a premade chocolate crust. This simple swap shaves off prep time, getting you to dessert faster without compromising on flavor.
- Decadent Drizzle: Elevate your pie by drizzling rich chocolate syrup or hot fudge over individual slices just before serving. A touch of caramel sauce can also add a delightful contrast.
- Intensify the Mint: For those who love a bolder mint flavor, consider using peppermint extract. Start with half the amount and add more to taste, as peppermint can be stronger than mint extract.
- Adult Indulgence: For an adult-friendly version, add 1-2 tablespoons of Crème de Menthe or Crème de Cacao (or both!) to the cream cheese filling. This will give it that authentic grasshopper cocktail kick.
- Cookie Crumble Topping: Instead of just whipped cream, crumble extra Mint Oreos or chocolate wafers on top for an appealing presentation and added crunch.
Discover More Cool & Creamy No-Bake Desserts
- No Bake Oreo Cheesecake Bars
- Oreo Peanut Butter Pie
- Kool Aid Pie
- Banana Pudding Pie
- Ice Cream Sandwich Cake
- Root Beer Float Pie
No Bake Grasshopper Pie
Author: Jaclyn
20 minutes
6 hours
6 hours
20 minutes
8
Saved!
Equipment
-
9-inch pie dish
-
Food processor (for crushing cookies) or a large zip-top bag and rolling pin
-
Electric stand mixer or hand mixer
-
Large mixing bowls
-
Spatula
Ingredients
For the Chocolate Oreo Crust:
-
26 Mint Oreo cookies finely crushed, plus extra for topping -
5 Tablespoons unsalted butter melted
For the Creamy Mint Filling:
-
1 ½ cups heavy cream very cold -
8 ounces full-fat cream cheese softened to room temperature -
1 ½ cups confectioners sugar -
½ teaspoon mint extract or peppermint extract for a stronger flavor -
pinch salt -
green gel food coloring as needed, for desired color
For Optional Topping:
-
Cool Whip or homemade whipped cream, for decorating
Instructions
-
Prepare the Crust: Crush 26 Mint Oreo cookies into very fine crumbs using a food processor or by placing them in a sealed bag and crushing with a rolling pin.
-
Combine the cookie crumbs with 5 Tablespoons of melted unsalted butter. Press this mixture firmly and evenly into the bottom of a 9-inch pie plate to form the crust. Place in the freezer to chill and set while you prepare the filling.
-
Whip the Cream: In a large mixing bowl, using a stand mixer fitted with the whisk attachment (or a hand mixer), beat 1 ½ cups of very cold heavy cream for several minutes until stiff peaks form. The cream should hold its shape. Set aside.
-
Make the Filling Base: In another clean bowl, beat 8 ounces of softened cream cheese until it’s smooth and lump-free. Add 1 ½ cups confectioners’ sugar, a pinch of salt, ½ teaspoon mint extract, and enough green gel food coloring* to reach your desired deep mint green shade. Mix until all ingredients are thoroughly combined and the color is uniform.
-
Combine the Filling: Gently fold the reserved whipped cream into the cream cheese mixture using a spatula. Be careful not to overmix, only fold until just combined to maintain the light and airy texture.
-
Assemble and Freeze: Pour the creamy mint filling into the chilled pie crust and use a spatula to smooth the top evenly. Place the pie in the freezer for at least 6 hours, or preferably overnight, until completely firm.
-
Garnish and Serve: Before serving, you can pipe Cool Whip or homemade whipped cream around the edges. Garnish with additional chopped or crushed Mint Oreos, or whole Oreo pieces, if desired. Slice with a hot, dry knife for clean cuts and serve immediately.
Notes
For optimal freshness and to prevent freezer burn, store the pie tightly wrapped in plastic wrap or in an airtight container in the freezer. It will keep well for up to 2-3 weeks.
For easy, clean slicing, remove the pie from the freezer about 10 minutes before serving. Dip a sharp knife in hot water, wipe it completely dry after each cut, and slice for the best results.
Nutrition
Calories:
629
kcal
|
Carbohydrates:
59
g
|
Protein:
3
g
|
Fat:
44
g
|
Saturated Fat:
25
g
|
Polyunsaturated Fat:
1
g
|
Monounsaturated Fat:
8
g
|
Trans Fat:
0.3
g
|
Cholesterol:
98
mg
|
Sodium:
249
mg
|
Potassium:
131
mg
|
Sugar:
46
g
|
Vitamin A:
1255
IU
|
Vitamin C:
0.3
mg
|
Calcium:
76
mg
|
Iron:
2
mg

Did You Make This Recipe?
We’d love to see your creations! Share your delicious No-Bake Grasshopper Pie with us on Instagram @crayonsandcravings and be sure to follow us on Pinterest @crayonsandcravings for even more mouth-watering recipes and dessert inspiration!
Pin Recipe
Leave A Review
