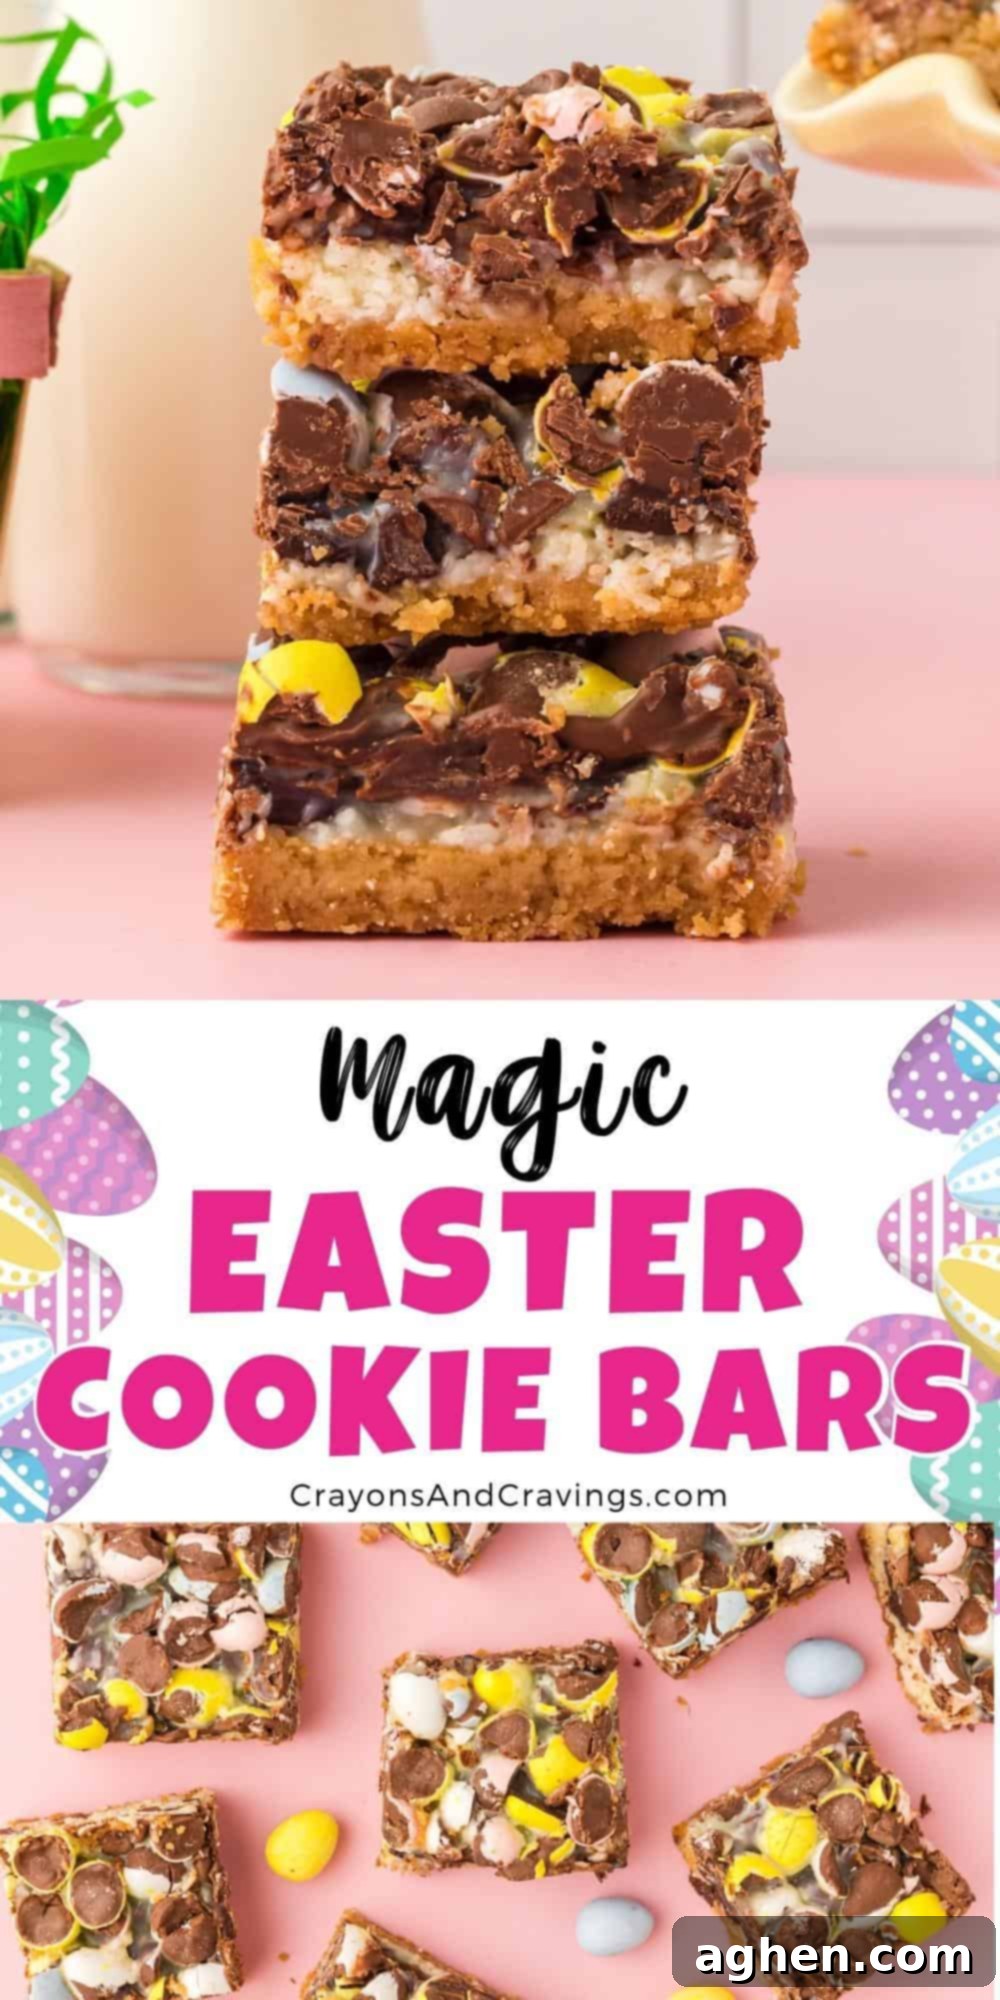
The Ultimate Gooey Easter Magic Cookie Bars Recipe: A Festive Delight!
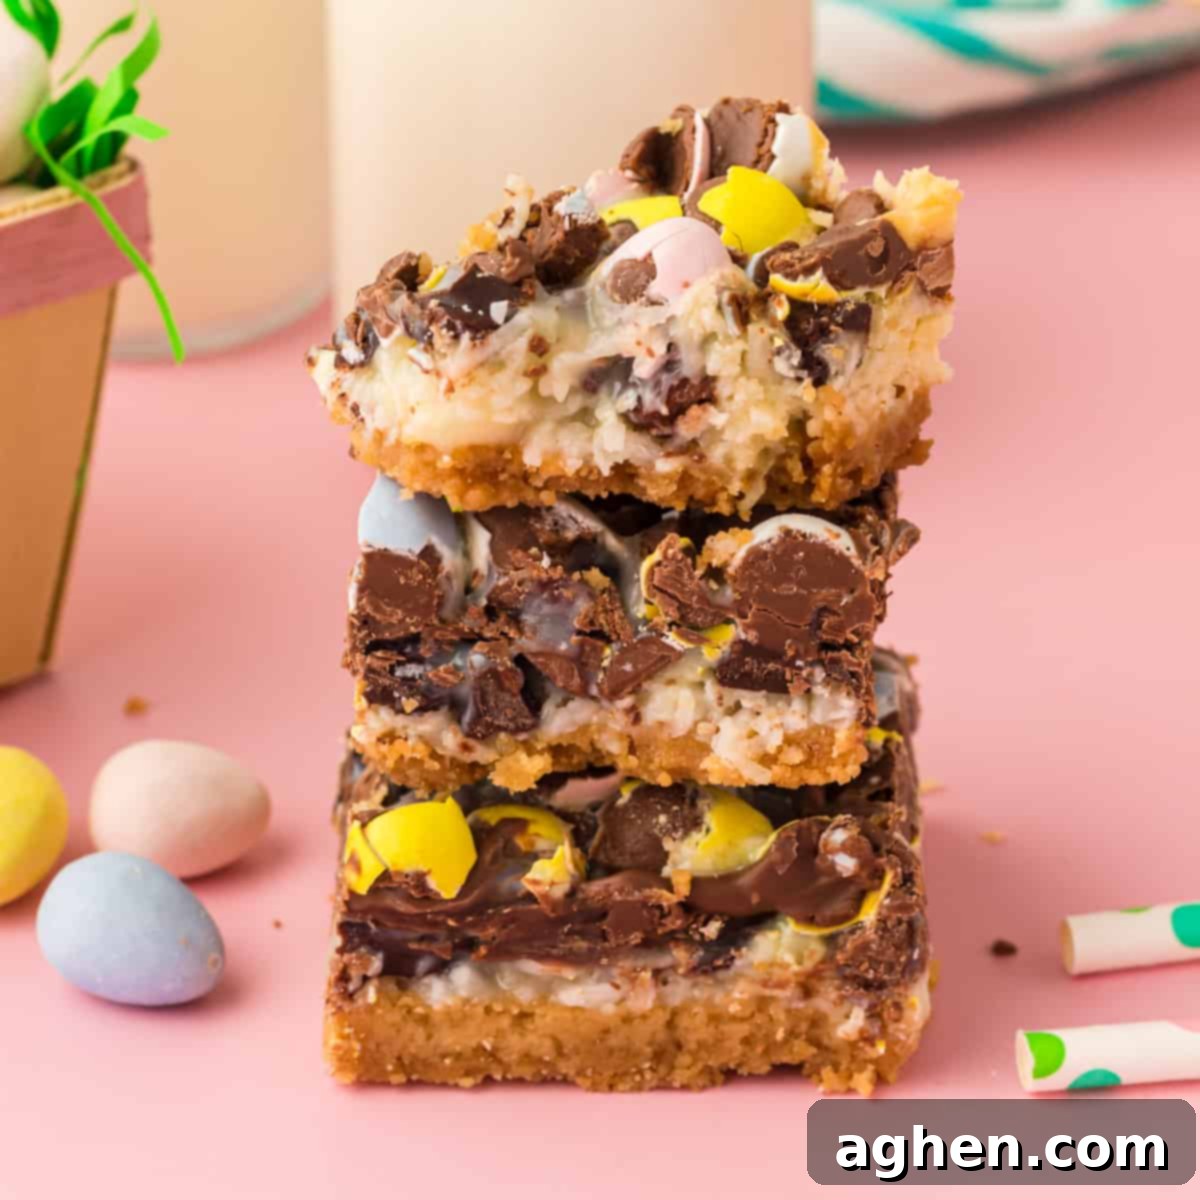
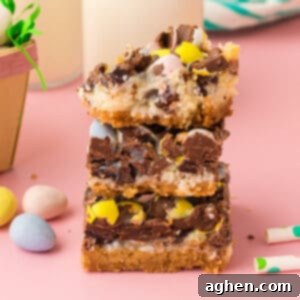
Get ready to bake a truly unforgettable Easter treat! These **Easter Magic Cookie Bars** are a heavenly, gooey dessert that effortlessly blends rich flavors and delightful textures. Imagine a buttery, golden Oreo cookie crust, generously topped with a cascade of sweetened condensed milk, layers of tender shredded coconut, two types of chocolate chips, and, the crowning glory for Easter, festive crushed mini eggs. This recipe takes a classic and transforms it into the perfect centerpiece for your holiday celebrations.
If you’re searching for an **easy and delicious Easter dessert bar recipe**, your quest ends here! These chewy, decadent cookie bars are not only incredibly simple to prepare but are also bursting with a symphony of flavors that will impress everyone at your Easter gathering. They’re a surefire hit, disappearing quickly from any dessert table, leaving behind only happy smiles.
For those who adore delightful Easter treats, be sure to also try my Bunny Bait Easter Snack Mix, adorable Rice Krispies Nests, a celebratory Easter Candy Cake, or even whimsical Twinkie Peeps Race Cars. Each offers a unique way to celebrate the season with sweetness!
The Irresistible Allure of Magic Cookie Bars
Known by many names, including **7 layer bars** or hello dolly bars, magic cookie bars are a beloved classic dessert. Traditionally, they feature a simple graham cracker base. However, for this special Easter rendition, we elevate the flavor profile by using crushed golden Oreos. This swap creates a sweet, vanilla-flavored crust that perfectly complements the rich layers above, adding an extra touch of indulgence to every bite.
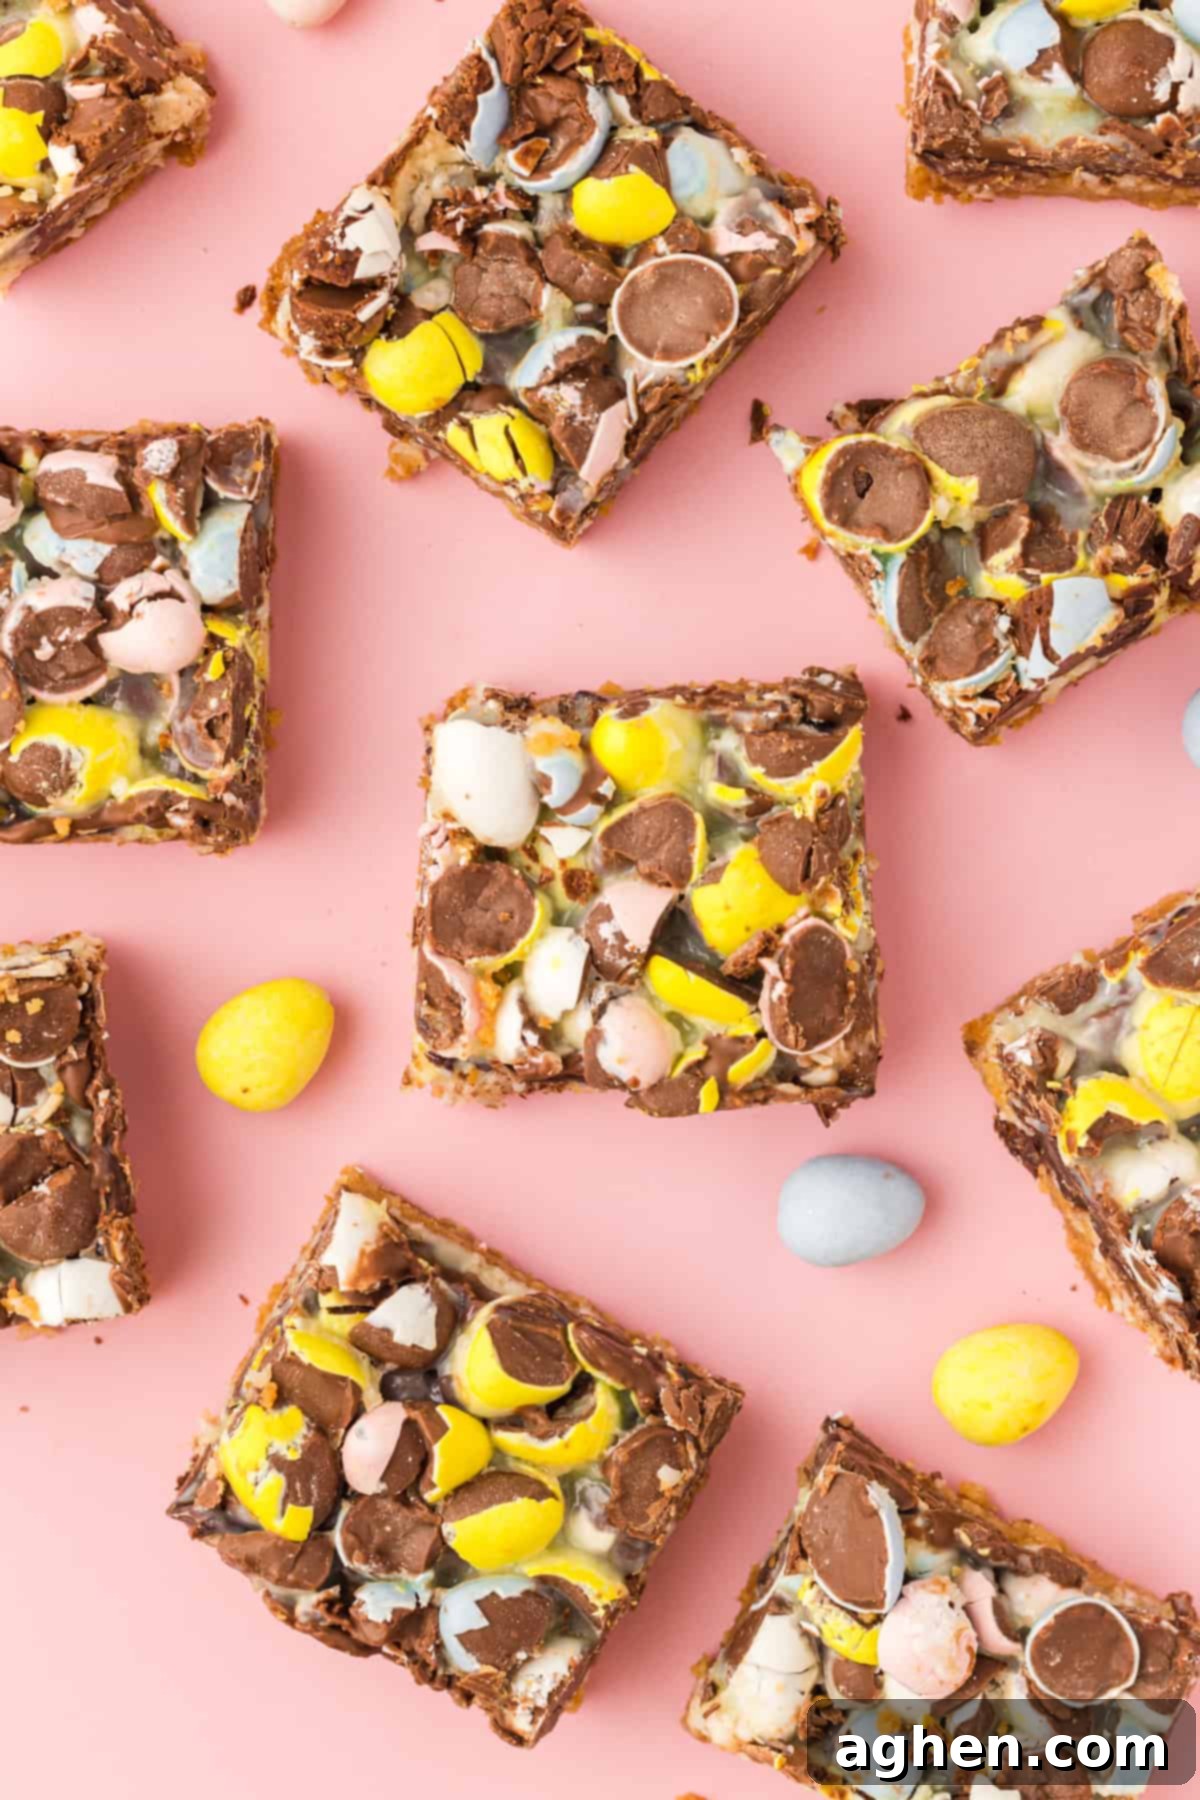
What truly makes these bars perfect for the holiday is their festive appearance and irresistible taste. We’ve specifically dressed them up for Easter by incorporating a generous layer of crushed mini eggs. These pastel, candy-coated chocolate eggs not only infuse the bars with a cheerful, spring-time vibe but also contribute a delightful crunch and an extra boost of rich chocolate flavor that everyone, from kids to adults, will absolutely adore.
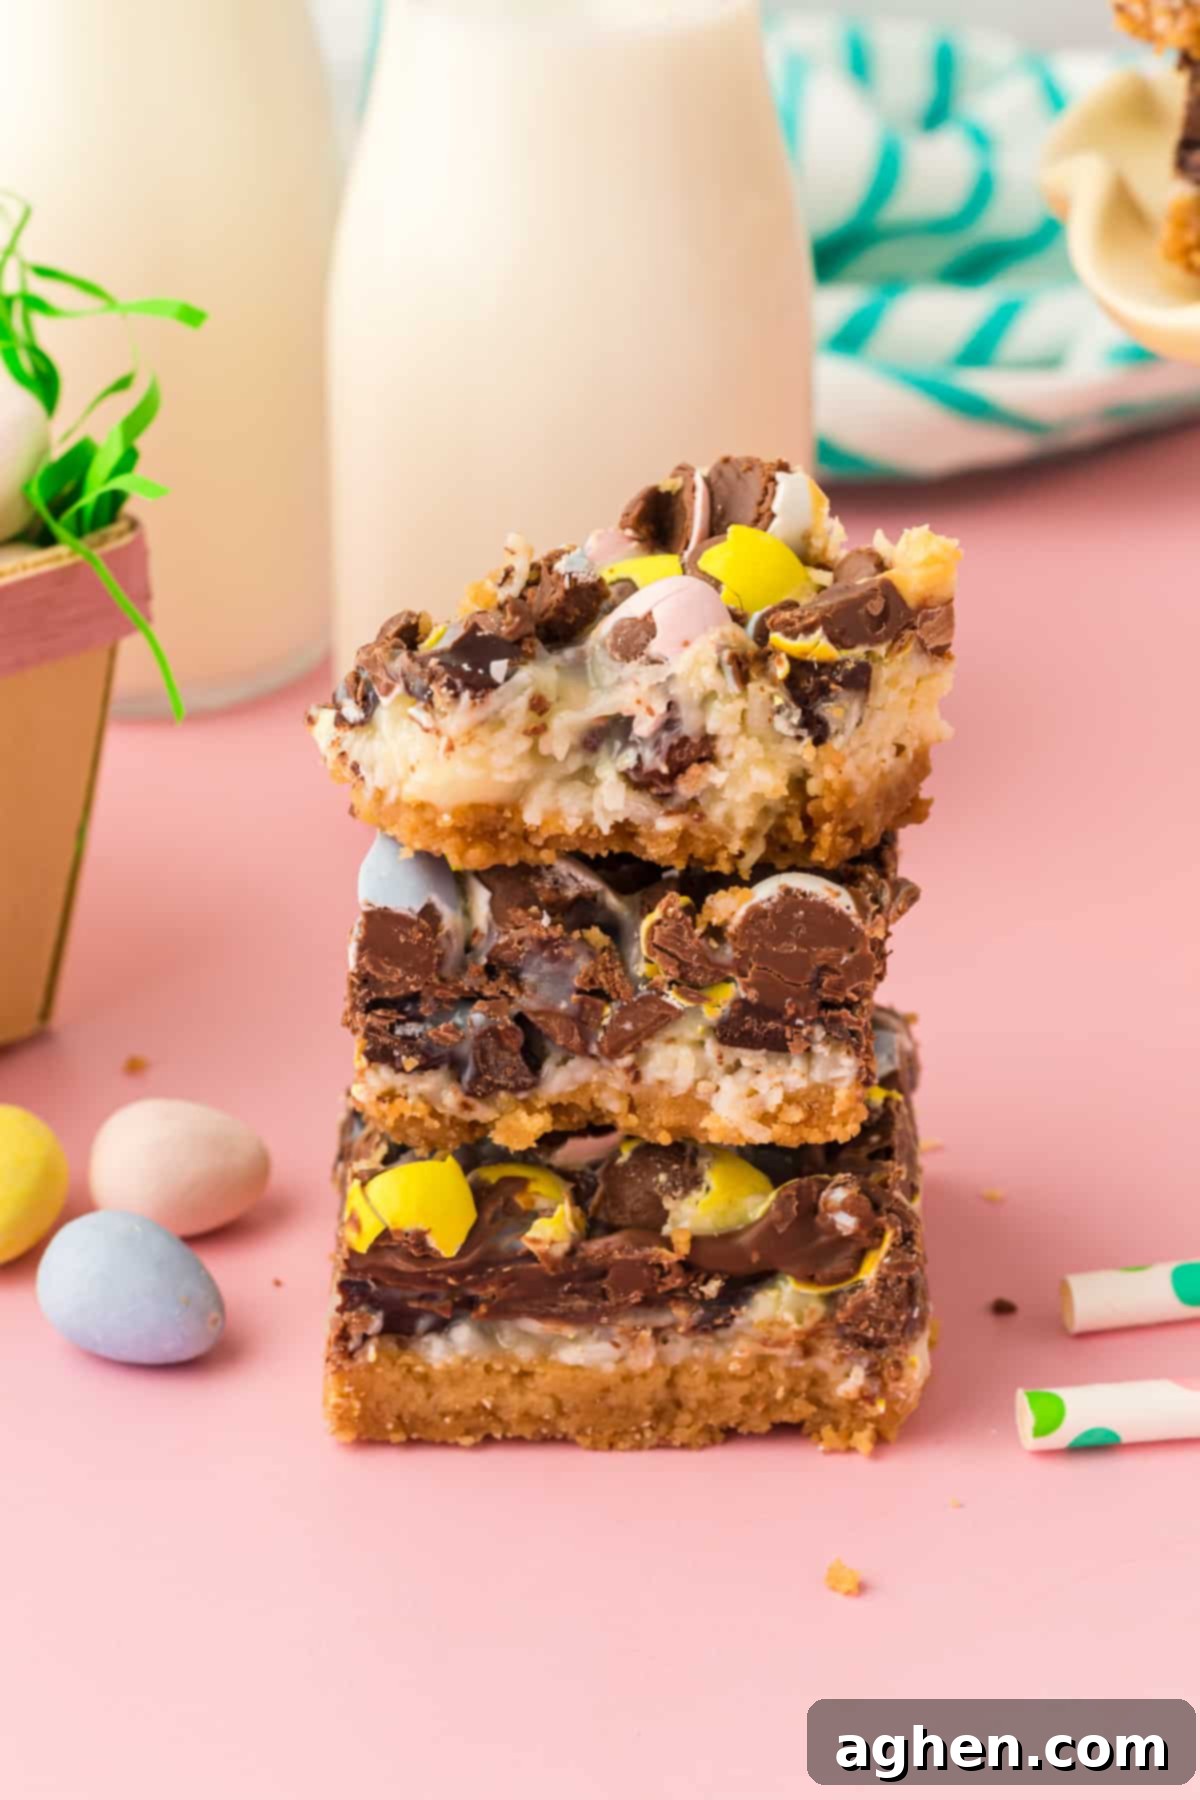
Prepare to be enchanted by how each and every bite of these incredible cookie bars delivers a heavenly combination of sweet vanilla, tropical coconut, and decadent chocolate. The layers meld together into a wonderfully gooey, chewy texture that is simply addictive. These bars are more than just a dessert; they’re a celebration in every square, making them the ultimate addition to your Easter menu.
Craving more delightful treats? Explore our collection of 20 of the best cookie bar recipes you’ll ever try, offering a wide array of flavors for any occasion.
Key Ingredients for Easter Magic Cookie Bars
This section provides detailed notes on each ingredient, including substitution options and tips for achieving the best results. For precise measurements and step-by-step instructions, please refer to the printable recipe card located at the end of this post.
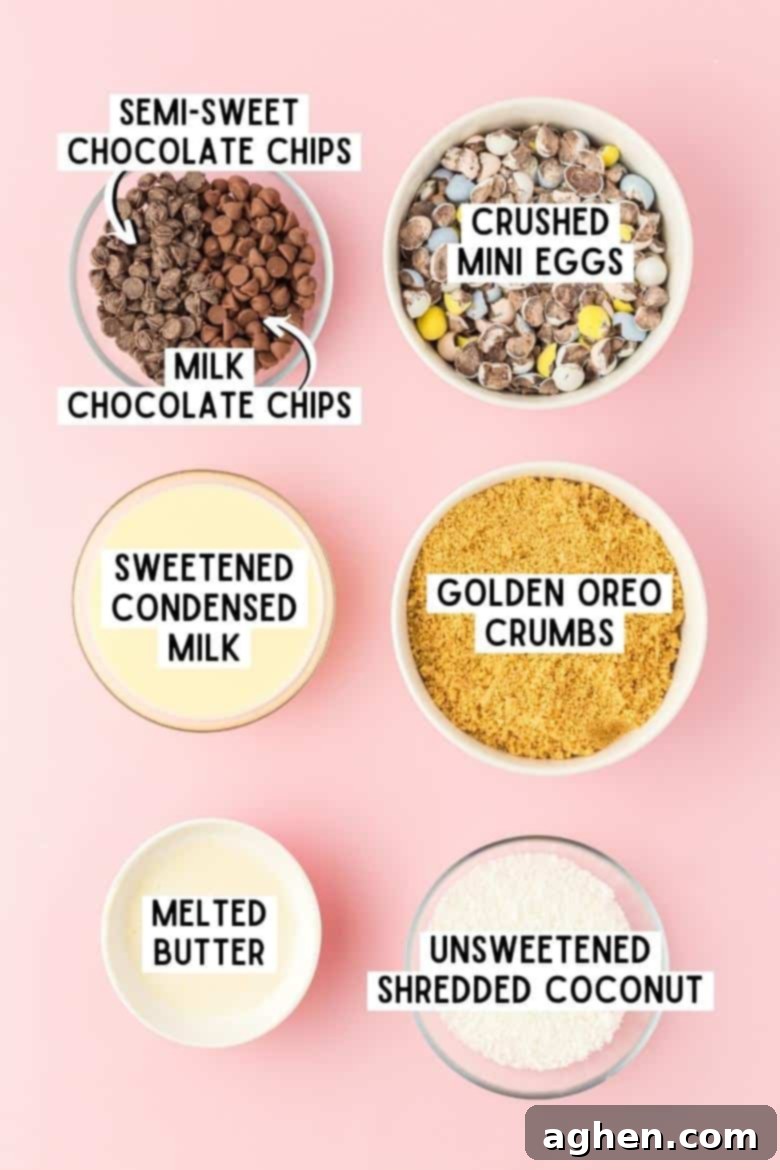
- Golden OREO Crumbs: Approximately 25 golden OREOs are needed, pulsed in a food processor until they form fine, even crumbs. This fine texture is crucial for creating a perfectly pressed and stable crust. While crushing by hand is possible, it typically won’t achieve the necessary fine consistency. If golden Oreos are unavailable or you don’t have a food processor, readily available graham cracker crumbs make an excellent and convenient substitute.
- Unsalted Butter: This essential ingredient is melted and combined with the crushed cookies to form the rich, sturdy base of your Easter dessert bars. Using unsalted butter allows you to control the overall saltiness of the bars.
- Sweetened Condensed Milk: This magical ingredient acts as the sweet, sticky “glue” that binds all the delicious layers of your bars together, ensuring a wonderfully gooey texture. It’s critical to use *sweetened condensed milk* and not evaporated milk, as they are not interchangeable and evaporated milk will not yield the desired results.
- Shredded Coconut: We recommend using unsweetened shredded coconut. This helps to beautifully balance the sweetness of the other ingredients, adding a lovely tropical flavor and chewy texture without making the bars overly sugary. Coconut flakes can also be used for a slightly different, flakier texture.
- Crushed Mini Eggs: Whether you choose Cadbury Mini Eggs or Hershey’s Eggies, these delightful, candy-coated chocolates are key to making these bars distinctly “Easter.” The easiest and most effective way to crush them is to place them in a large, sealed food storage bag. Then, use a rolling pin or the back of a sturdy kitchen spoon to break them into varied pieces. Don’t forget to use any extra mini eggs to make a batch of this tasty Easter chex mix!
- Chocolate Chips: Our recipe uses a harmonious blend of milk chocolate chips and semi-sweet chocolate chips to create a complex and satisfying chocolate flavor. However, feel free to use all semi-sweet chocolate chips if you prefer a less sweet, more intense chocolate experience, or even dark chocolate chips for a bolder taste.
Essential Supplies for Baking
To ensure a smooth and enjoyable baking process for these delicious Easter Magic Cookie Bars, you will need the following kitchen supplies:
- Measuring Cups (various sizes): For accurately measuring all your wet and dry ingredients.
- Food Processor: Ideal for achieving perfectly fine Golden OREO crumbs for the crust.
- Small Mixing Bowl: For combining the cookie crumbs and melted butter.
- Spatula: Essential for spreading layers evenly and gently pressing ingredients.
- 8-inch Square Baking Pan: The perfect size for these bars, yielding thick, satisfying squares.
- Parchment Paper: Crucial for lining the baking pan, ensuring easy removal of the baked bars without sticking.
How to Make Easter Cookie Bars: Step-by-Step Guide
This section provides clear, step-by-step instructions with accompanying photos to guide you through the process. For the complete, printable recipe, including exact quantities and nutritional information, please see the comprehensive recipe card below.
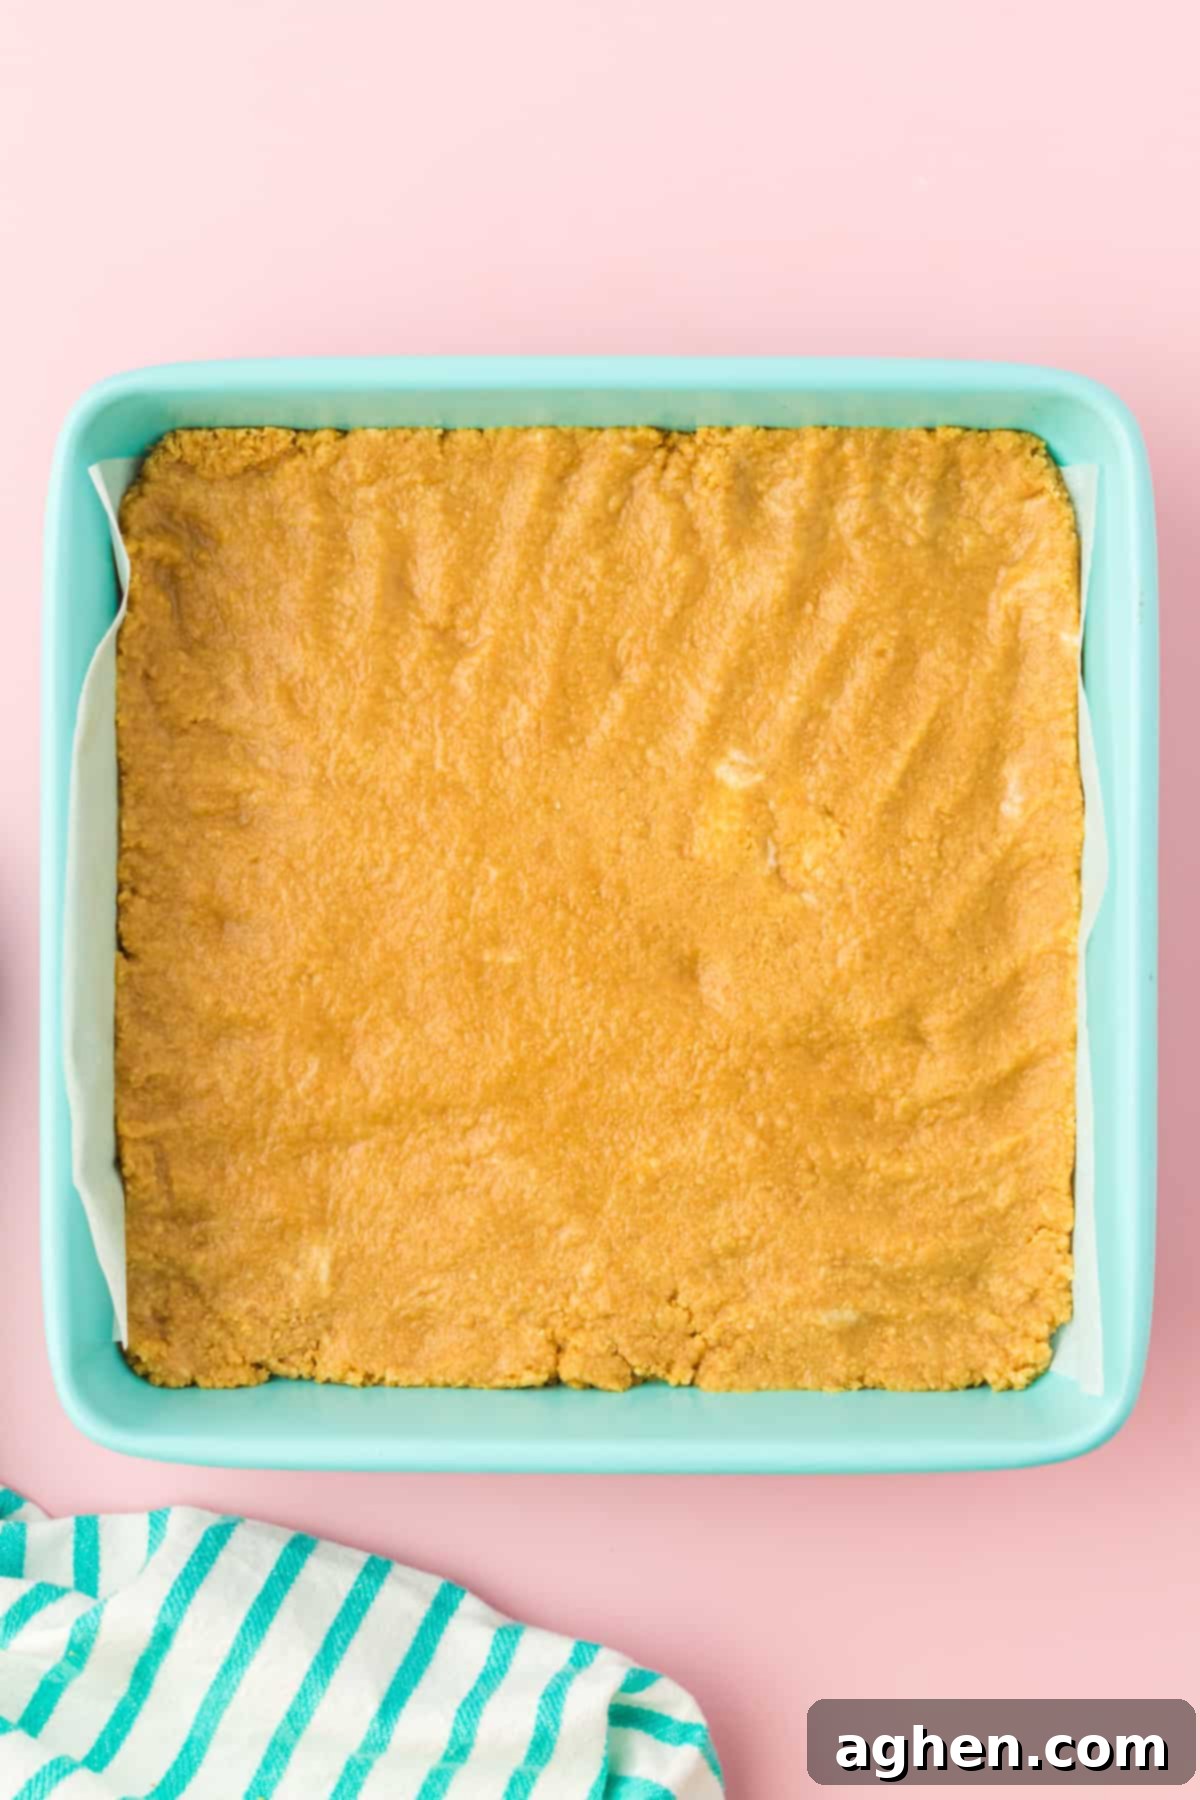
Step 1: Prepare the Crust. First, preheat your oven to 350°F (175°C). Line an 8×8-inch baking pan with parchment paper, leaving an overhang on two sides to create “handles” for easy removal later. In a small mixing bowl, combine the finely crushed golden Oreo crumbs with the melted unsalted butter. Stir well until the crumbs are thoroughly moistened. Press this mixture firmly and evenly into the bottom of your prepared baking pan, creating a compact and delicious base for your bars.
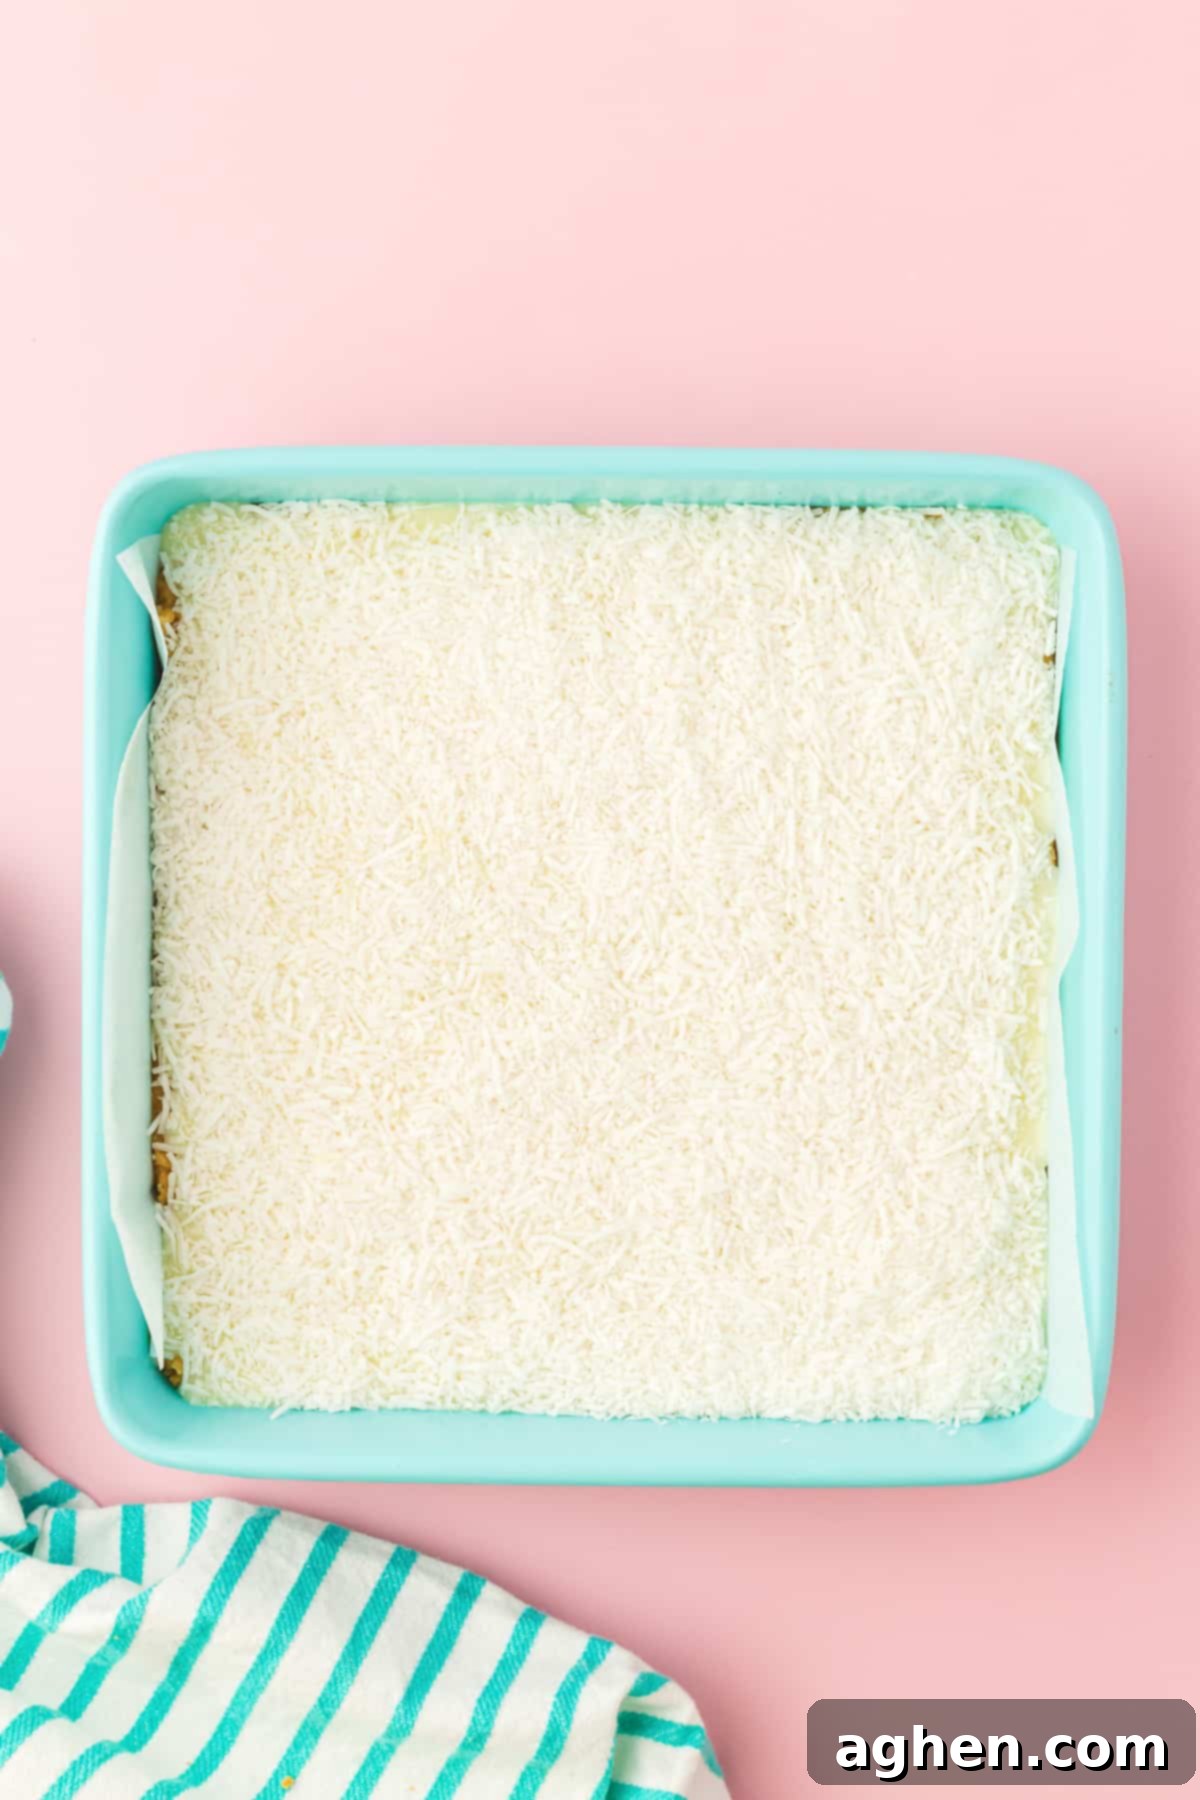
Step 2: Add the Sweetened Condensed Milk and Coconut. Evenly pour the entire can of sweetened condensed milk over the pressed cookie base. Use a spatula to gently spread it from edge to edge, ensuring every part of the crust is covered. Next, sprinkle the unsweetened shredded coconut uniformly over the condensed milk layer. This creates a beautiful, even layer that will contribute to the bars’ signature texture and flavor.
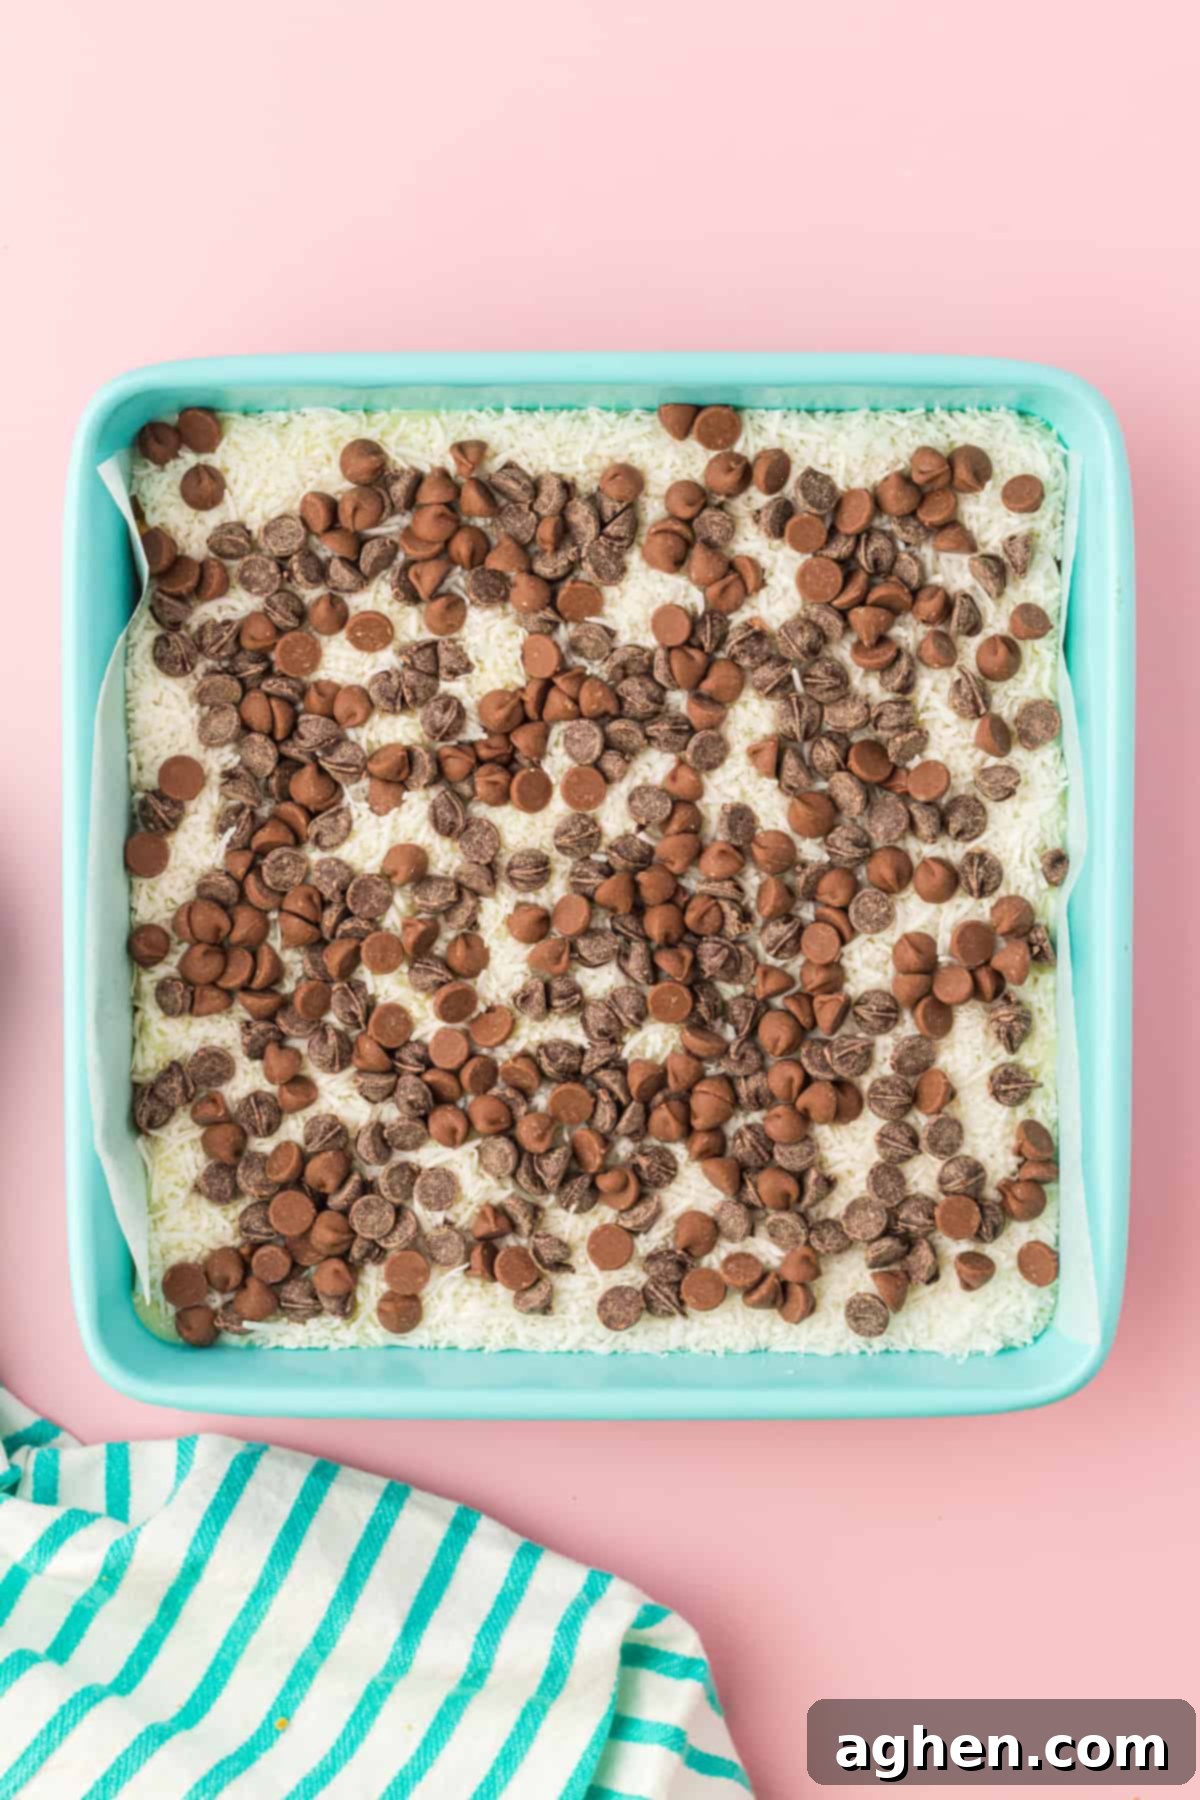
Step 3: Layer with Chocolate Chips. Generously sprinkle both the semi-sweet and milk chocolate chips (or your preferred blend) over the shredded coconut. Aim for an even distribution across the entire surface so that every slice of your magic bars will have a delightful amount of chocolate goodness.
Step 4: Add Crushed Mini Eggs and Gently Press. Finally, scatter the crushed Mini Eggs (or Hershey’s Eggies) over the chocolate chips. Once all layers are in place, use a spatula to gently and lightly press all the ingredients down into each other. The goal is to ensure they are slightly embedded and adhere together, but be careful not to press too hard, as you want to avoid breaking or disturbing the delicate golden OREO crust below.
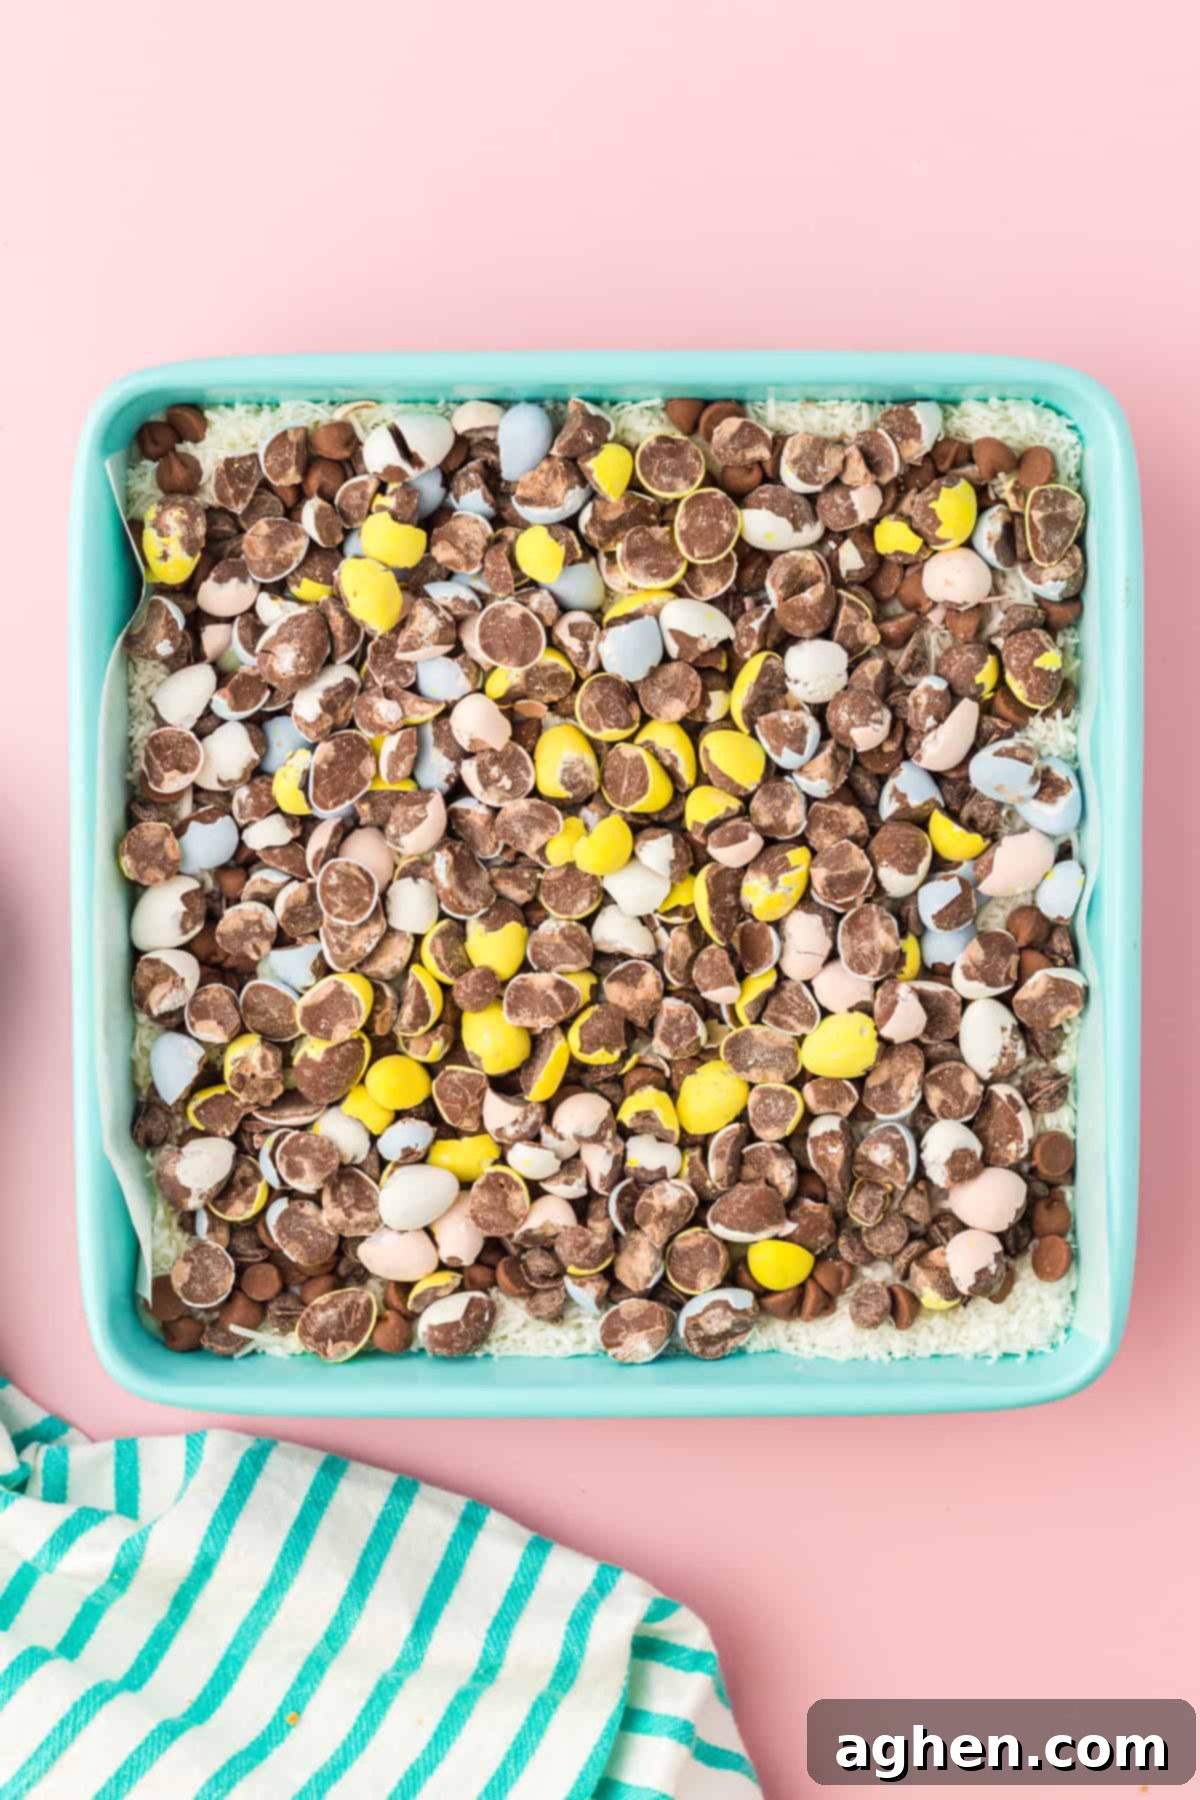
Step 5: Bake to Golden Perfection. Place the pan in your preheated oven and bake for 10 minutes. After this initial bake, carefully remove the pan from the oven, cover it loosely with aluminum foil, and return it to bake for an additional 15 minutes. This two-stage baking helps the top layers to set without over-browning the mini eggs or coconut. The bars are ready when the edges are lightly golden and the center appears set, with a total bake time of approximately 25 minutes.
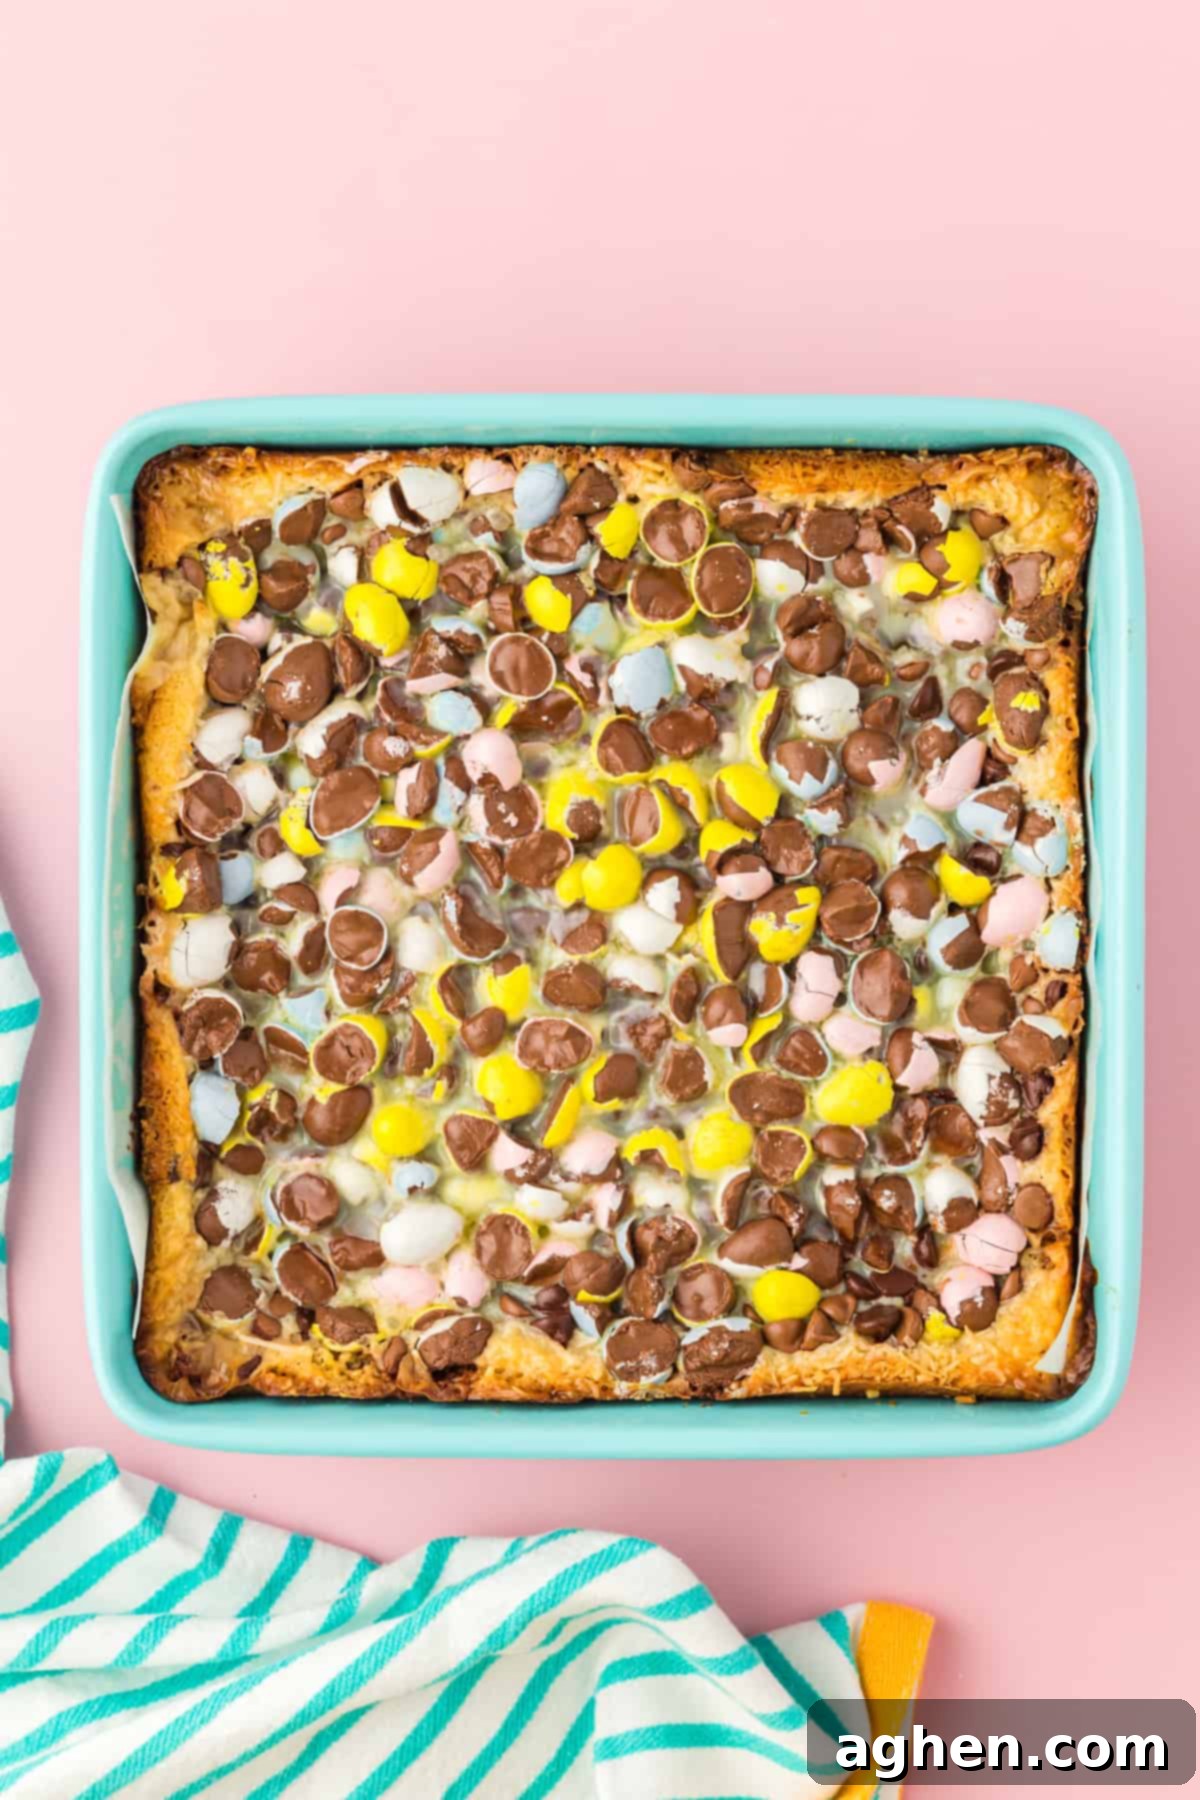
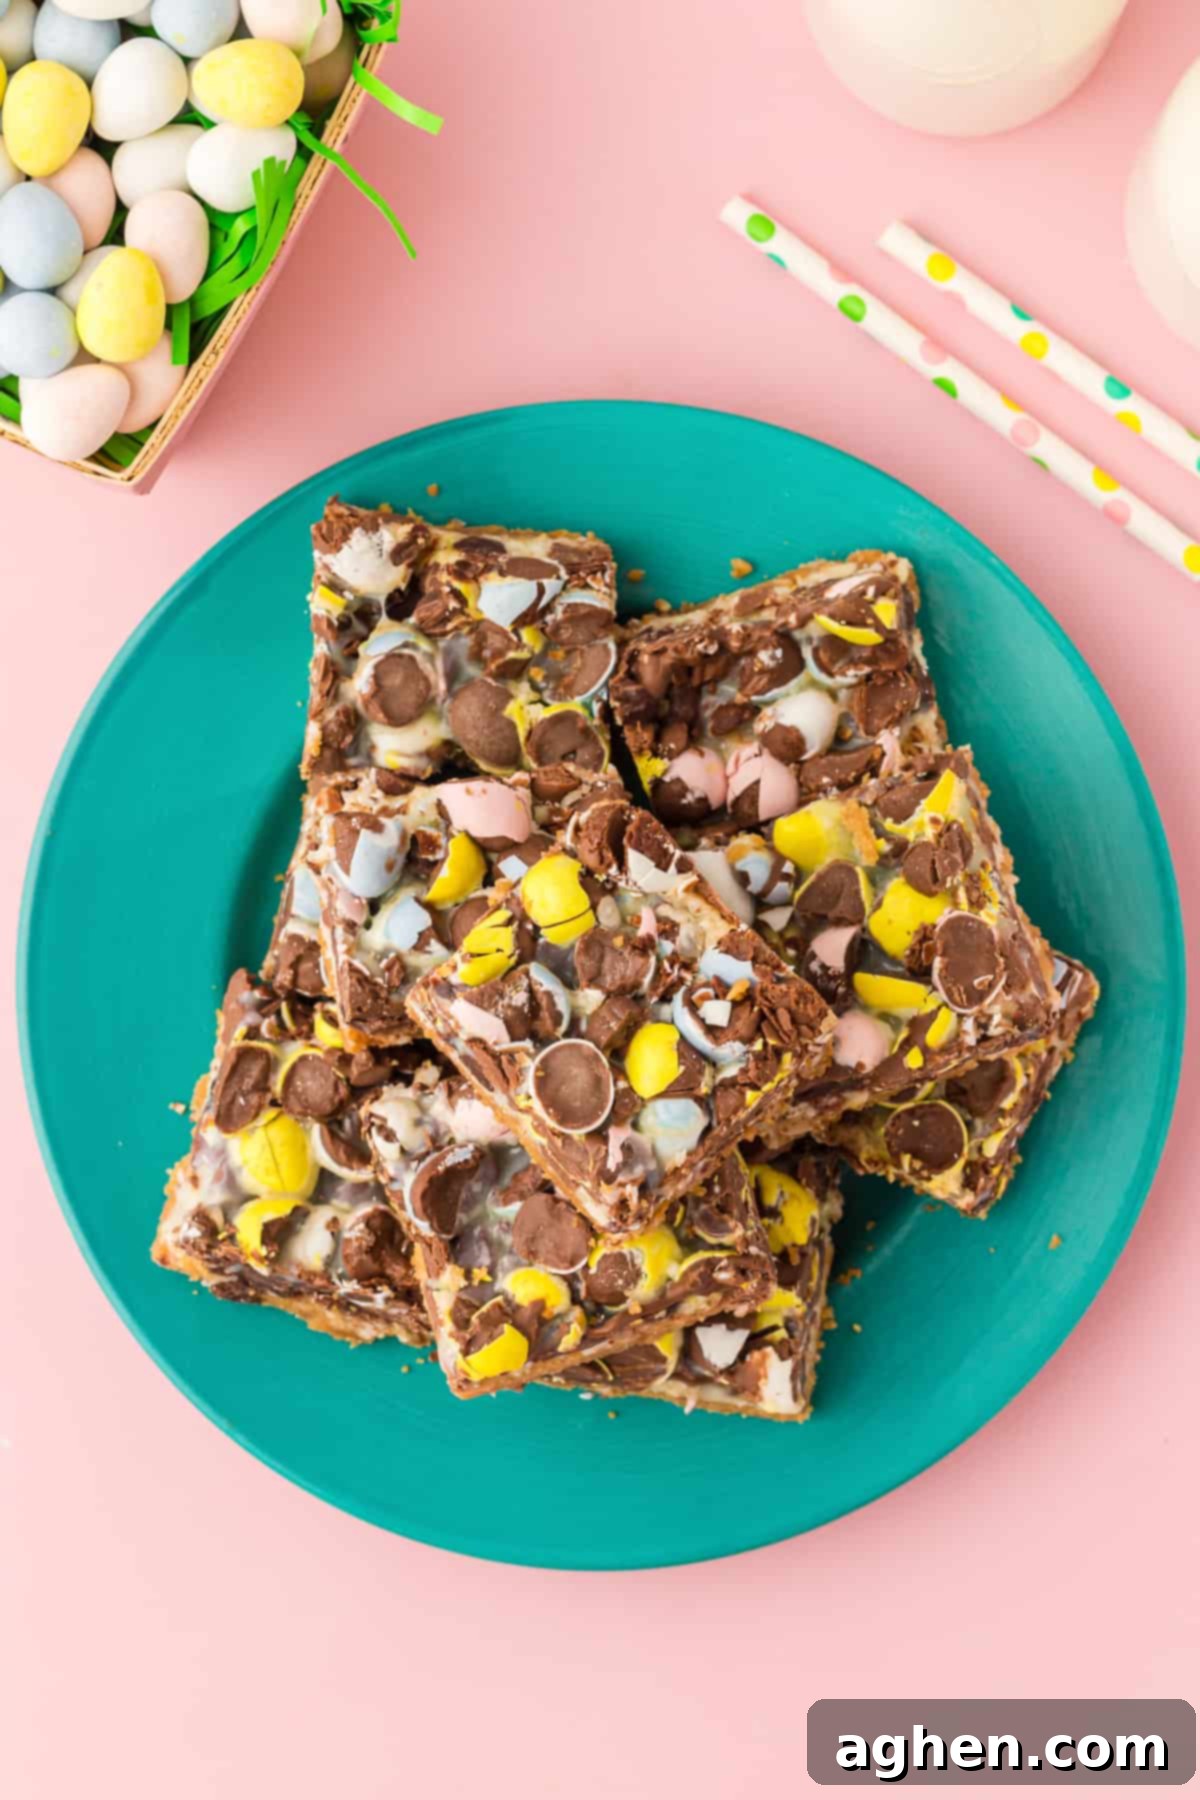
Step 6: Cool and Slice. The most crucial step for perfect presentation is patience! Allow the bars to cool completely at room temperature before attempting to slice and serve. For the cleanest, most precise cuts, I highly recommend letting them cool on the countertop for about an hour, then transferring them to the refrigerator for at least 3 hours, or even overnight. Chilling them thoroughly will firm up the gooey layers, making them much easier to slice into neat, beautiful squares.
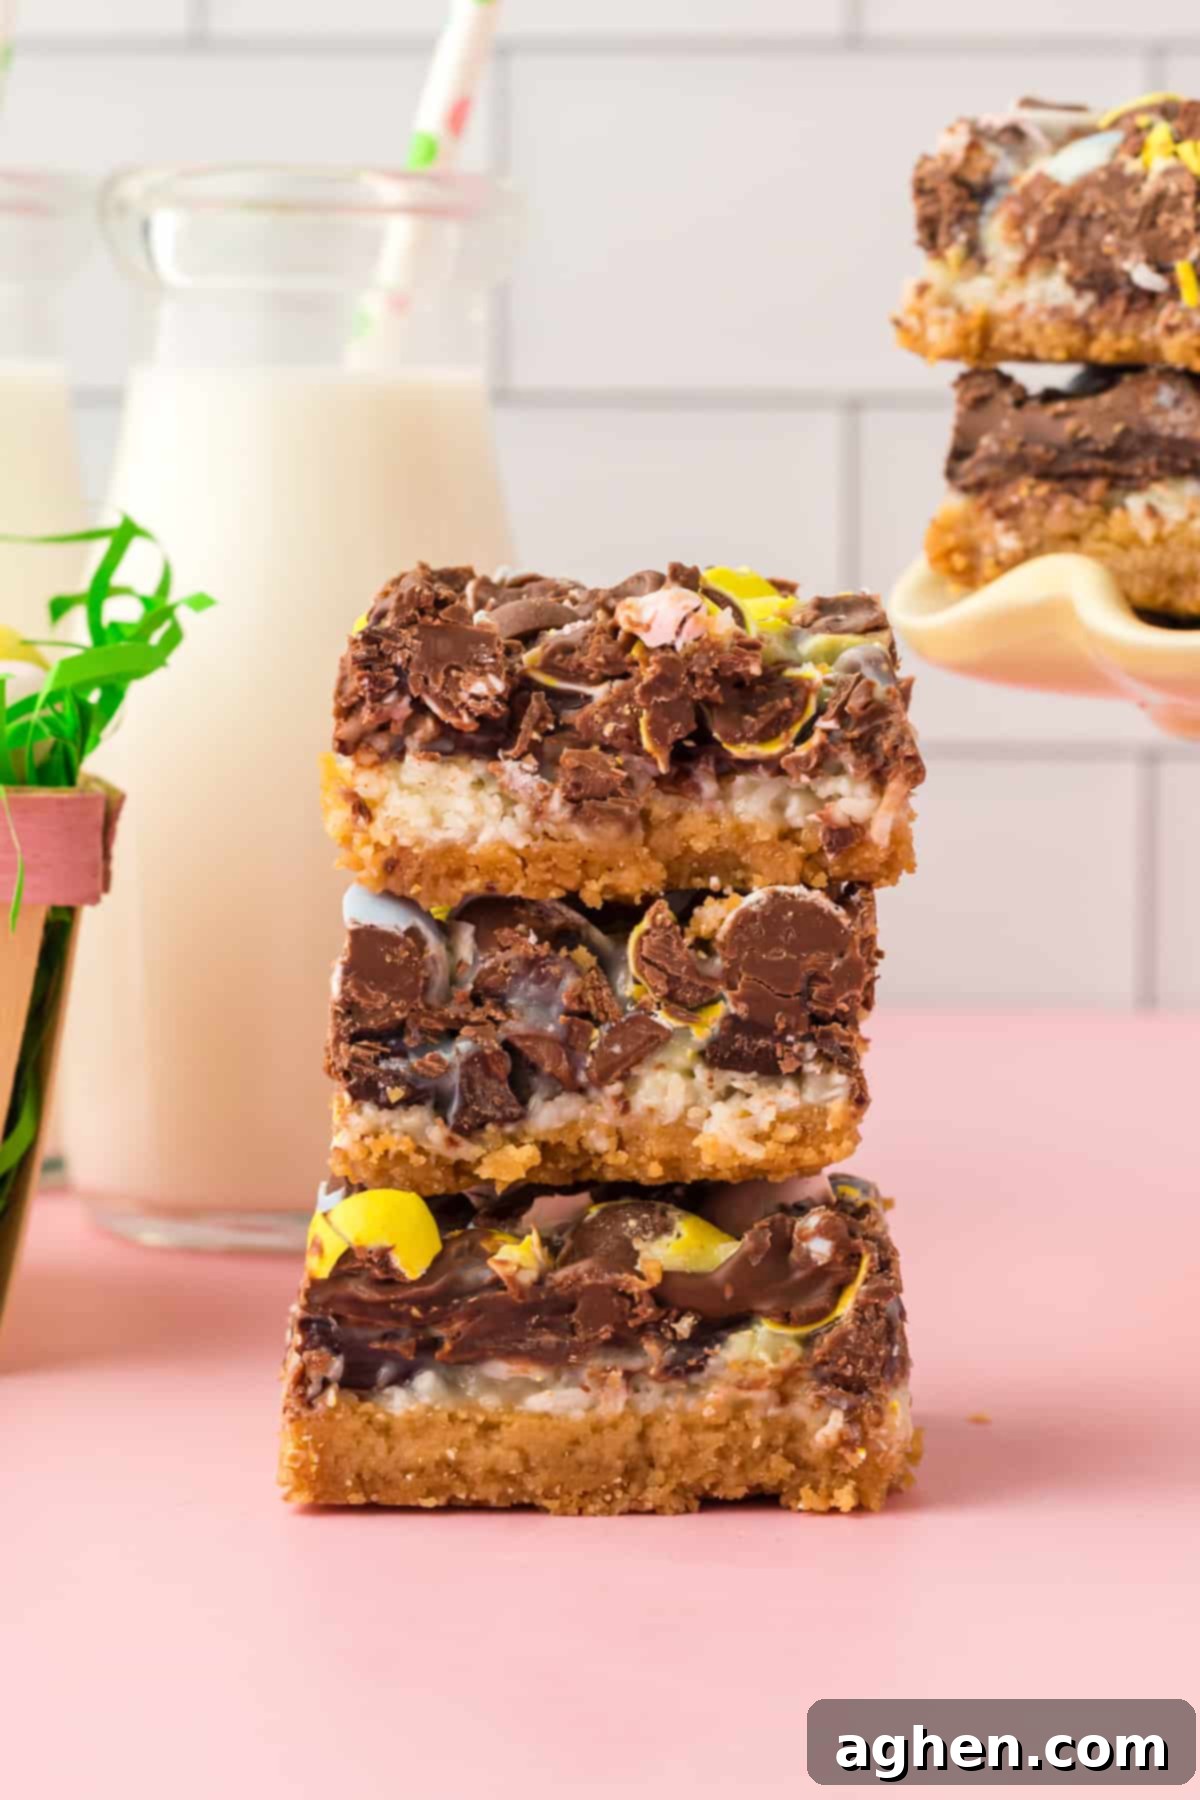
Pro Tip for Perfect Slices: These **Easter cookie bars** are wonderfully ooey and gooey, which can sometimes make slicing a bit tricky. To achieve the cleanest, most picture-perfect squares, ensure the bars are well-chilled in the fridge for at least 3 hours (overnight is even better!). Additionally, wipe your knife clean with a damp cloth after each slice to prevent sticking and ensure sharp, distinct edges. A warm knife can also help, but chilling is the primary key.
Storage Solutions for Your Magic Bars
Proper storage is essential to keep your **Easter Magic Cookie Bars** fresh and delicious. Store the cooled bars in an airtight container. To prevent them from sticking together, especially if stacking multiple layers, place a sheet of parchment paper between each layer. They will remain fresh and tasty for up to 4 days when stored at room temperature, or up to a week if kept in the refrigerator. The fridge will also help maintain their firm, chewy texture.
For longer enjoyment, these bars are freezer-friendly! If stored correctly in a sealed, freezer-safe food storage container, they can be frozen for up to two months. When you’re ready to indulge, simply remove them from the freezer and allow them to come back to room temperature before serving. This makes them a fantastic make-ahead option for busy Easter preparations or an unexpected sweet craving!
Frequently Asked Questions (FAQ)
While you certainly *can* use sweetened coconut, we strongly recommend unsweetened. These bars are already quite rich and sweet due to the condensed milk, chocolate chips, and mini eggs. Using sweetened coconut would make them significantly sweeter, potentially overpowering the other delicious flavors. Unsweetened coconut helps to provide a perfect balance.
No food processor? No problem! As an excellent alternative, you can substitute graham cracker crumbs for the Golden Oreo cookies in this recipe. Graham crackers are often sold pre-crushed into fine crumbs, saving you the effort and eliminating the need for a food processor. Simply ensure they are fine enough to create a solid crust.
The “magic” in these bars is partly due to the sweetened condensed milk holding everything in place. To ensure the mini eggs stay evenly distributed and don’t sink, it’s important to gently press them down into the chocolate chip and coconut layer using a spatula, as instructed in Step 4. Also, make sure the other layers are spread as evenly as possible before adding the eggs.
Absolutely! While we recommend a mix of milk and semi-sweet chocolate chips for a balanced flavor, feel free to get creative. You can use all milk chocolate for a sweeter profile, all semi-sweet or even dark chocolate for a richer, more intense flavor. White chocolate chips or butterscotch chips could also be a fun addition for a different twist, though the classic chocolate is always a winner!
More Yummy Cookie Bar Recipes to Try
If you’ve fallen in love with the ease and deliciousness of dessert bars, you’ll definitely want to explore these other fantastic recipes:
- Sugar Cookie Bars: Soft, chewy, and customizable with various frostings and sprinkles.
- Carmelitas: A glorious combination of oats, chocolate, and gooey caramel.
- Funfetti Cake Mix Cookie Bars: Bursting with colorful sprinkles and a delightful cake batter flavor.
- Millionaire Bars: A luxurious treat with shortbread, caramel, and chocolate – just like a homemade Twix!
- Unicorn Cheesecake Bars: Magical, colorful, and creamy cheesecake in bar form.
Easter Magic Cookie Bars
Author: Jaclyn
Ingredients
- 1 ½ cups crushed Golden OREO cookies
- ½ cup unsalted butter melted
- 1 can 14 ounces sweetened condensed milk
- 1 cup unsweetened shredded coconut
- ½ cup semi-sweet chocolate chips
- ½ cup milk chocolate chips
- 2 cups crushed Mini Eggs or Hershey’s Eggies
Instructions
-
Preheat your oven to 350°F (175°C). Line an 8” x 8” baking pan with parchment paper, leaving an overhang on two sides for easy removal, and set it aside.
-
In a small mixing bowl, thoroughly stir together the crushed Golden OREO crumbs and the melted butter until well combined.
-
Press the crumb mixture firmly and evenly into the bottom of the parchment-lined baking pan to form a solid crust.
-
Pour the sweetened condensed milk evenly over the crust, using a spatula to gently smooth it out across the entire surface.
-
Evenly sprinkle the shredded coconut over the condensed milk, followed by the chocolate chips, and then finally the crushed mini eggs.
-
Using a spatula, gently push all the top ingredients down into each other to help them adhere. Be careful not to press too hard, as you want to keep the Golden OREO crust intact.
-
Bake for 10 minutes. Then, remove the pan from the oven, cover it loosely with aluminum foil, and bake for an additional 15 minutes, or until the edges are slightly golden. The total bake time will be approximately 25 minutes.
-
Allow the bars to cool completely before slicing and serving. For the best, cleanest cuts, let them cool on the countertop for one hour, then transfer them to the refrigerator for at least 3 hours (or even overnight) to chill thoroughly.
Notes
MINI EGGS: For crushing mini eggs or Eggies, place them in a large, sealed food storage bag. Lay the bag flat on the counter and use a rolling pin or the back of a sturdy kitchen spoon to break them into various-sized pieces.
STORAGE: Store your finished bars in a sealed food storage container at room temperature for up to 4 days, or in the refrigerator for up to a week. To prevent sticking when stacking, place a sheet of parchment paper between layers. These bars also freeze well for up to two months; thaw at room temperature before enjoying.
Nutrition

Did You Make This Recipe?
Share it with me on Instagram @crayonsandcravings and follow on Pinterest @crayonsandcravings for even more!
Pin Recipe
Leave A Review
