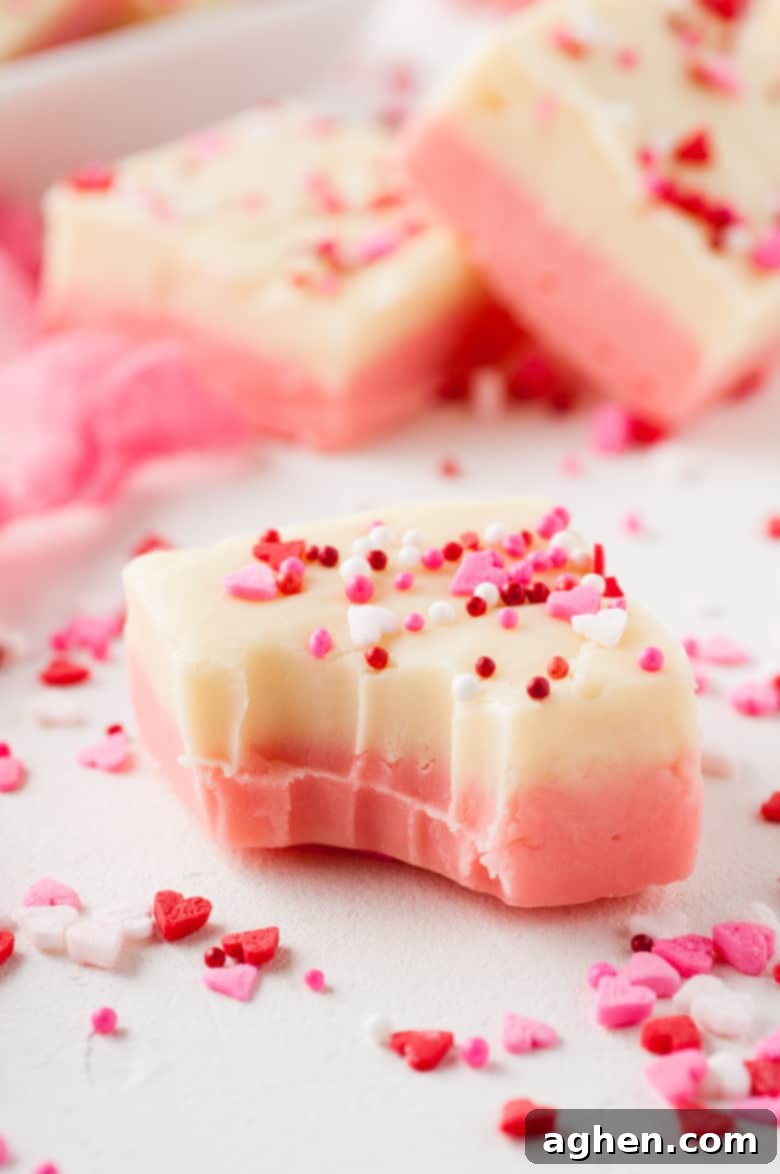
Easy & Decadent Valentine’s Day White Chocolate Fudge: A Sweet Treat for Your Beloved
Prepare for a truly special Valentine’s Day with this incredibly easy and utterly delicious white chocolate fudge recipe. It’s the perfect sweet treat to share with your loved ones, crafted with simplicity and bursting with festive charm. Forget complicated candy thermometers and endless stirring – this is your go-to solution for a homemade Valentine’s dessert that’s both impressive and stress-free!
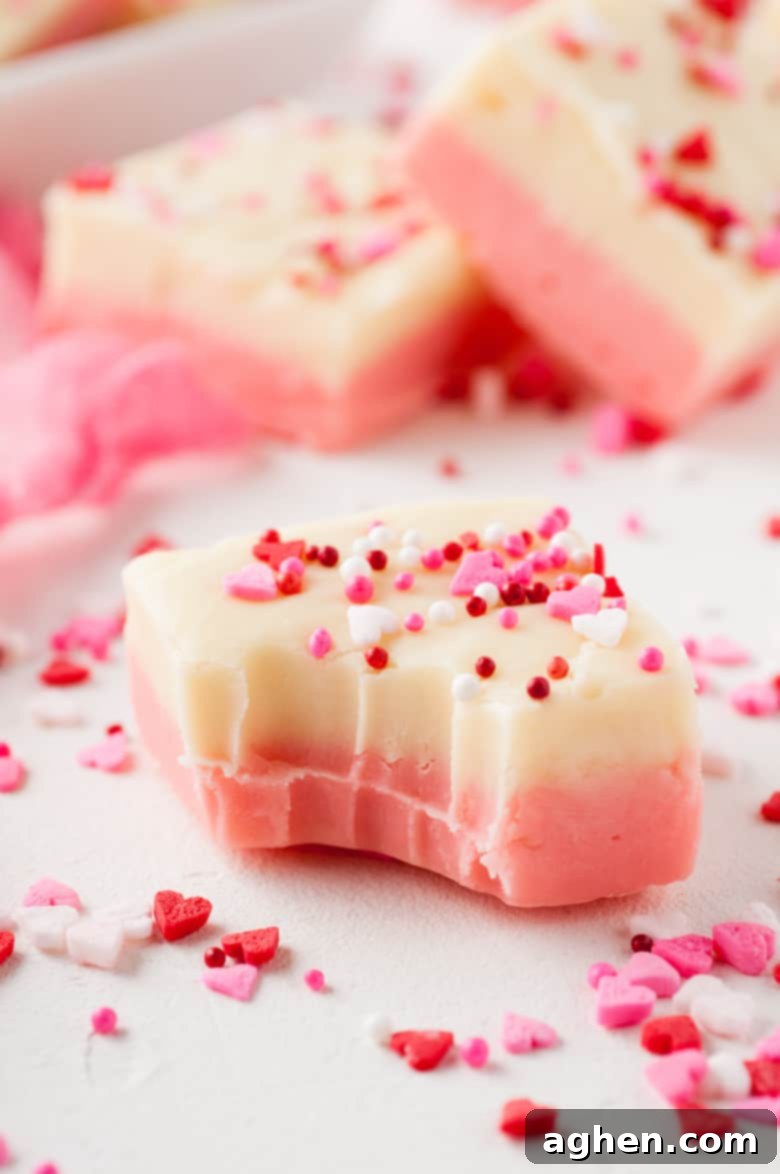
Indulge in Homemade White Chocolate Fudge for Valentine’s Day
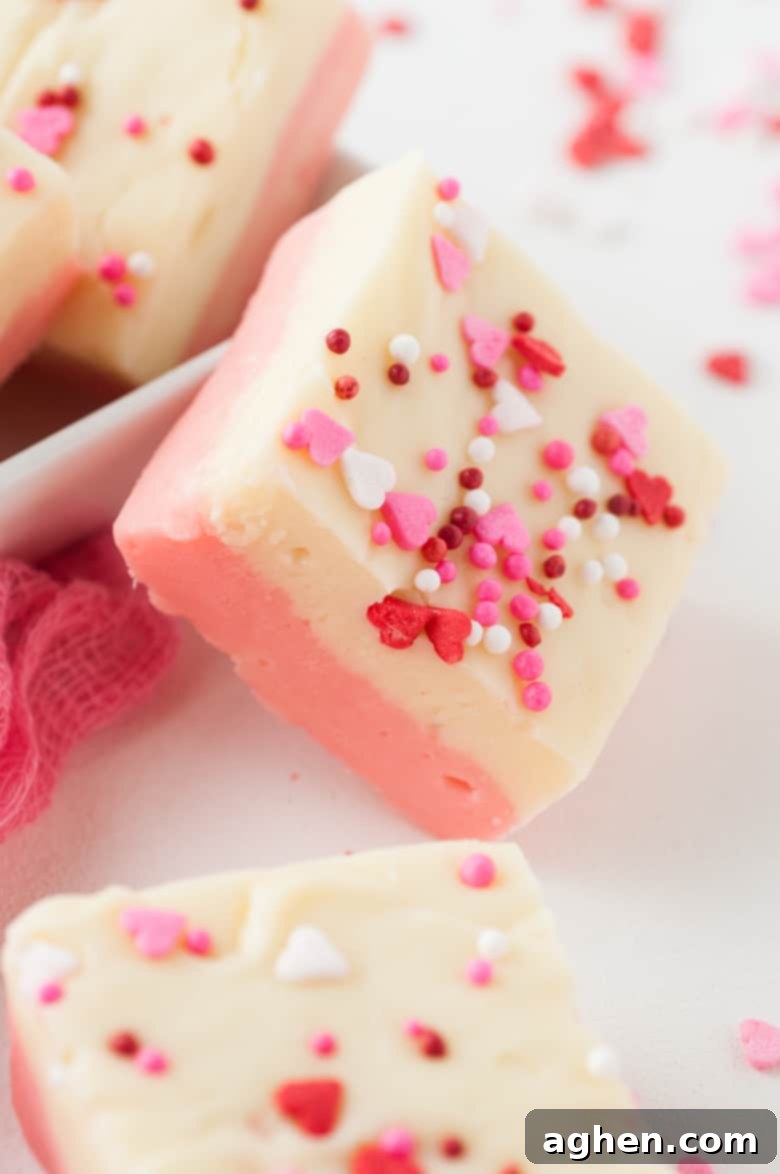
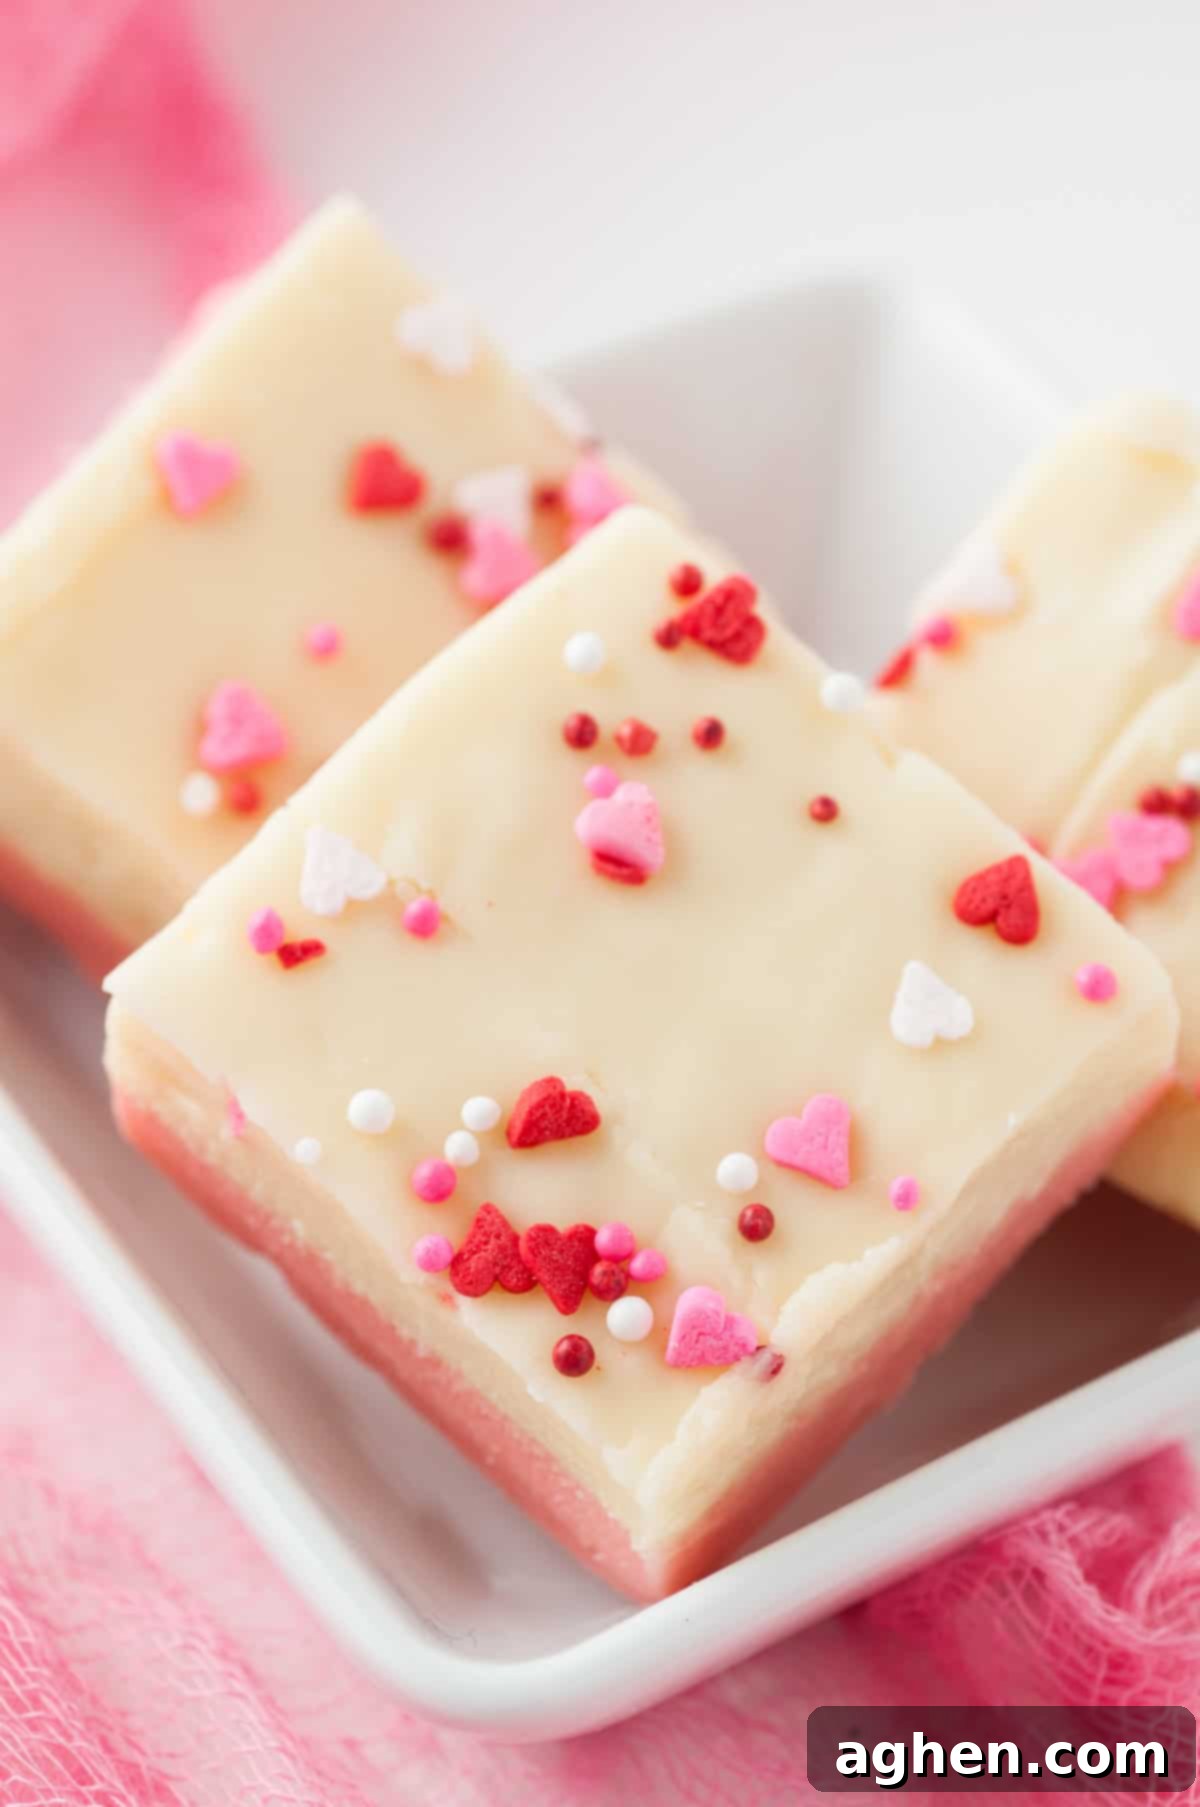
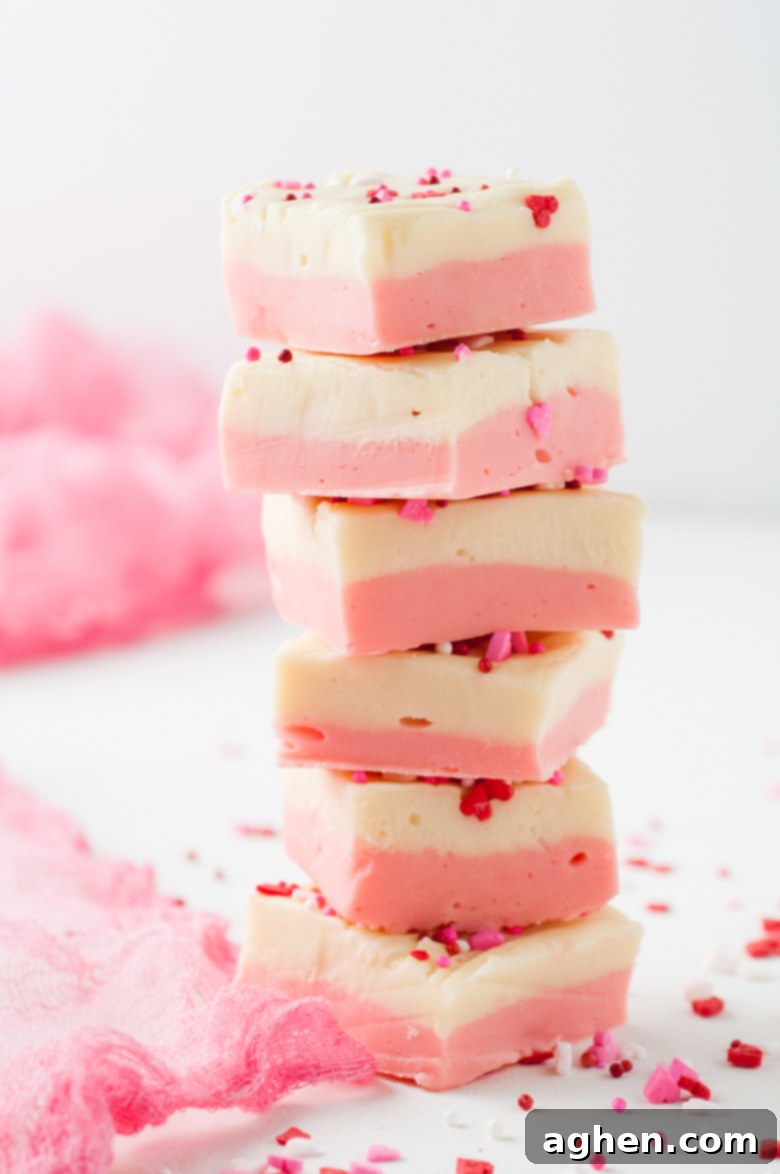
Valentine’s Day is synonymous with sweet gestures and even sweeter treats. This no-bake white chocolate fudge recipe truly embodies the spirit of the occasion, offering a delightful blend of rich flavor and enchanting visuals. It’s more than just a dessert; it’s a heartfelt expression of love, beautifully crafted with vibrant pink and white layers, generously adorned with whimsical heart sprinkles.
Imagine the joy of presenting these creamy, melt-in-your-mouth squares to your Valentine. Each bite delivers a decadent experience, making it a memorable addition to any romantic celebration. This easy Valentine’s Day fudge not only tastes incredible but also adds a pop of festive color to your dessert table, truly capturing the essence of the holiday.
If you’re looking to expand your repertoire of homemade Valentine’s desserts, consider pairing this delightful fudge with our equally charming heart shortbread cookies. Both are simple to make and guaranteed to spread love and sweetness!
Why You’ll Fall in Love with This Easy Fudge Recipe
- Simple, Accessible Ingredients: You won’t need to hunt for exotic items. This white chocolate fudge relies on a few common pantry staples, making it incredibly easy to whip up anytime a sweet craving strikes. It’s perfect for last-minute Valentine’s Day preparations!
- Effortless Fudge Making – No Candy Thermometer Needed: Say goodbye to the intimidation of traditional fudge recipes. Our method is incredibly straightforward, eliminating the need for a candy thermometer or complex cooking techniques. If you can melt chocolate in a microwave, you can make this delicious fudge!
- Fun & Festive for Valentine’s Day: With its gorgeous pink and white layers and a generous scattering of charming sprinkles, this fudge is designed to delight. It’s visually stunning, making it an ideal centerpiece for your Valentine’s Day celebration or a thoughtful homemade gift.
- Perfect Make-Ahead Dessert: Planning ahead is a breeze with this recipe. It’s ideal for preparing a day or two in advance, freeing up your time on Valentine’s Day to focus on other festivities. The flavors actually deepen beautifully overnight!
- Creamy, Dreamy Texture: This fudge boasts an irresistibly smooth and creamy texture that melts in your mouth, a hallmark of well-made homemade fudge. It’s rich, satisfying, and deeply indulgent.
Essential Ingredients for Your Valentine’s Day Fudge
This section provides detailed ingredient notes and helpful substitution options to ensure your fudge turns out perfectly. For all precise measurements, ingredient quantities, and comprehensive instructions, please refer to the printable recipe card located at the very end of this post.
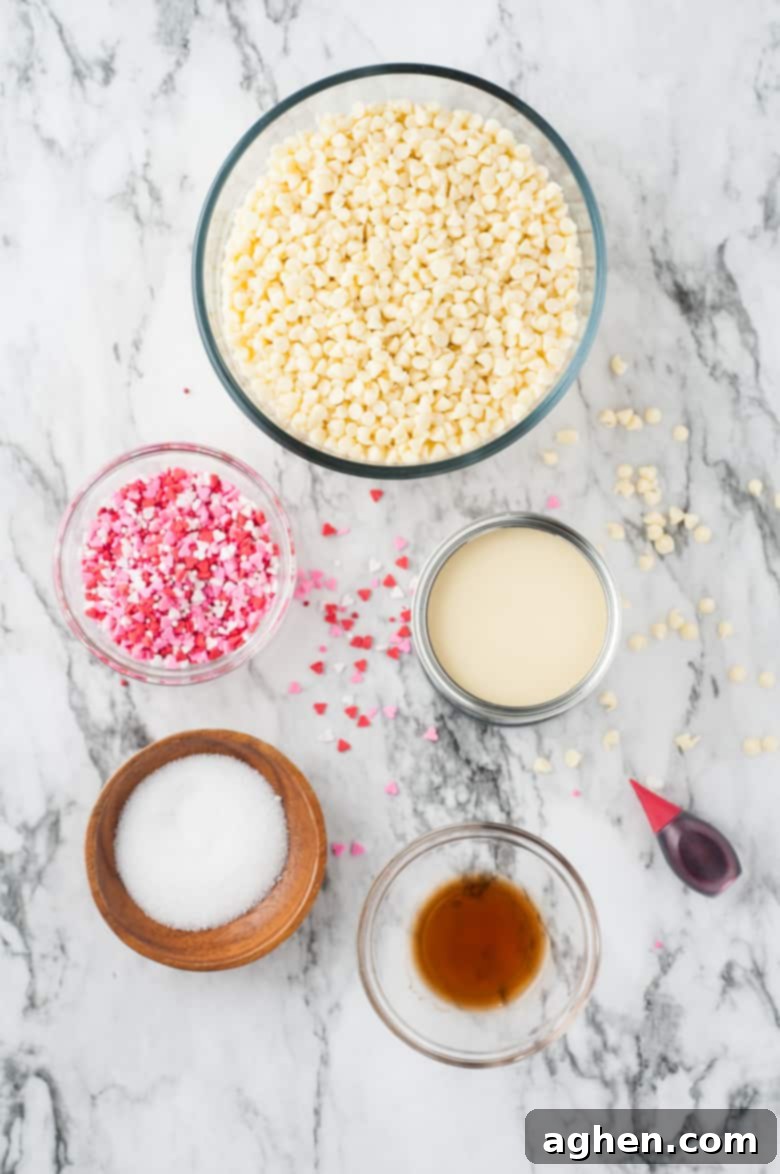
- White Chocolate Chips: These form the creamy base of our fudge. While white chocolate chips work wonderfully, for an exceptionally smooth and glossy texture, consider using high-quality white chocolate melting wafers or a chopped white chocolate bar. The quality of your chocolate directly impacts the final taste and consistency of your homemade fudge.
- Sweetened Condensed Milk: This is the magical ingredient that gives our fudge its signature creamy texture and sweetness without requiring a candy thermometer. A crucial tip: double-check the label! It’s very easy to accidentally grab a can of evaporated milk, which is often placed right next to sweetened condensed milk on grocery store shelves, and they are *not* interchangeable in this recipe.
- Vanilla Extract: A touch of pure vanilla extract enhances the overall flavor profile of the white chocolate, adding a warm and inviting aroma. Don’t skip this!
- Salt: Just a pinch of salt is vital to balance the sweetness of the fudge and bring out the rich chocolate flavors. It prevents the fudge from being overly cloying. You can omit it if you prefer, but we highly recommend its inclusion for a more nuanced taste.
- Food Coloring: To achieve that beautiful, festive pink layer, we use just a few drops of red food coloring. You have control over the intensity – add more drops for a deeper red or fewer for a delicate pastel pink. For an extra vibrant pink, pink gel food coloring works wonderfully and provides richer color with fewer drops.
- Sprinkles: These are essential for adding that playful, festive touch. Look for pink, red, and/or heart-shaped sprinkles in the baking aisle of your grocery store, especially in the weeks leading up to Valentine’s Day. If you’re struggling to find them locally, ordering a diverse Valentine’s Day sprinkles variety pack online can be a fantastic option.
You will also need an 8 x 8 inch baking dish or square pan, along with parchment paper for lining it. A microwave-safe bowl and a sturdy spatula are also key tools for success.
Step-by-Step Guide: How to Make This Irresistible Valentine’s Fudge
This section provides clear, step-by-step photos and detailed instructions to guide you through the process of making this delicious fudge. For the complete, printable recipe card with all measurements and nutritional information, please scroll down to the end of this post. These visual aids and descriptions are designed to make your fudge-making experience as smooth and enjoyable as possible, ensuring perfect results every time.
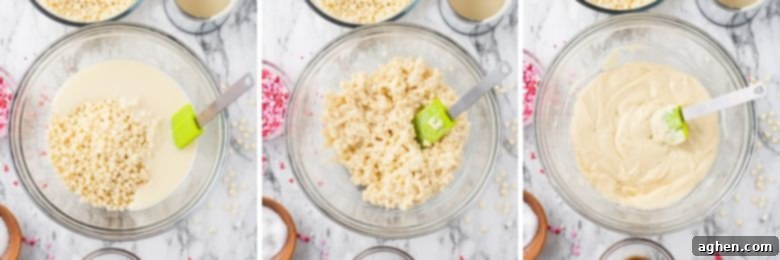
Step 1: Prepare the First Layer. In a large, microwave-safe bowl, combine half of your white chocolate chips (about 1.5 cups), half of the sweetened condensed milk, and one pinch of salt. Microwave the mixture in short bursts, typically 25-30 seconds at a time. After each interval, remove the bowl and stir the mixture vigorously with a spatula. Continue this process, reheating and stirring, until the white chocolate is fully melted and you achieve a completely smooth, consistent, and luscious texture. Be patient and stir thoroughly to prevent burning and ensure an even melt.
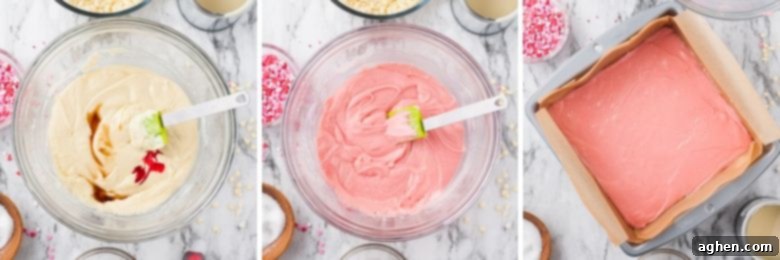
Step 2: Add Color and Flavor. Once your white chocolate mixture is smooth, stir in half a teaspoon of vanilla extract. Then, add 2 drops of red food coloring. Mix well until the color is evenly distributed throughout the fudge. If you desire a deeper, more vibrant pink, or even a true red hue, gradually add a few more drops of food coloring, stirring after each addition until you reach your preferred shade. Remember, a little goes a long way, especially with gel food coloring!
Step 3: Spread the Pink Layer. With your perfectly colored pink fudge ready, carefully spread the mixture evenly into an 8-inch square pan that you’ve previously lined with parchment paper. Using an offset spatula or the back of a spoon will help you achieve a smooth, uniform layer. Ensure it reaches all corners of the pan.
Step 4: Allow the First Layer to Set. Resist the urge to immediately add the next layer! Set the pan aside at room temperature and allow the pink fudge to cool and firm up for at least 30 minutes. This crucial step prevents the two colors of fudge from mixing together when you add the second layer, ensuring crisp, distinct lines between your pink and white layers for that beautiful layered effect.
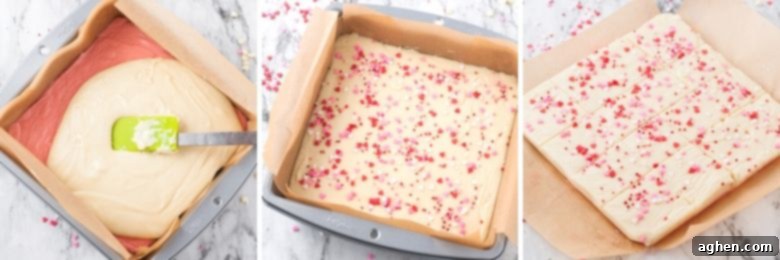
Step 5: Create the White Layer. While the pink layer is setting, prepare the second half of your fudge. In a clean, large microwave-safe bowl, combine the remaining white chocolate chips (the other 1.5 cups), the remaining half of the sweetened condensed milk, and the second pinch of salt. Repeat the melting process from Step 1: microwave in 20-second intervals, stirring thoroughly after each, until the mixture is smooth and completely melted. This time, stir in the remaining half teaspoon of vanilla extract, but *do not* add any food coloring, keeping this layer a pristine white. Gently spread this warm white chocolate mixture over the partially set pink fudge layer, being careful not to disturb the layer beneath.
Step 6: Decorate with Sprinkles. Immediately after spreading the white layer, generously sprinkle your chosen Valentine’s Day sprinkles over the top. For better adhesion and to prevent the sprinkles from falling off after the fudge sets, lightly press them into the surface of the warm fudge using the back of your hand or a clean piece of parchment paper. This ensures they are securely embedded in the top layer.
Step 7: Chill and Serve. Place the pan with your layered fudge into the refrigerator to chill until it is completely firm. This typically takes about 2 hours, but can vary depending on your refrigerator’s temperature. Once fully set, use the parchment paper overhang to carefully lift the fudge out of the pan. Place it on a cutting board and slice it into small, uniform squares using a sharp knife. For clean cuts, wipe your knife with a warm, damp cloth between slices. Serve this beautiful homemade Valentine’s Day fudge and enjoy!
Storage Solutions for Your Homemade Fudge
Proper storage is key to keeping your delicious Valentine’s Day fudge fresh and enjoyable for as long as possible. Store the fudge in an airtight container at room temperature for up to 3 days. Ensure it’s kept in a cool, dry place away from direct sunlight or heat, as this can cause the fudge to become soft or sticky. For extended freshness, transfer the airtight container to the refrigerator, where the fudge will remain perfectly good for up to 2 weeks. The cool temperature helps maintain its firm texture and rich flavor.
To freeze your fudge for even longer storage, wrap individual pieces or the entire block tightly in plastic wrap, then place it inside a freezer baggie or a freezer-safe airtight container. This method will keep your homemade fudge fresh for up to 3 months. When you’re ready to enjoy, simply thaw the frozen fudge at room temperature for an hour or two before serving. It’s a wonderful way to enjoy Valentine’s Day treats long after the holiday has passed!
Expert Tips for the Best Valentine’s Day Fudge
- Choose High-Quality White Chocolate: The foundation of exceptional fudge lies in the quality of your ingredients. Opt for a reputable brand of white chocolate chips or, even better, a good quality white chocolate bar. Better chocolate melts smoother and contributes significantly to a superior taste and creamy texture.
- Stir Diligently While Microwaving: White chocolate can seize or burn if overheated. Microwaving in short intervals (20-30 seconds) and stirring vigorously after *each* interval is crucial. This distributes heat evenly and helps achieve a perfectly smooth, lump-free mixture, preventing any grainy texture.
- Allow Adequate Setting Time: Patience is a virtue when making fudge! Ensure both layers are thoroughly set before cutting. Rushing this step will result in messy, uneven slices. Chilling for the recommended time (or even a little longer if needed) guarantees clean, beautiful squares.
- Line Your Pan Properly: Always line your baking dish with parchment paper, leaving an overhang on the sides. This creates “handles” that make it incredibly easy to lift the entire slab of fudge out of the pan once it’s set, making cutting a breeze and minimizing cleanup.
- Room Temperature for Cutting: While the fudge needs to be chilled to set, letting it sit at room temperature for 10-15 minutes before slicing can make it easier to cut, resulting in cleaner edges and less crumbling.
Creative Recipe Variations to Customize Your Fudge
- Conversation Heart Fudge: For an extra dose of Valentine’s charm, skip the sprinkles. Instead, gently press classic conversation hearts into the top white layer of the fudge while it’s still soft. The sweet messages will add a nostalgic and personal touch.
- Dark Chocolate Layer: Introduce a sophisticated contrast by replacing the white top layer with dark chocolate chips. Melted dark chocolate (using the same method as the white chocolate) will create a rich, bittersweet layer that beautifully complements the sweet pink base, offering a delightful flavor complexity.
- Berry Swirl: For a fruity twist, gently swirl 1-2 tablespoons of high-quality raspberry or strawberry jam onto the top white fudge layer before adding sprinkles. Use a toothpick or a skewer to create elegant swirls. This adds a burst of tart fruitiness that cuts through the sweetness of the white chocolate.
- Nutty Crunch Fudge: Add a delightful crunch by folding in about ½ cup of finely chopped nuts, such as pistachios or almonds, into either the pink or white fudge layer before spreading. This adds texture and a subtle nutty flavor.
- Peppermint Kiss Fudge: For a cool and refreshing variation (perhaps for a winter Valentine’s!), crush some peppermint candies or candy canes and fold them into the white fudge layer, or sprinkle them on top. A few drops of peppermint extract can also be added for extra flavor.
More Delicious & Easy Valentine’s Day Desserts
- Candy Heart Cookies
- White Chocolate Valentine Crack
- Valentine Muddy Buddy Snack Mix
- Candy Arrow Valentine Treats
- Valentine’s Day Emoji OREO Cookies
Frequently Asked Questions (FAQs) About Valentine’s Day Fudge
- Can I use dark chocolate instead of white chocolate? Absolutely! If you prefer a richer, more intense chocolate flavor, you can easily substitute dark chocolate chips for white chocolate chips in both layers, or just in one layer for a striking contrast. The melting method remains the same.
- My fudge isn’t setting. What went wrong? The most common reasons for fudge not setting are incorrect measurements (especially of sweetened condensed milk, not evaporated milk!) or insufficient chilling time. Ensure you used sweetened condensed milk and allowed the fudge to chill completely in the refrigerator for at least 2 hours, or until firm.
- How do I get clean cuts? For perfectly neat squares, make sure the fudge is fully chilled. Use a sharp, thin knife. For extra clean cuts, run the knife under hot water, wipe it dry, make a cut, then repeat for each slice. This helps prevent sticking and dragging.
- Can I make this fudge without a microwave? Yes, you can! You can melt the ingredients using a double boiler method. Place the ingredients in a heatproof bowl over a pot of simmering water, stirring until melted and smooth. Be careful not to let the bowl touch the water.
- Is this fudge good for gifting? Definitely! This Valentine’s Day fudge makes a beautiful and thoughtful homemade gift. Once cut into squares, arrange them in a decorative box or bag, perhaps tied with a festive ribbon. It’s a wonderful way to show you care.
Valentine’s Day Fudge
Author: Jaclyn
Ingredients
- 3 cups white chocolate chips divided
- 14 ounces sweetened condensed milk divided
- 2 pinches salt divided
- 2-4 drops red food coloring
- 1 teaspoon vanilla extract divided
- valentine’s day sprinkles
Instructions
-
Line an 8-inch square pan with parchment paper, allowing some overhang on the sides for easy removal. Set aside.
-
In a large microwavable bowl, combine 1½ cups of white chocolate chips with ½ of the can of sweetened condensed milk and a pinch of salt. Microwave for 25-30 seconds. Remove and stir well with a spatula. Reheat in additional 20-second intervals as needed, stirring vigorously in-between each interval, until you get a completely smooth, melted, and consistent texture without any lumps.
-
Stir in ½ teaspoon of vanilla extract and 2 drops of red food coloring. Mix thoroughly until the color is uniform. Add additional drops of food coloring if desired to achieve a deeper pink or red hue, stirring after each addition.
-
Spread the pink fudge mixture evenly into the prepared pan using an offset spatula or the back of a spoon. Allow this first layer to set at room temperature for at least 30 minutes. This is crucial for preventing the colors from mixing.
-
In a separate large microwavable bowl, add the remaining 1½ cups of white chocolate chips, the second half of the sweetened condensed milk, and the remaining pinch of salt. Repeat the melting process from Step 1, microwaving in 20-second intervals and stirring vigorously until the chocolate is fully melted and has a smooth consistency. Stir in the remaining ½ teaspoon of vanilla extract, but do not add any food coloring to keep this layer white.
-
Gently spread this white fudge mixture evenly over the partially set pink fudge layer in the pan. Immediately after spreading, generously add your Valentine’s Day sprinkles. Lightly press them into the top surface of the warm fudge if necessary to help them adhere securely.
-
Place the pan in the refrigerator to chill until the entire fudge block is completely firm. This will typically take about 2 hours. Once set, use the parchment paper overhang to lift the fudge from the pan, then cut it into small, even squares using a sharp knife. For the cleanest cuts, wipe your knife with a warm, damp cloth between each slice. Serve and enjoy your beautiful homemade Valentine’s Day fudge!
Notes
Nutrition

Did You Make This Recipe?
Share it with me on Instagram @crayonsandcravings and follow on Pinterest @crayonsandcravings for even more!
Pin Recipe
Leave A Review
