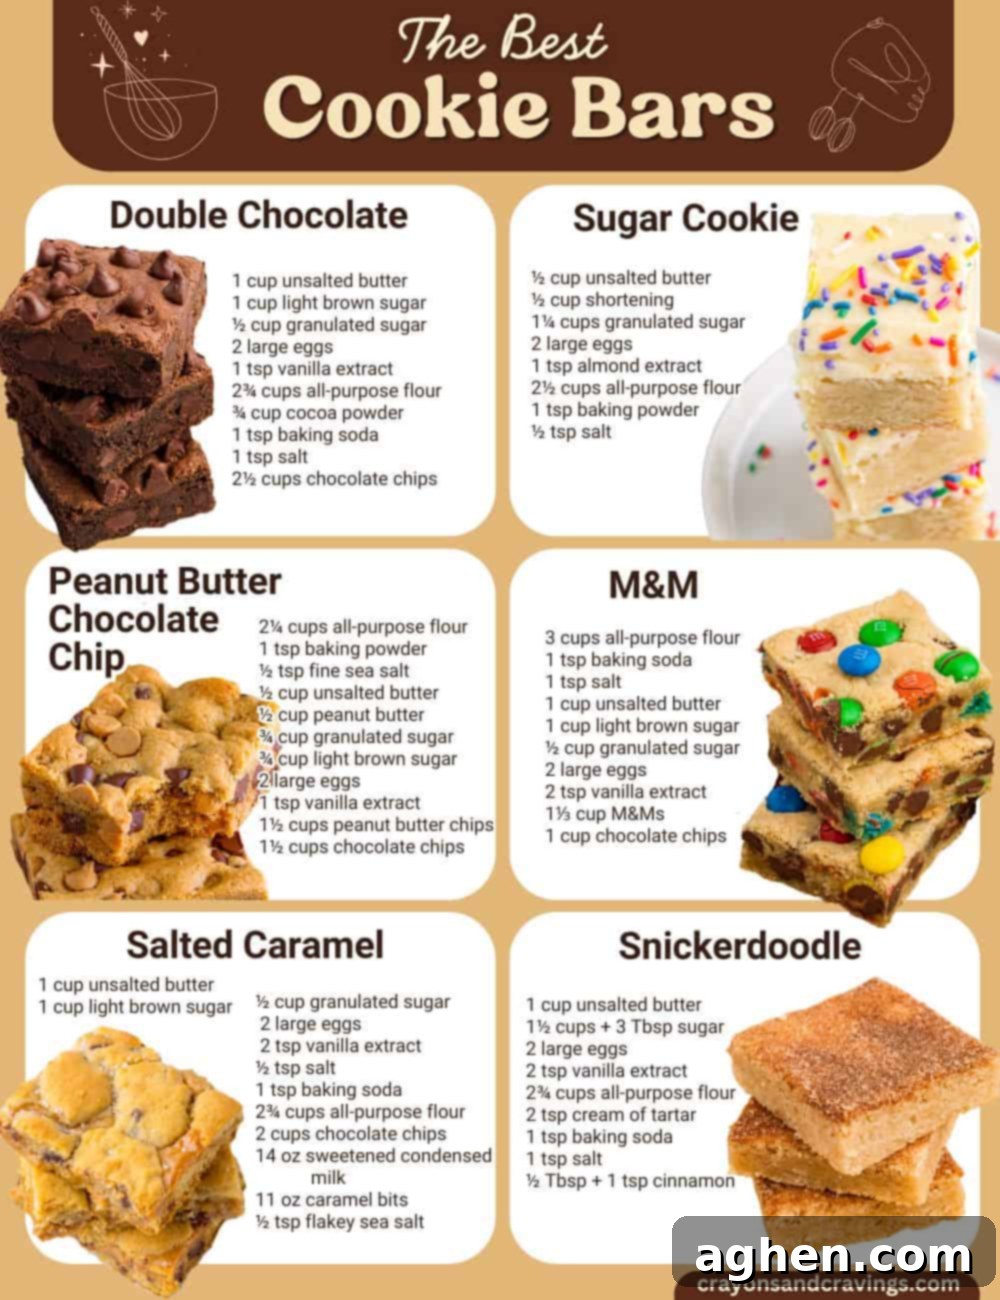
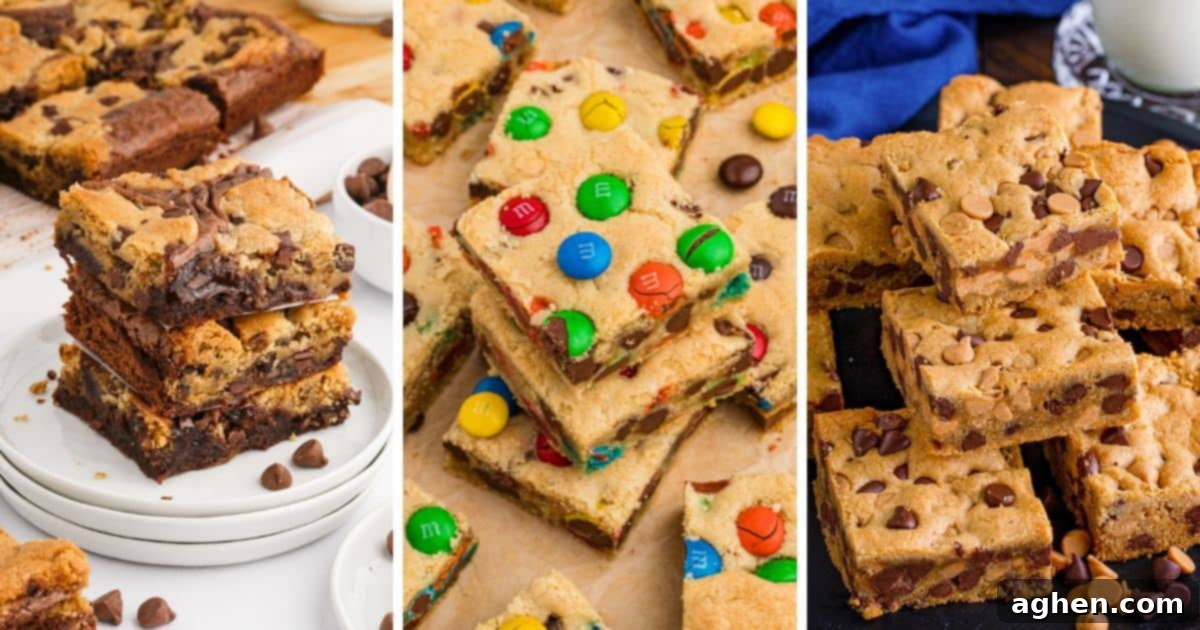
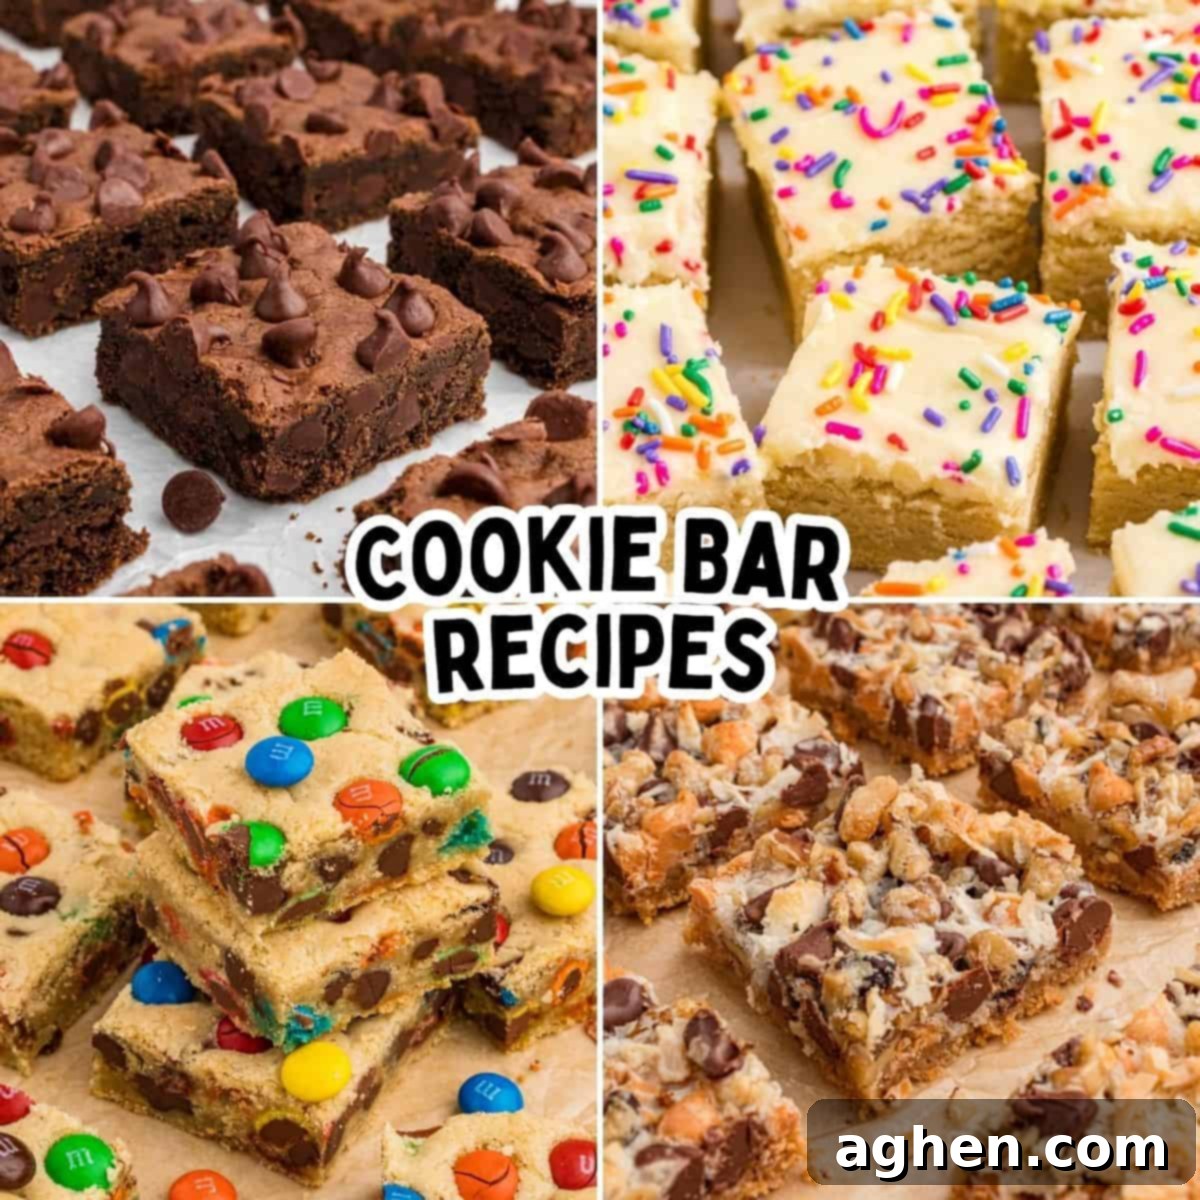
20 Irresistibly Easy Cookie Bar Recipes: Your Ultimate Guide to Effortless Dessert Bliss
If you’re searching for a dessert that offers maximum flavor with minimal effort, look no further than these incredible cookie bar recipes. These 20 irresistible bar desserts are the ultimate shortcut to cookie nirvana, eliminating the need for tedious scooping or rolling out individual cookies. Forget the fuss of traditional cookie-making; cookie bars deliver all the chewy, gooey goodness in a simple, bake-and-slice format that’s perfect for any occasion.

Why Cookie Bars Are Your New Favorite Dessert
One of the most appealing aspects of cookie bars is their sheer simplicity. The process is straightforward: mix the dough, press it evenly into a pan, and bake. This streamlined approach saves a significant amount of time compared to portioning out dozens of cookies, making them ideal for busy bakers or anyone craving a quick sweet treat. But the benefits extend beyond convenience:
- Effortless Preparation: No more chilling dough, rolling pin struggles, or individual cookie shaping. Just one pan and you’re good to go!
- Perfect for Crowds: A single 9×13 inch pan yields generous portions, making cookie bars an excellent choice for potlucks, parties, bake sales, or family gatherings.
- Incredible Versatility: From classic chocolate chip to elaborate layered creations, cookie bars can be adapted to virtually any flavor profile or dietary preference. The possibilities are endless!
- Easy to Transport: Slicing bars directly in the pan or after lifting a whole slab makes them incredibly easy to pack and share without damage.
- Less Mess, More Fun: With fewer steps and utensils, clean-up is often much quicker, leaving you more time to enjoy your delicious creations.
Whether you’re a fan of rich semi-sweet chocolate, indulgent buttery crusts, or colorful frosting-topped delights, these 9×13 cookie bars are guaranteed to be packed with flavor and easy enough for even beginner bakers to master. Get ready to dive into a world of deliciousness with handy baking tips, essential supplies you’ll need, and my best cookie bar recipes.
Essential Baking Supplies for Cookie Bars
Before you embark on your cookie bar baking adventure, ensure you have these fundamental tools readily available. Having the right equipment makes the process smoother and ensures perfect results every time:
- 9×13 inch baking pan – This is the standard, ideal size for most cookie bar recipes, providing enough surface area for even baking and a good number of servings.
- Parchment paper sheets – A true game-changer for easy pan lining and mess-free removal. Leaving an overhang on the sides creates “handles” to lift the entire baked slab with ease.
- Large mixing bowl – Essential for comfortably combining your cookie dough or batter without spills. Choose one with enough capacity for all ingredients.
- Mixer – A hand mixer or a stand mixer will effortlessly cream butter and sugar, incorporating air for a lighter texture and ensuring a smooth, uniform dough.
- Whisk – Perfect for thoroughly combining dry ingredients like flour, baking soda, and salt, preventing lumps and ensuring even distribution.
- Rubber spatula – Indispensable for scraping down the sides of the bowl to ensure all ingredients are incorporated and for evenly spreading thick batters into the pan.
- Measuring cups and spoons – Accuracy is key in baking! These tools ensure precise measurements of all your ingredients, leading to consistent and delicious results.

Top Tips for Perfect Cookie Bars Every Time
Achieving bakery-quality cookie bars is easier than you think with a few simple tricks up your sleeve. Follow these expert tips to ensure your bars come out perfectly textured, evenly baked, and beautifully sliced:
- Line your pan with parchment paper and leave an overhang on the sides. This step is crucial for easy removal. The parchment paper creates convenient “handles” that allow you to lift the entire baked slab out of the pan. This makes for much cleaner slicing and prevents sticking, especially with gooey or fudgy bars.
- Don’t overbake your cookie bars. This is perhaps the most important tip for achieving that desirable soft, chewy texture. Bars should be slightly soft and appear just barely set in the center when you take them out of the oven. They will continue to firm up and set as they cool on the counter due to residual heat. An underbaked bar is often better than an overbaked, dry one!
- Cool completely before cutting. Patience is a virtue, especially when it comes to cutting cookie bars. Allowing them to cool entirely, or even chilling them in the refrigerator, helps them set properly. This ensures they hold their shape, prevents crumbling, and gives you nice, neat, clean edges for presentation.
- Chill sticky doughs for a few minutes if they’re hard to spread. Some doughs, especially those with lots of mix-ins or a high butter content, can be quite sticky and difficult to press evenly into the pan. A quick 10-15 minute chill in the refrigerator will firm up the dough, making it much easier to handle and spread smoothly.
- Use room temperature ingredients: For most recipes, especially those involving butter and eggs, using ingredients at room temperature helps them emulsify better, creating a smoother, more uniform dough.
- Press dough evenly: Whether it’s the base layer or the full dough, ensure it’s pressed evenly into the pan. This promotes even baking and consistent texture throughout the bars.
- Don’t skip the salt: A pinch of salt enhances the flavor of sweet ingredients and balances richness, making your cookie bars taste even better.
An Array of Irresistible Cookie Bar Recipes
Now that you’re armed with the essential supplies and expert tips, it’s time to explore the star of the show: the recipes! This curated collection features a diverse range of cookie bars, from timeless classics to seasonal delights and unique flavor combinations. Each recipe promises ease of preparation and a delicious payoff, perfect for satisfying any sweet craving or impressing guests. Browse through these fantastic options and find your next favorite bake-and-slice dessert!
Get M&M Cookie Bar Recipe
Get 7 Layer Bars Recipe
Get Snickerdoodle Bars Recipe
Get Sugar Cookie Bars Recipe
Get Peanut Butter Bars Recipe
Get Lemon Bars Recipe
Get Double Chocolate Cookie Bars Recipe
Get Caramel Chocolate Chip Cookie Bars Recipe
Get Funfetti Bars Recipe
Get Carmelitas Recipe
Get Brookies Recipe
Get Twix Bars Recipe
Get No-Bake Peanut Butter Bars Recipe
Get Christmas Cookie Bars Recipe
Get Harvest Spice Bars Recipe
Get Unicorn Bars Recipe
Get Christmas Sugar Cookie Bars Recipe
Get Peanut Butter and Jelly Bar Recipe
Get Easter Magic Cookie Bars Recipe
Get Valentine Bars Recipe
Storing Your Delicious Cookie Bars
Once your cookie bars have cooled and you’ve enjoyed a few (or more!), proper storage is key to keeping them fresh and delicious. Most cookie bars can be stored in an airtight container at room temperature for 3-5 days. If your bars contain frosting, cream cheese, or fresh fruit, they will likely need to be refrigerated to maintain freshness and prevent spoilage. Always ensure they are completely cool before storing, as warmth can create condensation and make them soggy.
Freezing Cookie Bars for Longer Enjoyment
Cookie bars are also excellent for freezing, allowing you to enjoy them for longer or prepare them ahead of time for future events. To freeze, wrap individual bars or small batches tightly in plastic wrap, then place them in a freezer-safe airtight container or heavy-duty freezer bag. They can typically be frozen for up to 2-3 months. Thaw them at room temperature or in the refrigerator before serving.
Frequently Asked Questions About Cookie Bars
Can I use a different size baking pan?
While most recipes are optimized for a 9×13 inch pan, you can often adapt them. If using a smaller pan (e.g., 8×8 inch), you might need to reduce the recipe by about a third and increase the baking time slightly. For a larger pan, you’ll need to increase the recipe amount and potentially decrease baking time. Always keep an eye on the doneness, as baking times will vary.
How do I know when my cookie bars are done?
Look for lightly golden edges and a center that appears set but still slightly soft when gently pressed. Remember, bars continue to cook slightly as they cool. A wooden skewer inserted into the center should come out with moist crumbs, not wet batter.
Can I customize these recipes?
Absolutely! Cookie bars are incredibly versatile. Feel free to swap out chocolate chip types, add different nuts, dried fruits, or candies. Just be mindful of the overall liquid-to-dry ingredient ratio, especially when making significant changes.
My bars are too crumbly/dry, what went wrong?
This usually indicates overbaking. Shorter baking times are often better, as they firm up as they cool. Also, ensure you’re accurately measuring your dry ingredients; too much flour can lead to a dry texture.
My bars are too gooey/underbaked, what should I do?
If they’re too gooey, they might be underbaked. Ensure your oven temperature is accurate (an oven thermometer can help!), and bake until the edges are golden and the center is set. Some gooeyness is desirable, but raw dough is not.
Conclusion: Your New Go-To Dessert Solution
With these 20 easy and irresistible cookie bar recipes, you have a treasure trove of deliciousness at your fingertips. From classic flavors that evoke nostalgia to creative combinations perfect for celebrations, cookie bars offer convenience, versatility, and pure joy in every bite. They truly are the ultimate shortcut to cookie bliss, making baking accessible and enjoyable for everyone. So, preheat your oven, gather your ingredients, and get ready to bake some unforgettable bar desserts. Happy baking!
