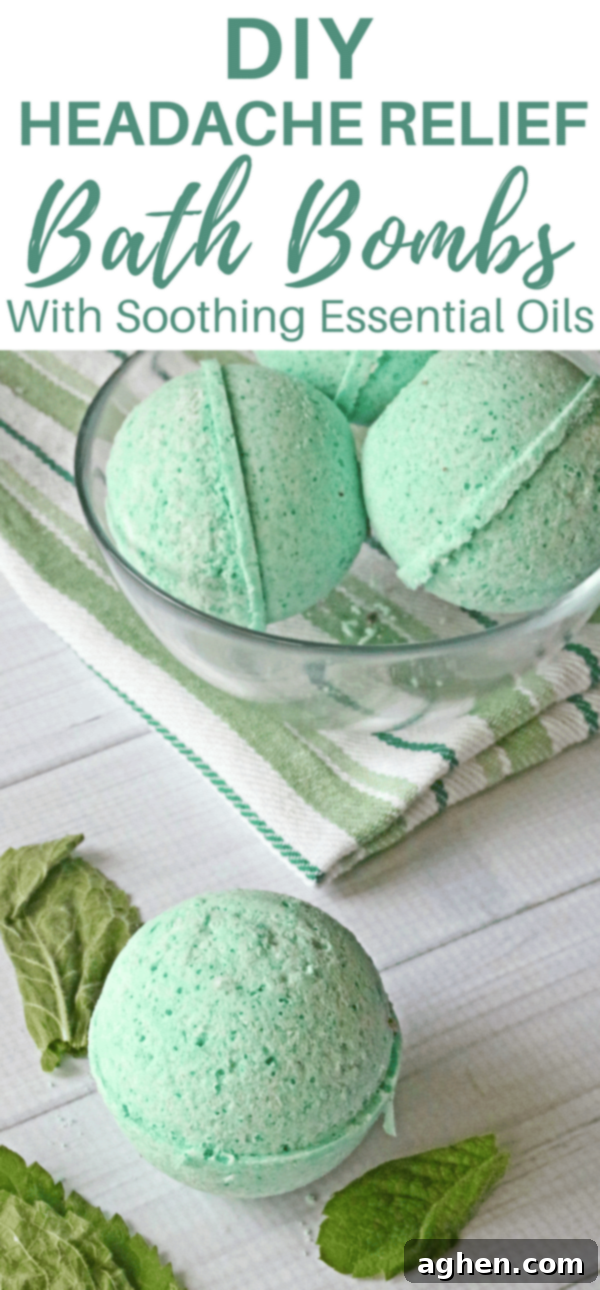
DIY Headache Bath Bombs: Soothe Headaches Naturally with Lavender & Peppermint
Headaches are an unwelcome guest that can swiftly disrupt your day, steal your focus, and make true relaxation feel like a distant dream. While many turn to over-the-counter medications for quick relief, there’s a growing desire for natural alternatives that are gentler on the body and promote holistic well-being. Imagine sinking into a warm, inviting bath, the steam gently carrying therapeutic aromas that actively work to melt away tension and pain. This isn’t just a fantasy; it’s a soothing reality you can create in your own home with custom-made headache bath bombs, expertly infused with the potent, natural relief of lavender and peppermint essential oils.
A hot bath has long been cherished as a simple yet effective method for relaxation and easing various aches. The comforting warmth of the water works wonders by promoting muscle relaxation, dilating blood vessels to improve circulation, and providing a welcome distraction from discomfort. These effects can significantly help in alleviating the tightening grip of tension headaches. However, to truly elevate this experience and maximize its headache-relieving potential, integrating a specially crafted bath bomb can transform a simple soak into a profoundly therapeutic ritual. These DIY essential oil bath bombs are specifically designed to infuse your bath with beneficial ingredients, turning it into a powerful natural remedy for mind and body.
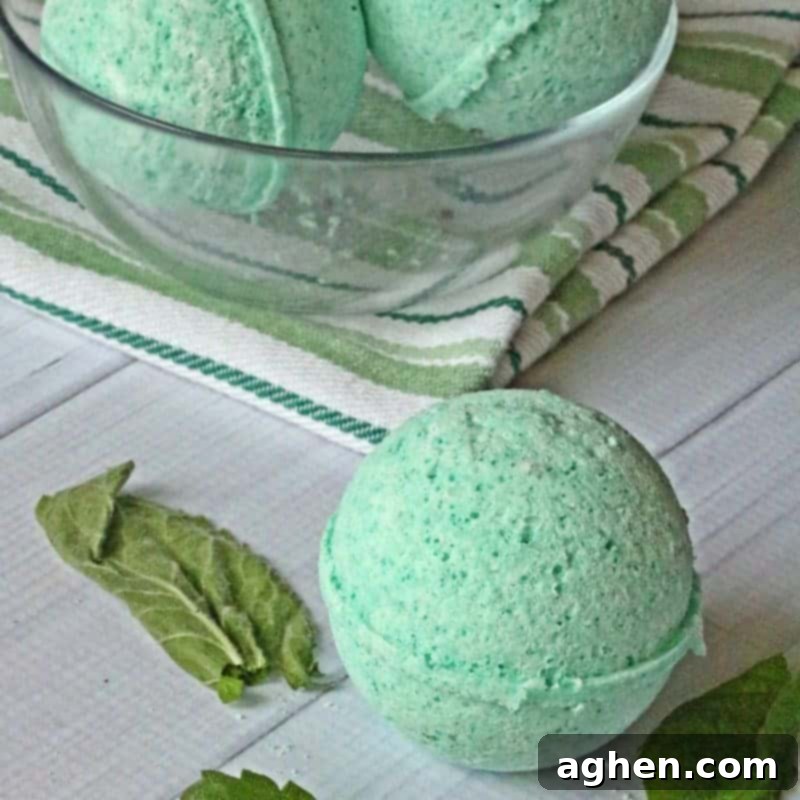
Why Choose Homemade Headache Bath Bombs Over Store-Bought?
While an array of headache relief bath bombs can be found in specialty stores, crafting your own at home offers a multitude of compelling advantages that go beyond mere convenience. Firstly, the cost-effectiveness of DIY bath bombs is undeniable. You can produce a generous batch of high-quality, therapeutic bath bombs for a fraction of the price of purchasing just one or two pre-made options. This makes self-care and natural relief more accessible and sustainable for your budget.
More importantly, embarking on this DIY project grants you unparalleled control over every single ingredient. This means you can confidently eliminate mystery chemicals, artificial fragrances, harsh dyes, or any unwanted additives often found in commercial products. You get to choose pure, natural components, ensuring that what you’re putting into your bath – and onto your skin – is exactly what you intend. This level of transparency guarantees a safer and more personalized product. Furthermore, the process of making essential oil bath bombs is surprisingly straightforward and incredibly rewarding. Most of the necessary ingredients are easily sourced from major retailers or online specialty stores, making the craft accessible to beginners and seasoned DIY enthusiasts alike. As you delve into the world of essential oils, you’ll also gain valuable knowledge, empowering you to customize your bath bombs to address specific symptoms, whether it’s a dull throbbing pain, persistent muscle tension, or overwhelming stress.
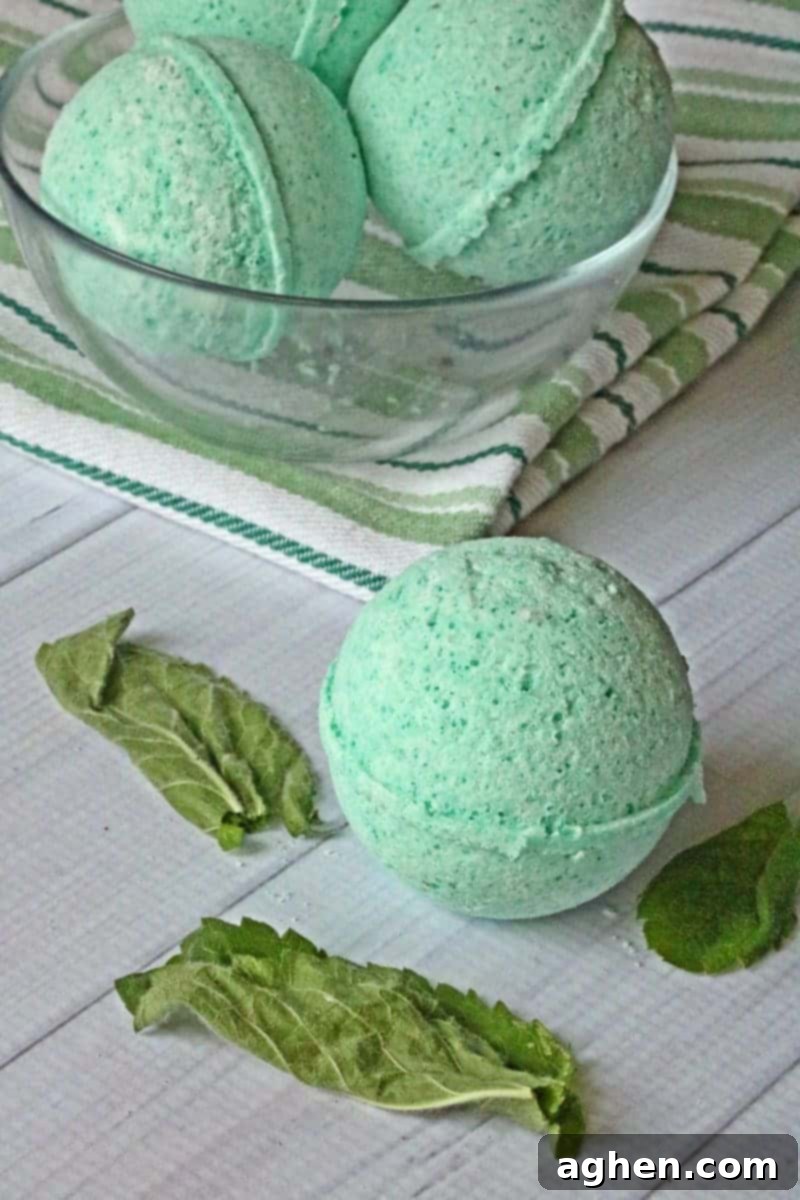
The Therapeutic Power of Essential Oils for Natural Headache Relief
The core of these headache bath bombs’ effectiveness lies in the thoughtfully selected essential oils: lavender and peppermint. These two botanicals are celebrated for their distinct yet remarkably complementary properties, which work synergistically to provide comprehensive and natural headache relief.
Lavender Essential Oil: The Calming Soother
Lavender (Lavandula angustifolia) is perhaps the most universally recognized essential oil for relaxation and its profound calming effects. Its use in headache relief is particularly beneficial:
- Stress and Anxiety Reduction: Stress and anxiety are primary triggers for many types of headaches, especially tension headaches. The gentle, floral aroma of lavender has potent anxiolytic properties that help to soothe the nervous system, reduce mental chatter, and promote a sense of inner peace, directly addressing these root causes.
- Muscle Relaxation: Lavender possesses natural antispasmodic qualities, meaning it can help to relax tense muscles. This is crucial for headaches stemming from tightness in the neck, shoulders, and scalp, providing physical ease alongside mental calm.
- Improved Sleep Quality: Poor sleep or insomnia can exacerbate headaches. Lavender is a well-known natural sleep aid, and by promoting deeper, more restorative sleep, it can indirectly prevent or alleviate headaches that are linked to fatigue and lack of rest.
- Mild Anti-inflammatory Properties: While subtle, lavender also offers mild anti-inflammatory benefits, which can contribute to reducing overall discomfort and throbbing sensations associated with headaches.
Peppermint Essential Oil: The Invigorating Reliever
Peppermint (Mentha piperita) essential oil, with its refreshing and invigorating aroma, offers a different yet equally powerful approach to headache relief:
- Natural Pain Relief: The key active compound in peppermint essential oil is menthol, which creates a noticeable cooling and numbing sensation upon contact. When diffused in a bath, this sensation can help distract from headache pain and provide immediate, refreshing relief.
- Tension Release: Peppermint acts as a natural muscle relaxant, effectively easing the tight bands of muscle in the head, temples, and forehead that are often a hallmark of tension headaches. The cooling sensation can also help constrict blood vessels, which some find beneficial for certain types of headaches.
- Enhanced Blood Flow: The stimulating properties of peppermint can help improve localized blood circulation. This can be particularly helpful for headaches caused by poor circulation or congestion, bringing fresh oxygen and alleviating pressure.
- Sinus Relief: For headaches accompanied by sinus pressure or congestion, the decongestant properties of peppermint are invaluable. Inhaling its vapors can help clear nasal passages, reducing pressure and associated head pain.
By combining lavender and peppermint, these bath bombs offer a perfectly balanced synergy: lavender calms the mind and relaxes deep-seated tension, while peppermint invigorates the senses and provides targeted pain relief. Beyond this powerful duo, feel free to explore other headache-friendly essential oils like Frankincense for its anti-inflammatory benefits, Eucalyptus for respiratory and decongestant support, or Roman Chamomile for its profound relaxation properties, further expanding your natural wellness toolkit.
Headache Bath Bombs: A Thoughtful Gift Idea for Self-Care
These homemade headache bath bombs transcend their function as a personal self-care item; they also make exceptionally thoughtful and cherished gifts. Imagine the heartfelt appreciation of a friend, family member, or colleague receiving a handmade present specifically designed to help them relax, de-stress, and soothe away tension and headaches. They are perfectly suited for a myriad of occasions, including birthdays, holidays, teacher appreciation gifts, get-well-soon care packages, or simply as a “thinking of you” gesture to show you care.
Presentation can elevate your gift even further. You can beautifully arrange several bath bombs in a decorative gift bag tied with a ribbon, present them elegantly in a charming glass jar, or incorporate them into a larger, relaxation-themed gift basket. Consider pairing them with other pampering items like a luxurious bath towel, a calming scented candle, a soothing herbal tea blend, or even a good book. For an extra touch of artisanal flair and visual appeal, you could even utilize a specialized press, similar to those used for intricately designed moon cake bath bombs, to impart unique floral patterns or elaborate designs onto your creations. Regardless of how you choose to shape or present them, these handmade headache bath bombs are destined to be a deeply appreciated and memorable gift, serving as a tangible expression of your thoughtfulness and care for someone special.
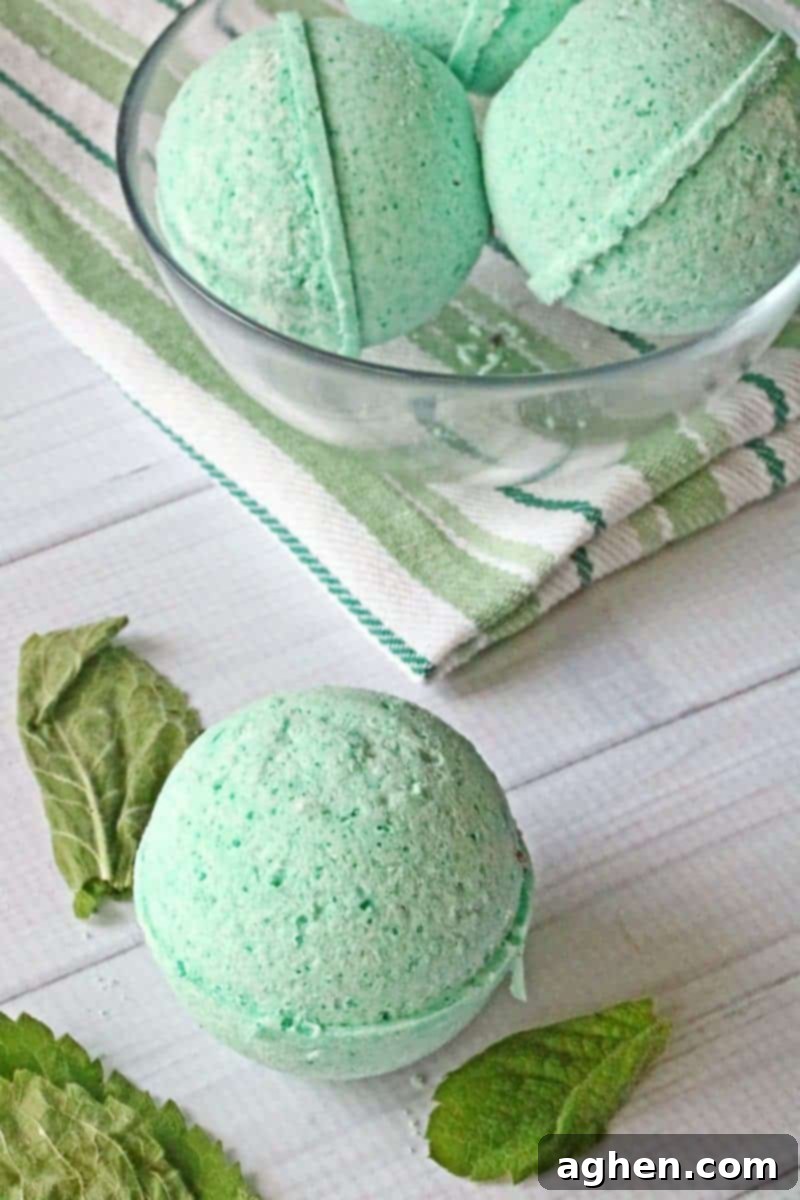
Headache Bath Bomb Ingredients & Their Benefits
Gathering the right ingredients is the essential first step to successfully crafting these effective and soothing spheres. Here’s a detailed breakdown of each component you’ll need and the vital role it plays in your natural headache relief bath bomb:
- 1 cup Baking Soda (Sodium Bicarbonate): This incredibly versatile household staple forms the primary base of your bath bomb. It’s crucial for the fizzing reaction when it interacts with citric acid in water. Beyond that, baking soda is renowned for its gentle exfoliating, skin-softening, and detoxifying properties, leaving your skin feeling wonderfully smooth and refreshed after your bath.
- 1/2 cup Citric Acid: As the indispensable partner to baking soda, citric acid is a naturally occurring weak organic acid found abundantly in citrus fruits. When combined with baking soda and introduced to water, it precipitates a chemical reaction that releases carbon dioxide gas, producing the characteristic and delightful effervescence that makes bath bombs so enjoyable.
- 1/2 cup Epsom Salt (Magnesium Sulfate): Epsom salt is a cornerstone ingredient in therapeutic baths, celebrated for centuries for its health benefits. It is rich in magnesium, which can be absorbed through the skin. This absorption helps significantly in relaxing tense muscles, reducing inflammation, and alleviating both physical and mental stress and tension—all of which are highly beneficial for effective headache relief.
- 3/4 cup Cornstarch: Cornstarch serves multiple important functions in your bath bomb. It acts as a crucial binder, helping the bath bomb mixture hold its shape securely. It also plays a role in slowing down the fizzing reaction, which extends the longevity of your bath bomb in the water. Furthermore, cornstarch contributes to the silky, luxurious feel of the bath water and possesses soothing properties that can calm irritated skin.
- 2 tablespoons Almond Oil: A truly wonderful emollient, almond oil provides excellent, deep moisturization for your skin, ensuring it feels soft, supple, and nourished after your bath. It’s also vital for binding the dry ingredients together, ensuring your bath bombs are well-formed and durable. If almond oil isn’t available, you can easily substitute it with other nourishing carrier oils like jojoba, grapeseed, or fractionated coconut oil.
- 3 teaspoons Witch Hazel: Witch hazel acts as a gentle yet effective binding agent. It helps the dry mixture stick together without immediately triggering the fizzing reaction that plain water might. A key advantage of witch hazel is that it evaporates quickly, which is essential for allowing your bath bombs to dry properly and harden. While a small spray bottle of water can also be used, witch hazel is often preferred by crafters for its superior binding properties and its natural skin-toning benefits.
- 1 teaspoon green Mica Powder (Optional): This natural mineral pigment is used to add a beautiful, vibrant color to your bath bombs. While entirely optional and purely for aesthetic appeal, it can make your bath experience even more visually delightful and engaging. You can choose to omit it for a natural white bomb or experiment with other cosmetic-grade mica colors to match your mood or preference.
- 10 drops Lavender Essential Oil: As previously detailed, lavender is indispensable for its profound relaxation, stress-relief, and calming properties. It’s an invaluable component for soothing the nervous system and easing headache discomfort.
- 10 drops Peppermint Essential Oil: Peppermint essential oil contributes its signature invigorating and pain-relieving qualities. It offers a distinct cooling sensation and helps to actively alleviate muscle tension often associated with various types of headaches.
- Small Spray Bottle with Water: This is a crucial tool for finely misting the mixture with just the right amount of liquid, which is critical for achieving proper binding without inadvertently over-activating the fizzing reaction too early.
- Bath Bomb Molds: These come in a wide array of shapes and sizes—from classic spheres to charming hearts or intricate stars—and are absolutely essential for giving your bath bombs their desired form and professional finish. Both metal and silicone molds work exceptionally well.
How to Make Your Own Soothing Headache Bath Bombs: A Step-by-Step Guide
This recipe is designed to yield approximately 4 large bath bombs or up to 9 smaller ones, providing you with a generous supply for continuous natural relief or for sharing as thoughtful gifts. Follow these steps meticulously for the best possible results and perfectly formed bath bombs:
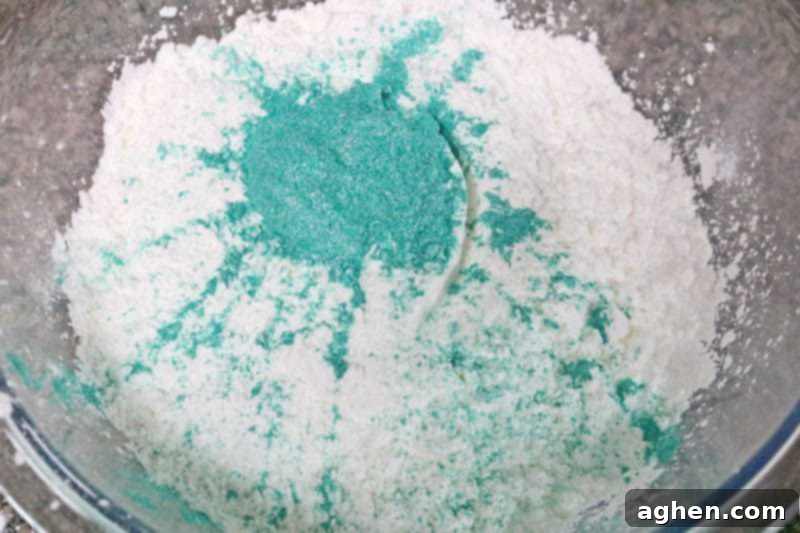
1. Combine Dry Ingredients Thoroughly: In a generously sized glass mixing bowl, carefully combine all of your dry ingredients: the baking soda, citric acid, epsom salt, cornstarch, and, if you’re using it, the mica powder. Use a whisk or your hands to mix everything together exceptionally well. It is paramount to ensure that there are absolutely no clumps left and that all ingredients are uniformly distributed throughout the mixture. A homogeneous dry mix is critical for a successful, evenly fizzing bath bomb.
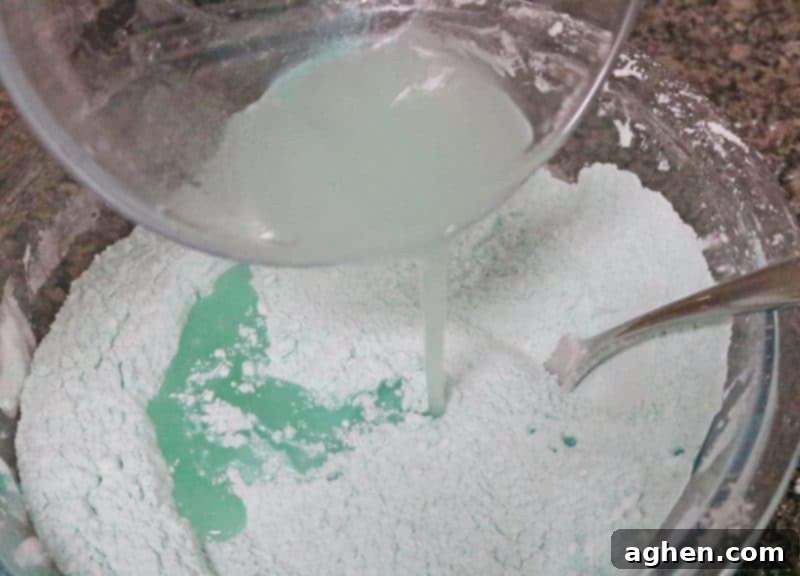
2. Prepare Liquid Mixture: In a separate, smaller glass bowl, combine the almond oil, the 10 drops of lavender essential oil, the 10 drops of peppermint essential oil, and the witch hazel. Whisk these liquid ingredients together until they are fully and completely combined. This step ensures that the essential oils and binding agent are evenly dispersed, leading to consistent fragrance and therapeutic benefits in every bath bomb.
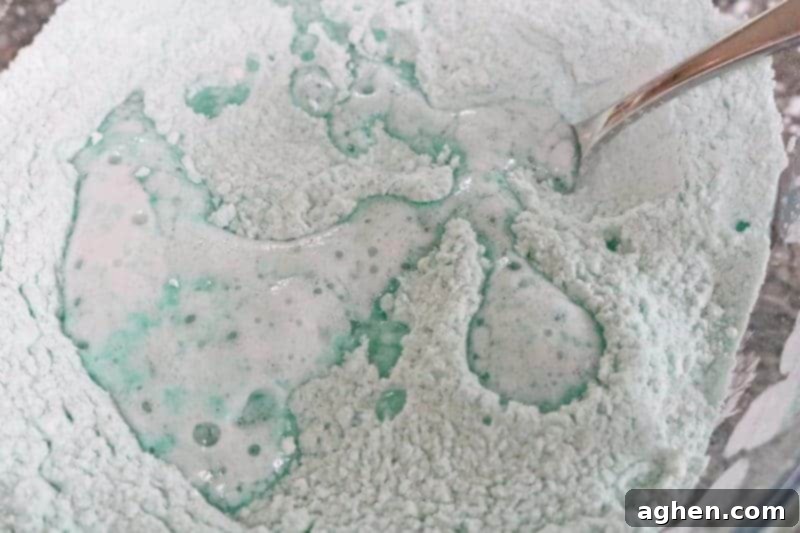
3. Combine Wet and Dry Ingredients: With careful attention, slowly pour the prepared liquid mixture into the large bowl containing your thoroughly mixed dry ingredients. You may observe a very slight fizzing reaction as the first drops of liquid make contact with the dry components. This is normal, but it underscores the importance of proceeding quickly yet carefully to avoid activating a full fizz too early. Incorporate the liquids swiftly.
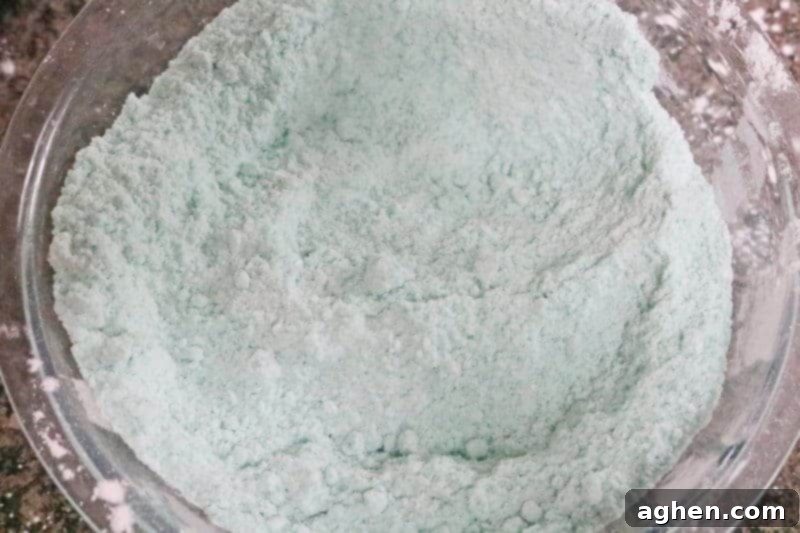
4. Achieve Proper Consistency: Immediately after pouring the liquids, use a fork or your gloved hands to vigorously mix the ingredients together. Continue mixing and working the mixture until it is thoroughly combined and has achieved a consistency similar to that of slightly damp sand – it should hold its shape when you squeeze a handful, but still be somewhat crumbly. If the mixture feels too dry, it won’t bind properly; if it’s too wet, it will begin to fizz prematurely and ruin your bath bombs. Aim for that perfect middle ground.
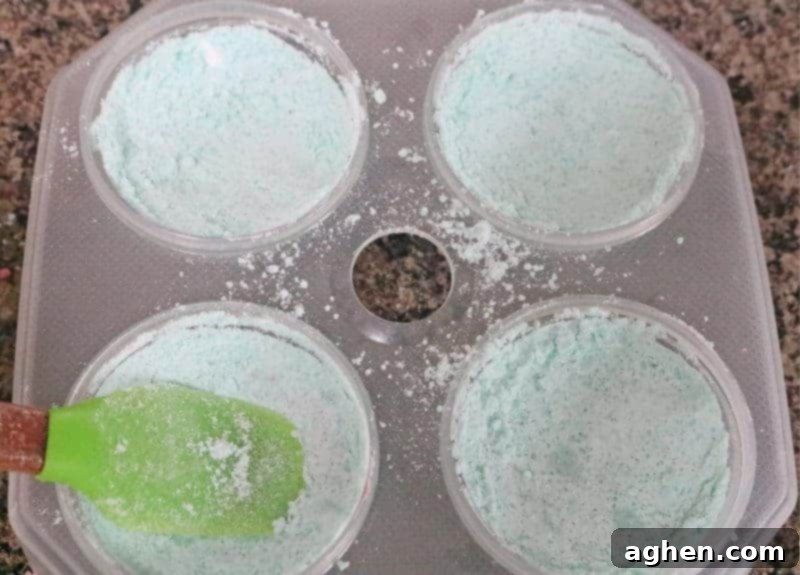
5. First Mold Fill and Firm Press: Prepare your chosen bath bomb molds by ensuring they are clean and dry (silicone molds usually don’t require greasing, but metal ones might benefit from a very light coat of oil). Use a spoon to fill one half of each mold approximately halfway with your mixture. Then, using a silicone spatula or your fingers, press the mixture down very, very firmly into the mold. Give each filled mold half a single, incredibly light spray of water from your spray bottle (it’s crucial to use no more than one quick mist!). Immediately press down again with significant force to ensure the mixture is as tightly packed as humanly possible.
Crucial Note for Success: This step is where many bath bomb makers encounter challenges. Using too much water will inevitably activate the fizzing reaction prematurely, which will ruin your bath bombs by causing them to expand and lose their shape. Conversely, if you do not press down firmly enough, your bath bombs will lack the structural integrity needed to hold together once dry and will easily crumble upon removal or handling. Precision and firm pressure are key here!
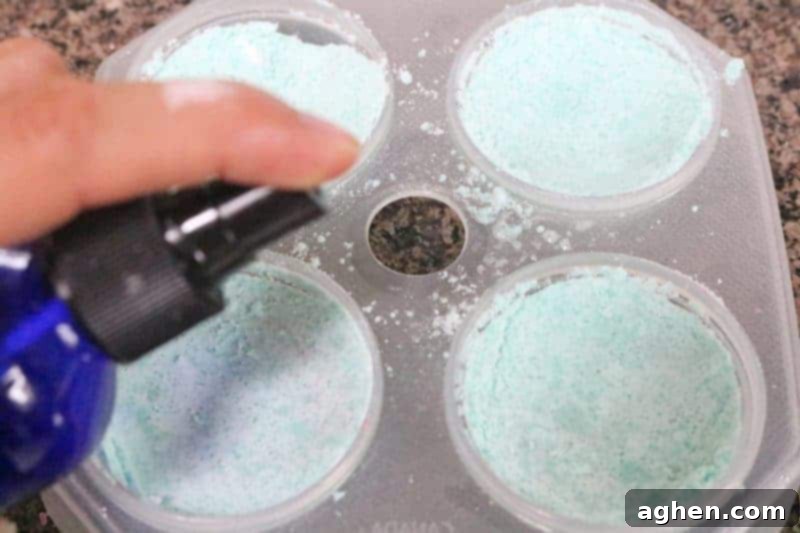
6. Complete Mold Fill and Final Press: Now, carefully fill the remaining half of your bath bomb mold with the rest of the mixture, allowing it to slightly overflow above the rim. Gently bring the two filled halves of the mold together and press them firmly and evenly. For spherical molds, you can twist them slightly back and forth to help them seal perfectly. Give the outside seam of the fully closed mold just one quick mist of water (again, very light!) and apply firm pressure once more to ensure you create a solid, well-compacted, and beautiful bath bomb.
7. Set and Dry Thoroughly: Once your bath bombs are securely molded, carefully close the molds (if they are multi-part) and then place them in a cool, dry, and undisturbed location. Allow them to set and dry for a minimum of 24 hours. For optimal results, especially in environments with higher humidity, it is highly recommended to let them dry for up to 48 hours. This extended drying time ensures they fully harden and retain their shape. Once completely dry, gently open the molds and carefully remove your beautiful, perfectly formed homemade headache bath bombs.
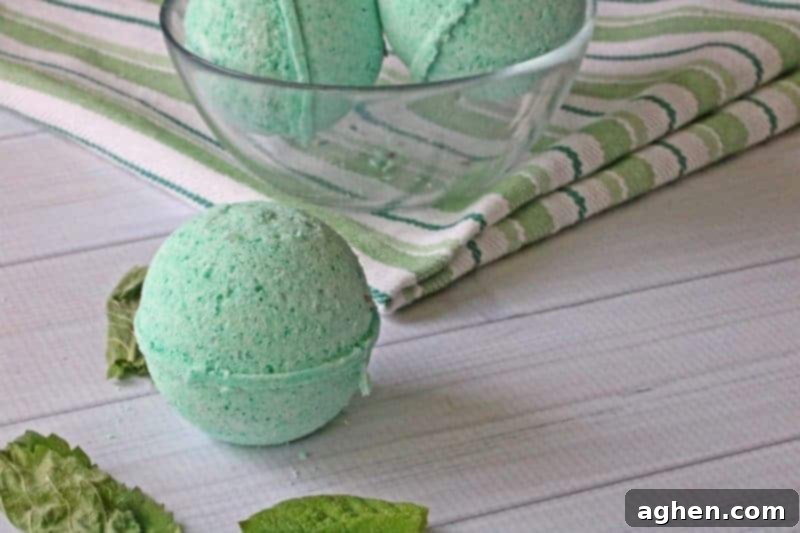
Important Note: Due to the natural presence of mica powder (if used) and the nourishing almond oil, these bath bombs will leave your bath water feeling silky, but also potentially a bit slippery. Please exercise extreme caution when entering and especially when exiting the bathtub to prevent any slips or falls. Always consider using a sturdy bath mat and having a secure grab bar accessible for added safety.
Shop Headache Bath Bomb Supplies:
Bath Bomb Kit Including Bath Bomb MoldsMica powder for bath bombsBath Bombs Silicone Mold 9-Cavity SphericalSweet Almond Oil by Sky Organics 100% PureRadha Beauty Lavender Essential Oil Therapeutic GradeRadha Beauty 100% Pure Peppermint Essential OilEpsom Salt By Sky Organics – 100% Pure. Non-GMOMilliard Citric Acid – 100% Pure Food Grade NON-GMOAnthony’s Organic CornstarchArm & Hammer Pure Baking SodaT.N. Dickinson’s 100% Natural Witch HazelGlass Spray BottlesPyrex 3-Piece Glass Mixing Bowl Set
Beyond the Recipe: Tips for Optimal Headache Relief
Creating and using these DIY headache bath bombs is a fantastic step towards natural relief. To further enhance your experience and maximize the benefits, consider these additional tips:
- Stay Hydrated: Many headaches are directly linked to dehydration. Ensure you’re consistently drinking plenty of water throughout the day, especially when you feel a headache beginning or persisting.
- Create a Serene Environment: While your bath bomb dissolves and releases its soothing aromas, optimize your surroundings. Dim the lights, play soft, calming music, or simply embrace the quiet to allow your mind and body to fully unwind.
- Gentle Scalp or Neck Massage: While submerged in the warm water, gently massage your temples, forehead, or the base of your neck. The combination of the warm water and a light massage can significantly help in releasing built-up tension in these common headache-prone areas.
- Post-Bath Recovery: After your relaxing bath, try to lie down in a cool, dark, and quiet room if circumstances allow. Continue to hydrate and give your body the time it needs to fully process the relaxation and healing benefits.
- Incorporate into Routine: If you frequently suffer from tension headaches, consider integrating regular relaxing baths with these DIY bath bombs into your self-care routine. Proactive relaxation can be a powerful tool in preventing and managing chronic headaches.
Share Your Favorite Natural Headache Remedies!
We believe in the power of community knowledge and shared experiences! Do you have any other fantastic natural headache remedies, unique DIY tips, or personal insights that you use for effective relief? We’d absolutely love to hear them! Please share your wisdom and experiences in the comments section below to help our growing community discover even more wonderful ways to feel better, naturally and holistically!
Explore More Easy DIY Recipes for Self-Care:
If you enjoyed crafting these headache bath bombs, you’ll love our other simple and beneficial DIY recipes:
- DIY Brown Sugar Scrub: Discover how to make a luxurious, natural exfoliant for incredibly soft and silky smooth skin.
- Homemade Whipped Body Butter: Indulge your skin with this deeply moisturizing, rich, and incredibly luxurious body butter that’s simple to whip up at home.
- DIY Peppermint Sugar Scrub: Invigorate your senses, awaken your skin, and exfoliate naturally with the refreshing and stimulating power of peppermint.
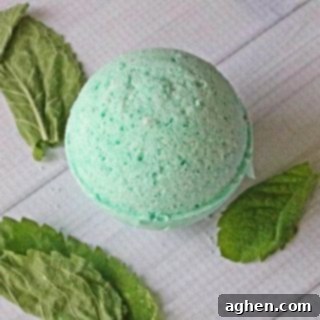
DIY Headache Bath Bombs
Author: Jaclyn
Equipment
-
Bath Bomb Molds
-
Small Spray Bottle
-
Large Glass Mixing Bowl
-
Small Glass Bowl
-
Whisk or Fork
-
Silicone Spatula (optional, for pressing)
Ingredients
- 1 cup baking soda
- 1/2 cup citric acid
- 1/2 cup epsom salt
- 3/4 cup cornstarch
- 2 Tablespoons almond oil
- 3 tsp witch hazel
- 1 tsp green mica powder (optional, for color)
- 10 drops lavender essential oil
- 10 drops peppermint essential oil
Instructions
-
In a large glass mixing bowl, combine all the dry ingredients (baking soda, citric acid, epsom salt, cornstarch, and mica powder). Mix exceptionally well with a whisk or your hands, ensuring that there aren’t any clumps for a uniform mixture.
-
In a separate small glass bowl, combine the almond oil, lavender essential oil, peppermint essential oil, and witch hazel. Whisk until all liquid ingredients are thoroughly combined.
-
Slowly pour the combined liquid mixture into the large bowl with the dry ingredients. You will observe a slight fizzing as the liquids contact the dry ingredients; this is normal. Immediately begin mixing with a fork or your gloved hands until the mixture is well combined and has a consistency similar to damp sand that holds its shape when squeezed.
-
Prepare your bath bomb molds. Use a spoon to fill one half of each mold halfway. Using a silicone spatula or your fingers, press the mixture firmly into the mold. Lightly spray each mold half with a single mist of water (from your spray bottle) and press down again with force to ensure maximum firmness. Remember: too much water causes fizz, too little pressure means crumbling.
-
Then, fill the other half of the mold with the remaining mixture, slightly overflowing. Bring both halves together and press them firmly, even vigorously, to form a solid bath bomb. A quick mist on the outside seam and a final press can help.
-
Close the molds and allow the bath bombs to set and dry for at least 24 hours (preferably 48 hours for best results) before carefully opening and removing them from the molds.
Video Tutorial
Notes
Did You Make This Craft?
We’d love to see your creations! Share your handmade headache bath bombs with us on Instagram @crayonsandcravings and follow us on Pinterest @crayonsandcravings for even more inspiring DIY projects, recipes, and crafting ideas!
Pin Craft
Leave A Review
