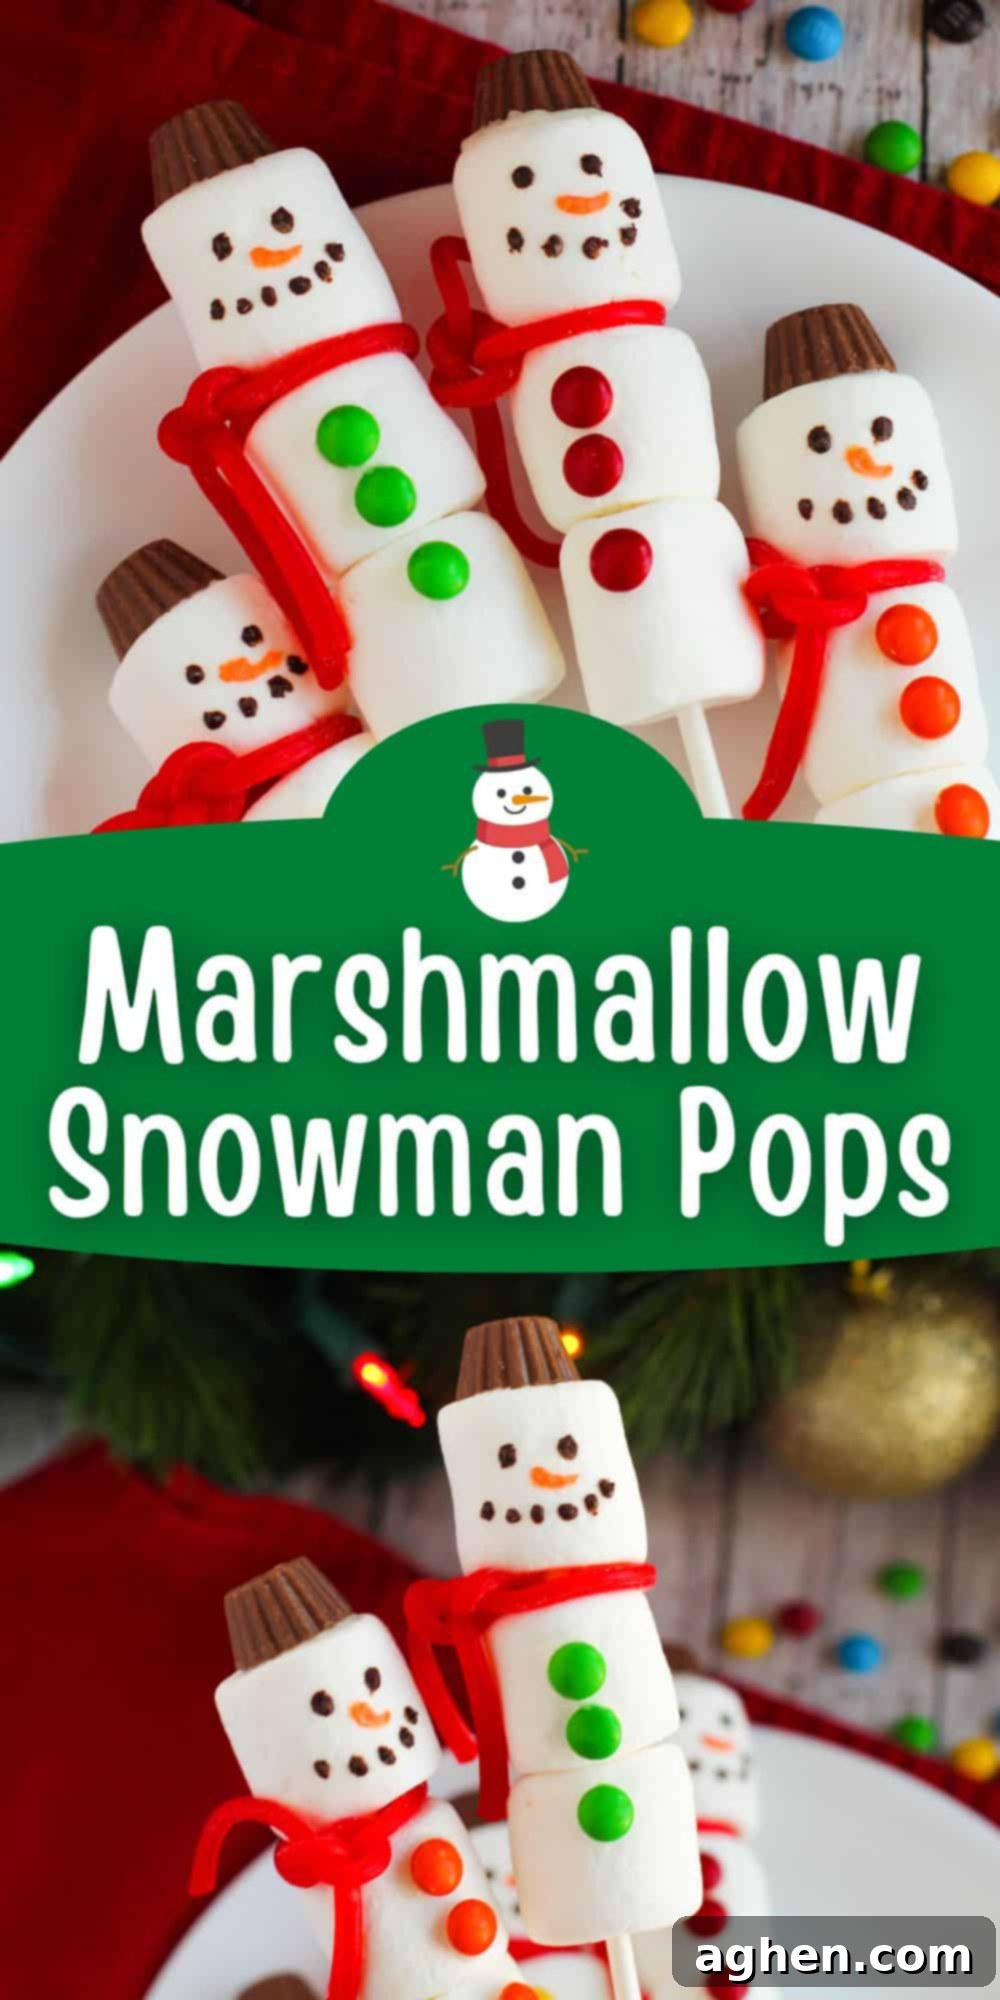
Easy & Adorable Marshmallow Snowman Pops: Your Ultimate Holiday Treat Guide
Get ready to add a sprinkle of winter wonder to your holiday season with these unbelievably fun and easy-to-make marshmallow snowman pops! These delightful treats aren’t just a joy to create; they’re also incredibly versatile. Imagine giving them out as charming edible Christmas gifts, tucking them into stocking stuffers, or presenting them as adorable favors to guests at your festive Christmas party. Their whimsical charm is guaranteed to bring smiles all around.
These super cute marshmallow snowman treats are more than just a tasty snack on their own. They transform into enchanting marshmallow snowman stirrers, perfect for swirling into a rich mug of homemade hot cocoa. They’re also an absolutely incredible addition to any hot cocoa bar, adding a touch of playful elegance that will impress everyone!
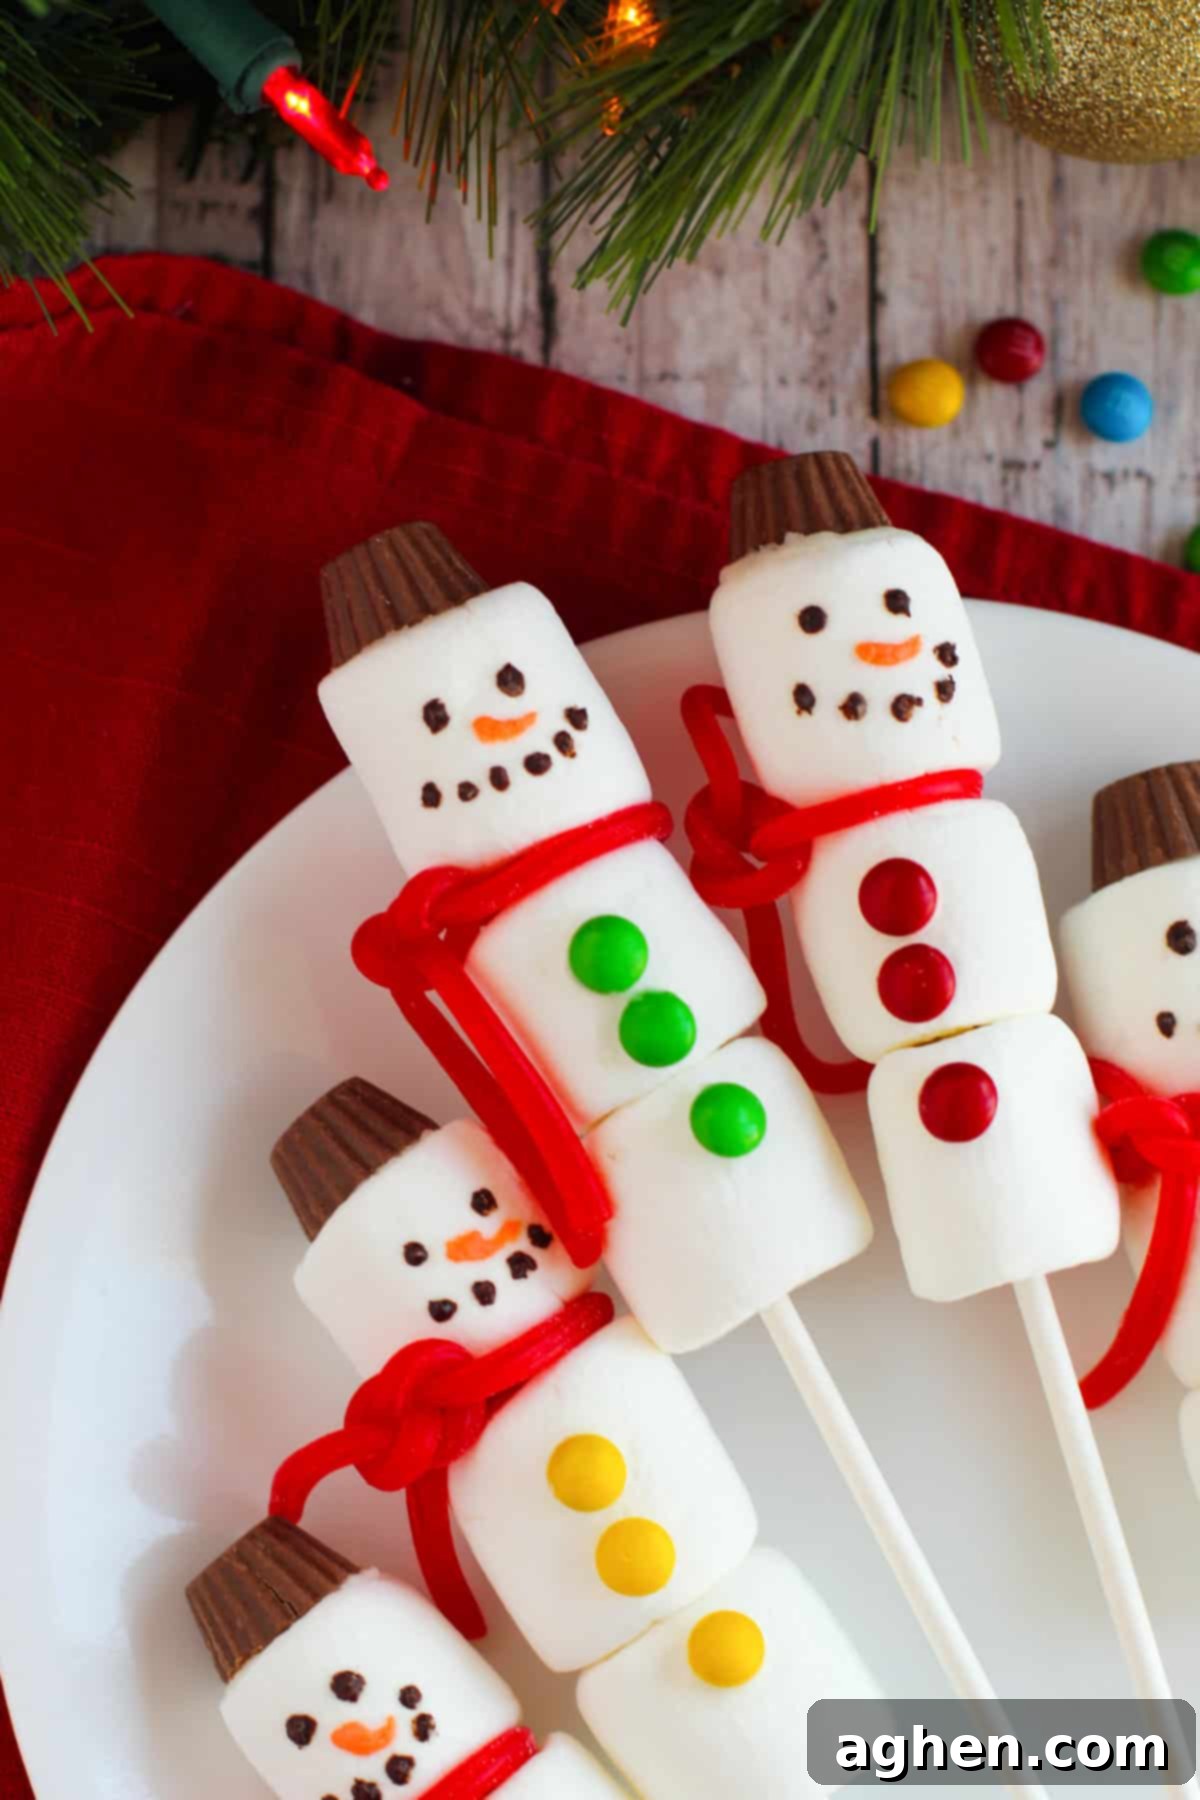
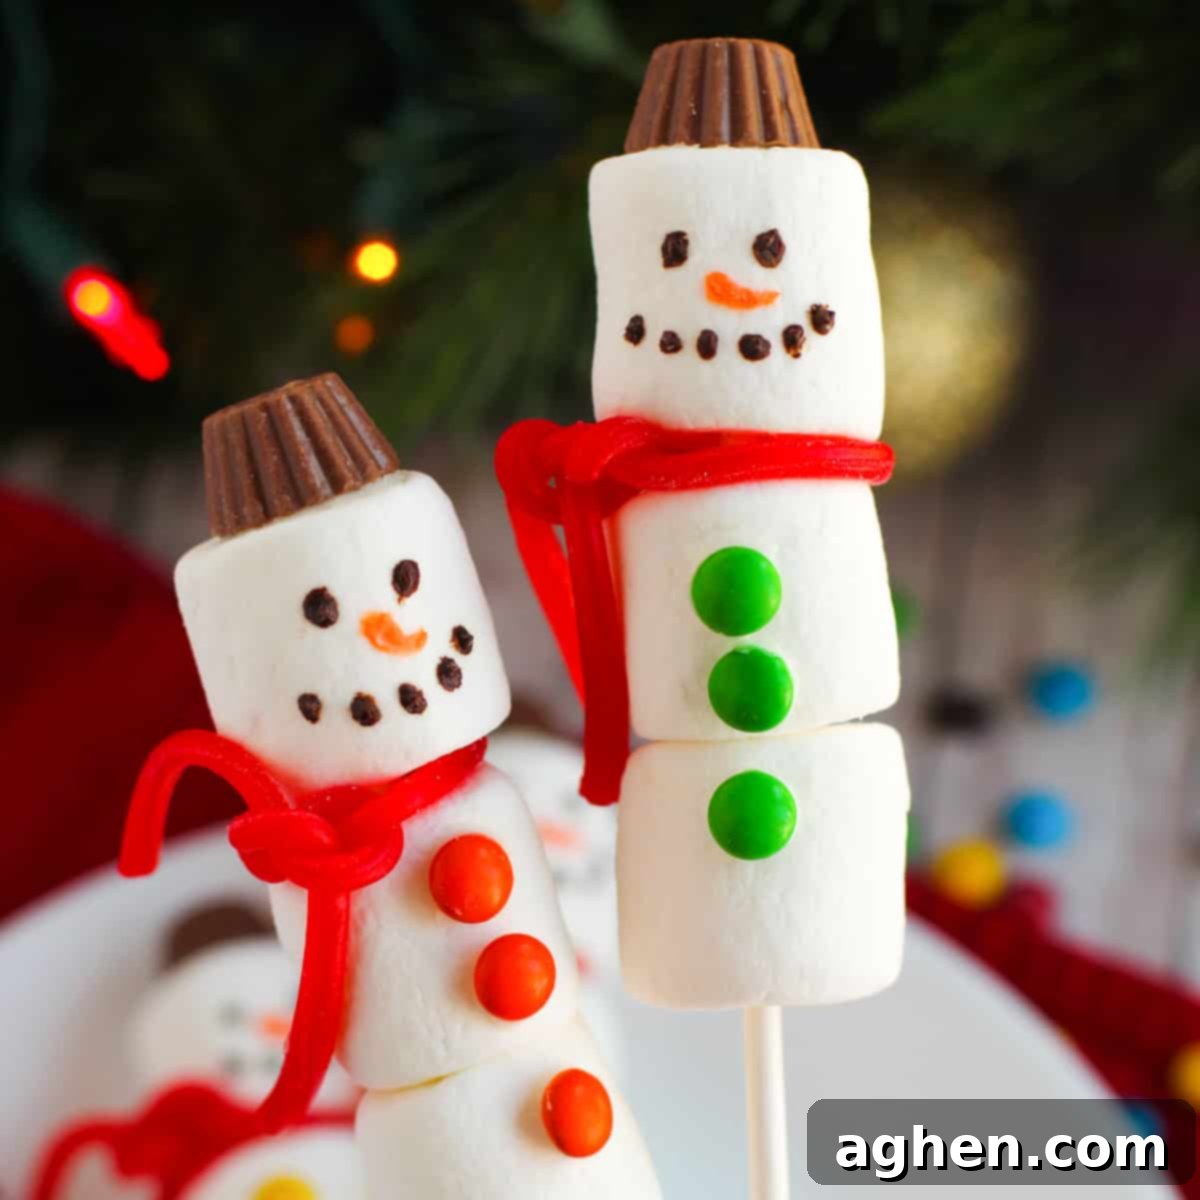
Beyond holiday gatherings, these marshmallow snowman pops offer a fantastic activity for a cozy snow day or to celebrate the first snowfall of winter. Gather the kids and make these frosty friends alongside other delightful winter-themed treats like refreshing snow ice cream, charming easy snowman cupcakes, and whimsical melted snowman chocolate bark. It’s a wonderful way to create lasting memories and enjoy the magic of the season.
Moreover, these charming treats are ideal for your next holiday baking exchange. They’ll stand out among classic holiday favorites such as your beloved Christmas snowball cookies and festive hot chocolate marshmallow cookies, offering a unique and handcrafted touch.
The absolute best part? You only need a handful of simple, readily available ingredients to bring these adorable snowman snacks to life. They’re quick, budget-friendly, and require no baking, making them a perfect last-minute holiday project. Let’s take a closer look at everything you’ll need to embark on this delightful culinary adventure.
Ingredients for Your Marshmallow Snowman Pops
This section provides detailed ingredient notes, clever substitution options, and handy tips to ensure your snowman pops turn out perfectly every time. For all precise measurements, ingredients, and comprehensive instructions, please refer to the printable recipe card located at the end of this post.
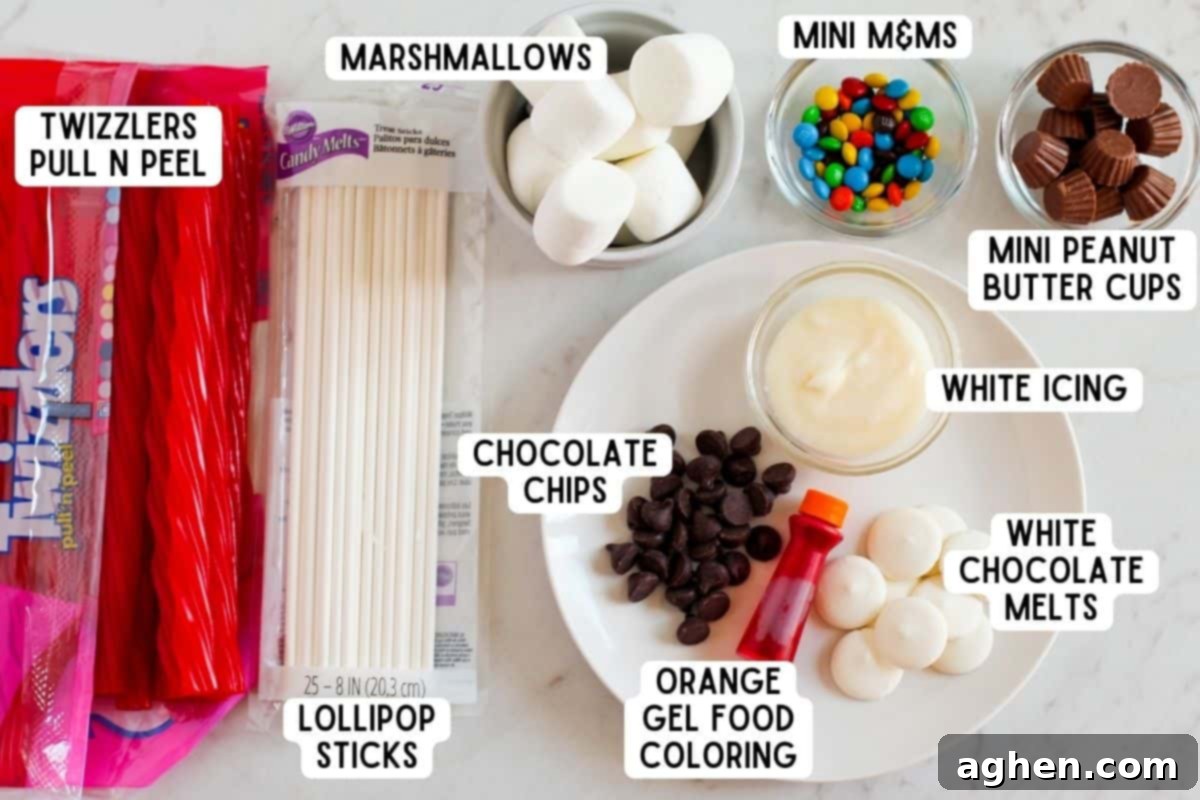
- Marshmallows: You’ll need three standard-sized marshmallows for each snowman, which will form the base of its whimsical body. Regular-sized marshmallows are ideal as they provide ample space for decorating. Avoid mini marshmallows unless you’re making very tiny snowmen and don’t mind intricate detail work.
- Mini M&Ms: These vibrant, colorful candies serve as the perfect “buttons” for your snowman snacks. Feel free to choose M&Ms of a single color for a coordinated look, or mix and match for a playful, eclectic snowman. Other small, round candies like sprinkles or small chocolate buttons can also work as substitutes.
- Twizzlers Pull ‘n’ Peel Candy: The flexible and colorful red strings of this candy make an absolutely perfect snowman scarf. They are easy to separate and tie. If Twizzlers aren’t available, you could also cut thin strips from fruit leather, Fruit by the Foot, or even use thin sour belt candies to create a vibrant scarf. The key is finding something pliable that can be tied or draped.
- Reese’s Minis: These delightful small chocolate peanut butter candies are not only tasty but also make the ideal miniature chocolate hats for your charming winter treats. Their flat bottom and round shape are perfect for perching atop the marshmallow head. Alternatively, you could use mini Oreo cookies, chocolate-covered pretzels, or even larger chocolate chips for a different style of hat.
- Chocolate Chips: A small amount of chocolate chips will be melted down to create the snowman’s adorable face. Semi-sweet or milk chocolate chips work best, melting smoothly for easy application. You’ll use this melted chocolate for the eyes and mouth, allowing for precision in your festive designs.
- Candy Melts (Orange): Originally, white chocolate candy melts were colored with orange food coloring to create the snowman’s signature carrot nose. However, for an easier and more consistent result, consider using pre-colored orange candy melts from the start. This eliminates the need for food coloring and ensures a vibrant orange hue. You can typically find candy melts in the baking section of most craft stores and larger grocery stores. They melt beautifully and harden quickly, making them ideal for detailed work.
- White Frosting: Store-bought white icing acts as the essential “glue” to hold all the various edible decorations securely onto your marshmallow snowman kebabs. A thick, stable frosting works best. You can use canned vanilla frosting for convenience, or whip up a simple batch of homemade buttercream if you prefer.
Essential Supplies for Making Snowman Pops
Gathering your supplies beforehand ensures a smooth and enjoyable crafting experience. Here’s what you’ll need from your kitchen or local store:
- Microwave-safe bowls: For melting your chocolate chips and candy melts efficiently and safely.
- Spoon for stirring: Essential for achieving a smooth, consistent melt for your chocolate and candy melts.
- Lollipop sticks / Treat sticks: These provide the perfect handle for your snowman pops. Small wooden skewers can also be used, but ensure they are food-safe and consider dulling any sharp ends for younger participants.
- Toothpicks: Your secret weapon for fine detail work! Toothpicks are indispensable for drawing the snowman’s eyes, mouth, and carrot nose with precision.
- Butter knife: Ideal for applying small dabs of frosting to secure the M&Ms and Reese’s hats. Its flat edge makes spreading frosting neat and easy.
How to Make Adorable Marshmallow Snowman Pops: Step-by-Step Guide
This section guides you through the entire process of making these festive treats with easy-to-follow step-by-step photos and clear instructions. For the complete printable recipe, including exact measurements, please refer to the dedicated recipe card further down this page. Let’s get crafting!
Step 1: Melt the Chocolate. Place your chocolate chips in a small microwave-safe bowl. Microwave them for 30 seconds. Remove and stir well. Continue to microwave in additional 15-second intervals, stirring thoroughly between each, until the chocolate is completely melted and beautifully smooth. Set this melted chocolate aside. For best results and to prevent burning, melt chocolate gradually and stir often.
Step 2: Melt the Orange Candy Melts. In a separate microwave-safe bowl, repeat the melting process for your orange candy melts. Microwave in short bursts, stirring until smooth and free of lumps. This melted orange candy will be used for your snowman’s carrot nose. Set aside with the chocolate.
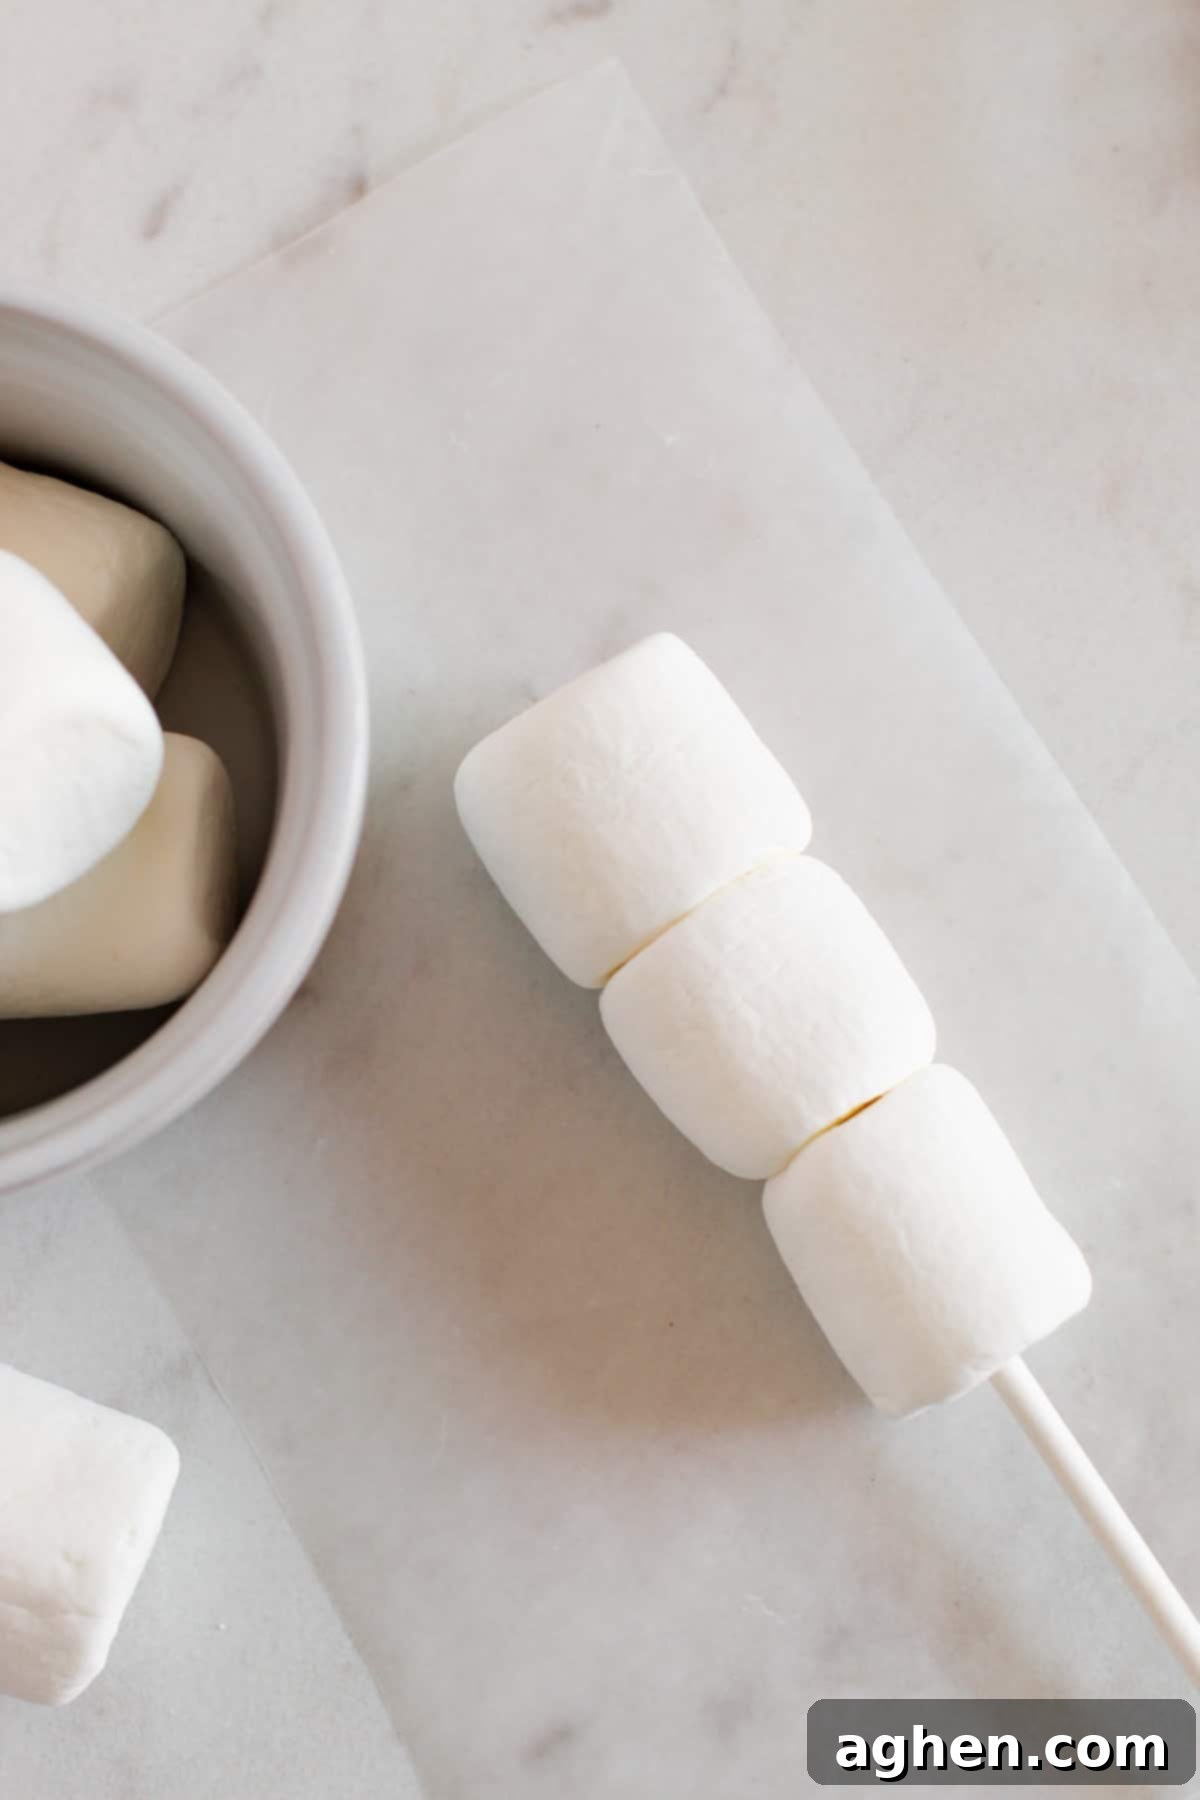
Step 3: Assemble the Snowman Body. Carefully slide three marshmallows onto each lollipop stick. Push them down gently but firmly to ensure they are snug and stable, forming a stacked snowman body. Make sure they are aligned neatly, one on top of the other, to create a classic snowman silhouette.
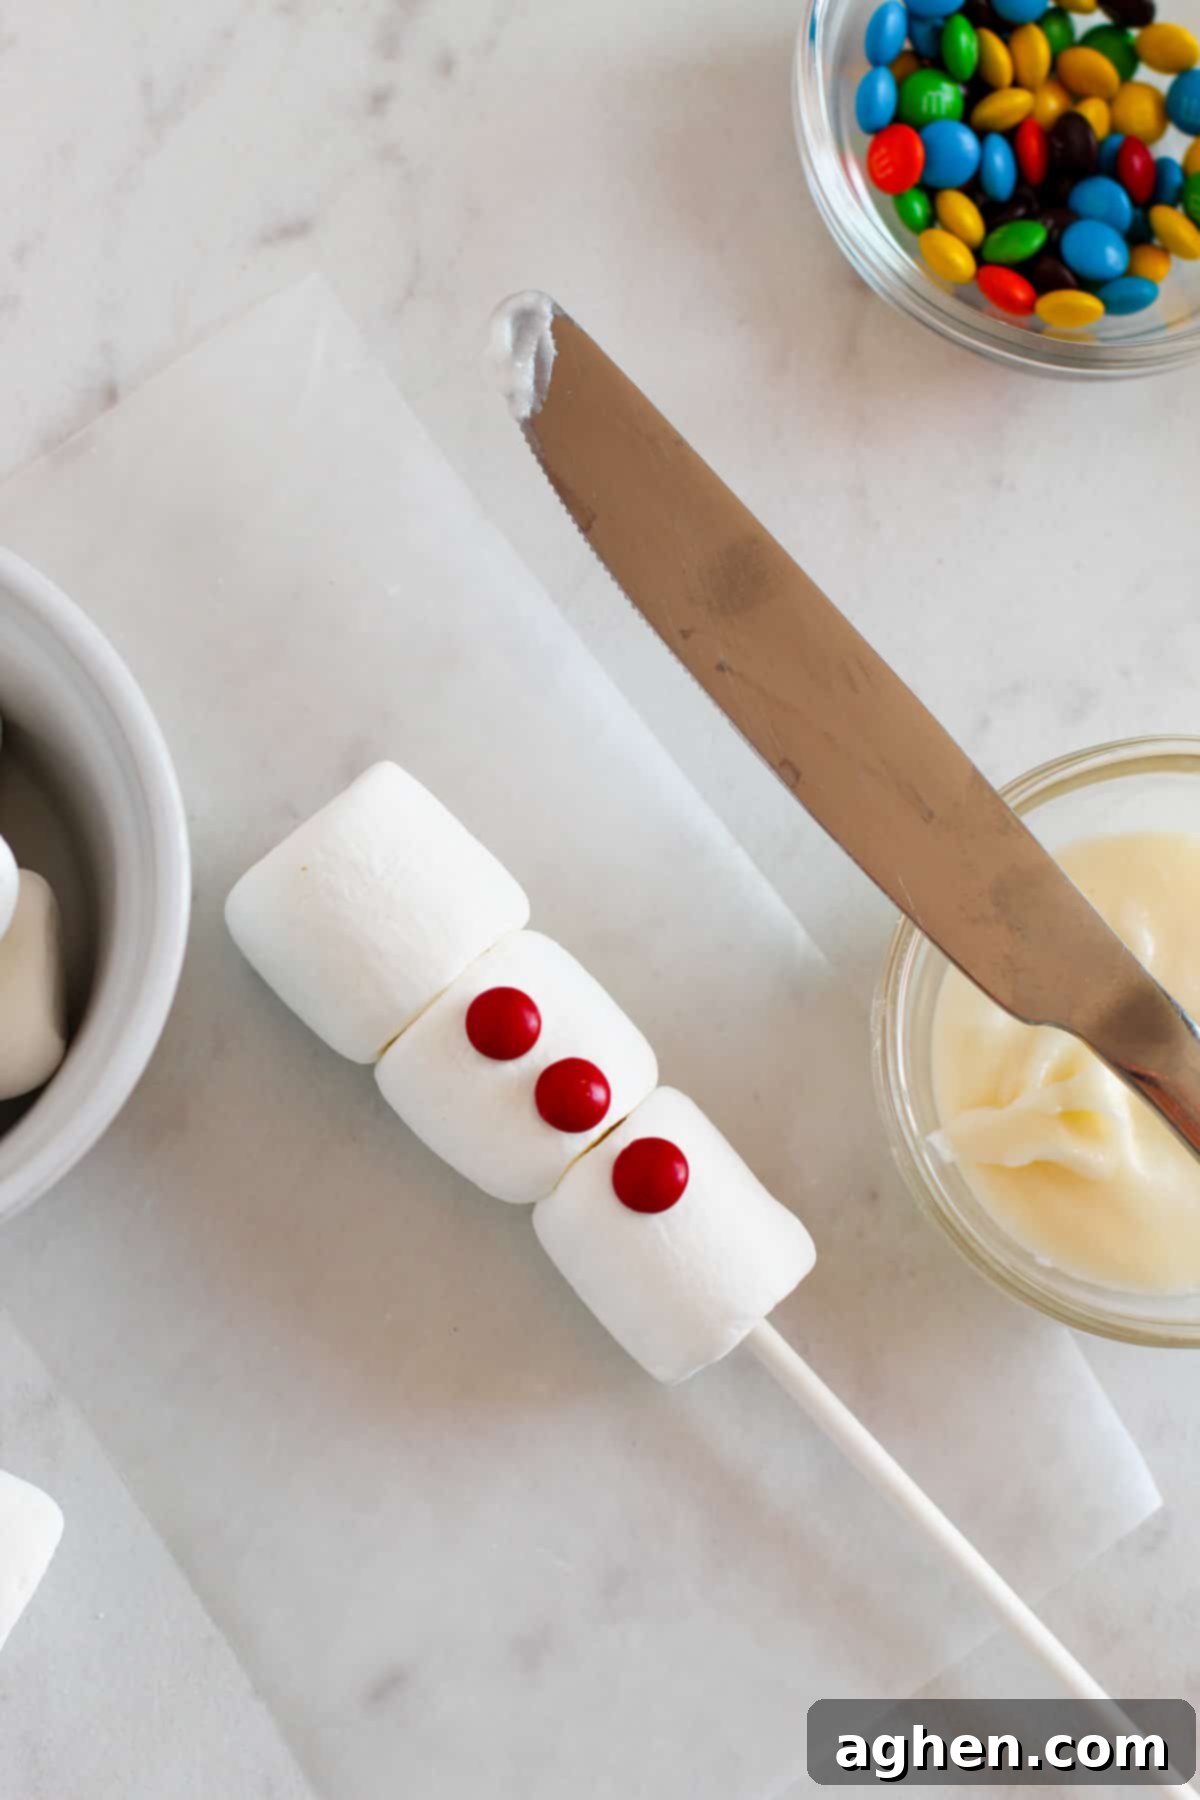
Step 4: Add the Buttons. Using a butter knife, apply a small dab of white frosting to the back of three mini M&Ms. Carefully press these M&Ms down the front of the middle and bottom marshmallows of your snowman to create the appearance of buttons. For a cohesive look, I often choose three M&Ms of the same color for each snowman, but feel free to mix colors for a more playful design!
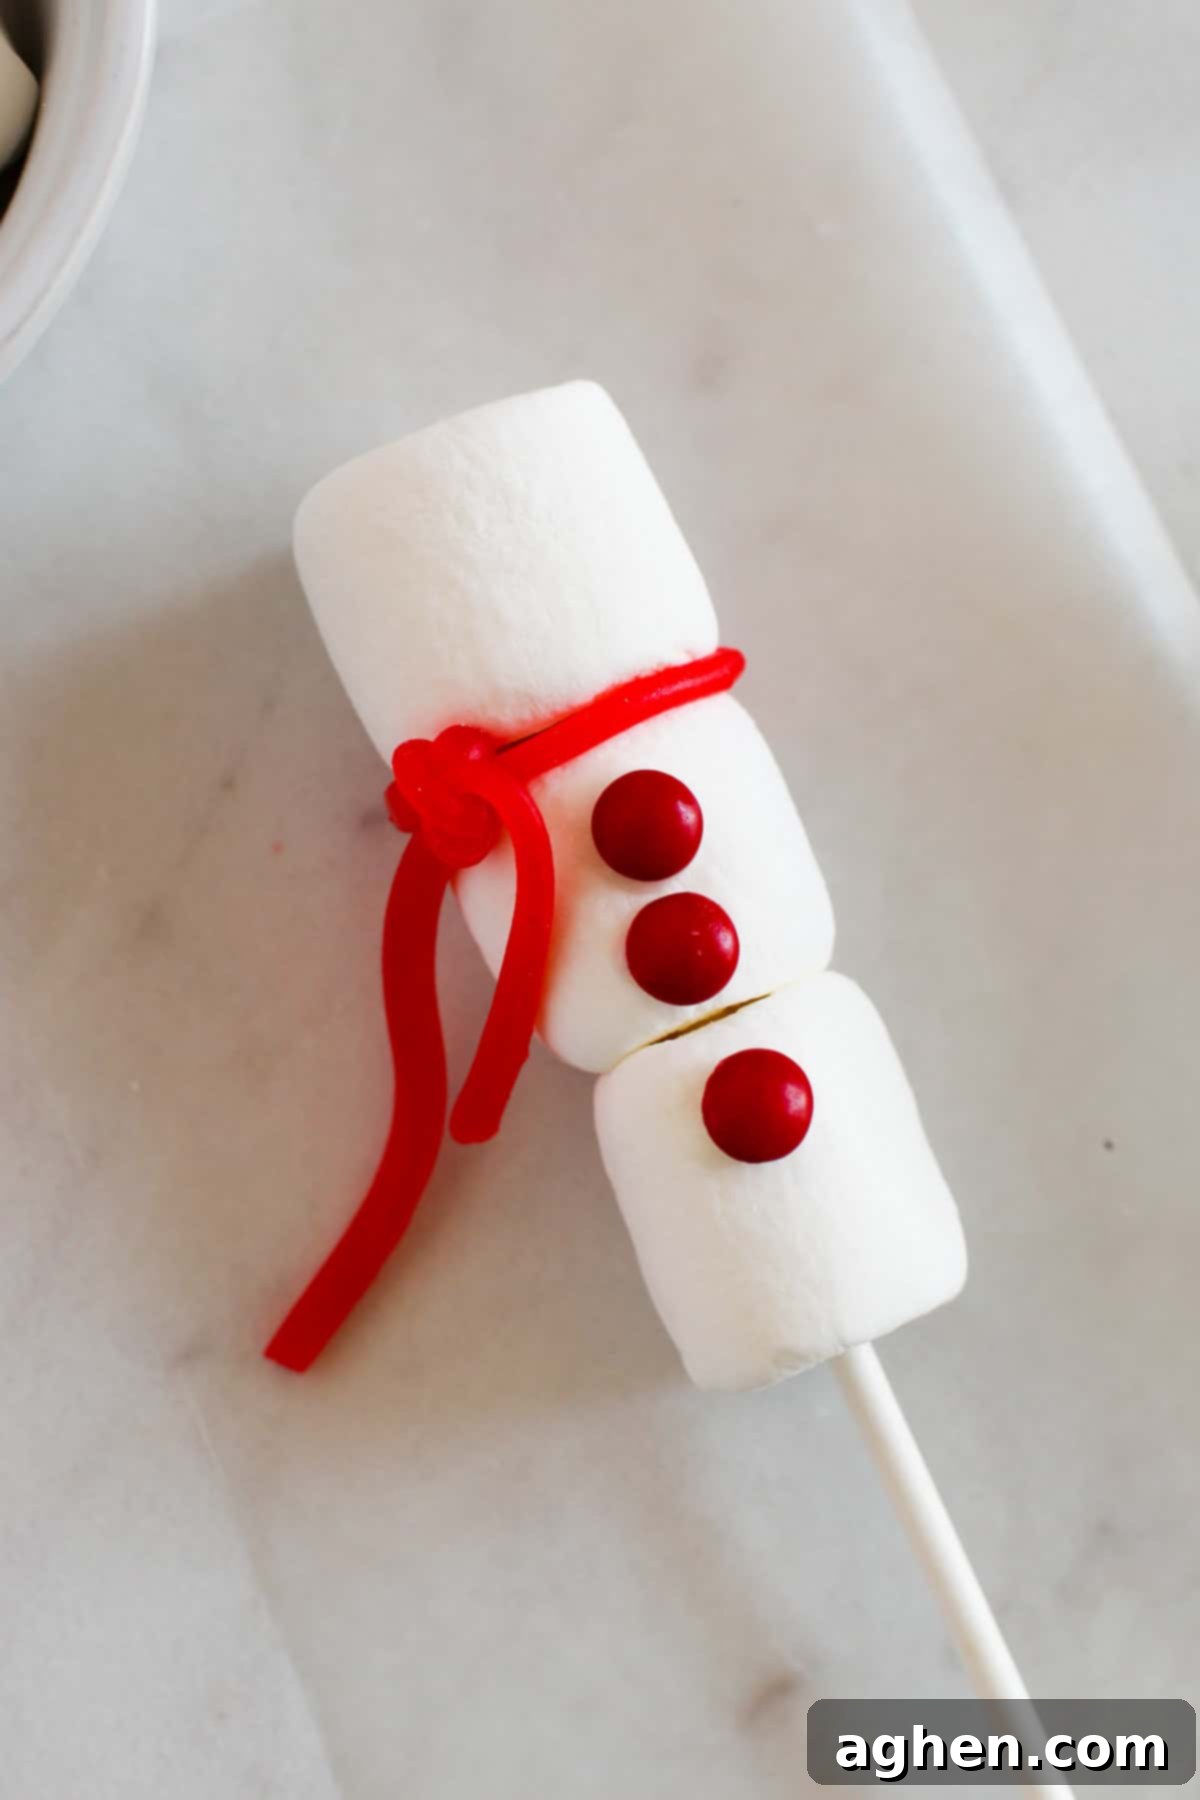
Step 5: Tie the Scarf. Gently pull off a single strand of Twizzlers Pull ‘n’ Peel candy. Lay it flat on your clean working surface. Carefully place your marshmallow pop in the center of the candy strand, right between the top and middle marshmallows. Wrap the candy around the “neck” of the snowman and tie it into a small knot or bow to create a festive scarf. Adjust it so it sits neatly and adds a pop of color.
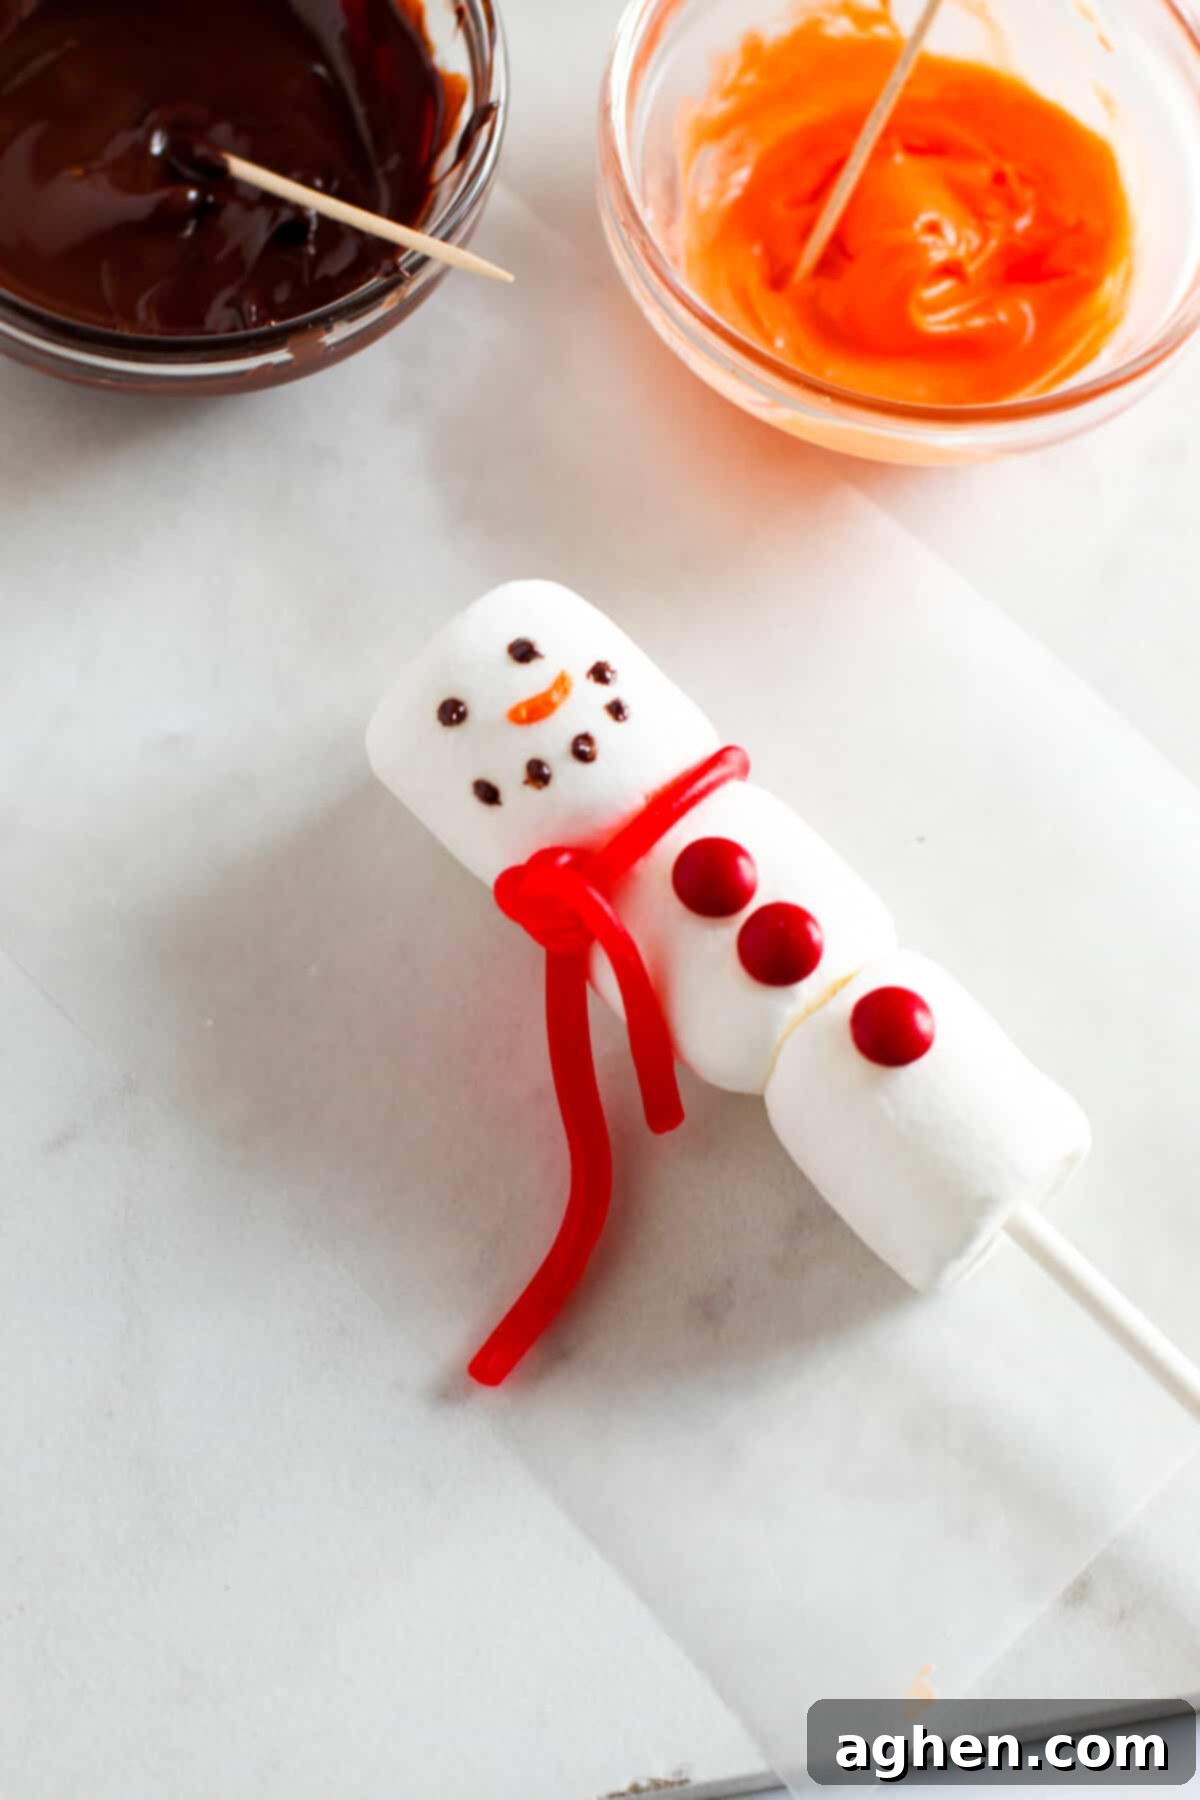
Step 6: Draw the Eyes and Mouth. Dip a clean toothpick into the melted chocolate you prepared earlier. Use the tip of the toothpick to carefully draw two small dots for the snowman’s eyes on the top marshmallow. Then, draw a series of smaller dots in an arc below the eyes to form a happy, smiling mouth. Take your time to create expressive and unique faces for each snowman!
Step 7: Add the Carrot Nose. Using a separate clean toothpick, dip it into the melted orange candy melts. With steady hands, draw a small triangle or a short, stubby line in the center of the top marshmallow, between the eyes and above the mouth, to represent the snowman’s iconic carrot nose. This simple detail truly brings the snowman’s face to life.
Step 8: Attach the Hat. Grab a mini Reese’s peanut butter cup. Using a butter knife, add a small blob of white frosting to the flat top of the candy. Gently press the Reese’s cup onto the very top of each snowman’s head, creating a charming chocolate hat. Ensure it’s centered and secure. The frosting acts as a strong adhesive once it sets.
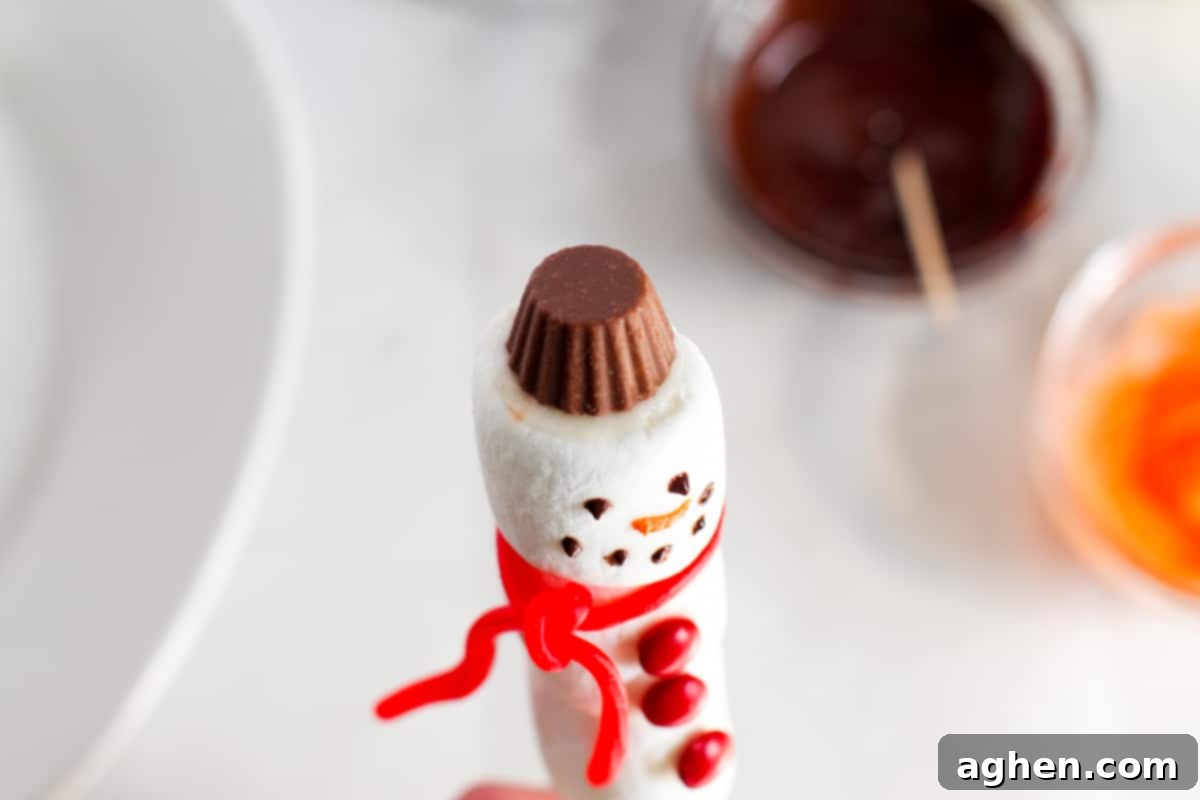
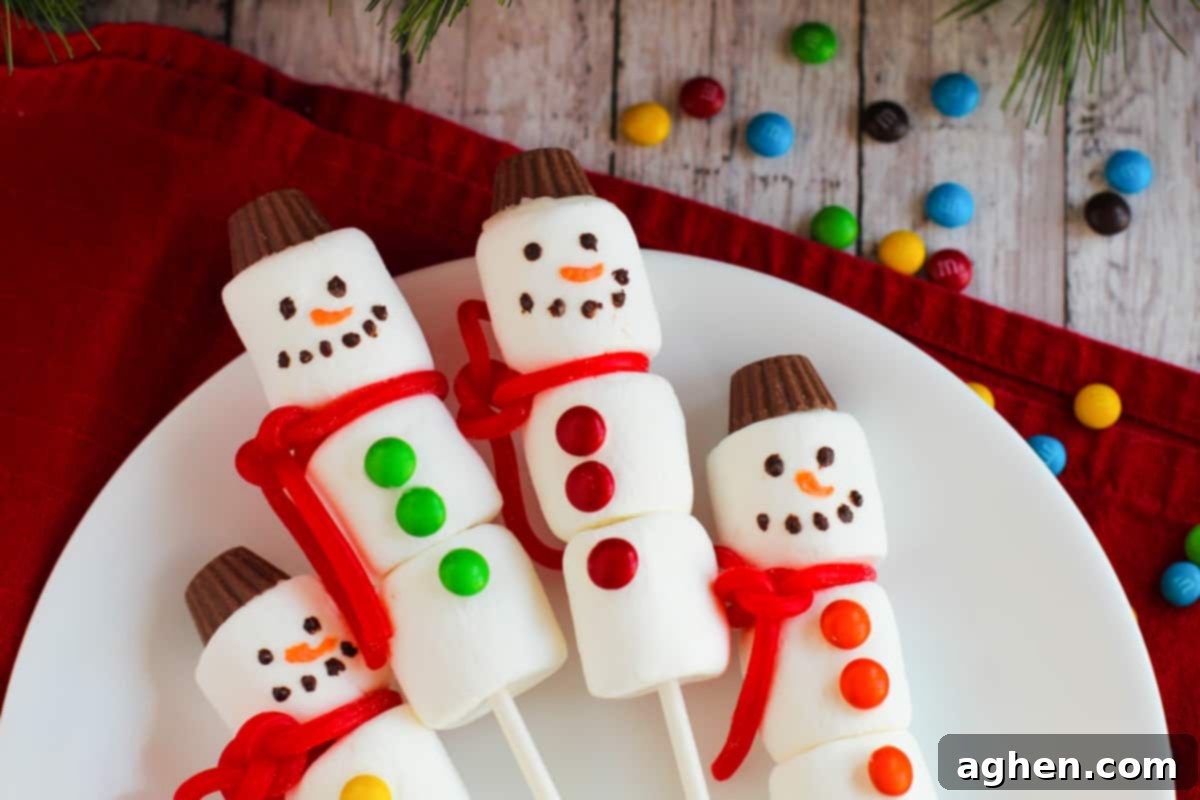
Repeat this delightful process for each marshmallow snowman pop until you’ve created your desired number of frosty friends. Allow them to set for a few minutes so the frosting and melted candies can harden, securing all the decorations in place. Once set, they are ready to be admired and enjoyed!
Storage Tips for Your Marshmallow Snowman Pops
Proper storage is key to keeping your adorable marshmallow snowman pops fresh and intact. If you’re preparing them as party favors or gifts, you can place each snowman stirrer in an individual cellophane bag. Tie the bags with a festive ribbon for an extra special touch. This also protects them from dust and moisture, keeping them looking their best until they’re handed out at your holiday party.
For personal enjoyment or if you’ve made a larger batch, you can store several snowman pops in an airtight container at room temperature. They will remain fresh and delightful for up to 1 or 2 days. It’s crucial to be very careful when arranging and storing them to prevent any disruption to the snowman’s delicate accessories. These decorations are quite fragile and can become dislodged or disassembled very easily with rough handling. Consider placing parchment or wax paper between layers if stacking, or arranging them upright in a box with dividers to keep them separate and secure.
Expert Tips and Clever Tricks for Perfect Marshmallow Snowmen
- Prep Ahead for Easy Cleanup: Before you begin decorating, take a moment to line your working surface with parchment paper or wax paper. This simple step will catch any stray melted chocolate drips or frosting smudges, making cleanup incredibly quick and effortless once you’re done creating your snowman army.
- Give Your Snowmen Arms: Want to add another layer of charm? You can easily give your snowmen arms! Simply insert thin pretzel sticks into the sides of the middle marshmallow. Alternatively, for a more stylized look, use a disposable piping bag (or a ziploc bag with the corner snipped) filled with melted chocolate to pipe small, twig-like arms onto the sides of your marshmallow creation.
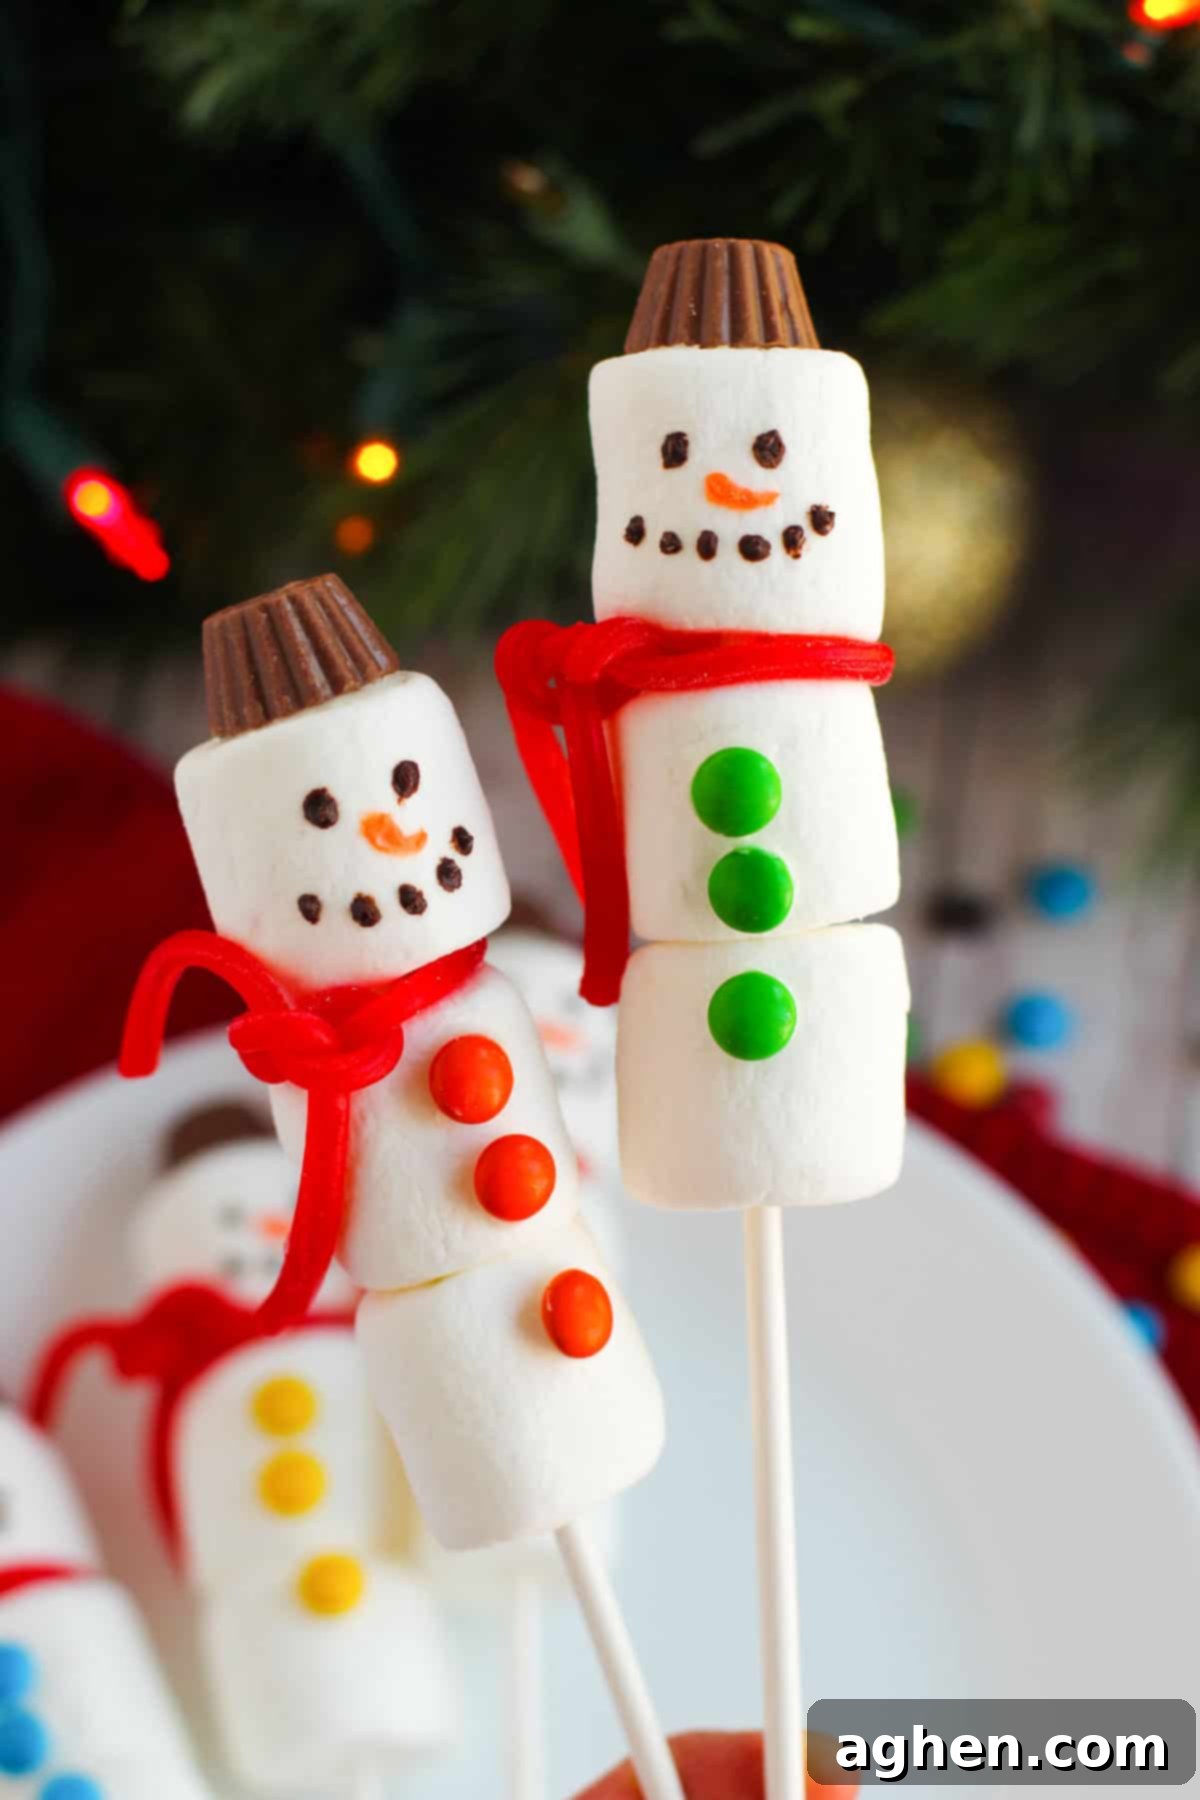
- Transform Them into Hot Chocolate Stirrers: These festive treats are perfectly designed to be more than just a snack. Use them as an elegant and delicious stirrer for your hot chocolate! As you swirl, the marshmallow will slowly melt into the warm beverage, adding a unique, creamy sweetness and a delightful visual as your snowman “melts” into your drink.
- Involve the Kids for Maximum Fun: This is an ideal activity for children of all ages (with adult supervision for melting chocolate, of course!). Set out all the ingredients, demonstrate a few steps, and then let their creativity shine! Kids will have a blast making their own unique marshmallow snowmen, fostering imagination and fine motor skills. It’s a fantastic way to spend quality family time during the holidays.
- Skip the Permanent Marker – Opt for Edible! While some recipes might suggest using a Sharpie or permanent marker to draw on the snowman’s face, we strongly advise against this. Why would you want to use non-food-safe ink on an edible treat when there are perfectly safe and delicious alternatives? Always use edible ingredients like melted chocolate or food-safe edible markers for decorating. Prioritize safety and taste for everyone enjoying your creations!
Marshmallow Snowman Pops: Frequently Asked Questions
While orange melting candy provides the most vibrant and hassle-free carrot nose, you certainly have other excellent options! Some of our favorite alternatives include using white chocolate chips or white almond bark. You can easily color these with a few drops of orange gel food coloring. Gel food coloring is preferred over liquid as it provides concentrated color without altering the consistency of the chocolate too much. Just ensure you mix it thoroughly for an even hue. You can also carefully use a tiny piece of an orange candy or even a small, thin sliver of an actual carrot for a truly authentic touch, though the candy melt option is generally more durable and sweet.
For the best results and ease of decoration, we highly recommend using regular-size, large marshmallows. These provide a sturdy base and, more importantly, enough surface area for you to comfortably create the snowman’s face (eyes, nose, mouth) and attach the buttons and scarf. Mini marshmallows, while cute, simply don’t offer sufficient working space for the details, making the decorating process much more challenging and potentially frustrating. Stick with the standard large size for perfect snowman proportions!
While the idea of making a big batch and freezing them for later sounds appealing, unfortunately, these marshmallow snowman pops don’t hold up well to freezing and thawing. When marshmallows freeze, their texture can change, becoming somewhat brittle or gummy upon thawing. Furthermore, the various delicate candy decorations are likely to fall off or become dislodged as the marshmallows expand and contract with temperature changes. For the best quality, flavor, and appearance, it’s best to prepare these fresh and enjoy them within a day or two of making them.
Absolutely! These marshmallow snowman pops are a fantastic treat to prepare slightly in advance for your holiday celebrations. You can easily make them 1-2 days before your event. Store them carefully in an airtight container at room temperature, ideally in a single layer or with parchment paper between layers to prevent any decorations from sticking or falling off. This allows you to tackle your holiday baking without last-minute stress, ensuring you have delightful, ready-to-serve treats when your guests arrive.
More Creative Christmas Dessert Ideas You’ll Love
- Santa Hat Cupcakes
- Grinch Cookies
- Reindeer Bark
- Christmas Tree Cupcakes

Marshmallow Snowman Kebabs
Author: Jaclyn
Ingredients
- 18 marshmallows
- 54 mini M&M candies
- 6 pieces of Twizzlers pull ‘n’ peel cherry candy
- 6 mini Reese’s peanut butter cups
- ½ cup chocolate chips
- ½ cup orange candy melts
- ½ cup white frosting
- 6 lollipop sticks
Instructions
-
In a small microwavable bowl, microwave chocolate chips for 30 seconds. Stir well then microwave in additional 15-second increments, stirring between each, until melted and smooth. Set aside. Repeat to melt orange candy melts; set aside.
-
Slide 3 marshmallows onto each lollipop stick.
-
Using a butter knife, place a small dab of frosting on the back of three M&M candies and place down the front of each snowman to resemble buttons.
-
Using a toothpick and the melted chocolate, place dots on the snowman to form the eyes and mouth.
-
Using a separate toothpick, dip it into the melted orange candy and use it to draw a nose on each snowman.
-
Use a butter knife to add a small blob of frosting to the top of a mini Reese’s peanut butter cup. Press the peanut butter cup onto the top of the snowman pop to form a chocolate hat.
Notes
Nutrition

Did You Make This Recipe?
Share it with me on Instagram @crayonsandcravings and follow on Pinterest @crayonsandcravings for even more!
Pin Recipe
Leave A Review
