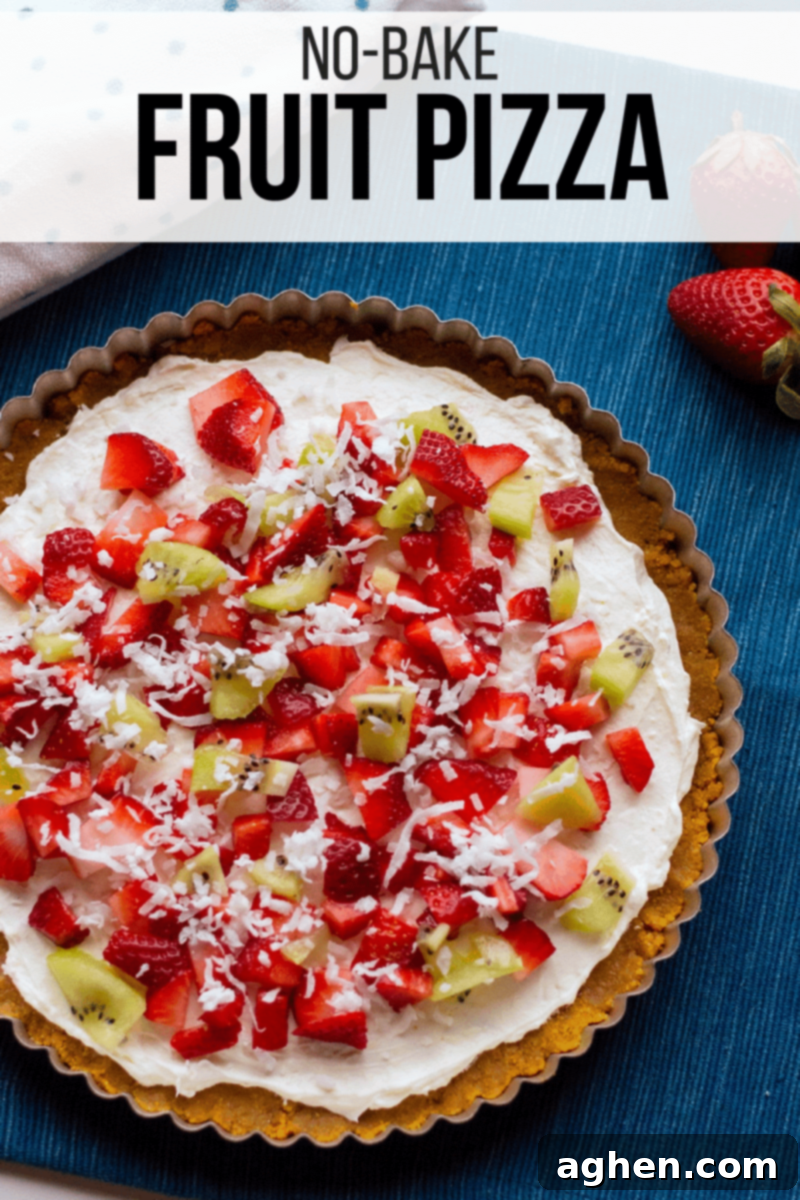
Easy No-Bake Fruit Pizza: The Ultimate Refreshing Summer Dessert Recipe
As the temperatures rise and the days stretch longer, there’s nothing quite like a cool, refreshing dessert to complete a perfect summer day. Forget turning on the oven and heating up your kitchen; our **easy no-bake fruit pizza** is here to save the day! This delightful treat combines a rich, buttery graham cracker crust with a smooth, tangy cream cheese filling, all crowned with a vibrant array of fresh, colorful fruits. It’s the ideal sweet ending for any warm-weather gathering, from backyard BBQs to casual family dinners, offering a lighter alternative to heavier cakes and pies.
When the sun is shining brightly, no-bake desserts become a true lifesaver. We love whipping up treats like strawberry jello pie, cherry cheesecake, blueberry yum yum, and this incredibly simple fruit tart. There’s just something inherently satisfying about a dessert that comes together quickly without requiring any baking time, allowing you more precious moments to enjoy the beautiful weather.
Pizza is always a family favorite in our home, so why not extend that love to dessert? This fruity dessert pizza takes the beloved concept of a savory pizza and transforms it into a sweet, irresistible masterpiece. With its homemade graham cracker crust providing a perfect base, a creamy “sauce” made from sweetened cream cheese, and an abundance of juicy fruit toppings, every bite offers a delightful combination of sweet, creamy, and fresh flavors.
If you enjoy this vibrant dessert pizza, you might also love these easy carrot-shaped veggie pizza bars for a savory twist on the pizza theme.
Why This No-Bake Fruit Pizza Is Your Next Favorite Summer Treat
This easy and colorful dessert recipe is especially fantastic for the summertime. Not only does it skip the oven, but it also feels lighter and more refreshing than a traditional heavy cake or pie. The abundance of fresh fruit makes it a guilt-free indulgence, packed with natural sweetness and vitamins.
Fruit pizza is truly a show-stopping dessert to serve at summer BBQs, potlucks, and outdoor parties. Its vibrant colors instantly draw attention, and its delicious taste ensures everyone comes back for more. In fact, it’s such a crowd-pleaser that you might want to consider making a double batch to ensure you don’t run out! The refreshing creaminess paired with the juicy fruit is simply irresistible on a hot day.
For another fun, pizza-inspired dessert that’s always a hit, be sure to try this M&M cookie pizza recipe. But for now, let’s focus on the star of the summer show: our incredible no-bake fruit pizza.
Essential Ingredients & Supplies for Your Fruit Pizza
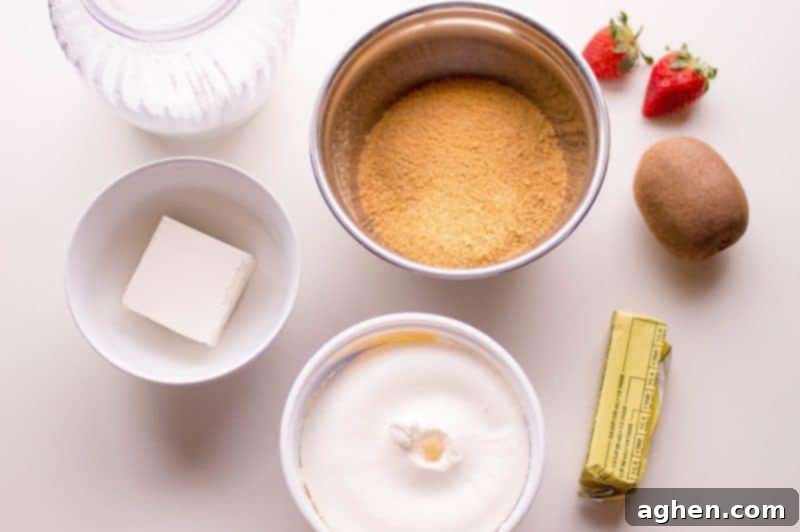
Before you begin creating this delightful dessert, it’s wise to gather all your ingredients and supplies. For optimal results, we highly recommend using a 9-inch tart pan with a removable bottom. This makes serving and presentation incredibly easy, allowing you to elegantly lift the pizza out of the pan without any fuss. If you don’t have one, a regular pie dish or even a springform pan can work, though the tart pan gives it that classic, clean edge.
For the Irresistible Graham Cracker Crust:
- Crushed Graham Crackers: You’ll need about 1.5 cups. Achieving fine crumbs is key for a firm crust. You can effortlessly crush your graham crackers using a food processor or blender for a consistent texture. For a more traditional, hands-on approach, place them in a zip-top plastic baggie, remove the air, and use a rolling pin to break them into fine crumbs. This can be a fun activity for kids to help with!
- Melted Butter: This binds the crumbs together to form the perfect crust. The butter content ensures the crust holds its shape beautifully once chilled.
For the Creamy, Dreamy Cream Cheese Filling:
- Cream Cheese (softened): Ensure your cream cheese is softened to room temperature before mixing. This is crucial for achieving a smooth, lump-free filling. Full-fat cream cheese will yield the richest, most decadent flavor and texture.
- Granulated Sugar: Just enough to sweeten the cream cheese and balance its tanginess.
- Frozen Whipped Topping (thawed): A tub of thawed frozen whipped topping (like Cool Whip) adds incredible lightness and fluffiness to the cream cheese mixture, making it airy and delightful.
For the Fresh and Colorful Fruit Topping:
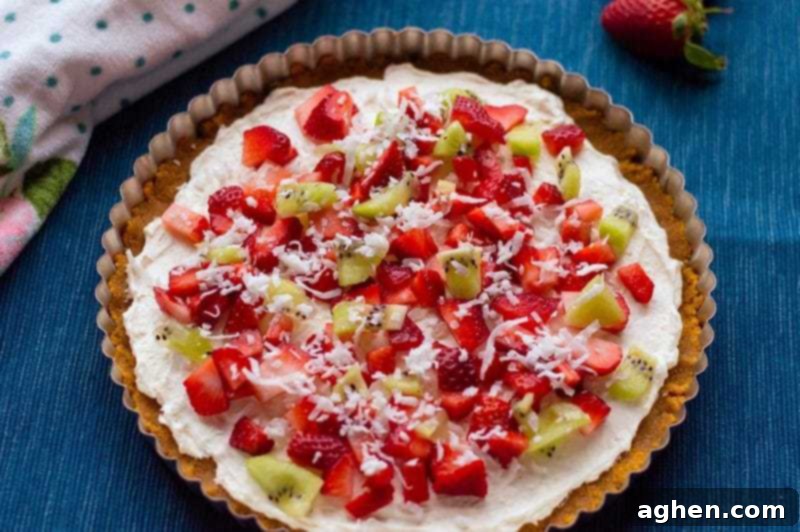
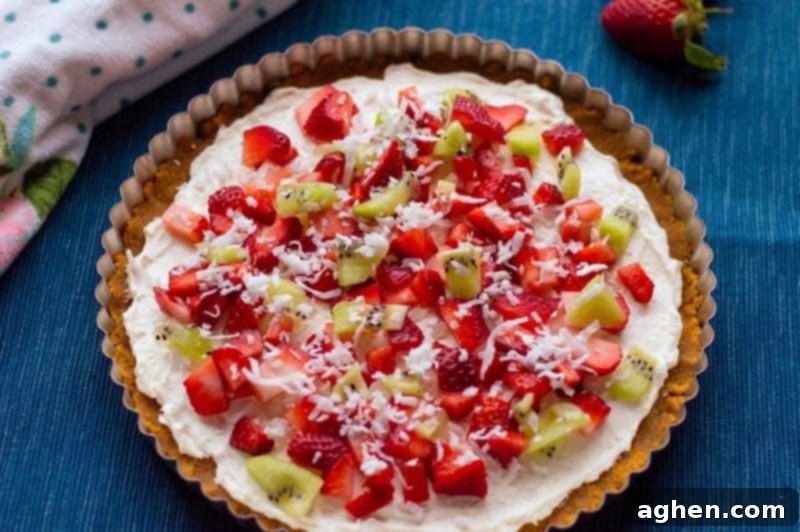
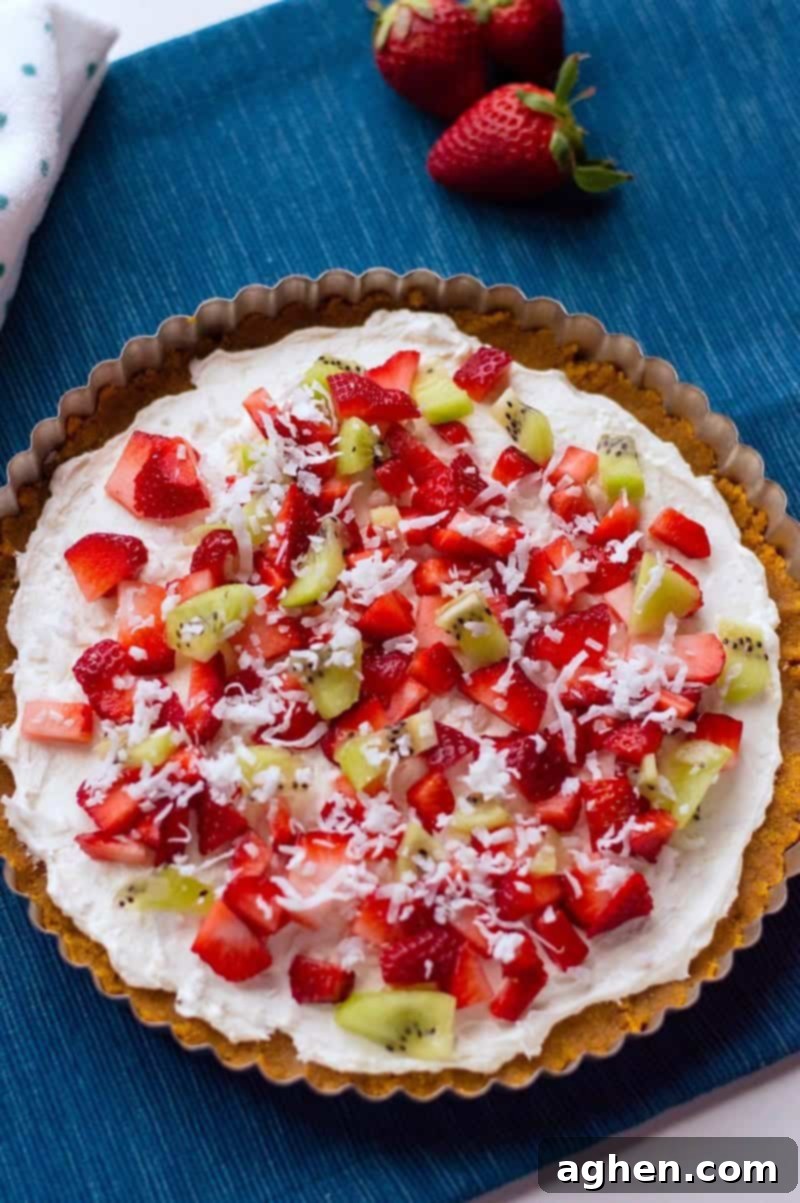
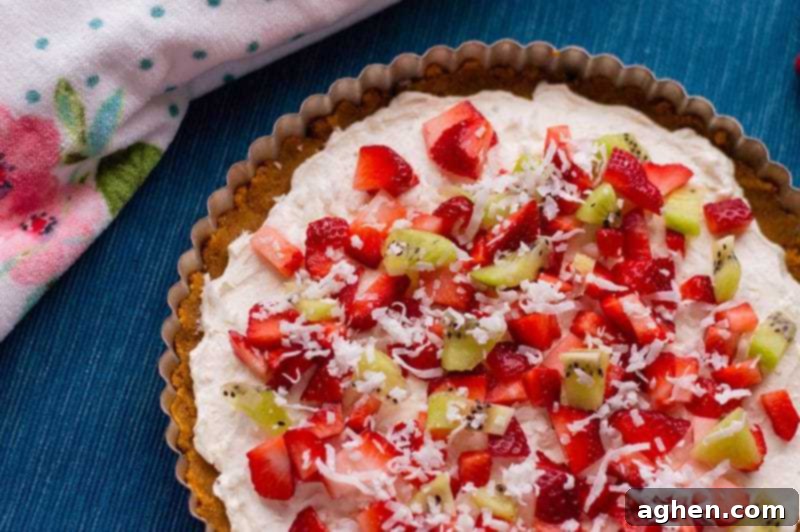
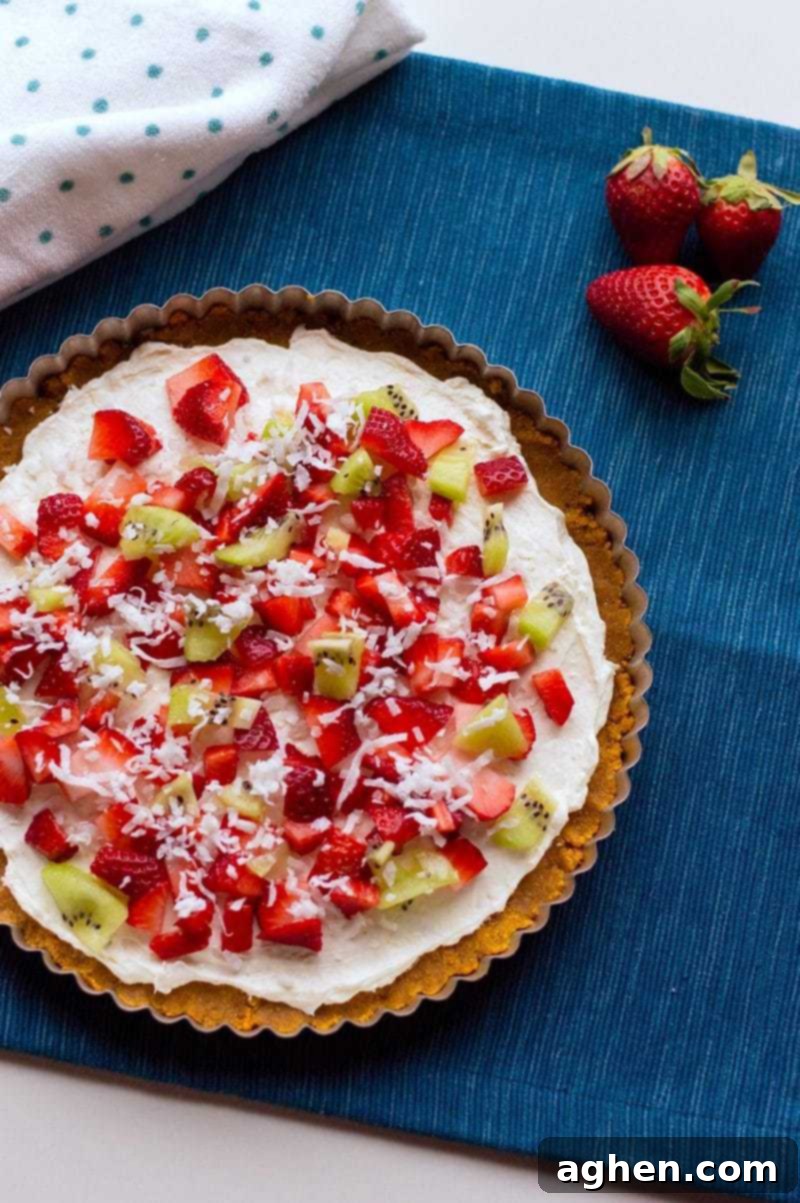
This is where you can truly let your creativity shine! Feel free to use whatever fresh fruit you prefer or whatever is in season. The beauty of fruit pizza lies in its customizability. While we opted for a classic combination of sliced kiwi, vibrant strawberries, and a sprinkle of coconut flakes, the possibilities are endless.
Imagine a festive red, white, and blue fruit pizza for Memorial Day or the 4th of July, featuring sweet strawberries and juicy blueberries. For other occasions, simply choose your family’s favorite fruits or create a colorful medley that matches your event’s theme.
Dessert Pizza Topping Ideas: Endless Possibilities!
- Strawberries: Always a crowd-pleaser, vibrant and sweet.
- Blueberries: Offer a pop of color and a burst of juicy flavor.
- Kiwi: Adds a beautiful green hue and a slightly tart, tropical taste.
- Raspberries: Delicate and tangy, perfect for a gourmet touch.
- Mandarin Oranges (canned): Sweet, juicy, and easy to use (just drain well).
- Grapes: Halved grapes add a lovely texture and mild sweetness.
- Peaches: Sliced fresh peaches are a delightful summer addition.
- Pineapple: Diced pineapple brings a tropical, tangy-sweet punch.
- Coconut Flakes: Toasted or untoasted, they add a tropical flair and texture.
- Sprinkles: For a fun, celebratory touch, especially if serving to kids.
- Granola: Adds a delightful crunch and nutty flavor.
When selecting your fruit, aim for a variety of colors, textures, and flavors to make your fruit pizza truly spectacular. Remember to wash and thoroughly dry all fresh fruit before arranging it on the pizza.
How to Make Your Easy No-Bake Fruit Pizza: Step-by-Step
Creating this stunning dessert is surprisingly simple and requires minimal effort, making it perfect for novice bakers and seasoned pros alike.
Step 1: Prepare the Graham Cracker Crust
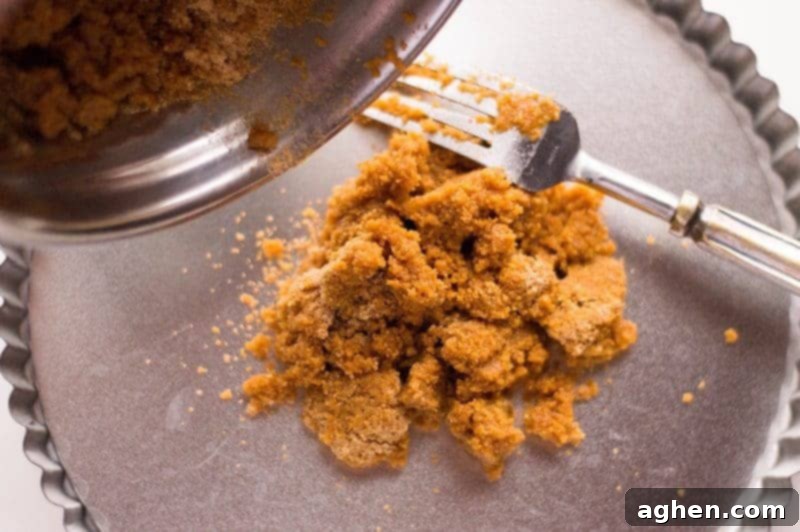
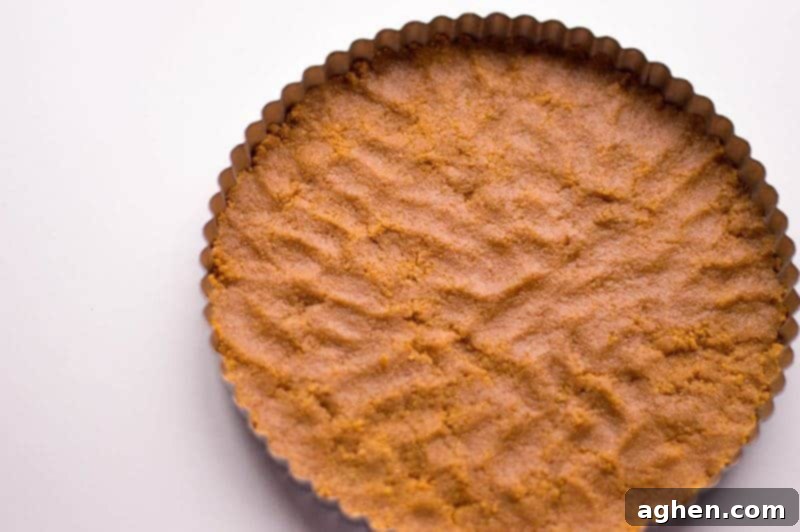
In a medium-sized bowl, combine your finely crushed graham cracker crumbs with the melted butter. Stir them together until the crumbs are evenly moistened and resemble wet sand. This ensures a cohesive crust. Next, press this mixture firmly and evenly into your tart pan to form the crust. Use the back of a spoon or your fingers to compact it well, especially along the bottom and up the sides. A well-pressed crust will hold its shape beautifully. Set this aside while you prepare the filling.
Step 2: Whip Up the Creamy Filling
In the bowl of a stand mixer fitted with the paddle attachment (or using a hand mixer), combine the softened cream cheese, granulated sugar, and thawed whipped topping. Beat on medium speed until the mixture is completely smooth, light, and fluffy, with no lumps of cream cheese remaining. Scrape down the sides of the bowl as needed to ensure everything is incorporated.
Step 3: Chill to Perfection
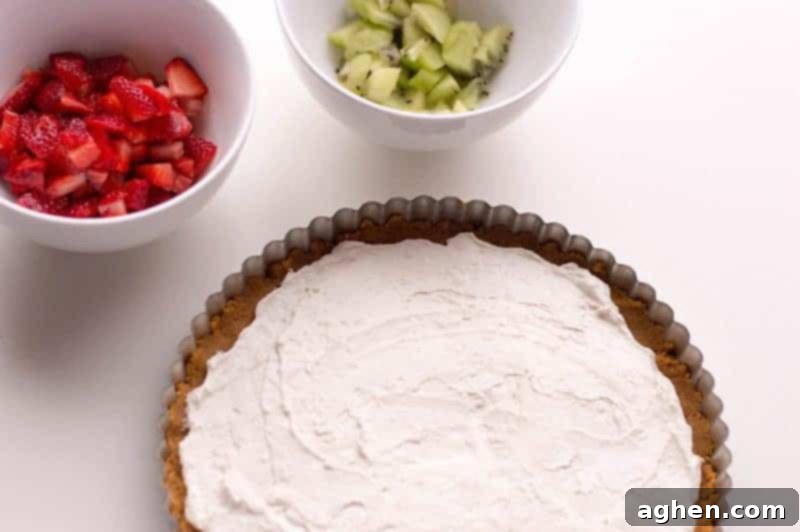
Carefully spoon the cream cheese filling into the prepared graham cracker crust. Use a spatula or the back of a spoon to spread it evenly across the crust, creating a smooth “sauce” layer. Once evenly spread, place the tart pan in the refrigerator and allow it to chill for at least 2-3 hours. This chilling time is essential, as it allows both the crust to firm up and the cream cheese filling to set properly, making it easier to slice and serve.
Step 4: Decorate with Fresh Fruit
Once the dessert pizza is thoroughly chilled and the filling is set, it’s time for the most fun part: topping it with fresh fruit! Arrange your chosen fruits creatively over the cream cheese layer. You can create intricate patterns, colorful sections, or a delightful medley. This step is particularly enjoyable with little ones – they’ll love helping to “decorate” their own dessert pizza! Get creative with how you slice and arrange different fruits to maximize visual appeal.
Serving and Storage Tips
This no-bake fruit pizza is best served chilled. If you used a tart pan with a removable bottom, gently push the bottom up to release the pizza from the sides, then transfer it to a serving plate. Slice it into wedges, just like a traditional pizza. For the cleanest slices, use a sharp knife that has been run under hot water and wiped clean between cuts.
Leftovers can be stored in an airtight container in the refrigerator for up to 2-3 days. While the fruit will remain delicious, some softer fruits might release a bit of juice over time, so it’s best enjoyed fresh. If you anticipate having leftovers, you might consider topping only the portions you plan to serve immediately, adding fresh fruit to remaining slices as needed.
We truly hope that your family enjoys creating and devouring this fun and refreshing no-bake fruit pizza recipe. It’s a fantastic way to enjoy the flavors of summer with minimal fuss. Please let us know how your fruit pizza turned out in the comments below – we love hearing your feedback and seeing your beautiful creations!
More Delicious Summer Recipes to Explore:
If you’re constantly on the lookout for more delightful desserts and refreshing treats to brighten your summer, we’ve got you covered. Here are a few more family favorites that are perfect for warm weather:
- Angel Food Cake with Pineapple – An incredibly easy 2-ingredient dessert!
- Watermelon Rice Krispie Treats – Fun, festive, and delicious.
- No Bake Eclair Cake – Layers of goodness without turning on the oven.
- Iced Passion Fruit Tea Lemonade – A perfectly refreshing beverage.
- Strawberry Icebox Cake – Creamy, fruity, and simple.
- Candied Grapes – A surprisingly addictive sweet and tangy snack.
- Fruit Salsa with Cinnamon Chips – A unique and vibrant dip.
- Strawberry Ladybug Treats – Adorably delicious and fun for kids.
No-Bake Fruit Pizza
Author: Jaclyn
Ingredients
- 1.5 cups graham cracker crumbs
- 6 tablespoons butter melted
- 4 oz. cream cheese softened
- 3 Tablespoons granulated sugar
- 4 oz. frozen whipped topping thawed
- assorted fruit chopped
Instructions
-
In a medium-size bowl, mix graham cracker crumbs with melted butter. Press mixture into pan and set aside.
-
Using a stand mixer, mix together cream cheese, sugar, and whipped topping.
-
Scoop mixture into graham cracker crust and spread evenly. Let set in the refrigerator for about 2-3 hours.
-
Once set, top with your choice of fruit.
Nutrition

Did You Make This Recipe?
Share it with me on Instagram @crayonsandcravings and follow on Pinterest @crayonsandcravings for even more!
Pin Recipe
Leave A Review
Pin for Later:
