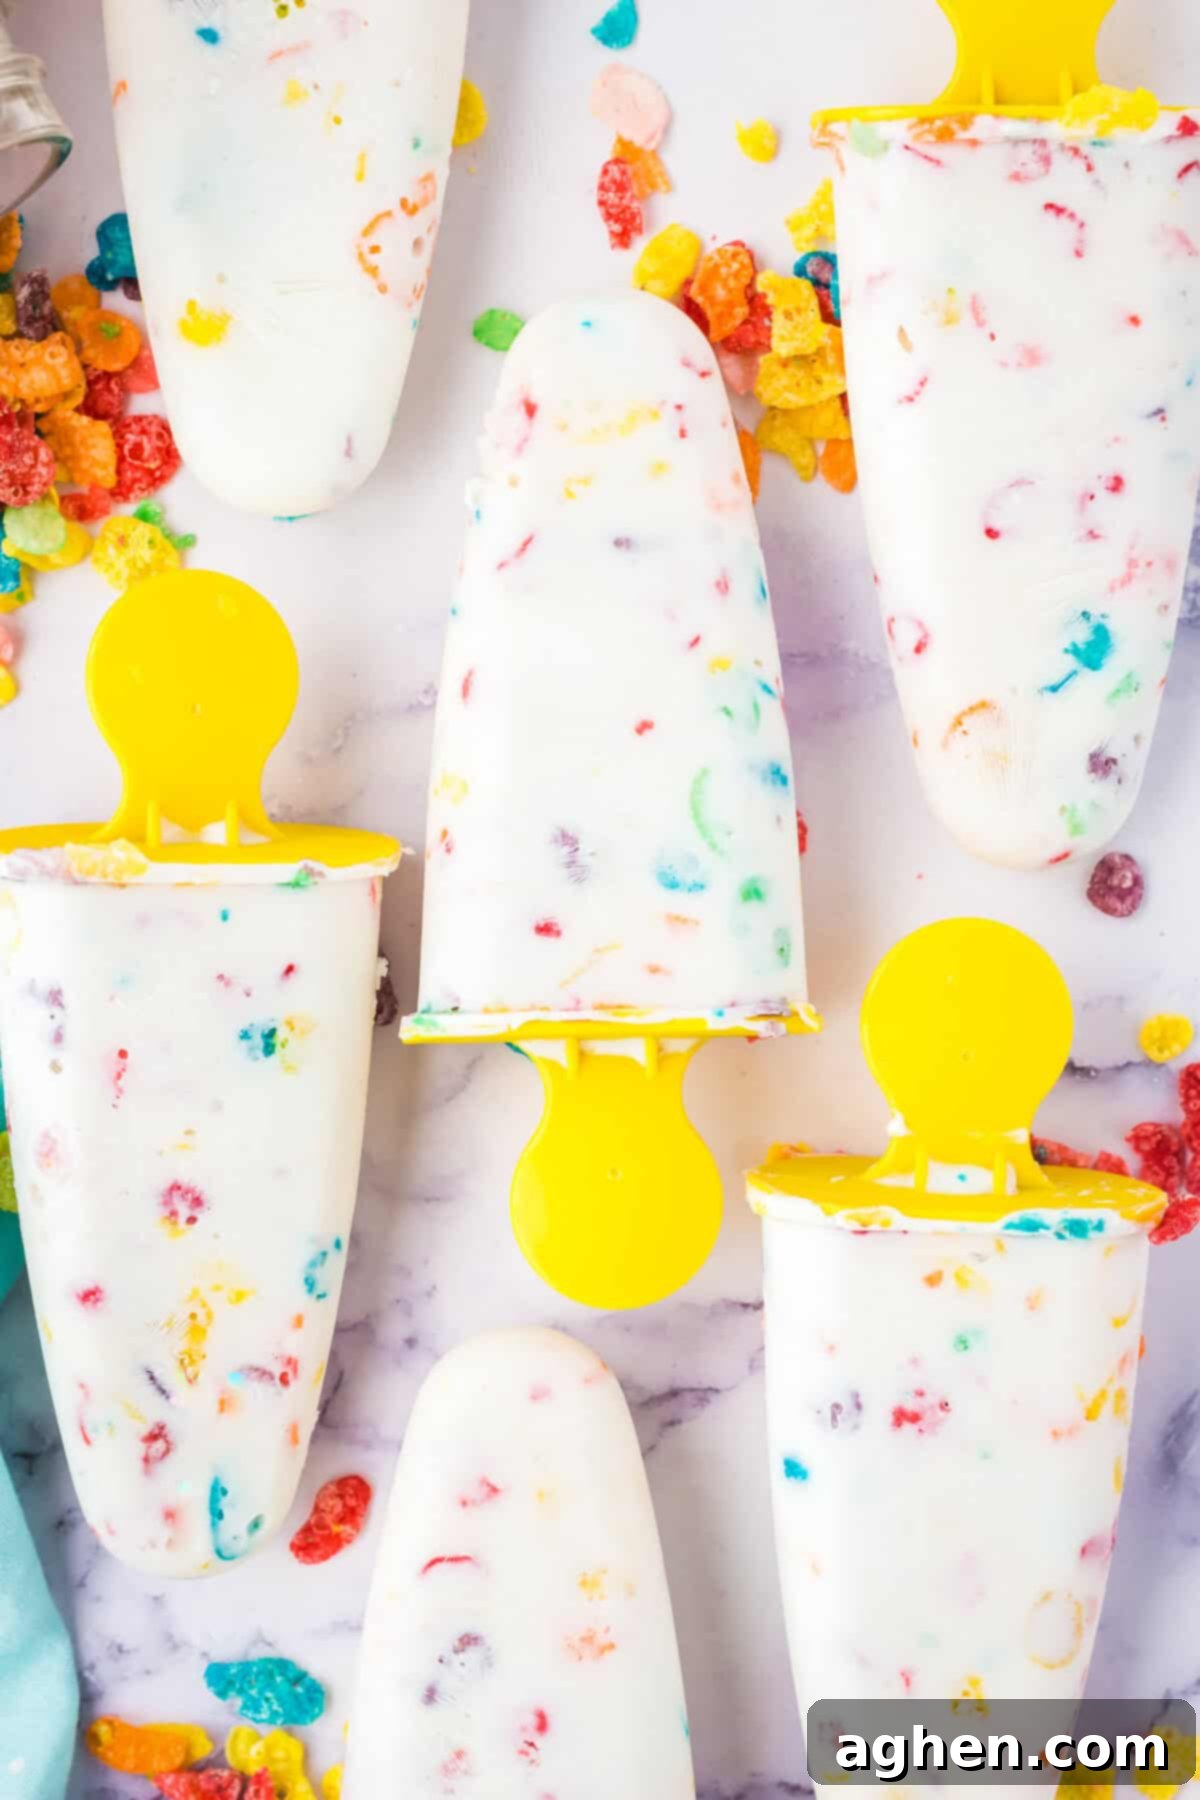
Easy & Delicious Fruity Pebbles Greek Yogurt Popsicles: A Colorful Frozen Treat for Any Time!
Get ready to add a burst of color and flavor to your day with these incredible Fruity Pebbles Greek Yogurt Popsicles! Combining the nostalgic joy of “milk and cereal” with a refreshing, frozen twist, these homemade popsicles are remarkably simple to make. Crafted with just three core ingredients, they’re versatile enough to be a fun, protein-packed breakfast on the go or a delightful, creamy summer treat that both kids and adults will adore.
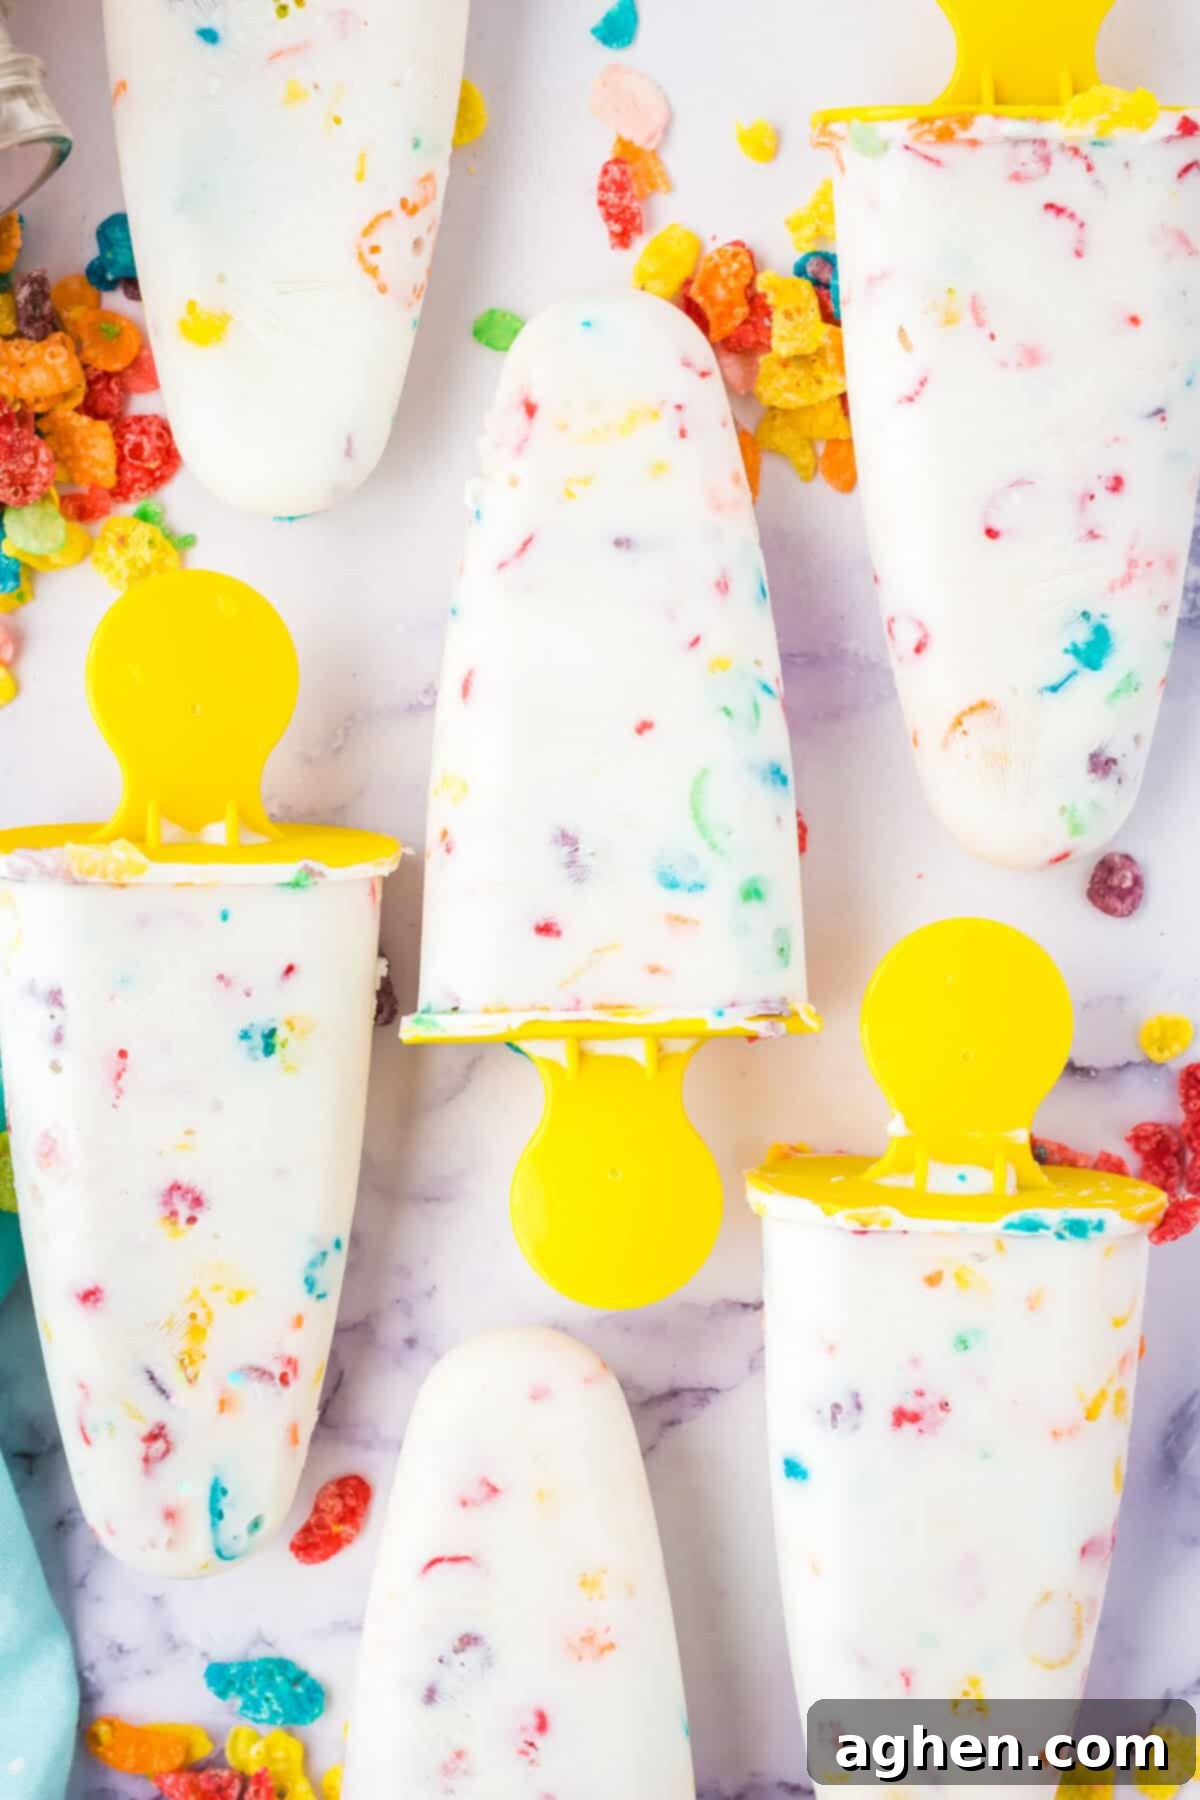
If you’ve ever tried my rainbow popsicles, banana pudding popsicles, or breakfast fruit and yogurt popsicles and found them wonderfully easy, prepare to be amazed by how quickly these Fruity Pebbles Popsicles come together. Seriously, the preparation time is minimal, making them an ideal recipe for busy mornings or spontaneous cravings.
The magic lies in the simplicity: creamy vanilla Greek yogurt, crunchy Fruity Pebbles cereal, and a splash of vanilla extract. That’s it! These quick and easy ice pops are perfect for kids as a unique and wholesome breakfast, especially during the warmer months. Yet, they are also sweet enough to satisfy any dessert craving without the guilt. Just grab one or two from the freezer, and you’re set for a delicious, cooling experience!
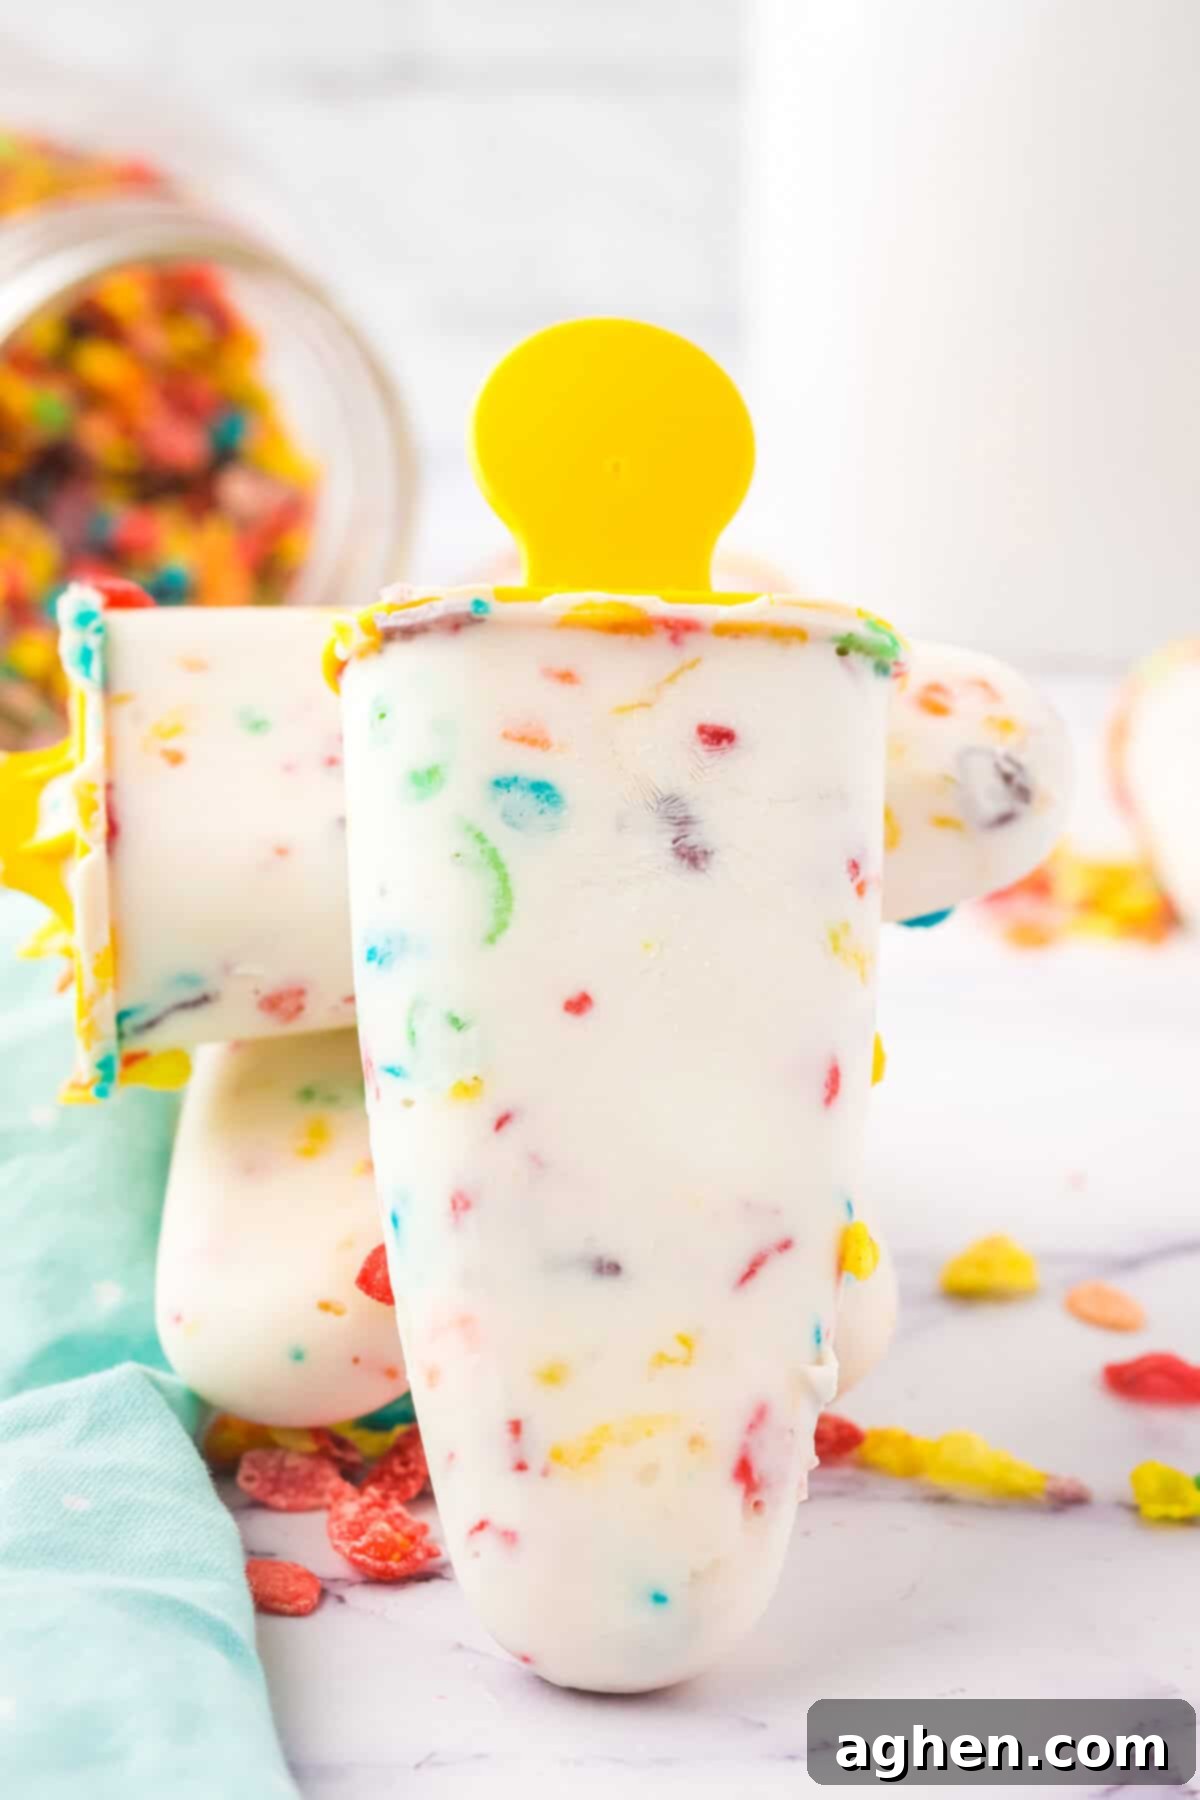
Imagine the smiles on your kids’ faces when you serve them these vibrant, cereal-infused pops! You’ll not only be the “coolest parent” but also feel great knowing you’re providing a treat packed with protein from the Greek yogurt. It’s a win-win for everyone.
What’s more, this straightforward three-step recipe is incredibly adaptable. You can easily modify it to incorporate your family’s favorite cereal and yogurt flavors, opening up a world of delicious possibilities. From different cereals to various yogurt types, the customization options are endless, ensuring these popsicles never get boring.
Why You’ll Love These Fruity Pebbles Popsicles
There are countless reasons to fall in love with these delightful frozen treats:
- Effortlessly Easy: With only three ingredients and three simple steps, these popsicles are a breeze to prepare, even for novice cooks or busy parents. Minimal prep, maximum enjoyment!
- Wholesome & Delicious: Greek yogurt provides a protein boost, making these a healthier alternative to many sugary desserts. You get the sweetness you crave without the guilt.
- Kid-Friendly Favorite: The vibrant colors and familiar taste of Fruity Pebbles cereal make these an instant hit with children. They’ll be begging for more!
- Perfect for Summer (or Any Time!): These popsicles are incredibly refreshing on a hot day, offering a cool and creamy escape. But let’s be honest, they’re equally delightful year-round.
- Highly Customizable: Don’t like Fruity Pebbles? Prefer a different yogurt flavor? This recipe is a fantastic base for experimentation, allowing you to tailor it to your family’s preferences.
- Versatile Treat: Serve them as a quick breakfast, a satisfying after-school snack, or a light and fun dessert. They fit into any part of your day.
Ingredients
This section includes ingredient notes and substitution options. Get all measurements, ingredients, and instructions in the printable recipe card at the end of this post.
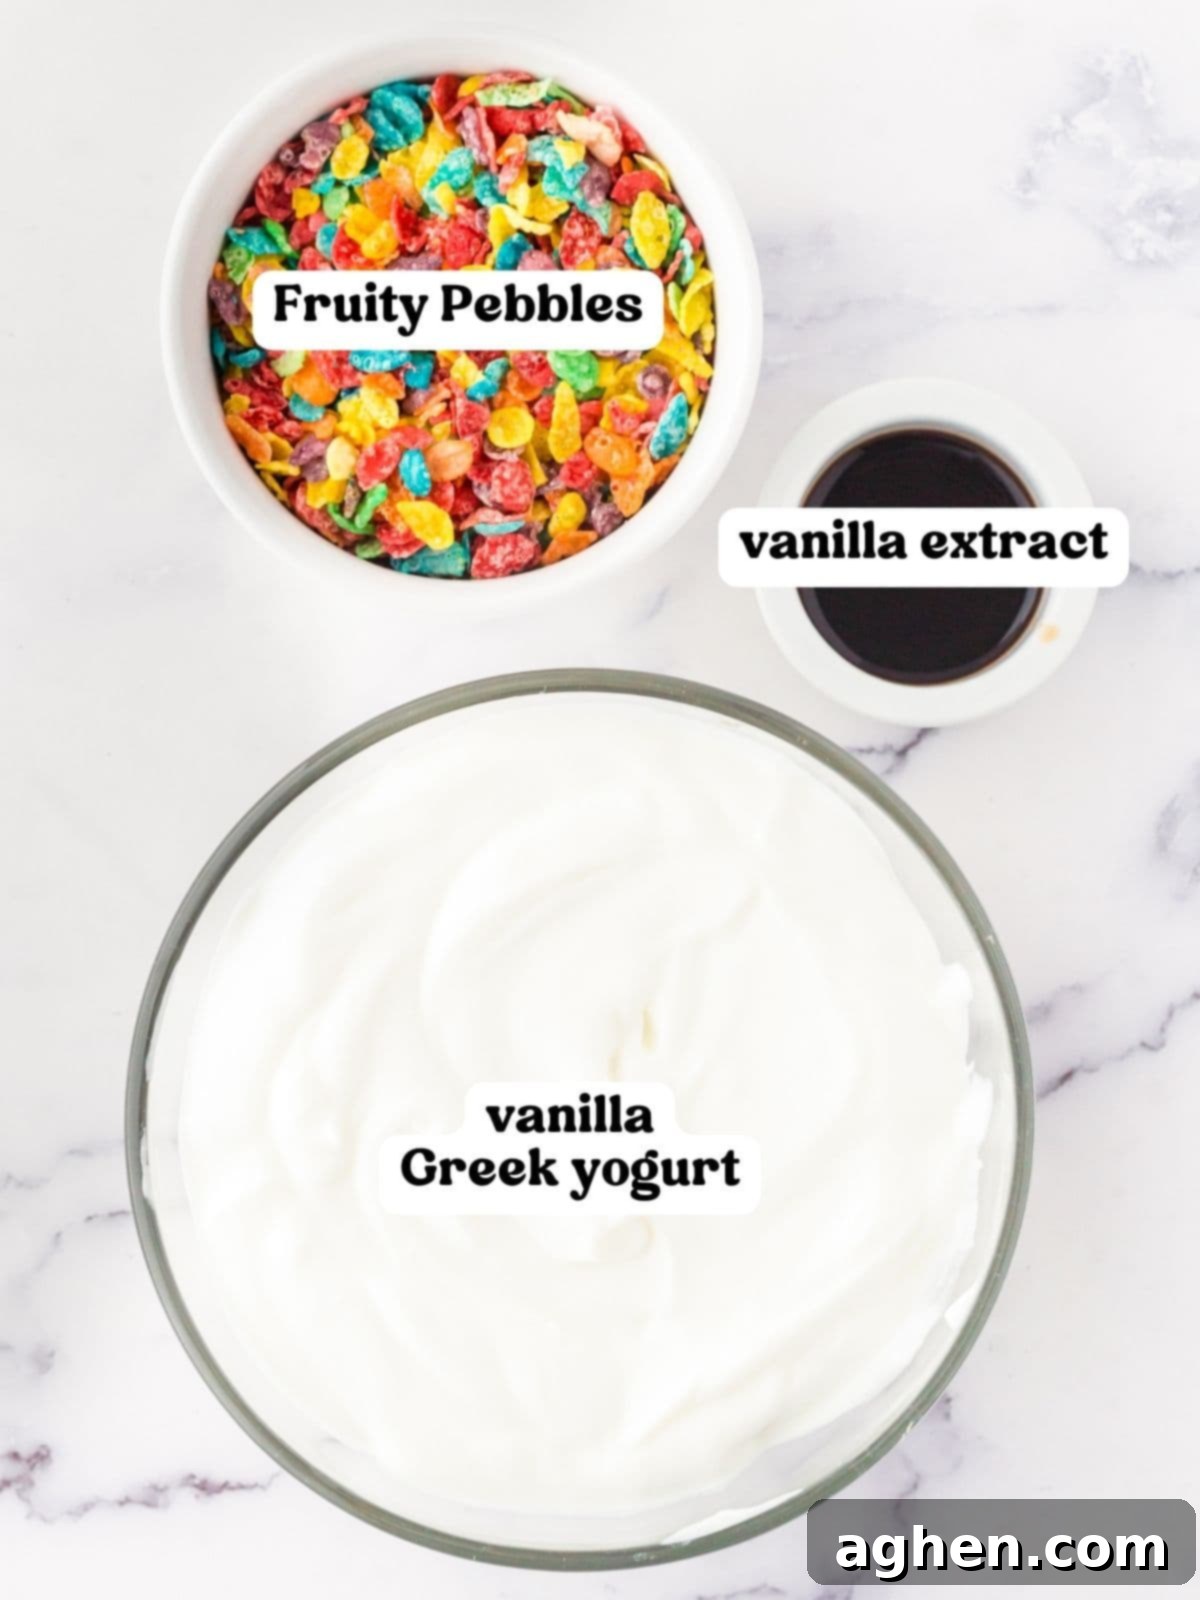
- Vanilla Greek Yogurt: This forms the creamy, protein-rich foundation of your popsicles. Vanilla-flavored Greek yogurt offers a perfect balance of sweetness and tang, eliminating the need for added sugar. For an extra rich and creamy texture, opt for full-fat Greek yogurt. If you prefer a lighter version, non-fat or low-fat varieties work just as well. Alternatively, you can use plain Greek yogurt and add a touch of honey, maple syrup, or your favorite sweetener to taste.
- Fruity Pebbles Cereal: The star of the show! This iconic, colorful rice cereal brings a delightful crunch, an explosion of fruity flavor, and an irresistible visual appeal to your frozen treats. As the cereal sits in the yogurt, it will soften slightly, creating a unique, cake-like texture, while still retaining some of its characteristic crispiness. It’s what gives these popsicles their signature “cereal milk” vibe.
- Vanilla Extract: A small but mighty addition! Just a splash of vanilla extract significantly enhances the natural vanilla flavor of the yogurt, deepening the overall taste profile of these quick and easy popsicles. For the best results, use a good quality pure vanilla extract. You can also experiment with other extracts, like almond or lemon, for a different flavor dimension.
Equipment You’ll Need
Making these popsicles requires only a few basic kitchen tools:
- Popsicle Mold: A good quality popsicle mold is essential for perfectly shaped frozen treats. Molds come in various materials like silicone (flexible for easy removal), plastic (affordable and durable), or stainless steel (eco-friendly and long-lasting). The size of your mold will influence the freezing time, so consider what best fits your needs.
- Mixing bowl: Any medium-sized mixing bowl will do for combining your ingredients.
- Rubber spatula: Ideal for gently folding the cereal into the yogurt, ensuring even distribution without crushing the cereal too much, and for scraping the bowl clean.
How to Make Popsicles Without a Mold
No popsicle mold on hand? No problem at all! You can easily create delicious homemade popsicles using items you likely already have. Simply fill small paper cups, plastic cups, or even an ice cube tray with your delightful cereal and yogurt mixture. Insert a popsicle stick (or a sturdy spoon for smaller versions) into the center of each, making sure it stands upright. Then, set everything in the freezer until completely solid. Once your popsicles are thoroughly frozen, gently tear away the paper cup, or run the plastic cup under warm water for a few seconds to loosen, and voilà! You’ll have perfectly delicious homemade popsicles without needing a dedicated mold. This method is particularly great for making mini pops for toddlers or smaller, bite-sized treats.
How to Make Frozen Yogurt Cereal Popsicles
This section shows you how to make the recipe with step-by-step photos and instructions. For the full printable recipe, see the recipe card below.
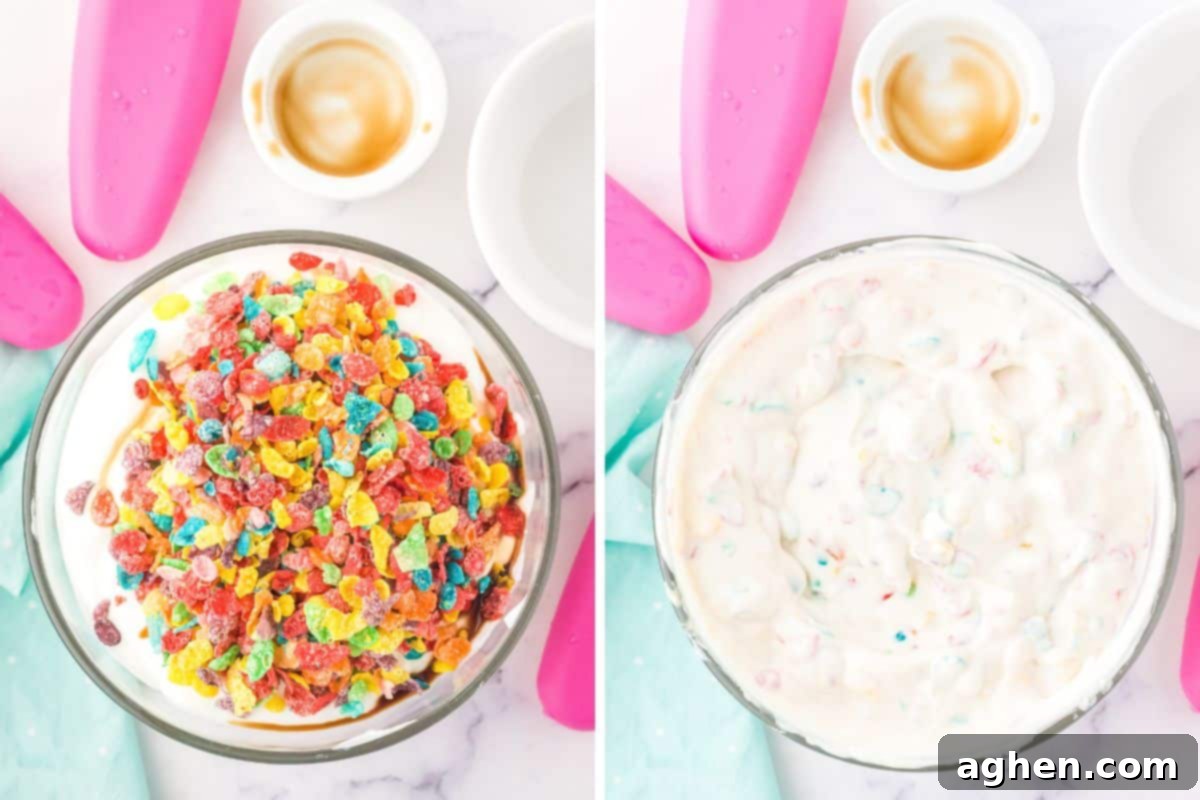
- Combine Ingredients: In a large mixing bowl, gently combine the vanilla Greek yogurt, Fruity Pebbles cereal, and vanilla extract. Use a rubber spatula to fold the ingredients together until the cereal is evenly distributed throughout the yogurt. Be careful not to overmix, as you want to maintain some of the cereal’s texture. You should see a beautiful, colorful swirl of cereal in the creamy yogurt.
- Fill Molds and Freeze: Carefully spoon the yogurt and cereal mixture into your popsicle mold cavities. Fill each cavity to just below the top to prevent overflow when the sticks are inserted. Place the popsicle sticks into the center of each filled mold. Transfer the filled mold to the freezer, ensuring it rests on a flat, stable surface so the popsicles freeze evenly.
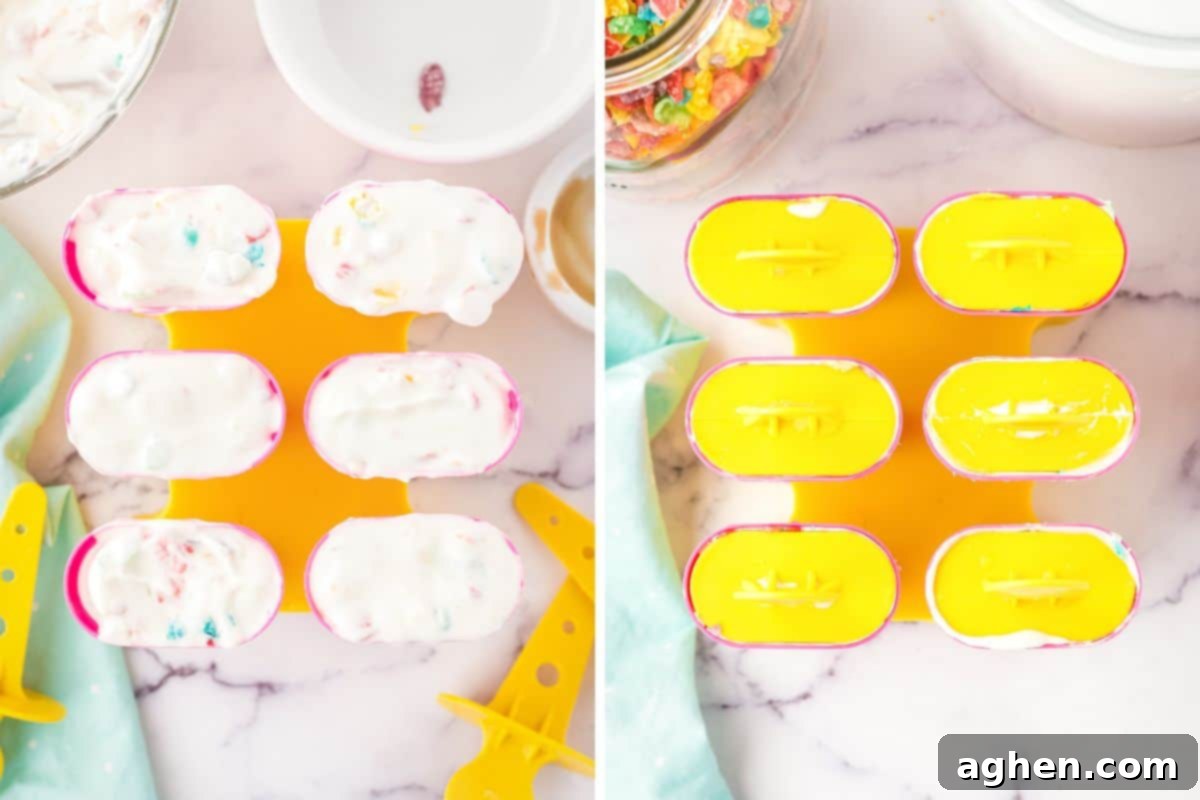
- Enjoy!: Allow the Fruity Pebbles Popsicles to freeze completely. This can take anywhere from 2 to 4 hours, depending on the size of your mold and your freezer’s temperature. For best results and perfectly firm pops, it’s often best to freeze them overnight. Once fully frozen, remove them from the mold (using the tip below if needed) and savor your delicious, homemade frozen treat!
How long does it take for Fruity Pebbles popsicles to freeze?
The freezing time for your Fruity Pebbles popsicles primarily depends on the size and material of your popsicle mold, as well as the temperature of your freezer. Popsicles in very small molds (e.g., mini molds or ice cube trays) might freeze in as little as 1.5 to 2 hours. However, popsicles in standard or larger molds typically require more time, usually between 3 to 4 hours, to completely solidify. For optimal firmness and texture, especially if you plan to store them, I highly recommend freezing them overnight. This ensures they are perfectly set and ready to enjoy without any mess!
Storage
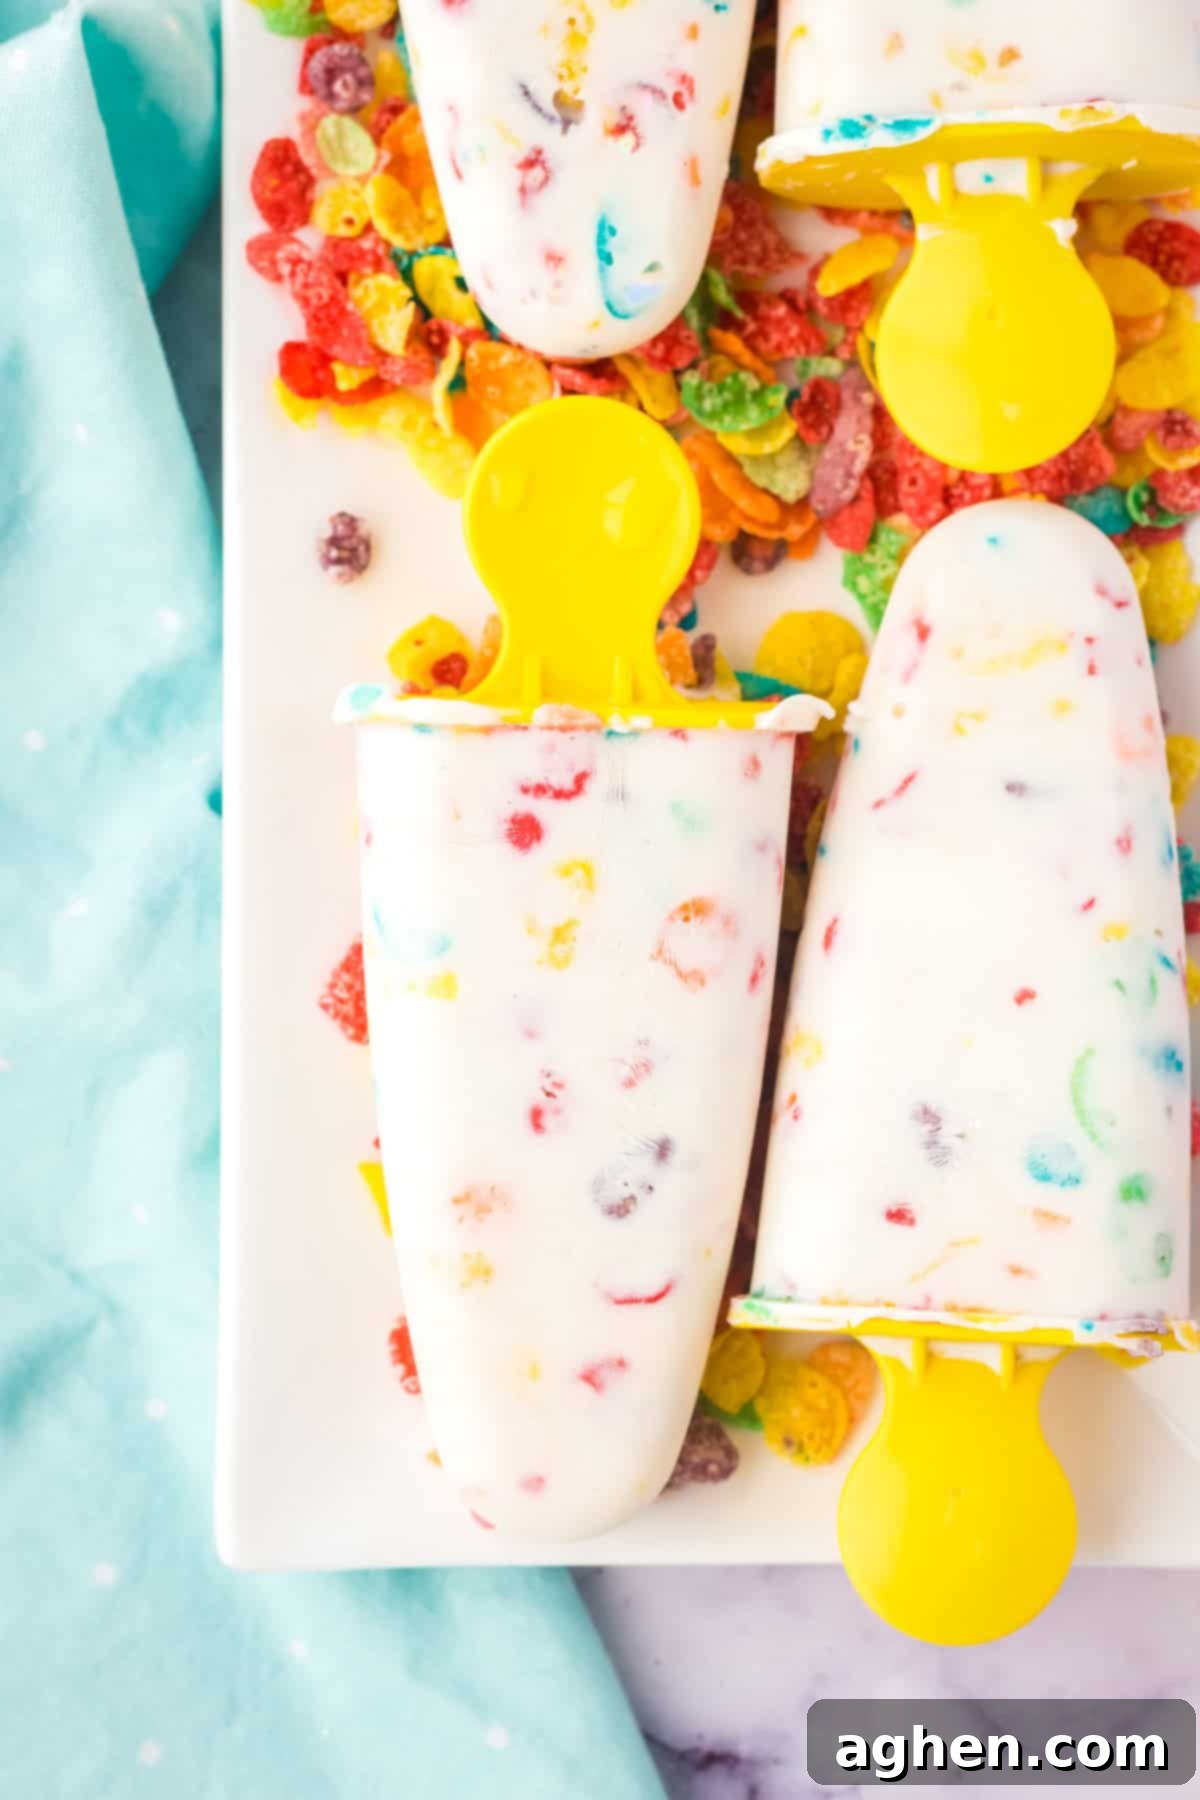
Proper storage is key to enjoying your delicious cereal popsicles for an extended period. Once completely frozen, remove the popsicles from their molds. To prevent freezer burn and keep them fresh, wrap each popsicle individually in plastic wrap, parchment paper, or reusable silicone bags. Then, place the wrapped popsicles in an airtight freezer-safe container or a large freezer bag. Stored this way, your delightful frozen yogurt pops will keep wonderfully in the freezer for up to 2 months, allowing you to enjoy a quick and refreshing treat whenever the craving strikes!
Tips and Tricks
Maximize your popsicle-making success with these helpful tips:
- Easy Removal from Molds: If you’re struggling to get your popsicles out of the molds, don’t force them! Simply run the outside of the mold under a bit of warm (not hot!) water for 15-30 seconds. This gentle warming will slightly loosen the frozen treats, allowing you to easily remove your Fruity Pebbles popsicles without breakage.
- Ensure Flat Freezing: For perfectly shaped popsicles and to prevent any drips or uneven freezing, make sure your popsicle mold is resting on a completely flat surface as it freezes. If your freezer shelves are uneven or too full, try balancing the mold on a sturdy plate or a small cutting board before placing it in the freezer.
- Turn into a Decadent Dessert: While these are fantastic as a healthier breakfast, you can easily transform them into an indulgent dessert! Replace the Greek yogurt with a simple no-churn ice cream base. A basic no-churn base can be made by whipping together 1 ½ cups of heavy cream until stiff peaks form, then gently folding in 1 can (14 ounces) of sweetened condensed milk. Add your Fruity Pebbles, fill the molds, and freeze for an even creamier, richer treat.
- Preventing Soggy Cereal: For the crispiest cereal texture, mix the Fruity Pebbles into the yogurt just before you pour the mixture into the molds. The longer the cereal sits in the yogurt before freezing, the softer it will become. If you prefer a softer, cake-like cereal texture, then mixing it a bit earlier is fine.
- Layering Fun: For an extra visual and textural treat, consider layering the Fruity Pebbles yogurt mixture with plain Greek yogurt or a fruit puree (like strawberry or blueberry). This creates beautiful stripes and adds another dimension of flavor.
Recipe Substitutions & Variations
One of the best things about this Fruity Pebbles popsicle recipe is its incredible adaptability! Whether you’re looking to switch things up or accommodate dietary preferences, there are endless ways to make this recipe your own.
- Cereal Swaps: Not a fan of Fruity Pebbles, or simply want to try something new? This recipe works beautifully with almost any dry cereal! Experiment with classics like Fruit Loops for a similar fruity burst, Cocoa Pebbles for a chocolatey twist, Cinnamon Toast Crunch for a warming spice, or even Honey Nut Cheerios or Lucky Charms for different flavors and textures. Each cereal will impart its unique flavor and crunch, so feel free to get creative!
- Yogurt Flavor Alternatives: While vanilla Greek yogurt is a fantastic base, don’t hesitate to ditch it for another flavor. Strawberry, raspberry, blueberry, or even peach Greek yogurt would be absolutely delicious and add another layer of fruitiness. For an even healthier option, use plain Greek yogurt and sweeten it naturally with honey, maple syrup, or a touch of stevia to control the sugar content. You could even blend plain yogurt with a little fruit jam or puree.
- Add Fresh Fruit: Boost the nutritional value and fresh flavor by incorporating a bit of chopped fruit into your Fruity Pebbles popsicles. Finely diced fresh blueberries, small chunks of mango, thin slices of strawberries, or even raspberries can add an extra layer of fruity taste and a wonderful texture. Just be sure to chop the fruit into small pieces for even distribution and easy eating.
- “True Milk and Cereal” Popsicle: For a popsicle that more closely mimics the classic “milk and cereal” experience, you can replace up to half a cup of the Greek yogurt with the milk of your choice. Dairy milk (whole, 2%, or skim), almond milk, oat milk, or soy milk will all work. Be aware that using more milk will result in a less creamy, more ice-like texture, as milk has a higher water content than yogurt.
- Extra Sweetness: If using plain Greek yogurt or if you simply prefer a sweeter treat, you can add a tablespoon or two of honey, maple syrup, agave nectar, or a sugar substitute to the yogurt mixture before adding the cereal.
- Boosted Flavor Extracts: Beyond vanilla, try a few drops of almond extract to complement nutty cereals, a hint of lemon extract for an extra bright fruity pop, or even a tiny drop of mint extract if you’re feeling adventurous (and perhaps pairing with a chocolate cereal!).

Fruity Pebbles Frozen Yogurt Popsicles
Author: Jaclyn
Equipment
-
popsicle mold
Ingredients
- 2 cups vanilla Greek yogurt
- 1 cup Fruity Pebbles cereal
- 1 teaspoon vanilla extract
Instructions
-
In a large mixing bowl, stir to combine the Greek yogurt, cereal, and vanilla extract. Ensure the cereal is evenly distributed.
-
Spoon the yogurt mixture into popsicle molds, insert sticks, and freeze for 4 hours, or until completely frozen.
-
Serve straight from the freezer for a refreshing treat!
Notes
Feel free to swap the vanilla Greek yogurt with your favorite flavored Greek yogurt (strawberry, peach, etc.). You can also swap Fruity Pebbles for any other dry cereal you love, creating endless delicious combinations!
Nutrition

Did You Make This Recipe?
Share your delightful creations with me on Instagram @crayonsandcravings and follow on Pinterest @crayonsandcravings for even more delicious and easy recipes!
Pin Recipe
Leave A Review
