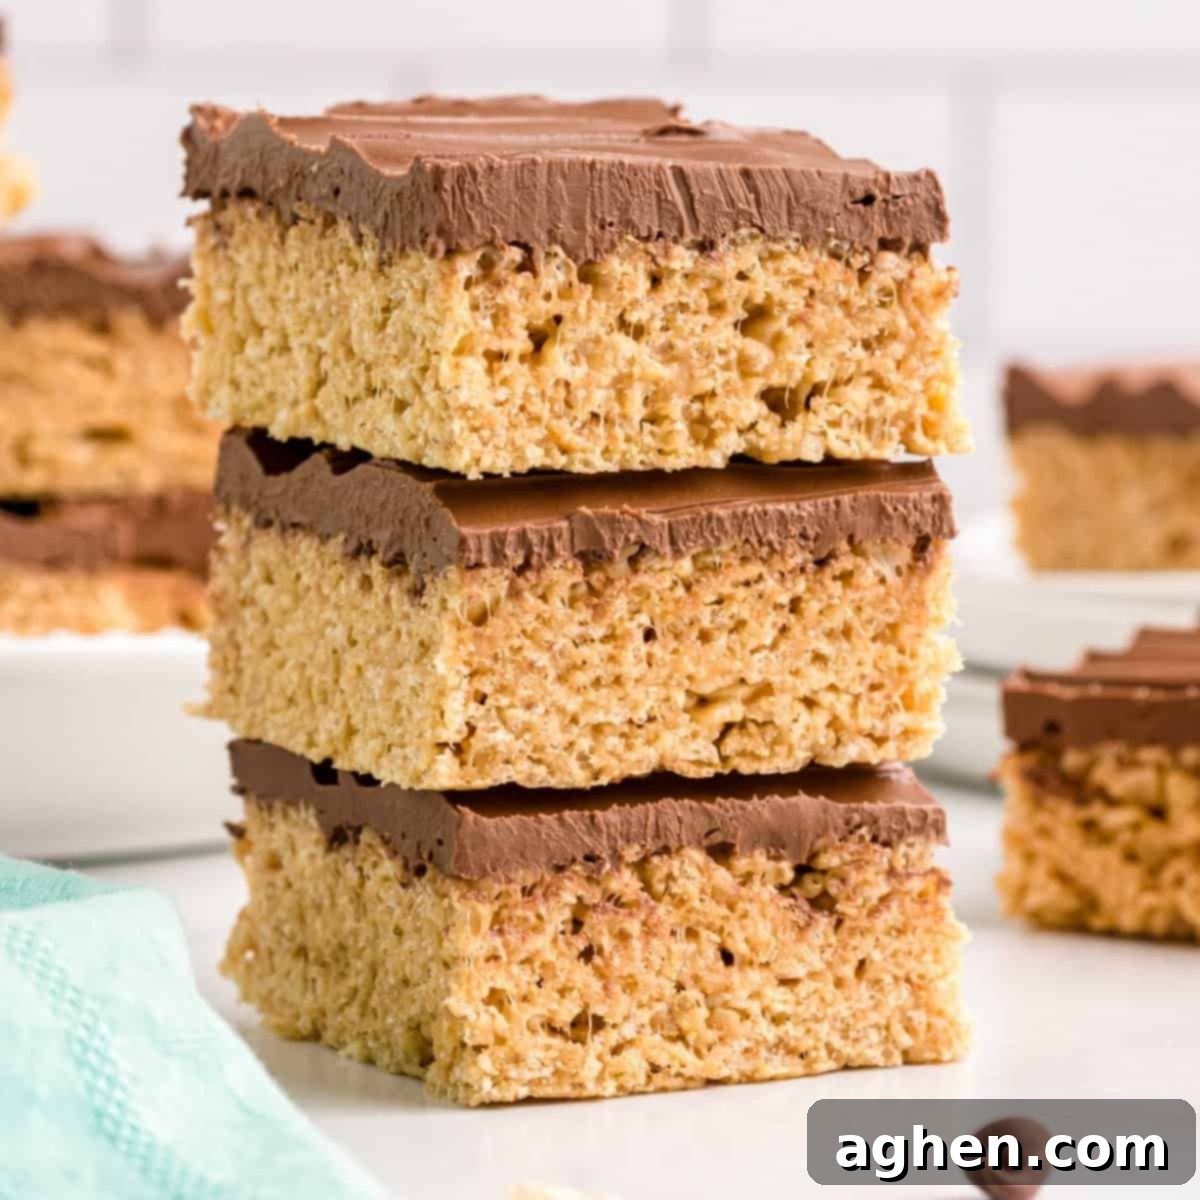
Irresistible Chocolate Peanut Butter Rice Krispie Treats: Your Easy No-Bake Recipe Guide
Craving a delightful dessert that’s quick, easy, and requires absolutely no baking? Look no further! These Chocolate Peanut Butter Rice Krispie Treats are the ultimate answer to your sweet tooth, combining the classic, beloved flavors of rich chocolate and creamy peanut butter with the satisfying crunch of puffed rice cereal. They are a beloved no-bake dessert bar, perfect for any occasion, from casual family gatherings to festive holiday parties, offering a homemade taste with minimal effort.
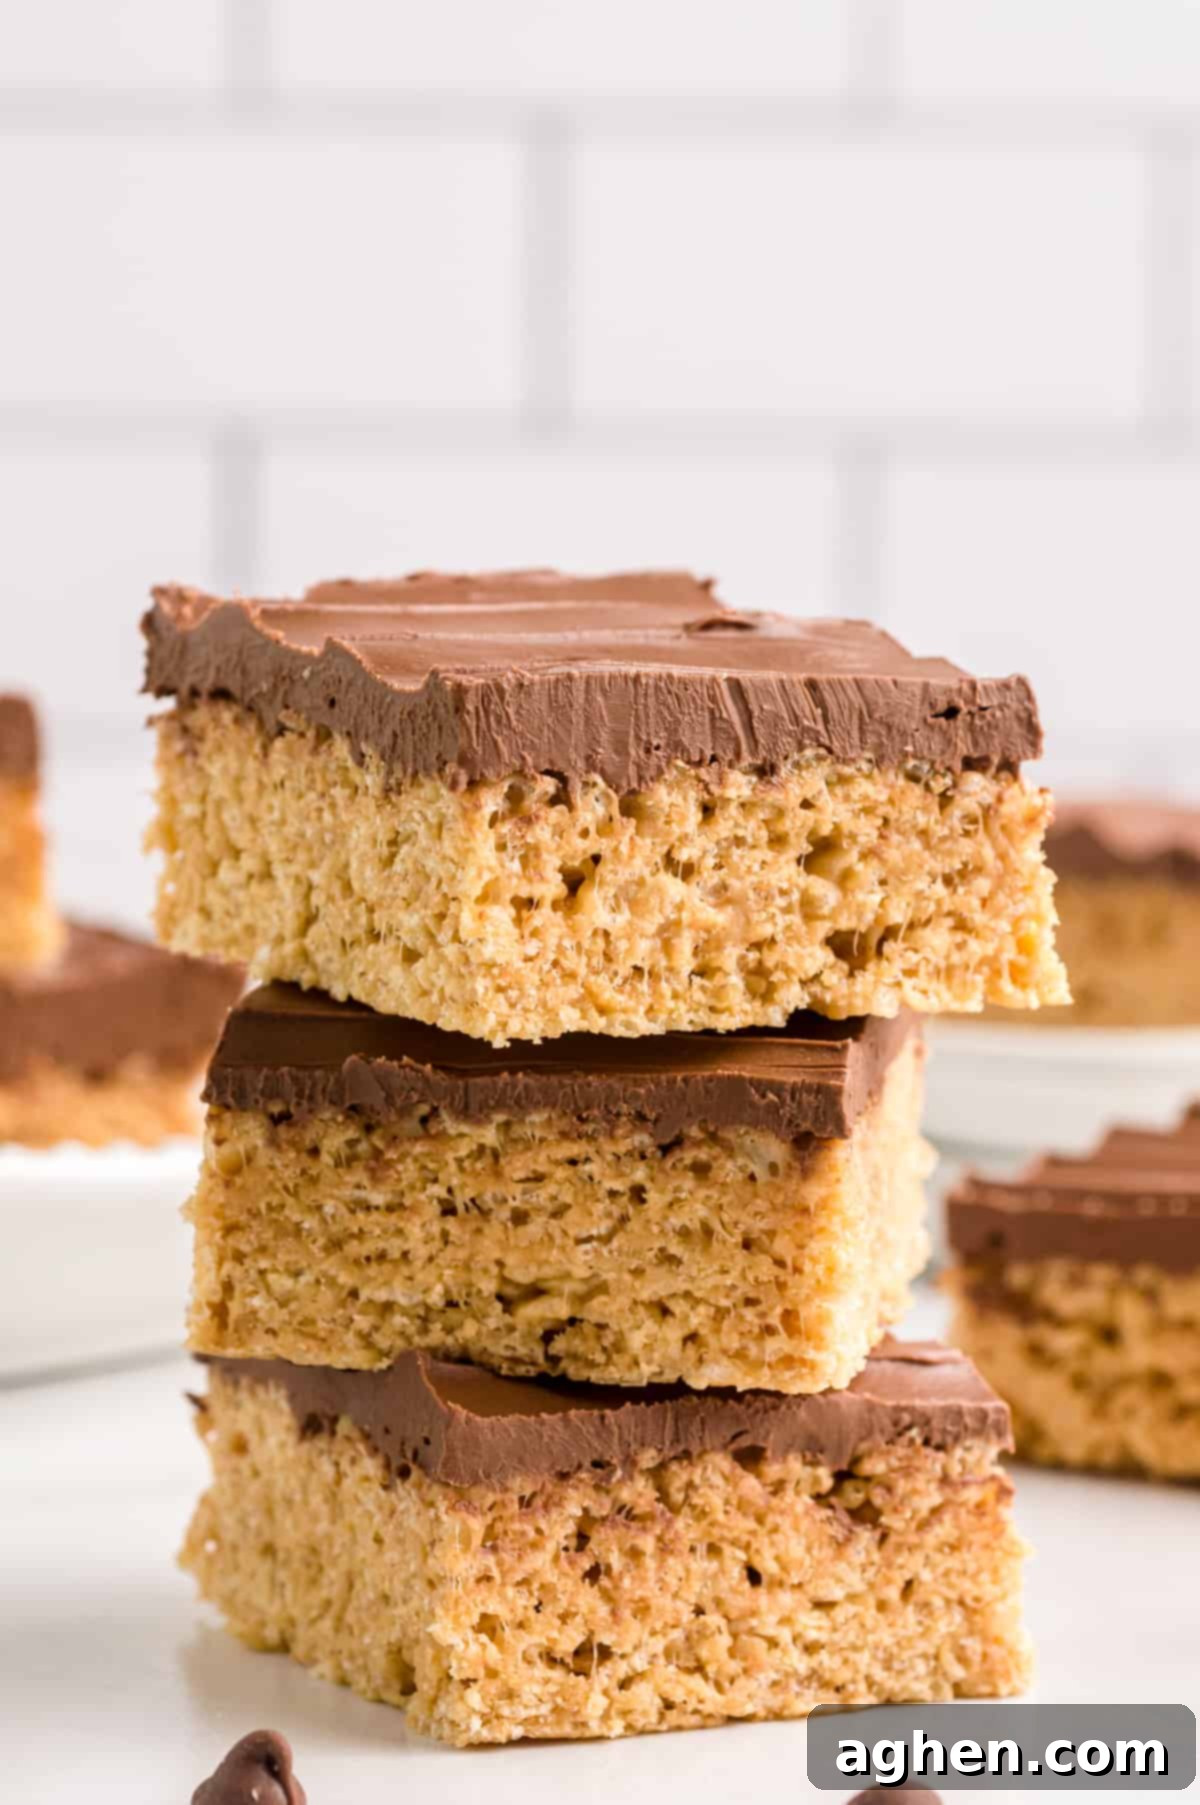
What sets these particular treats apart is their incredible balance of textures and flavors. Each bite delivers a chewy, gooey marshmallow and peanut butter base, generously topped with a luscious layer of melted chocolate and peanut butter. It’s a flavor combination that rarely disappoints, reminiscent of your favorite candy bar but with the homemade charm and irresistible chewiness of a Rice Krispie treat. Many consider these the best peanut butter Rice Krispie treats ever, and you’re about to discover why!
The timeless pairing of chocolate and peanut butter is a guaranteed crowd-pleaser. This dynamic duo is why recipes like peanut butter cookie cups, chocolate peanut butter no-bake cookies, and especially these simple yet spectacular peanut butter Rice Krispie treats consistently vanish from dessert tables at parties. People simply can’t resist that perfect blend of sweet and savory goodness, making them an instant hit at any gathering.
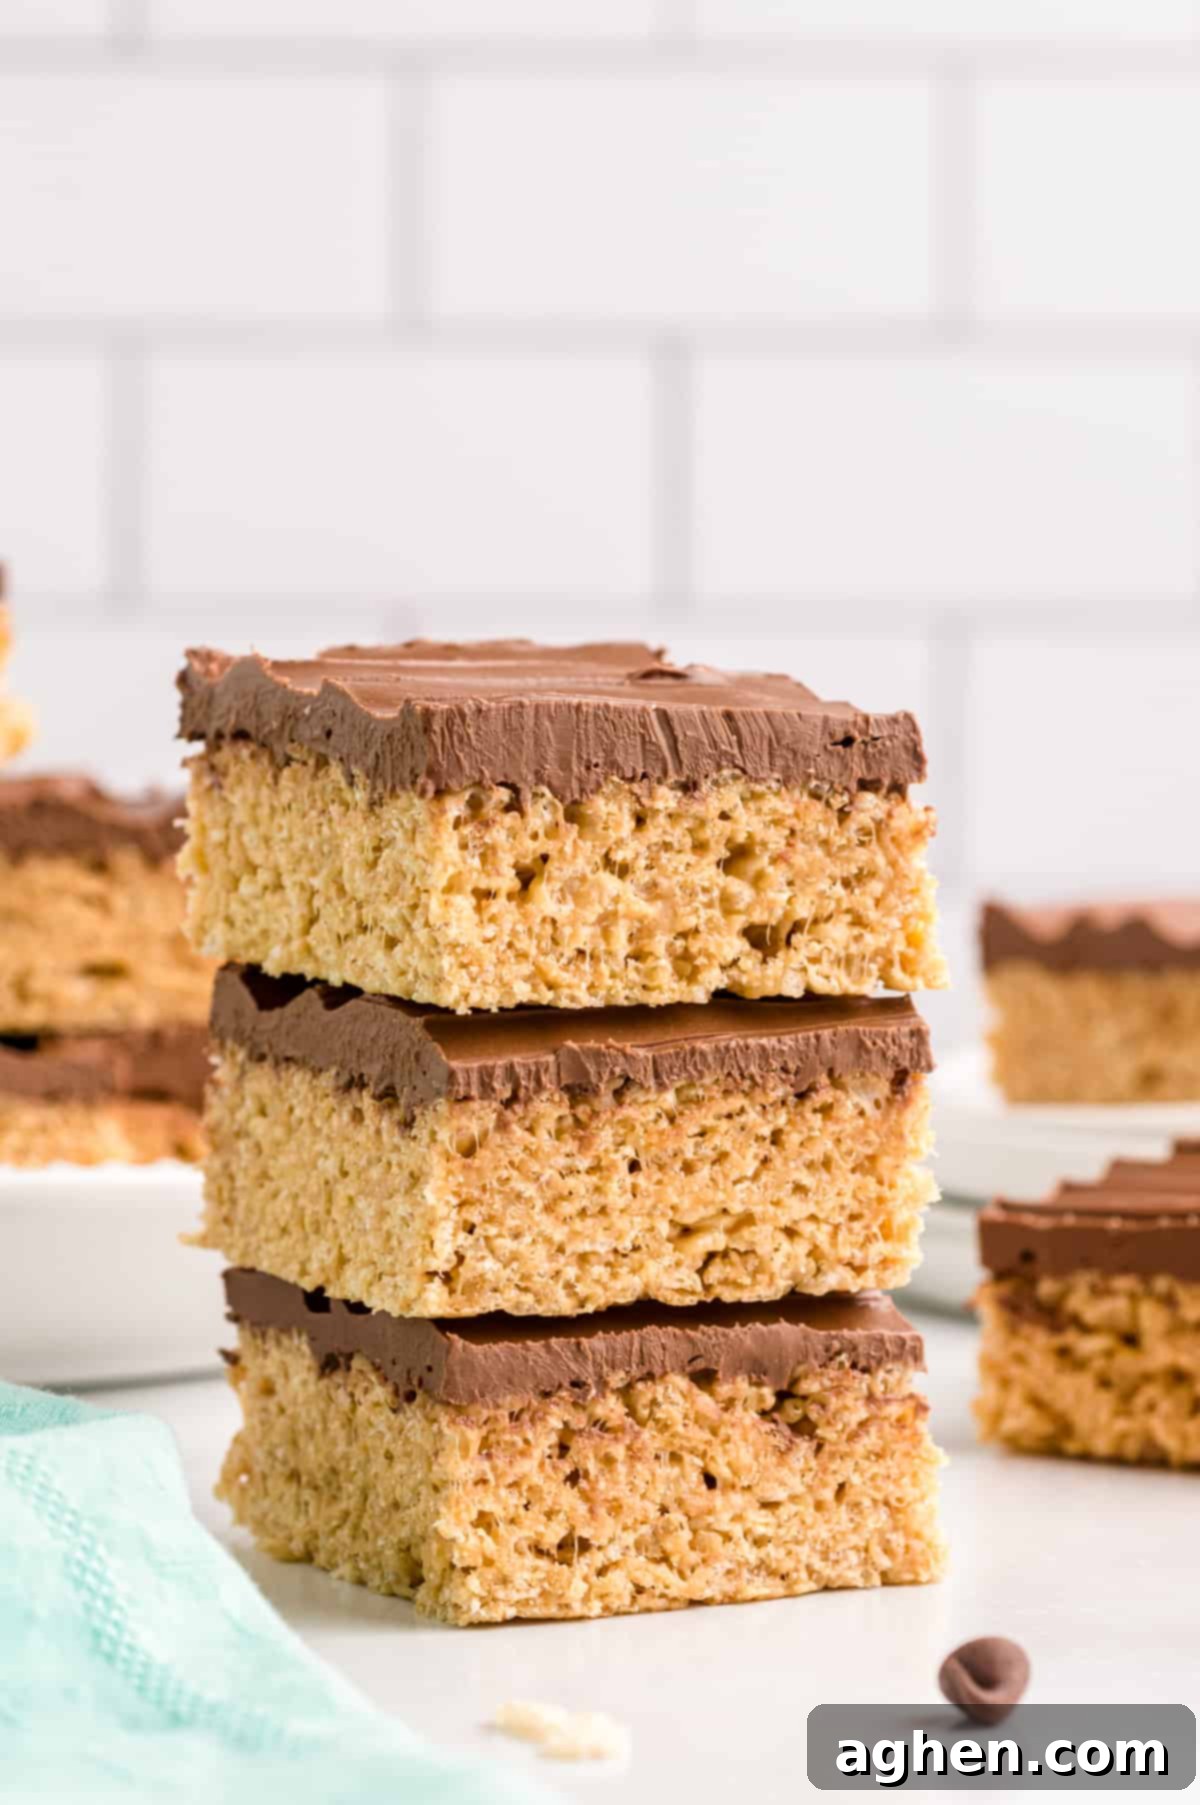
While traditional Rice Krispie treats hold a special place in our hearts, sometimes it’s delightful to introduce a new twist. That’s precisely where this incredible peanut butter Rice Krispie treats recipe comes in. It takes a beloved classic and elevates it with an irresistible flavor profile that appeals to all ages. Prepare to make these a new staple in your dessert repertoire, offering a unique take on a nostalgic favorite!
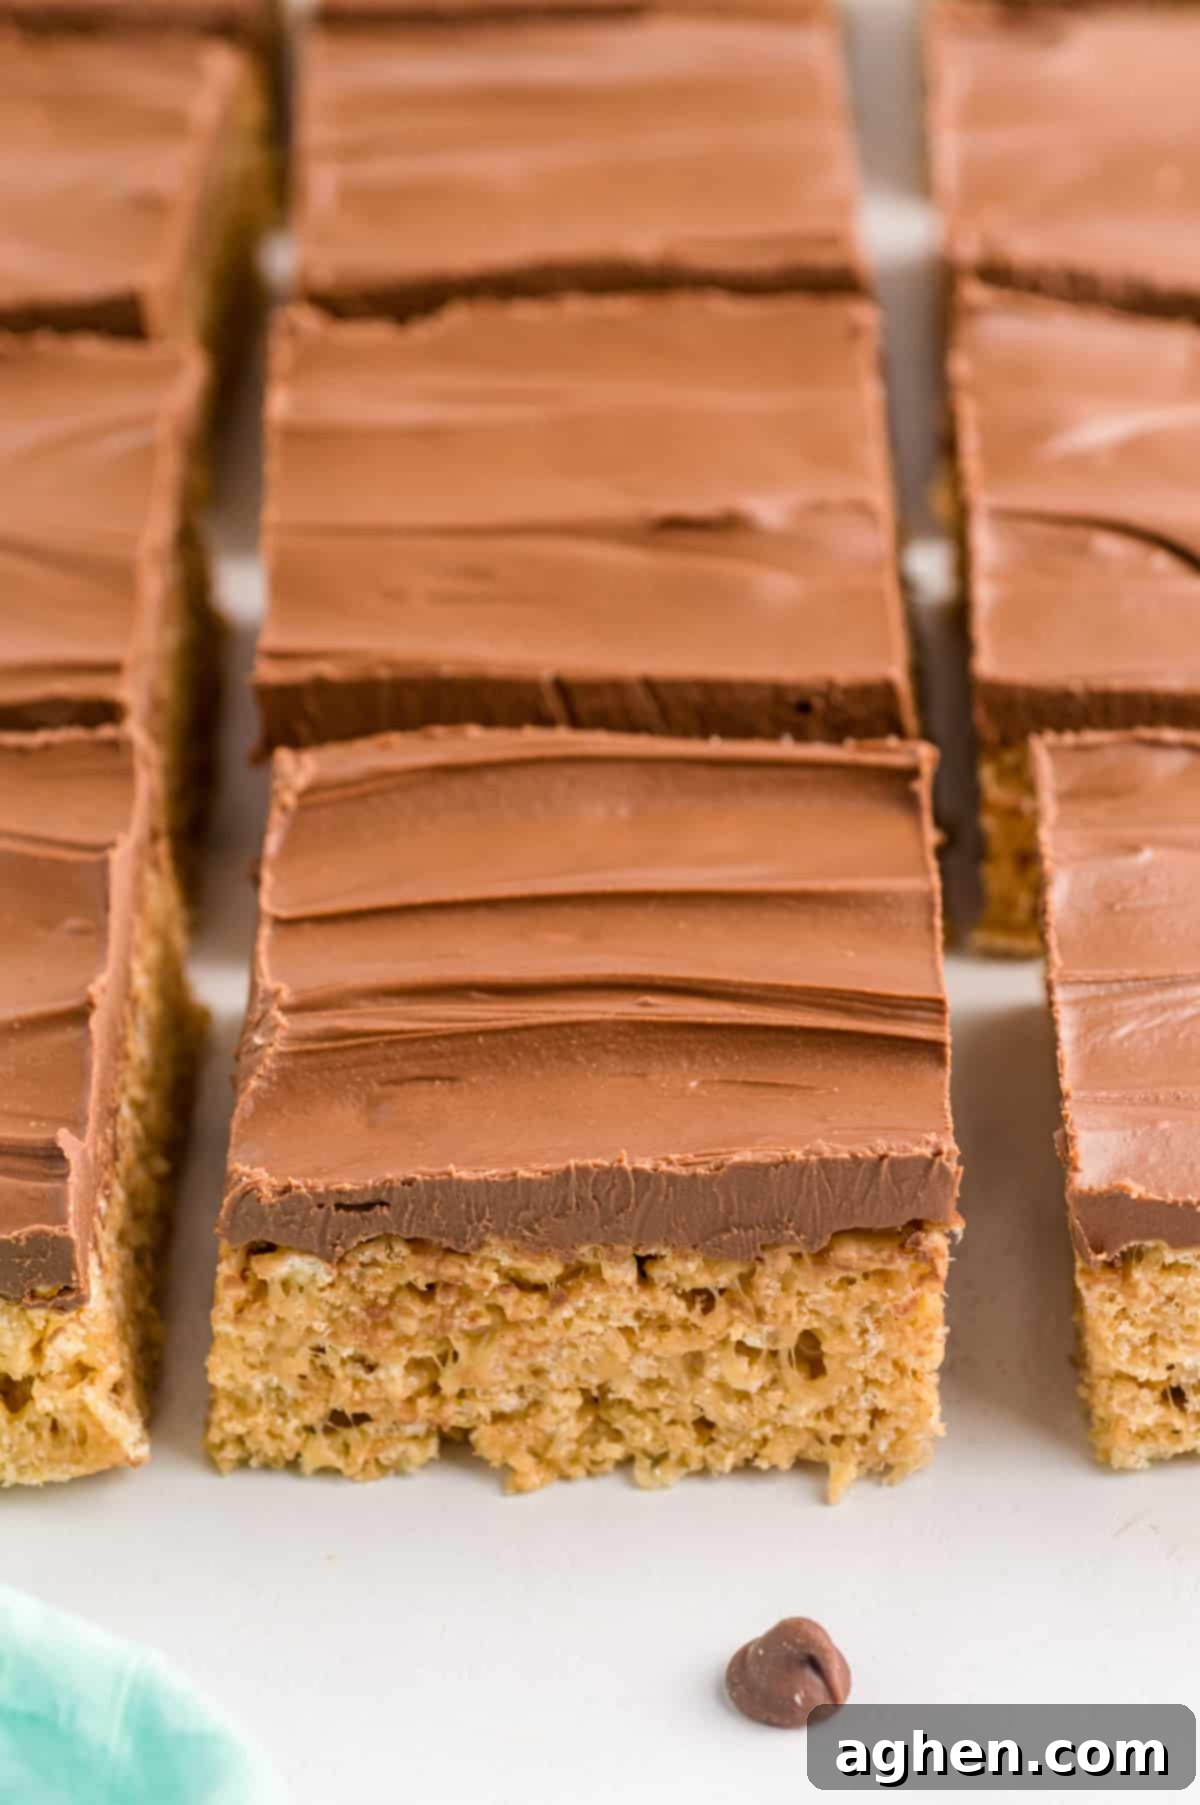
Beyond their amazing taste, you’ll adore how incredibly quick and straightforward these no-bake dessert bars are to prepare. With just a handful of common pantry ingredients and minimal effort, you can whip up a batch of these delectable treats in no time. They are truly a perfect last-minute dessert for unexpected guests, a fun project to make with kids on a rainy afternoon, or simply a convenient way to satisfy those spontaneous dessert cravings.
For another fantastic no-bake dessert featuring a similar irresistible flavor profile, be sure to try these delightful peanut butter balls with Rice Krispies. You can never have too many easy, delicious, no-bake options in your recipe arsenal, especially when they involve the magical combination of peanut butter and chocolate!
Ingredients for Your Chocolate Peanut Butter Rice Krispie Treats
This section provides detailed ingredient notes, including tips for selection and potential substitution options to help you achieve the perfect batch of these decadent treats. Understanding each component’s role will ensure your chocolate peanut butter Rice Krispie treats turn out flawlessly. For exact measurements, the complete list of ingredients, and full instructions, please refer to the printable recipe card located at the end of this post.
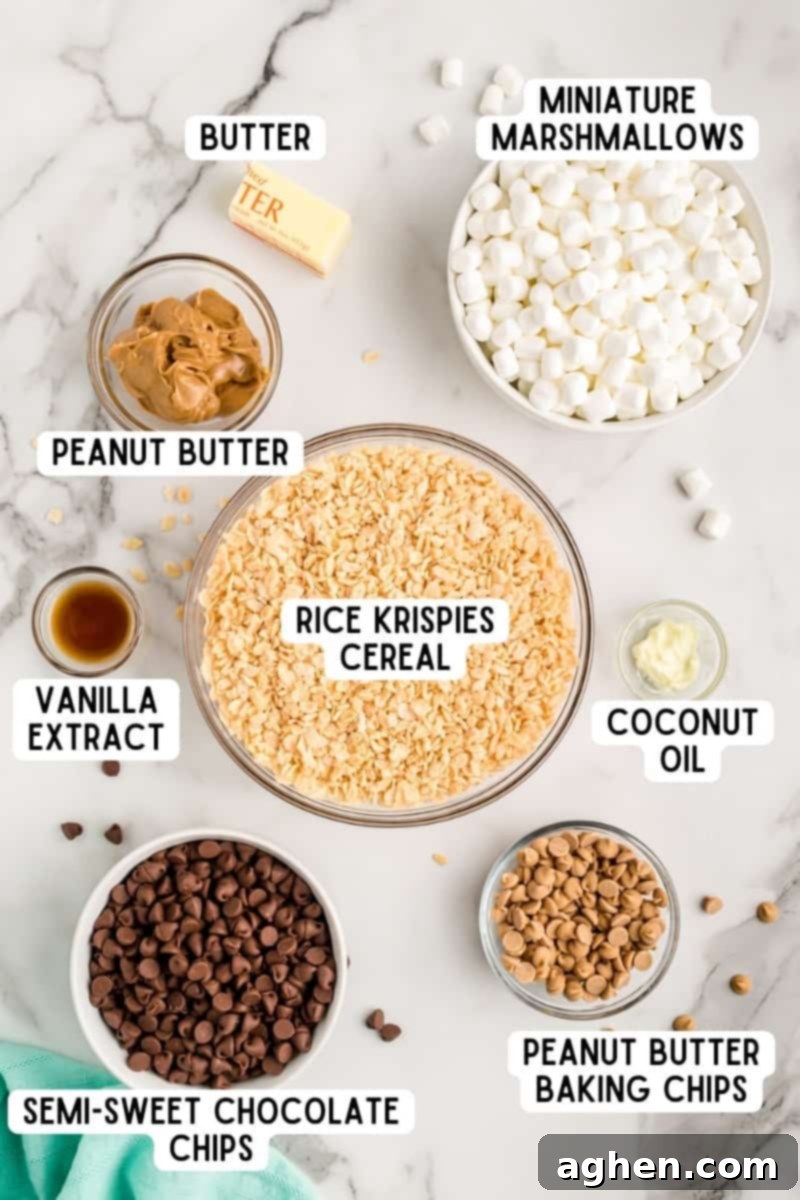
- Unsalted butter: Using unsalted butter allows you to control the overall saltiness of the treats. While this recipe doesn’t call for additional salt, many commercial peanut butters have varying sodium levels. Unsalted butter provides a neutral base, letting the rich dairy flavor shine through. If you only have salted butter on hand, you can use it, but be mindful that your treats might be slightly saltier. Butter is crucial for creating the chewy, gooey base and adds a rich, comforting flavor.
- Creamy peanut butter: We recommend using a good quality creamy peanut butter for the smoothest texture in your treats. Popular brands like Jif or Skippy work wonderfully, providing a consistent texture and flavor. The original recipe used Jif No Sugar Added Creamy Peanut Butter, which is an excellent choice if you prefer a less intensely sweet treat. While any kind of peanut butter (creamy or crunchy) can technically be used, and even other nut butters like almond butter or cashew butter, be aware that some natural nut butters have a higher oil content and can separate more easily. This might result in a slightly stickier or softer treat base than intended. For the best consistency and classic flavor profile in these peanut butter Rice Krispie treats, sticking with a creamy, processed peanut butter is often ideal.
- Miniature marshmallows: These are ideal because they melt quickly and evenly, contributing to that perfectly gooey and pliable texture we all love in marshmallow treats. Their small size means they dissolve into a smooth liquid more efficiently, reducing the risk of overcooking. If you only have regular-sized marshmallows, no problem! Simply use an equal amount by weight or volume. You might need to extend the melting time slightly and stir more frequently to ensure they dissolve completely into a smooth, luscious mixture without leaving lumps.
- Vanilla extract: A touch of pure vanilla extract is absolutely crucial for enhancing the overall flavor profile of these treats. It adds a warm, aromatic note that beautifully complements both the peanut butter and chocolate, rounding out the sweetness and making the other flavors pop. Good quality vanilla extract elevates simple ingredients, so don’t be tempted to skip it, as it truly makes a difference in the finished taste of your homemade Rice Krispie treats.
- Rice Krispies cereal: Any brand of puffed rice cereal will work perfectly for this recipe. The key is to use fresh cereal to ensure maximum crispiness. Stale cereal will result in a less satisfying, chewier, and softer treat. A standard 9-ounce box typically provides more than enough cereal for this recipe, leaving you with some extra for snacking or another batch! Ensure your cereal hasn’t gone stale, as this will significantly affect the texture of your finished treats.
- Semisweet chocolate chips: For the decadent chocolate topping, we highly recommend using semisweet chocolate chips. These treats are already quite sweet due to the marshmallows and peanut butter base, so semisweet chocolate provides a lovely contrast and prevents the final product from being overly sugary. It offers a balanced, rich chocolate flavor. If you’re a dark chocolate enthusiast, feel free to substitute with dark chocolate chips for an even richer, less sweet topping – it’s absolutely delicious and adds another layer of complexity to your chocolate peanut butter Rice Krispie bars!
- Peanut butter baking chips: These specialized baking chips, such as Reese’s baking chips, are added to the chocolate topping to amplify that irresistible peanut butter flavor even further. They melt smoothly and blend seamlessly with the chocolate, creating a beautiful marbled effect and an extra layer of peanut buttery goodness that truly defines these treats. They are key to getting that intense peanut butter flavor in every bite of the topping.
- Coconut oil or vegetable shortening: This is a secret weapon for achieving a perfectly smooth, glossy, and easily spreadable chocolate topping. Adding a small amount of coconut oil (refined if you don’t want a coconut flavor, unrefined if you do) or vegetable shortening helps the chocolate melt uniformly and prevents it from seizing, ensuring a professional-looking finish. It also gives the topping a beautiful sheen and a slightly softer set, making it easier to cut through the finished bars without the chocolate cracking or breaking. Both options work incredibly well, so use whichever you have conveniently on hand.
Essential Supplies for Making These No-Bake Wonders
You won’t need any specialized kitchen gadgets or fancy equipment for these delicious Chocolate Peanut Butter Rice Krispie Treats. Just your everyday baking essentials will do the trick, making this recipe accessible and stress-free for even novice bakers. Gathering your supplies before you start ensures a smooth and enjoyable cooking process, often referred to as “mise en place.”
For this recipe, you will need:
- Measuring cups and spoons: Essential for accurate ingredient amounts, ensuring consistent results every time you make these delightful treats. Precision here helps maintain the perfect balance of flavors and textures.
- 9×13 inch baking dish: This standard size is perfect for creating a batch of treats that are neither too thin nor too thick. A glass or metal dish works equally well. Make sure to butter it lightly beforehand for easy removal of the finished bars. You can also line it with parchment paper for an even easier cleanup.
- Large pot or Dutch oven: Ideal for melting the butter, peanut butter, and marshmallows. Its large capacity allows for easy stirring and mixing of all the cereal without spills, giving you ample room to combine ingredients effectively.
- Mixing bowls and spoons: You’ll need at least one microwave-safe mixing bowl for preparing the chocolate topping and sturdy spoons or spatulas for stirring the sticky marshmallow mixture and folding in the cereal.
How to Make The Best Peanut Butter Rice Krispie Treats
This section walks you through the entire process of making these delightful no-bake bars with clear, step-by-step instructions and helpful photos. Following these steps carefully will ensure your chocolate peanut butter Rice Krispie treats are perfectly chewy, crispy, and utterly delicious. For the comprehensive printable recipe card, including precise measurements and nutritional information, please scroll down to the end of this post.
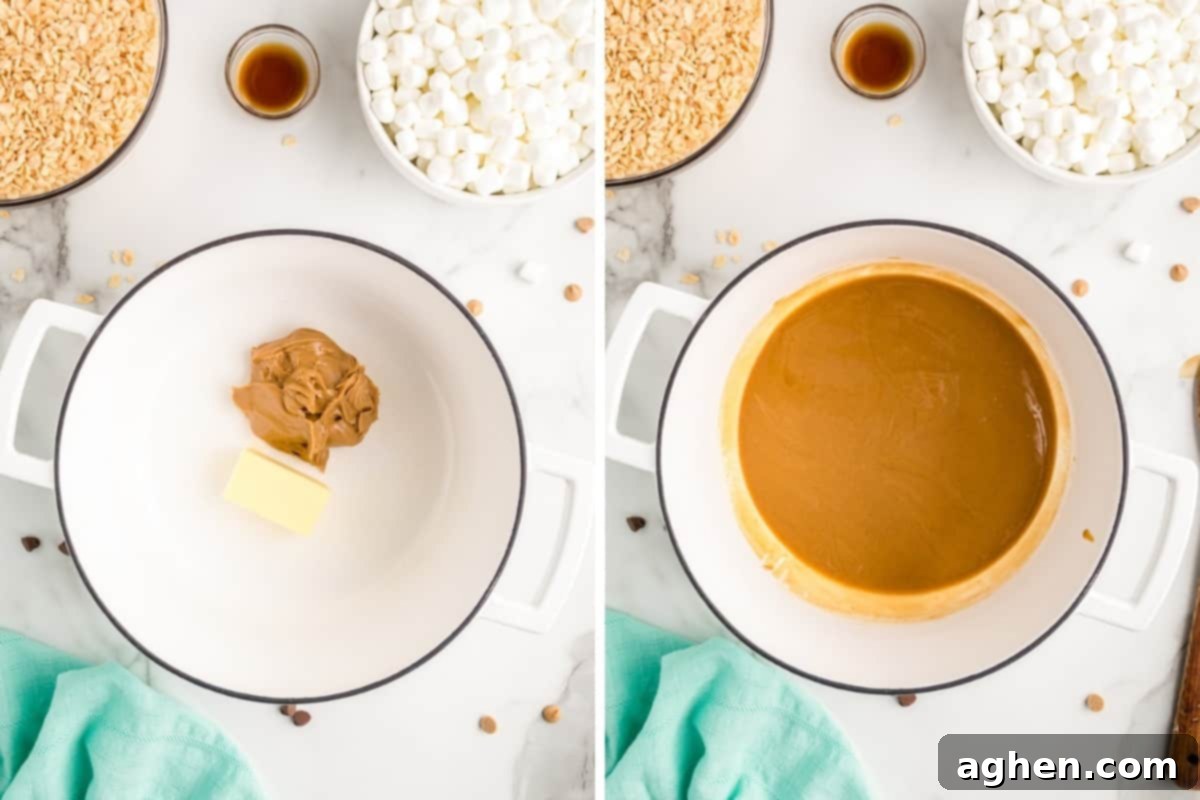
Step 1: Prepare the Peanut Butter & Butter Base. Begin by lightly buttering a 9×13 inch baking dish. This crucial step prevents sticking and makes removing your finished treats much easier. Set the prepared dish aside. In a large, heavy-bottomed pot or Dutch oven, combine the unsalted butter and creamy peanut butter. Place the pot over medium-low heat. Stir frequently with a heat-resistant spatula or wooden spoon until both ingredients are completely melted and smoothly combined. This gentle heat ensures everything melts evenly without burning. Keep a close eye on it, as you want a smooth, homogenous mixture, not a scorched one.
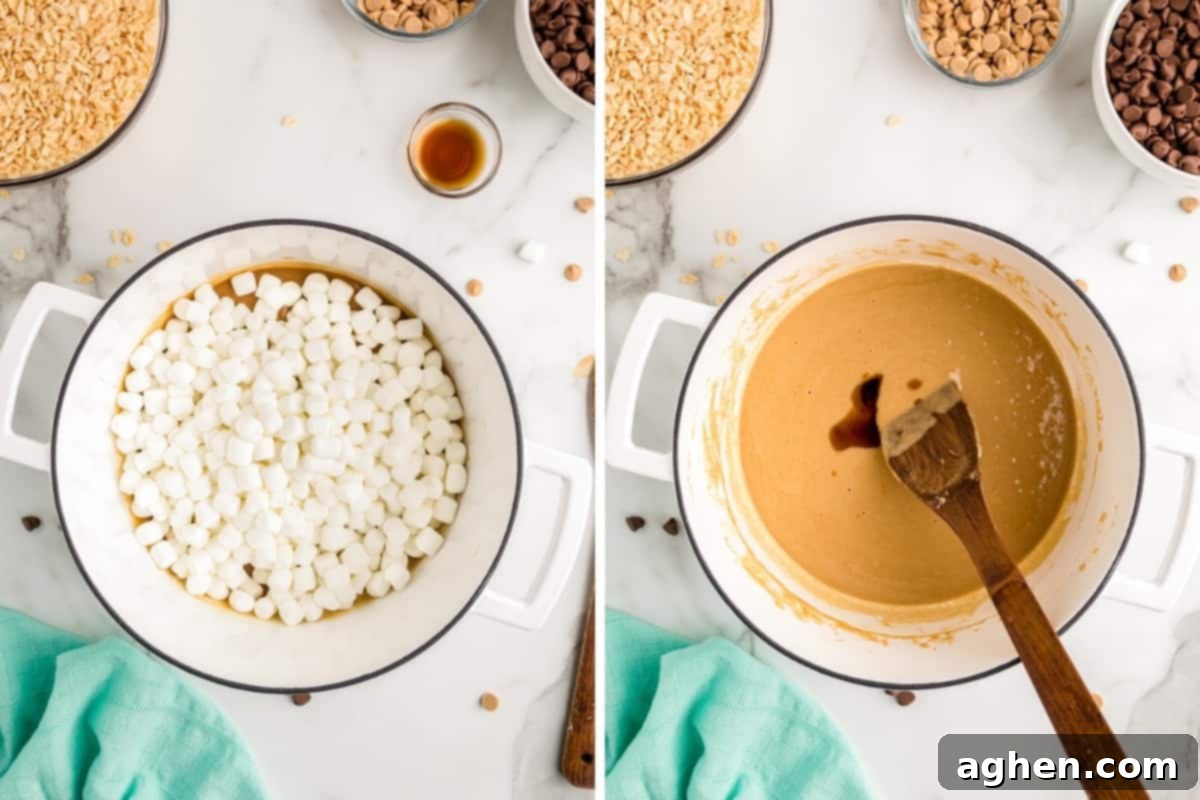
Step 2: Melt the Marshmallows. Once the butter and peanut butter mixture is silky smooth, add the miniature marshmallows to the pot. Continue to stir constantly over medium-low heat until the marshmallows are entirely melted and create a smooth, gooey liquid. It’s crucial not to overcook the marshmallows here, as they can become tough and hard once cooled. As soon as they are fully melted and integrated, forming a thick, uniform sauce, immediately remove the pot from the heat. Stir in the vanilla extract, ensuring it’s well combined; this will lend a wonderful aroma and enhance the overall flavor profile of your peanut butter Rice Krispie treats, balancing the sweetness.
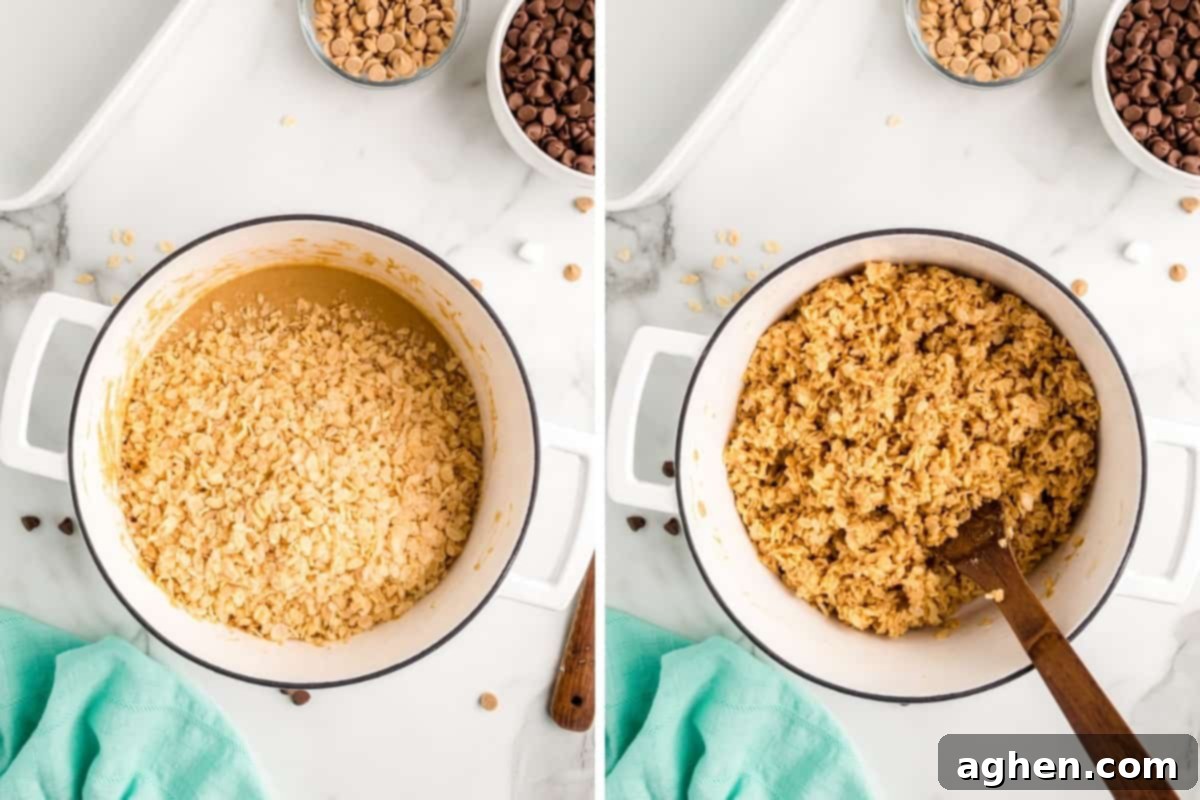
Step 3: Combine with Rice Cereal. Now for the crispy part! Pour the measured Rice Krispies cereal into the warm marshmallow and peanut butter mixture in the pot. Using a sturdy spatula or large wooden spoon, fold the cereal into the gooey mixture until every single piece is thoroughly coated. Work relatively quickly but gently to ensure even distribution without crushing the cereal. This step is key to achieving that perfect chewy-crispy texture in your finished peanut butter Rice Krispie treats, so make sure all cereal pieces are coated.
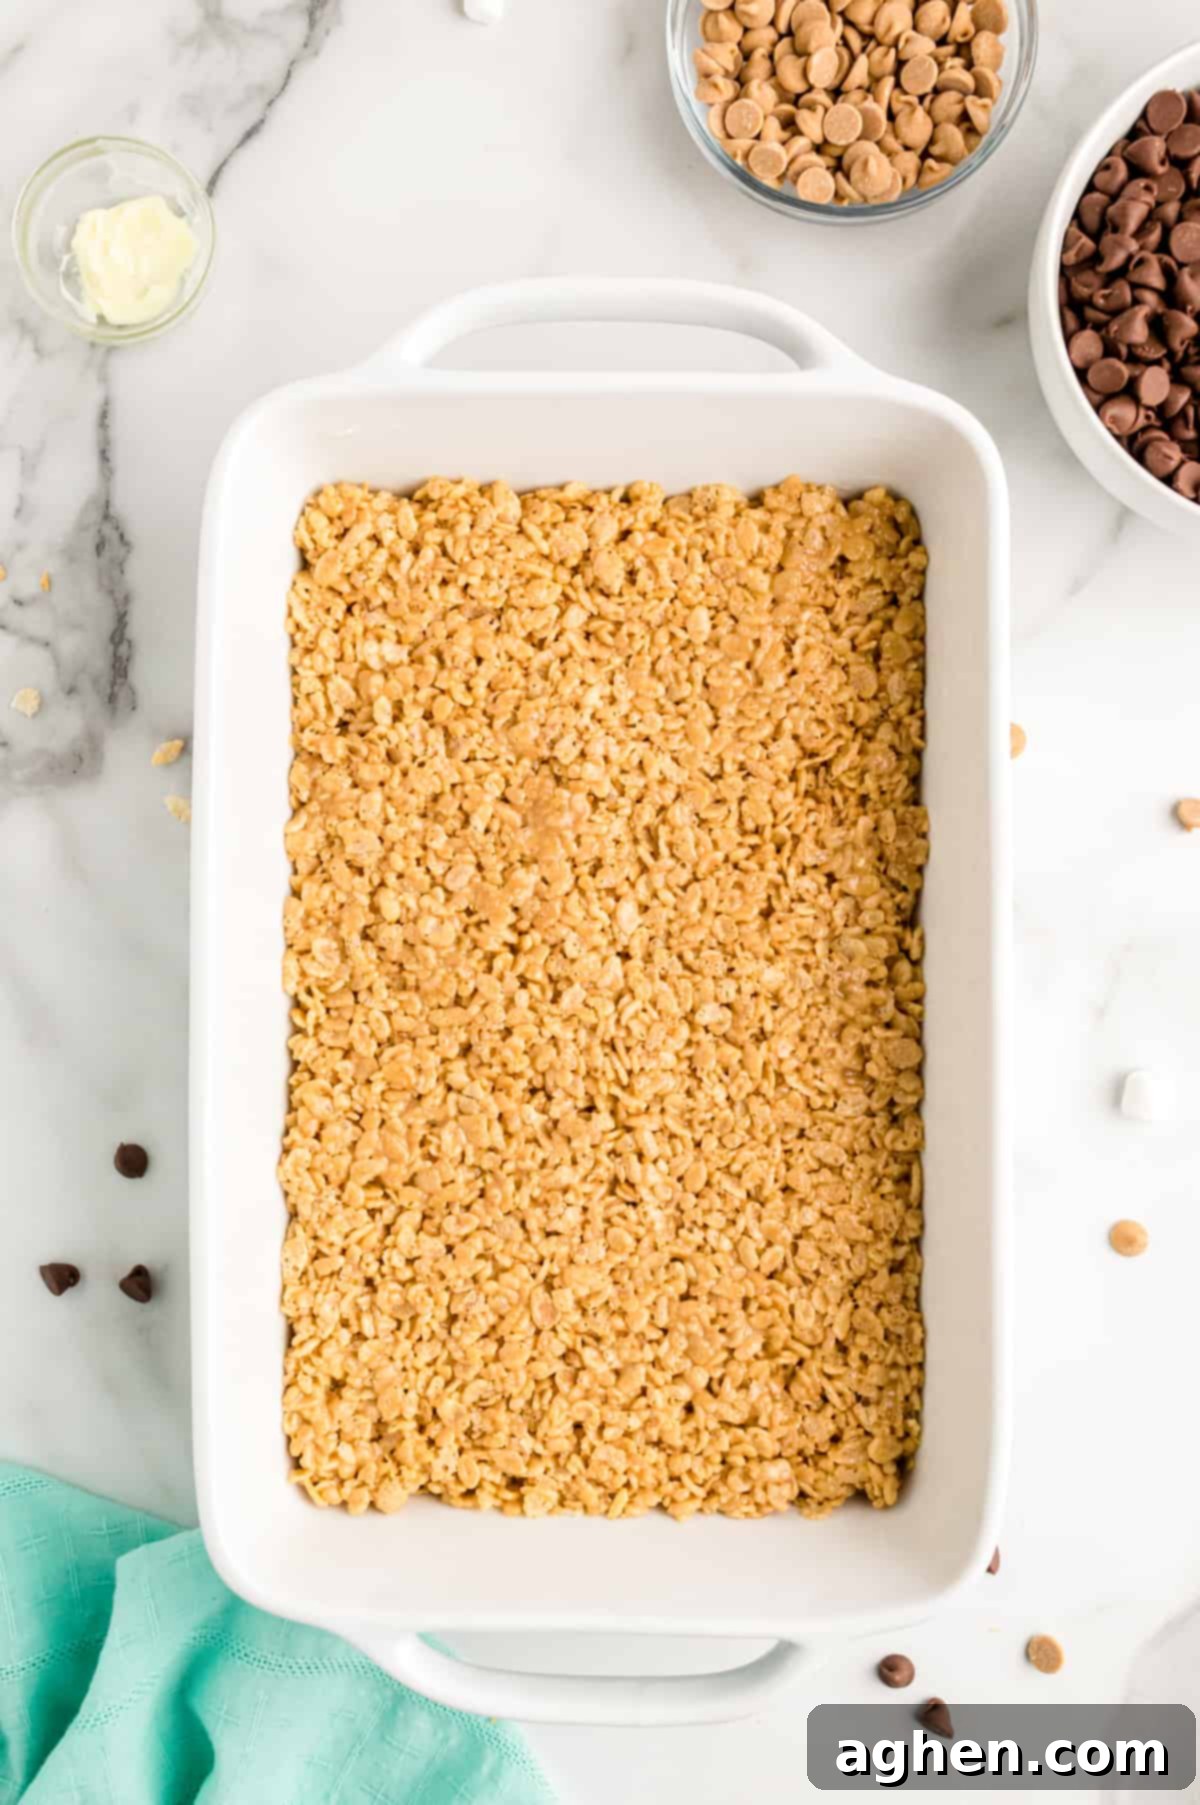
Step 4: Press into Baking Dish. Transfer the warm peanut butter rice cereal mixture into the prepared 9×13 inch baking dish. Using a buttered spatula, a piece of parchment paper, or even lightly buttered hands, gently press the mixture evenly into the pan. Remember, do not press too firmly, as this can lead to dense, hard treats instead of the desired light and chewy texture. The goal is an even, slightly compact layer that remains wonderfully chewy and not brick-like. Gentle pressure is key here.
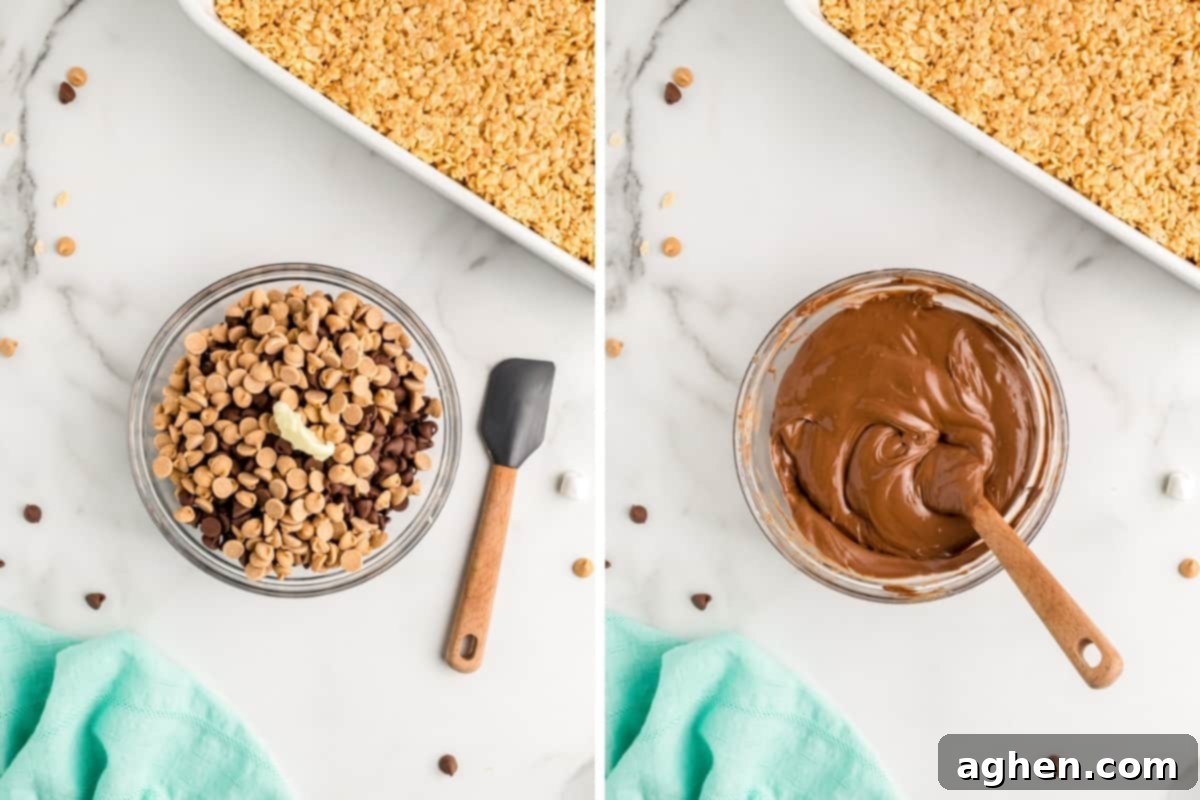
Step 5: Prepare the Chocolate Peanut Butter Topping. In a separate microwave-safe bowl, combine the semisweet chocolate chips, peanut butter baking chips, and your chosen fat (coconut oil or vegetable shortening). Heat this mixture in the microwave on 50% power, in 30-second intervals. After each interval, remove the bowl and stir thoroughly with a clean spoon or spatula. Continue this process until the chips are completely melted and the mixture is smooth and glossy, with no lumps remaining. The low power and frequent stirring prevent the chocolate from burning or seizing, ensuring a perfect, luxurious topping for your chocolate peanut butter Rice Krispie treats.
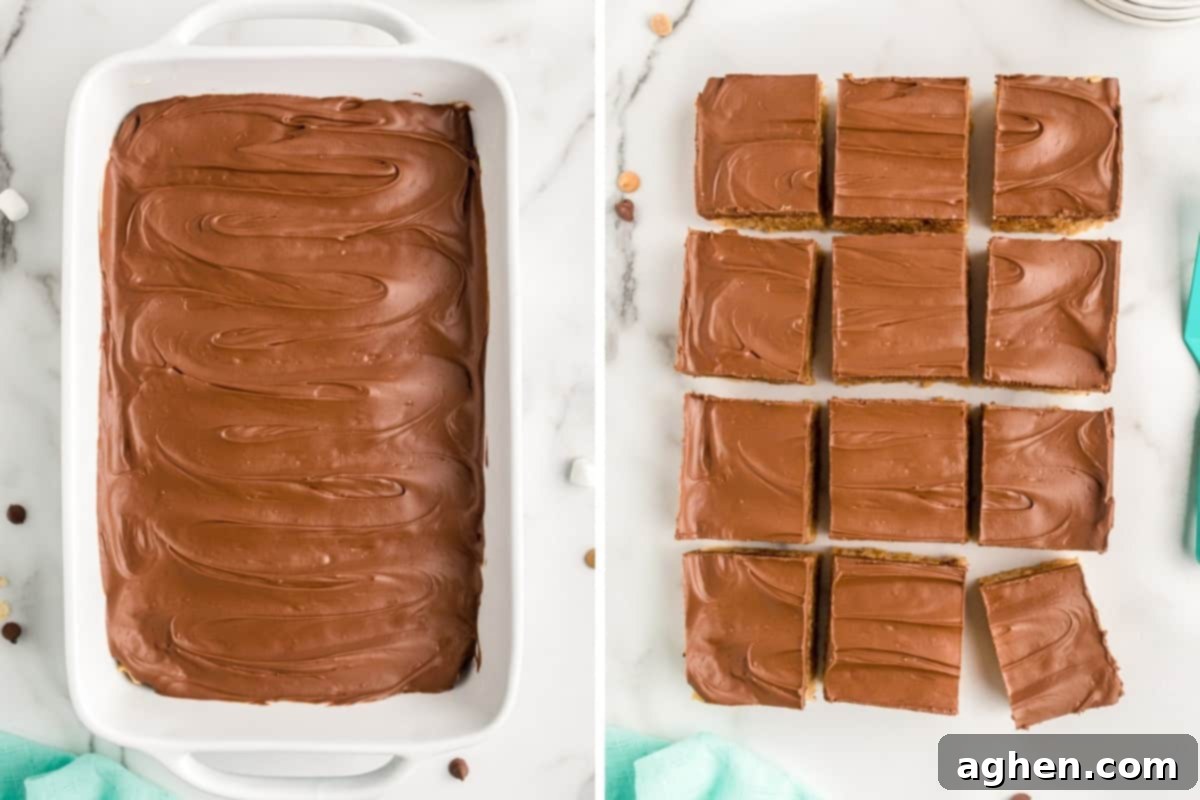
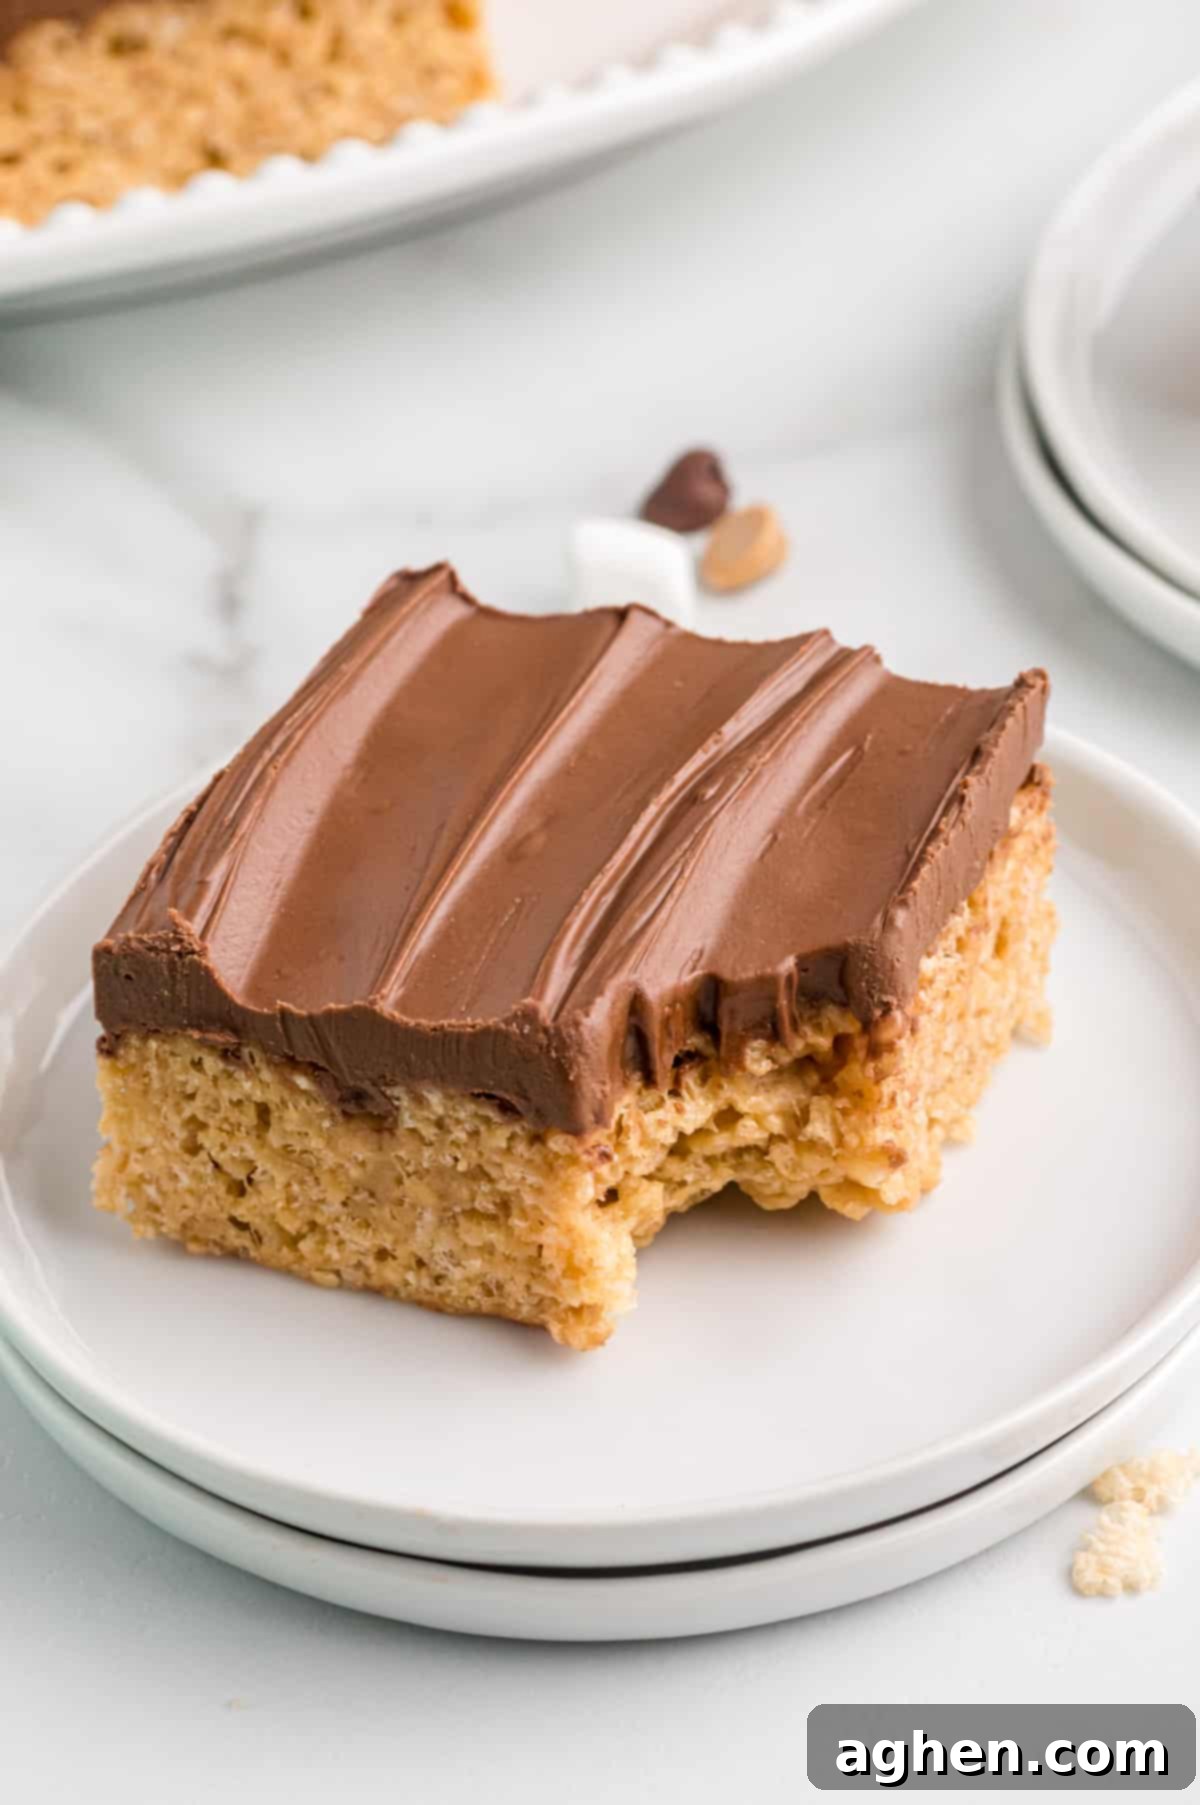
Step 6: Top and Set. Generously spread the freshly melted chocolate and peanut butter topping over the pressed Rice Krispie treat base in the baking dish. Use a spatula to create an even, smooth layer that covers the entire surface. Once the topping is applied, allow the entire pan to sit undisturbed at room temperature until the chocolate layer is completely set and firm. This may take an hour or two, depending on your room temperature and humidity. For a quicker set, you can carefully place the pan in the refrigerator for about 15-30 minutes, but avoid leaving it in too long, as this can make the base hard. Once set, use a sharp knife (lightly oiled if desired) to cut the treats into your desired bar sizes. Enjoy these incredible homemade chocolate peanut butter treats!
Storage Solutions for Your Peanut Butter Rice Krispie Treats
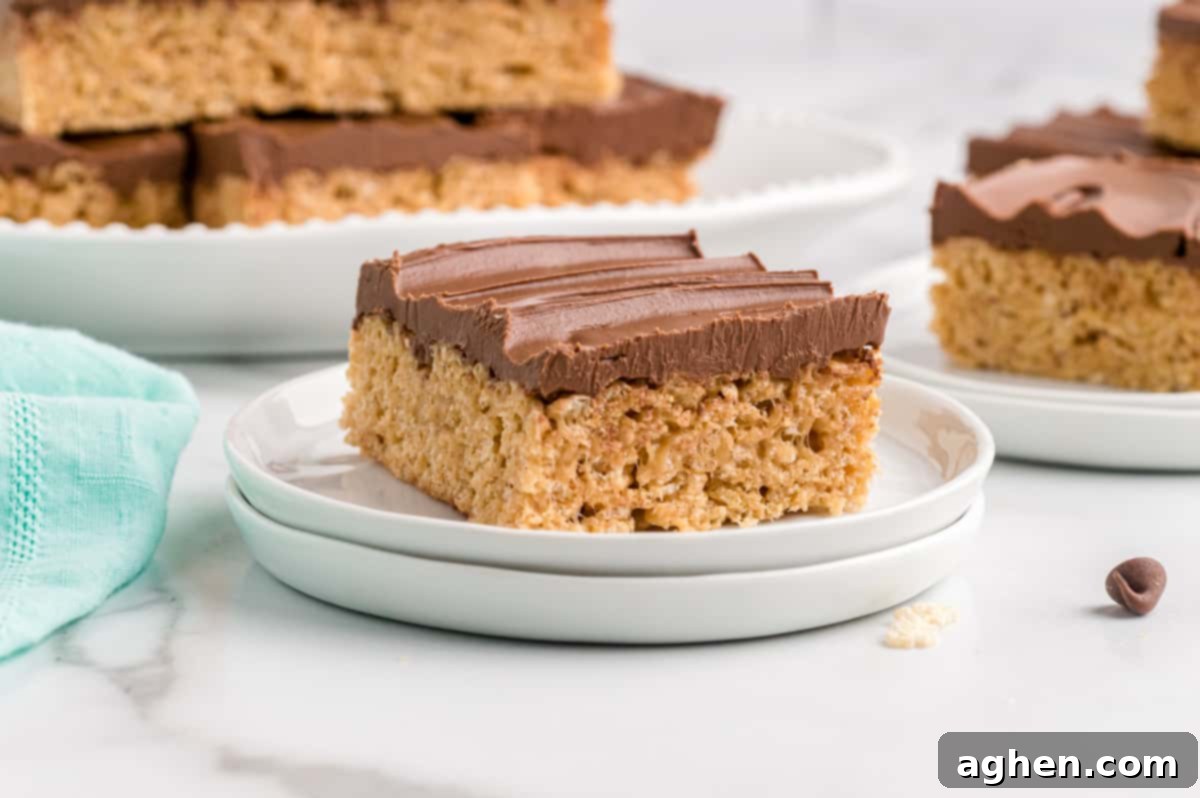
Proper storage is key to keeping your Peanut Butter Rice Krispy treats fresh, chewy, and delicious for as long as possible. To maintain their optimal texture and flavor, always store these delightful bars in an airtight container at room temperature. They will remain wonderfully fresh, soft, and satisfying for up to 3 days. It’s very important to avoid refrigerating them, as the cold can cause the treats to become stiff, dry, and lose their signature gooeyness, making them unpleasantly hard. If you need to stack the bars within the container, place a piece of parchment or wax paper between layers to prevent them from sticking together, ensuring each bar remains perfect.
Microwave Method: How to Make Peanut Butter Rice Krispie Treats Even Faster
No stovetop available? No problem! Or perhaps you’re simply looking for an even quicker and more convenient way to whip up these incredible bars. You’ll be pleased to know that you can make the base for these peanut butter Rice Krispie treats using only your microwave. This method is fantastic for busy days, small kitchens, or when you want to minimize cleanup, proving that delicious no-bake desserts can be incredibly simple.
- Combine Butter and Marshmallows: In a large, microwave-safe bowl that can comfortably hold all your ingredients, add the unsalted butter (cut into smaller pieces for faster melting) and the miniature marshmallows.
- Microwave and Stir: Heat the mixture in the microwave on 50% power for 1-minute intervals. After each minute, remove the bowl and stir thoroughly with a spatula to encourage even melting. Continue this process (usually 2-3 minutes total) until the butter is fully melted and the marshmallows are completely smooth and combined with the butter, forming a thick, gooey syrup. This gentle heating prevents scorching and ensures a consistent mixture, just like on the stovetop.
- Add Flavor and Cereal: Once the marshmallow mixture is smooth and uniform, stir in the creamy peanut butter and vanilla extract until they are both well incorporated, adding depth of flavor. Then, quickly add the Rice Krispies cereal to the bowl and fold everything together with your spatula until every single piece of cereal is evenly coated in the sticky, flavorful goodness.
- Press and Top: Gently transfer and press the warm cereal mixture into your lightly buttered 9×13 inch pan, taking care not to compact it too much. Once the base is ready, proceed to follow the directions in the main recipe card (or refer to Step 5 and 6 above) to prepare and spread the delicious chocolate peanut butter topping. This microwave technique makes enjoying easy no-bake chocolate peanut butter treats an incredibly convenient and speedy process!
Tips for the Best Peanut Butter Rice Krispie Treats
Achieving perfectly chewy, crispy, and deliciously gooey Chocolate Peanut Butter Rice Krispie Treats is easy with a few simple tricks. Keep these tips in mind to elevate your dessert game and ensure every batch is a resounding success, earning you rave reviews from family and friends!
- For Extra Chocolatey Treats: If you’re a true chocolate lover and want to intensify the cocoa flavor, consider swapping out some or all of the regular Rice Krispies cereal for cocoa krispies cereal. This simple substitution will infuse your bars with an even deeper, richer chocolate flavor in the base, making them an irresistible indulgence for any chocoholic. It’s a fantastic way to customize your homemade Rice Krispie treats.
- Don’t Overcook the Marshmallows: This is perhaps the most crucial tip for ensuring soft, chewy treats. Remove the marshmallows from the heat (whether stovetop or microwave) as soon as they are completely melted and form a smooth, uniform mixture. If you continue to heat them for too long, they will begin to harden and crystallize, resulting in a tough and brittle treat base once cooled, instead of the desired gooey texture. Act quickly once they are melted!
- Grease Up Your Hands (or Tools): The marshmallow and cereal mixture can be incredibly sticky and challenging to handle. To make pressing it into the pan a breeze, lightly spray your hands with non-stick cooking spray, or dampen them with a little water. Alternatively, for a completely mess-free approach, you can place a sheet of parchment paper or wax paper directly over the mixture in the pan and press down with your hands or a flat bottomed glass, which completely separates your hands from the sticky mess. This prevents the mixture from clinging to your fingers, making the process much smoother and cleaner.
- Don’t Press Down Too Hard: It’s tempting to really pack the cereal mixture into the pan, thinking it will hold together better, but resist the urge! Applying too much pressure will compress the air out of the treats, causing them to become overly dense and hard. For that ideal chewy, slightly airy texture, press the mixture down gently and evenly. You want it to be spread out in a uniform layer, not a rock-solid slab. This subtle technique is vital for delicious peanut butter rice crispy treats.
- Slice Quicker with This Shortcut: If you’re eager to enjoy your bars sooner and can’t wait for the chocolate topping to set at room temperature, you can place the baking dish in the refrigerator for about 15-30 minutes. This will help the chocolate topping set up more quickly. However, be mindful not to leave them in for an extended period, as prolonged refrigeration can stiffen the marshmallow base, making the treats less chewy.
- Choose Your Size: These delightful peanut butter dessert bars are incredibly versatile and perfect for serving at parties, potlucks, or simply as a special treat at home. We typically slice them into 12 generous bars, which are substantial and satisfying. However, if you’re serving a larger crowd, or want smaller, bite-sized portions (perfect for kids or a dessert platter), you can easily cut them into 18 or even 24 smaller squares. This flexibility makes them ideal for any event.
- Add a Decorative Drizzle: For an extra touch of visual appeal and flavor, once the chocolate topping has almost set but is still slightly tacky, you can drizzle a small amount of melted peanut butter or white chocolate over the top in a zig-zag or swirl pattern. This not only looks professional and adds an artistic flair but also contributes another layer of deliciousness to your homemade chocolate peanut butter treats.
Frequently Asked Questions About Chocolate Peanut Butter Rice Krispie Treats
No, absolutely not! In fact, refrigerating these treats is generally not recommended as it will cause them to become dry, hard, and lose their signature chewy, gooey texture. The cold temperature makes the marshmallows stiff and less enjoyable. For the best taste and texture, always store your chocolate peanut butter Rice Krispie treats in an airtight container at room temperature. This helps maintain their soft, delicious consistency for several days, keeping them perfectly ready to eat whenever a craving strikes.
Keeping your Rice Krispie treats wonderfully soft and chewy is all about attention to technique and proper storage. Firstly, and most importantly, do not overcook your marshmallows. As soon as they are fully melted and smooth, remove them from the heat. Overheating marshmallows causes the sugar to crystallize, making them brittle once cooled. Secondly, when pressing the cereal mixture into the pan, avoid pressing down too hard. Gentle, even pressure is key; excessive force compresses the air out, creating dense, hard bars. Finally, as mentioned, store them at room temperature in an airtight container to protect them from air exposure, which can quickly dry them out and make them stale.
Yes, you absolutely can! While they undeniably taste best fresh, these tasty chocolate peanut butter Rice Krispies treats can be frozen if you have leftovers or want to prepare them well in advance. To freeze them, first ensure they are fully set, then cut them into individual bars. Place a piece of parchment or wax paper between layers to prevent them from sticking together. Then, store them in an airtight freezer-safe container or a heavy-duty freezer bag for up to 2 months. When you’re ready to enjoy them, simply thaw them at room temperature for an hour or two until soft again. Freezing is a great way to extend their shelf life without significant loss of quality.
This is an important question for those with dietary restrictions or Celiac disease. Standard Kellogg’s Rice Krispies cereal, when purchased in the United States, is not considered gluten-free because it contains malt flavoring derived from barley, which is a gluten-containing grain. If you need to make these treats gluten-free, you must use a brand of crispy rice cereal that is specifically certified as gluten-free. Excellent gluten-free options include brands like Malt-o-Meal, One Degree Organic Foods, or Nature’s Path Crispy Rice Cereal. Additionally, always double-check all other ingredients (like marshmallows, peanut butter, and chocolate chips) to ensure they are also certified gluten-free to make truly safe gluten-free peanut butter Rice Krispie treats for everyone to enjoy.
While the recipe specifically calls for creamy peanut butter for a smooth and consistent base texture, you absolutely can use crunchy peanut butter if you prefer an added textural element. The little bits of peanuts in crunchy peanut butter will add a satisfying crunch and a more intense roasted peanut flavor to your peanut butter Rice Krispie treats. Just be aware that the overall texture of the base will be slightly less smooth, but equally delicious and enjoyable for those who love extra texture in their treats!
To achieve a beautiful and artistic swirl effect with your chocolate topping, after spreading the melted chocolate and peanut butter mixture evenly over the treats, immediately take a skewer, a toothpick, or the tip of a knife and gently drag it through the still-soft topping in a zig-zag, circular, or marble pattern. This will create elegant and visually appealing swirls of chocolate and peanut butter, adding an extra artistic touch to your chocolate peanut butter Rice Krispie bars. Remember to work quickly before the chocolate has a chance to set, for the best results!
Discover More Easy No-Bake Desserts
If you’ve fallen in love with the simplicity and deliciousness of these Chocolate Peanut Butter Rice Krispie Treats, you’re in for a treat! There’s a whole world of easy, no-bake desserts waiting to be explored. These recipes are perfect for satisfying your sweet cravings without ever turning on the oven, making them ideal for any time of year, especially warm weather or when you just want a quick project. Expand your no-bake repertoire with these fantastic options, all designed for maximum flavor with minimal effort:
- Strawberry Jello Pie: A light, fruity, and refreshing pie that’s perfect for summer picnics and potlucks, bursting with fresh strawberry flavor.
- Blueberry Delight: Layers of creamy goodness, fresh blueberries, and a crunchy crust create a heavenly, easy-to-make dessert that’s both elegant and delicious.
- No-Bake Eclair Cake: Indulge in the rich, custardy flavors of a classic eclair in an incredibly easy, layered cake form – no complicated pastry required!
- Easy No Bake Peanut Butter Bars: Another fantastic chocolate and peanut butter combination, but in a dense, fudgy bar format that’s intensely satisfying and quick to assemble.
- Reese’s Peanut Butter Dip: A creamy, dippable dessert packed with the iconic flavors of Reese’s Peanut Butter Cups, perfect for parties and serving with fruit or cookies.
- No-Bake Peanut Butter Pie: A rich and creamy peanut butter pie with a delicious cookie crust, requiring zero oven time for a decadent treat.
- Best Ever Banana Pudding Pie: A Southern classic transformed into a simple, incredibly satisfying pie with layers of vanilla wafers, fresh bananas, and creamy pudding.
Peanut Butter Rice Krispies Treats
Author: Jaclyn
Ingredients
- 4 Tablespoon unsalted butter
- ½ cup creamy peanut butter
- 1 10 ounce bag miniature marshmallows
- 1 teaspoon vanilla extract
- 6 cups Rice Krispies cereal
- 2 ½ cups semi-sweet chocolate chips
- ½ cup peanut butter baking chips
- 1 teaspoon coconut oil or vegetable shortening
Instructions
-
Lightly butter a 9×13 inch baking dish and set aside.
-
In a large pot or dutch oven, melt the butter and peanut butter over medium-low heat, stirring often.
-
When the butter and peanut butter are melted and smooth, add in the miniature marshmallows. Stir often and heat until the marshmallows are completely melted and smooth. Turn off the heat and stir in the vanilla extract.
-
Stir the rice cereal into the marshmallow mixture until well-combined.
-
Gently press the cereal mixture into the prepared pan.
-
Add the chocolate chips, peanut butter chips, and coconut oil or shortening to a microwave-safe bowl. Heat on 50% power, 30 seconds at a time, until melted and smooth. Stir well after each increment.
-
Spread the melted chocolate over the rice krispies treats and allow to sit at room temperature until set before cutting into bars.
Notes
Nutrition

Did You Make This Recipe?
Share it with me on Instagram @crayonsandcravings and follow on Pinterest @crayonsandcravings for even more!
Pin Recipe
Leave A Review
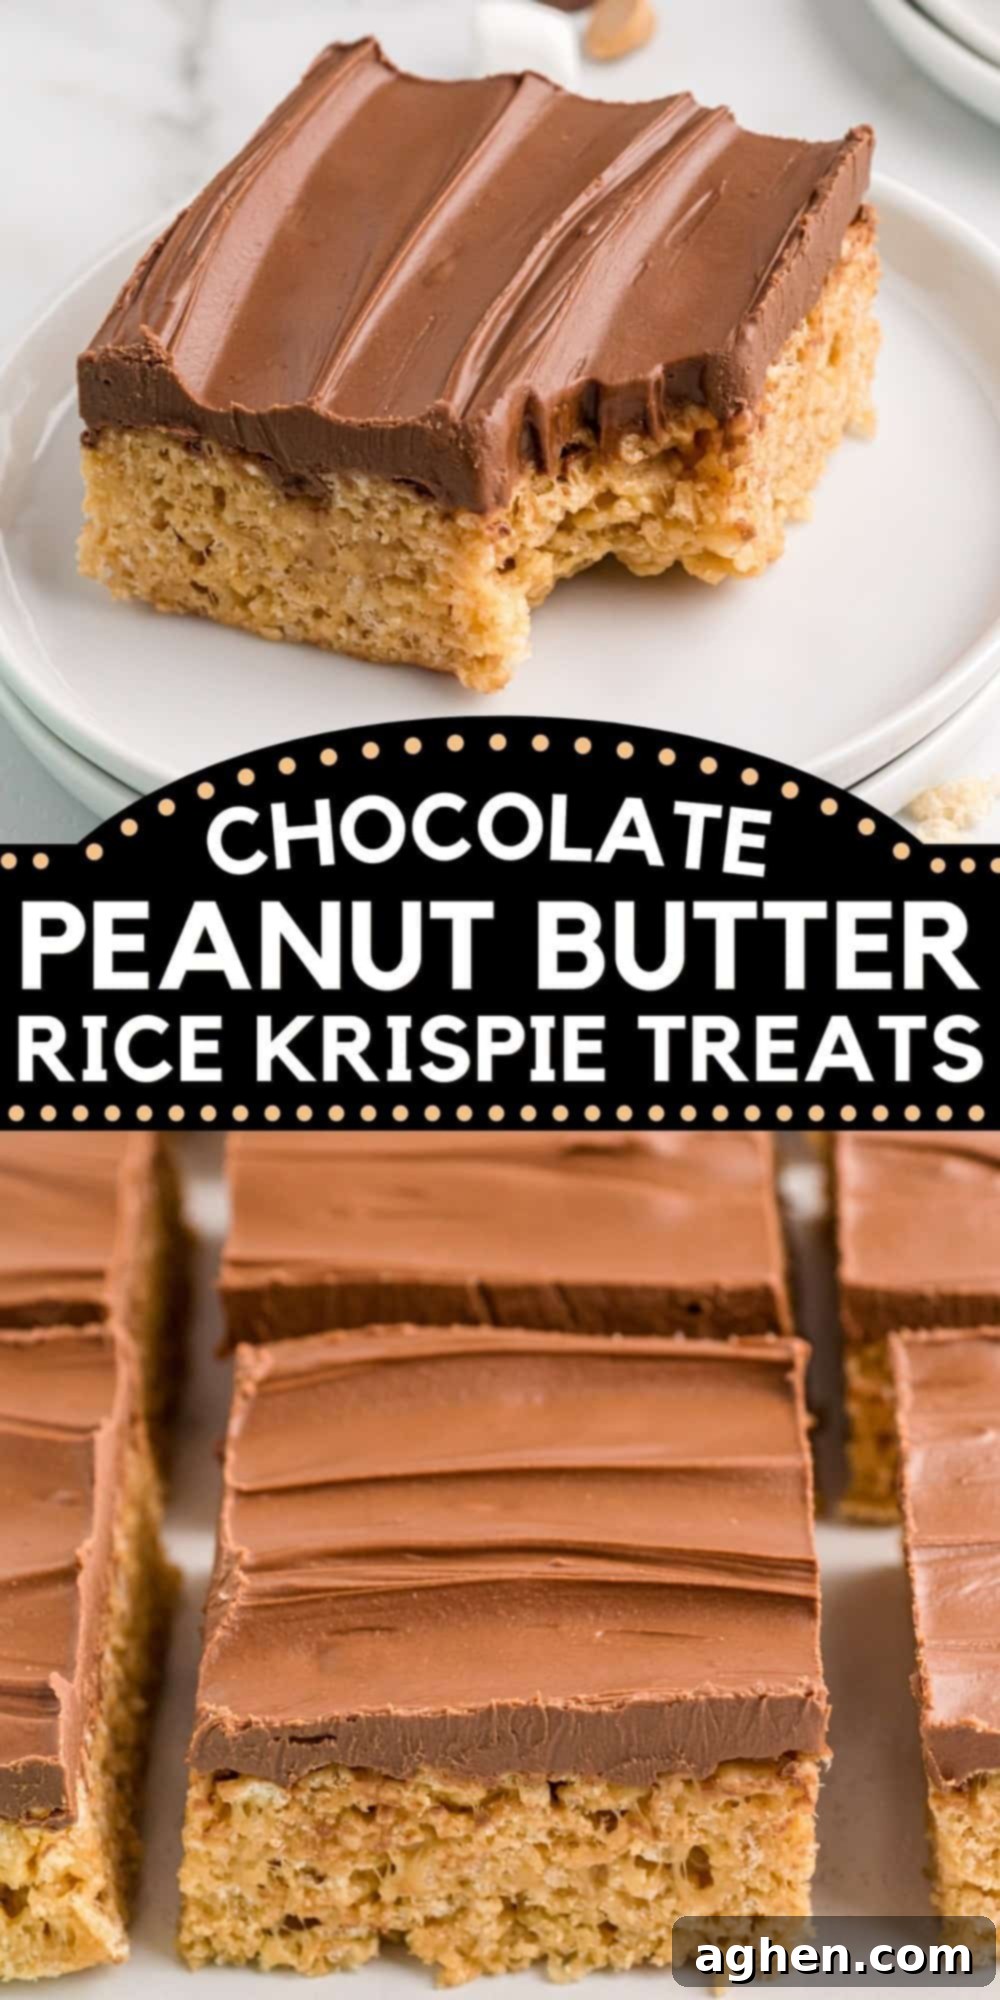
These Chocolate Peanut Butter Rice Krispie Treats truly are a game-changer for anyone who loves easy, no-bake desserts. With their perfect balance of chewy, crispy, and gooey textures, and the unbeatable flavor combination of chocolate and peanut butter, they’re guaranteed to be a hit with both kids and adults. Whether you’re making them for a special occasion, a quick weeknight treat, or just because you’re craving something sweet, this recipe proves that delicious, homemade desserts don’t have to be complicated. So go ahead, whip up a batch, and experience the pure joy of these irresistible homemade bars!
Don’t forget to share your delicious creations with us and tag us on social media! We absolutely love seeing your culinary results and hearing how much you enjoyed this recipe. Happy no-baking, and may your kitchen always be filled with sweet aromas!
