DIY Crunchy Glow in the Dark Slime: The Ultimate Easy Recipe for Kids’ Sensory Fun!
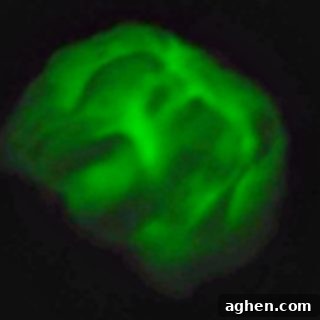
Are your children always on the lookout for exciting new activities? If your little ones are obsessed with making and playing with slime, then prepare for an adventure that will light up their world! This guide will show you how to create an incredible DIY crunchy glow in the dark slime that’s not only simple to make but also offers a fantastic sensory experience. Forget ordinary slime; this unique recipe combines mesmerizing luminescence with a satisfying crunch, making it an instant favorite for playdates, rainy days, or just a magical evening activity.
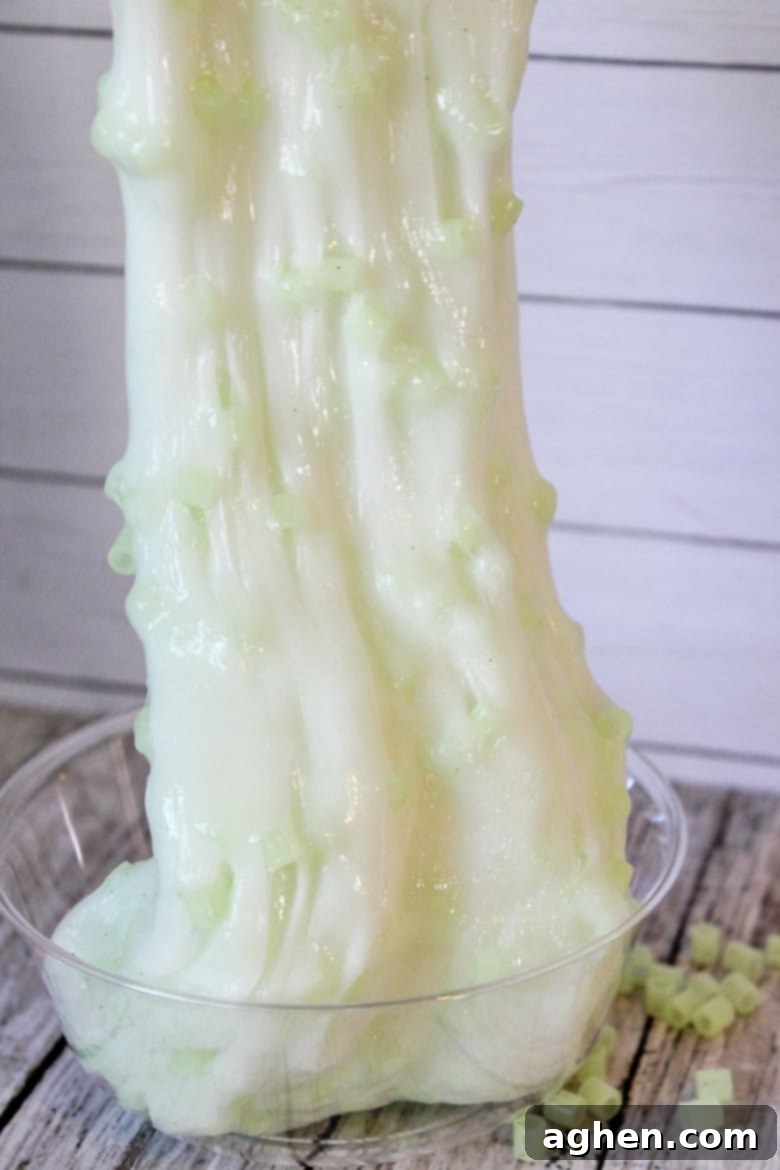
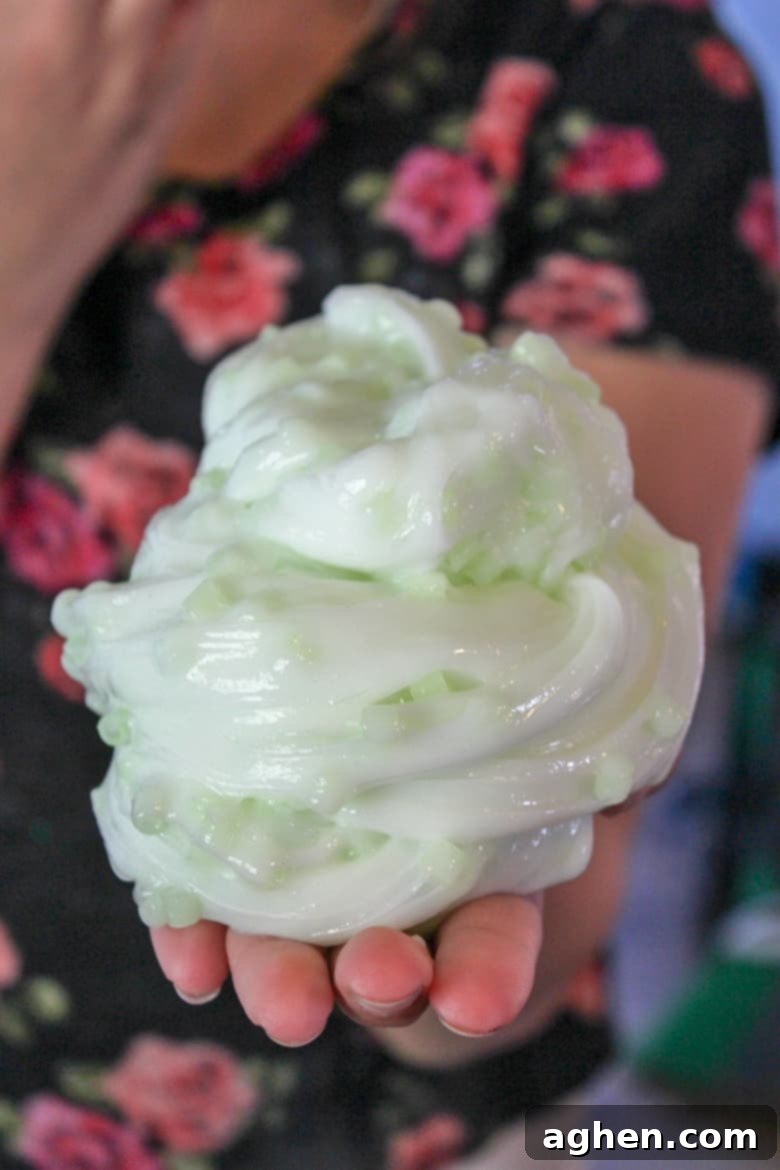
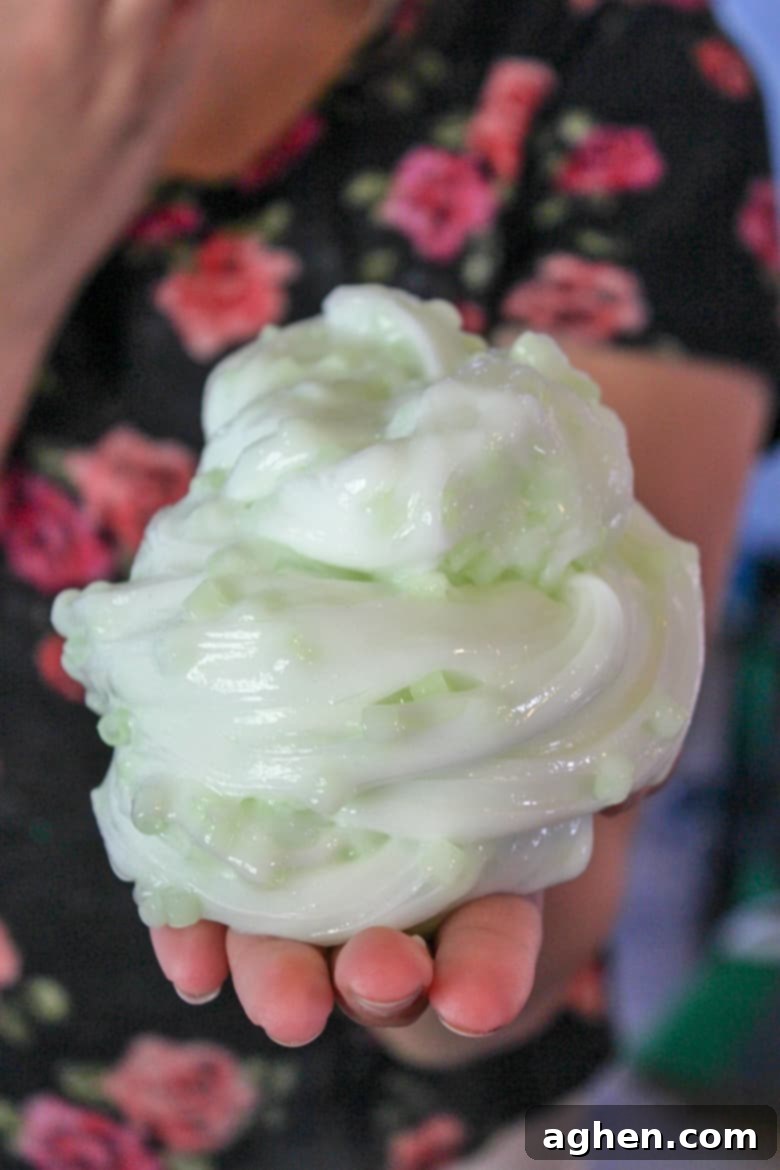
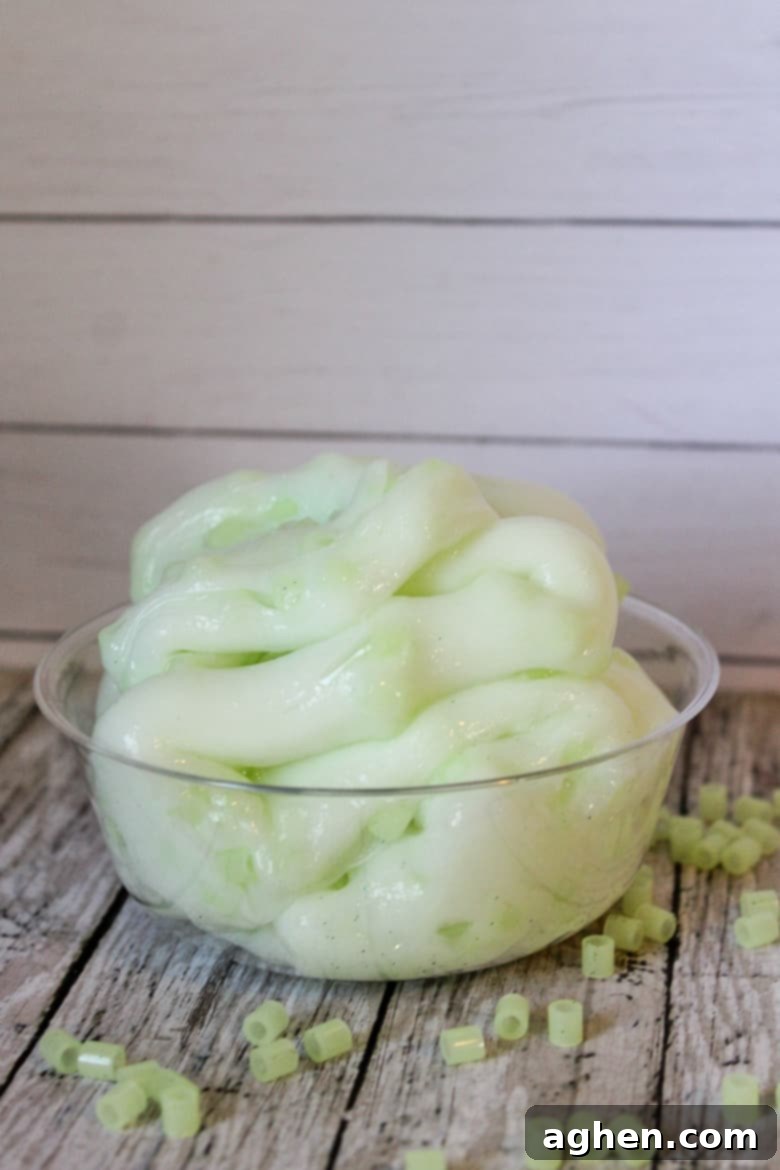
We know kids adore experimenting with different slime textures and effects. That’s why we’ve elevated the classic glow-in-the-dark slime by adding glow-in-the-dark Perler beads. These tiny beads create an irresistible crunchy texture that adds another layer of engagement to the play. The combination of the visual glow and the tactile crunch makes this slime a truly engaging and memorable activity for children of all ages.
Why This Slime Will Be Your Kids’ New Favorite
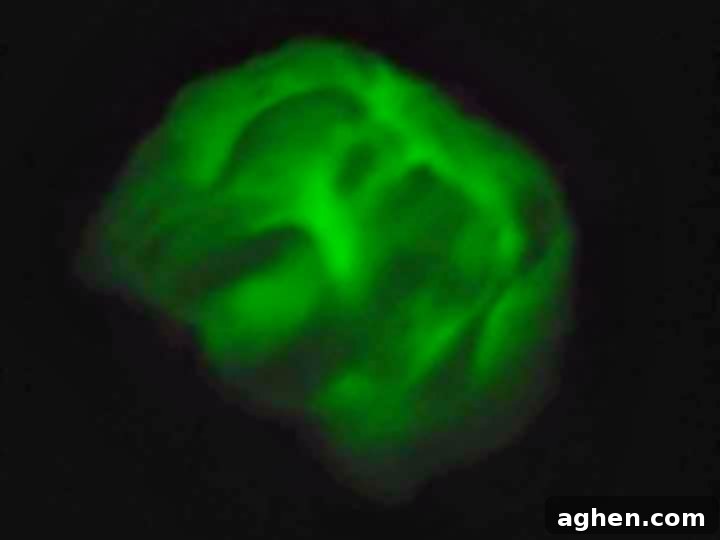
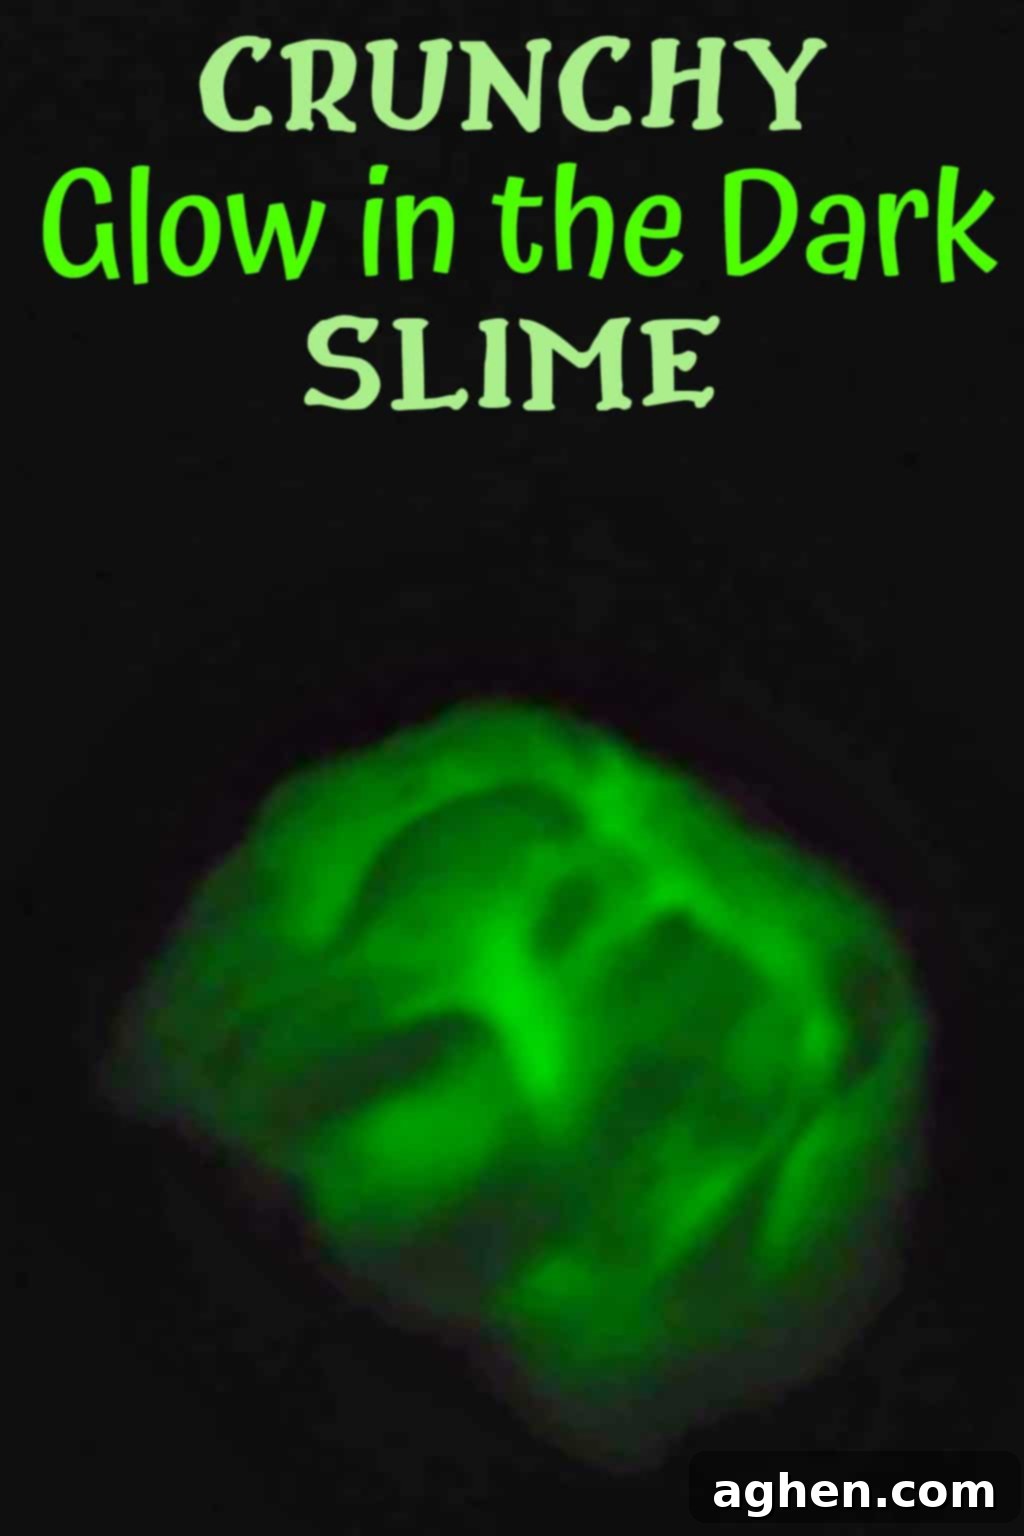
What makes this particular slime recipe stand out? It’s the perfect blend of two incredibly exciting features: the awe-inspiring glow and the satisfying crunch. Imagine the pure delight on your child’s face as they dim the lights and watch their homemade creation come to life with an otherworldly glow! Then, as they stretch, poke, and squish the slime, they’ll discover the unique popping and crunching sounds and sensations provided by the Perler beads. This dual sensory input makes for an incredibly rich and stimulating play experience.
Beyond Fun: The Educational Benefits of Slime Making
Crafting slime isn’t just about fun; it’s a fantastic hands-on activity that offers numerous developmental benefits for children:
- Sensory Exploration: The diverse textures (sticky, stretchy, crunchy) and visual effects (glowing) engage multiple senses, aiding in sensory development.
- Fine Motor Skills: Mixing, kneading, and manipulating slime helps strengthen hand muscles and improve dexterity.
- Following Instructions: Measuring ingredients and following steps teaches children to pay attention and complete tasks in sequence.
- Creativity & Imagination: Slime provides an open-ended medium for imaginative play, encouraging kids to invent stories and scenarios.
- Basic Science Concepts: It’s a fun introduction to chemistry, demonstrating simple chemical reactions as ingredients combine to form a new substance.
- Problem-Solving: If the slime is too sticky or too stiff, kids can learn to adjust ingredients (with guidance) to achieve the desired consistency.
Simple Ingredients for Magical Slime
You’ll be surprised how easy it is to whip up this glowing, crunchy masterpiece with just a few common supplies. Most of these can be found at your local craft store or even in your pantry. Here’s what you’ll need:
- Glow in the dark craft paint: This is what gives your slime its magical luminescence. Choose a non-toxic variety for safe play.
- Saline solution: A key activator that works with baking soda to create the slime’s consistency. Make sure it contains sodium borate and boric acid.
- Baking soda: Another essential activator that helps bind the ingredients and forms the slime.
- Clear glue: We recommend clear glue to ensure the glow-in-the-dark effect is as vibrant as possible.
- Water: Helps dilute the glue and achieve the right texture.
- Glow in the dark Perler beads: These are optional, but highly recommended if you want that satisfying crunchy effect. They also add extra glow!
Of course, if you prefer a smooth, classic glow-in-the-dark slime without the crunch, you can simply omit the Perler beads. The slime will still offer plenty of glowing fun, just with a different tactile sensation!
Safety First When Making Slime
While slime making is a wonderfully fun and educational activity, it’s crucial to prioritize safety, especially with young children. Always ensure adult supervision throughout the entire process. Remind children that slime is a craft material and not to be ingested. After playing, encourage thorough handwashing to remove any residue. Proper storage in an airtight container will also help your slime last longer and stay clean for future play sessions.
Ready to Make Your Glowing Creation?
Follow our simple, step-by-step instructions below to create your very own batch of crunchy glow-in-the-dark slime. This recipe is designed to be straightforward, ensuring a successful and enjoyable crafting experience for both kids and adults.
Crunchy Glow in the Dark Slime
Author: Jaclyn
Equipment
-
Spoon
-
Medium-sized bowl or container
Supplies
- 1 5 oz bottle of clear glue
- ½ cup water
- ½ tsp baking soda
- 1 Tablespoon saline solution
- 1 Tablespoon glow in the dark paint
- Glow in the dark Perler beads
Instructions
-
Step 1: Combine Base Ingredients. In your medium-sized container, pour in the entire bottle of clear glue. Add the specified amount of water, baking soda, and the glow-in-the-dark paint. Use your spoon to stir these ingredients together thoroughly until they are well combined and the paint is evenly distributed.
-
Step 2: Add Initial Perler Beads. Now, it’s time to introduce the “crunch”! Sprinkle in a handful of glow-in-the-dark Perler beads. You don’t need to add all of them yet; you can always add more later to adjust the crunchiness to your preference. Give it a gentle stir to mix them in.
-
Step 3: Activate the Slime. Add the saline solution to your mixture. This is the magic ingredient that will transform your liquid mixture into proper slime. Stir vigorously. You’ll notice the mixture immediately start to thicken and pull away from the sides of the container. Keep stirring until it forms a cohesive blob.
-
Step 4: Knead for Perfect Consistency. Once the slime has formed, remove it from the bowl and begin to knead it with your hands. It will be quite sticky at first – this is normal! Continue to knead for several minutes. The more you work the slime, the less sticky it will become, developing that classic stretchy, pliable texture.
-
Step 5: Customize Your Crunch. At this point, you can add any additional Perler beads you desire. If you want more crunch, sprinkle them in and continue kneading until they are fully incorporated and the slime feels just right. Now your crunchy glow-in-the-dark slime is ready for hours of fun!
Notes

Did You Make This Craft?
We’d love to see your amazing crunchy glow-in-the-dark slime creations! Share a photo or video of your craft with us on Instagram @crayonsandcravings and make sure to follow us on Pinterest @crayonsandcravings for even more exciting DIY ideas and craft tutorials!
Pin Craft
Leave A Review
Tips for the Perfect Slime
Achieving the perfect slime consistency can sometimes feel like a delicate art. Here are a few tips to help you along the way:
- Start with Less Activator: It’s easier to add more saline solution than to fix over-activated slime. Add it gradually until you reach your desired stretchiness.
- Kneading is Key: Don’t skip the kneading step! It’s crucial for developing the slime’s elasticity and reducing stickiness. Think of it like dough – it needs to be worked.
- Adjusting Consistency: If your slime is too sticky, add a tiny bit more saline solution and knead again. If it’s too stiff or breaks easily, add a few drops of warm water (or a bit more clear glue) and knead to soften it.
- Charging the Glow: For the best glow effect, expose your finished slime to bright light (natural sunlight or a lamp) for a few minutes before taking it into a dark room. The longer it “charges,” the brighter and longer it will glow!
- Experiment with Perler Beads: The amount of Perler beads is totally up to you! Add more for a super crunchy, almost solid feel, or fewer for a subtle crackle.
Variations for Endless Slime Fun
Once you’ve mastered this crunchy glow-in-the-dark slime, you might want to try some fun variations:
- Colorful Glow: While green is classic, glow-in-the-dark paint comes in other colors too! Experiment with different hues for a multi-colored glowing effect.
- Other Crunchy Additions: Don’t limit yourself to Perler beads! Small foam beads, fine glitter, tiny plastic confetti, or even sugar sprinkles (though not for eating!) can add different crunchy or textural elements.
- Scented Slime: Add a few drops of essential oil (like lavender or peppermint) or a few drops of kid-safe scented oils for a fragrant sensory experience.
- Sparkly Glow Slime: For an extra dose of magic, add fine glitter along with your glow paint. The glitter will shimmer in the light, and the slime will glow in the dark.
I hope you and the little ones have an absolute blast creating and playing with this fun and unique crunchy glow-in-the-dark slime! It’s an activity that truly combines creativity, sensory play, and a touch of magic.
More Great Slime Ideas to Explore:
If your kids can’t get enough of slime, be sure to check out these other exciting recipes:
- Green Monster Slime – A creepy, crawly green slime complete with spooky eyeballs for a ghoulish good time.
- Frozen Elsa Slime – Shimmery and beautiful, almost as enchanting as Elsa herself, perfect for fans of ice princesses.
- Unicorn Slime – Dive into a world of magic with vibrant colors and sparkly additions fit for a unicorn.
- Colorful Crayon Slime – Repurpose old crayons into a wonderfully vibrant and unique slime creation.
- Sparkly Mermaid Slime – Filled with iridescent glitter and ocean-inspired colors, it’s perfect for little mermaid lovers and deep-sea adventures.
Pin for Later:
Don’t want to forget this awesome DIY project? Pin this recipe to your favorite craft board on Pinterest so you can easily find it next time you’re looking for a fun activity!
