Effortless & Delicious: Your Go-To 8-Point Weight Watchers Chicken Pot Pie Recipe
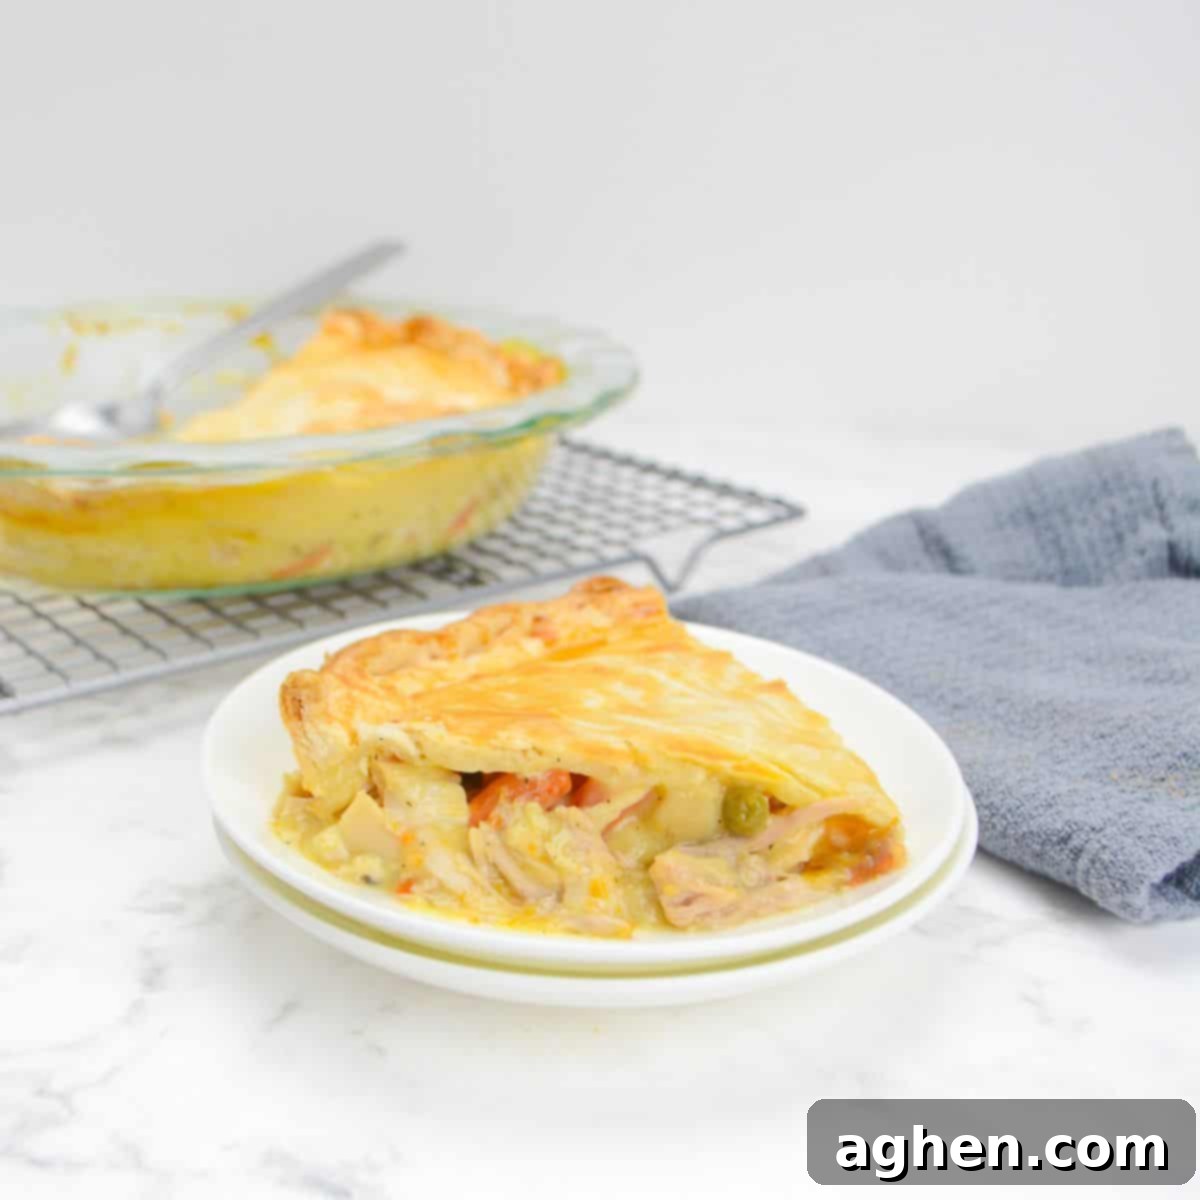
Indulge in the heartwarming embrace of classic comfort food without derailing your health goals with this incredible Weight Watchers Chicken Pot Pie recipe. Boasting a mere 8 points per serving, this dish is not only lightened up but also incredibly easy to prepare, making it a perfect candidate for a stress-free weeknight dinner. Traditional chicken pot pie, while undeniably delicious, can often be a labor-intensive affair packed with calories and high point values. Our streamlined version transforms this beloved comfort classic into a quick, wholesome, and guilt-free meal that the entire family will eagerly anticipate.
The true beauty of this recipe lies in its sheer simplicity and convenience. We leverage smart shortcuts like pre-cooked rotisserie chicken and readily available canned mixed vegetables to form the rich, savory filling. Paired with a single, store-bought pie crust, this entire dish comes together with less than 10 minutes of active prep time – no extensive chopping or complex steps required! Every bite offers a harmonious blend of tender chicken, soft vegetables, a creamy, herb-infused sauce, and a delightfully flaky crust, promising a satisfying culinary experience that tastes far more indulgent than it is. Prepare to fall in love with a dish that brings comfort and convenience to your table.
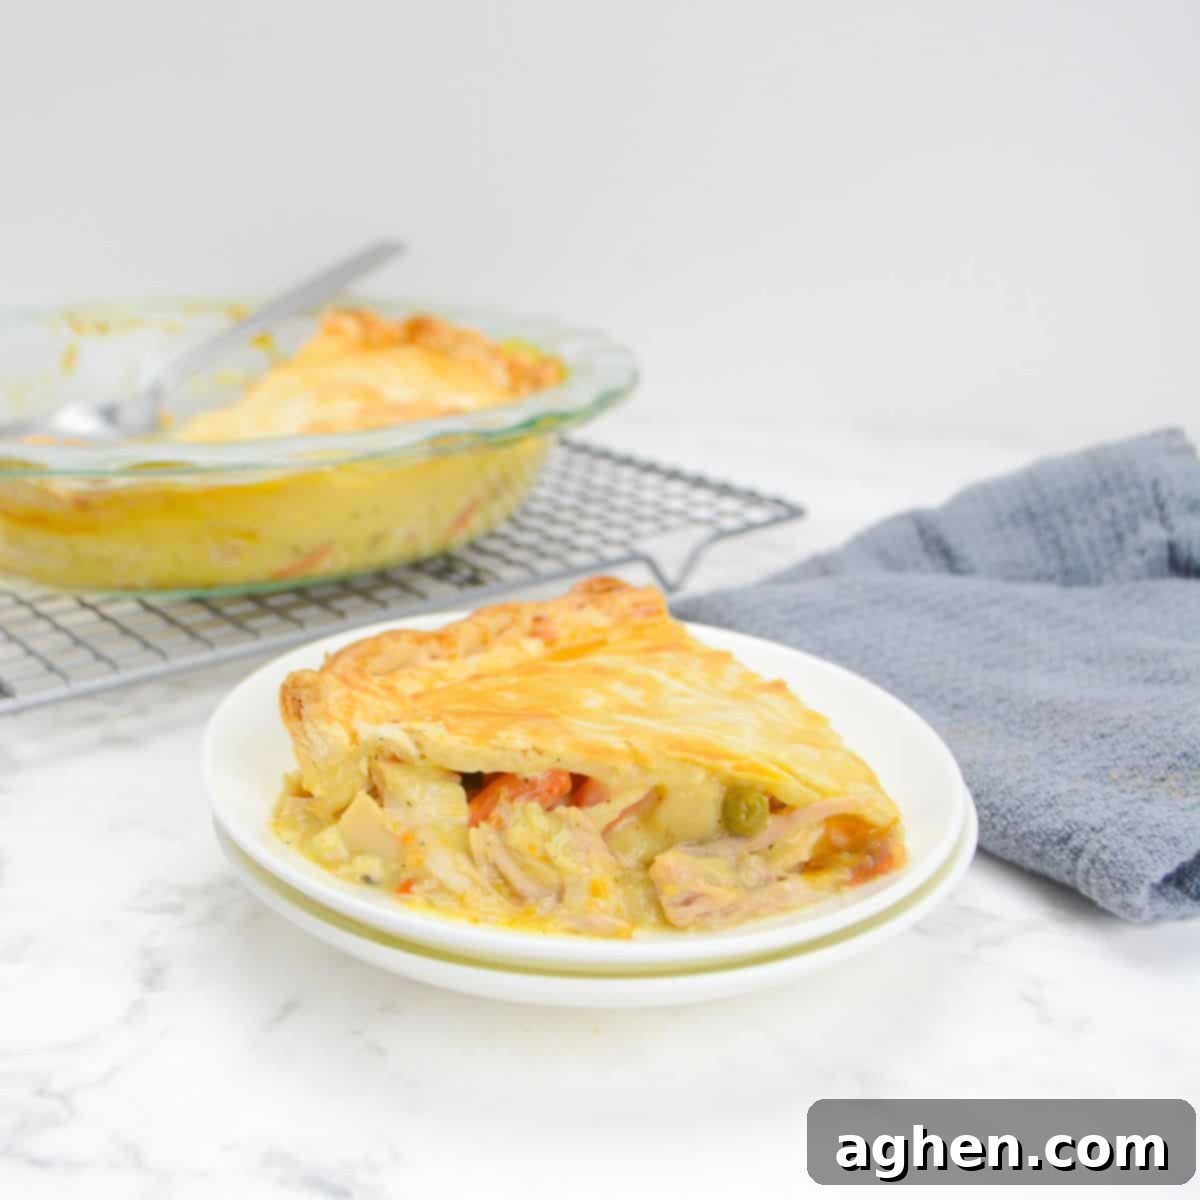
Why This Weight Watchers Chicken Pot Pie Will Become Your New Favorite
- Classic Comfort Food, Reimagined: There are few dishes as universally comforting as a warm, savory chicken pot pie. When you’re seeking a meal that feels like a hug from the inside out, whether on a chilly evening or simply when you need a pick-me-up, this Weight Watchers-friendly version delivers. It captures all the beloved elements of the traditional dish: a perfectly flaky crust, succulent roasted chicken, a medley of soft, wholesome vegetables, and a rich, creamy sauce that ties it all together. The best part? You achieve this ultimate comfort with minimal effort. With easy-to-find ingredients and a quick preparation time, you can have a piping hot, delicious dinner on the table in under 45 minutes, making it a truly unbeatable weeknight solution.
- Excellent for Meal Prep & Freezing: This recipe is a fantastic choice for those who love to plan ahead and minimize cooking on busy days. This chicken pot pie transforms beautifully into a convenient and wholesome freezer meal, offering you incredible flexibility. You have two excellent options for freezing:
- Freeze the entire pie before baking: Assemble the pot pie as directed, but instead of baking, cover it tightly with plastic wrap and then foil. Freeze for up to 3 months. When you’re ready to bake, simply transfer it to the refrigerator to thaw overnight. Once thawed, bake as instructed, adding an extra 5-10 minutes if needed to ensure it’s heated through and golden brown.
- Freeze just the filling: This is often my preferred method as it saves freezer space and results in a pie that tastes incredibly fresh upon baking. Prepare the filling mixture (steps 1-3), then transfer the uncooked mixture into a large, freezer-safe bag. Lay it flat in your freezer for easy stacking, and store for up to 3 months. The night before you plan to bake, move the bag to the refrigerator to thaw, or for a quicker thaw, submerge the sealed bag in cool water for about 20 minutes. Once thawed, proceed with the pie crust and baking instructions as written. This method gives you maximum flexibility to prepare a fresh crust when desired.
Having this filling ready in your freezer means a delicious, homemade meal is always just a short bake away!
- Effortlessly Feeds a Crowd (or a Family): Designed to be made in a standard 9-inch round pie pan, this recipe yields four hearty servings or six perfectly proportioned standard servings, making it ideal for family dinners. Need to feed a larger gathering, or simply want leftovers for the week? This recipe scales up with remarkable ease! You can simply double or even triple the ingredients to accommodate more people. For a doubled recipe, consider using a larger 9×13-inch baking dish. Alternatively, using multiple aluminum pie tins is a fantastic trick for easy cleanup, making party prep a breeze. The simple ingredients and straightforward process mean you can quickly whip up multiple pies without feeling overwhelmed, ensuring everyone gets a generous, comforting slice.
Recipe Snapshot
- Serving Size: Approximately 287g
- Number of Servings: 6 standard servings
- Prep Time: 10 minutes (active hands-on time)
- Cook Time: 25-30 minutes
- WW Points Per Serving: 8 points
- WW Points Per Batch: 48 points (for 6 servings)
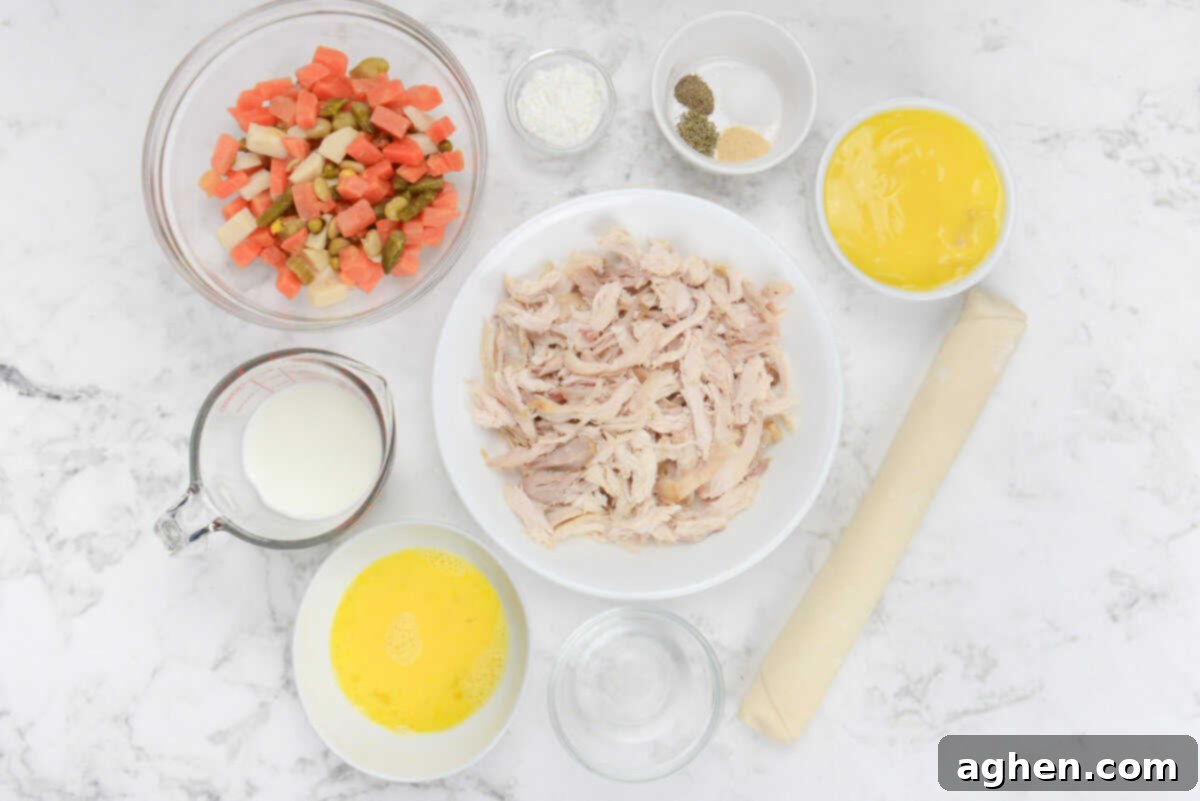
Essential Ingredients for Your Weight Watchers Chicken Pot Pie
- 3 cups cooked Rotisserie Chicken Breast: Using pre-cooked chicken is the secret to this recipe’s incredible speed and simplicity. Rotisserie chicken breast is ideal because it’s already seasoned and adds a wonderful depth of flavor without any extra effort on your part. Ensure it’s shredded or diced into bite-sized pieces. If you don’t have rotisserie chicken, any cooked and shredded chicken will work. You can easily bake 3 large chicken breasts at 375°F (190°C) for 15-20 minutes until thoroughly cooked, or use an Instant Pot for quick cooking. Just be sure the chicken is cooled slightly before mixing.
- 1 (15-ounce) can mixed vegetables: Canned mixed vegetables are a true time-saver here, bringing convenience and a balanced medley of textures and flavors to your pot pie filling. Many varieties typically include classic pot pie components like diced potatoes, carrots, green beans, and peas. Remember to drain them very well to prevent excess liquid from making your filling watery. As an alternative, a defrosted frozen vegetable mix can be used; just make sure to squeeze out any excess moisture before adding.
- 1 (10.5-ounce can) reduced-sodium condensed cream of chicken soup: This pantry staple is crucial for creating that quintessential creamy, savory pot pie base. Choosing a reduced-sodium version helps manage the overall sodium content without sacrificing flavor. For those looking for a different flavor profile, condensed cream of mushroom soup can offer a more earthy and equally delicious alternative. Ensure it’s condensed, not ready-to-serve.
- 1/2 cup whole milk: While this recipe is designed to be Weight Watchers friendly, a small amount of whole milk is used to achieve the desired creamy texture and rich flavor in the sauce. I found that sacrificing a little bit of the fat content here with lower-fat milk options significantly impacted the taste and luxuriousness of the filling, and the point increase was minimal. However, if you strongly prefer or only have lower-fat milk on hand (like 1% or 2%), it will still work, though the creaminess might be slightly reduced.
- 1 (9-inch) refrigerated savory pie crust: This recipe utilizes a single, refrigerated pie crust for the top, giving it a delightful cobbler-like quality. This shortcut dramatically cuts down on preparation time. If you have a cherished homemade pie crust recipe, or prefer to make your own, feel free to substitute it. Just ensure it’s a savory crust, as sweet crusts would alter the flavor profile of the dish.
- 1/2 teaspoon sea salt: Salt is essential for enhancing the natural flavors of the vegetables and chicken, bringing all the components of the filling into perfect balance. Always taste and adjust seasoning to your preference.
- 1/4 teaspoon ground black pepper: Freshly ground black pepper adds a subtle warmth and a touch of piquant flavor that beautifully complements the creaminess of the pot pie sauce.
- 1/4 teaspoon ground thyme: Thyme imparts a classic, aromatic herbaceous flavor that pairs wonderfully with chicken and vegetables, giving the pot pie its traditional essence. It’s a key seasoning for that familiar comfort food taste.
- 1/4 teaspoon garlic powder: Garlic powder adds a foundational layer of robust, savory flavor to the filling. It’s a convenient way to get that garlic kick without the need for fresh garlic prep. For those who enjoy a stronger garlic presence, feel free to use fresh minced garlic (sautéed first) or a small amount of roasted garlic paste.
- 1 large egg: This egg is whisked and used to create an “egg wash” for the pie crust. Brushing the crust with egg wash is a simple but effective step that contributes to a beautiful, golden-brown, and slightly glossy finish, making your pot pie look as appealing as it tastes. A pastry brush works best, but a folded paper towel can also be used in a pinch to apply a thin, even layer.
- 1 tablespoon cornstarch: This ingredient acts as a thickening agent, ensuring your pot pie filling is wonderfully rich and creamy, rather than watery. It’s dissolved in water to create a slurry before being mixed into the sauce base. While optional, it’s highly recommended for the best texture.
- 1 tablespoon water: Used in conjunction with cornstarch to create a smooth, lump-free slurry that thickens the pot pie filling consistently.
Step-by-Step Instructions for Making Your Weight Watchers Chicken Pot Pie
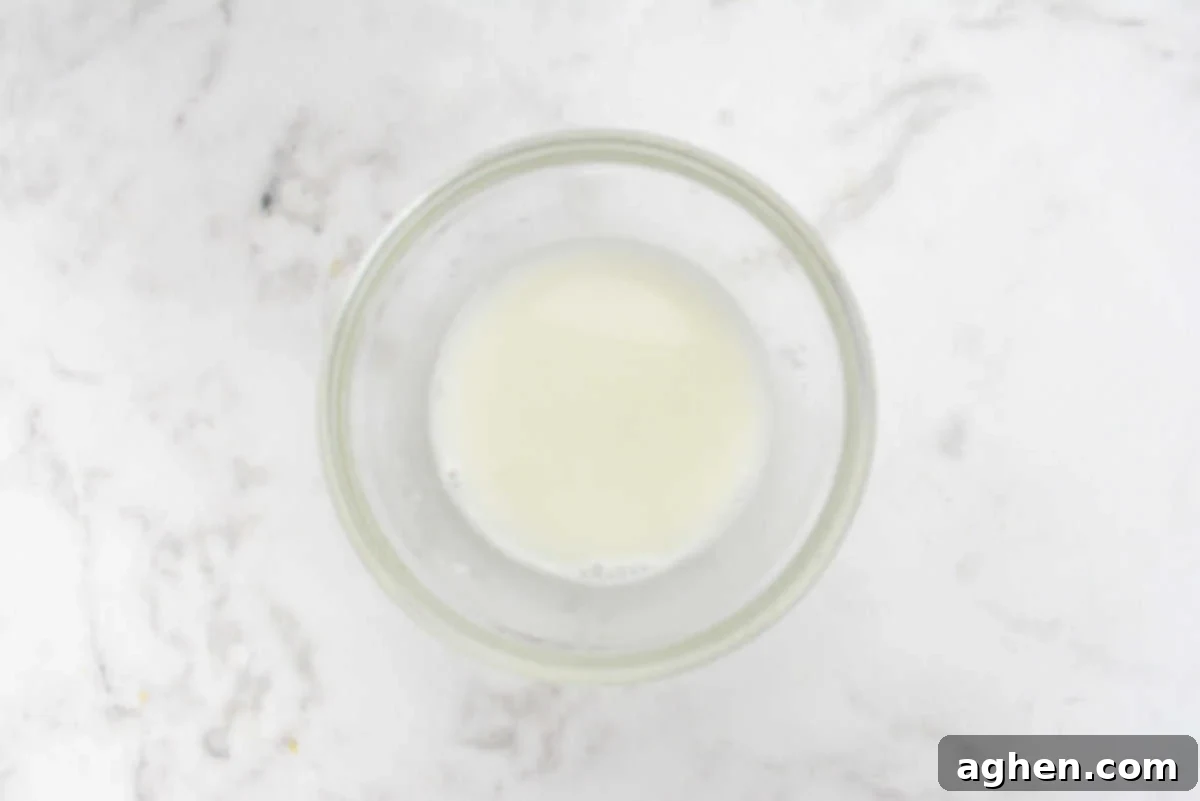
1. Begin by preheating your oven to 400°F (200°C). Lightly spray a 9-inch round pie dish with cooking spray to prevent sticking, then set it aside. In a small bowl, combine the cornstarch and water, whisking them together until you have a smooth slurry – this will ensure a thick, creamy filling.
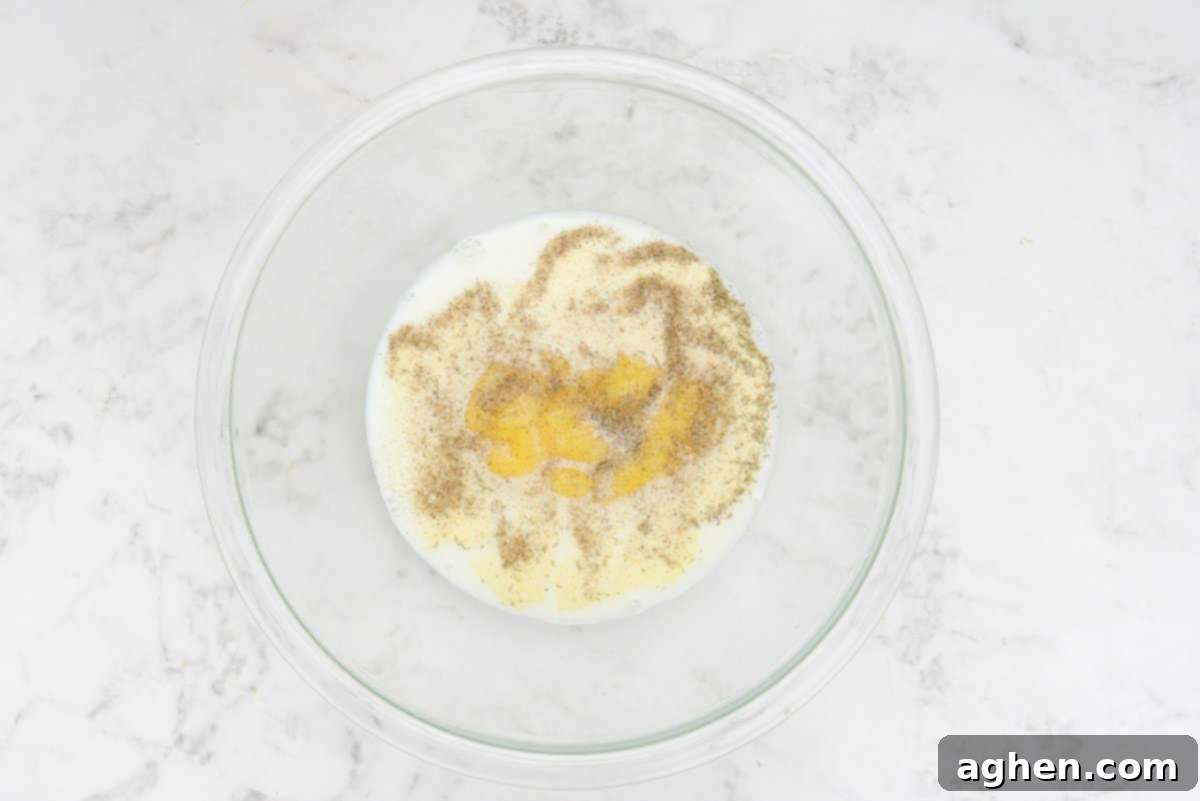
2. In a large mixing bowl, pour in the prepared cornstarch slurry, whole milk, reduced-sodium condensed cream of chicken soup, sea salt, ground black pepper, ground thyme, and garlic powder. Whisk all these ingredients vigorously until the mixture is completely smooth and well combined. This forms the creamy base of your pot pie.
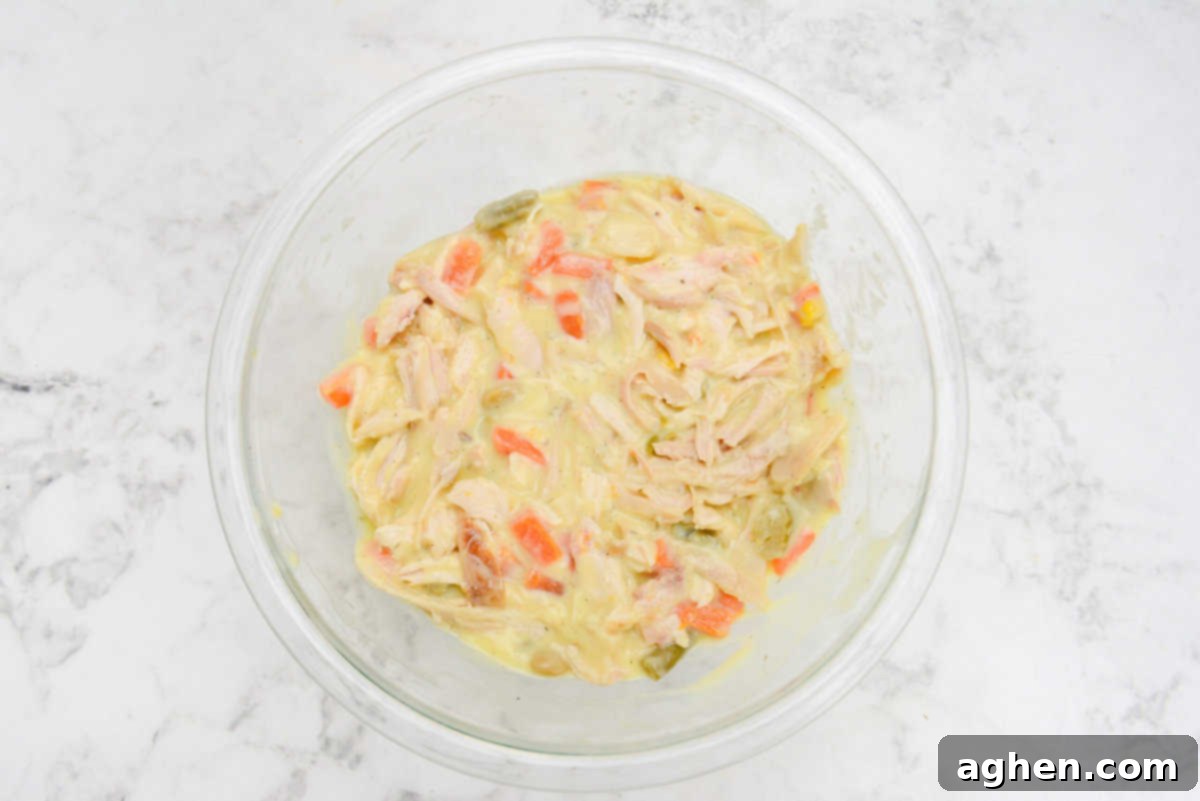
3. Gently fold the shredded cooked chicken and the thoroughly drained mixed vegetables into the creamy soup mixture. Stir until all ingredients are evenly distributed and coated in the sauce. Be careful not to overmix, which can break down the chicken or vegetables.
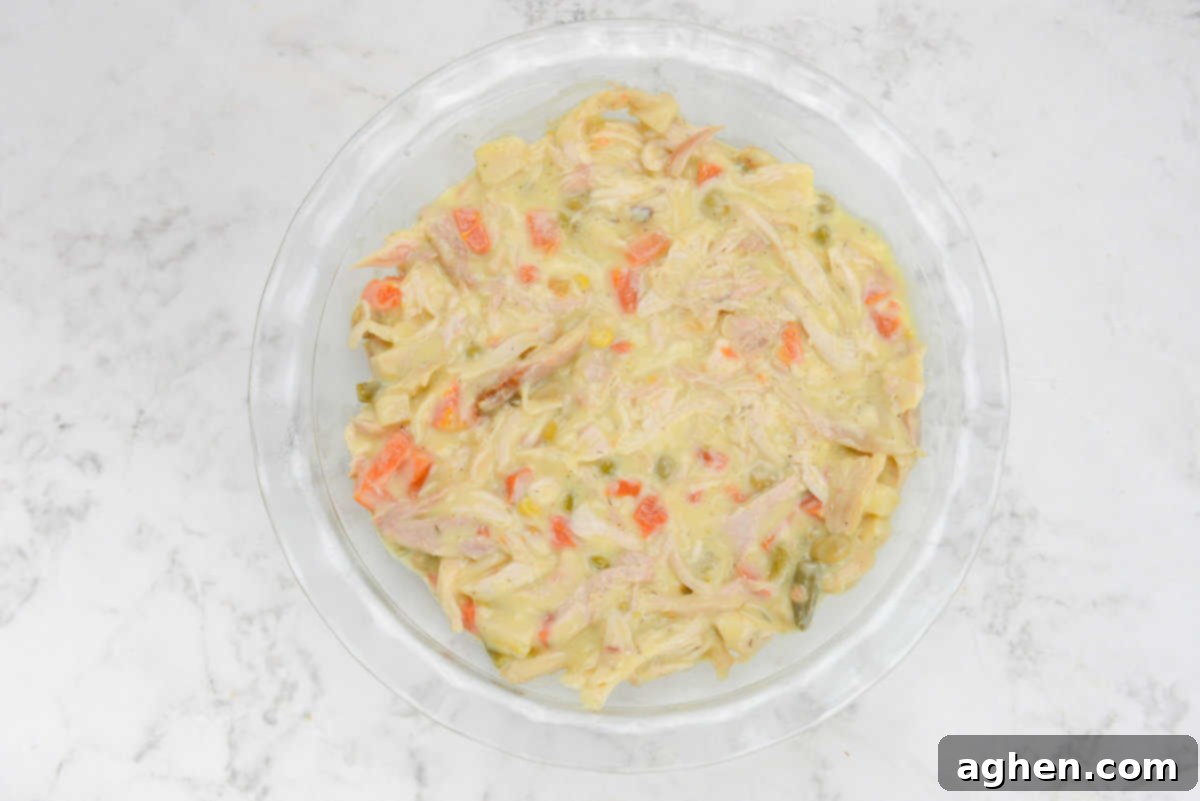
4. Carefully transfer the prepared pot pie filling into the greased 9-inch pie dish. Use a spoon or spatula to spread the filling into an even layer, ensuring it fills the dish consistently for even baking.
5. Take your refrigerated savory pie crust and carefully unroll it. Gently lay the pie crust evenly across the top of the pie dish, ensuring it completely covers the filling to form the top layer of your pot pie.
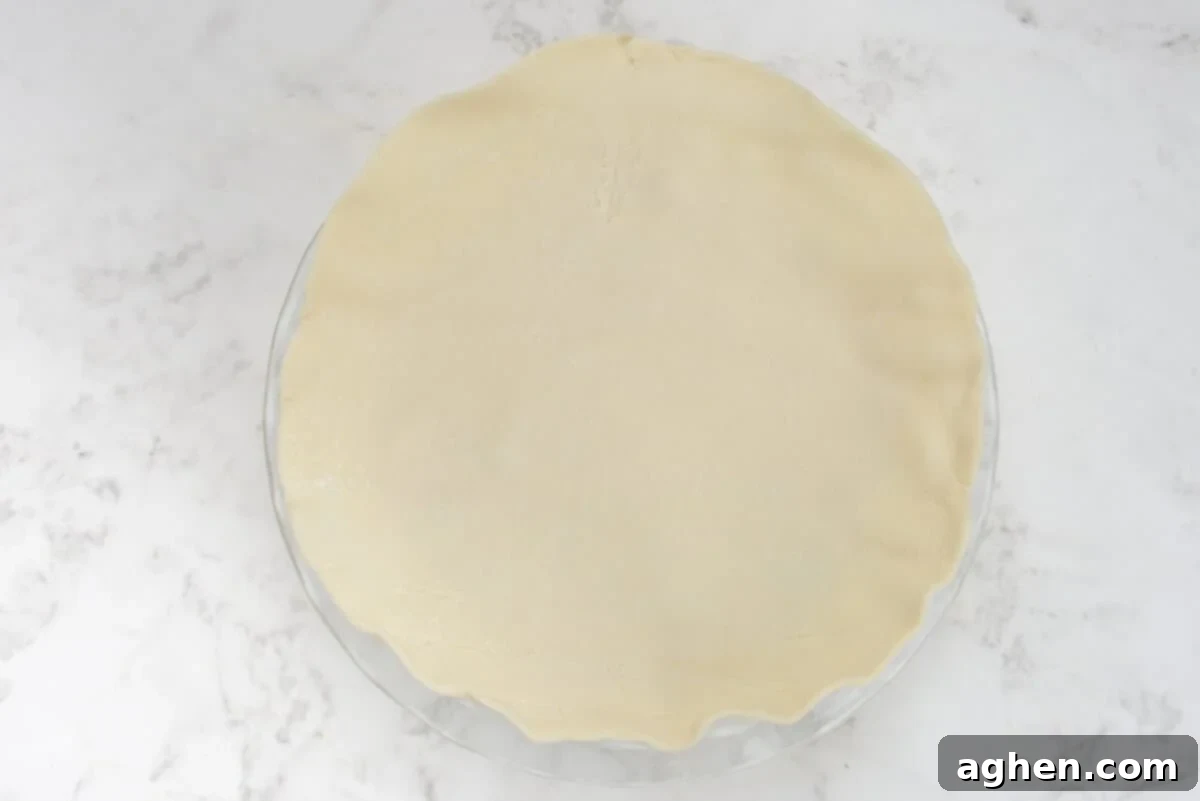
6. With light pressure, gently pat down the pie crust so it sits snugly on top of the filling. Next, you can either trim any excess crust around the edges or fold them slightly and crimp them decoratively to create a nice finish. Finally, use a sharp knife to cut four small vent holes in the center of the pie crust. These vents are crucial for allowing steam to escape during baking, preventing the crust from becoming soggy and ensuring a flaky result.
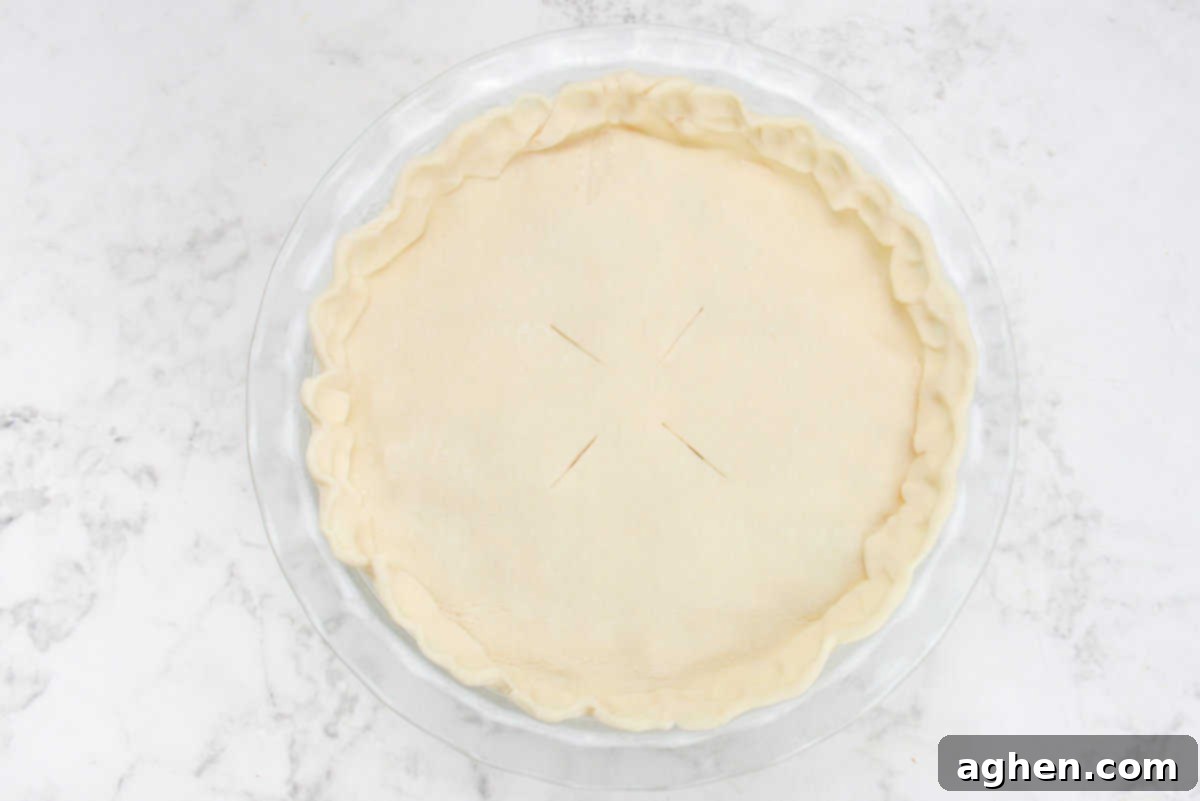
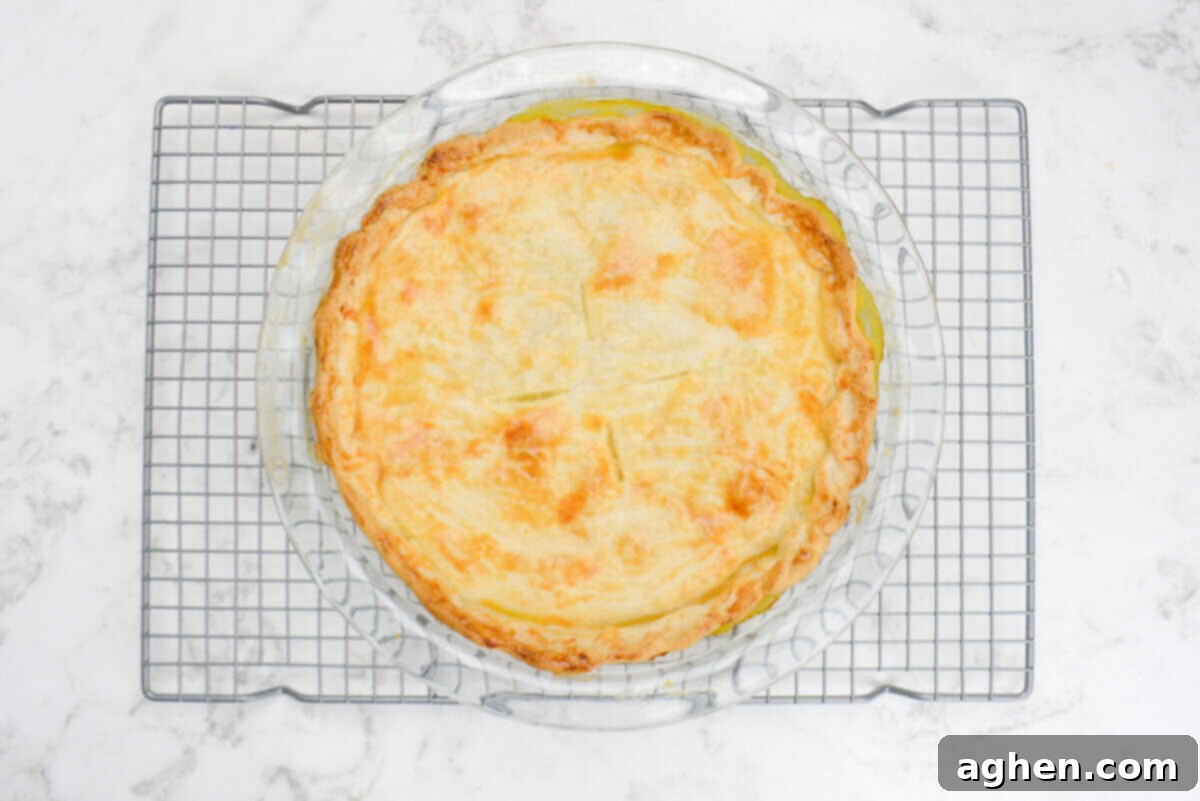
7. In a small bowl, whisk the large egg thoroughly to create an egg wash. Using a pastry brush, apply a light, even layer of this egg wash over the entire surface of the pie crust. This step is key for achieving that beautiful, appetizing golden-brown color and slightly crisp texture. Place the pie dish into your preheated oven and bake for 25-30 minutes, or until the filling is visibly bubbling at the sides and the top crust is perfectly golden brown.
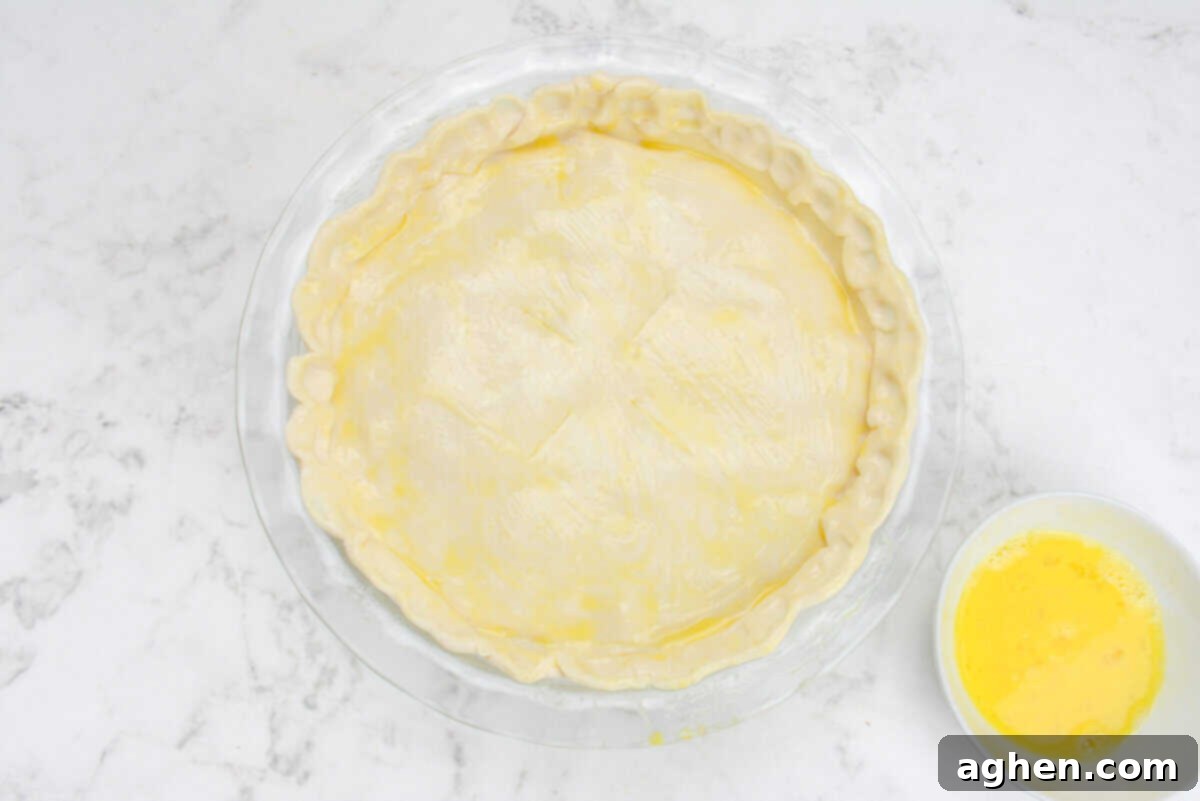
8. Once baked, remove the chicken pot pie from the oven and allow it to cool on a wire rack for at least 15 minutes. This cooling period is important as it allows the filling to set and thicken properly, making it easier to serve and ensuring every spoonful is deliciously creamy. After cooling, serve your warm, comforting Weight Watchers Chicken Pot Pie and enjoy!
Creative Variations and Smart Substitutions
- Try it with Turkey for Holiday Leftovers: This recipe is incredibly versatile! If you have leftover cooked turkey, especially after holidays like Thanksgiving, feel free to substitute it for the cooked chicken. Simply shred or dice the turkey to the same measurement. The savory flavor of turkey works beautifully with the creamy sauce and mixed vegetables, making this an excellent way to repurpose your holiday feast into another comforting meal. You might consider adding a pinch of poultry seasoning or sage to enhance the turkey flavor profile.
- Elevate with Fresh Vegetables: While canned vegetables offer unbeatable convenience, using fresh vegetables can add an extra layer of flavor and texture. You’ll need approximately 1 ½ cups of your preferred fresh mixed vegetables (think diced carrots, celery, peas, corn, and potatoes). For the best results and to ensure they cook through properly within the pie, it’s crucial to sauté them first. Heat a drizzle of olive oil in a skillet and sauté the diced fresh vegetables until they are softened and slightly fragrant. This pre-cooking step prevents them from remaining overly firm in the finished pie. Consider adding finely diced onion and garlic to your sauté for an even deeper flavor foundation.
- Opt for Flaky Puff Pastry: For an extra-indulgent and beautifully flaky topping, consider swapping the standard pie crust for a sheet of puff pastry. Thaw one sheet of frozen puff pastry according to package directions, then unroll it over your prepared filling. Once the pie is covered, use a fork to gently poke holes all over the pastry – this is important to prevent excessive rising and ensures an even bake. Be sure to brush it generously with the egg wash for that classic golden-brown and shiny finish. The light, airy layers of puff pastry will add an exquisite texture contrast to the rich filling.
Expert Tips and Tricks for a Perfect Pot Pie
- Bring the Crust to Room Temperature: Handling a cold pie crust can be frustrating. To prevent cracks and make it easier to unroll and shape, allow your refrigerated pie crust to sit on the counter at room temperature for about 15-20 minutes before you attempt to unroll it. While cold dough is essential for a flaky texture during baking, if it’s too cold, it will inevitably crack when you try to flatten or manipulate it. If a crack does occur, don’t worry! Simply dip your fingertips lightly in water and gently dab and press the cracked area until the dough reseals itself.
- Season to Taste & Experiment: This recipe provides a solid foundation for flavor, but don’t hesitate to make it your own! Feel free to get creative and improvise on the seasoning. If you have a favorite seasoning blend that you adore with chicken, or a specific poultry seasoning, add a dash to the filling mixture. A pinch of dried sage, rosemary, or even a touch of onion powder can elevate the flavors further. If you prefer less salt due to dietary restrictions or personal taste, it’s perfectly fine to reduce the amount without negatively affecting the recipe’s structure. Always taste the filling mixture before adding it to the pie dish and adjust the salt and pepper as needed.
- Don’t Skip the Egg Wash for a Golden Crust: The egg wash is more than just a decorative step; it plays a crucial role in achieving that beautifully inviting, golden-brown crust. It’s meant to be a thin, even layer. To prepare it properly, ensure the egg yolk and white are thoroughly whisked together until no streaks remain. If the mixture seems too thick, add a quarter teaspoon of water to loosen it up. Then, use a pastry brush to evenly coat the entire surface of the crust, paying attention to the edges. Avoid areas where the egg wash might pool, as this can create uneven browning or a gummy texture. A good egg wash ensures a professional-looking, deliciously crisp top.
- Have Extra Points? Adjust Your Serving Size: This recipe is thoughtfully portioned into six servings, each contributing a modest 8 Weight Watchers points. However, if you have a few extra points to spare in your daily budget, or if you’re simply in the mood for a more substantial meal, you have the flexibility to adjust your serving size. By dividing the pie into four larger portions instead of six, each generous slice will come out to approximately 12 points. This allows you to tailor the meal to your hunger levels and point allowance without having to prepare a completely different dish.
- Add Your Own Spin & Fresh Elements: This recipe is designed for maximum simplicity and impactful flavor using minimal ingredients. But if you have a little extra time and want to take it up a notch, there are many ways to personalize it. Consider sautéing a small, finely chopped onion and 2-3 cloves of minced fresh garlic until softened before adding them to the soup mixture – this will build a deeper aromatic base. For an extra savory kick, fold in about ¼ cup of shredded reduced-fat cheddar cheese or a sprinkle of Parmesan into the filling. Don’t be afraid to open your spice cabinet; a touch of smoked paprika or a dash of celery salt could add an interesting twist. Utilizing what you have on hand and getting creative is part of the fun of cooking!
More WW-Friendly Comfort Food Recipes
- Weight Watchers Beef and Broccoli: Better Than Takeout!
- Classic Weight Watchers Friendly Lasagna
- Easy Crescent Roll Veggie Pizza (WW Snack or Light Dinner)
Weight Watchers Chicken Pot Pie

Ingredients for the Filling & Crust
- 1 tablespoon cornstarch
- 1 tablespoon water
- 1/2 cup whole milk
- 1 (10.5 ounce can) reduced sodium cream of chicken condensed soup
- 1/2 teaspoon sea salt
- 1/4 teaspoon ground black pepper
- 1 teaspoon ground thyme
- 1/2 teaspoon garlic powder
- 3 cups shredded rotisserie chicken breast
- 1 (10-ounce) can mixed vegetables, drained
- 1 (9-inch) refrigerated premade pie crust
- 1 large egg, whisked for egg wash
Detailed Instructions for Your Perfect Pot Pie
-
Preheat the oven to 400°F (200°C) and lightly spray a 9-inch round pie dish with cooking spray, then set it aside. In a small separate bowl, whisk together the cornstarch and water until a smooth slurry is formed. This mixture will act as your thickening agent.
-
In a large mixing bowl, combine the prepared cornstarch slurry, whole milk, reduced-sodium cream of chicken condensed soup, sea salt, ground black pepper, ground thyme, and garlic powder. Whisk thoroughly until the entire mixture is smooth and completely incorporated, creating a creamy base for your filling.
-
Gently fold the shredded cooked chicken and the well-drained mixed vegetables into the creamy soup mixture. Continue to mix until all ingredients are evenly distributed and coated in the sauce.
-
Carefully scrape the flavorful filling into your prepared pie dish. Spread it out into an even layer using a spoon or spatula to ensure uniform cooking.
-
Unroll the refrigerated pie crust and meticulously lay it across the top of the pie dish. Ensure the crust completely covers the filling, extending slightly over the edges of the dish.
-
Gently pat down the pie crust so it rests directly on top of the filling. You can then trim any excess crust or fold it under slightly and crimp the edges decoratively to your preference. Using a sharp knife, make four small vent holes in the center of the pie crust to allow steam to escape during baking.
-
In a small bowl, whisk the large egg to create an egg wash. Brush a light, even layer of this egg wash over the entire surface of the pie crust using a pastry brush. Place the pie into the preheated oven and bake for 25-30 minutes, or until the filling is bubbly around the edges and the top crust is beautifully golden brown.
-
Once baked, remove the pot pie from the oven and allow it to cool on a wire rack for at least 15 minutes. This crucial resting period allows the creamy filling to set and thicken to the perfect consistency. Then, slice and serve warm, enjoying every comforting bite!
Chef’s Notes
Nutrition Information
Nutrition information is automatically calculated and provided for approximation purposes only. Individual results may vary.
