Mastering Your Weber Grill: A Comprehensive Beginner’s Guide to Outdoor Cooking

Embarking on your grilling journey can feel both exciting and a little daunting, especially if you’re new to the art of outdoor cooking. But fear not, aspiring grill masters! With the right guidance and a reliable Weber grill, you’re on the path to creating mouth-watering meals and unforgettable culinary experiences right in your backyard. This comprehensive guide is specifically designed for beginners, providing you with all the essential knowledge and practical tips to confidently fire up your Weber grill. From understanding the different types of grills to mastering fundamental techniques and ensuring safety, we’ll cover every aspect you need to know. By the time you finish reading, you’ll be well-equipped to turn simple ingredients into perfectly grilled masterpieces, ready to impress family and friends.
1. Choosing the Right Weber Grill for Your Needs
Before you even think about searing your first steak, the crucial first step is selecting the Weber grill that best suits your lifestyle and grilling ambitions. Weber offers an impressive array of models, each designed to cater to different preferences and needs. Consider the following factors carefully:
- Size of Your Outdoor Space: Do you have a sprawling patio, a cozy balcony, or a small backyard? Weber offers compact portable grills perfect for smaller spaces or camping, as well as large, multi-burner gas grills ideal for entertaining big crowds. Measure your available area to ensure a comfortable fit.
- Preferred Fuel Type: This is arguably the biggest decision.
- Charcoal Grills: For the purists who cherish the smoky flavor and the ritual of building a fire. Charcoal grills, like the iconic Weber Kettle, offer incredible flavor depth and high heat searing. They require a bit more time to get started and clean, but many find the results unparalleled.
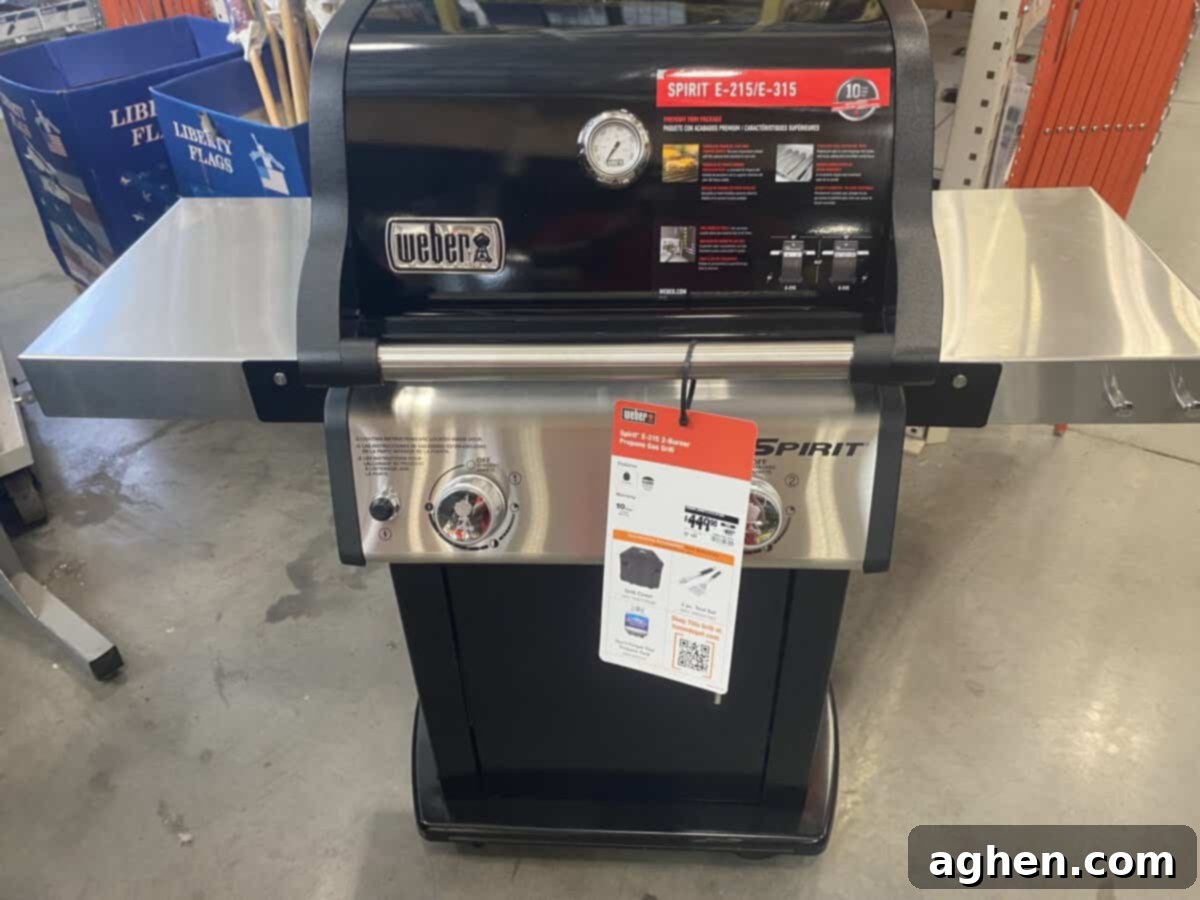
- Gas Grills: Offering ultimate convenience and quick start-up times, gas grills (propane or natural gas) are perfect for weeknight grilling. They provide precise temperature control, making them versatile for various cooking styles. Models like the Weber Spirit, Genesis, and Summit lines offer different feature sets and cooking areas.
- Electric Grills: Ideal for areas with restrictions on open flames or limited outdoor space, electric grills offer smokeless cooking. While they might not provide the same char as gas or charcoal, they are excellent for urban dwellers or those seeking simplicity.
- Pellet Grills: A newer addition to the Weber family (Smokefire series), these grills offer the best of both worlds – the convenience of set-it-and-forget-it cooking with authentic wood-fired flavor. They are excellent for low-and-slow smoking and high-heat searing.
- Cooking Capacity: How many people do you typically cook for? A smaller grill might suffice for solo meals or a couple, while larger models with multiple burners and expansive cooking surfaces are better for large families or frequent entertaining.
- Budget: Weber grills range widely in price. Determine how much you’re willing to invest, keeping in mind that a Weber is a long-term investment in quality and durability.
Once you’ve narrowed down your options and chosen the perfect Weber grill, take the time to unbox it, assemble it carefully, and get acquainted with its specific features and functions before your inaugural cookout.
2. Getting to Know Your Weber Grill
Before you ignite the flames, it’s imperative to thoroughly familiarize yourself with your new Weber grill. This step is often overlooked but is absolutely critical for optimal performance, safety, and a long-lasting investment. Begin by meticulously reviewing the instruction manual. This seemingly mundane task will provide invaluable insights into the specific model you own, covering everything from proper assembly to operation and maintenance. Pay close attention to:
- Components: Understand where each part is located and its function. This includes the cooking grates, flavorizer bars (gas grills), burners, igniter system, vents and damper (charcoal grills), lid thermometer, drip pan, and side tables. Knowing these parts will aid in both cooking and cleaning.
- Assembly: Ensure your grill is correctly assembled according to the manufacturer’s instructions. Incorrect assembly can lead to inefficiencies or, more importantly, safety hazards. Double-check all connections, especially gas lines, if you have a gas grill.
- Initial Burn-Off: Most new grills benefit from an initial “burn-off” to remove any manufacturing oils or residues. Consult your manual for the recommended procedure, which typically involves running the grill on high for a period.
- Seasoning the Grates: For some grills, particularly those with cast-iron grates, seasoning them with a high-smoke-point oil can create a non-stick surface and prevent rust.
Understanding these elements from the outset will set you up for successful and safe grilling experiences for years to come.
3. Essential Grilling Tools and Accessories
To truly elevate your grilling game and ensure a smooth, enjoyable experience, investing in a few essential tools and accessories is a must. These items will not only make cooking easier but also safer and more efficient:
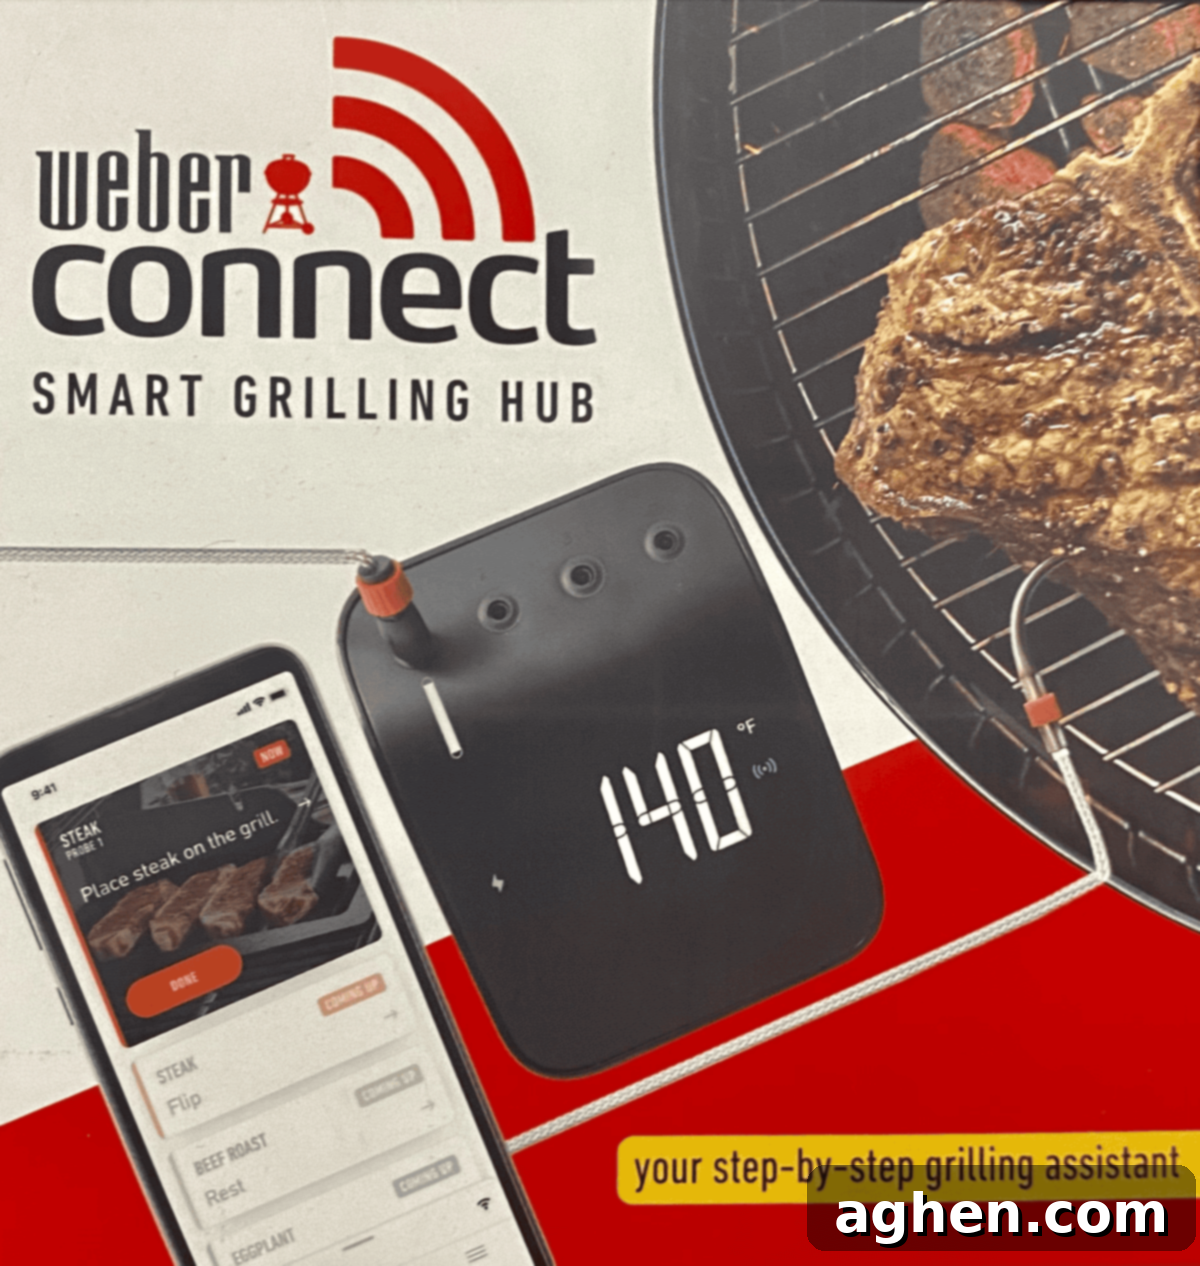
- Quality Meat Thermometer: This is arguably the most important tool for ensuring food safety and perfect doneness. An instant-read digital thermometer is highly recommended for quick, accurate readings. Probe thermometers are excellent for larger cuts and roasts, allowing you to monitor temperature without repeatedly opening the lid.
- Long-Handled Tongs and Spatula: These are your primary instruments for handling food on the hot grates. Long handles keep your hands away from the heat, and sturdy construction ensures you can confidently flip even the heaviest cuts. Look for tongs with a locking mechanism for easy storage and spatulas with a thin, flexible edge for delicate items.
- Grill Brush or Scraper: Essential for cleaning cooking grates after each use. Choose a brush with durable bristles (nylon for cold grates, wire for hot) or a bristle-free scraper for safety.
- Heat-Resistant Gloves: Protect your hands and forearms from intense heat when adjusting grates, moving hot items, or handling charcoal. Leather or silicone options are popular.
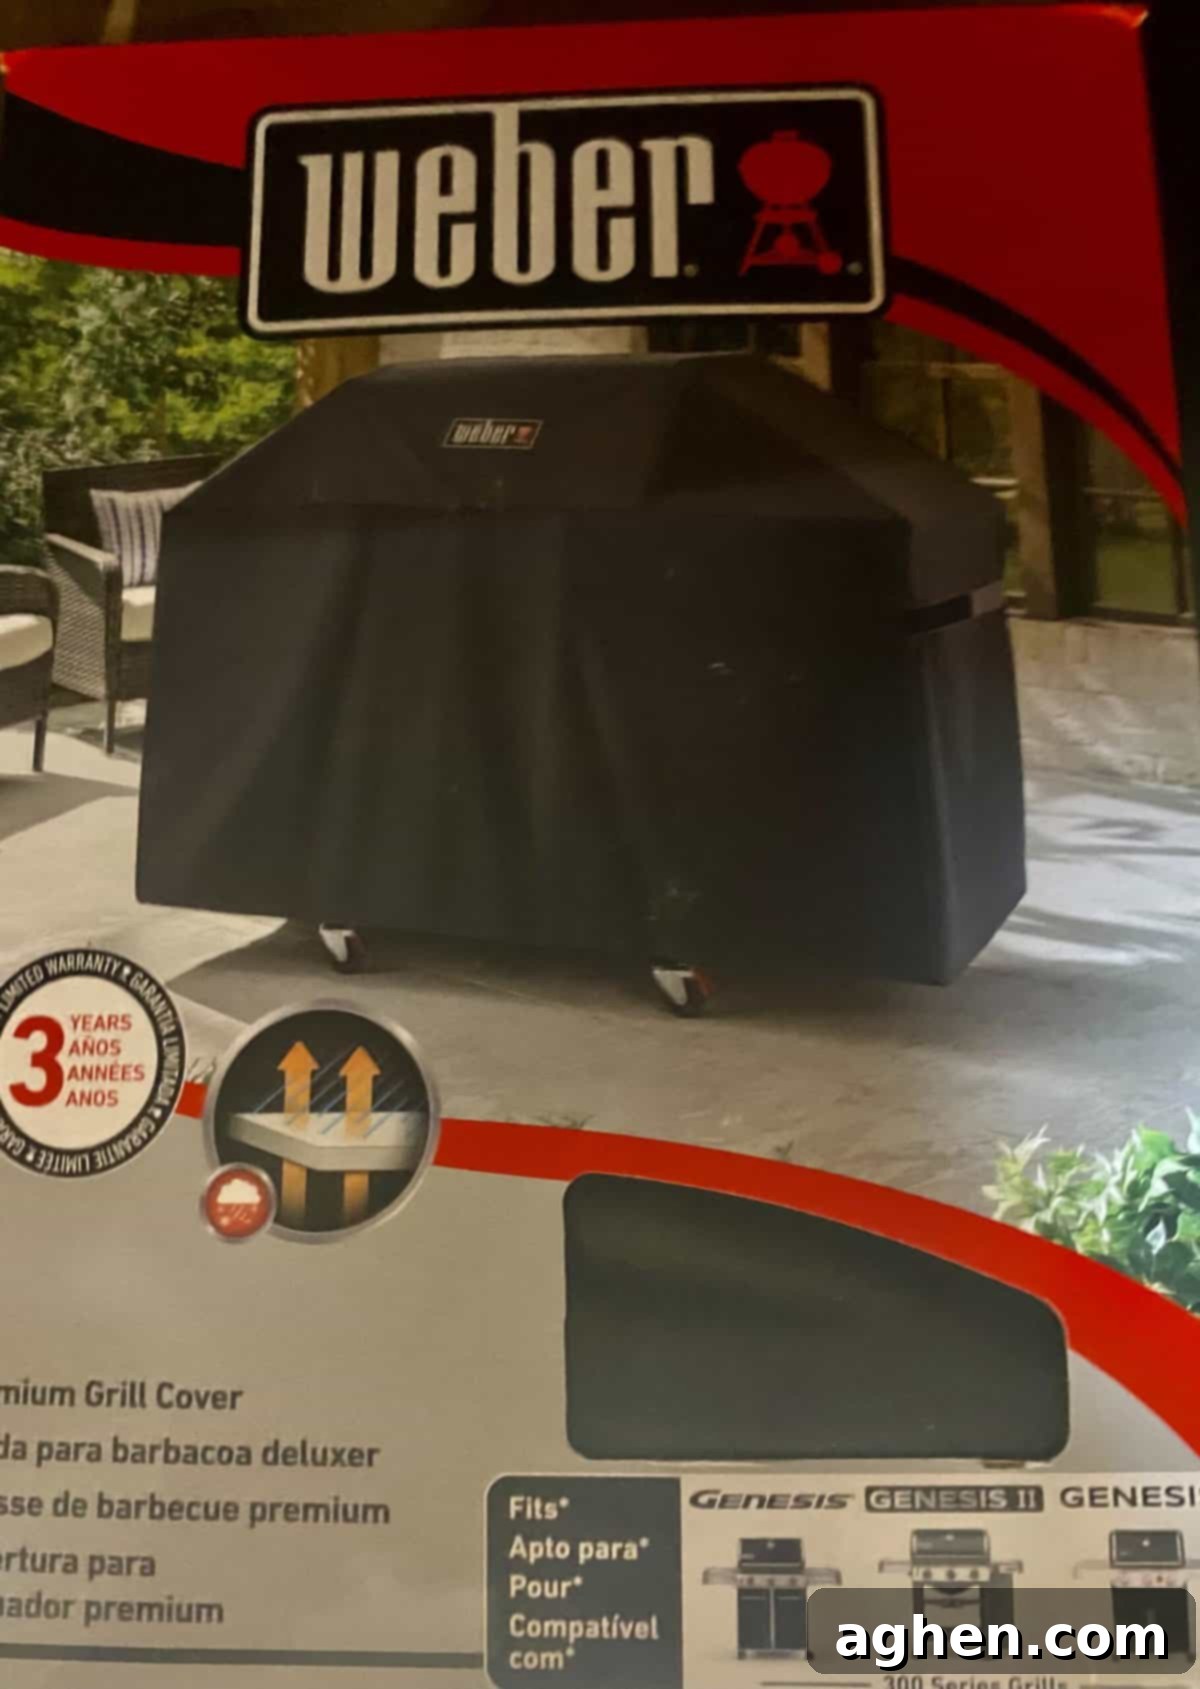
- Grill Cover: An absolute necessity to protect your investment from the elements – rain, sun, dust, and even critters. A custom-fit Weber cover will prolong the life and pristine condition of your grill.
- Charcoal Chimney Starter (for charcoal grills): This ingenious device uses newspaper or a fire starter cube to light charcoal quickly and evenly without the need for lighter fluid, which can impart an unpleasant taste.
- Drip Pans: Disposable aluminum pans are great for catching drippings, making cleanup easier, and preventing flare-ups. They can also be used for indirect cooking or roasting vegetables.
- Basting Brush: For applying marinades, sauces, or glazes during cooking. Silicone brushes are easy to clean and heat resistant.
- Cutting Board and Platter: Always have a clean cutting board and platter ready for cooked meat to avoid cross-contamination.
- Oil Sprayer or Paper Towel with Tongs: For lightly oiling grates before cooking to prevent sticking.

4. Prepping Your Grill for Optimal Cooking
Proper preparation is key to achieving consistent results and ensuring your Weber grill performs at its best. A few simple steps before you start cooking can make a significant difference:
For Gas Grills:
- Check Propane Levels: Always ensure your propane tank has enough fuel for your cooking session. Many tanks have gauges, or you can use the “hot water test” (pour hot water over the side and feel for a cool spot indicating the liquid level). If using natural gas, confirm your gas line is connected securely.
- Inspect Components: Before lighting, quickly check the burner tubes, igniter, and gas lines for any obstructions or signs of wear.
- Preheat Thoroughly: Turn all burners to high, close the lid, and allow the grill to preheat for 10-15 minutes. This gets the grates screaming hot, perfect for searing, and helps burn off any leftover residue.
For Charcoal Grills:
- Charcoal Selection: Decide between briquettes (consistent burn time, even heat) or lump charcoal (natural, hotter, less ash, faster ignition). Ensure you have enough on hand for your cook.
- Lighting the Charcoal: The most efficient and clean method is using a charcoal chimney starter. Fill it with charcoal, place newspaper or a fire starter cube underneath, and light it. The charcoal will be ready when it’s mostly ash-covered and glowing red (typically 15-20 minutes). Avoid lighter fluid if possible, as it can leave a chemical taste.
- Arranging Charcoal: Once lit, arrange the charcoal for your desired cooking method (direct or indirect heat, as discussed below).
- Preheat: Once the charcoal is arranged, put the lid on and allow the grill grates to heat up for 5-10 minutes.
Universal Grate Cleaning:
Regardless of your grill type, always clean your cooking grates before each use. Once the grill is preheated and hot, use a sturdy grill brush or scraper to remove any stuck-on food particles from previous sessions. This ensures a clean cooking surface, prevents food from sticking, and helps create those desirable grill marks. After cleaning, you can lightly oil the grates with a paper towel dipped in high-smoke-point oil (like canola or grapeseed oil) and held with tongs. This creates an extra non-stick layer.
5. Mastering the Basics of Grilling Techniques
Now that your grill is prepped and ready, it’s time to delve into the fundamental techniques that will transform your raw ingredients into perfectly grilled dishes. These core principles apply whether you’re cooking burgers, steaks, chicken, or delicate vegetables:
- Preheat the Grill to Perfection: This step cannot be overstated. Allowing your grill to preheat thoroughly for 10-15 minutes (or until reaching the desired temperature, typically 400-500°F for high heat) is crucial for several reasons. Firstly, it ensures the cooking grates are hot enough to create an immediate sear, which locks in juices and develops a flavorful crust. Secondly, hot grates prevent food from sticking, making flipping easier and ensuring those classic grill marks. Lastly, preheating allows for more even cooking as the entire cooking chamber reaches a stable temperature.
- Understand Direct vs. Indirect Heat: Grasping this concept is fundamental to versatile grilling.
- Direct Heat: This involves placing food directly over the heat source (e.g., directly over lit charcoal or active burners). It’s ideal for quick-cooking items that benefit from high heat and searing, such as thin steaks, burgers, chops, vegetables, and hot dogs. The intense heat quickly caramelizes the exterior while cooking the interior relatively fast.
- Indirect Heat: This method involves placing food away from the direct heat source. For gas grills, this means turning off the burners directly beneath the food and using adjacent burners to maintain heat. For charcoal grills, charcoal is banked to one side, and food is placed on the opposite side. Indirect heat is perfect for larger, thicker cuts of meat like roasts, whole chickens, or ribs, which require longer cooking times at lower temperatures to cook through without burning the exterior. It’s also excellent for delicate items that might burn over direct heat.
Many recipes will call for a combination, starting with a sear over direct heat and finishing with indirect heat to cook through.
- Resist the Urge to Fiddle: A common beginner mistake is constantly flipping, poking, or pressing down on food. This practice is detrimental to good grilling. Each time you flip or move food unnecessarily, you interrupt the cooking process, cause temperature fluctuations, and prevent a proper crust from forming. Pressing down on burgers or steaks squeezes out precious juices, leading to dry, less flavorful results. Instead, place your food on the hot grates and leave it undisturbed until it naturally releases from the grates and develops a beautiful sear. For most items, one or two flips are all that’s needed.
- Utilize a Meat Thermometer for Accuracy: Guessing doneness is a recipe for disappointment or, worse, foodborne illness. A quality meat thermometer is your best friend. Insert it into the thickest part of the meat, avoiding bones, to get an accurate internal temperature reading. This is particularly critical for poultry (165°F), pork (145°F), and ground meats (160°F). For beef and lamb, internal temperatures determine doneness from rare (125-130°F) to well-done (160°F+). Always consult a reliable temperature chart for specific food types.

- Always Rest Your Meat: This is a non-negotiable step for juicy, tender results. After removing meat from the grill, especially larger cuts like steaks, roasts, or whole chickens, allow it to rest on a cutting board or platter for 5-15 minutes (depending on size) before slicing or serving. Tent it loosely with foil to keep it warm. During cooking, muscle fibers contract, pushing juices to the center. Resting allows these juices to redistribute evenly throughout the meat, resulting in a more flavorful and tender final product. Slicing too soon will cause all those delicious juices to run out onto your board.
6. Experimenting with Flavors and Recipes
Once you’ve mastered the basics, the true joy of grilling lies in creative exploration. Your Weber grill is a versatile tool, capable of so much more than just burgers and hot dogs. Embrace the opportunity to experiment with a vast array of flavors and recipes to keep your outdoor cooking exciting and diverse:
- Marinades: These liquid mixtures infuse flavor and tenderize meat. Experiment with acidic bases (vinegar, citrus juice), oil bases, herbs, spices, and aromatics. Remember that acidic marinades work quickly, so don’t marinate delicate fish or poultry for too long (typically 30 minutes to a few hours).
- Dry Rubs: A blend of dried herbs and spices applied directly to the surface of meat. Rubs create a flavorful crust and can be customized to be sweet, savory, spicy, or smoky. Apply them generously and allow them to sit on the meat for at least 30 minutes, or even overnight in the refrigerator, for deeper flavor penetration.
- BBQ Sauces and Glazes: These can add incredible depth and sweetness. Apply sugar-heavy sauces towards the end of the cooking process to prevent them from burning, as sugar caramelizes quickly over high heat. Lighter glazes can be brushed on earlier.
- Wood Chips and Chunks: For charcoal and gas grills, adding wood chips (soaked for 30 minutes, then drained, or unsoaked depending on desired effect) or chunks can impart amazing smoky flavors. Popular woods include hickory, mesquite, apple, cherry, and oak, each offering a distinct aroma. Use a smoker box for gas grills or place directly on hot coals for charcoal grills.
- Venture Beyond Meat: Don’t limit your grilling to just proteins. Vegetables like corn on the cob, asparagus, bell peppers, and zucchini take on a delicious char and sweetness. Fruits such as pineapple, peaches, and watermelon can be grilled for unique desserts or sides. You can even bake pizzas, bread, or even desserts like fruit crisps on your Weber grill using indirect heat.
The world of grilling flavors is vast. Don’t be afraid to try new combinations, consult cookbooks, and draw inspiration from different cuisines. Your taste buds (and those of your guests) will thank you!
7. Cleaning and Maintaining Your Weber Grill
Proper cleaning and routine maintenance are paramount to extending the lifespan of your Weber grill, ensuring its optimal performance, and keeping it hygienic. Neglecting these steps can lead to decreased efficiency, premature wear, and even safety issues. Develop a consistent cleaning routine:
- After Every Use:
- Grates: Once your grill has cooled slightly but is still warm (or re-heat it for a few minutes), use a grill brush or scraper to remove any stuck-on food residue. This is the easiest time to clean them. For stubborn spots, consider a dedicated grill cleaner and warm soapy water once the grates are fully cooled and removed.
- Drip Pan/Grease Management: For gas grills, regularly check and clean the drip pan. A buildup of grease can lead to flare-ups and is a fire hazard. For charcoal grills, once the grill is completely cold, remove all ash from the bottom bowl. Ash can retain moisture and cause corrosion if left in the grill.
- Regular Deep Cleaning (Seasonally or Every 5-10 Uses):
- Gas Grills: Remove cooking grates and flavorizer bars. Clean out any food debris or grease accumulation in the cook box. Inspect burner tubes for blockages (e.g., spider webs, food bits) and clean port holes with a wire brush or unbent paperclip. Check gas lines and connections for any kinks or leaks (using a soapy water solution – look for bubbles).
- Charcoal Grills: Scrape the inside of the lid and bowl to remove any carbonized grease build-up. Wash the grates thoroughly with warm soapy water. Ensure all vents and dampers move freely.
- Exterior: Wipe down the exterior surfaces with a mild soap and water solution, then dry thoroughly. For stainless steel, use a specialized stainless steel cleaner to maintain its shine.
- Protect with a Cover: Always use your grill cover when the grill is not in use. It protects against rain, snow, UV rays, dust, and debris, significantly extending the life of your grill.
- Winterizing (if applicable): If you live in a cold climate and won’t be grilling during winter, perform a thorough deep clean. Disconnect and store propane tanks in a well-ventilated area outdoors. Cover the grill securely or store it in a shed or garage.
A well-maintained grill is a happy grill, ready to serve up delicious meals for years to come!
8. Safety First: Grilling Responsibly
While grilling is a fantastic outdoor activity, safety must always be your top priority. Accidents can happen quickly, so being vigilant and following best practices is essential to protect yourself, your loved ones, and your property:
- Location, Location, Location: Always position your grill on a stable, level, non-flammable surface, far away from any combustible materials such as wooden fences, overhanging tree branches, house siding, or patio umbrellas. Maintain at least a 10-foot clearance from buildings. Never grill indoors or in a garage.
- Stay Attentive: Never leave a lit grill unattended, even for a moment. Most grilling accidents occur when the grill is left unsupervised.
- Fire Safety Equipment: Keep a fire extinguisher (Class B for grease fires) or a bucket of sand readily accessible near your grilling area. Never use water on a grease fire.
- Gas Grill Specifics:
- Leak Checks: Before the first use of the season and any time you reconnect a propane tank, perform a leak test. Mix soapy water and apply it to the gas line connections. Turn on the gas (but not the grill) and look for bubbles, which indicate a leak. Tighten connections or replace faulty hoses if necessary.
- Propane Tank Handling: Store propane tanks upright and outdoors, away from direct sunlight and heat. Never store a spare tank under or near the grill.
- Ventilation: Ensure good ventilation when lighting and operating a gas grill.
- Charcoal Grill Specifics:
- Ash Disposal: Allow charcoal to cool completely for at least 48 hours before disposing of it. Place cool ashes in aluminum foil, wrap them, and then place them in a non-combustible metal container.
- Never use gasoline or other flammable liquids: Only use approved lighter fluid or a chimney starter for charcoal.
- Food Safety:
- Prevent Cross-Contamination: Always use separate cutting boards, platters, and utensils for raw and cooked meats. Wash hands thoroughly after handling raw meat.
- Thawing: Thaw frozen foods completely in the refrigerator, microwave, or under cold running water before grilling to ensure even cooking.
- Safe Internal Temperatures: Use your meat thermometer to ensure all foods reach safe internal temperatures to prevent foodborne illnesses.
- Children and Pets: Keep children and pets at a safe distance from the hot grill, as curious hands or paws can lead to burns.
By diligently adhering to these safety guidelines, you can enjoy all the deliciousness of grilling with complete peace of mind.
Learning to grill with your new Weber grill is an incredibly rewarding journey that blends culinary skill with the pleasure of outdoor living. It might seem like a lot to take in at first, but with the proper knowledge, a little practice, and a commitment to safety, you’ll quickly build confidence. Remember to start with the fundamentals, don’t be afraid to experiment with exciting flavors and recipes, and always prioritize cleaning and maintenance. Your Weber grill is built to last, and with your care, it will be the centerpiece of countless delicious meals and cherished memories. Now, go ahead, fire up your grill, and embark on your wonderful adventure into the world of outdoor cooking!
