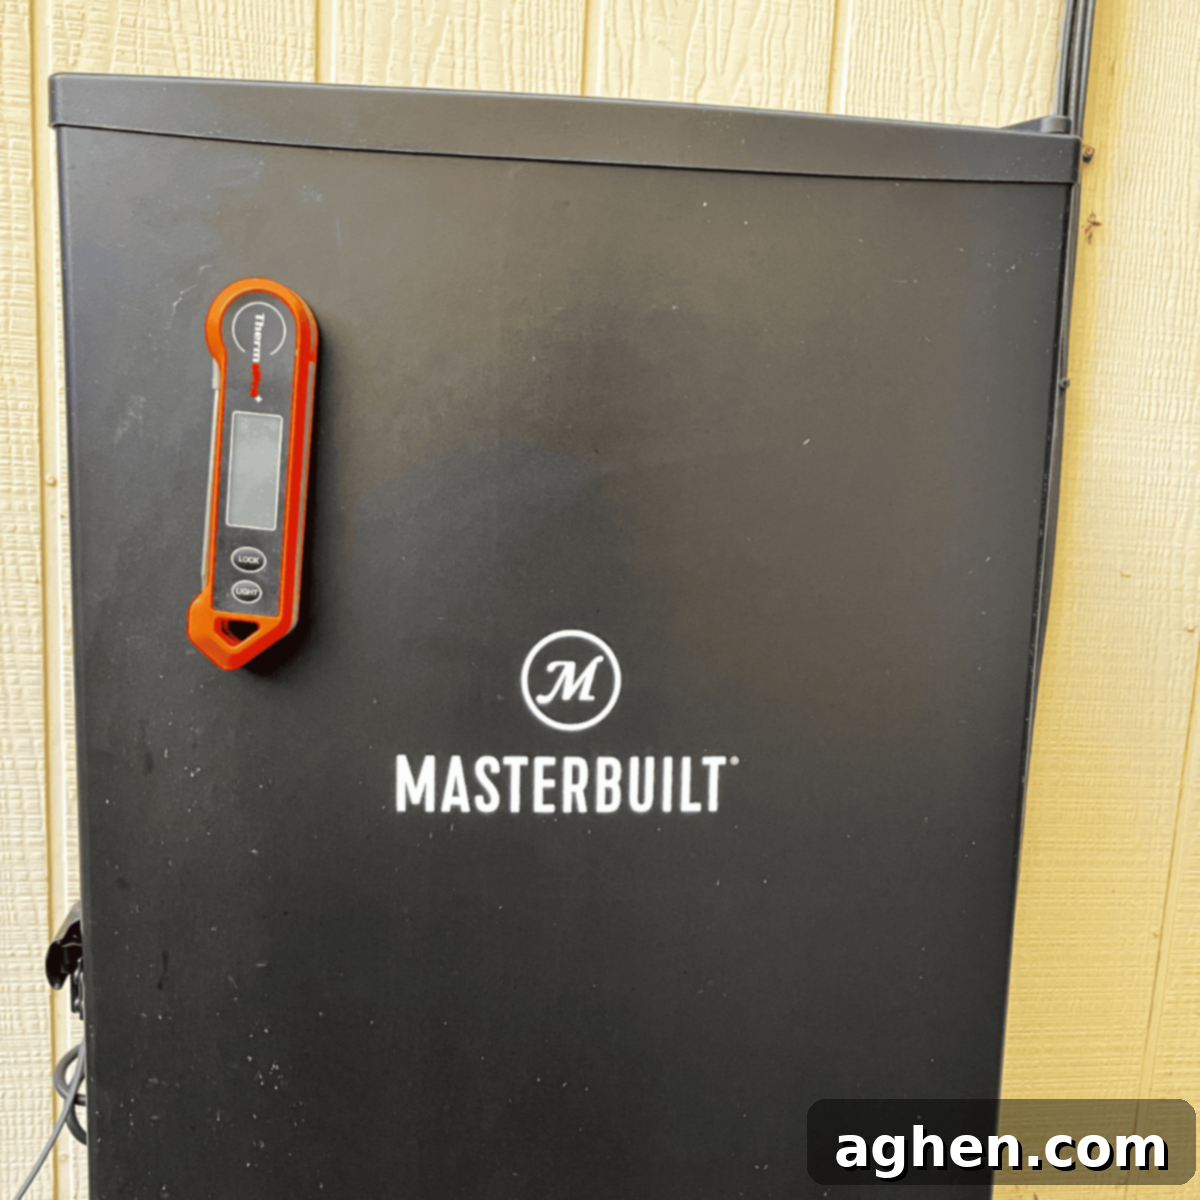
Mastering Your Masterbuilt Smoker: Expert Tips & Tricks for Irresistible BBQ
The art of smoking meat is no longer reserved for competitive pitmasters or professional chefs. With the accessibility of modern electric smokers, particularly popular models like those from Masterbuilt, anyone can achieve delicious, smoky flavors in their backyard. You don’t need a custom-built, elaborate setup; even a simple DIY smoker, as demonstrated by culinary innovators like Alton Brown with just a hot plate and a cardboard box, proves that the fundamental requirements are merely a contained space for smoke and food. The essence of smoking lies in its simplicity and the transformative power of wood smoke.
Throughout my professional cooking career, smokers were an integral part of our kitchen arsenal. We often adapted them for a specialized technique known as “cold smoking.” This method presents a unique challenge: maintaining a consistently low temperature within the smoker, despite an internal heating element, to infuse a deep smoky flavor without actually cooking the food. Our solution involved an abundance of ice, meticulously placed in sheet pans inside the smoker. This innovative approach allowed us to achieve high smoke levels, perfect for items like smoked salmon, which benefits from a curing process rather than heat to transform its protein. Some of our improvised cold smokers included modified catering sheet pan boxes, such as a CresCor, while others were existing smokers repurposed for cold applications. While my personal Masterbuilt smoker isn’t yet rigged for cold smoking, I’m eager to apply my engineering skills to develop my own custom setup, especially since Masterbuilt offers a convenient cold smoke assembly kit. But before diving into advanced modifications, let’s explore some fundamental tips and invaluable pointers specifically for your Masterbuilt smoker that can elevate your smoking game and ensure consistently mouth-watering results.
1) Elevate Your Smoker for Optimal Performance and Durability
One of the most overlooked aspects of setting up an outdoor smoker, especially if you live in a region with fluctuating weather, is its placement relative to the ground. In areas prone to snow, like where I reside, July might pose no issues, but January is a different story. Snow accumulation around the base of the smoker can become a significant concern. My specific model, the 30-inch digital electric smoker, comes with adjustable feet that are quite short, typically less than an inch. This minimal clearance means snow can easily block the door, making access difficult. Beyond the inconvenience, prolonged exposure to moisture from melting snow can lead to rust on metal components, particularly the screws on the footrests, compromising the unit’s longevity and affecting its structural integrity over time.
To mitigate these issues, I’ve placed my smoker on a sturdy pallet. This simple addition elevates the unit by a crucial three inches, keeping it well above snow accumulation and minimizing direct contact with ground moisture. The slight increase in height also offers an ergonomic benefit, making the task of loading wood chips into the smoker considerably easier by reducing the need to bend over as far. This small, often inexpensive adjustment yields significant practical advantages, protecting your investment and enhancing your user experience.
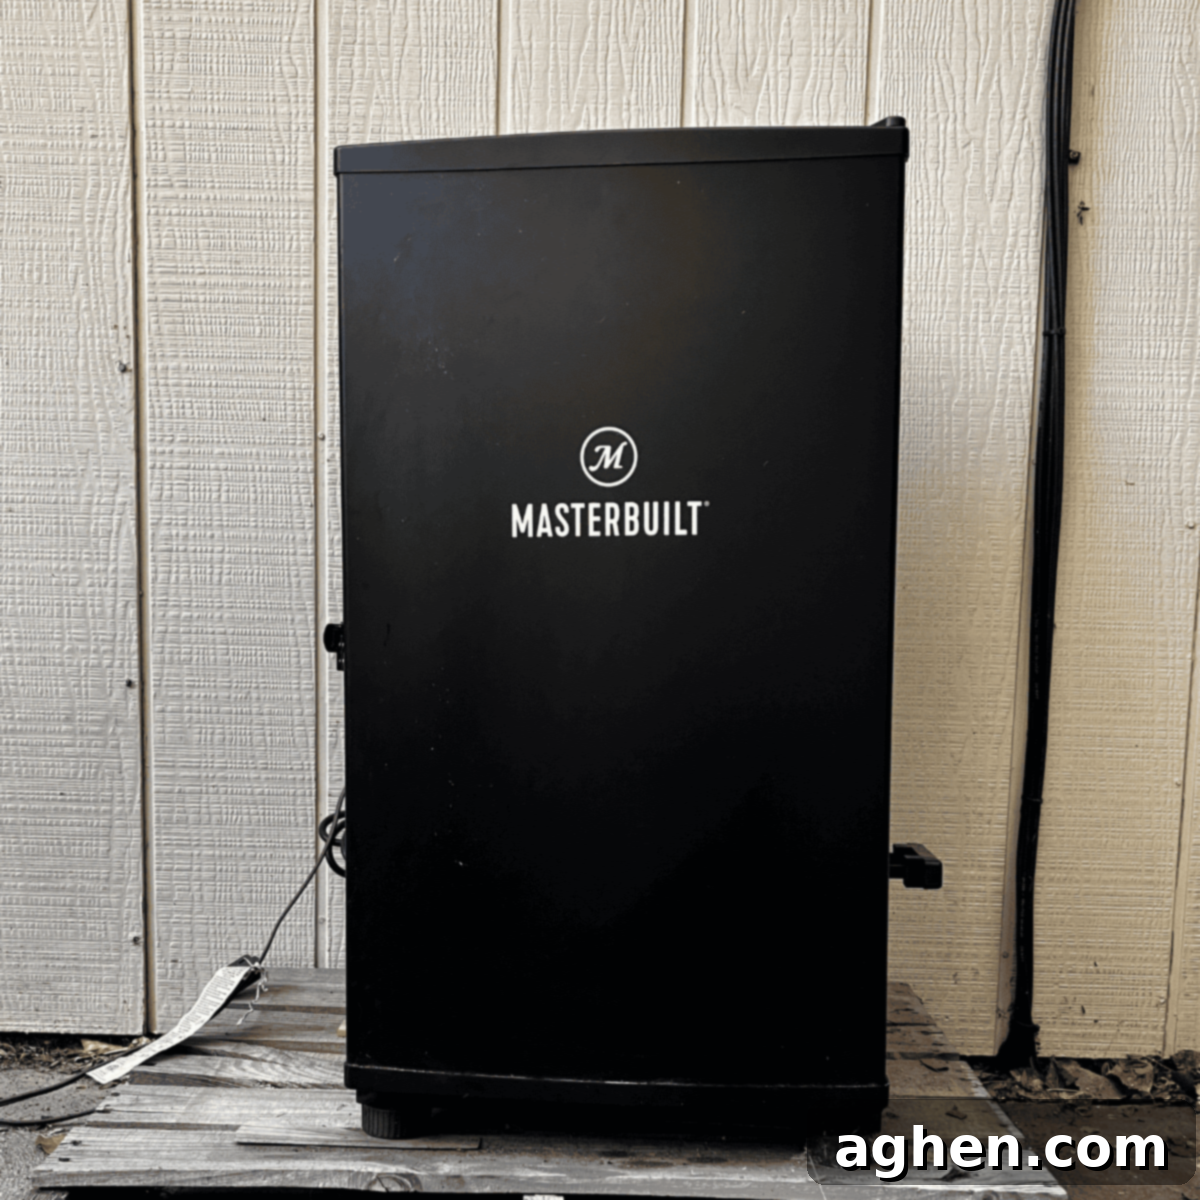
For those who prefer a more integrated solution, Masterbuilt offers a dedicated riser made of black metal, designed to seamlessly match the smoker’s aesthetic. This riser adds a substantial 10 inches to the bottom of the unit, and thoughtfully includes wheels on its two back legs. While I rarely move my smoker once it’s set up, I can certainly appreciate how these wheels would be an immense benefit for individuals who need to regularly transport or store their smoker when not in use, making it much more portable and convenient. Whether you opt for a DIY pallet or a purpose-built riser, investing a little thought into your smoker’s base can prevent future headaches and enhance your overall smoking experience, ensuring its longevity and ease of use.
2) Digital vs. Analog Controls: Navigating Your Smoker’s Interface
In today’s tech-driven world, it seems almost every appliance, including smokers, is equipped with sleek digital pushbuttons and flush control panels. While undeniably modern and aesthetically pleasing, the user experience can sometimes fall short. The initial allure of these contemporary interfaces often fades when you find yourself repeatedly pressing a button to incrementally increase the temperature from, say, 100°F to 250°F. While some digital controls allow you to hold the button for faster adjustments, this isn’t always the case, leading to a tedious setup process. Furthermore, the precision offered by digital displays, while appealing, can sometimes be offset by practical frustrations in outdoor cooking environments.
My personal frustration, which I make no attempt to conceal, stems from a common vulnerability of these digital panels: moisture infiltration. When condensation or rain seeps behind the plastic sticker overlaying the control panel, the sensitive electronic components can be affected, rendering the buttons unresponsive or erratic. I’ve experienced this firsthand with my own smoker; I can feel the physical button beneath the sticker, but pressing it often yields no immediate response. Eventually, it may register, but the intermittent nature makes precise temperature setting a frustrating ordeal. This same issue plagues my kitchen stove, and in both instances, all I truly desire is a simple, tactile dial. A dial allows for a single, fluid wrist motion to instantly set the desired temperature, offering an intuitive and reliable control experience that feels more robust in variable outdoor conditions.
Fortunately, Masterbuilt acknowledges this preference by offering an analog smoker model. This version features a traditional, easy-to-read thermometer mounted directly on the front door, providing immediate visual feedback on the internal temperature. In contrast, the digital electric models display the internal temperature on their electronic control panel. The analog smoker’s power cord often resembles those found on electric skillets or griddles, with the temperature control dial conveniently located at the cord’s business end, which then plugs into the unit. Both digital and analog electric Masterbuilt smokers typically boast a maximum temperature setting of 275°F, which is sufficient for most low-and-slow smoking applications.
Ultimately, the choice between digital and analog is a matter of personal preference and priority. Digital models offer the distinct advantage of programmable timers, allowing the unit to automatically shut off once a set cooking duration is reached – a feature not available on analog versions. This can be a significant convenience for long overnight cooks. However, if simplicity, tactile control, and robust performance in varied conditions are your primary concerns, an analog smoker might be the more appealing option, often proving more durable against the elements. Weighing these factors carefully will help you select the interface that best suits your smoking style and desired level of control.
3) The Water Pan Debate: Does Added Moisture Benefit Smoked Meats?
Masterbuilt smokers, like many others, come equipped with a water pan – a feature designed with a seemingly straightforward purpose: to introduce moisture into the smoker during the cooking process. The underlying idea is that this added water will help keep the meat moist and potentially enhance smoke adhesion. However, it’s at this very point that the “smokemaster divide” emerges, creating a passionate debate among enthusiasts about the true efficacy of a water pan.
Does adding water genuinely keep the meat moist? The answer, surprisingly, isn’t a simple yes or no. The theory often suggests that steam helps tenderize the meat and prevents it from drying out, particularly during long smoking sessions. However, some argue that the water vapor can interfere with the formation of a desirable “bark” – the flavorful, crusty exterior unique to smoked meats. Another point of contention, especially with fatty cuts, is the notion that water vapor could cause rendered fat to run off the meat more quickly, rather than allowing it to be reabsorbed or to adhere to the surface. This assumption, that liquidized fat somehow permeates the meat in the fleeting seconds before gravity pulls it away, also explains why basting with water-based pan drippings is largely ineffective. True basting, as practiced by Michelin-starred chefs who use fat like butter on pan-seared steaks, aims to build a better crust and enrich flavor – a very different mechanism from what occurs in a smoker’s water pan.
For years, I was firmly in the “no-water” camp, a habit carried over from my professional kitchen experience where water pans were rarely, if ever, utilized in our smoking setups. But for the sake of this article and to genuinely test the conventional wisdom, I recently smoked a tri-tip using a water pan. The results were intriguing: the meat was noticeably smokier than previous attempts without water. The prevailing theory for this outcome is that the steam produced by the water pan creates a moist surface on the meat, to which the smoke particles can more readily adhere, resulting in a deeper smoke flavor profile. This suggests that while a water pan might not directly moisturize the internal meat, it could facilitate a better smoke ring and external flavor.
Purists, perhaps not entirely without merit, might argue that the presence of significant steam transforms the appliance into a steamer rather than a pure smoker. While a valid complaint, it’s worth remembering that meat itself contains water, which evaporates during cooking. Perhaps the core issue isn’t the presence of moisture, but the *addition* of external water. My foray into various smoker forums has confirmed this passionate divide, with strong advocates on both sides of the water-or-no-water debate, often with deeply held beliefs about what constitutes “true” smoking. This highlights that there’s no single universal answer, and much depends on personal preference and the specific outcome desired.
What works exceptionally well for a tri-tip may not yield the same results for a turkey, for instance. I haven’t yet conducted experiments with different proteins, so I cannot definitively say. What is undeniably clear, however, is the value of testing and challenging established wisdom. Personal experimentation is the key to uncovering the processes and techniques that consistently produce the best finished product for *your* palate and for the appreciation of your audience. The “right” answer in smoking is ultimately the method that delivers the most delicious results you can achieve for any given cut of meat.
4) Boost Temperature Stability with Thermal Mass: The Power of Bricks
Maintaining a steady and consistent temperature is absolutely paramount for successful smoking. A smoker’s primary function is to regulate its internal heat, ensuring consistent cooking and optimal smoke penetration. However, external factors like fluctuating ambient temperatures, opening the door for checks, or even the heating element cycling on and off can lead to temperature swings within the cooking chamber. This is where the concept of thermal mass becomes incredibly useful.
One argument frequently made in favor of using a water pan is its potential to act as a thermal buffer, stabilizing the internal temperature. A few pints of water can indeed absorb and release heat gradually, creating a more stable environment. However, water in the hot, circulating air of a smoker will inevitably evaporate over time, diminishing its thermal stabilizing effect until it’s reduced to zero, requiring constant replenishment. This constant evaporation also means a fluctuating thermal mass, and as the water level drops, its ability to buffer temperature changes decreases.
Bricks, on the other hand, offer a superior and more enduring solution for adding thermal mass. Once heated, bricks retain a significant amount of thermal energy, releasing it slowly and steadily back into the smoker’s chamber. This inherent property helps to iron out temperature swings, creating a much more consistent cooking environment throughout your smoking session. Crucially, bricks do not evaporate, meaning their thermal stabilizing effect remains constant from start to finish without any need for intervention. They act as a heat sink, absorbing excess heat when the element is on and radiating it back when the element cycles off or the outside temperature drops, leading to a much more stable internal climate.
My Masterbuilt smoker is already well-insulated, which certainly helps with heat retention. Even so, strategically placed bricks would likely enhance its ability to maintain a rock-steady temperature, especially during longer smokes or in colder weather, where the heating element might struggle to maintain set points. For less insulated units, such as the cardboard box smoker mentioned earlier in this article, or any DIY setup, incorporating bricks would be absolutely essential for effective temperature regulation. Fire bricks are ideal due to their excellent heat retention and resistance to thermal shock, but even standard kiln-fired bricks can make a noticeable difference. By adding this non-evaporating thermal mass, you’re building a more robust and reliable system for consistent smoking results, allowing your smoker to perform at its peak, regardless of external conditions.
5) The Elusive “Thin Blue Smoke”: Understanding Smoke Production
“Where there’s smoke, there’s fire” is an age-old adage, but in the world of smoking, it needs a slight refinement. While we certainly don’t want an uncontrolled fire in our smokers, we absolutely desire the nuanced flavors imparted by smoke. When you first add wood chips to your smoker, you’ll typically observe a thick plume of white smoke in short order. This initial burst is normal, but it’s important to understand that the ideal smoke for flavor is often much less visible and often misunderstood.
As the wood chips begin to smolder and the combustion process stabilizes, this thick white smoke should taper off. Experienced pitmasters often refer to the desired smoke as “thin blue smoke” – a barely visible, wispy stream that indicates clean, efficient combustion and produces the best, most desirable flavor. Thick, acrid white smoke, in contrast, often signifies incomplete combustion and can impart a bitter, off-putting taste to your food, sometimes referred to as “creosote taste.” In smokers that also function as cookers (distinguishing them from cold smoking, which does not cook the food), the smoke is the primary source of flavor, while the heating element simultaneously cooks the food. Some advanced smoker designs separate the smoke-producing device to the side, but the fundamental principle remains: both smoke generation and heat application are occurring simultaneously, and balancing them is key.
The presence of burning wood chips, or the resulting charcoal and ash, is a clear indicator that smoke is being produced, even if it’s not visibly dense. Don’t be fooled by the lack of a thick cloud; consistent, light smoke is what you’re after. The true challenge for any aspiring smokemaster is to consistently achieve that “just right” smoke. This involves learning to meticulously adjust the baffle, which controls the oxygen flow into the smoker, as oxygen levels directly impact the quality of combustion. Too much oxygen can lead to a quick, hot burn without much flavor, while too little can produce that undesirable thick white smoke. Additionally, the quantity of wood chips added will directly influence both the intensity and duration of smoke production, requiring careful monitoring and replenishment.
The basics of smoking are straightforward: apply heat and smoke to cook your food. However, the thrilling nuance lies in mastering the subtleties, constantly learning and refining your technique to transform a merely “good” smoked dish into something truly “great.” Understanding what proper smoke looks (or doesn’t look) like, and how to achieve it, is a critical step in this ongoing journey toward pitmaster perfection.
6) Wood Chips Only: Selecting the Right Fuel for Your Masterbuilt Smoker
It’s crucial to understand that most vertical, cabinet-style Masterbuilt smokers are specifically engineered to operate with wood chips, not pellets. Wood pellets, while popular in pellet grills and other types of smokers, require a different feeding mechanism and burning process that is fundamentally incompatible with the wood chip tray and heating element design of these electric smokers. Attempting to use pellets could lead to inconsistent smoke production, difficulty in maintaining temperature control, and potentially even damage to your unit due to improper combustion or clogging of the chip loader system. Always refer to your smoker’s manual to confirm the correct type of wood fuel.
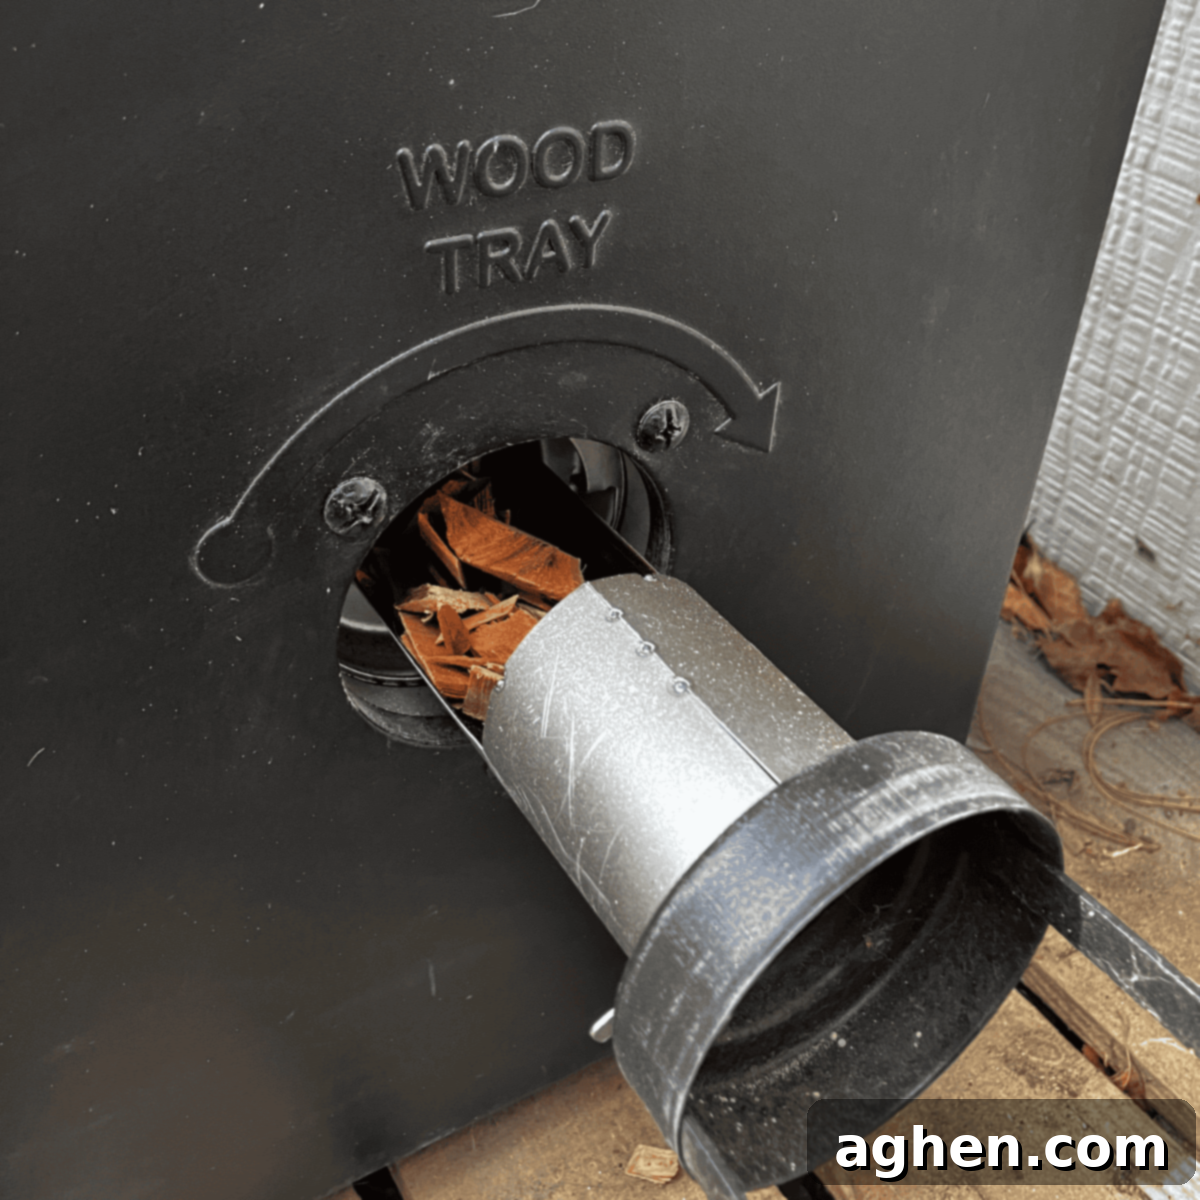
For the truly crafty smokemasters with access to private orchards or wood lots, there’s the exciting possibility of sourcing your own apple, cherry, maple, hickory, or even walnut wood. With the right tools, these woods can be chipped, seasoned (allowing them to dry out properly for clean burning), and prepared for smoking, offering a unique connection to your food and a truly custom, regional flavor profile. While this DIY approach can be incredibly rewarding, commercially available wood chips provide a convenient and excellent alternative, offering a vast array of choices from various wood types, all pre-processed and ready for your smoker.
The market is rich with various wood chip options, ranging from fruitwoods like peach and pecan to robust hardwoods such as hickory, mesquite, and oak. I’ve personally experimented with both peach and pecan chips, and what often surprises people is that the smoke doesn’t taste directly like peaches or pecans. Instead, these woods impart a subtle, often sweet, mild, or nutty essence that complements the meat rather than overpowering it. The flavor profile is more about the nuanced, aromatic compounds released by the wood’s smoke than a direct fruit or nut taste, which is a common misconception for beginners.
My preference leans towards the hardwoods, with maple and hickory currently topping my list. They deliver a reliable and distinct smoky flavor that I appreciate, without requiring me to “pretend” to taste something that isn’t truly there. Maple offers a sweet, mild smoke, while hickory provides a strong, bacon-like flavor that pairs exceptionally well with pork and beef. Experimenting with different types of wood chips is a delightful and essential part of the smoking journey. Each wood offers its own unique contribution to the overall flavor of your smoked meats, and discovering your favorites through trial and error is an essential step in honing your pitmaster skills and personalizing your BBQ creations.
7) The Pros and Cons of a Glass Smoker Door
On the surface, a glass door on a smoker might seem like an attractive feature, promising easy visibility of your culinary masterpiece as it slowly transforms. However, the reality of smoking quickly reveals that it is, inherently, a messy business. Smoke is composed of numerous compounds, including tars, resins, and creosote, and these particles will inevitably adhere to every interior surface of your smoker, including the food itself, and yes, any glass window, making observation challenging.
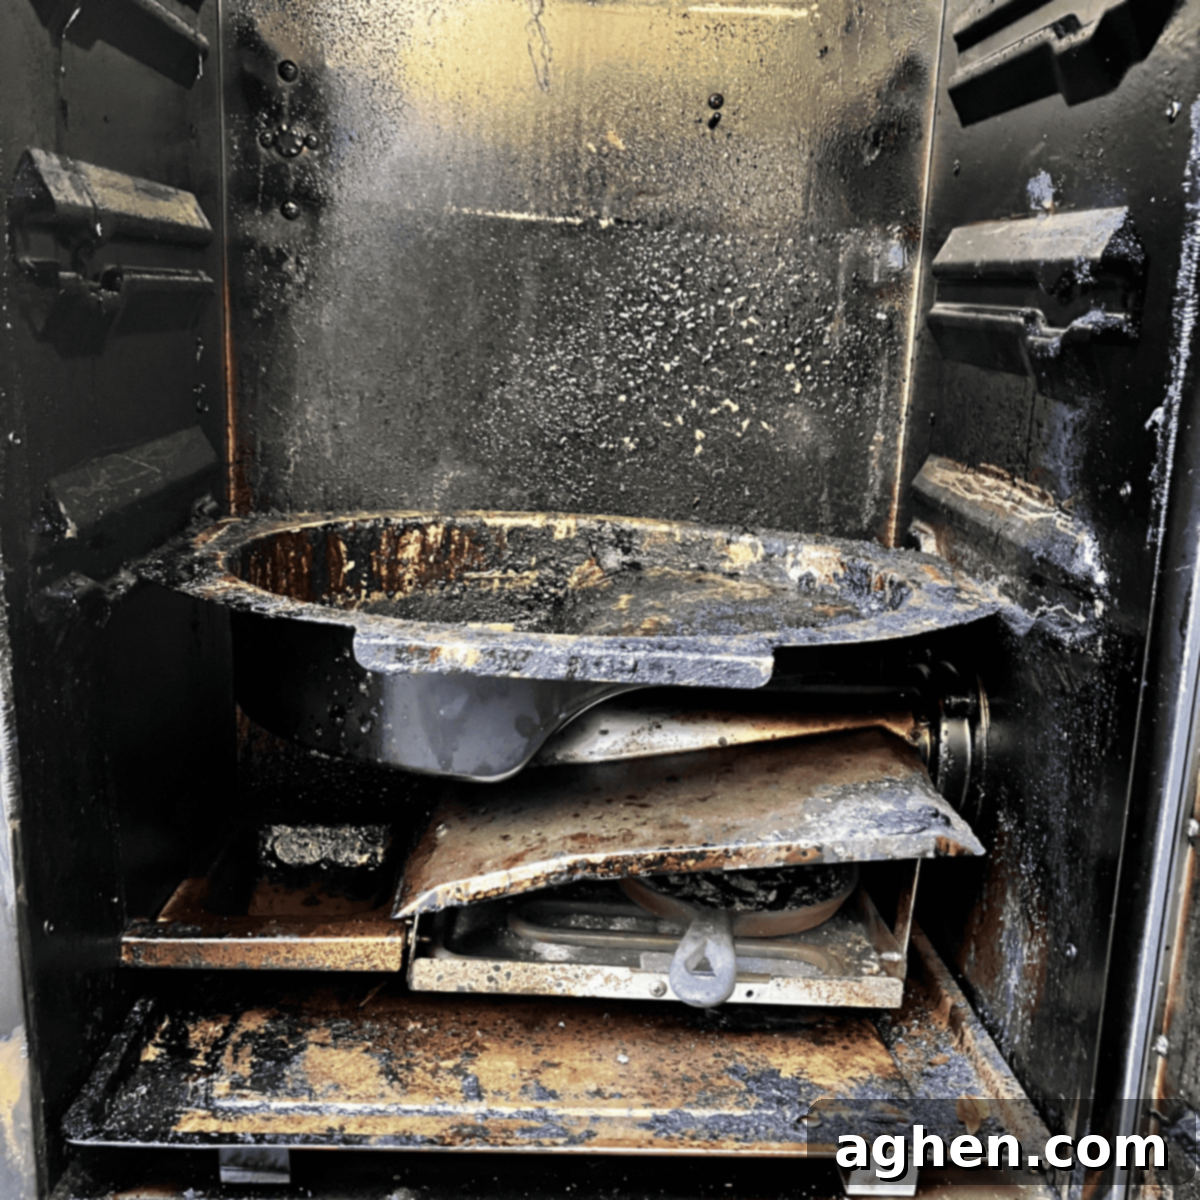
During an active smoking session, the cabinet will quickly fill with dense smoke, which, even if it’s the desirable thin blue smoke, will still obscure any clear view through a glass panel. Beyond this initial visual obstruction, those smoke compounds will rapidly coat the interior surface of the glass, creating a stubborn, opaque film of soot and creosote. This makes it difficult, if not impossible, to clearly see what’s happening inside, much like a fireplace door that becomes opaque with grime even before the first fire has fully established itself. The perceived “advantage” of visibility quickly dissipates, rendering the glass largely ineffective for its intended purpose within the first hour of smoking.
Another common concern I’ve pondered is whether a glass door might act as a poor insulator compared to a solid metal door, potentially leading to greater heat loss and temperature instability. Glass, by its nature, generally has a lower insulating value than a thick, insulated metal wall. While modern double-pane glass might mitigate some heat loss, a quick survey of various smoker forums suggests that, while the impact on overall smoker temperature decrease might be minimal or easily compensated for by the smoker’s heating element, the primary complaint remains the rapid accumulation of smoky residue on the window, rendering it useless for observation. So, the theoretical benefit of checking on your food without opening the door is often negated by practical realities and potential performance compromises.
Perhaps the most significant concern with a glass smoker door, particularly in an active backyard environment, is the risk of breakage. With children playing, pets roaming, or even just accidental bumps from tools or equipment, glass is inherently fragile. A broken door not only poses a significant safety hazard with glass shards potentially contaminating your food but also brings an abrupt and unfortunate end to your smoking session due to loss of heat and smoke containment. Considering these practical drawbacks – the rapid loss of visibility, potential insulation issues, the challenge of cleaning, and the critical risk of breakage – a solid, well-insulated door often proves to be the more practical, durable, and reliable choice for a backyard smoker, prioritizing function over fleeting aesthetics.
8) The Critical Step: Why Resting Meat is Non-Negotiable for Perfection
After hours of carefully monitoring temperatures and smoke, the final moments of a cook are often the most tempting to rush. However, one of the most crucial, yet frequently overlooked, steps for achieving truly tender and juicy smoked meats is allowing adequate resting time. Culinary luminaries like Alain Ducasse, the multi-Michelin-starred French chef, famously advocates that a steak should rest for at least half the time it took to cook it. For larger cuts, the recommendations are even more substantial: many seasoned pitmasters recommend resting a pork butt or brisket for anywhere from two to four hours after it comes off the smoker.
While this might sound like an excessively long wait after a lengthy cooking process, I assure you, it is worth every single second. Is it absolutely necessary for the meat to be edible? No. But will you notice a profound difference in the final product? Absolutely, unequivocally yes. Resting is not just a suggestion; it’s a fundamental technique that dramatically impacts the texture, juiciness, and overall enjoyment of your smoked creations.
The science behind resting is elegantly simple yet incredibly effective. When meat cooks, especially at high temperatures or over extended periods, its muscle fibers contract, forcing the internal juices towards the center. If you slice into the meat immediately after removing it from the heat, these concentrated juices, under pressure, will simply spill out onto your cutting board, leaving the meat dry, tough, and less flavorful. Resting allows the muscle fibers to relax, giving those precious juices time to redistribute evenly throughout the entire cut. This reabsorption of juices means that when you eventually slice the meat, the moisture stays where it belongs – within each tender bite.
For a steak, as Ducasse implies, this redistribution is vital for maximum juiciness. For substantial cuts like a brisket or pork butt, which contain significant connective tissue and require extended cooking times to break down, far more time is needed to allow these juices to permeate and settle throughout the entire mass. This process also aids in redistributing moisture, resulting in a finished product that is uniformly tender, moist, and flavorful from edge to edge. Furthermore, resting allows the internal temperature to equalize, carrying over residual heat to ensure even cooking and tenderization without overcooking the outer layers.
This “resting idea,” though seemingly demanding a large time commitment, applies equally well to grilled steaks and is particularly effective for tri-tip. My preferred method for tri-tip is to wrap it tightly in heavy-duty aluminum foil immediately after removing it from the heat. I then place this foil-wrapped package into a zip-top baggie, and then often into a second one for extra security against leaks, ensuring as much air is squeezed out as possible to retain heat. Finally, I wrap the entire package snugly in a couple of clean kitchen towels and allow it to rest for a minimum of 30 minutes, or even longer for larger cuts. Trust me on this: the transformation in tenderness and juiciness is truly remarkable.
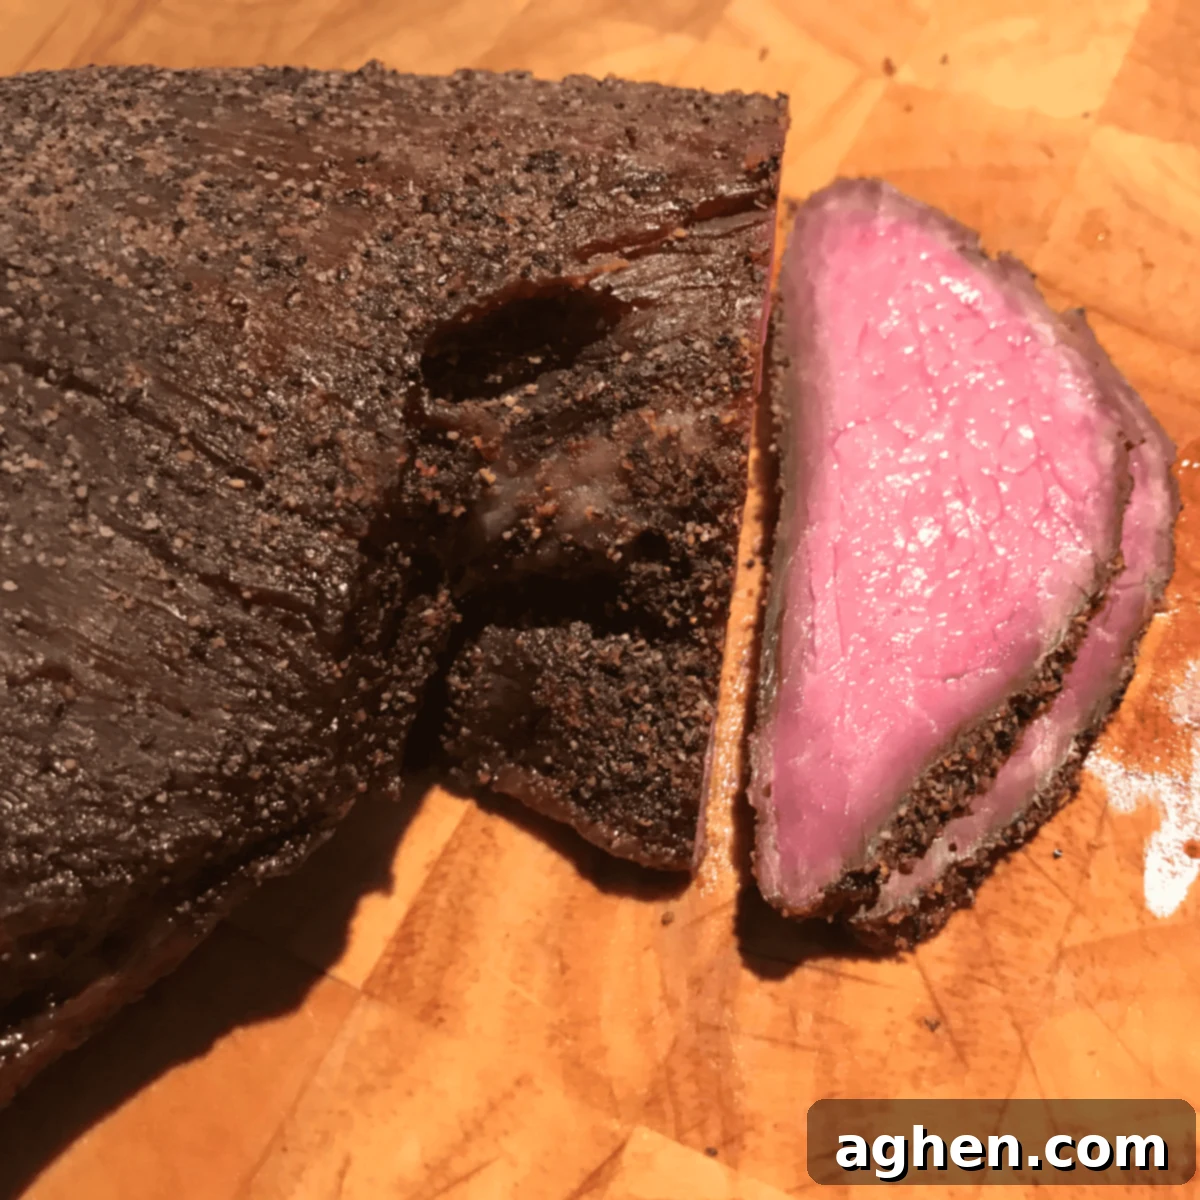
After its well-deserved rest, you’ll discover a baggie full of incredibly flavorful, perfectly suitable juice – a well-earned reward for the cook! More importantly, you’ll be treated to the most tender tri-tip you’ve ever made, whether smoked or grilled. You’ll also notice little to no juices spilling onto your cutting board when you slice into it, a testament to the juices being locked within the meat, where they belong. Patience during the resting phase truly elevates your smoked meats from good to extraordinary, delivering a truly superior culinary experience.
9) Precision is Key: The Absolute Necessity of a Reliable Meat Thermometer
While experienced cooks can often approximate doneness based on cooking time per pound, such as “20 minutes per pound,” this method is merely a rough guide, prone to significant inaccuracies due to variations in meat thickness, cut, and even the smoker’s consistency. To achieve consistent, precise, and most importantly, safe results, particularly with smoked meats, a reliable thermometer is not just a useful tool—it is an absolute necessity. Different types of meat require specific internal temperatures for optimal doneness, texture, and crucially, food safety, and only a thermometer can provide that crucial, verifiable accuracy.
Thankfully, we have several excellent options, most of which fall into the category of “instant-read” or continuous-monitoring devices, each with its own set of advantages and ideal use cases:
The first option is an **oven-proof, leave-in thermometer**. This type is designed to be inserted into the thickest part of the meat (avoiding bone) before it goes into the smoker and remains there throughout the entire cooking process. Its chief advantage is that it eliminates the need to open the smoker door and repeatedly pierce the meat to check the temperature, thus preventing valuable juices from escaping and minimizing heat loss. You can monitor the temperature without disturbing the cooking environment, making it ideal for set-it-and-forget-it long smokes.
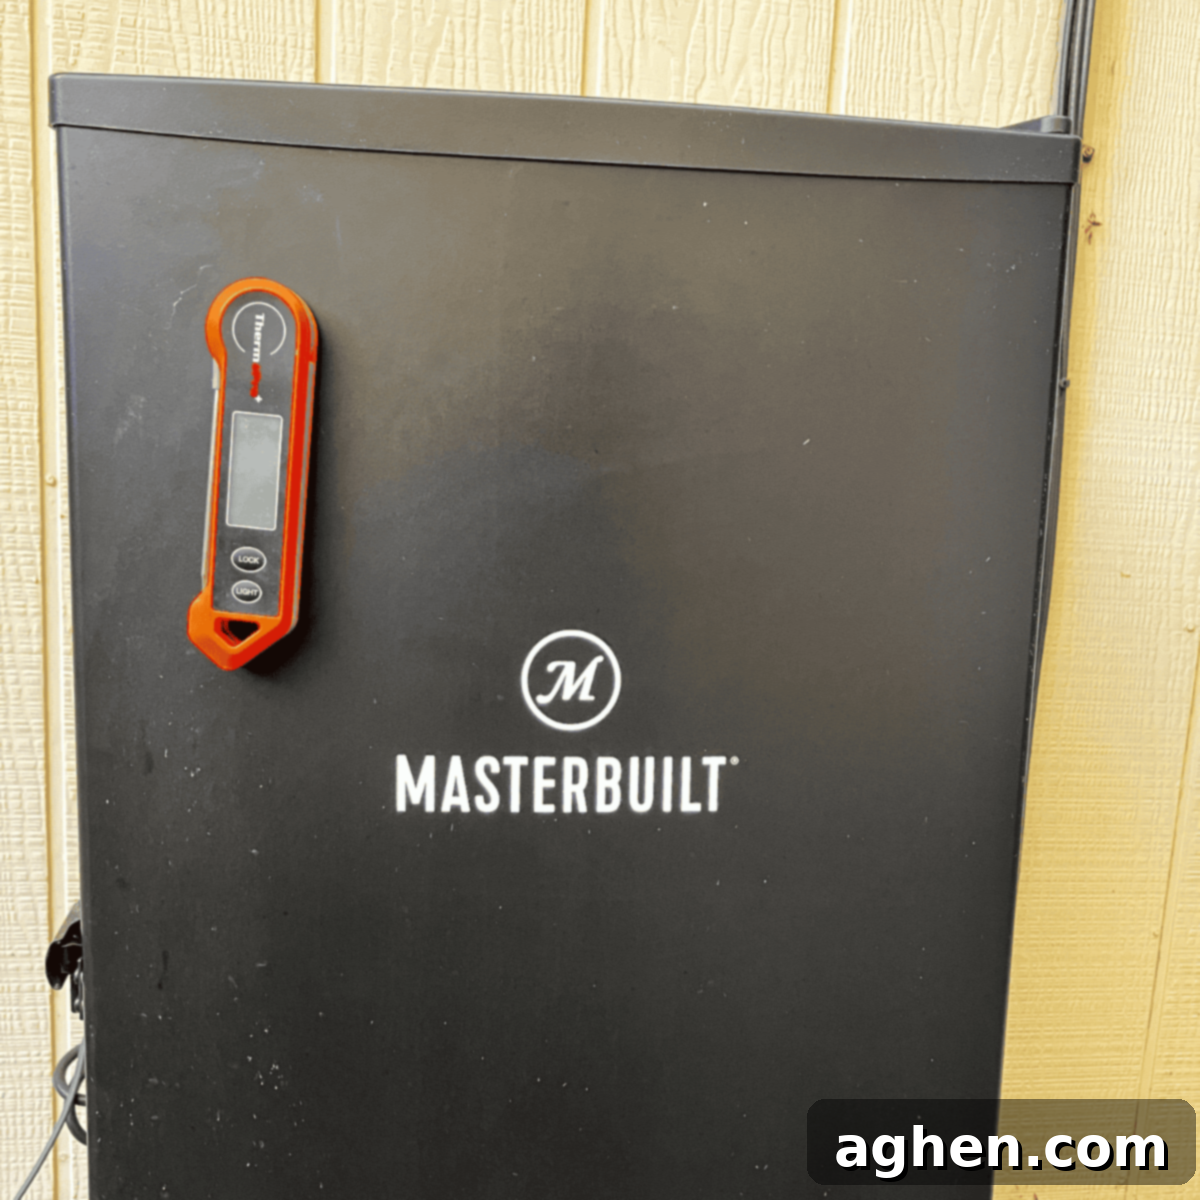
Next are **digital instant-read thermometers**. These are incredibly popular for their speed and accuracy, providing an exact temperature reading in mere seconds. While they do require you to open the smoker and pierce the meat each time you check, their ability to provide precise, on-the-spot readings makes them indispensable for spot-checking doneness, particularly when approaching your target temperature. I personally prefer these far more than their analog counterparts (an irony I acknowledge, given my preference for analog smoker controls!). They are swift, precise, and generally very easy to read, making quick checks efficient.
The final option, often the most advanced and sometimes the most expensive, is a **wired probe thermometer system** that connects to a programmable monitor. Some sophisticated models, like this one from ChefsTemp, boast the capability to read temperatures from multiple probes (up to four in this example) simultaneously, allowing you to monitor different cuts of meat or various parts of a large roast. The significant advantage here is the “probe once” principle – you insert the probes at the start and monitor temperatures remotely, often via a display unit or even a smartphone app. Programmable alarms that sound when your meat reaches a pre-determined target temperature are incredibly handy, freeing you from constant vigilance and allowing you to focus on other tasks or simply relax. These systems are invaluable for long smoking sessions, ensuring perfect doneness without needing to interact with the smoker itself.
Both oven-proof thermometers and wired probes offer an additional benefit: they can be left in the meat while it rests. This ensures that the meat continues to redistribute its juices without any additional piercing, thereby guaranteeing the least possible liquid seepage and preserving maximum moisture. No matter which type you choose, investing in a good meat thermometer is perhaps the single most important step you can take to elevate your smoking results from guesswork to gourmet, ensuring every piece of meat is cooked to perfection and is safe to enjoy.
10) The Unsung Hero: A Sturdy Work Surface Near Your Smoker
There’s an oft-quoted saying among smokemasters: “If you’re looking, you’re not cooking.” This pithy phrase underscores the importance of minimizing how often you open your smoker door, as each peek allows precious heat and smoke to escape, thereby extending your cooking time and potentially impacting the final product. However, there are times when you simply must open the smoker, whether to add more wood chips, spritz the meat, or, most critically, to check the internal temperature. A brief open-and-close won’t significantly harm anything, but preparing for these necessary interruptions can make all the difference in maintaining efficiency and heat.
If, like me, you primarily rely on an instant-read probe thermometer that isn’t melt-proof or designed to be left in the meat, you’ll frequently need to access your meat. When checking a large cut like a pork butt, for instance, this often involves swiftly pulling out the hot rack, taking your reading, and then quickly closing the smoker door to minimize heat loss. The challenge then becomes: where do you safely place that hot, potentially messy rack while you work? I’ve found my open grill to be an immensely handy and perfectly suited “table” for this purpose. It’s robust, can handle the extreme heat, and is impervious to any drippings or mess, making cleanup a breeze.
If you don’t have a grill conveniently located next to your smoker, finding an alternative sturdy work surface that can withstand both high temperatures and inevitable mess is going to be an invaluable asset. This isn’t just for temperature checks. Some pitmasters like to periodically brush on sauces or glazes during the final stages of smoking, or even after a brief rest, before returning the meat to the smoker. A dedicated table provides the ideal spot for this kind of mid-cook preparation, keeping your smoker’s interior clean and your workflow smooth.
Furthermore, a nearby table is excellent for staging different proteins or vegetables. Shrimp, for example, cooks much more quickly than a brisket. Having a place to organize additional proteins, or sides like corn on the cob, allows you to streamline your smoking process, reduce stress, and ensure everything comes off at the right time. For me, it also serves as a convenient spot to keep essential tools organized and within easy reach – kitchen forks, hot pads, and basting brushes all have their temporary home there. A sturdy, heat-resistant table isn’t just a luxury; it quickly proves its worth as a functional and indispensable component of an efficient and enjoyable smoking setup, allowing you to focus on the cooking, not on juggling hot items.
Smoking meat doesn’t have to be an intimidating endeavor. With a clear understanding of these fundamental tips and a little planning, the process becomes significantly easier and more enjoyable. Remember to factor in that crucial resting time – it will undoubtedly extend your overall timeline, but the superior tenderness and juiciness of the results are unequivocally worth the wait. I sincerely hope these insights help you enjoy your Masterbuilt smoker and the incredible flavors it can produce.
Do you have a go-to trick or a favorite tip for smoking? Please share your wisdom and experiences down in the comments below!
