The Ultimate Guide to Your Blackstone Griddle: Setup, Seasoning, and Sizzling Success for Home & Away
Every so often, a new culinary concept emerges that completely transforms your outdoor cooking experience. For many, this transformative shift has arrived in the form of the orange and black Blackstone Griddle. As an enthusiastic owner of both a Char-Broil gas grill and a Large Big Green Egg, I believed my backyard setup was complete. That was until I witnessed the mesmerizing art of others effortlessly flipping flapjacks and shrimp with the flair of a seasoned diner cook. It wasn’t long before I was captivated by the sheer versatility and performance a griddle offered.
Blackstone proudly reports that a remarkable 92 percent of their customers utilize their griddle more than once a month. This figure significantly overshadows the 58 percent reported by traditional gas and pellet grill owners. Furthermore, an impressive two out of every three Blackstone users find themselves cooking on their griddle more than once a week. These statistics paint a clear picture: Blackstone griddles aren’t just an occasional indulgence; they become a frequent, beloved part of daily cooking routines.
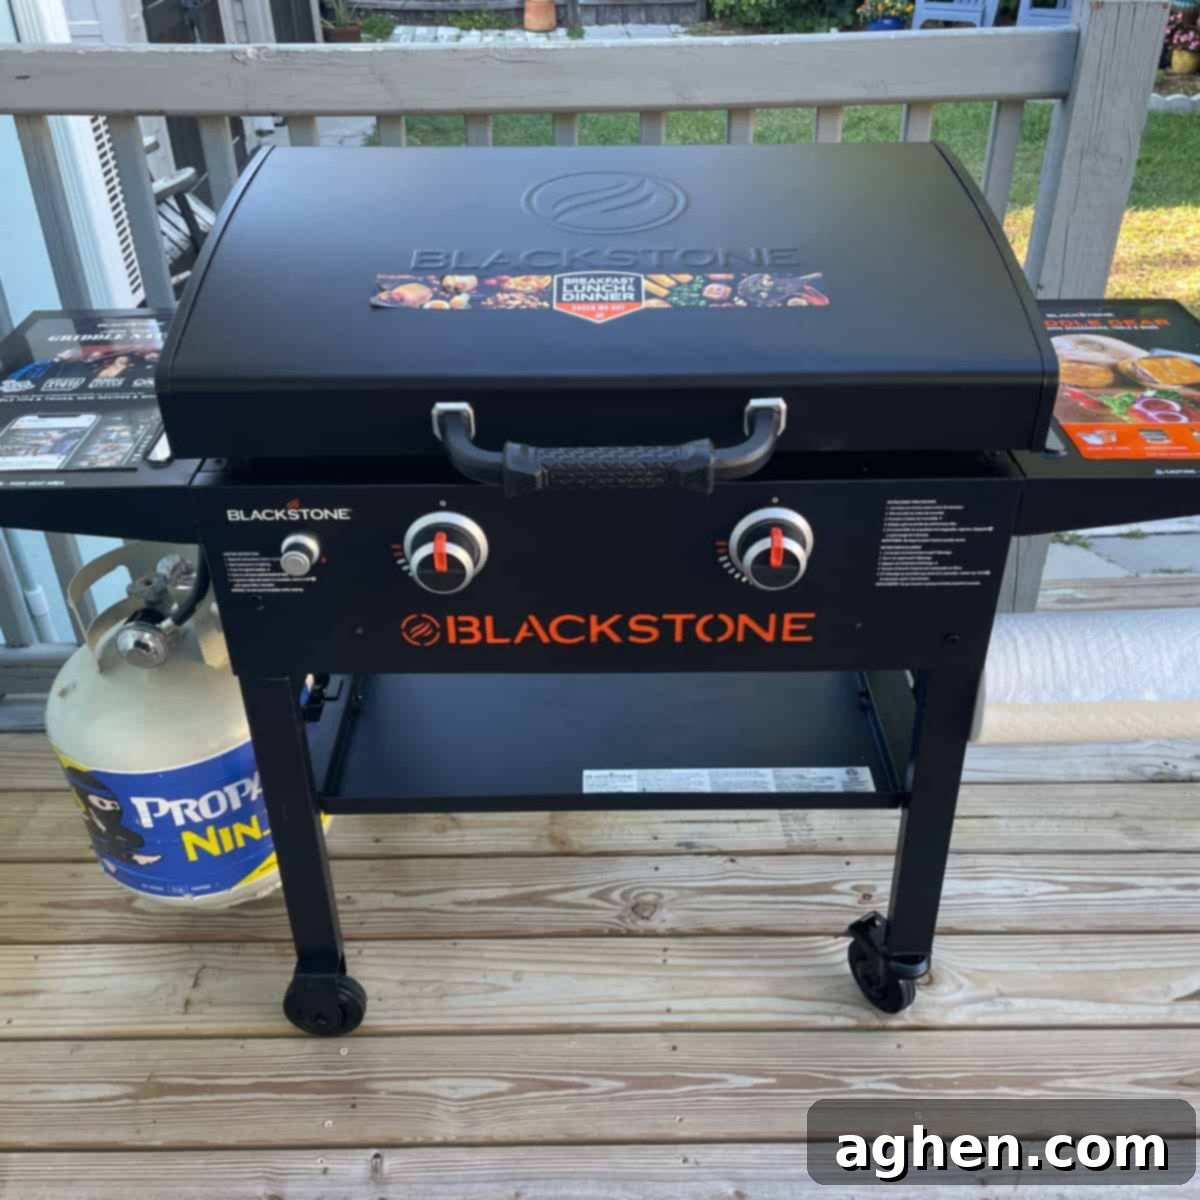
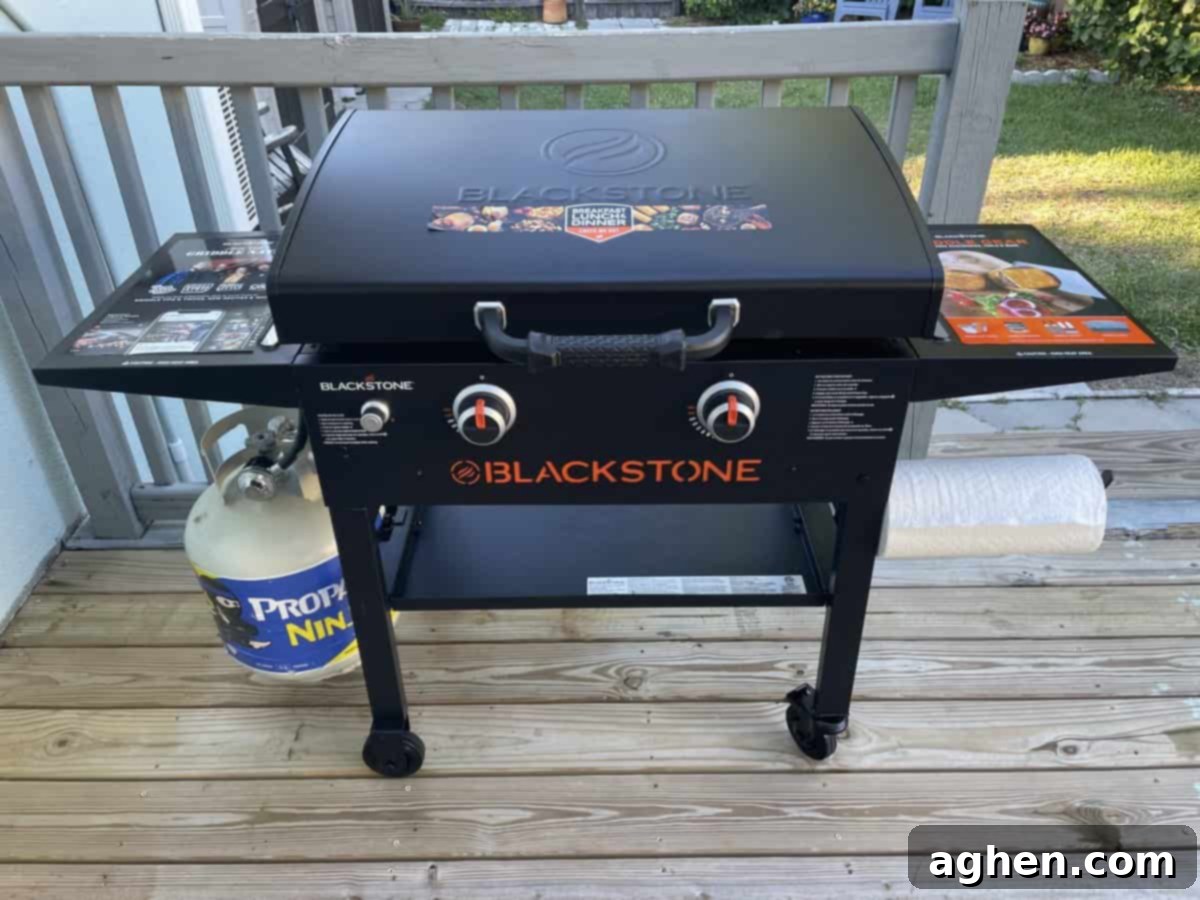
The Blackstone Adventure Ready 2-Burner 28-Inch Outdoor Griddle takes this enjoyment even further. Designed with portability in mind, it offers unparalleled convenience whether you’re searing burgers at home or packing it into the family SUV for a picnic in the park. Its easy assembly and breakdown make it an ideal Blackstone camping griddle or a reliable culinary companion for cross-country road trips and tailgating events. This adaptability truly makes it “adventure ready.”
Convinced by its growing popularity and obvious appeal, I decided it was time to upgrade my deck duo to a dynamic trio. Each cooking apparatus boasts its unique strengths. The Blackstone 28” Griddle, with its incredible versatility for both regular home use and mobile adventures, felt like the perfect addition. Before I knew it, I was at my local Walmart, taking advantage of a special $197 price and officially entering the vibrant world of Blackstone, just in time for what felt like my own personal National Griddle Week. Now, for me, every week is griddle week!
If you’re ready to embrace this exciting outdoor cooking revolution, here are 20 invaluable tips to help you get started, from initial research and choosing the right portable griddle, to assembly, preparation, and your very first delicious cookout:
1. Determine the Optimal Griddle Size for Your Needs
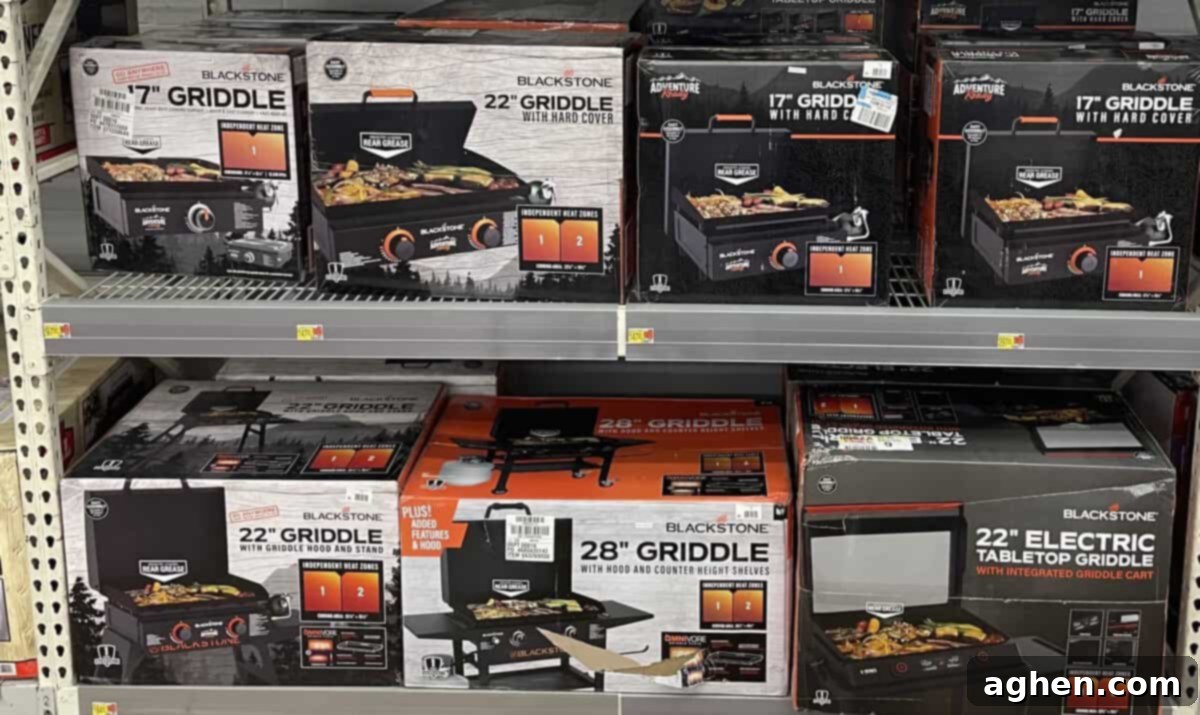
One of the most common debates in online forums, like Reddit, revolves around choosing between the 28-inch and 36-inch Blackstone griddle models. Many seasoned griddle enthusiasts swear by the larger 36-inch unit, arguing it provides an indispensable amount of cooking surface, especially for larger families or entertaining crowds. However, proponents of the 28-inch model highlight its equally important portability factor, alongside offering a perfectly decent cooking area for most tasks. My personal choice was the 28-inch. Given that it’s usually just 2 or 3 of us eating, and my desire to easily fold its legs for transport in my SUV for park outings or stadium tailgates, the 28-inch offers the best of both worlds – ample cooking space without sacrificing the crucial mobility I seek in a portable flat top grill.
2. Secure Your Ideal Griddle Placement
If this Blackstone is your first or sole outdoor cooking apparatus, finding a convenient spot for it might be straightforward. However, if you’re like me, a new standup griddle will be joining existing grilling equipment, requiring a bit more strategic planning. My deck already hosts a Large Big Green Egg ceramic cooker and a Char-Broil gas grill. Living in the Tampa Bay area means tropical summer afternoons can bring unexpected high wind gusts. Therefore, it was paramount to ensure my newcomer, the flat top griddle, was positioned in a safe, sturdy location, ideally stabilized with straps. Fortunately, a somewhat neglected corner of our deck proved to be the perfect, protected spot for this versatile outdoor barbecue griddle.
3. Hunt for Online Deals and Save Big
Patience is a virtue when purchasing any new Blackstone griddle. Sales are frequent, so waiting for a good deal can save you a significant amount. If you spot an attractive price online and plan to pick up your standup grill at a local store, always arrive armed with proof of the online listing. For example, Walmart listed my Blackstone Adventure Ready 2-Burner 28-Inch Propane Griddle online for $197, which was a substantial $100 less than the Amazon price. Upon arrival, I took a quick photo of the barcode on the box and scanned it at the self-service checkout, where it surprisingly registered $297. A quick visit to customer service, where they confirmed the discrepancy, resulted in them honoring the online price of $197 plus tax. Shortly after, a helpful lawn and garden employee assisted in loading the box into my SUV. This experience underscores the importance of being prepared to leverage online prices in-store.
4. Explore Facebook Marketplace for Excellent Used Options
A quick search on Facebook Marketplace in my local area for “Blackstone” immediately revealed multiple enticing options. I saw at least two assembled Blackstone 28-inch standup griddles, each listed for around $200. Beyond these, many more models were available, including numerous examples of discounted used grills. A major advantage of buying through Marketplace is that these units are often already assembled, saving you time and effort. Given that Blackstone griddles are designed for quick disassembly and portability, making them ideal for stuffing into the back of your vehicle, Marketplace and Blackstone products are almost a match made in heaven. The primary downside is the lack of a manufacturer’s warranty registration, and you’ll need to trust that the previous owner assembled and maintained it properly. Always inspect used units thoroughly before committing to a purchase.
5. Invest in a Quality Cover to Protect Your Griddle
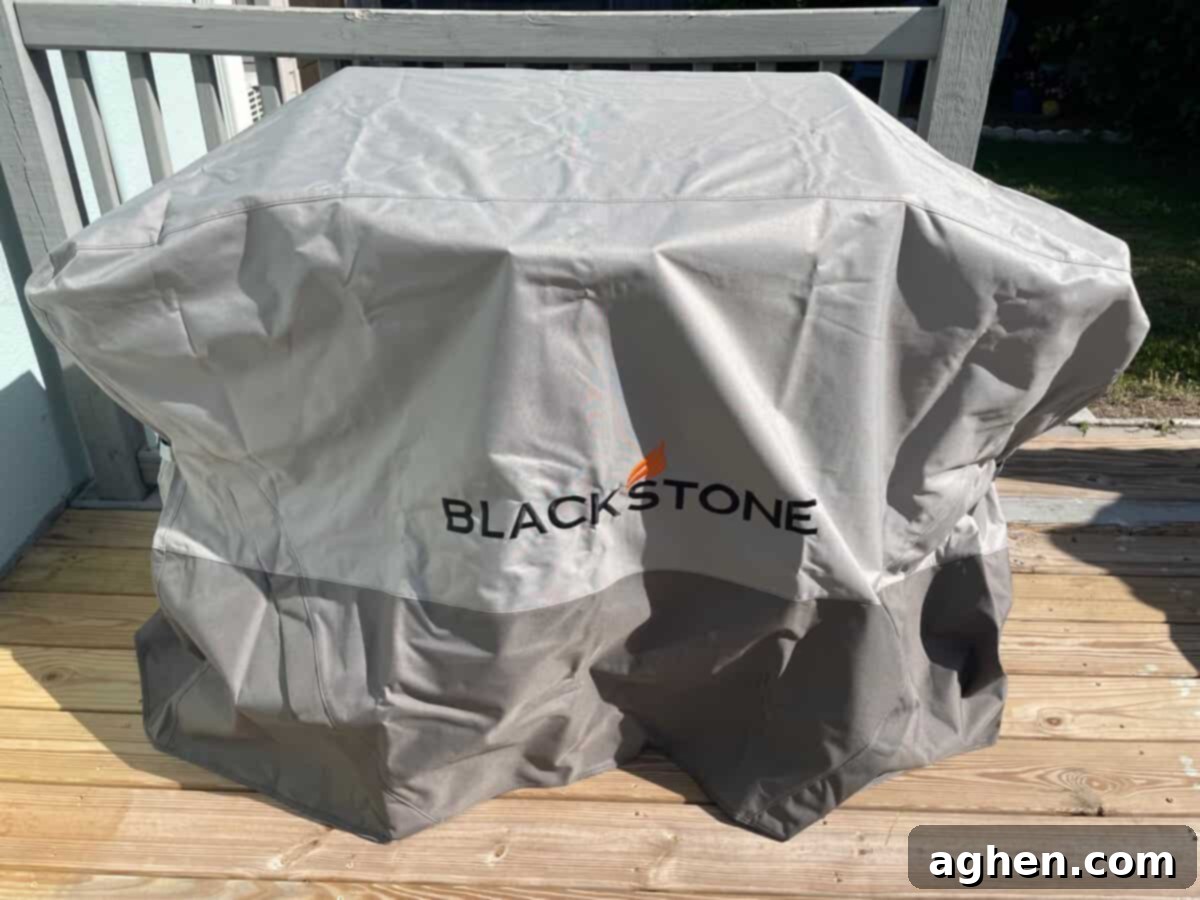
Securing a high-quality cover is crucial for prolonging the life of your new Blackstone griddle. Fortunately, my local Walmart stocked specific covers for both the 28-inch and 36-inch models, a relief since the Blackstone website was sold out of their preferred options. From a personal aesthetic and practical standpoint, I found the 28-inch cover to be superior at this particular retail location. The 36-inch cover was entirely black with an orange Blackstone logo, a design I typically avoid for grill covers, especially in sunny Florida where black fabrics tend to fade quickly within the first year. For those in cooler, less sun-intensive climates, this might not be an issue. However, the 28-inch version featured a gorgeous two-tone design, predominantly heather gray with black bottom trim, offering both style and better fade resistance. Choose a cover that fits snugly and offers robust protection against the elements relevant to your climate.
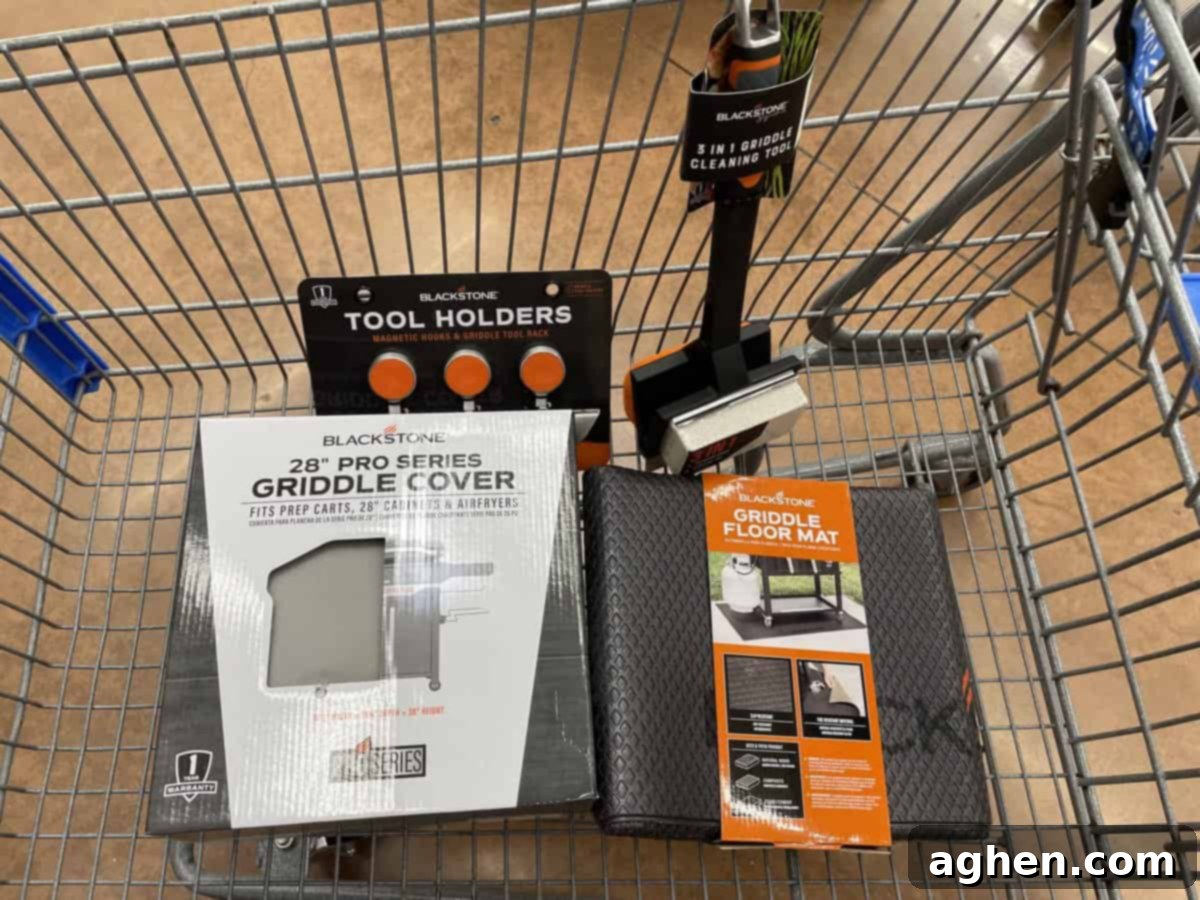
6. Acquire Essential Blackstone Griddle Accessories to Start
It’s incredibly easy to get carried away buying every single Blackstone griddle accessory available when you’re at the store picking up your new flat top grill. Think of it like a casino in Vegas – all the money seems to flow out in the end. For now, I decided my existing spatula was perfectly adequate, so I passed on the specialized two-piece griddle spatula set. The key is to carefully survey the selection and consider which accessories will genuinely make your gas griddle life easier and more efficient, then grab just those few essentials. Absolutely make sure you have two squirt bottles: one for cooking oil (like canola or a similar high-smoke-point oil) and another for water. A good quality Blackstone griddle seasoning is also highly recommended to kickstart your griddle’s journey. You’ll have plenty of time to build your collection later, and remember, there are often like-new accessories available on Facebook Marketplace for a fraction of the retail price.
7. Don’t Overlook Your Propane Supply
Before heading home, make sure to add a propane gas tank or two to your shopping list. If you already have tanks in use with another BBQ gas grill, it’s a wise idea to acquire an extra one for your new griddle. You’ll likely go through propane more quickly than you expect with frequent griddle use. When not in use, store your propane grill tanks in a safe, covered space. However, keep the one for your griddle hooked up to your new flat top grill. This not only fuels your fantastic outdoor cooking adventures – which are undeniably more enjoyable and provide better air quality than an electric griddle – but the weight of the tank also serves as a crucial bonus, adding stability to the otherwise lightweight griddle, especially in windy conditions.
8. Enlist Help for Easier Unboxing and Setup
Once your new Blackstone griddle is in your vehicle, the easiest next step is to politely ask a friend or family member for assistance in carrying the box to your designated grilling area. While these Blackstone 28-inch griddles are designed for portability and ease of movement, making it quite manageable for one person to handle, having an extra set of hands makes the process significantly smoother and safer. Before you even open the box, I highly recommend watching a few YouTube assembly videos. Visual instructions can clarify steps that might seem confusing in the manual, preventing potential frustrations. This preparation ensures you’re ready to assemble your griddle efficiently and correctly right from the start.
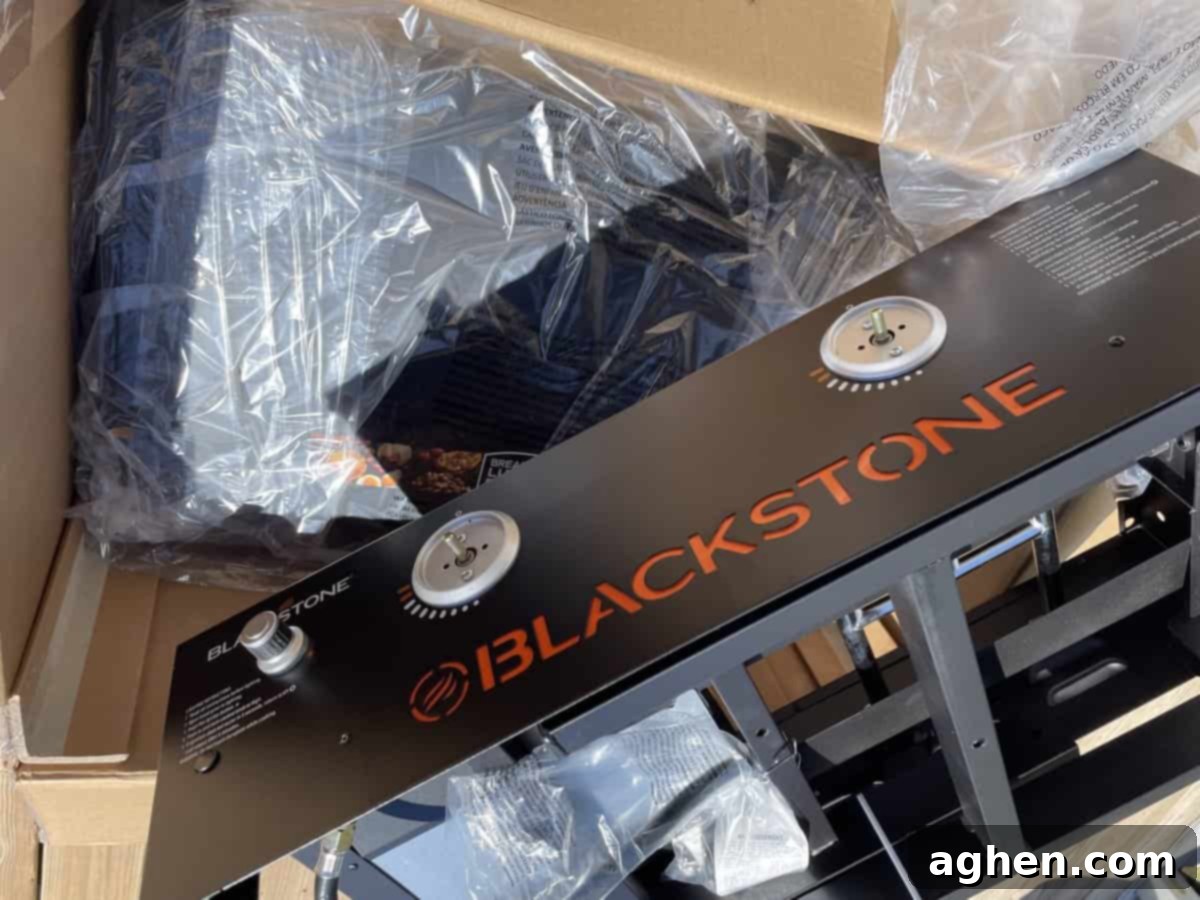
9. Organize Your Assembly Area Meticulously
If you plan to assemble your Blackstone griddle on a deck, as I did, I strongly recommend laying down a large moving blanket or any substantial blanket. This creates a contained assembly area, ensuring that all pieces, especially the very small ones like washers and screws, remain visible and accounted for. This is also an excellent time to place a skid-proof floor mat if you’re using one, as it provides a stable, non-slip surface to work on. Losing a tiny washer through a deck crack can be incredibly frustrating and halt your assembly. Taking a few extra minutes to organize your workspace can prevent these minor but annoying setbacks, adhering to the adage: better to be safe than sorry!
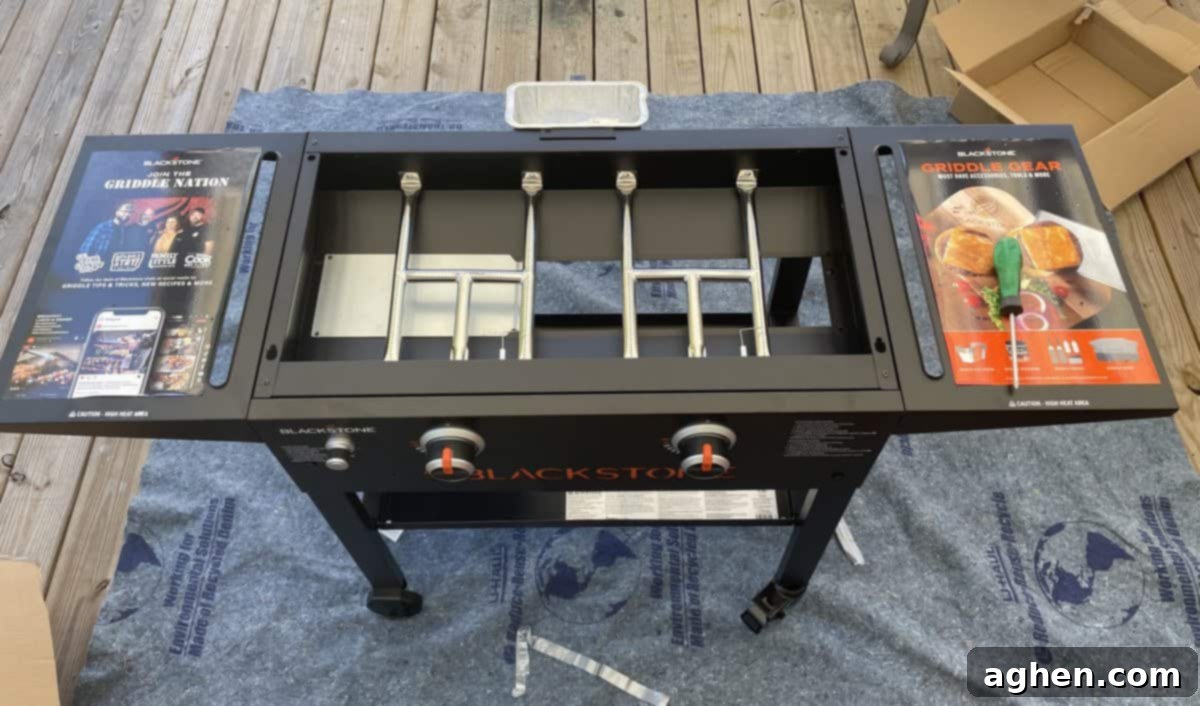
10. Address the Griddle’s Surprisingly Low Height
Upon completing the assembly and flipping the Blackstone griddle stand upright, many, like myself, are often surprised by its relatively low cooking height. After years of cooking on a regular-size gas grill and a Big Green Egg with a table nest, where the cooking grate is roughly waist-high, the griddle surface sits noticeably lower, around thigh-high. As someone who is 5-foot-10, I find myself stooping slightly during extended cooking sessions. This common observation has sparked discussions on platforms like Reddit, where a much taller user than me voiced similar concerns. One ingenious solution suggested by a user involved using bed risers. Indeed, you could simply remove the four wheels (two of which are casters) and add risers to extend the height by about a foot or so. Alternatively, constructing a custom platform to elevate the griddle is another viable option. I invite anyone from Blackstone or experienced fans to share their insights in the comments below on why these griddles are engineered at this height! The silver lining, of course, is that the lower profile makes it easier for children to observe and participate in the cooking process.
11. Register Your Warranty Promptly
Taking a few minutes to register your new Blackstone griddle for its warranty is a highly recommended step. This connects you to the Blackstone customer support system and allows you to take full advantage of the standard one-year warranty. (You typically have the option to purchase an extended warranty at the point of sale, if desired.) Should anything go wrong, as you’ll see with my igniter issue below, quick access to support can be invaluable. An added benefit of registering online is often receiving a free mobile-friendly cookbook, packed with inspiring recipes to kickstart your griddling journey.
12. Initial Ignition: Expect the Unexpected
After diligently going through the entire assembly process, one expects everything to perform perfectly on the first try. Unfortunately, this isn’t always the case. With the propane tank securely connected and a fresh AA battery inserted into the igniter, I eagerly peeled off the (admittedly overly) sticky promotional sheets covering the griddle’s surface. Following a quick initial cleaning, I was ready for action. I opened the propane flow, pressed and held the ignitor button for a few seconds, and turned the knobs to high. To my dismay, absolute silence. Nothing. I turned off the propane, waited five minutes for any residual gas to clear, tried again, and still nothing. This cycle repeated several times, leading to a mini-depression and the inevitable need for troubleshooting.
13. Troubleshooting Your Blackstone If It Doesn’t Ignite
When your Blackstone griddle fails to ignite, don’t panic. The Blackstone website features an excellent FAQ section dedicated to troubleshooting common issues, which offers great reassurance. Watching a YouTube video or two on this specific problem will also show you that you’re far from alone. The good news is that the cast iron griddle plate, while substantial, isn’t excessively heavy and can be lifted off relatively easily. Set it aside on a safe, stable surface. First, ensure that the small L-shaped ignition needles are correctly positioned, approximately 1/8 to 1/4 inch above the H-burners, with the end directly over a pinhole. I then grabbed a trusty long Bic plastic lighter, turned on the propane, set a knob to high, and manually lit the burner. This worked perfectly on both burner halves, confirming there was no obstruction, such as a spider’s nest, in the gas lines. I subsequently contacted Blackstone support to request a new igniter. In the interim, I realized I could simply use the lighter hack and then carefully reposition the griddle plate, which proved to be a workable solution. For safety, especially when manually lighting over flames, always wear heat-resistant gloves, as I did.
14. Prepare Your Squirt Bottles for Immediate Use
The two squirt bottles you acquired are indispensable tools for griddle cooking. One will be filled with plain water, essential for steaming, cleaning, and creating perfect crispy crusts. The other should be filled with your cooking oil of choice, typically a high-smoke-point oil like Canola oil or a blend containing similar oils. Griddles thrive on a well-lubricated surface, and you’ll quickly learn when to apply oil – whether for cooking, seasoning, or maintaining the non-stick surface. Having both bottles readily accessible streamlines your cooking process and helps maintain your griddle’s performance.
15. Master the Timing of Oil Application
Adam Richman, host of Man Vs. Food, offers crucial advice regarding oil application: avoid adding oil too early. Oils, particularly olive oil, have specific smoke points (olive oil, for example, typically between 350-410°F). If oil is applied to a cold griddle and then allowed to heat up with the surface, it can quickly burn and ruin your dish before you even start cooking. Instead, Richman suggests preheating your griddle to the desired temperature first. Once hot, toss the olive oil directly onto your food items, then place them together on the griddle. This method ensures the oil heats up with the food, preventing premature burning and maintaining its flavor and integrity.
16. Unlock Advanced Griddle Hacks from Culinary Experts
The internet is a treasure trove of griddle recipes, from classic diner fare to innovative gourmet dishes. Before you dive headfirst into cooking, however, it’s incredibly beneficial to heed advice from some of the top chefs and food experts. Their insights can dramatically improve your technique and the quality of your meals. For instance, here are seven brilliant tips from celebrity chefs that can make your griddling life easier and more rewarding. I also highly recommend starting with Blackstone’s own comprehensive GRIDDLING 101 course. This valuable resource covers everything from initial griddle seasoning and mastering perfect griddle pancakes to preparing a wide array of seafood. After all, once you get the hang of it, you’ll want shrimp flying through the air as you expertly flip that pile of fresh, sizzling goodness!
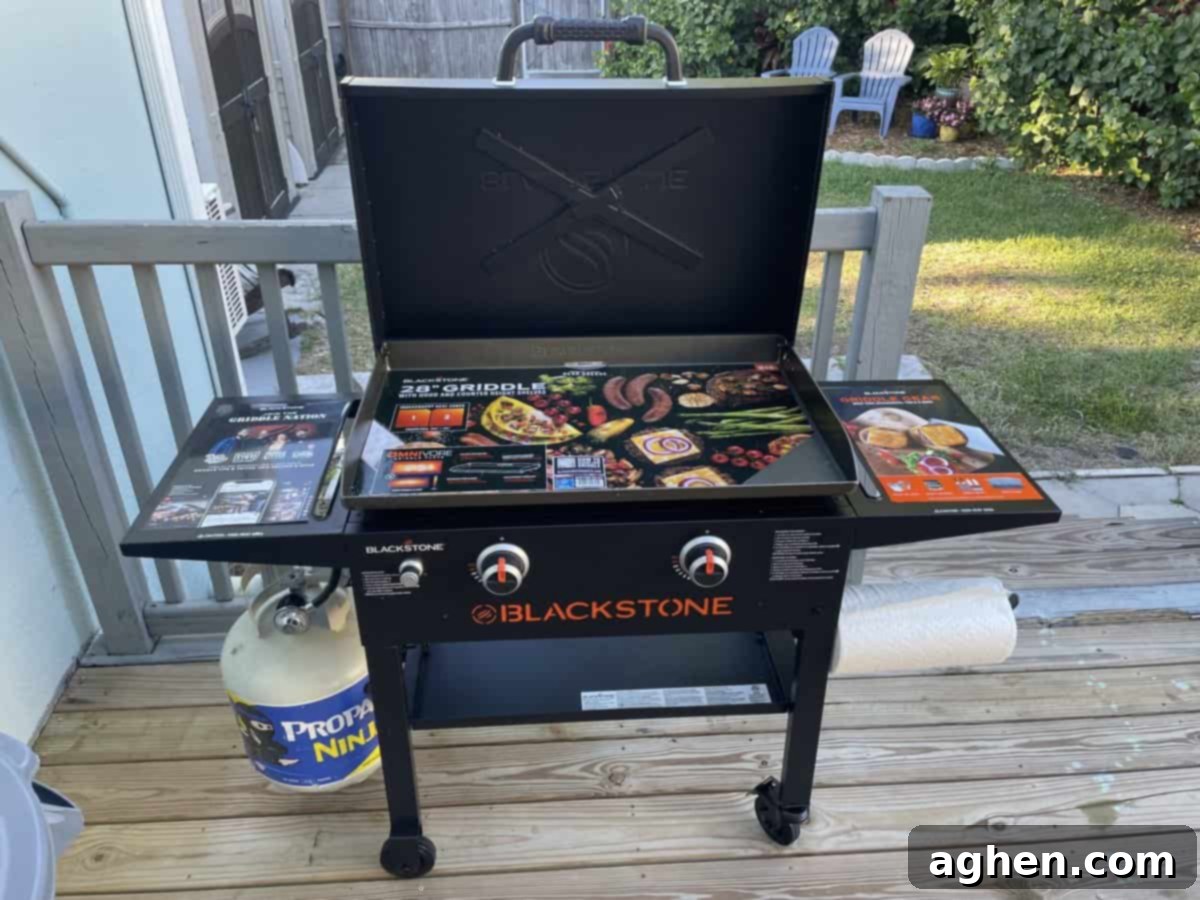
17. Embrace Your First Delicious Cookout!
Now, for the most exciting part: making incredible food! We’ll be sharing a wealth of blog posts here, detailing our favorite ways to cook breakfast, lunch, and supper on the Blackstone 28” Griddle. To kick things off, imagine a generous batch of sausage and peppers: succulent brats and sweet summer sausage sizzling on one burner, while an assortment of vibrant yellow and red bell peppers are expertly sliced and tossed around on the hot griddle top. My wife, for one, is absolutely thrilled to pour the first pancake batter and get to flippin’! We’d love to hear from you as well, so please share your own cherished griddle recipes in the comments below – your culinary wisdom is always welcome!
18. Document Your Griddle Adventures on Social Media
Once you start cooking on your Blackstone, you’ll quickly realize that the beauty and grace of food items sizzling and dancing around the grill, guided by your magic spatula talents, needs to be shared! Nothing quite prepares your friends for the visual feast of griddle cooking. Make sure to record your culinary creations and share them on Instagram and TikTok. Tag your posts with #Blackstone, and take some time to browse what your fellow griddle enthusiasts are creating. You’ll gain endless inspiration and new ideas for dominating your own backyard and perfecting your flat top cooking skills.
19. Properly Cover Your Griddle for Long-Term Protection
After the cooking is done and the griddle has cooled, it’s time to place its protective cover. This is where you might again observe the rather unique height of the standup griddle. You might find the bottom of a standard Blackstone cover piling up for about a foot, much like a pair of trousers that are too long. It is what it is, and ultimately, having a cover that’s a bit too long is preferable to one that’s too short. Unlike my Large Big Green Egg’s standard cover, which is disappointingly flimsy and barely covers the unit, the Blackstone cover offers ample protection. Simply strap the cover down and pull it tight to ensure the entire griddle is well-concealed from the elements. For added security, especially here in Tampa Bay with its notorious tropical gusts, I use an extra strap that runs under the griddle and around the deck rail behind it. This ensures that even with the propane tank attached, my little guy won’t be blown over by an unexpected strong wind, keeping your investment safe and sound.
20. Embrace Griddling Adventures, Both Home and Away
Once your outdoor griddle is fully set up, seasoned, and you’ve enjoyed a few delicious cookouts, you’ll quickly become comfortable with its inherent portability. Assembling it the very first time was likely the most challenging part of the journey. However, breaking it down just enough to transport it in the back of an SUV or truck is designed to be a breeze. The legs fold up easily after removing a couple of screws, and the hood assembly detaches, essentially leaving you with two main, manageable pieces. Keep small baggies handy to store any minor parts you need to remove for the journey to the park, a Blackstone camping trip, or a highway stop. Upon reaching your destination, you’ll find that putting it all back together becomes progressively easier with each use. Wherever your adventures take you, keep that hot griddle going and continue exploring new culinary possibilities!
