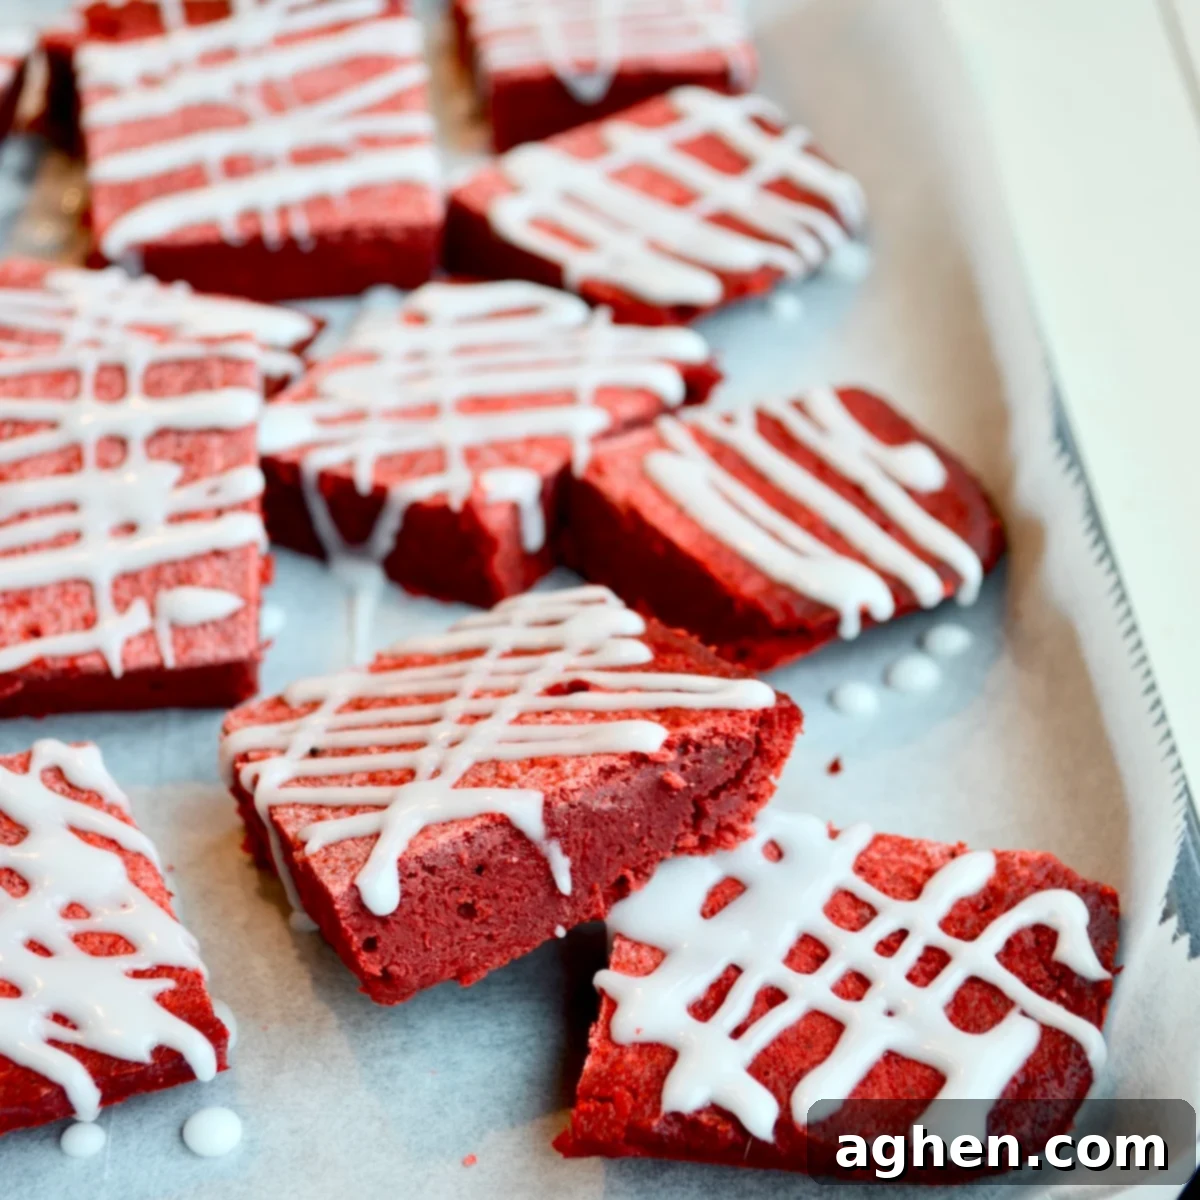
WW Red Velvet Bars: Indulge in a 1-Point Weight Watchers Dessert
Craving a classic dessert that won’t derail your healthy eating goals? Look no further than these sensational WW Red Velvet Bars! Perfectly moist, subtly tangy, and delightfully chewy, these bars capture the unique essence of red velvet in a remarkably light package. What makes them truly special for anyone on a wellness journey? They’re an incredible 1 WW point per serving! This means you can enjoy a rich, satisfying treat without any guilt, making them an ideal choice for smart indulgence.
Red velvet is renowned for its distinctive flavor profile, a delicate balance where a hint of chocolate from cocoa powder meets a slight tanginess from vinegar. This unique combination creates a depth that’s both comforting and intriguing. It’s precisely why a creamy, tangy cream cheese icing is the perfect counterpart, adding another layer of flavor and luxurious texture. Our Weight Watchers version achieves this perfect balance of sweetness and tang, delivering an unforgettable dessert experience that feels incredibly decadent despite its low point value.
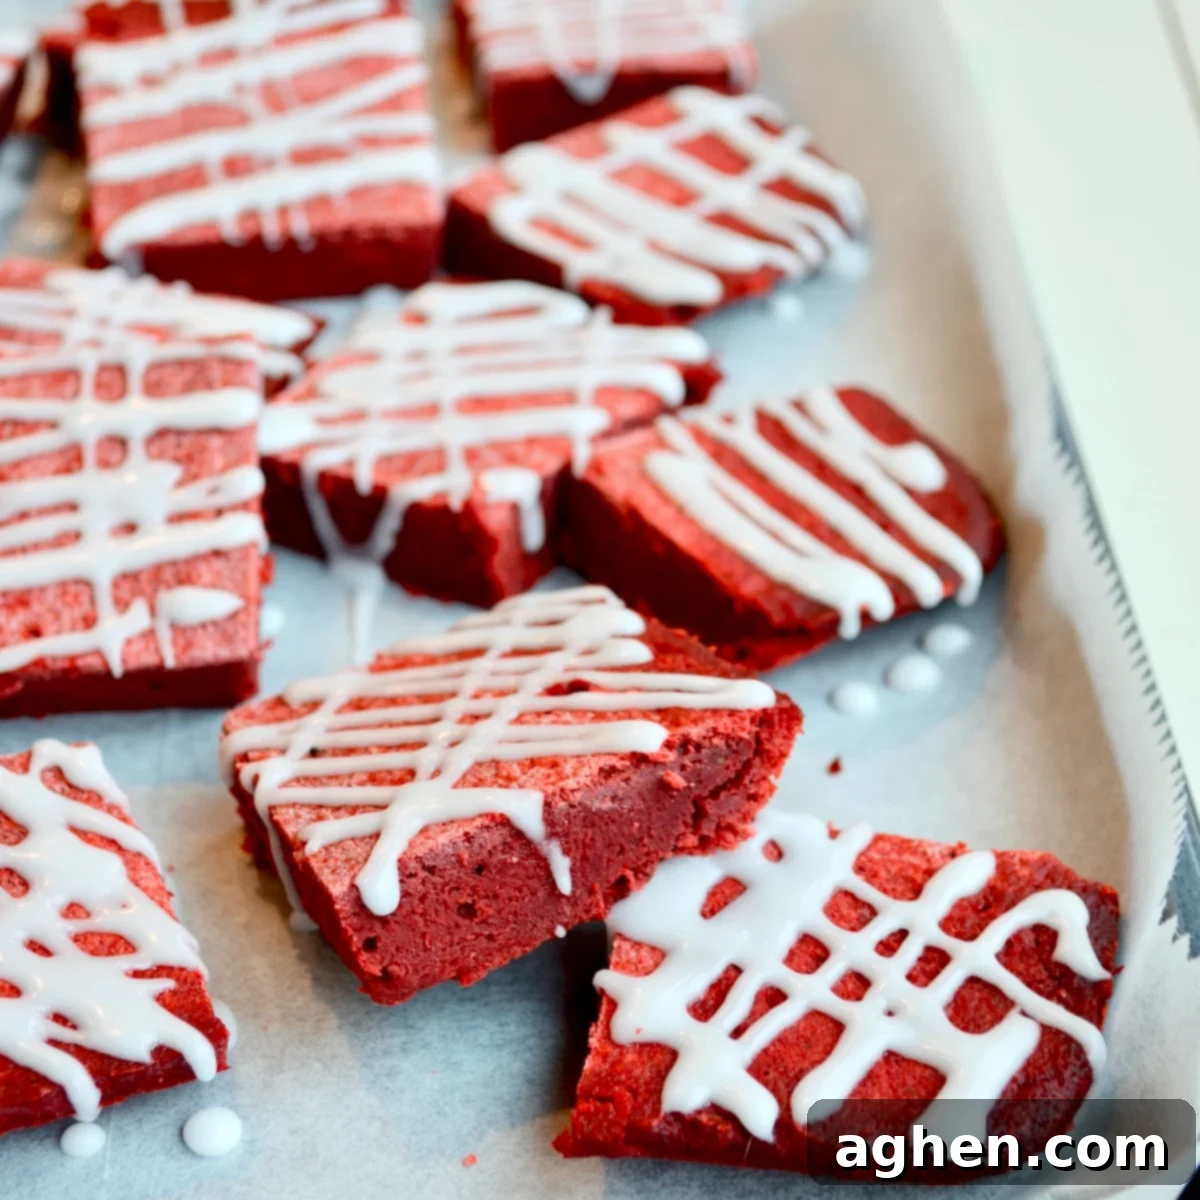
Beyond their exquisite taste, these red velvet bars boast an undeniable visual appeal. Their vibrant, eye-catching red hue makes them stand out on any dessert platter, instantly inviting you to take a bite. Traditional blondies or brownies, often laden with oil and refined sugar, can be heavy on calories and points. However, this recipe has been thoughtfully lightened to align perfectly with Weight Watchers principles. By cleverly substituting unsweetened applesauce for oil and a zero-calorie sweetener for regular sugar, we’ve crafted a dessert that allows you to savor every delicious moment without compromising your progress. These simple yet effective swaps ensure you can enjoy a yummy dessert and still have plenty of points left for your other meals.
If these delicious low-point red velvet bars pique your interest, you’ll find a treasure trove of other delightful dessert ideas in our baking recipe collection. This extensive section offers a wide array of cakes, muffins, pies, and many more baked goods, all designed with your wellness goals in mind. From quick weeknight treats to impressive desserts for special occasions, there’s something for every sweet craving.
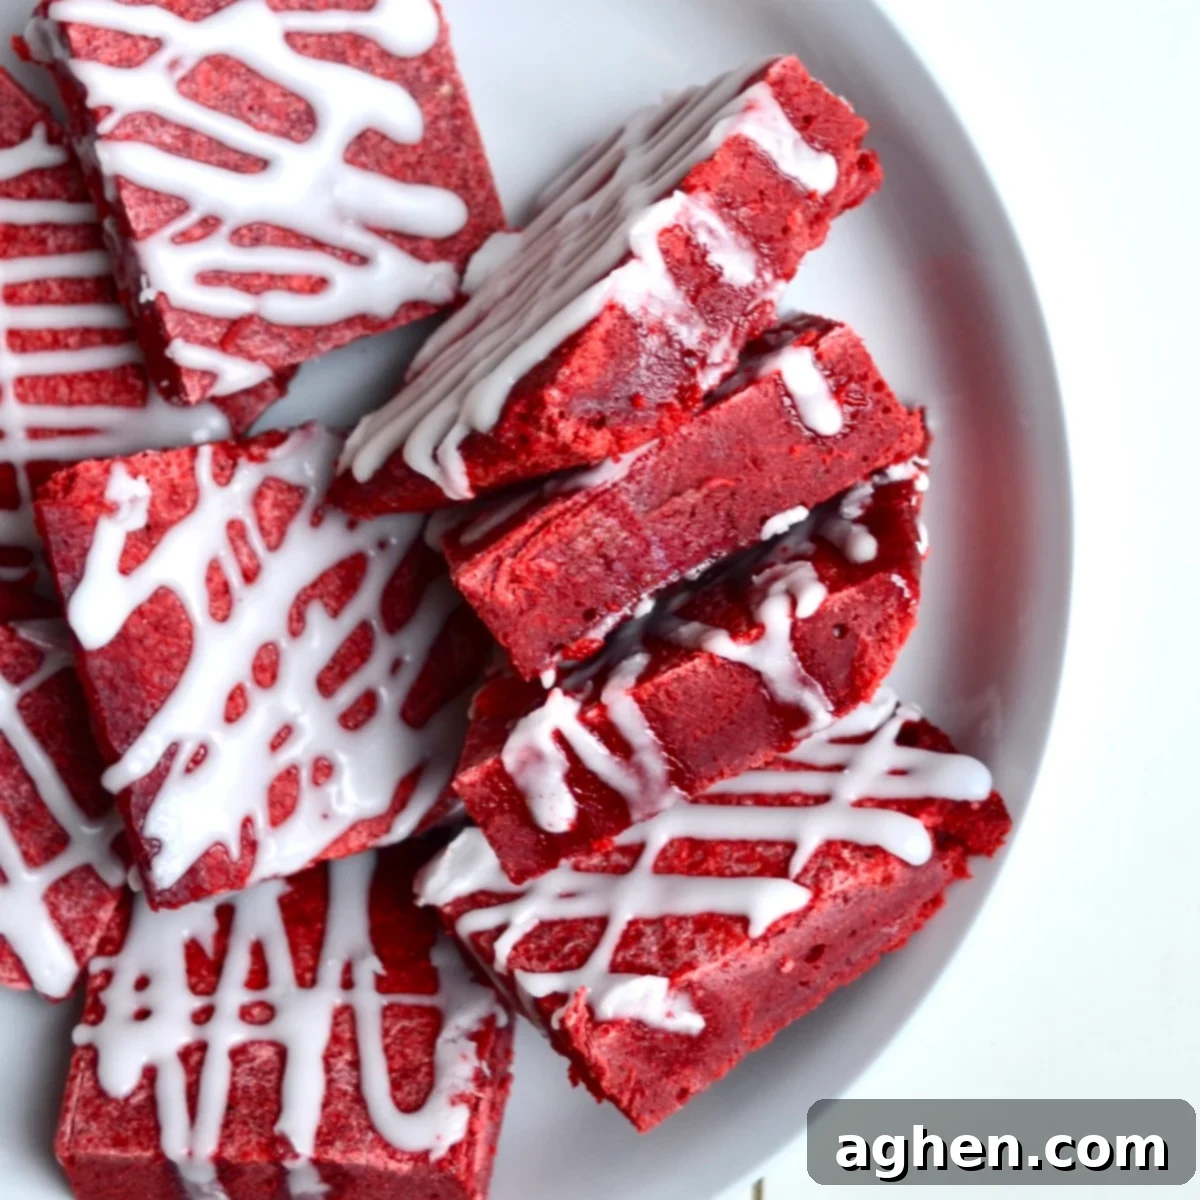
Why These Weight Watchers Red Velvet Bars Are a Must-Try
These WW Red Velvet Bars aren’t just delicious; they’re also incredibly convenient and versatile, fitting seamlessly into your lifestyle. Here’s why this recipe deserves a spot in your go-to dessert rotation:
- Effortless & Quick Baking in Under an Hour: Life is busy, and spending hours in the kitchen isn’t always an option. This recipe is designed for efficiency, taking less than an hour from the moment you start mixing to when they emerge from the oven. It’s the perfect solution for a last-minute craving or when you need a speedy dessert for unexpected guests.
- Generous Servings Perfect for Any Gathering: With this recipe yielding 15 individual bars, there are plenty of portions to go around! Whether you’re hosting a party, bringing a dish to a potluck, or simply want to share a treat with family and friends, these red velvet bars are an excellent choice. Their vibrant color and delectable taste are sure to be a crowd-pleaser.
- Conveniently Freezer-Friendly for Future Enjoyment: Planning ahead is a breeze with these bars. Bake a batch, cut them into individual servings, and freeze them for later. This is a fantastic strategy for getting ahead on party preparations or ensuring you always have a readily available, guilt-free sweet treat whenever a craving strikes. Simply thaw and enjoy!
Recipe At a Glance: Key Details for Your WW Red Velvet Bars
Before diving into the full instructions, here’s a quick overview of what to expect from this delightful recipe:
- Serving Size: 1 delicious bar
- Number of Servings: 15 bars, perfect for sharing or enjoying over time.
- Time to Cook: Approximately 30 minutes, keeping your kitchen time minimal.
- WW Points Per Serving: An incredible 1 WW point per serving. This makes it an exceptionally diet-friendly dessert. (Click here to view the recipe in the WW app. Please note that a WW login is required to access the recipe details within the application.)
Ingredients for Your Irresistible Weight Watchers Red Velvet Bars
Crafting these delectable low-point red velvet bars requires a few simple ingredients, many of which you likely already have in your pantry. We’ve made clever swaps to keep the points low without sacrificing flavor or texture. Here’s what you’ll need:
For the Red Velvet Bars:
- 1 ¼ cups All-purpose flour: The foundation of our chewy bars.
- 3 tbsp Cocoa powder: Provides that subtle hint of chocolate essential to red velvet.
- 1 tbsp Cornstarch: Helps create a tender crumb and light texture.
- ¾ cup unsweetened applesauce: Our brilliant substitute for oil, adding moisture and natural sweetness without excess fat.
- 1 cup + 2 tbsp Zero-calorie granulated sugar substitute (or sugar): This is key for keeping the point value low. You can use regular sugar if preferred, but note it will increase WW points.
- 2 Eggs: Binds the ingredients and adds richness.
- 1 tsp Vanilla extract: Enhances the overall flavor profile.
- 2-3 tbsp Red food dye: For that iconic, vibrant red color. Adjust to your desired intensity.
- ¾ tsp Distilled white vinegar: Reacts with the cocoa and baking soda (if used) to deepen the red color and add a characteristic tang.
For the Tangy Cream Cheese Icing (optional, but highly recommended!):
- 1.5 oz reduced-fat cream cheese, softened: Provides the classic cream cheese tang and creaminess while keeping the fat content in check.
- 3-4 tbsp powdered zero calorie sweetener (or powdered sugar): For sweetness in the icing, maintaining low points. Adjust to your taste.
- 2 tbsp milk, plus more if needed: To achieve the perfect drizzling or spreading consistency for your icing.
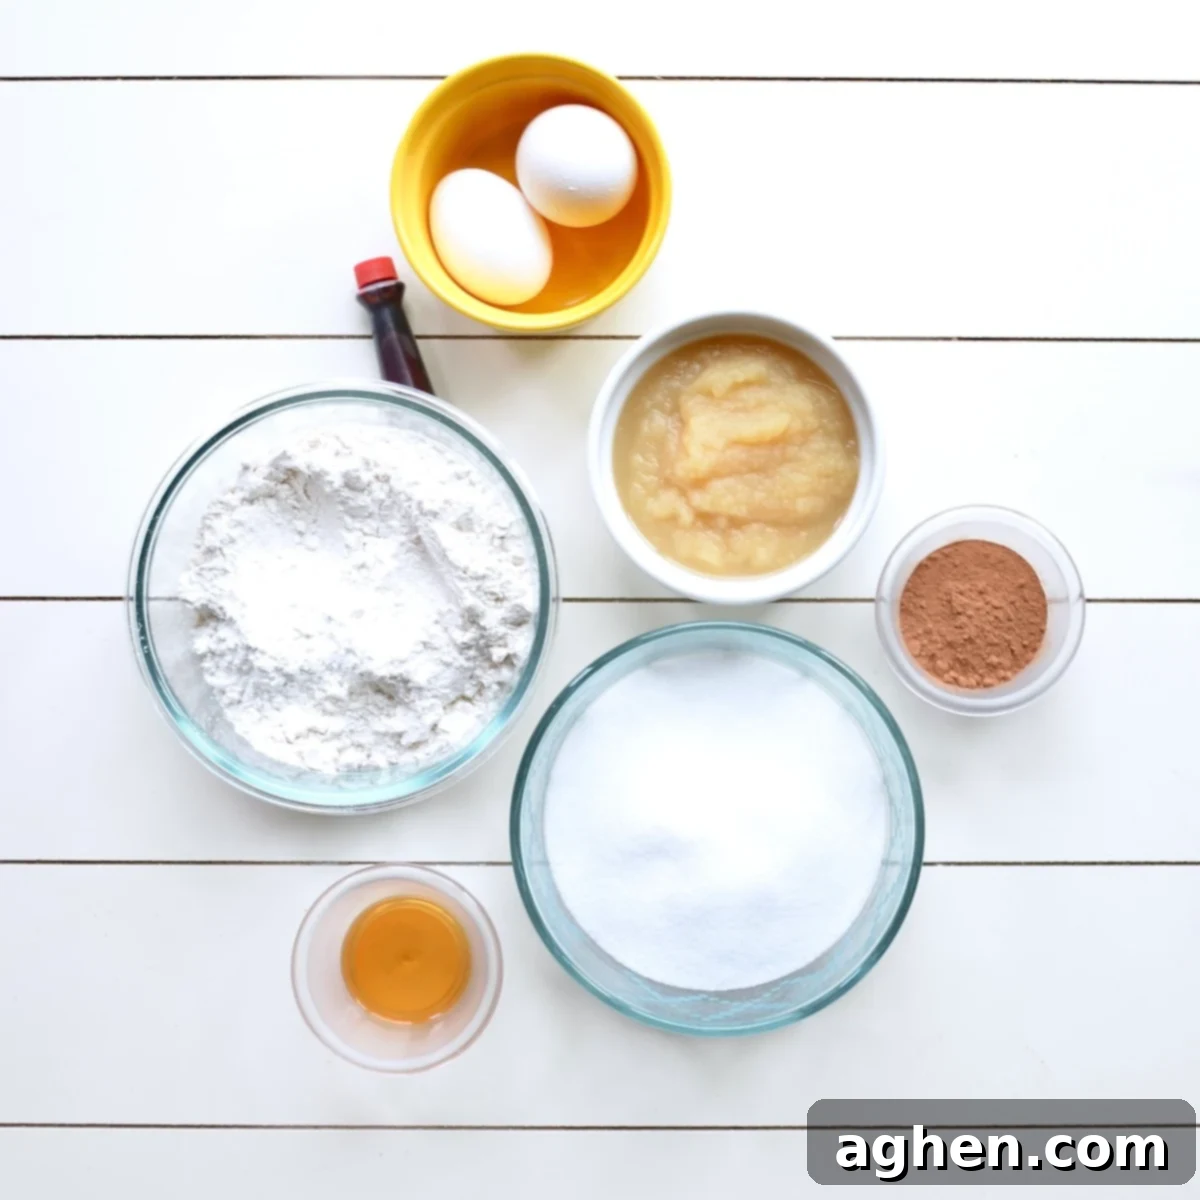
Step-by-Step Instructions for Crafting Your Delicious Weight Watchers Red Velvet Bars
Follow these simple steps to create perfectly baked, low-point red velvet bars that will impress everyone:
- Prepare Your Oven and Dry Ingredients: Begin by preheating your oven to 350°F (175°C). While the oven heats, start on your batter. In a large mixing bowl, combine the all-purpose flour, cocoa powder, and cornstarch. Whisk these dry ingredients together thoroughly to ensure they are well combined and free of any lumps. This helps create a smooth, consistent batter.
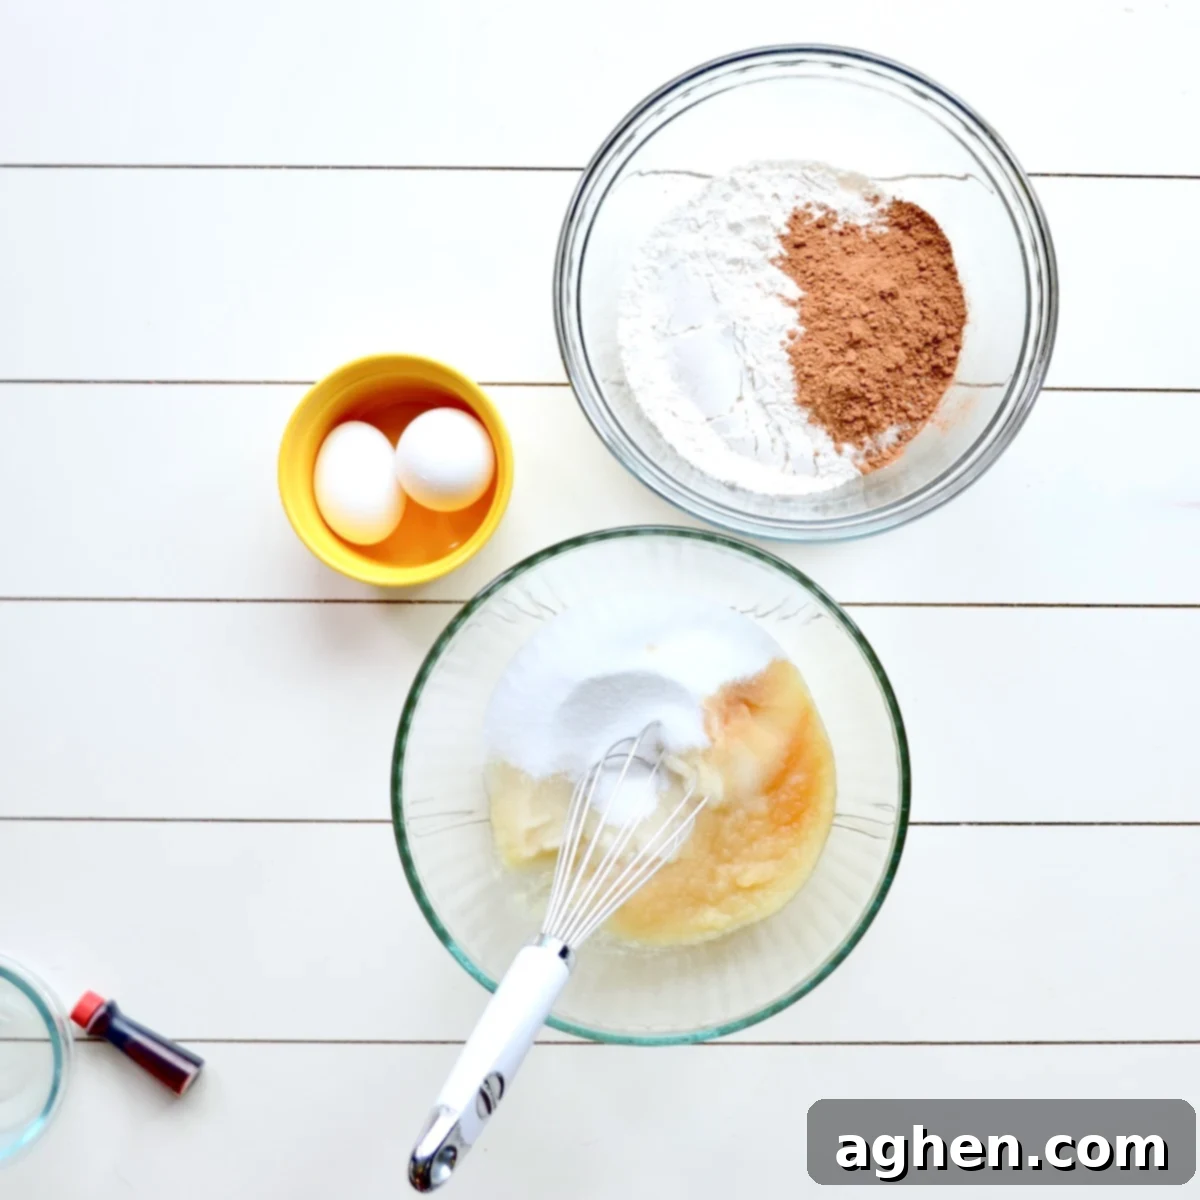
2. Combine Wet Ingredients: In a separate, medium-sized bowl, whisk together the unsweetened applesauce and your chosen zero-calorie granulated sugar substitute until they are fully combined. Next, add the eggs, vanilla extract, red food dye, and distilled white vinegar to this wet mixture. When adding the red food dye, remember you can start with a smaller amount (e.g., 2 tbsp) and gradually add more if needed, until you achieve your desired vibrant red color. Different brands of food dye can have varying intensities.
3. Gently Fold Wet into Dry: Pour the wet ingredients mixture into the bowl with your dry ingredients. Using a spatula or wooden spoon, gently fold the ingredients together until a smooth batter forms. It’s crucial not to overmix the batter, as this can develop the gluten in the flour too much, leading to tough or dense bars rather than the desired chewy texture. Mix just until no streaks of dry flour remain. Transfer the beautifully colored batter evenly into a greased 9×9 inch or 8×11 inch baking dish. Bake for approximately 30 minutes, or until a toothpick inserted into the center comes out clean, indicating they are thoroughly baked.
4. Cool and Ice Your Bars: Once baked, remove the red velvet bars from the oven and allow them to cool completely in the pan on a wire rack. Cooling is essential for the bars to set properly and for the icing to apply smoothly without melting. If you’re opting for the delicious cream cheese icing, prepare it now: In a small bowl, combine the softened reduced-fat cream cheese, powdered zero-calorie sweetener, and milk. Whisk until smooth and creamy. You can adjust the sweetness by adding more sweetener or achieve your desired drizzling or spreading consistency by adding more milk, a tiny bit at a time. Once the bars are fully cooled, drizzle or spread the creamy icing over them. Slice and serve!
Creative Variations and Smart Substitutions for Your Red Velvet Bars
While these WW Red Velvet Bars are perfect as is, they also serve as a fantastic base for creative experimentation. Here are some delightful ways to customize your bars and make them even more special, while keeping your wellness goals in mind:
- Red Velvet Blondies with Sugar-Free Chocolate Chips: For an extra layer of sweetness and texture, consider mixing in some white chocolate chips into your batter. For a truly guilt-free addition, we highly recommend using Lily’s white chocolate chips, which are sweetened with erythritol and stevia, containing no added sugar. This creates a delightful contrast against the red velvet base.
- Luxurious Red Velvet Cheesecake Bars: Elevate your red velvet experience by adding a creamy cheesecake layer. Before baking, prepare a simple, lightened cheesecake batter (perhaps using Greek yogurt or reduced-fat cream cheese). Spread a thin, even layer of this cheesecake mixture over the red velvet batter in the baking dish. Ensure the cheesecake layer isn’t too thick, as it might prevent both layers from baking evenly and thoroughly. The tangy cheesecake perfectly complements the subtle cocoa notes of the red velvet.
- Playful Red Velvet Bars with Crushed Oreos: For those special occasions where a slight splurge is welcome, crushed Oreo pieces can be an exciting topping. Sprinkle broken Oreo cookie pieces generously over the top of the bars before or after baking for added crunch and a familiar, beloved flavor combination. Oreos pair wonderfully with sweet red velvet treats and add a fun, unique visual appeal.
- Achieve Zero Points (or Even Lower!): If you’re aiming for even fewer points, or even zero, you can easily adjust the serving size. Instead of cutting the batch into 15 servings, try slicing them into 18 smaller bars. This simple adjustment can further reduce the WW points per serving, allowing for an even lighter indulgence.
- Sweetener vs. Sugar Considerations: We’ve opted for a zero-calorie sugar substitute to keep these bars Weight Watchers-friendly. However, if you prefer, you can certainly use granulated sugar in place of the substitute. Be aware that using regular sugar will increase the WW points significantly. If you make this change, it’s a good idea to modify the recipe in the WW app to accurately determine the new point values for your personalized tracking.
- Exploring Food Coloring Options: While liquid red food dye is commonly used, gel food coloring will also work beautifully here, often providing a more concentrated color with less volume. We have not extensively tested this recipe with natural red food dyes, such as beet powder or other natural extracts. While these might offer a natural alternative, we cannot guarantee how they would affect the texture or flavor of the red velvet bars, as natural dyes can sometimes interact differently with other ingredients.
Expert Tips and Tricks for Perfecting Your Weight Watchers Red Velvet Bars
Achieving the perfect batch of red velvet bars is simple with a few insider tips. Keep these in mind to ensure your Weight Watchers Red Velvet Bars turn out moist, flavorful, and beautifully colored every time:
- Avoid Overmixing the Batter: This is a crucial tip for all baked goods, especially bars. Overmixing develops the gluten in the flour too much, which can result in a tough, dense, and less tender consistency. Mix just until the dry ingredients are incorporated and no streaks of flour are visible. A few small lumps are better than an overmixed batter.
- Customize Your Red Color Intensity: The amount of red food dye suggested (2-3 tbsp) is a guideline. Different brands of food dye have varying color strengths. Feel free to adjust the amount to your personal preference, making your bars more or less vibrant. Start with less and add more if needed until you achieve the desired shade.
- Bring Eggs to Room Temperature: Ideally, take your eggs out of the refrigerator about 20-30 minutes before you plan to start baking. Room temperature eggs blend much more easily and evenly into the other ingredients, creating a smoother, more emulsified batter. This leads to a better texture in your final baked product.
- Proper Storage for Freshness: Any leftover red velvet bars should be stored in an airtight container in the refrigerator. They will maintain their deliciousness for up to 5 days. If you’ve made a large batch or want to prepare them in advance, you can freeze un-iced bars for up to 3 months! Wrap them tightly in plastic wrap and then in foil to prevent freezer burn. Thaw in the refrigerator or at room temperature before enjoying or icing.
- Patience is Key: Cool Before Slicing: After baking, resist the urge to slice into your bars immediately. Allow them to cool in the pan for at least 10-15 minutes before attempting to cut them. This allows the bars to set and firm up, ensuring clean, neat slices without crumbling or sticking to the knife. For truly perfect cuts, make sure they are completely cool before icing and slicing.
- Grease Your Baking Dish Thoroughly: To prevent sticking and ensure easy removal, always grease your baking dish adequately. You can use cooking spray, butter, or line it with parchment paper for extra insurance, leaving an overhang on the sides to lift the bars out easily once cooled.
Explore More Delicious & WW-Friendly Recipes
If you loved these Weight Watchers Red Velvet Bars, you’re in for a treat! We have a collection of other fantastic recipes that celebrate the rich flavor of red velvet or offer similarly healthy and delicious alternatives. Be sure to check them out:
WW Red Velvet Cupcakes
WW Red Velvet Banana Bread
WW Brownies
Red Velvet Bars
Ingredients
Red Velvet Bars
- 1 ¼ cups All-purpose flour
- 3 tbsp Cocoa powder
- 1 tbsp Cornstarch
- ¾ cup Unsweetened applesauce
- 1 cup + 2 tbsp Zero-calorie granulated sugar substitute, or sugar
- 2 Eggs
- 1 tsp Vanilla extract
- 2-3 tbsp Red food dye
- ¾ tsp Distilled white vinegar
Icing (optional)
- 1.5 oz reduced- fat cream cheese, softened
- 3-4 tbsp powdered zero calorie sweetener, or powdered sugar
- 2 tbsp milk, plus more if needed
Instructions
-
Preheat oven to 350F. Make the red velvet batter by first combining the sweetener and applesauce in one bowl and the remaining dry ingredients in another.
-
Stir the dry ingredients to get rid of lumps. In the other bowl, whisk the applesauce and sweetener until combined, then add the remaining wet ingredients. You can start with less dye and add more if needed to adjust to your liking.
-
Mix the dry ingredients into the wet and gently fold until a batter forms. Be careful not to overmix. Transfer the batter to a greased 9×9 or 8×11 baking dish. Bake for about 30 minutes or until thoroughly baked.
-
Allow the red velvet bars to cool. Make the frosting by mixing all ingredients together, adding more sweetener or milk to fit your desired sweetness and texture. Drizzle over cooled red velvet bars.
Notes
Nutrition
Nutrition information is automatically calculated, so should only be used as an approximation.
Additional Info
