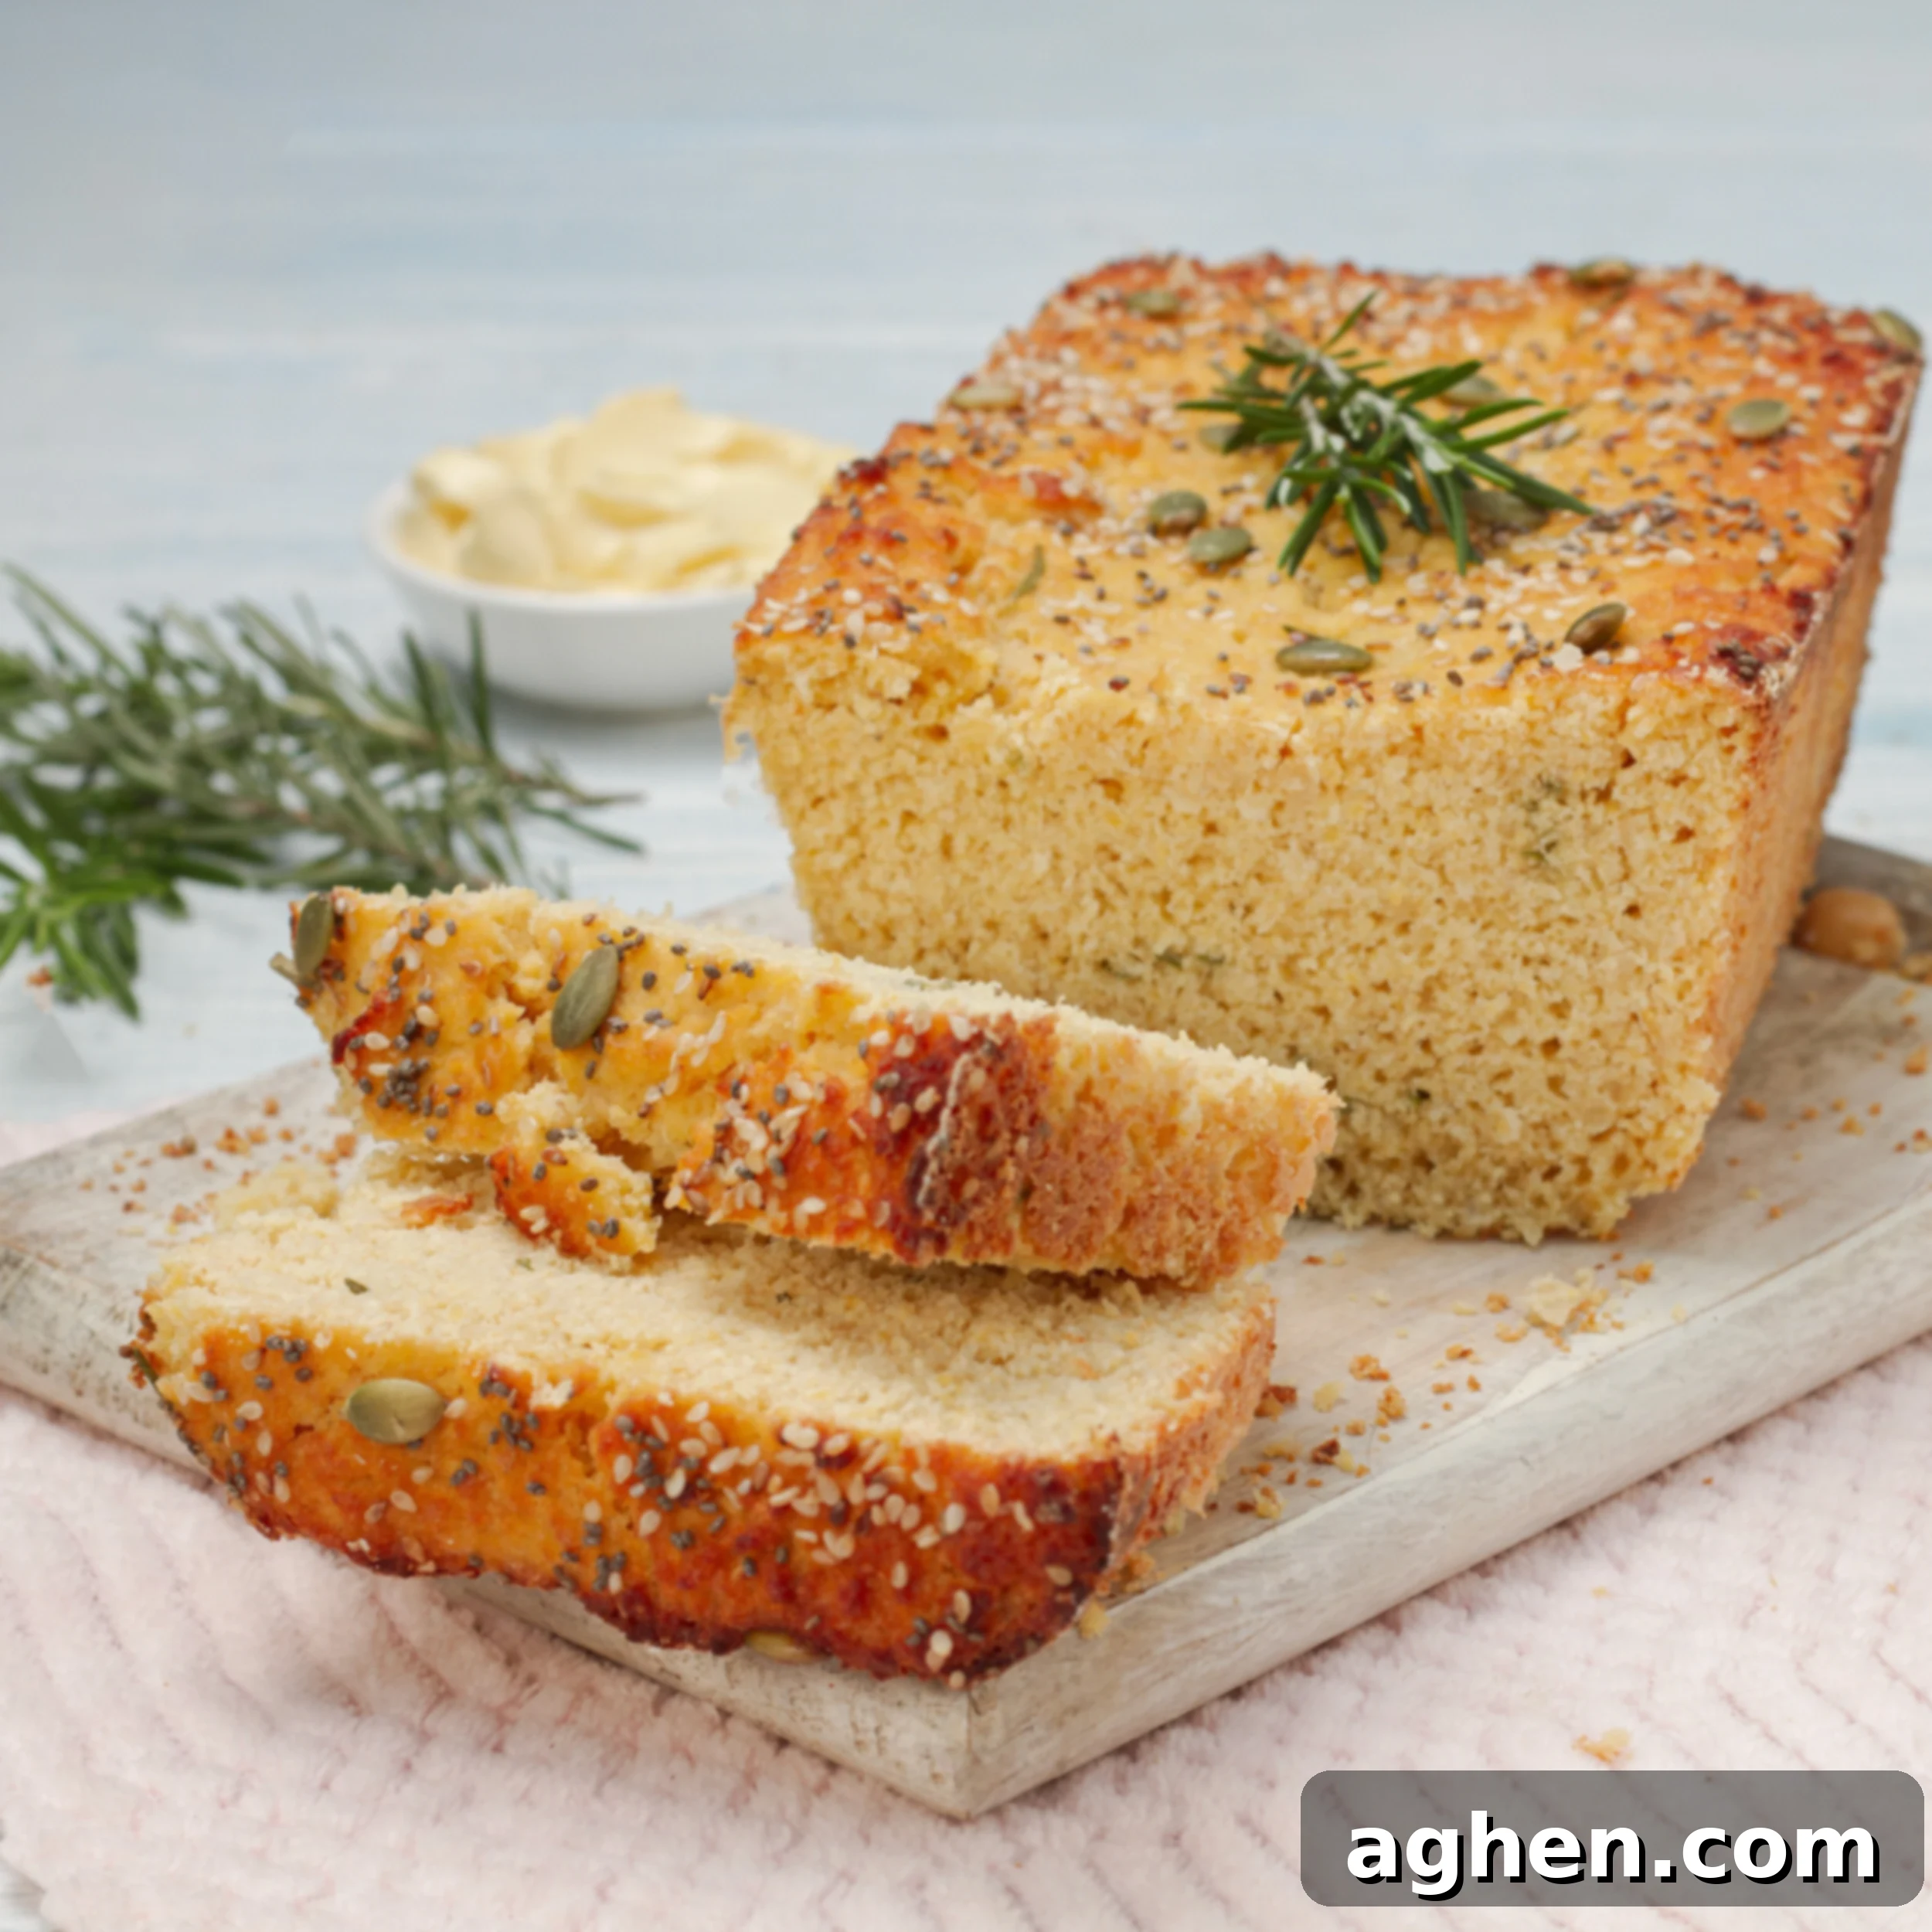
Delicious & Easy Gluten-Free Chickpea Bread: A Healthy, Weight Watchers-Friendly Recipe
Discover the delightful simplicity of homemade chickpea bread, a savory and incredibly satisfying loaf crafted from just five core ingredients you likely already have in your kitchen pantry. This recipe stands out not only for its ease but also for its impressive nutritional profile: it’s 100% gluten-free, naturally packed with protein, and remarkably light, making it an excellent choice for health-conscious individuals and those following a Weight Watchers plan. With minimal preparation time and a total turnaround of just 30 minutes hands-on work (excluding baking and cooling), you can enjoy fresh, guilt-free bread whenever the craving strikes.
This versatile chickpea bread is perfect for complementing any meal or serving as a wholesome snack. Imagine it toasted alongside scrambled eggs, paired with a slice of your favorite cheese, or as a hearty accompaniment to lean cold cuts. You might be wondering about a strong chickpea flavor, but rest assured, the yeast works its magic to provide that comforting, classic bread taste without any overwhelming legume notes. Each slice is incredibly satisfying and comes in at an impressive 1 Weight Watchers Point, allowing you to enjoy delicious bread without derailing your dietary goals.
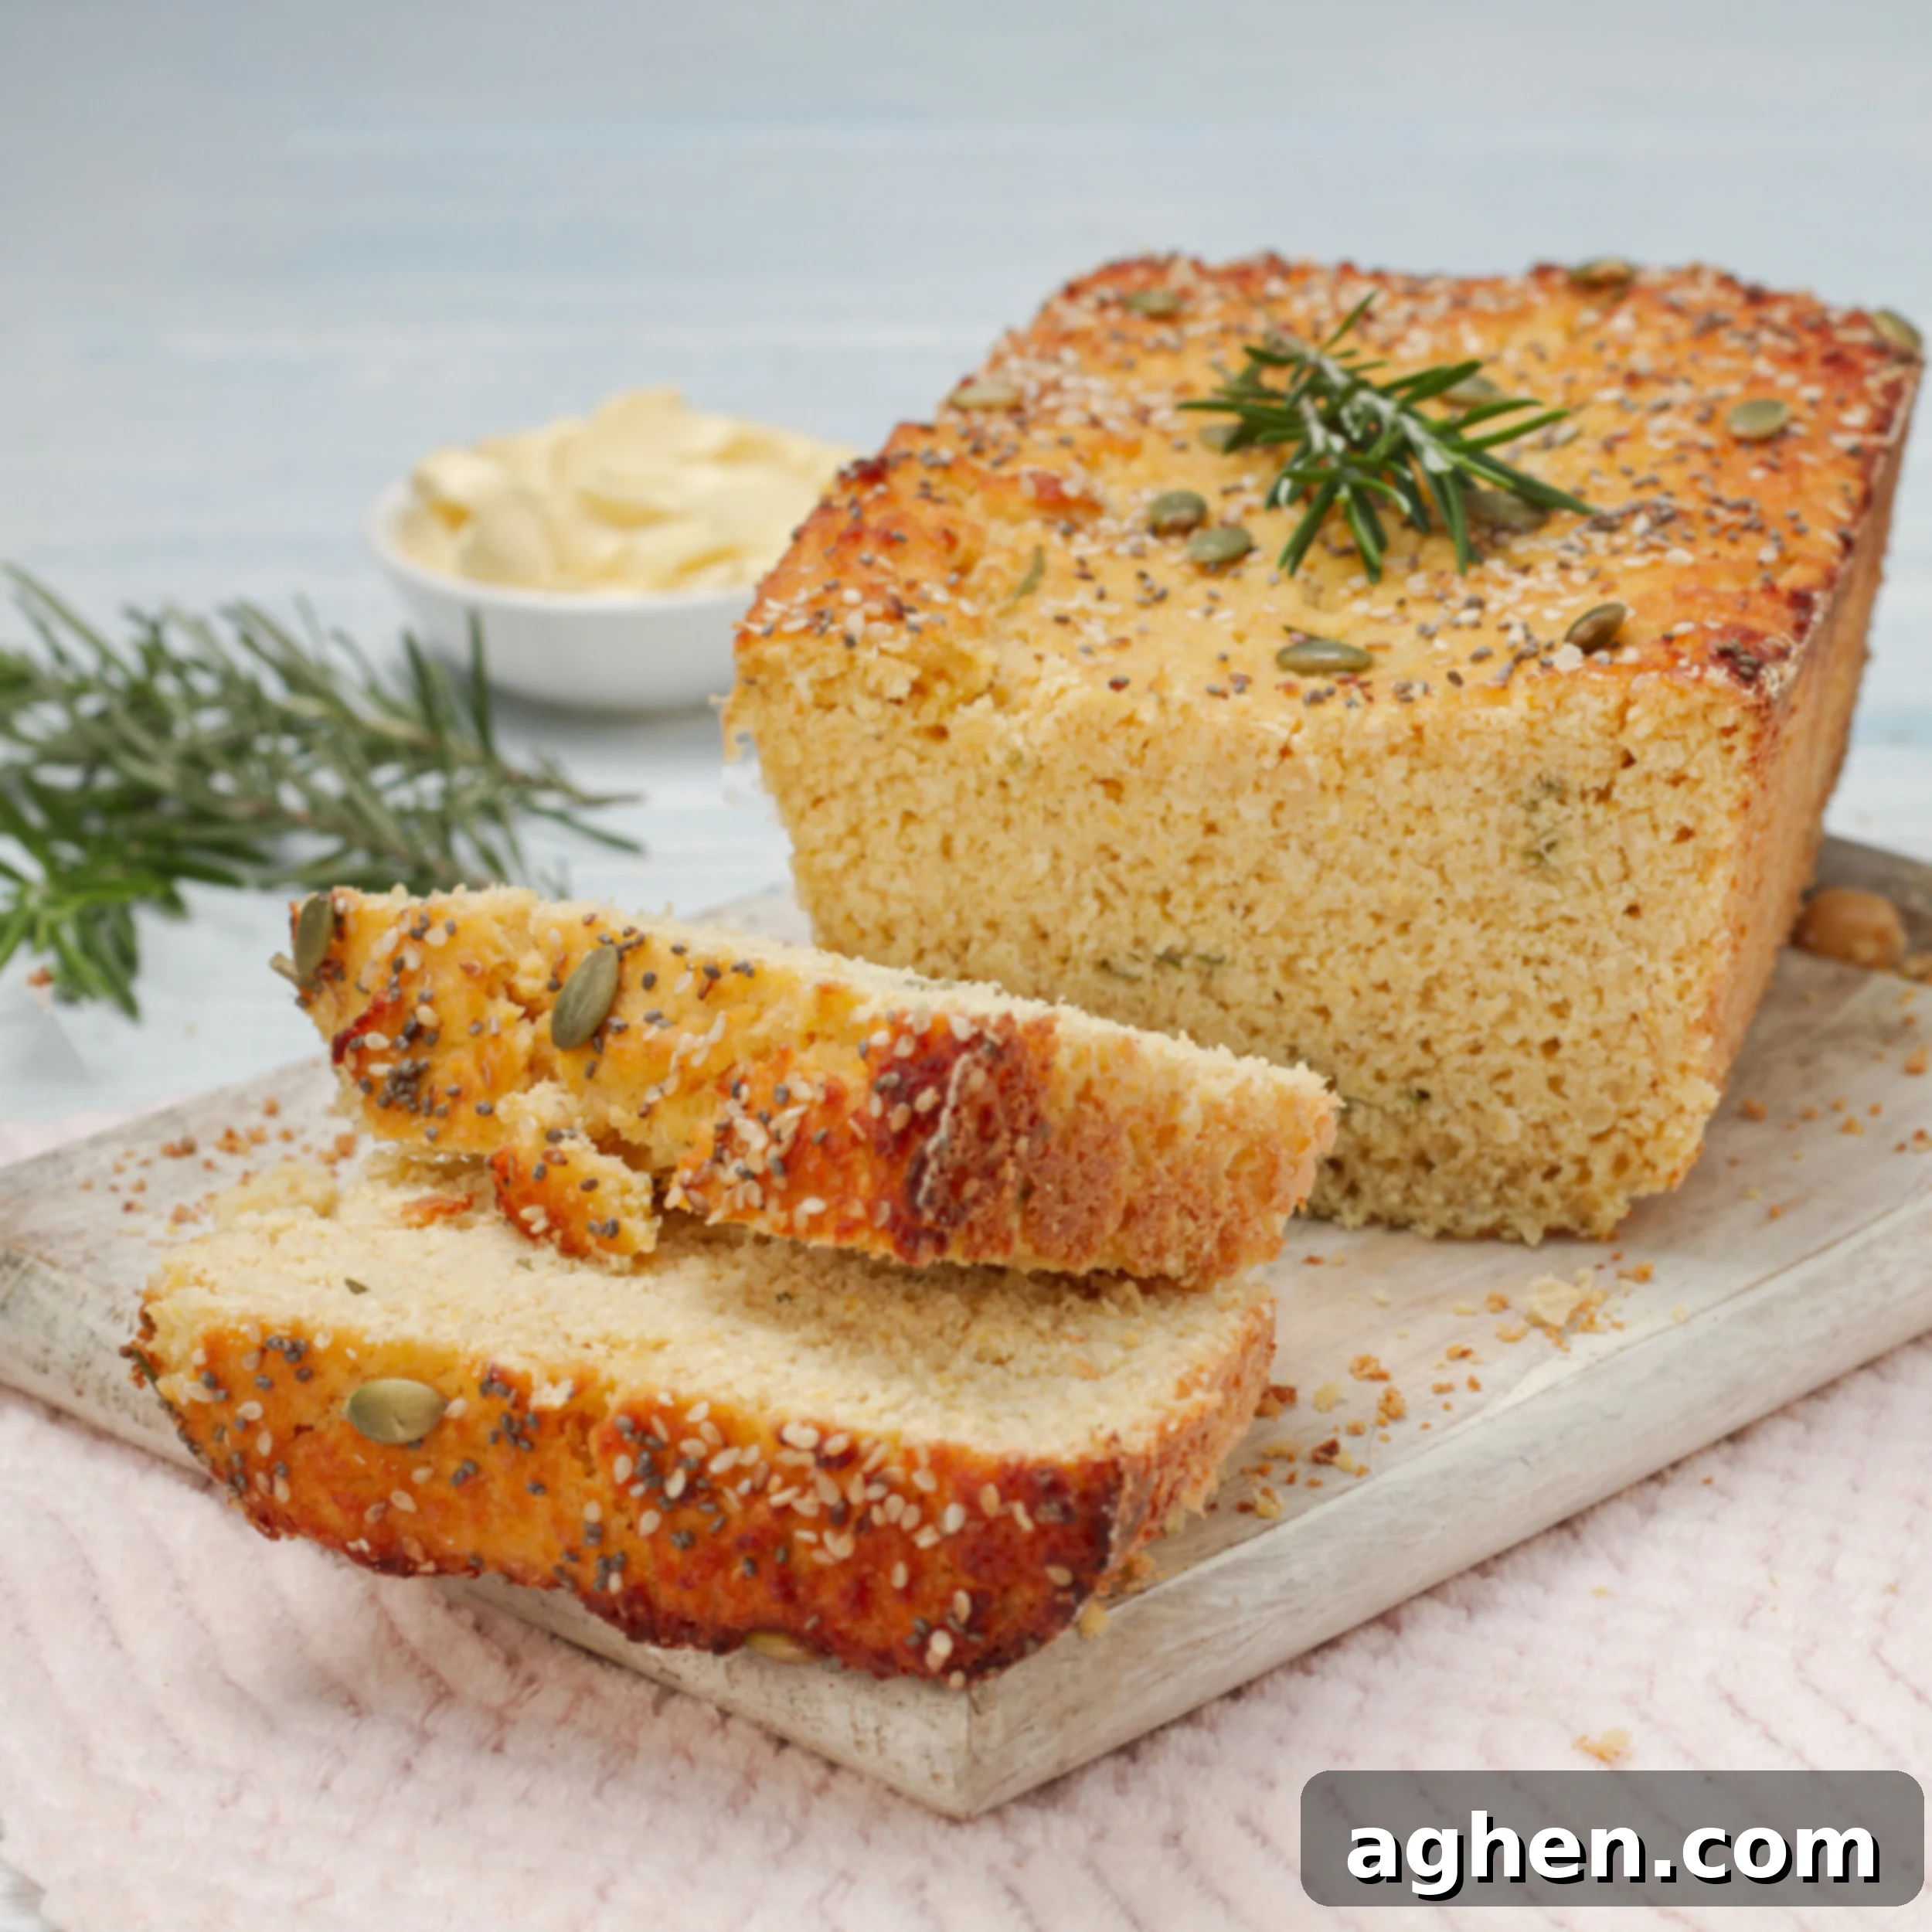
Why Choose Chickpea Bread? The Health Benefits & Weight Watchers Appeal
For years, my culinary journey has focused on finding delicious and healthy alternatives to traditional wheat-based foods. Wheat often doesn’t agree with me, a sentiment many share, leading me to explore and perfect gluten-free options for my family. This quest naturally aligned with the principles of Weight Watchers, as many wheat products can quickly add up in points. When you’re seeking wholesome bread for breakfast, a comforting accompaniment to soups, or simply a healthier sandwich option, this chickpea bread emerges as a true game-changer.
Beyond its health benefits, this recipe is incredibly affordable, utilizing pantry staples that are readily available. Its quick preparation time—typically no more than 20 minutes of active work—means you can enjoy freshly baked bread without a lengthy commitment. It’s a triple threat: budget-friendly, fast to prepare, and 100% gluten-free. The fact that it’s only 1 Weight Watchers Point per slice is simply the icing on the cake, making it an indispensable part of a balanced diet. What more could you possibly ask for in a bread?
Preparation Time: Approximately 20 minutes of active prep
Baking Time: 45-50 minutes
Total Time: Roughly 1 hour 5 minutes (including prep and bake, plus cooling)
Yields: 8 generous slices
Serving Size: 1 slice (approximately 90 g)
Weight Watchers Points: 1 SmartPoint per serving. You can view the full recipe details on the official WW Apphere (WW login required).
Beyond Gluten-Free: The Nutritional Power of Chickpeas
Chickpeas, also known as garbanzo beans, are a nutritional powerhouse, making them an excellent foundation for a healthy bread. They are an incredible source of plant-based protein, which is essential for muscle repair, growth, and satiety. This high protein content helps keep you feeling fuller for longer, reducing the urge to snack unnecessarily, a significant advantage for weight management. Furthermore, chickpeas are rich in dietary fiber, which supports digestive health, helps regulate blood sugar levels, and contributes to a healthy gut microbiome.
By opting for chickpea bread, you’re not just choosing a gluten-free alternative; you’re actively incorporating a food that’s low in saturated fat and cholesterol, and packed with essential vitamins and minerals like iron, folate, and manganese. This bread offers a unique way to boost your daily nutrient intake while enjoying a delicious and satisfying staple. It’s a smart choice for anyone looking to eat well without compromising on taste or texture.
Essential Ingredients for Your Chickpea Bread
Crafting this delicious bread requires a handful of simple, wholesome ingredients. Each component plays a crucial role in achieving the perfect flavor and texture. For the best results, ensure your ingredients are fresh and measured accurately.
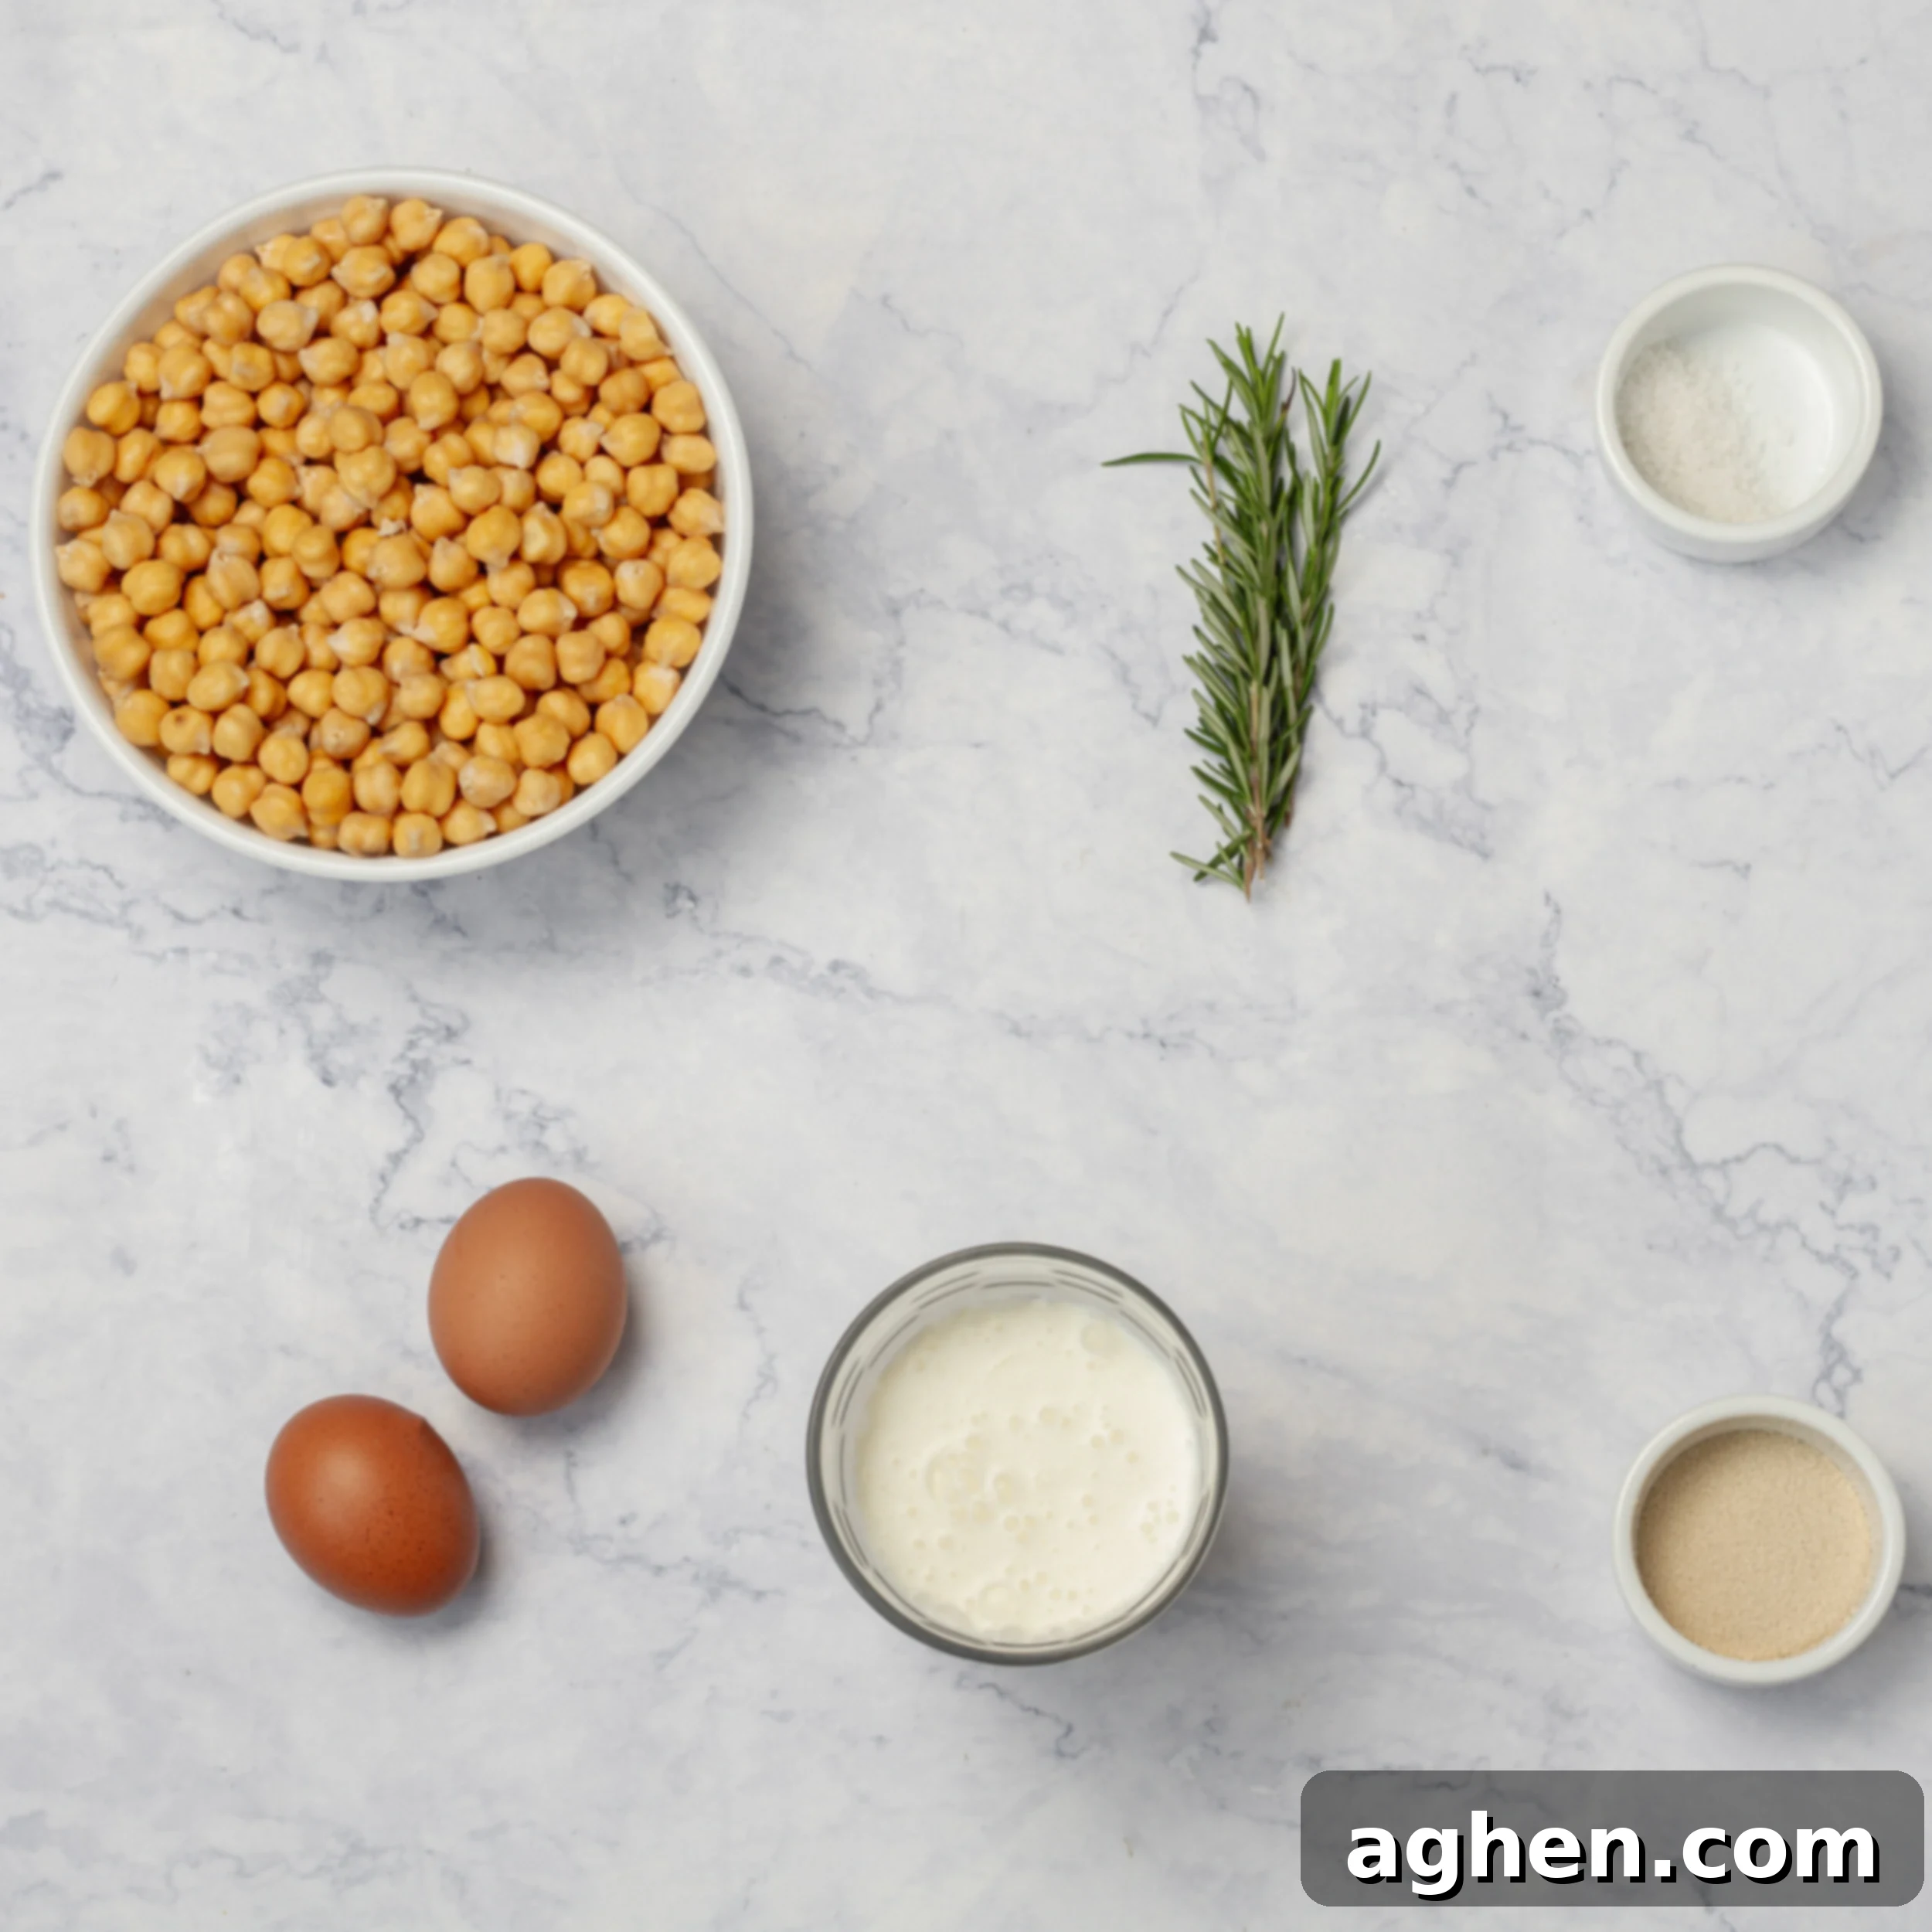
- 2 cans (15 oz each) chickpeas, thoroughly drained and rinsed (this yields approximately 3 cups or 500 g of chickpeas)
- 2 large eggs, essential for binding the bread and providing moisture
- ½ cup skim milk (120 ml), or your preferred milk alternative for a dairy-free version
- 1 tablespoon fresh rosemary, finely chopped (for a vibrant, aromatic flavor; if fresh isn’t available, 1 teaspoon of dried rosemary can be substituted)
- 2 ¼ teaspoons active dry yeast (equivalent to 1 standard packet or 7 g), crucial for the bread’s rise and classic texture
- ½ teaspoon salt, to enhance all the flavors
- 1 teaspoon olive oil, used sparingly for greasing the loaf pan
Step-by-Step Instructions to Bake Perfect Chickpea Bread
Follow these detailed steps to create your own light, fluffy, and flavorful chickpea bread. Precision in each stage will ensure a delightful result.
- Prepare the Chickpeas: Begin by thoroughly draining and rinsing the canned chickpeas under cold water. This crucial step not only removes excess sodium and any canning liquid but also helps achieve a smoother, more refined texture in your final bread.
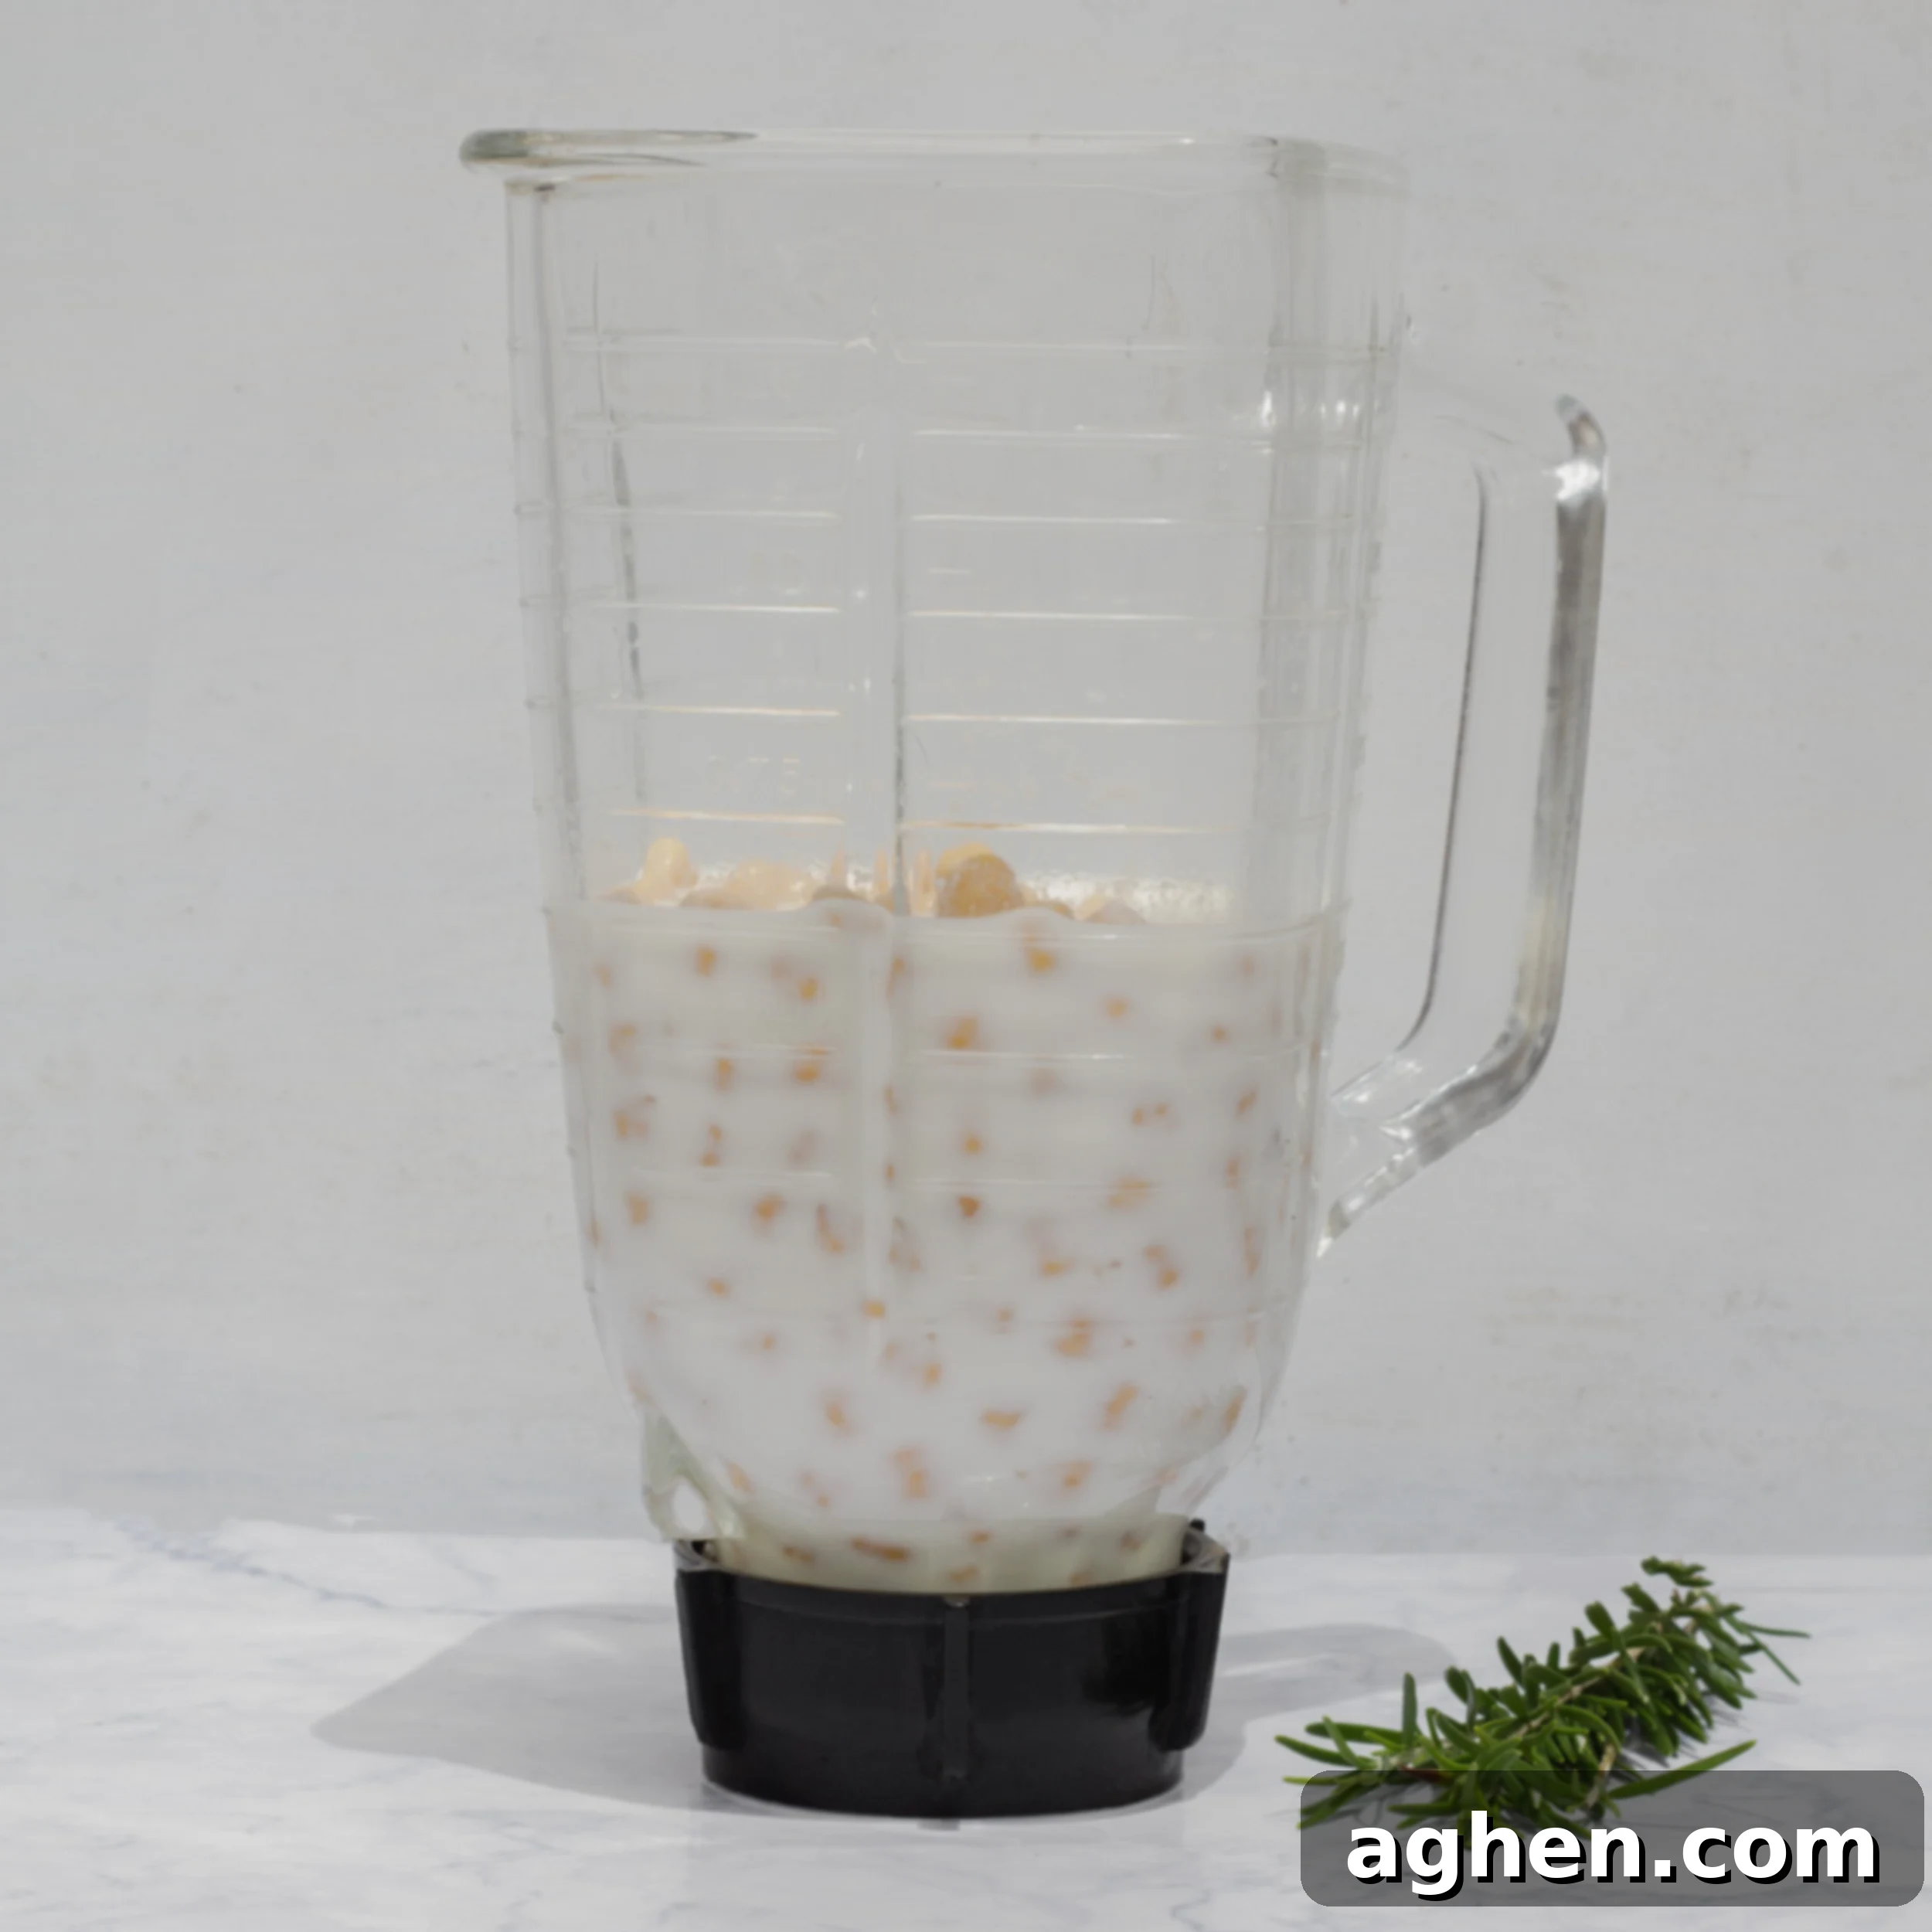
- Blend Wet Ingredients: In a high-powered blender or food processor, combine the prepared chickpeas, large eggs, and skim milk. Blend on high speed for 2-3 minutes. Make sure to pause and scrape down the sides of the blender jar as needed, ensuring the mixture becomes completely smooth and no whole chickpeas remain. This creates the foundational “dough” for your bread.
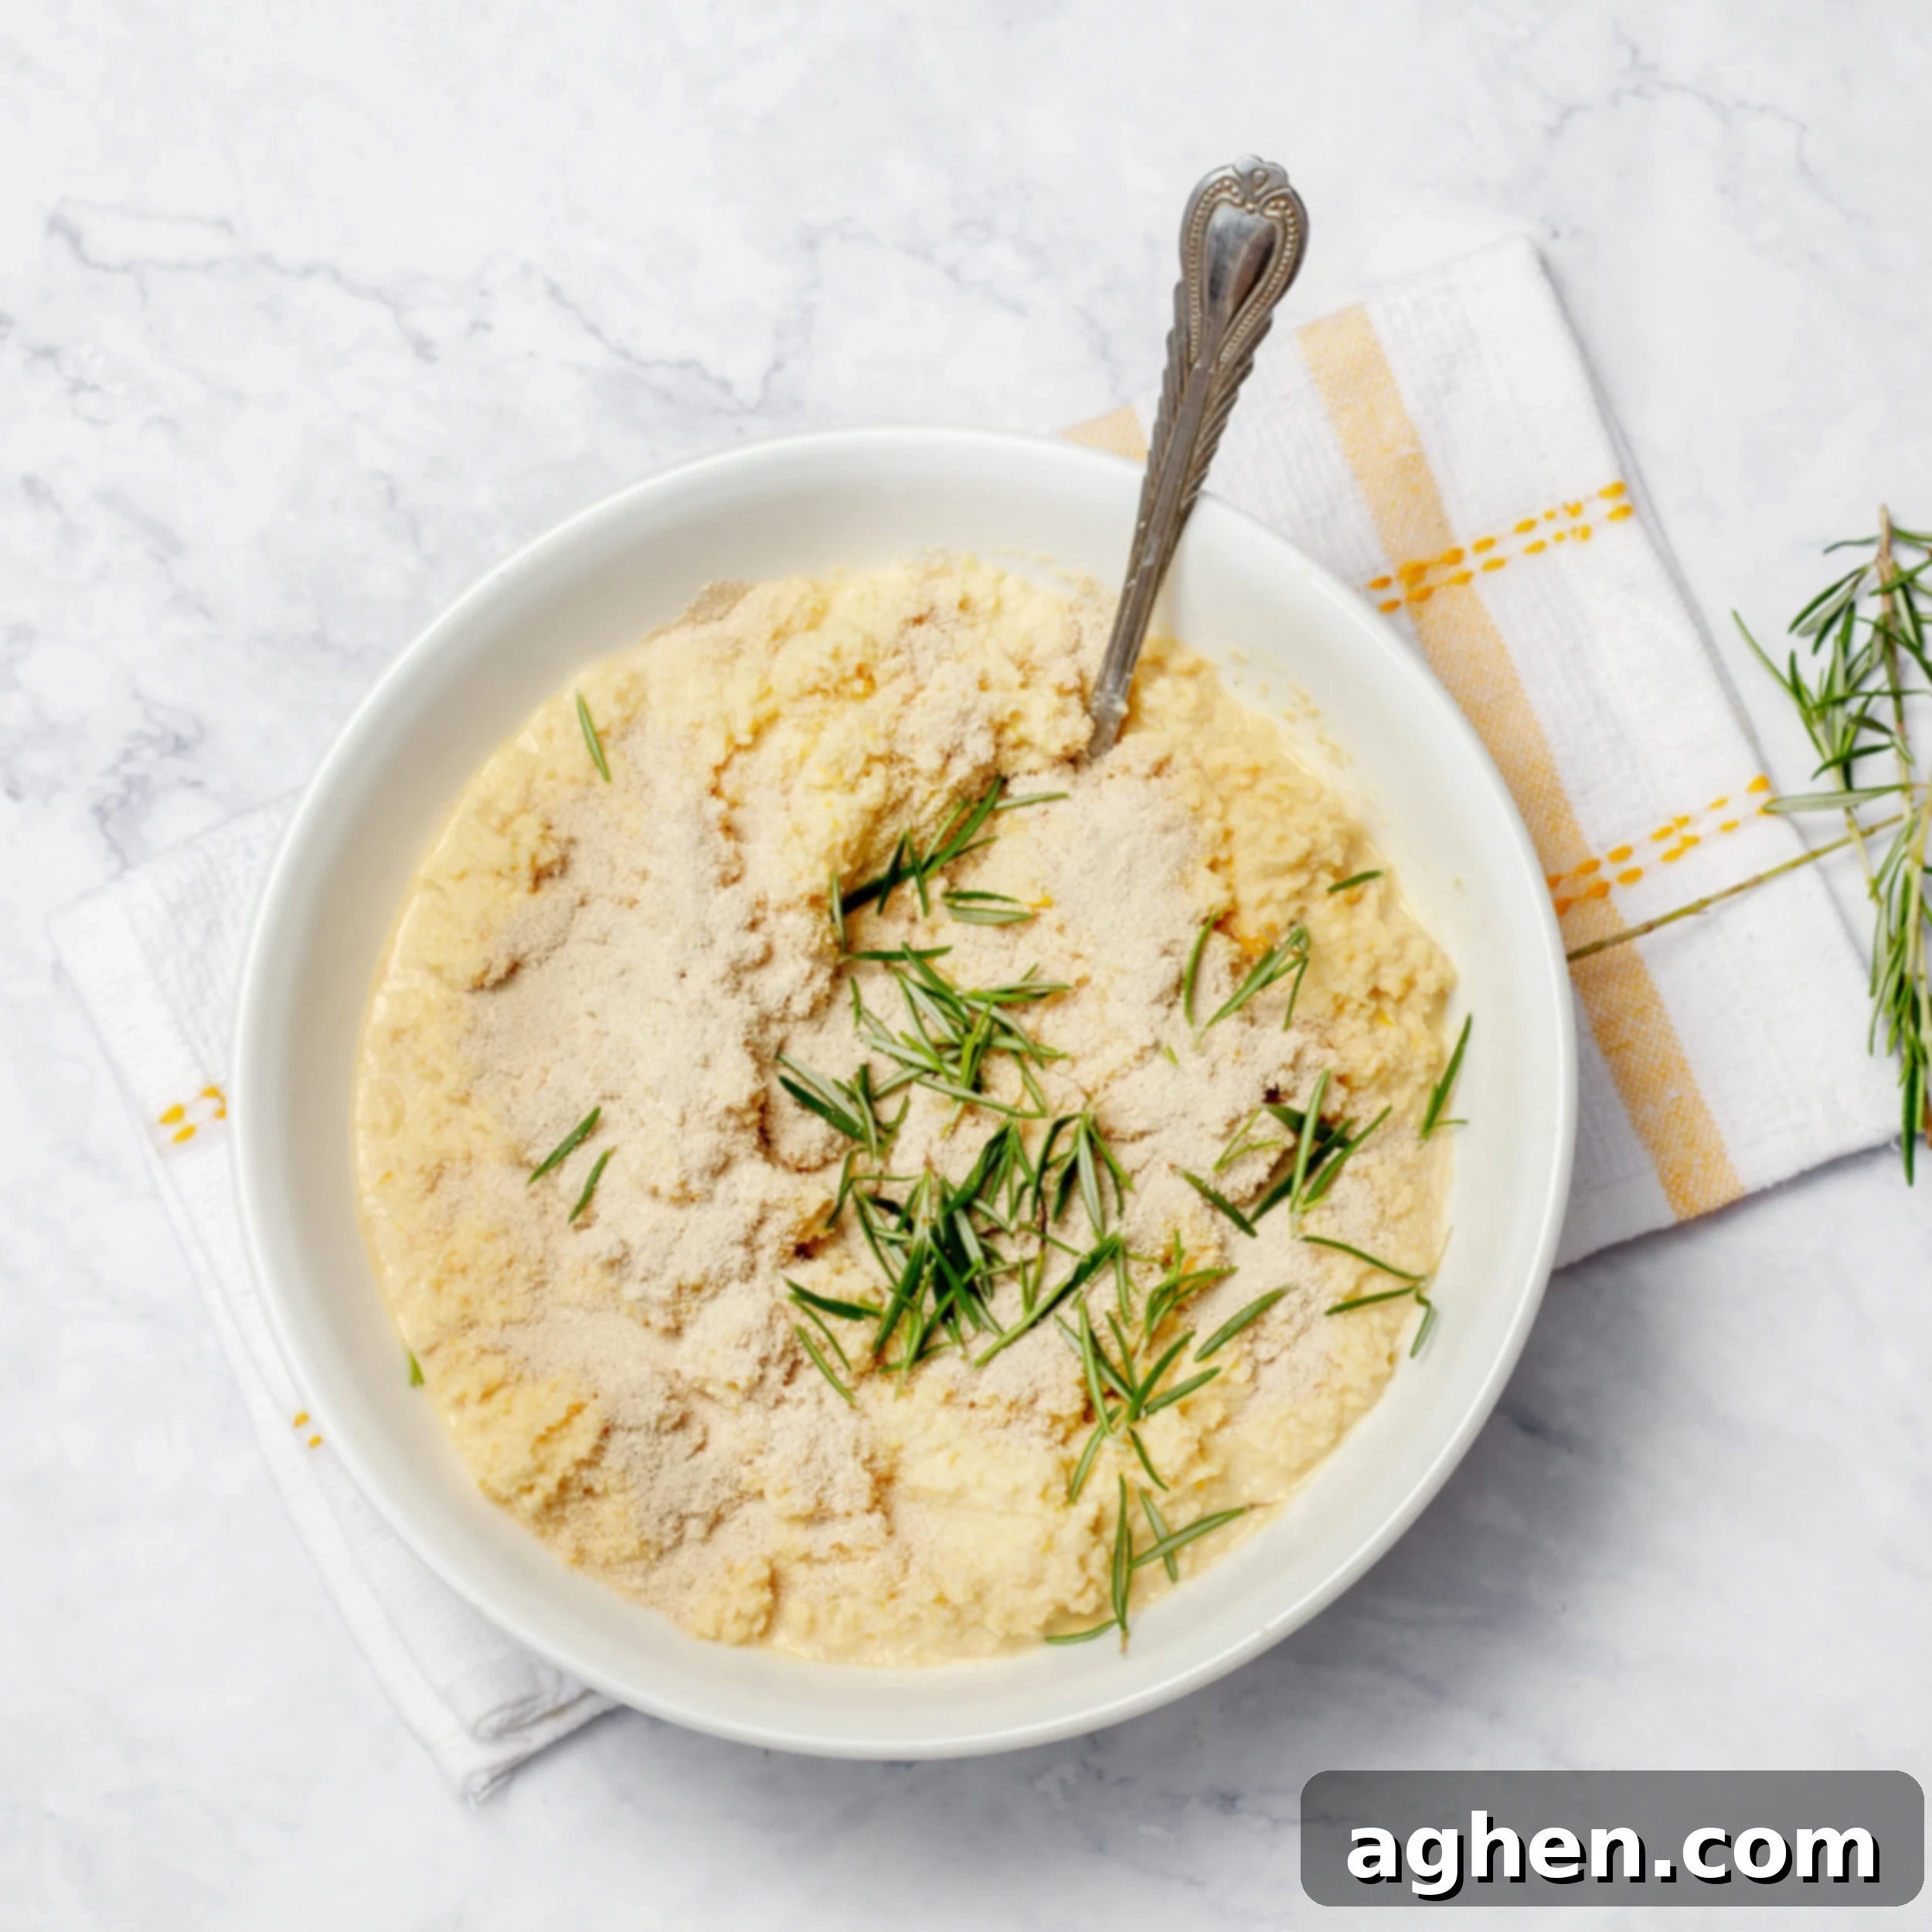
- Season the Mixture: Carefully transfer the creamy chickpea mixture from the blender to a large mixing bowl. Add the finely chopped rosemary and salt, then stir gently until all ingredients are well combined and the flavors are evenly distributed.
- Activate the Yeast: In a small, separate bowl, combine the active dry yeast with 1/4 cup of warm water. The water should be about 110°F (43°C) – warm to the touch but not hot enough to kill the yeast. Let this mixture sit undisturbed for 5 minutes. You’ll know the yeast is active and ready when it becomes frothy and bubbly on the surface.
- Incorporate the Yeast: Gently pour the activated yeast mixture into the chickpea batter in the large mixing bowl. Using a spatula, carefully fold it in until just combined. Overmixing at this stage isn’t necessary.
- Proof the Batter: Cover the bowl with a clean, damp cloth and place it in a warm, draft-free location. Allow the batter to rest and rise for 30 minutes. During this time, the yeast will begin to work, causing the mixture to rise slightly and develop small bubbles, indicating it’s ready for baking.
- Preheat Oven & Prepare Pan: While your batter is proofing, preheat your oven to 350°F (175°C). Lightly grease a 9×5 inch loaf pan with the teaspoon of olive oil, ensuring all inner surfaces are coated to prevent sticking.
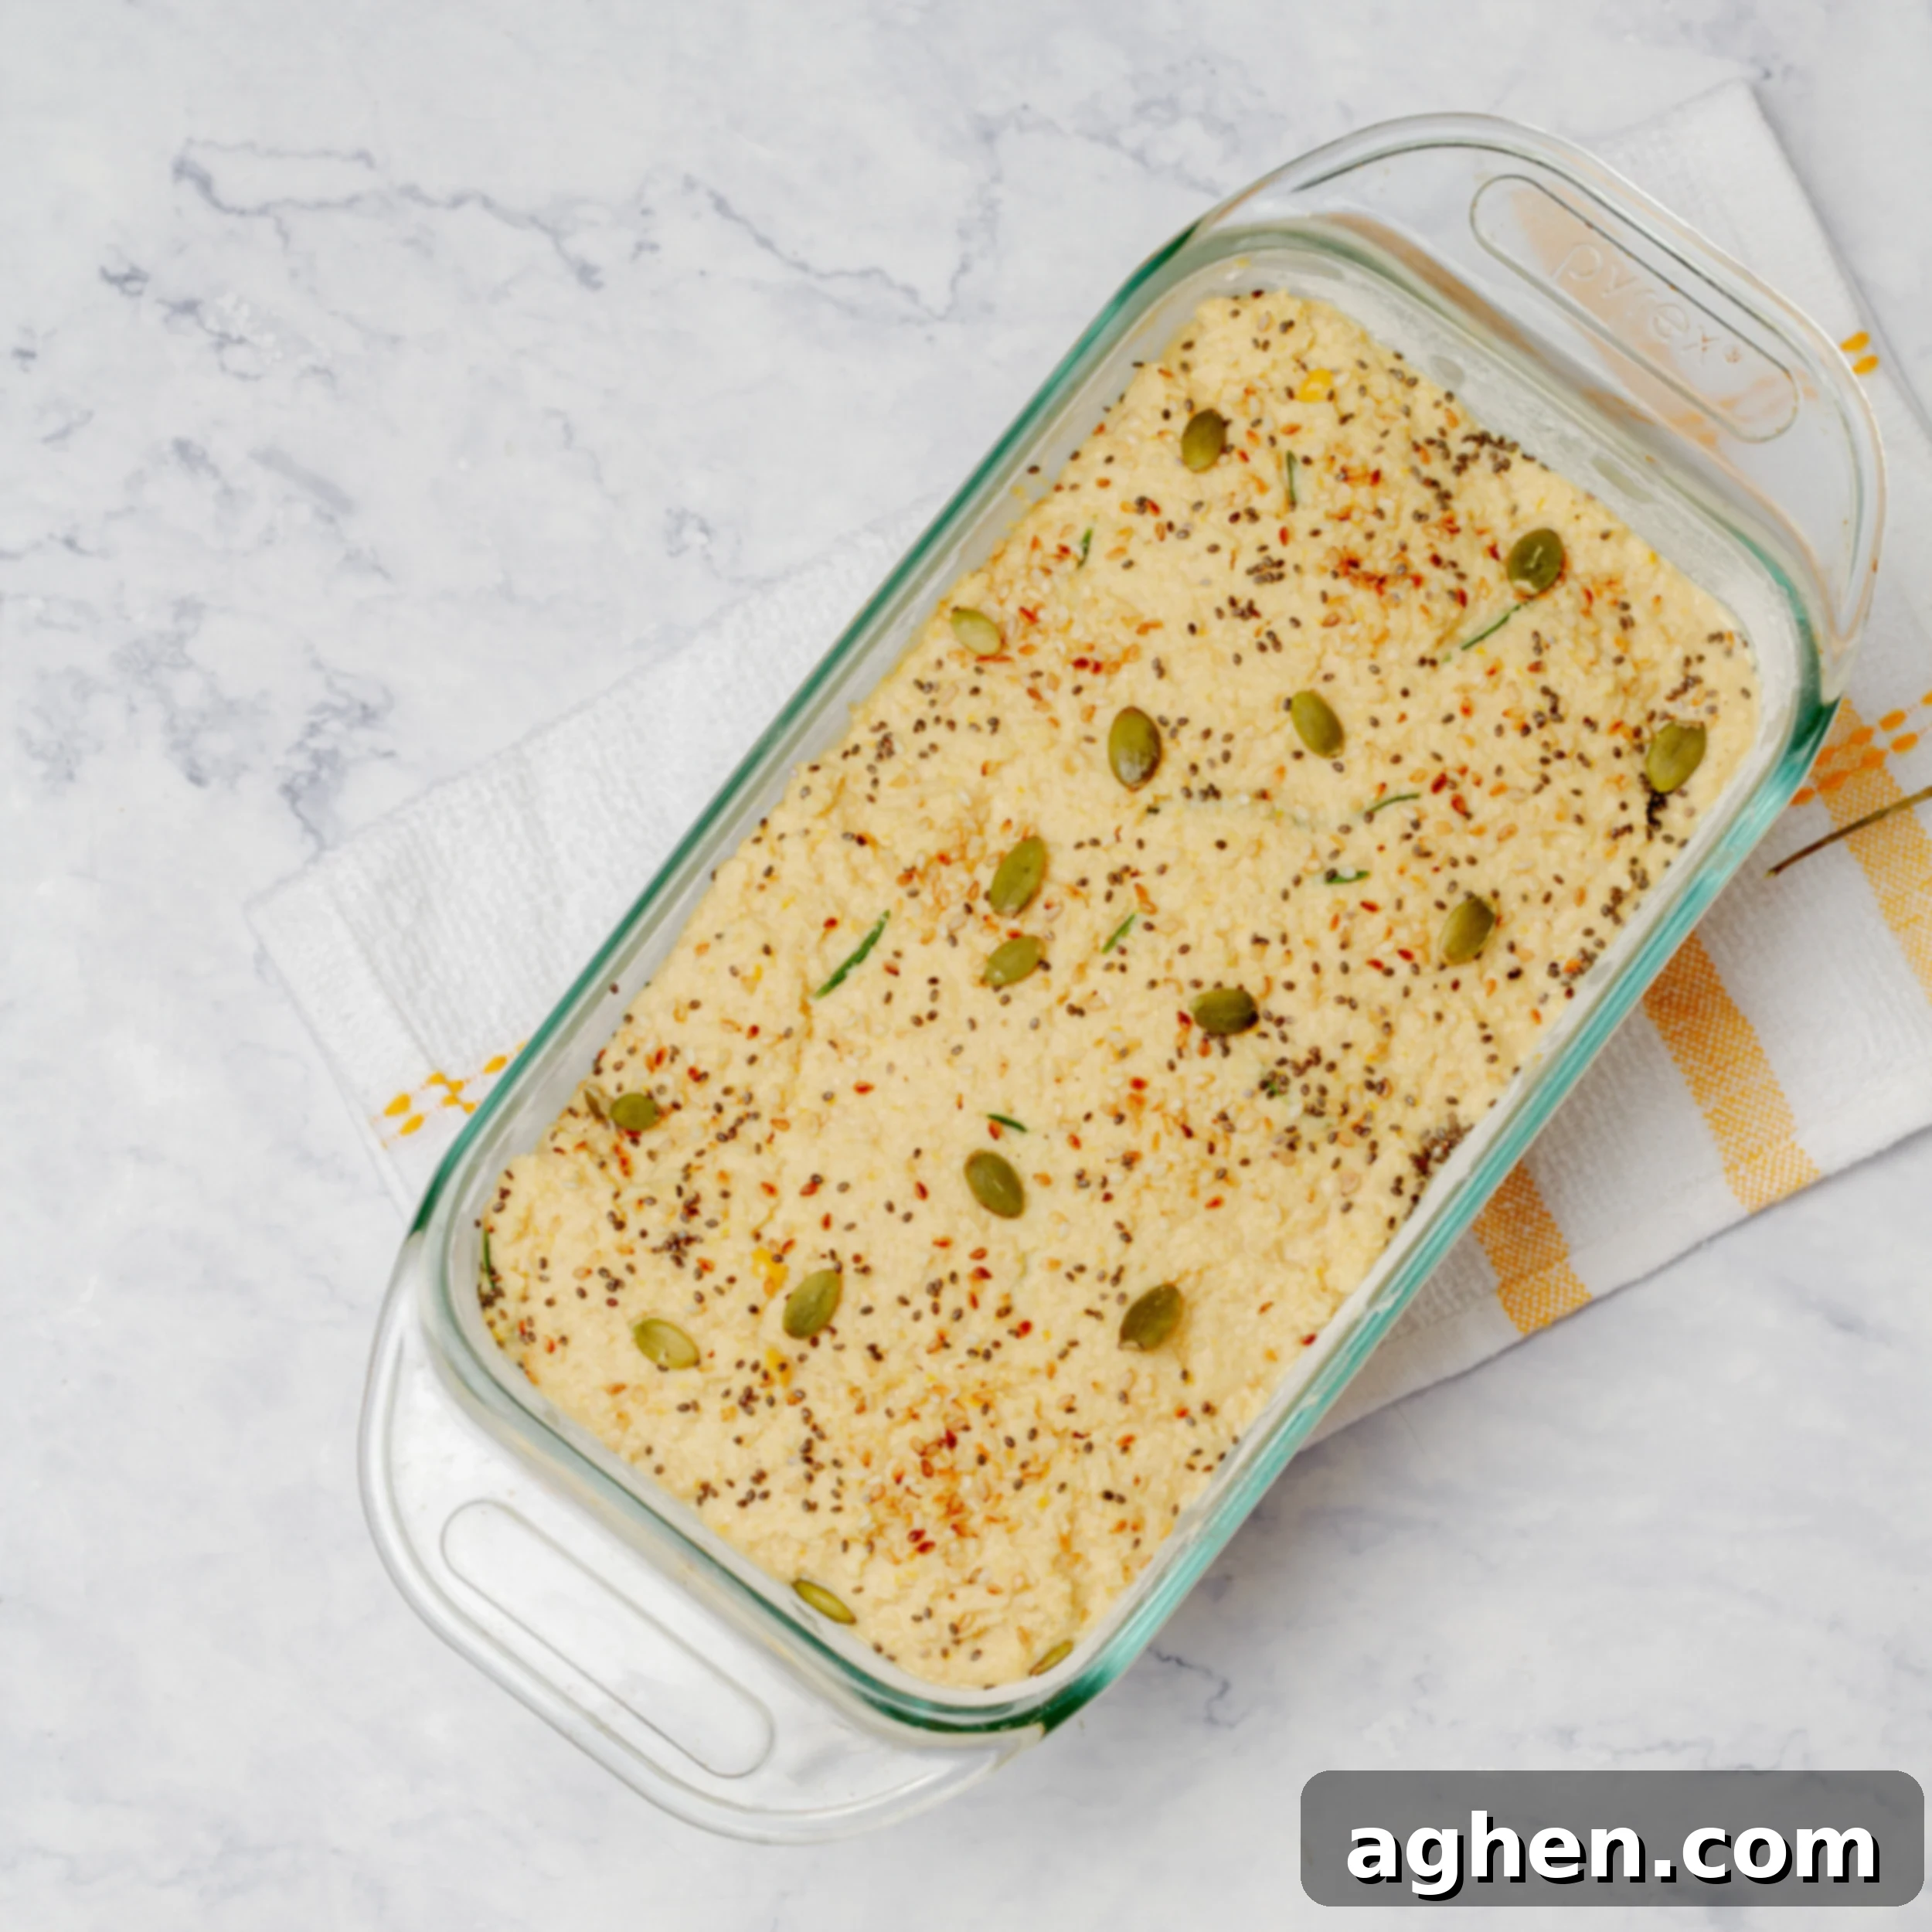
- Mold the Loaf: After the 30-minute resting period, give the batter a very gentle stir to release any large air bubbles. Then, pour the batter evenly into the prepared loaf pan.
- Bake to Perfection: Place the loaf pan in the preheated oven and bake for 45-50 minutes. The bread is done when the top is beautifully golden brown and a toothpick inserted into the very center comes out completely clean.
- Cool Before Slicing: Once baked, remove the bread from the oven and allow it to cool in the pan for 30 minutes. This cooling period in the pan is crucial for the bread to set properly. After 30 minutes, carefully remove the loaf from the pan and transfer it to a wire rack to cool completely. Allowing it to cool fully before slicing will ensure the best texture.
- Slice and Serve: Once the bread has cooled completely, use a serrated knife to slice it into 8 even pieces. While its texture will be denser than traditional wheat bread, it will boast a wonderfully moist crumb and a subtle, appealing nutty flavor from the chickpeas.
Storage Tips: To keep your chickpea bread fresh, store it in an airtight container at room temperature for up to 2 days. For extended freshness, transfer it to the refrigerator, where it will last for up to a week. For longer-term storage, individual slices can be frozen. Simply wrap them tightly in plastic wrap and then aluminum foil, and they will keep well for several months. Thaw frozen slices at room temperature or toast directly from frozen.
Creative Ways to Enjoy Your Chickpea Bread
The mild, savory flavor and moist texture of this chickpea bread make it incredibly versatile for a variety of meals and snacks. Get creative with how you serve it to maximize its delicious potential:
- Breakfast Bliss: Toast a slice and top it with avocado and a poached egg for a protein-packed start to your day. Or, spread with a light cream cheese and a sprinkle of everything bagel seasoning.
- Perfect with Soups & Stews: Its robust texture makes it an ideal companion for hearty homemade soups, chili, or stews, soaking up all the delicious broths.
- Healthy Sandwiches & Toasts: Use it as a base for open-faced sandwiches with lean turkey, hummus and veggies, or a simple slice of cheese and tomato.
- Snack Time Favorite: Enjoy it plain as a quick, satisfying snack, or lightly toasted with a drizzle of olive oil and a dash of red pepper flakes for a spicy kick.
- Alongside Salads: Serve a slice with a fresh green salad for a complete and balanced meal.
Variations and Substitutions for Your Chickpea Bread
This recipe is wonderfully adaptable, allowing you to experiment with flavors and dietary needs. Here are a few ideas to customize your chickpea bread:
- Using Chickpea Flour: For an even quicker preparation method, you can substitute the canned chickpeas with chickpea flour (also known as gram flour or besan). If using flour, you’ll need approximately 1.5-2 cups of chickpea flour, and you’ll also need to add about 1 cup of extra liquid (water or milk) to achieve the right batter consistency. Adjust as needed to ensure a smooth, pancake-like batter.
- Vegan-Friendly Version: Easily transform this into a vegan bread by swapping the large eggs for flax eggs (2 tablespoons ground flaxseed mixed with 6 tablespoons water, allowed to sit for 5 minutes) and replacing skim milk with any plant-based alternative. I’ve personally had fantastic, almost identical results using soy milk, but almond or oat milk would also work well.
- Experiment with Seasonings: The beauty of chickpea bread is its neutral base, which welcomes a variety of savory enhancements. Don’t limit yourself to rosemary! Try incorporating other fresh or dried herbs like oregano, thyme, tarragon, marjoram, fresh cilantro, or parsley. For more exotic flavor profiles, consider adding finely chopped olives, sun-dried tomatoes, or a pinch of red pepper flakes for a subtle heat. Always aim for savory flavors, as they tend to complement the subtle earthiness of chickpeas best.
Expert Tips and Tricks for Perfect Chickpea Bread
Achieving a perfect loaf of chickpea bread is simple when you know a few key tricks. Keep these pointers in mind for a consistently delicious result every time:
- Rinse Chickpeas Thoroughly: As mentioned in the instructions, don’t skimp on draining and rinsing the chickpeas. This removes excess sodium and any residual liquid from the can, which can affect the bread’s flavor and texture.
- Achieve Ultimate Smoothness: When blending the chickpeas, eggs, and milk, ensure the mixture is absolutely silky smooth. Any remaining whole or partially blended chickpeas will result in a grainy texture. If your blender isn’t super powerful, blend in smaller batches to guarantee a perfectly uniform batter. Transfer the blended mixture to a separate bowl for subsequent steps.
- Seasoning and Yeast Integration: Once the chickpea, milk, and egg mixture is perfectly smooth, this is the ideal time to add your seasonings, such as a pinch of salt and the activated, frothy yeast. Gentle folding ensures the yeast is evenly distributed without deflating the batter.
- Optimal Proofing Environment: The yeast needs warmth and humidity to activate properly. Covering the bowl with a damp cloth creates a moist, warm microclimate that significantly enhances the yeast’s effect and promotes a better rise.
- Proof in the Pan for Convenience: While the instructions suggest proofing in a bowl, a useful hack for convenience is to let the bread mixture complete its final rise directly in the greased baking mold. This eliminates an extra transfer step and reduces the risk of deflating the delicate risen batter.
- Preheat Oven for Even Baking: Always preheat your oven fully before placing the bread inside. A hot oven ensures that the bread begins to brown and rise immediately, leading to a beautiful golden crust and a thoroughly cooked interior.
Chickpea Bread
Ingredients
- 2 cans, 15 oz each chickpeas, drained and rinsed (about 3 cups or 500 g)
- 2 large eggs
- ½ cup skim milk, 120 ml
- 1 tablespoon fresh rosemary, finely chopped (or 1 teaspoon dried)
- 2 ¼ teaspoons active dry yeast, 1 packet or 7 g
- ½ teaspoon salt
- 1 teaspoon olive oil, for greasing the pan
Instructions
-
Drain and rinse the chickpeas thoroughly. This critical step removes excess sodium and contributes to the smooth texture of your finished bread.
-
Blend wet ingredients: In a high-powered blender or food processor, combine the well-drained chickpeas, eggs, and milk. Blend on high speed for 2-3 minutes, pausing to scrape down the sides of the container as needed, until the mixture is completely smooth and no whole chickpeas are visible.
-
Season the dough: Transfer the velvety chickpea mixture to a large mixing bowl. Add the finely chopped fresh rosemary and salt, stirring well to ensure even distribution of flavors.
-
Activate the yeast: In a small bowl, combine the active dry yeast with 1/4 cup of warm water (around 110°F or 43°C). Let it sit for 5 minutes until it becomes visibly frothy, which indicates the yeast is active and ready to work.
-
Fold in the yeast: Gently incorporate the activated yeast mixture into the chickpea batter using a spatula. Mix just enough to combine without overworking the batter.
-
Proof: Cover the bowl with a damp cloth and allow the batter to rest in a warm, draft-free place for 30 minutes. You should notice the mixture rising slightly and becoming lightly bubbly as the yeast works its magic.
-
Preheat: While the batter is resting, preheat your oven to 350°F (175°C) and lightly grease a 9×5 inch loaf pan with the teaspoon of olive oil to prevent sticking.
-
Mold the loaf: After the designated resting period, give the batter a gentle stir and then pour it evenly into the prepared loaf pan.
-
Bake for 45-50 minutes, or until the top achieves a beautiful golden brown color and a toothpick inserted into the center comes out entirely clean, indicating it’s fully cooked.
-
Let cool: Remove the bread from the oven and allow it to cool in the pan for 30 minutes. This helps the bread firm up. Afterward, carefully remove it from the pan and transfer it to a wire rack to cool completely before slicing to ensure the best texture.
-
Slice and serve: Once thoroughly cooled, slice the bread into 8 even pieces. While its texture will be notably denser than traditional wheat bread, it will offer a wonderfully moist crumb and a subtle, delightful nutty flavor from the chickpeas.
Notes
Nutrition Information
Please note that nutrition information is automatically calculated and should be used as an approximation. For precise dietary needs, consider consulting a nutritionist.
