Delicious & Easy Gluten-Free Chocolate Cookies: A Simple Recipe for Healthier Indulgence
Welcome to your new favorite gluten-free cookie recipe! In this comprehensive guide, we’re diving deep into creating the most delightful and easy-to-make chocolate cookies, perfect for anyone seeking a healthier treat without compromising on flavor. This recipe is designed with simplicity in mind, utilizing common pantry staples to bring you a batch of wonderfully chewy, chocolatey cookies that are naturally gluten-free and kind to your waistline, especially if you’re following Weight Watchers.
Whether you’re managing a gluten intolerance, trying to reduce sugar intake, or simply looking for a wholesome dessert option, these oat flour chocolate cookies are a fantastic choice. They are incredibly satisfying, quick to prepare, and a genuine crowd-pleaser. Let’s get baking!

Recipe Overview: Quick & Easy Gluten-Free Chocolate Cookies
This recipe focuses on speed and ease, ensuring you can whip up a batch of delicious cookies whenever a craving strikes.
- Yield: Approximately 18 cookies
- Serving Size: 2 cookies (each approximately 25g)
- Preparation Time: 20 minutes
- Cooking Time: 12-15 minutes
- WW Points: 3 Weight Watchers Points per serving (2 cookies)
Why Choose Gluten-Free? Understanding the Benefits
The decision to go gluten-free often stems from health necessities or personal preferences. Gluten, a protein found in wheat, barley, and rye, can trigger adverse reactions in individuals with Celiac disease or non-Celiac gluten sensitivity. For these individuals, a gluten-free diet is crucial for managing symptoms and maintaining gut health.
However, many others choose gluten-free options for general wellness benefits. While not a cure-all, opting for naturally gluten-free ingredients like oat flour can introduce more fiber and nutrients into your diet. This recipe utilizes oat flour, which is not only gluten-free (ensure certified gluten-free oats if necessary) but also packed with soluble fiber, aiding digestion and promoting a feeling of fullness. This makes these chocolate cookies a smart choice for a healthier lifestyle, offering a delicious way to enjoy a sweet treat without the common allergens.
The Power of Oat Flour: Your Gluten-Free Baking Secret
Oat flour is a fantastic alternative to traditional wheat flour in many baking recipes, especially for cookies. It imparts a wonderfully chewy texture and a subtle, wholesome flavor that complements chocolate beautifully. Beyond its gluten-free nature, oat flour brings several nutritional advantages:
- Rich in Fiber: Oats are known for their high fiber content, particularly beta-glucan, which can help lower cholesterol and regulate blood sugar levels.
- Nutrient-Dense: Oat flour is a good source of essential minerals like manganese, phosphorus, magnesium, copper, iron, and zinc.
- Affordable & Accessible: Unlike some specialized gluten-free flours, oat flour is often more readily available and can even be made at home from regular oats, making it a budget-friendly option.
Making Your Own Oat Flour at Home
One of the best things about this recipe is the option to make your own oat flour. It’s incredibly simple and ensures you have fresh, high-quality flour for your cookies. All you need is a bag of rolled oats (ensure they are certified gluten-free if you have a strict dietary requirement) and a blender or food processor.
Here’s how to do it:
- Measure out the desired amount of rolled oats. For this recipe, you’ll need enough oats to yield 2 cups (220g) of flour.
- Add the oats to your blender or food processor.
- Blend on high speed until the oats are transformed into a fine, flour-like consistency. Stop and shake the blender or scrape down the sides as needed to ensure an even grind.
- Once blended, measure out 2 cups (220g) of your freshly made oat flour for the recipe. Store any leftover oat flour in an airtight container at room temperature or in the freezer for longer freshness.
Simple Ingredients for Delicious Gluten-Free Chocolate Cookies
You’ll be delighted by how few ingredients are required to create these delectable cookies. Each component plays a crucial role in achieving the perfect balance of flavor and texture.
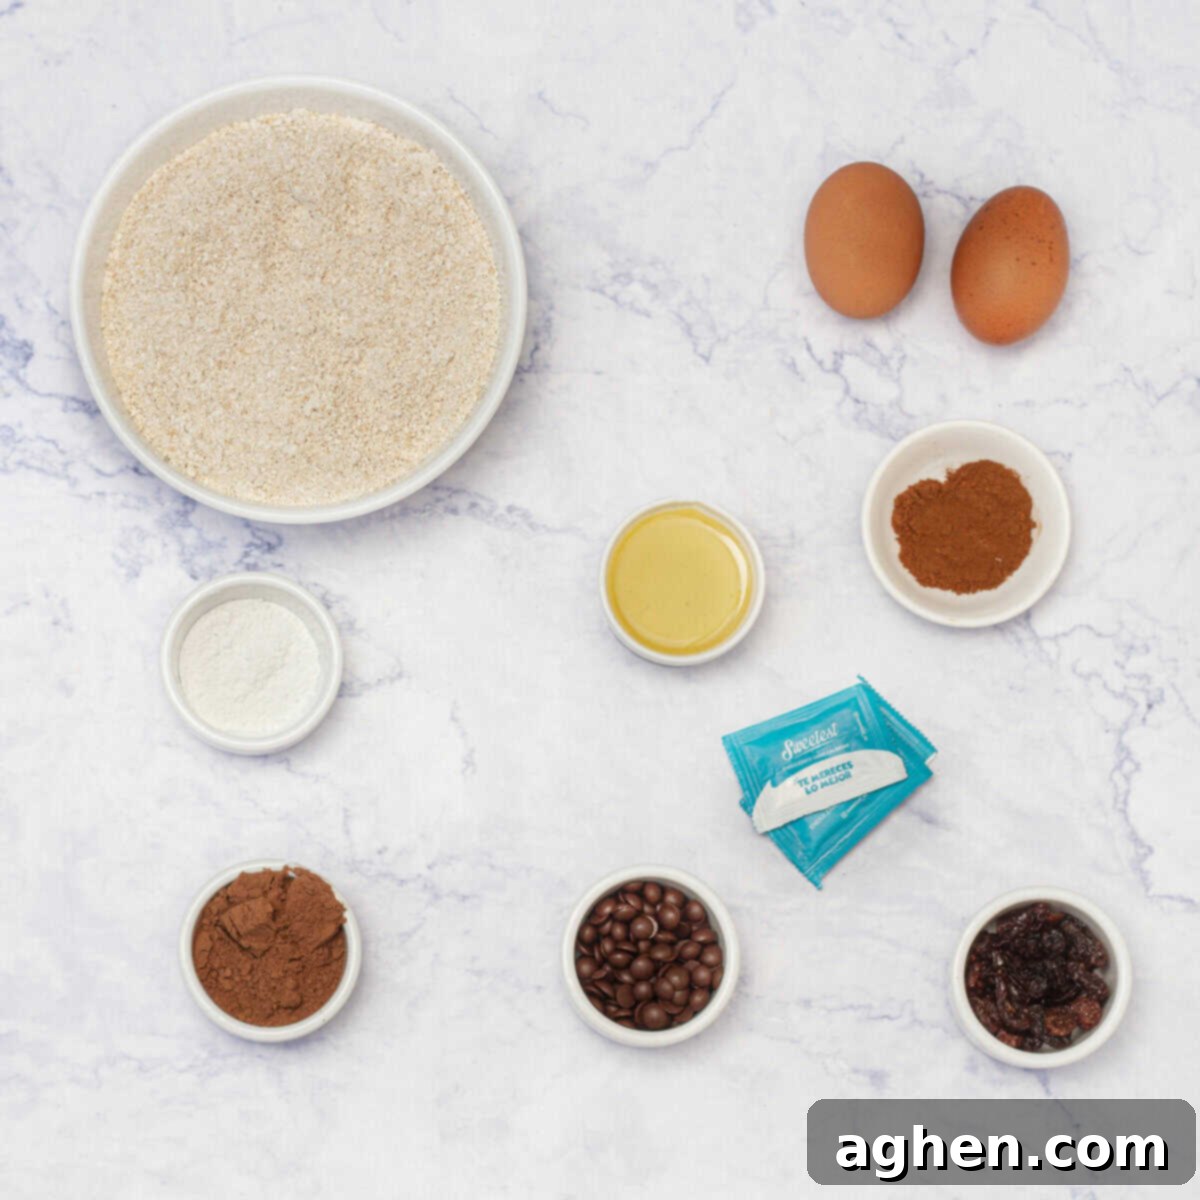
- 2 cups oat flour (220 g): The star of our gluten-free base. Provides a hearty texture and wholesome flavor.
- 1 tsp baking powder: Helps the cookies rise slightly and achieve a soft chewiness.
- ½ cup cocoa powder (50 g): For that rich, deep chocolate flavor. Use unsweetened cocoa powder.
- 10 packets/drops of Stevia (or sweetener of your choice): Our sugar-free option for sweetness. Adjust to your preferred level of sweetness. You can use granulated sugar, maple syrup, or another sugar substitute if you prefer.
- 2 eggs: Act as a binder, providing structure and moisture to the cookies.
- 3 tablespoons oil (30 ml): Adds moisture and helps with the tender texture. Canola, soy, sunflower, or corn oil are all suitable options.
- ½ cup water (60 ml): Hydrates the dough, making it pliable and easy to work with.
- 1 tsp cinnamon: A subtle hint of cinnamon enhances the chocolate flavor, adding warmth and depth.
Optional Toppings: chocolate chips (mini or regular), raisins, chopped nuts, sprinkles.
Step-by-Step Instructions: Baking Your Perfect Gluten-Free Chocolate Cookies
Follow these easy steps to bake a batch of homemade gluten-free chocolate cookies that are sure to impress!
- Preheat Oven & Prepare Baking Sheet: Begin by preheating your oven to 350°F (175°C). Line a baking sheet with parchment paper to prevent sticking and ensure easy cleanup. Set this aside for later.
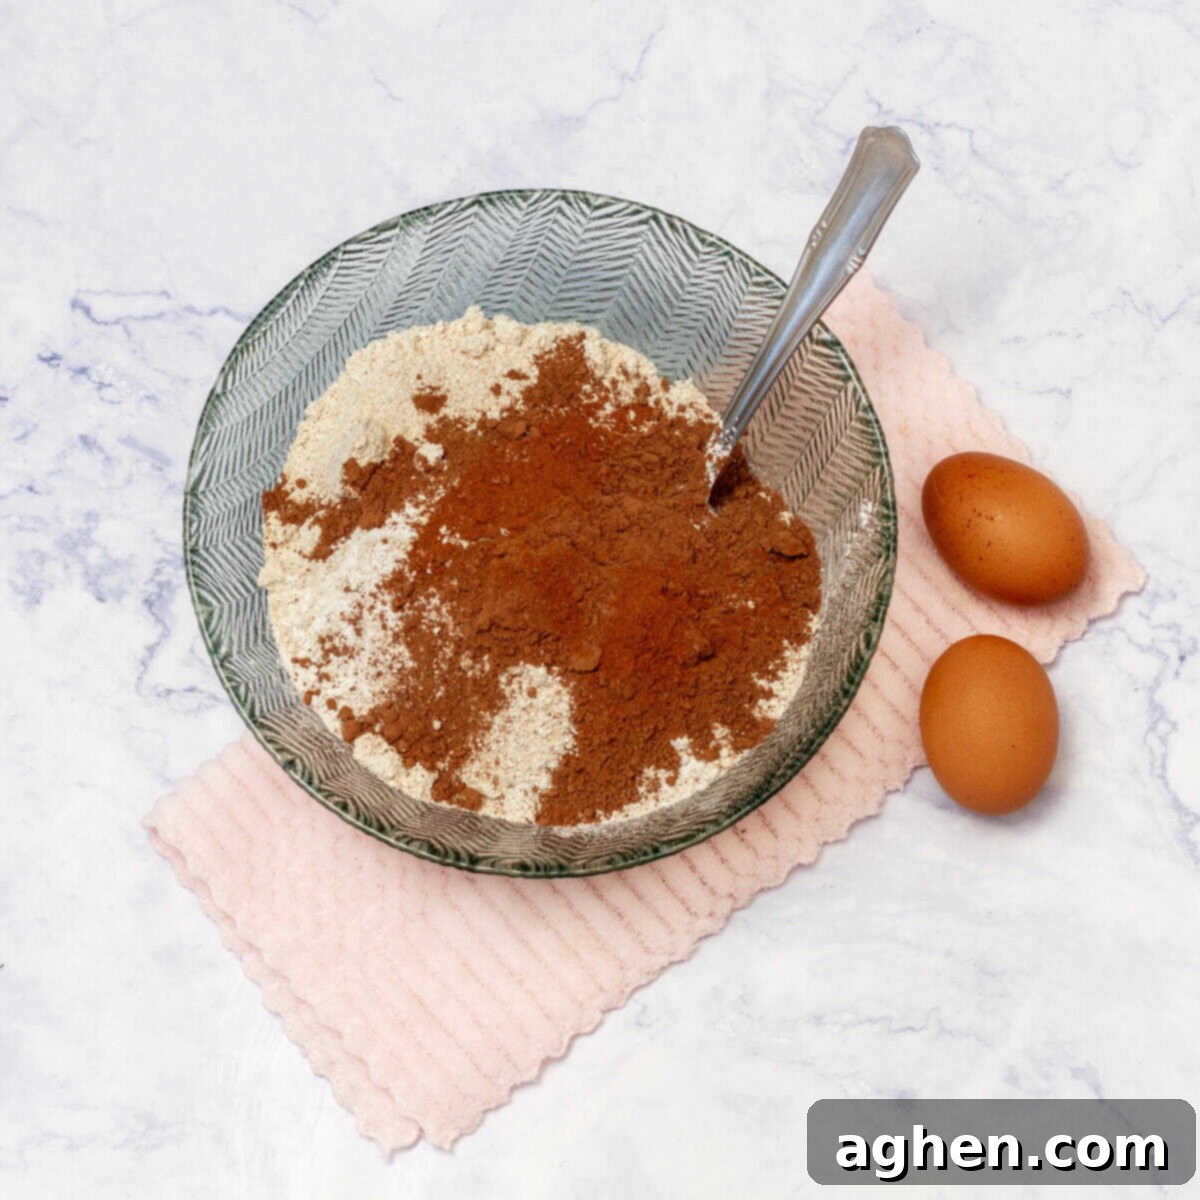
- Mix Dry Ingredients: In a large mixing bowl, combine the oat flour, baking powder, cocoa powder, Stevia (or your chosen sweetener), and cinnamon. Use a whisk or spoon to stir these dry ingredients thoroughly until they are well combined and there are no lumps, especially from the cocoa powder. Sifting the cocoa powder can help achieve a smoother mix.
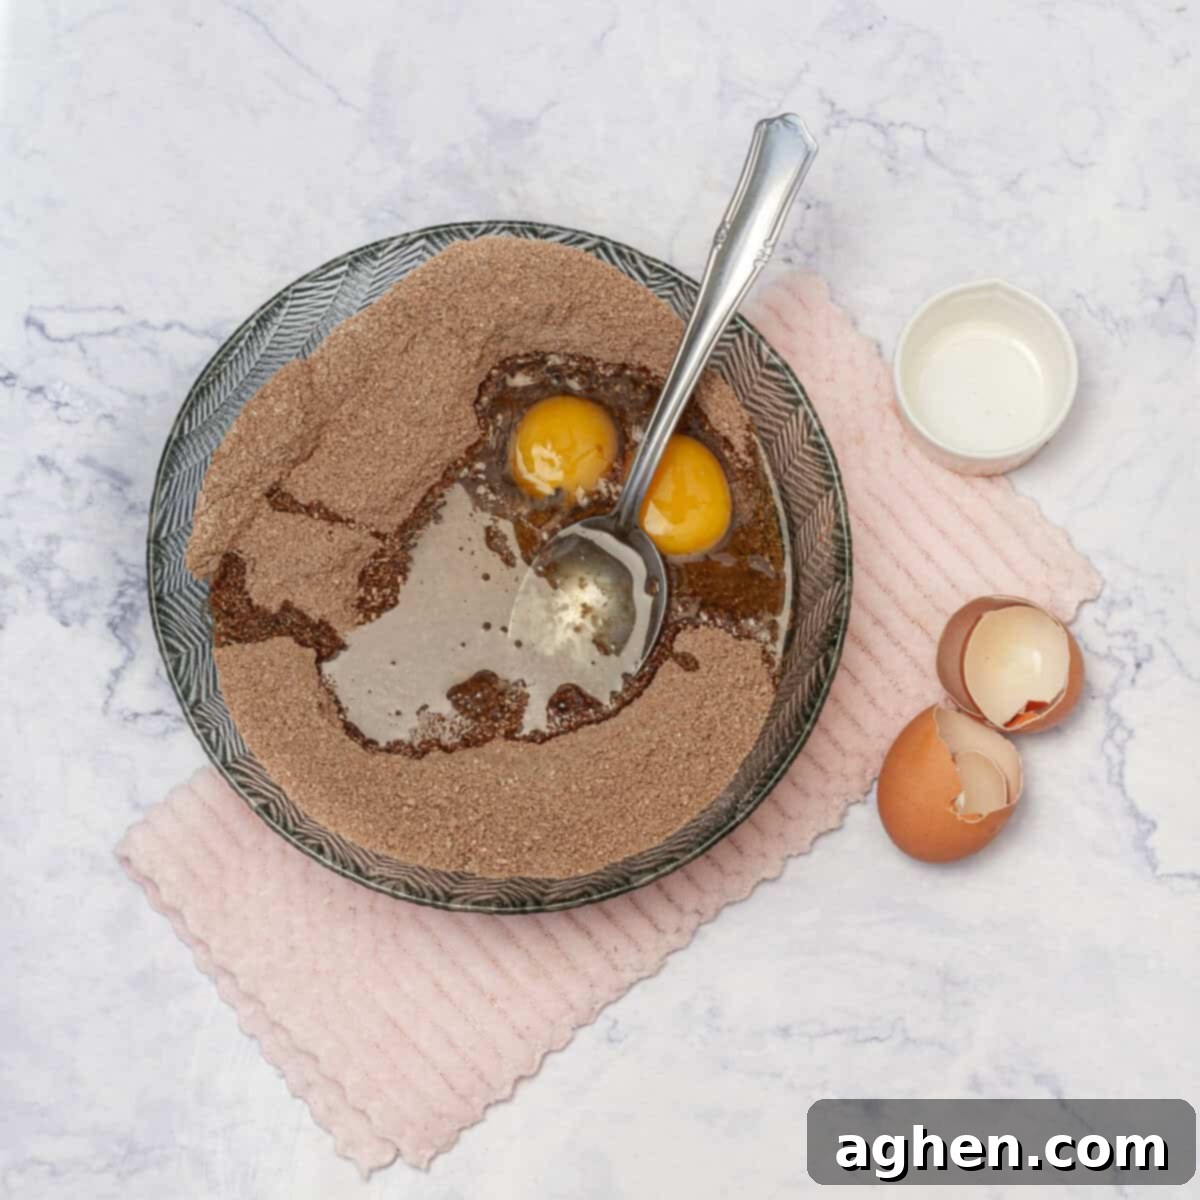
- Incorporate Wet Ingredients: Create a small well in the center of your dry ingredients. Add the eggs, oil, and water into this well. Begin mixing everything together, either with a spoon or a sturdy spatula, until a thick, cohesive dough forms. The dough should be firm enough to roll but not overly dry or crumbly. If it appears too dry, add a tiny bit more water, one tablespoon at a time, until it reaches the right consistency.
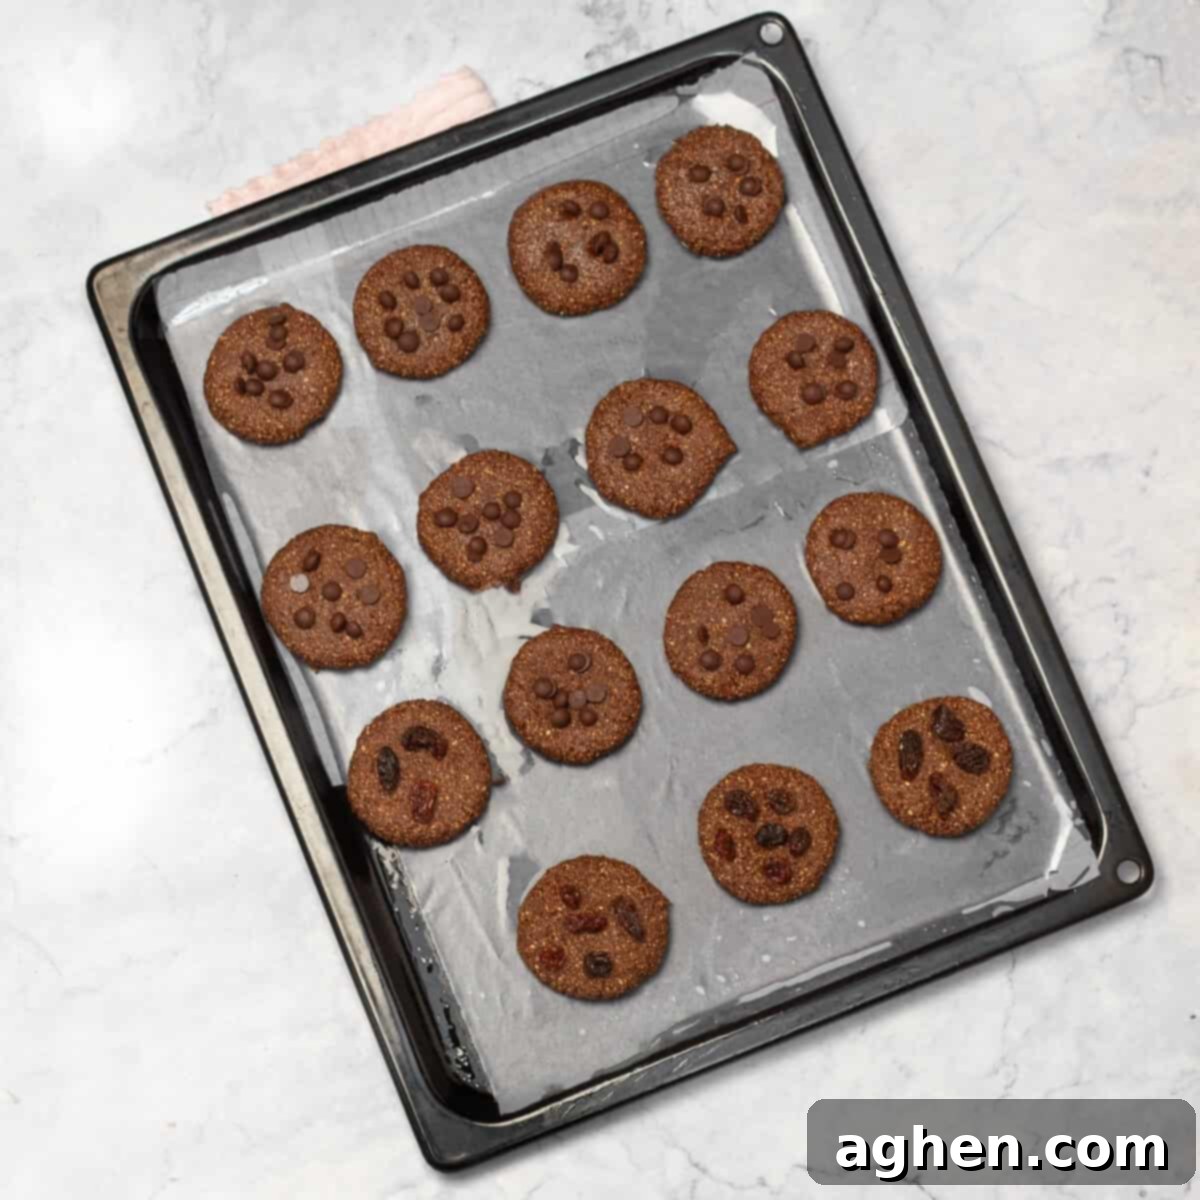
- Form Cookies: Take small portions of the dough, about 1-2 tablespoons each, and roll them gently into balls. Place these dough balls onto your prepared baking sheet, ensuring you leave some space between each cookie to allow for slight spreading. Unlike traditional butter-rich cookies, these oat flour cookies won’t spread much, so use your fingers or the back of a spoon to gently flatten each ball into your desired cookie shape and thickness.
- Add Optional Toppings: If you’re using chocolate chips, raisins, or other toppings, gently press them onto the tops of the formed cookies now. This adds extra flavor and visual appeal.
- Bake to Perfection: Transfer the baking sheet to your preheated oven. Bake for 12-15 minutes. The cookies are ready when they appear set and slightly firm to the touch, though they will still be soft. They will firm up considerably as they cool. Avoid overbaking to maintain their chewy texture.
- Cool Completely: Once baked, remove the cookies from the oven. Allow them to cool on the baking sheet for a few minutes. This crucial step helps them set and prevents them from breaking. After a few minutes, carefully transfer them to a wire rack to cool completely.
- Serve & Enjoy: Once fully cooled, these delicious gluten-free chocolate cookies are ready to be savored! Enjoy them with a glass of milk, coffee, or as a delightful snack.
- Storage: Store any leftover cookies in an airtight container at room temperature for up to 5 days. For longer storage, these cookies freeze beautifully. Place them in a freezer-safe bag or container for up to 2-3 months. Thaw at room temperature before enjoying.

Variations and Substitutions: Get Creative!
One of the joys of baking is experimenting with flavors and textures. This gluten-free chocolate cookie recipe is highly adaptable, allowing you to customize it to your taste and dietary needs.
- Toppings Galore: While classic chocolate chips are always a hit, don’t shy away from other options. Raisins offer a lovely chewiness and natural sweetness. For a fun, kid-friendly twist, consider colorful sprinkles or shredded coconut. If you’re a nut lover, finely chopped peanuts, walnuts, or pecans can add a delightful crunch.
- Flavor Boosters: A pinch of ground cloves or nutmeg can introduce a warm, aromatic complexity to the chocolate base. A tiny amount of almond extract or vanilla extract can also elevate the overall flavor profile.
- Sweetener Alternatives: If Stevia isn’t your preference, you can substitute it with other granulated sugar substitutes or even a small amount of maple syrup or honey for a different kind of sweetness (adjust liquid content slightly if using liquid sweeteners).
- Oil Alternatives: While we suggest common vegetable oils, you can also use melted coconut oil for a subtle tropical hint and additional health benefits.
Expert Tips for Perfect Gluten-Free Chocolate Cookies Every Time
Achieving perfect cookies often comes down to a few key techniques. Follow these expert tips to ensure your gluten-free chocolate cookies turn out beautifully every single time:
- Thoroughly Mix Dry Ingredients: This is critical for even distribution of flavors and leavening. Sifting your cocoa powder is highly recommended to prevent any stubborn clumps from appearing in your dough, ensuring a smooth and homogeneous cookie mixture.
- Gradually Add Wet Ingredients: The absorption rate of oat flour can vary depending on how finely it’s ground. While ½ cup of water is a good starting point, you might need a little more or less. Add the water gradually, one tablespoon at a time, until the dough reaches a thick but pliable consistency that’s easy to roll into balls.
- Preheat Your Oven: Always preheat your oven for at least 10-15 minutes before baking. A consistently heated oven ensures even baking and helps the cookies set properly. Keep an eye on the baking time; these cookies are typically done in 12-15 minutes. They will appear dry on the surface and will continue to harden slightly as they cool.
- Shape Before Baking: Unlike many traditional butter-rich cookie recipes that flatten and spread in the oven, these low-fat, gluten-free oat cookies maintain their shape during baking. Therefore, it’s essential to shape them exactly how you want them to look before they go into the oven. Gently flatten the dough balls with your fingers or a spoon to achieve your desired cookie thickness.
- Prevent Sticking: This unconventional, lower-fat dough can tend to stick. While parchment paper is a great first line of defense, for extra insurance, lightly brush the parchment paper with a tiny amount of oil. This will make it significantly easier to remove the cooled cookies from the tray without breakage.
- Cool Before Handling: Patience is a virtue when it comes to these cookies! They are delicate when hot. Allow them to cool on the baking sheet for several minutes before attempting to transfer them to a wire rack. This cooling period allows them to firm up and prevents them from falling apart.
With these tips and tricks, you’ll be baking perfect gluten-free chocolate cookies in no time – simple, economical, and using everyday pantry staples. Enjoy every guilt-free bite!
Weight Watchers Points Breakdown
For those mindful of Weight Watchers points, here’s a breakdown of the points for the key ingredients in this recipe, contributing to its low point value:
- Uncooked oat flour: 13 points (for 220g)
- Stevia (herbal extract): 0 points
- Cacao powder: 2 points (for 50g)
- Vegetable oil: 9 points (for 30ml)
- Eggs: 0 points (for 2 eggs)
- Ground cinnamon: 0 points
- Baking powder: 0 points
- Water: 0 points
Please note that these points are for the total quantity of ingredients used in the recipe before dividing into servings. The total recipe yields 18 cookies, with a serving of 2 cookies being 3 WW points.
Nutritional Information
Below is an approximate nutritional breakdown per serving (2 cookies, ~48g). Please remember that nutritional information is automatically calculated and should be used as an approximation, as values can vary based on specific brands and exact ingredient measurements.
- Serving Size: 48g
- Calories: 175 kcal
- Carbohydrates: 21g
- Protein: 6g
- Fat: 8.6g
- Saturated Fat: 1.5g
- Cholesterol: 41mg
- Potassium: 330mg
- Fiber: 3.5g
- Sugar: 1.3g
- Calcium: 62mg
- Iron: 2mg
This nutritional profile highlights why these cookies are a healthier alternative, offering a good amount of fiber and protein while keeping sugar content low, especially when using a sugar substitute like Stevia.
Conclusion: Enjoy Your Healthy Chocolate Indulgence!
You now have all the tools and knowledge to bake a batch of incredibly satisfying gluten-free chocolate cookies. This recipe proves that healthy eating doesn’t mean sacrificing flavor or enjoyment. With simple ingredients, straightforward steps, and helpful tips, you can effortlessly create a delightful treat that caters to various dietary needs and preferences. So go ahead, gather your ingredients, and enjoy the wonderful experience of baking and savoring these wholesome, delicious cookies!
