Mastering Your Offset Smoker: A Beginner’s Guide to Unforgettable Smoked Meats
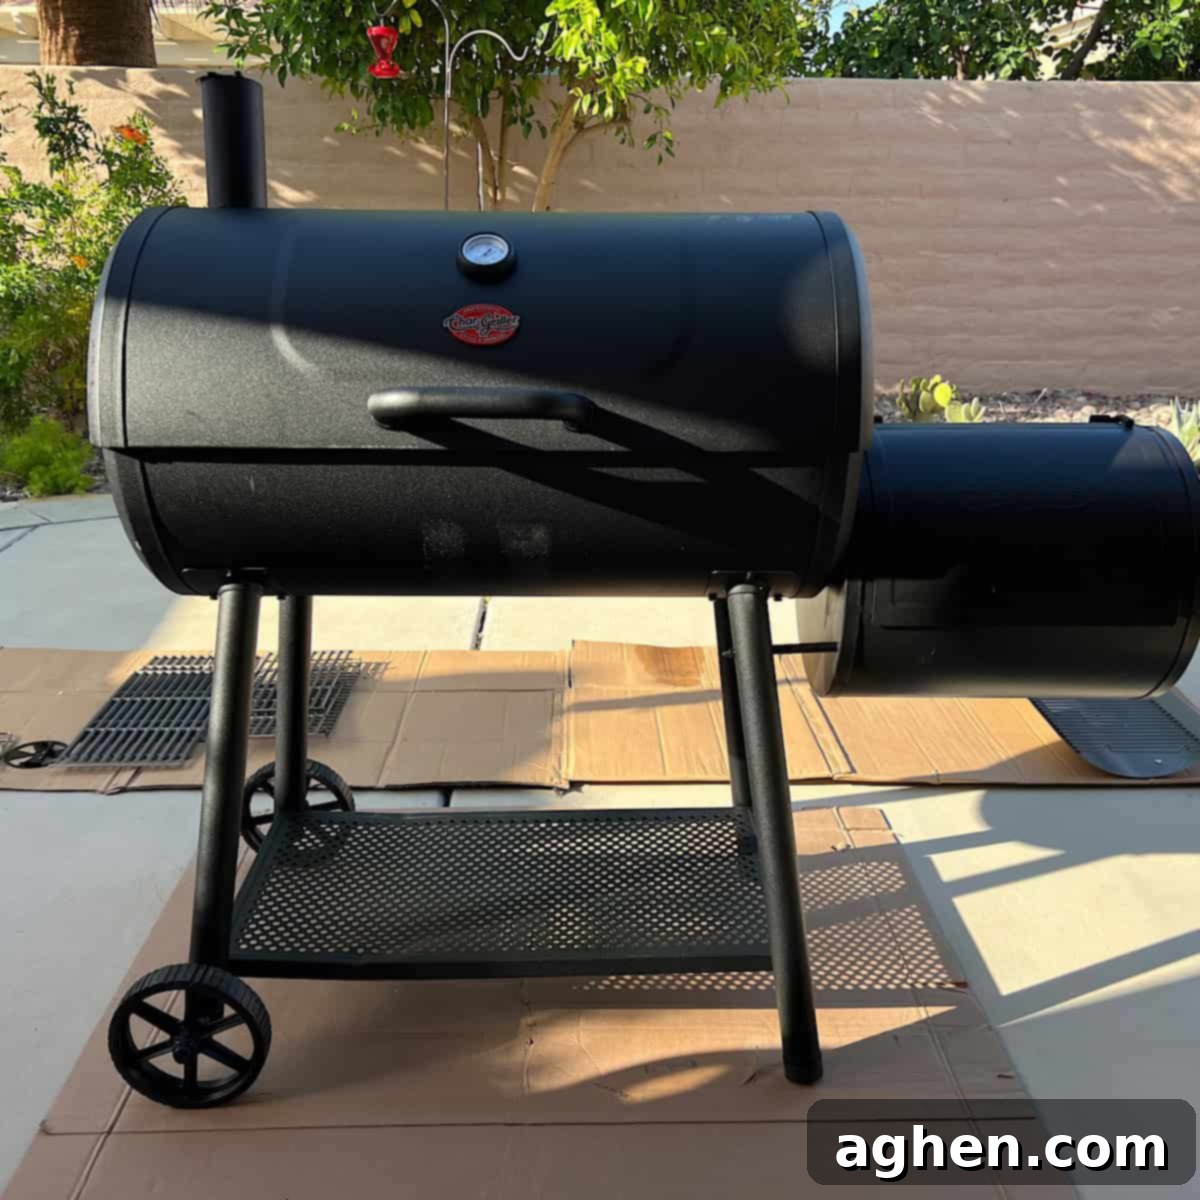
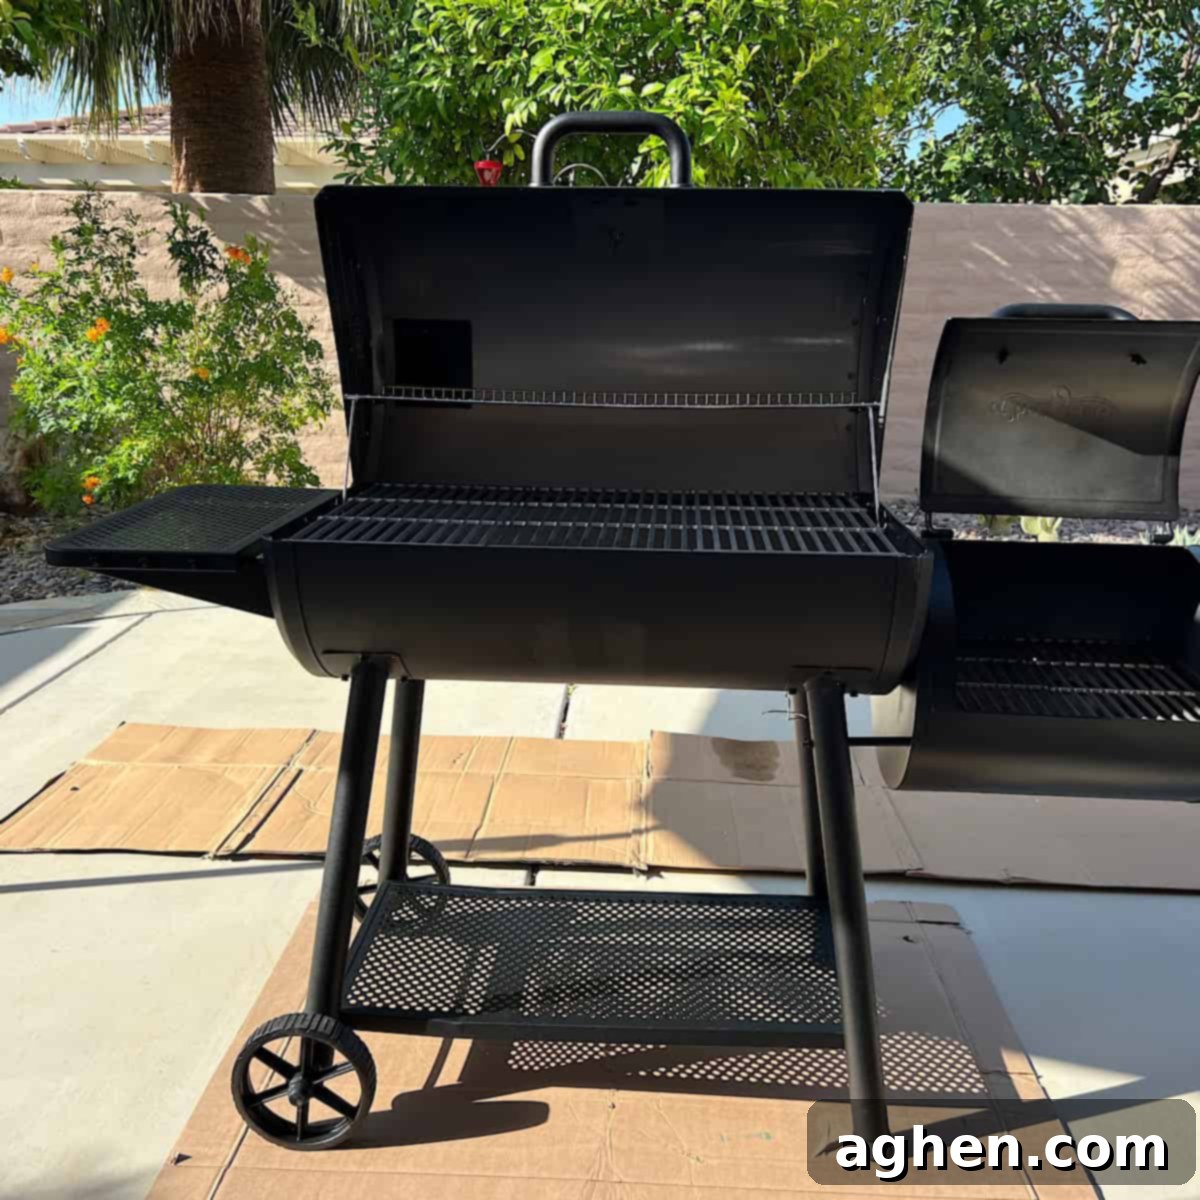
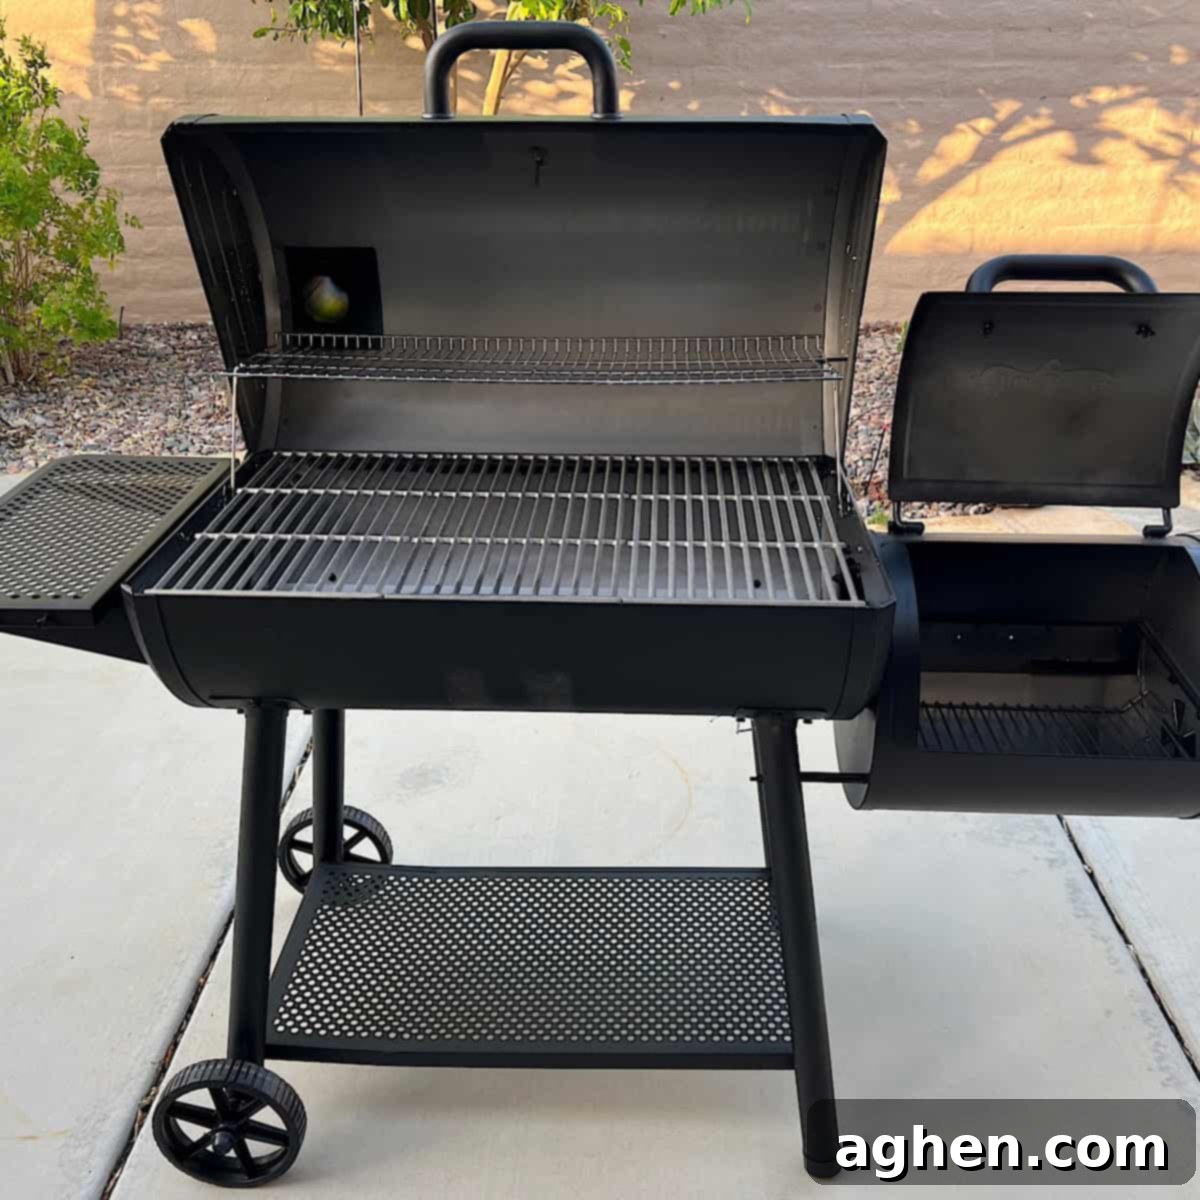
You’ve taken the plunge! Following our advice in 10 Things You Need To Know When Buying An Offset Smoker, you’ve acquired, assembled, and seasoned your very first offset smoker. Now, the real adventure begins: it’s time to ignite the fire and embark on the incredibly rewarding journey of smoking your own mouthwatering meats. This guide will demystify the process, making it easy and fun to create succulent, smoke-infused dishes that will have everyone drooling. Just follow these essential steps, and you’ll be well on your way to becoming an offset smoking master.
1. Choosing Your First Smoking Recipe for Success
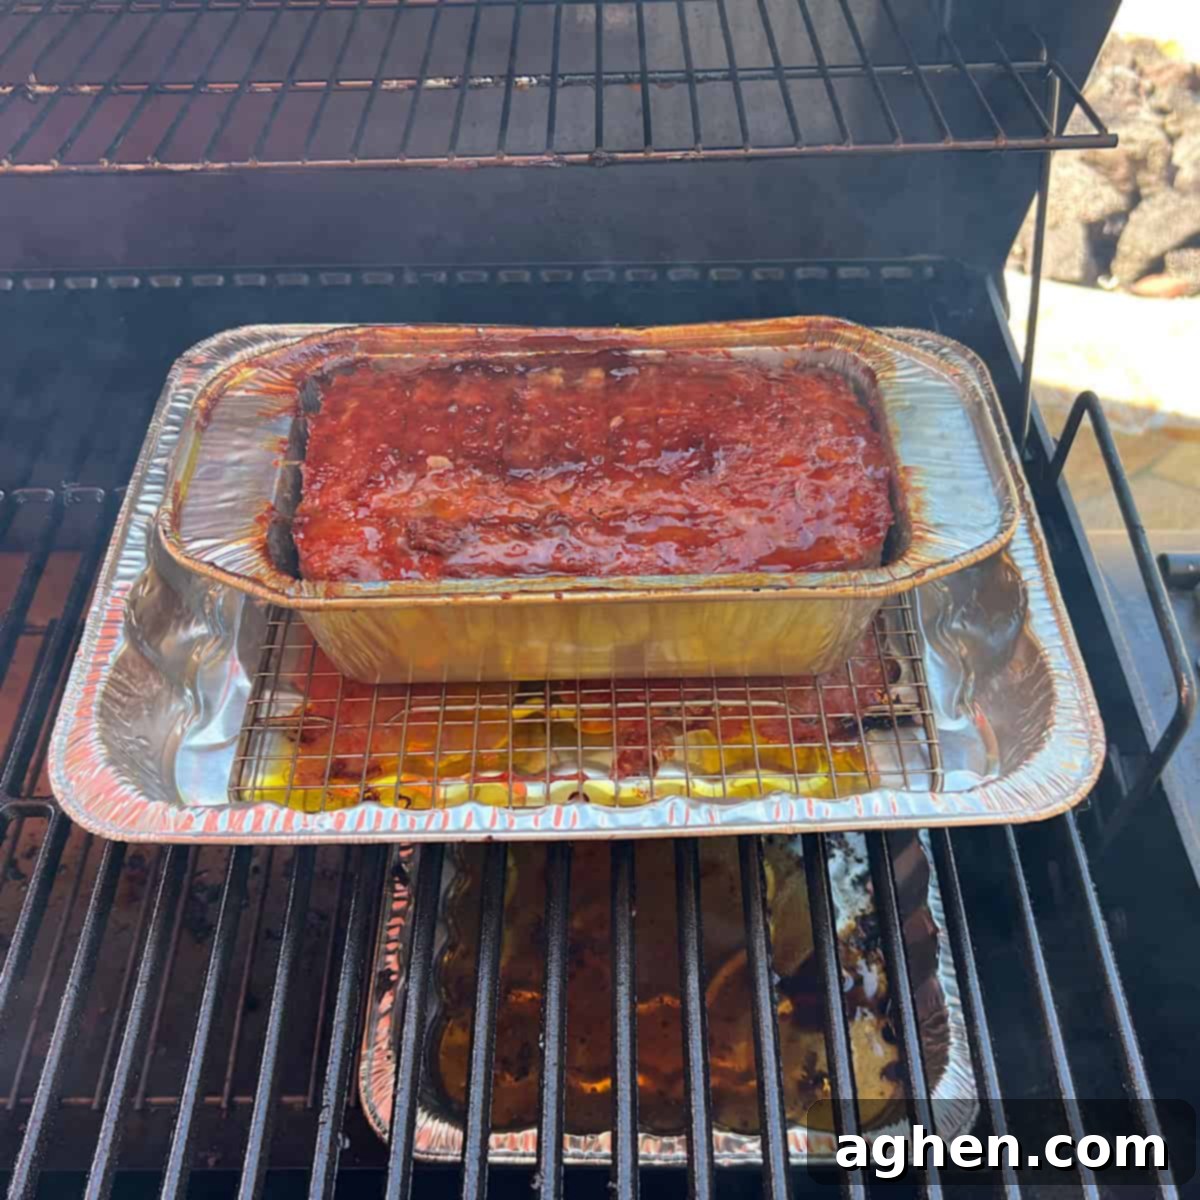
For your inaugural smoke, simplicity is key. You want a recipe that’s not overly complicated or excessively time-consuming. While a traditional pork butt can demand up to 8 hours and a brisket might require an epic 12 to 15 hours of your attention, these are not ideal for your first foray into offset smoking. Instead, opt for something quicker and more forgiving. Consider delightful options like Chipotle Glazed Chicken Quarters or a savory Smoked Meatloaf. Both take approximately 3 hours to smoke and generally don’t require constant flipping or turning. Simply place them on the grill grates, manage your heat and smoke, and let your new offset smoker work its magic!
2. The Critical Importance of Offset Smoker Placement
The location of your offset smoker is paramount, influencing everything from temperature control to neighborly relations. Here’s why careful placement makes all the difference:
Understanding Wind Dynamics
Wind is a significant factor in how your smoker performs. Recall that smoke travels from the firebox, through the cooking chamber over the meat, and exits via the chimney. To ensure efficient smoke flow and consistent temperatures, position your offset smoker so that the prevailing wind blows *with* the smoke’s intended direction – from the firebox towards the chimney. This natural assistance prevents you from battling the wind, which can disrupt airflow, make temperature regulation difficult, and push smoke back into the cooking chamber or even out of the firebox opening.
Avoiding Obstructions for Safety and Functionality
Ensure your smoker is placed in an area free from overhead obstructions such as house eaves, awnings, or patio umbrellas. These can become coated with grease and soot, or even pose a fire hazard if the heat and smoke accumulate. Always maintain a minimum distance of 3 feet from any walls or surfaces, and establish a generous safe zone of 10 feet from anything flammable or combustible. Safety should always be your top priority. Furthermore, having a readily accessible water source and hose nearby is a non-negotiable precaution for any potential mishaps.
Considering Your Neighbors
An offset smoker produces a substantial amount of aromatic smoke, which, while delightful to you, can easily drift into your neighbors’ homes or yards. Based on experience, it’s always best practice to inform your downwind neighbors when you plan to fire up your smoker. A simple heads-up can prevent misunderstandings. And, as a bonus, offering a sample of your delicious smoked creations once you’re done smoking is an excellent way to maintain cordial and appreciative relations within your community.
3. Selecting the Right Wood and Charcoal for Flavor
The choice of wood and charcoal profoundly impacts the flavor profile of your smoked meats. This topic has sparked friendly (and sometimes not-so-friendly) debates among pitmasters for centuries. What one person swears by, another might dismiss. There’s a vast array of smoking woods: oak, red oak, mesquite, maple, hickory, cherry, alder, pecan, peach, plum, pear, apricot, almond, walnut, and grape, to name a few. Each imparts a unique and distinct flavor to your meats.
After years of experimentation with various wood types and different cuts of meat, many seasoned smokers gravitate towards robust options like oak, hickory, or mesquite for their strong, rich wood flavors. However, as you gain confidence and skill with your offset smoker, feel free to explore! Experimenting with different woods is an exciting part of the journey, allowing you to discover which flavors you and your family enjoy most for different dishes.
When it comes to wood, I recommend using wood chunks rather than chips. Wood chips burn out much faster, providing a shorter burst of smoke. Chunks smolder longer, producing a more consistent and sustained smoke flavor. As for charcoal, I exclusively use lump charcoal. Unlike briquettes, lump charcoal is made from pure carbonized wood, resulting in a hotter, cleaner burn and a purer smoke profile, free from binders and additives found in briquettes.
4. The Indispensable Drip Pan in Your Offset Smoker
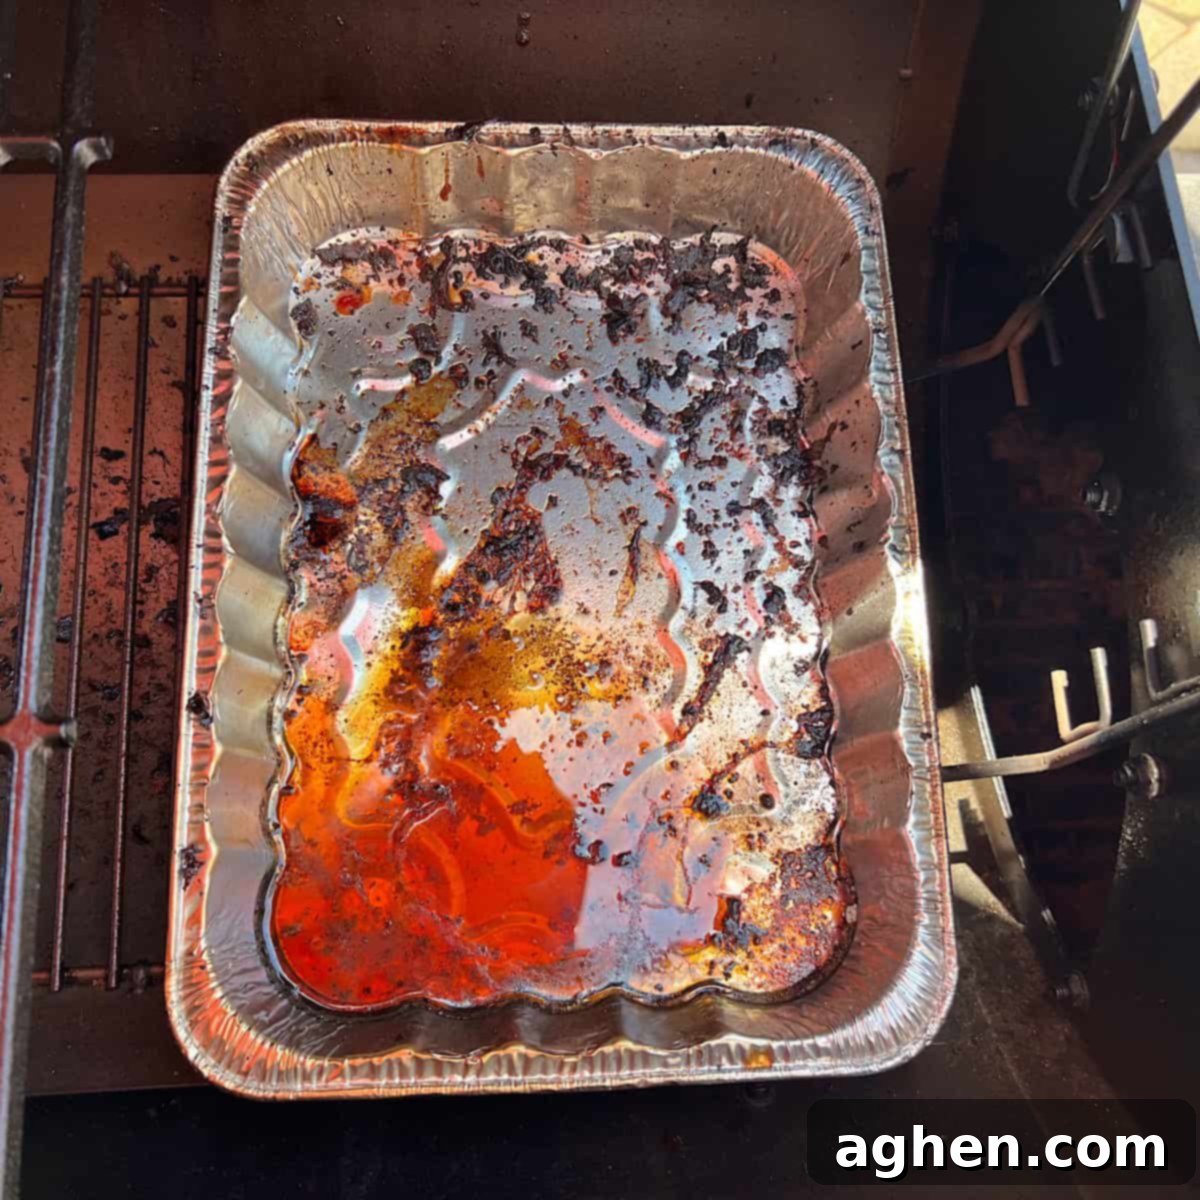
Incorporating a drip pan into your offset smoker setup is an absolute game-changer. A simple, disposable aluminum drip pan (or two placed side-by-side for larger smokers) is an incredibly easy and convenient solution to prevent grease and drippings from falling directly onto your ash rack or the bottom of the smoker. Without a drip pan, these drippings cool into a thick, sticky, and frankly, ugly mess that is notoriously difficult and time-consuming to clean. By using a drip pan, you collect all the gunk efficiently. Once your smoking session is complete and the smoker has cooled, you simply chuck the entire pan. Trust me on this – it’s a lesson best learned the easy way!
5. Why a Charcoal Chimney Fire Starter is a Must-Have
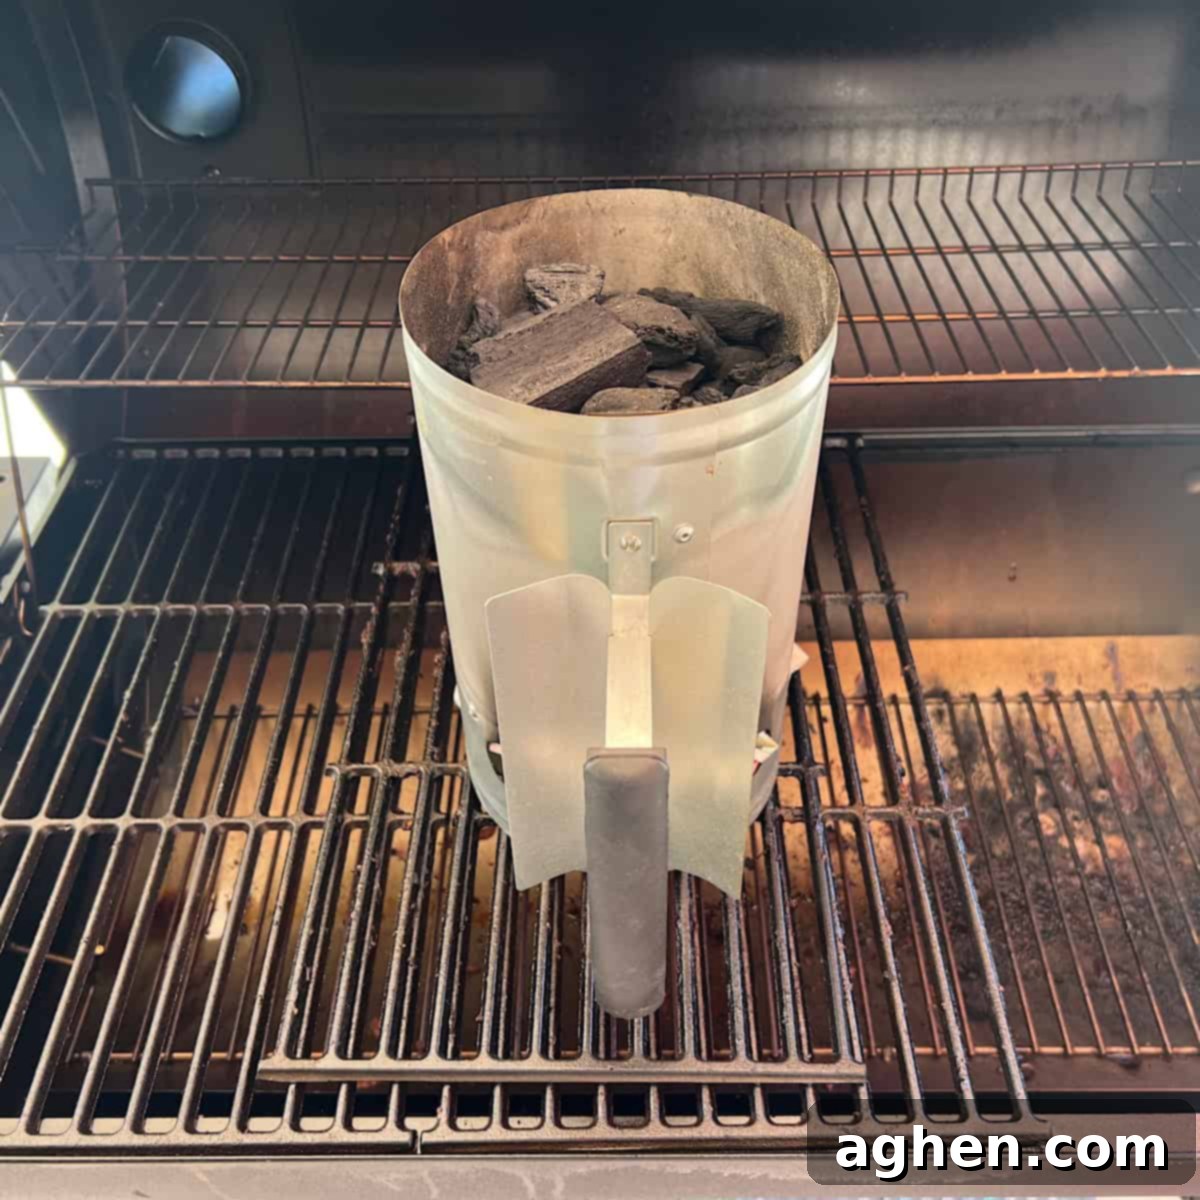
The charcoal chimney fire starter is, without exaggeration, one of the greatest inventions for anyone operating an offset smoker. It streamlines the fire-starting process, eliminating frustration and inconsistent ignitions. To use it, simply crumple a few sheets of newspaper and place them in the bottom chamber of the chimney. Fill the main cylinder with your preferred lump charcoal, then place the chimney on your firebox grate. Light the newspaper from the bottom. The chimney design creates a natural draft, allowing the charcoal to ignite quickly and evenly without the need for noxious lighter fluid. No more struggling with a fire that refuses to catch or dies out prematurely. You’ll know your charcoal is perfectly ready when you see a glow of red coals and flames licking the top of the chimney. It’s an easy, reliable method, ensuring a perfect start every single time.
6. Bringing Your Offset Smoker Up to Optimal Temperature
Once your charcoal is glowing in the chimney starter, carefully remove it from the grill grate and gently empty the hot coals into the firebox. Position the charcoal in the middle of the firebox grate, aligning it with the damper on the outside of the firebox and the large opening that leads into the main cooking chamber of the smoker. Place two or three pre-soaked chunks of your chosen smoking wood directly on top of the glowing charcoal. Close the firebox lid, then fully open both the firebox damper and the main smoker chimney damper. Keep a close eye on your offset smoker’s temperature gauge; you should observe a rapid rise. Most meats are ideally smoked within a temperature range of 200 to 300 degrees Fahrenheit, with many pitmasters aiming for a sweet spot between 225-275°F for consistent results.
7. The Benefits of Soaking Wood Chunks in Water
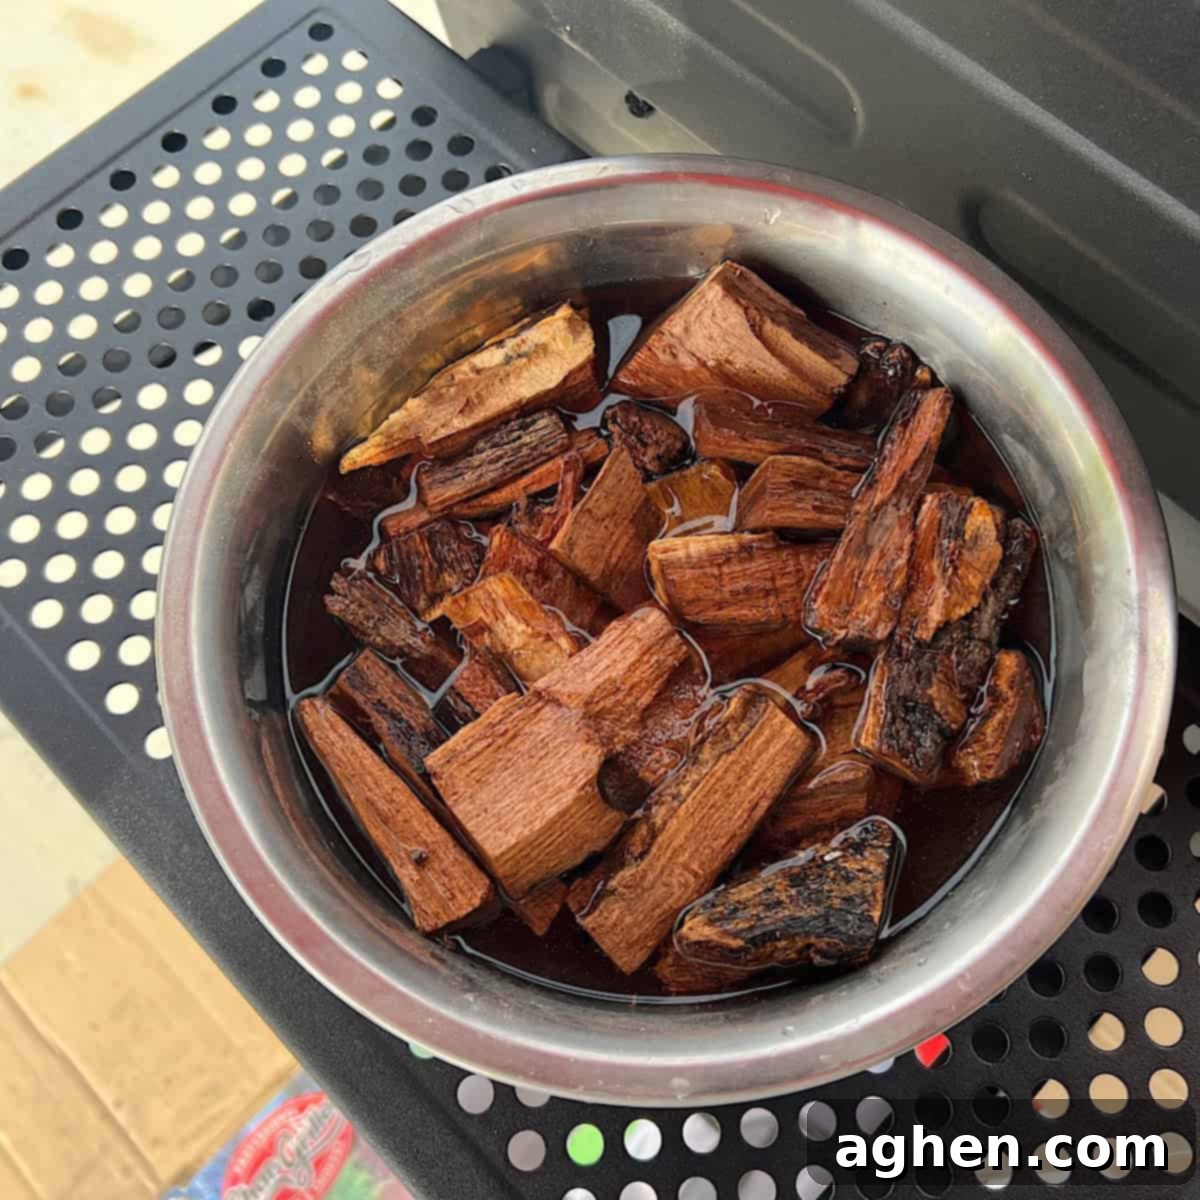
The practice of soaking wood chunks in water is absolutely beneficial, especially when using an offset smoker. Our goal in offset smoking is to produce a clean, consistent smoke – not just raw flame and heat, which is more characteristic of direct grilling. By soaking wood chunks in water for at least 30 minutes (or even longer), you help them smolder rather than burn quickly. When these pre-soaked chunks are placed on the hot coals in the firebox, the water within the wood slowly vaporizes, creating a beautiful, aromatic smoke. This is the essence of offset smoking – creating that luscious, delicious smoke that infuses your meats with incredible flavor, truly setting our smoking community apart from ordinary BBQ grillers.
8. Mastering Heat and Smoke Control Throughout the Process
Understanding the interplay between fire, smoke, temperature, and airflow is the cornerstone of successful offset smoking. Once you grasp how the offset smoker works and why its components function as they do, maintaining your desired temperature becomes significantly easier.
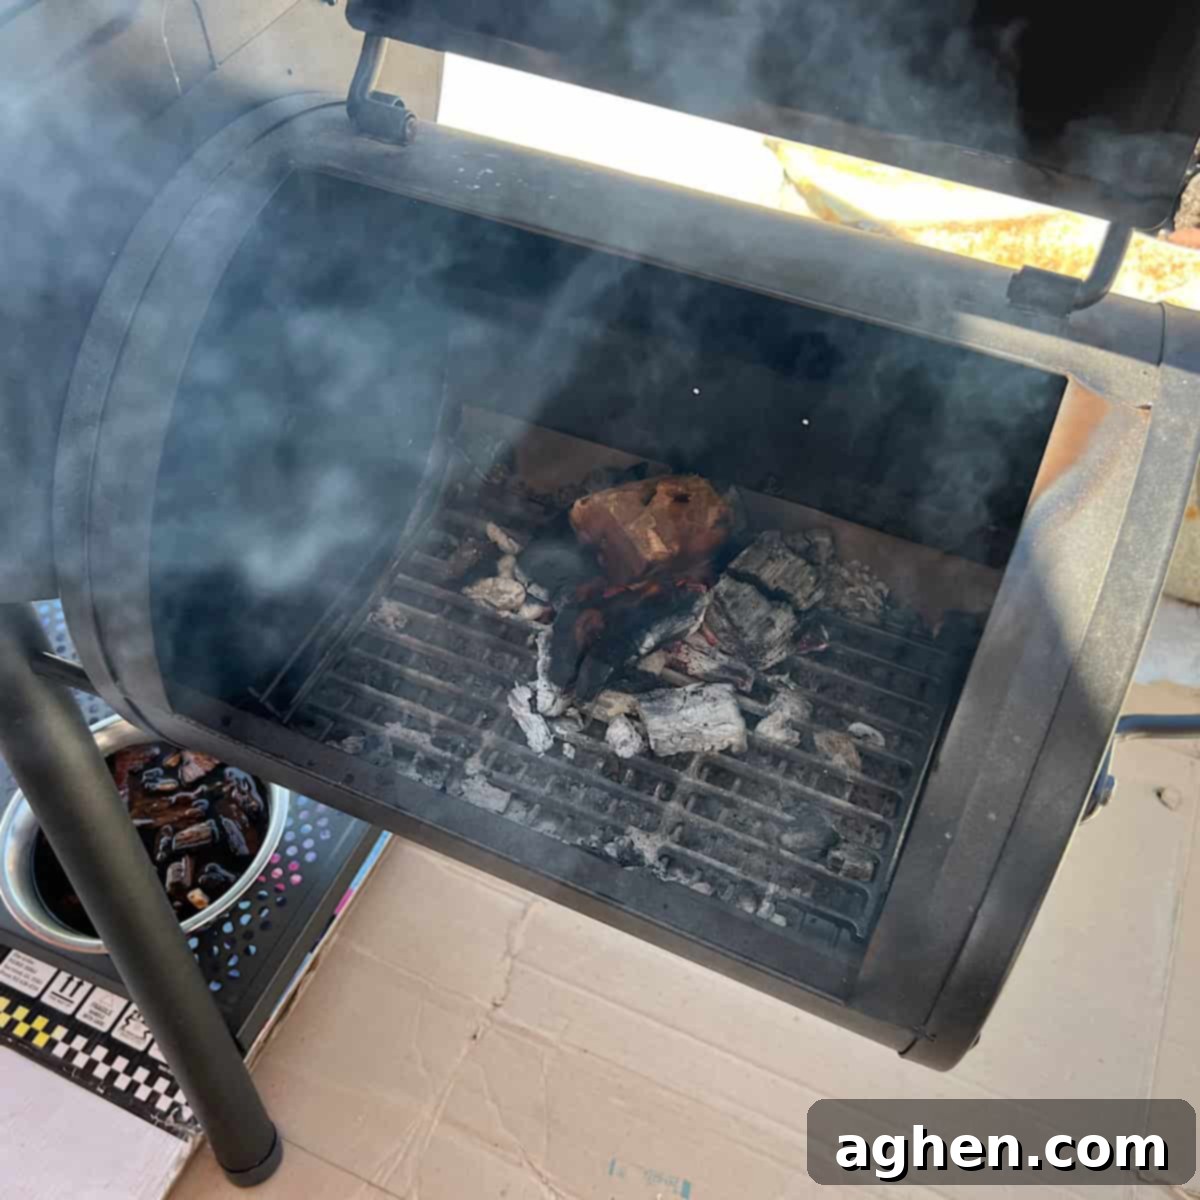
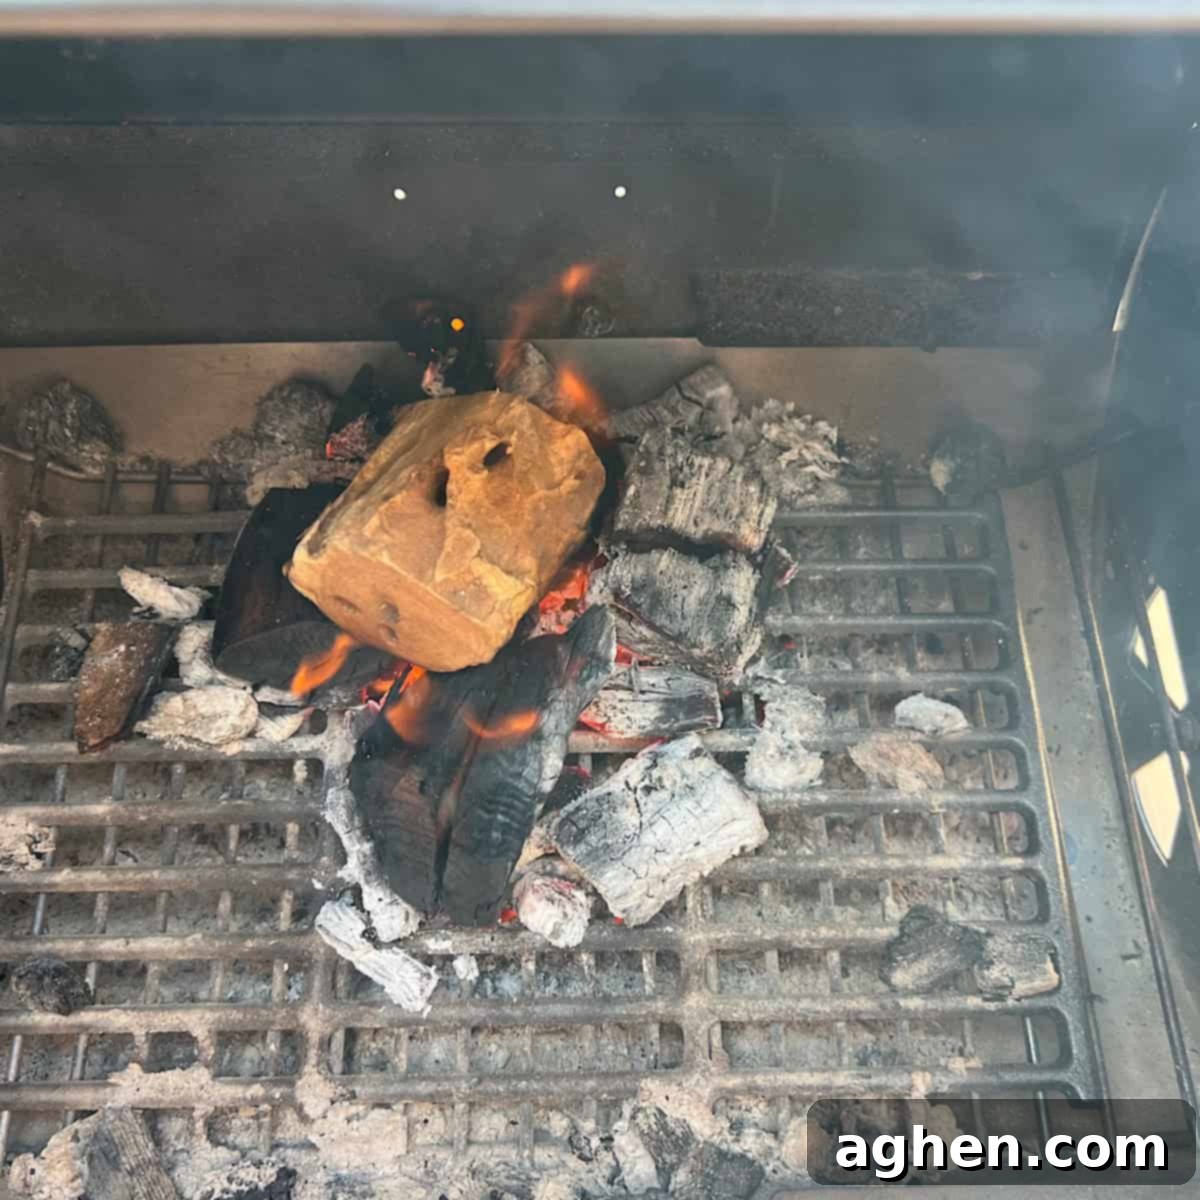
Once your fire has settled into a bed of glowing charcoal coals, you’ve added your soaked wood chunks, and your offset smoker has reached an initial temperature of around 200 degrees Fahrenheit, carefully place your meat in the center of the main cooking chamber’s grill grates and shut the lid. The smoke will naturally travel from the firebox, flow over your meat, and exit through the chimney. Both the firebox and the chimney are equipped with adjustable dampers. Remember this fundamental principle:
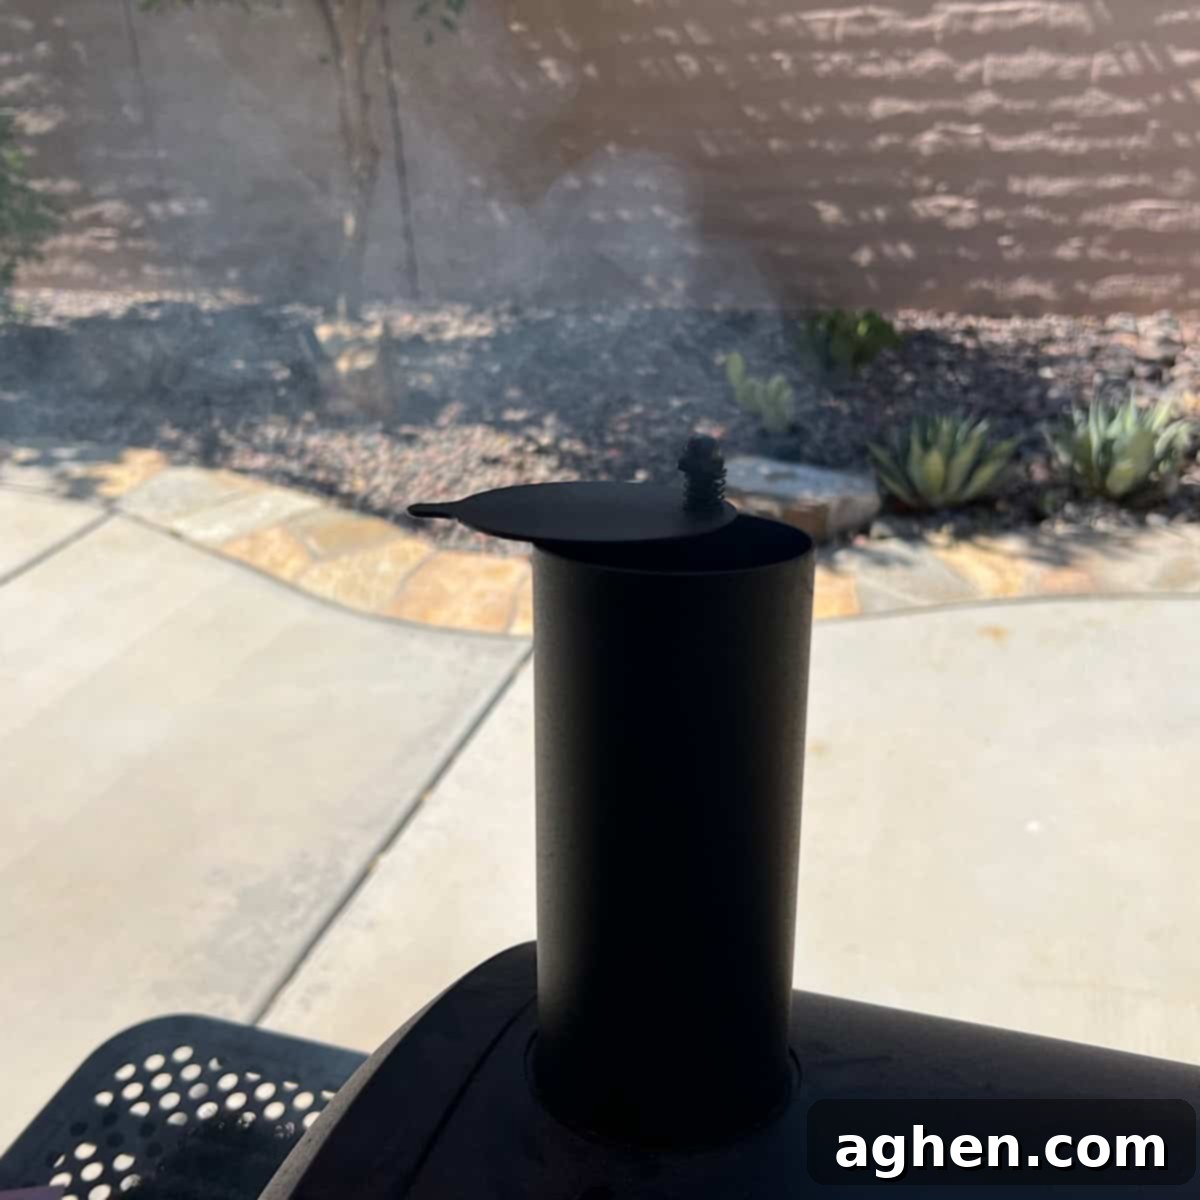
MORE AIR = MORE HEAT – LESS AIR = LESS HEAT
This principle is the key to controlling both the amount of smoke produced and the length of time that smoke interacts with your meat. For a slow smoke and optimal flavor penetration, you generally want the smoke to move slowly with less intense heat. This means both the firebox and chimney dampers should be mostly closed, allowing just enough oxygen to maintain a smolder. You will observe the temperature gradually starting to drop. If it falls below your desired range (e.g., 200 degrees), it’s time to add another piece of wood to the firebox and slightly open the dampers to introduce more oxygen, which will increase the heat and smoke production. Through this constant adjustment – adding wood and fine-tuning the dampers – you learn to control the airflow, heat, and the invaluable flow of “thin blue smoke” over your meat.
Your goal is to maintain an internal cooking chamber temperature consistently between 200 and 300 degrees Fahrenheit. Over many years of offset smoking, I’ve found that maintaining the temperature between 225 and 250 degrees consistently yields the perfect amount of smoke penetration and tenderness for most cuts of meat. This steady, lower temperature allows connective tissues to break down slowly, resulting in incredibly juicy and flavorful results.
9. What to Do When Your Fire Gets Out of Control
First and foremost, don’t panic! Flare-ups are a natural and common occurrence in offset smoking, especially for beginners. The wood, by its nature, wants to burn intensely. Your primary objective, however, is to keep the wood and charcoal smoldering, producing that desirable smoke, not an open flame that can scorch your food.
To quickly regain control of a flare-up and convert excess flame back into smoke, simply have a squirt bottle filled with water readily available. Give the burning wood or charcoal a few targeted sprays until the flames subside, and you see more smoke appearing. This technique effectively dampens the fire, bringing it back to a gentle smolder without extinguishing it entirely. It’s a simple yet highly effective trick of the trade.
10. The Essential Ingredients for Exceptionally Smoked Meat: Patience and Practice
You’re hungry, and you’re wondering why this glorious process takes so long. The first key to achieving exceptionally smoked meats with your offset smoker is (and I’m sure you’ve already guessed it) **PATIENCE, PATIENCE, PATIENCE!** Smoking is inherently a slow cooking method. It takes a significant amount of time for the meat to absorb that deep, robust smoke flavor and for the indirect heat to gently break down its fibers and cook it to perfection. But this slow process is precisely what makes smoked meats so incredible! It imparts that unmistakable, rich smoky essence while simultaneously creating and maintaining the meat’s bold flavor and incredible juiciness.
The second critical key to mastering consistently exceptional smoked meat is (and you’ve probably guessed this one too) **PRACTICE, PRACTICE, PRACTICE!** Learning the nuances of how and when to precisely control the fire, heat, and smoke takes time and hands-on experience. It’s a fascinating blend of art and science – a challenging, exciting, and immensely rewarding skill to develop. The beauty of the offset smoker is that you have direct control over all the elements, empowering you to hone your craft and become a true master pitmaster.
A Quick Fix for Immediate Hunger
Okay, but I’m still hungry *now*?! Here’s a pro offset smoker tip: if hunger strikes during a long smoke, throw a couple of sausage links, a thin steak, or a pork chop onto the grill grate closest to the firebox. This area experiences more intense direct heat. Flip it a couple of times until it’s cooked through, and enjoy a delicious interim snack. You’re welcome!
Remember, anyone can simply toss a couple of steaks on a grill and call it BBQ. But embarking on the journey of smoking meats with an offset smoker is a dedicated process worthy of your patience, consistent practice, and a growing understanding of fire, smoke, temperature, meat, chimney dynamics, and damper control. Offset smoking often becomes an enjoyable addiction, and what a joyous and delicious addiction it is to have. Welcome to the thriving offset smoking community. You are now a member in good standing, and you always will be!
