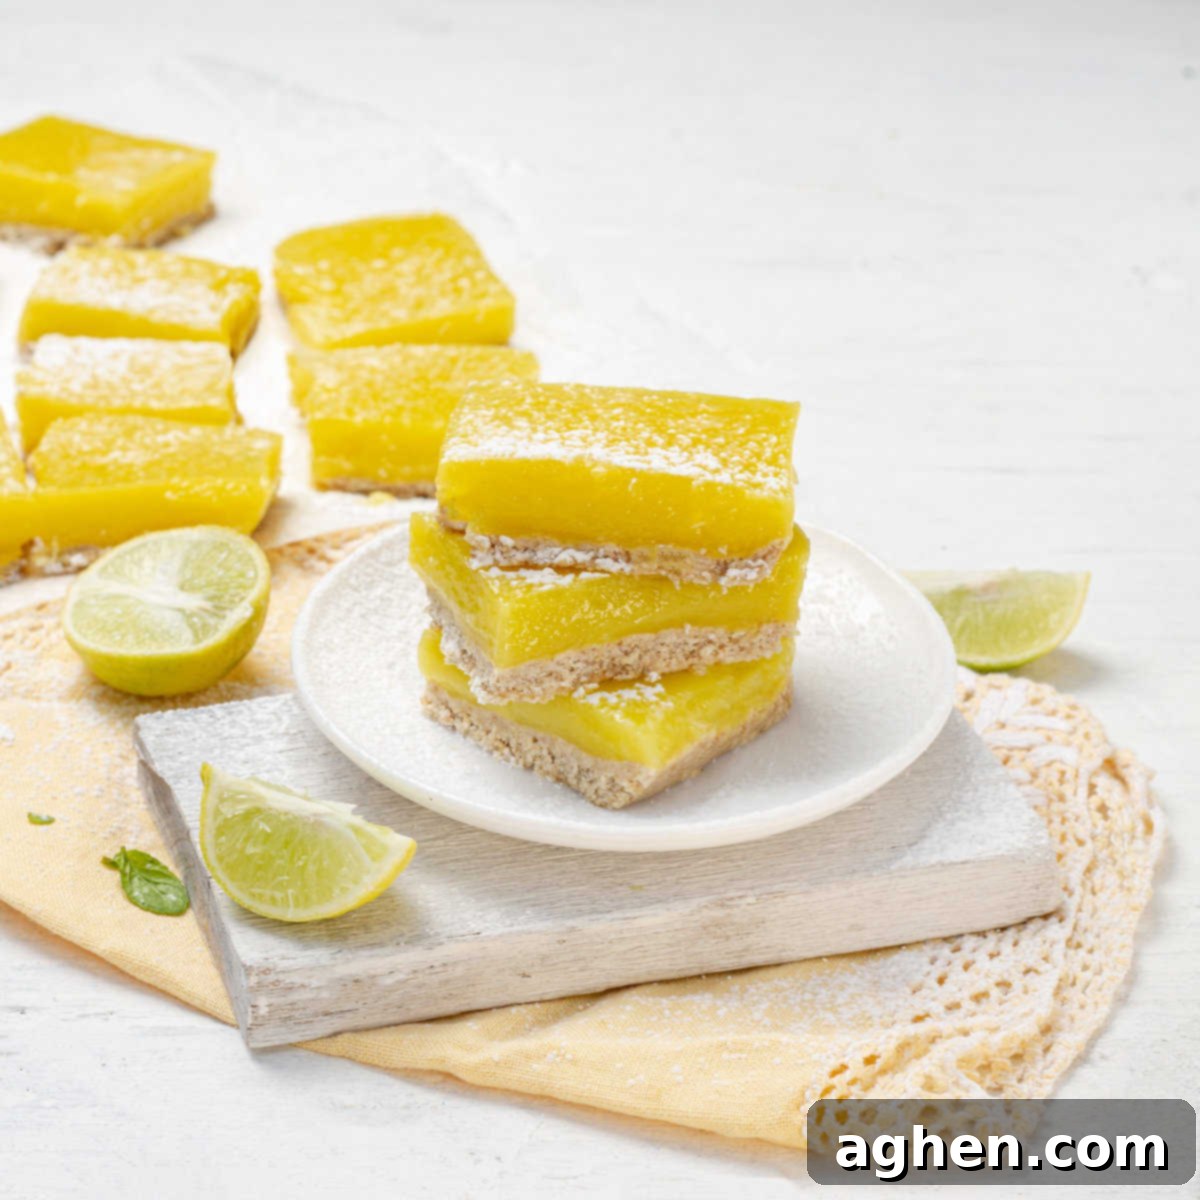
Healthy Lemon Bars: Guilt-Free Indulgence with an Oat Flour Crust
Lemon bars hold a special place in the hearts of many, often conjuring fond memories of childhood and treasured family recipes. The vibrant, tangy sweetness is a pure delight, a taste of simpler times when concerns about sugar content were far from our minds. Yet, as we mature and become more health-conscious, revisiting these beloved classics can sometimes reveal a startling truth: many traditional recipes feature an astonishing amount of sugar, with the filling alone often calling for three or more cups! While undeniably delicious, a small slice can quickly turn into a significant sugary indulgence.
Driven by a desire to enjoy this nostalgic treat without the guilt, I embarked on a mission to reimagine the classic lemon bar. My goal was to preserve that iconic zesty flavor and irresistible texture while making it a more mindful and healthier option. This revamped recipe achieves just that, transforming a sugar-laden dessert into a delightful indulgence you can truly feel good about.
For the base, I selected a wholesome combination of oat flour, stevia, and a touch of coconut cream. This trio not only delivers a wonderfully delicate flavor but also bakes into a golden, crispy crust that perfectly complements the tangy filling. As for the notorious sugar content of the filling, I found that the essential component is truly the fresh lemon juice. With this revelation, the rest of the filling comes together with lemon zest, stevia for natural sweetness, a hint of tapioca starch for that perfect set, and, of course, fresh eggs to create the signature creamy texture.
Traditionally, lemon bars are finished with a generous dusting of powdered sugar. While this could be replicated with pure stevia, the taste profile of stevia alone can sometimes be too intense for a topping. For a truly authentic finish without a stevia aftertaste, I occasionally use a light sprinkle of regular powdered sugar, or simply omit it, letting the bright lemon flavor shine through. This recipe offers a delectable way to pamper yourself and your loved ones, allowing you to savor every bite of these healthier, yet equally cherished, lemon bars.
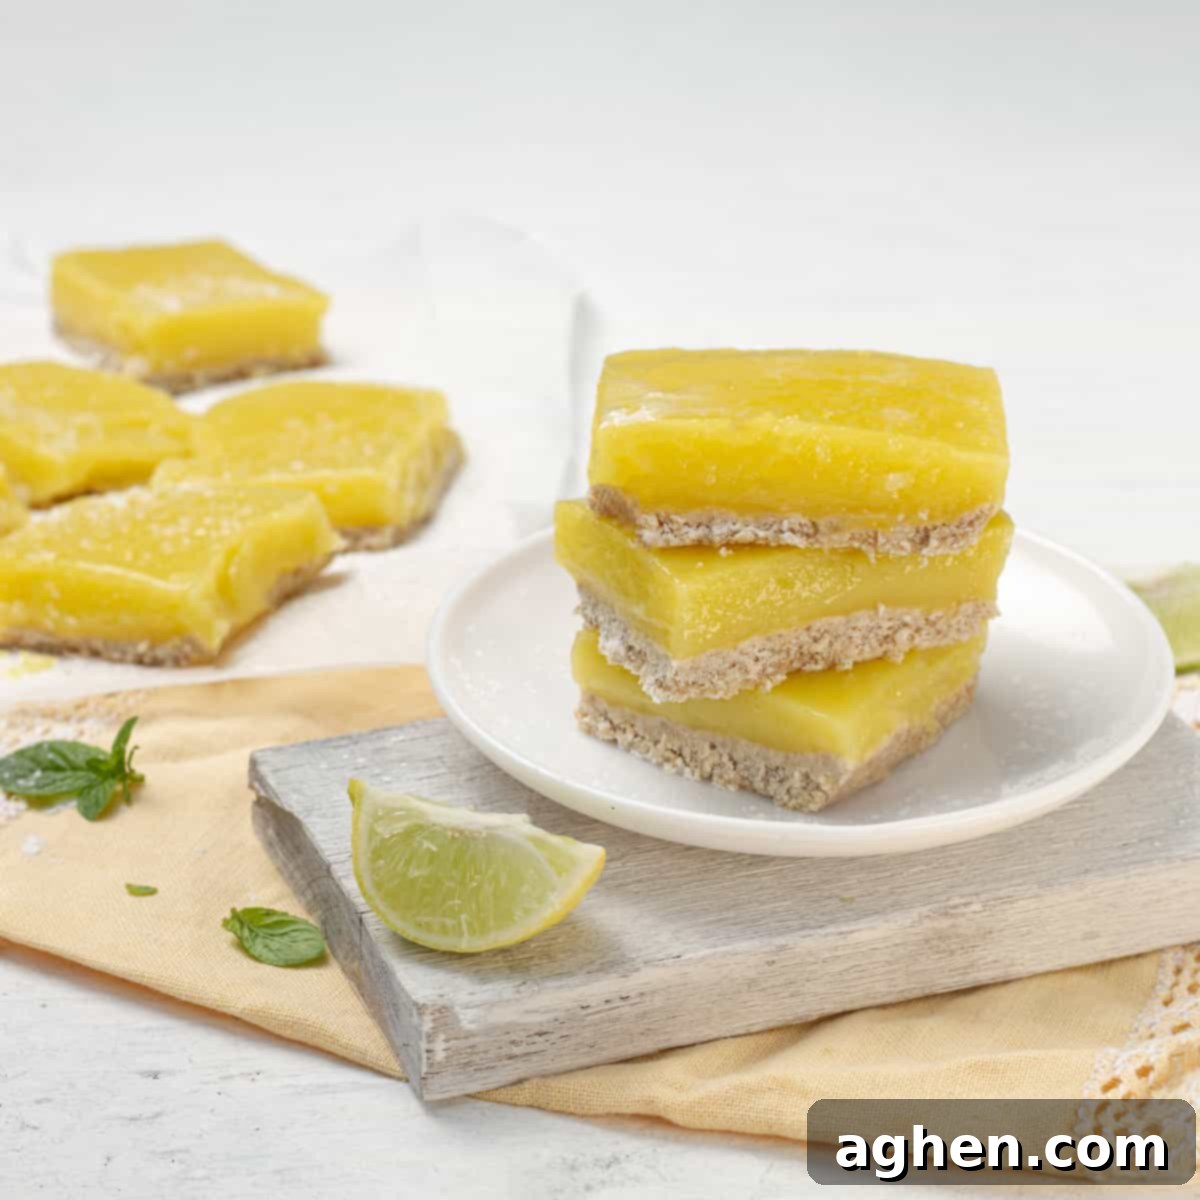
Why You Should Embrace This Healthier Lemon Bar Recipe
This Lemon Bars recipe is far more than just a nostalgic journey back to cherished childhood flavors; it represents a mindful evolution of a beloved classic. Unlike traditional lemon bars that are often saturated with excessive sugar, this innovative version offers a significantly reduced-sugar alternative, allowing you to indulge in its delightful zest without the customary guilt. With a mere 3 Weight Watchers points per serving, it stands out as an excellent choice for those managing their intake without compromising on taste.
The foundation of these exquisite bars is a thoughtfully crafted crust, made from nutritious oat flour, naturally sweetened with stevia, and enriched with coconut cream. This combination not only forms a wholesome base but also bakes to a beautiful golden hue with an enticingly crispy texture. The lemon bar filling faithfully retains its signature zesty charm, bursting with the bright flavors of fresh lemon juice and fragrant lemon zest. Tapioca starch is cleverly incorporated to achieve the perfect consistency, while eggs contribute to that unmistakable creamy, custard-like texture that lemon bar enthusiasts adore. For those who appreciate the familiar aesthetic touch, a delicate dusting of traditional powdered sugar remains an optional flourish. This recipe truly offers a delectable and satisfying way to treat yourself to a timeless dessert while confidently making healthier dietary choices.
The Art of Healthy Baking: A Modern Take on a Classic
In an era where health and wellness are increasingly prioritized, the culinary world has seen a surge in demand for healthier alternatives to classic comfort foods. Reimagining a dessert as iconic as the lemon bar, traditionally defined by its buttery crust and intensely sweet-tart filling, presented an exciting challenge. The goal was not merely to reduce calories or sugar, but to elevate the recipe using ingredients that offer nutritional benefits without sacrificing flavor or texture. This recipe embodies that philosophy, proving that wholesome ingredients can indeed create a dessert that rivals, and perhaps even surpasses, its conventional counterpart in both taste and satisfaction.
The careful selection of oat flour, stevia, and coconut cream was pivotal in this transformation. These ingredients were chosen not just as substitutes, but as enhancements, each contributing unique qualities that enrich the overall experience. The result is a lemon bar that feels lighter, tastes fresher, and leaves you feeling invigorated rather than sluggish. It’s a testament to the fact that with a little creativity and thoughtful ingredient choices, beloved traditions can be adapted to fit a modern, health-conscious lifestyle.
Decoding the Wholesome Ingredients for Our Lemon Bars
Understanding the role and benefits of each ingredient chosen for these healthy lemon bars further highlights why this recipe is a superior choice. Every component plays a vital part in achieving both the desired flavor profile and nutritional advantages.
- Oat Flour: Unlike traditional wheat flour, oat flour is a fantastic gluten-free alternative that adds a distinct nutty flavor and a tender crumb to the crust. It’s rich in soluble fiber, which aids digestion and can help regulate blood sugar levels, making it a more heart-healthy option.
- Stevia: As a natural, zero-calorie sweetener derived from the stevia plant, it replaces the vast quantities of refined sugar found in typical lemon bar recipes. Stevia provides sweetness without impacting blood glucose, making these bars suitable for diabetics and those watching their sugar intake.
- Coconut Cream: This ingredient is essential for creating a rich, golden, and crispy crust. It provides healthy fats and a subtle tropical note that beautifully complements the lemon. For those seeking dairy-free options, coconut cream is an excellent plant-based choice that imparts a luxurious texture.
- Fresh Lemon Juice & Zest: The undisputed stars of the show! Freshly squeezed lemon juice is crucial for that vibrant, tangy flavor that defines a lemon bar. The zest, packed with aromatic oils, intensifies the lemon essence, offering a brightness that cannot be replicated by artificial flavorings. Lemons are also a great source of Vitamin C and antioxidants.
- Tapioca Starch: A natural, gluten-free thickener extracted from the cassava root, tapioca starch is key to achieving the perfectly set, slightly jiggly texture of the lemon filling. It creates a smooth, clear filling without any grittiness.
- Eggs: Eggs act as both a binder and a leavening agent, providing structure to the filling and contributing to its creamy, custard-like consistency. They also add a touch of protein to the bars.
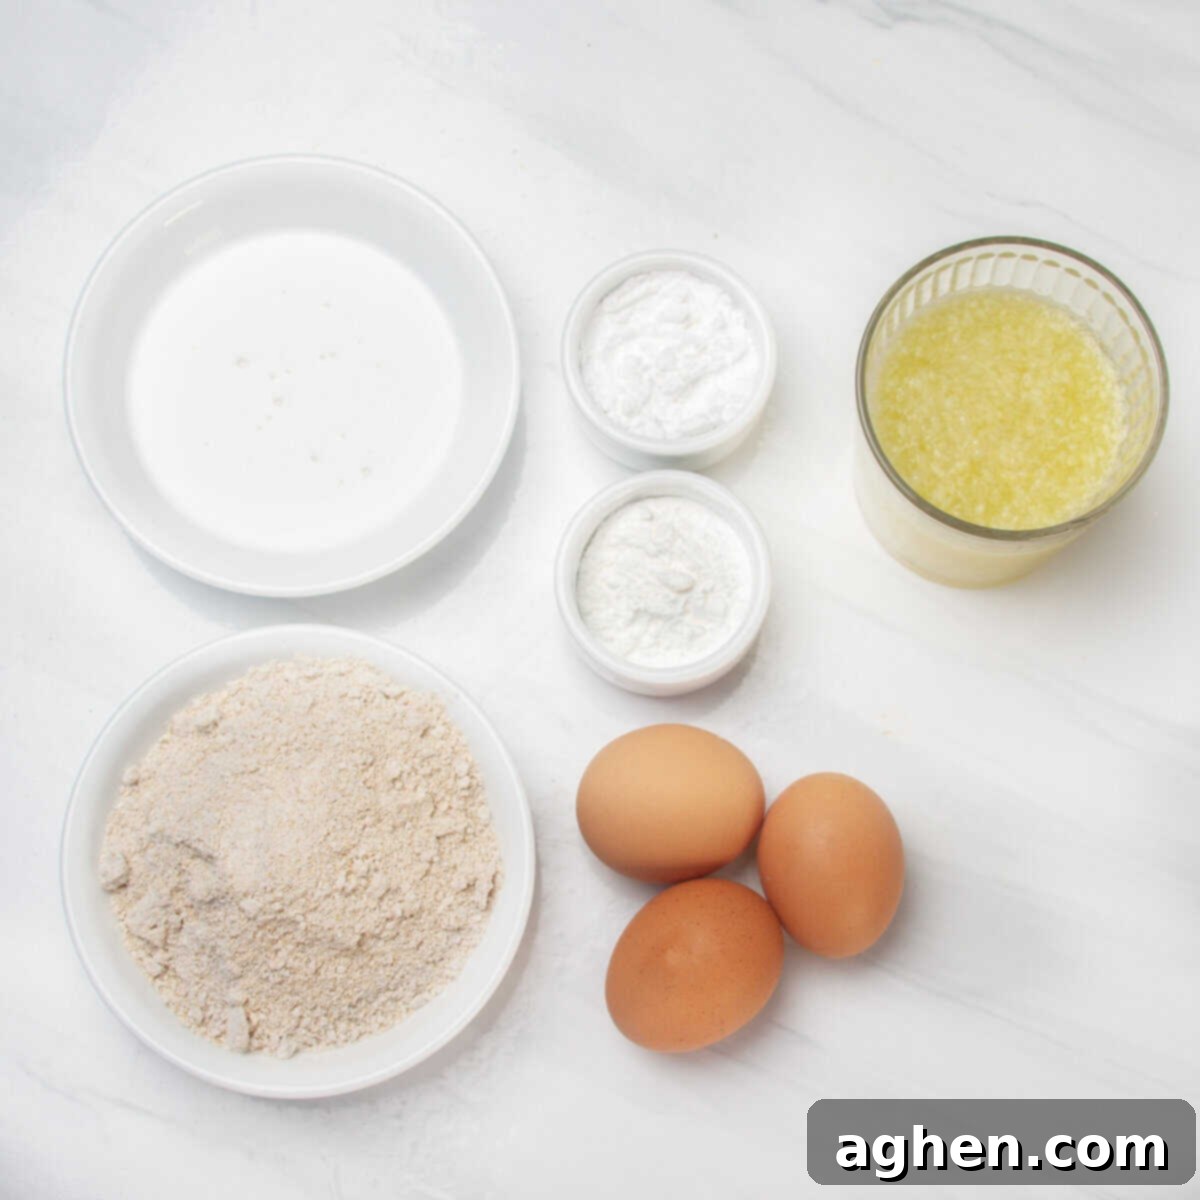
Instructions for Making Lemon Bars: A Simple Path to Zesty Perfection
Creating these delightful lemon bars is a straightforward process, broken down into two main components: the wholesome crust and the tangy, creamy filling. Follow these steps for a perfectly balanced and utterly delicious result.
- Preheat your oven to 350°F (175°C) to ensure even baking. Prepare an 8×8-inch (20×20 cm) baking pan by lining it with parchment paper or using a silicone baking mat. This crucial step prevents sticking and ensures effortless removal of your finished bars.
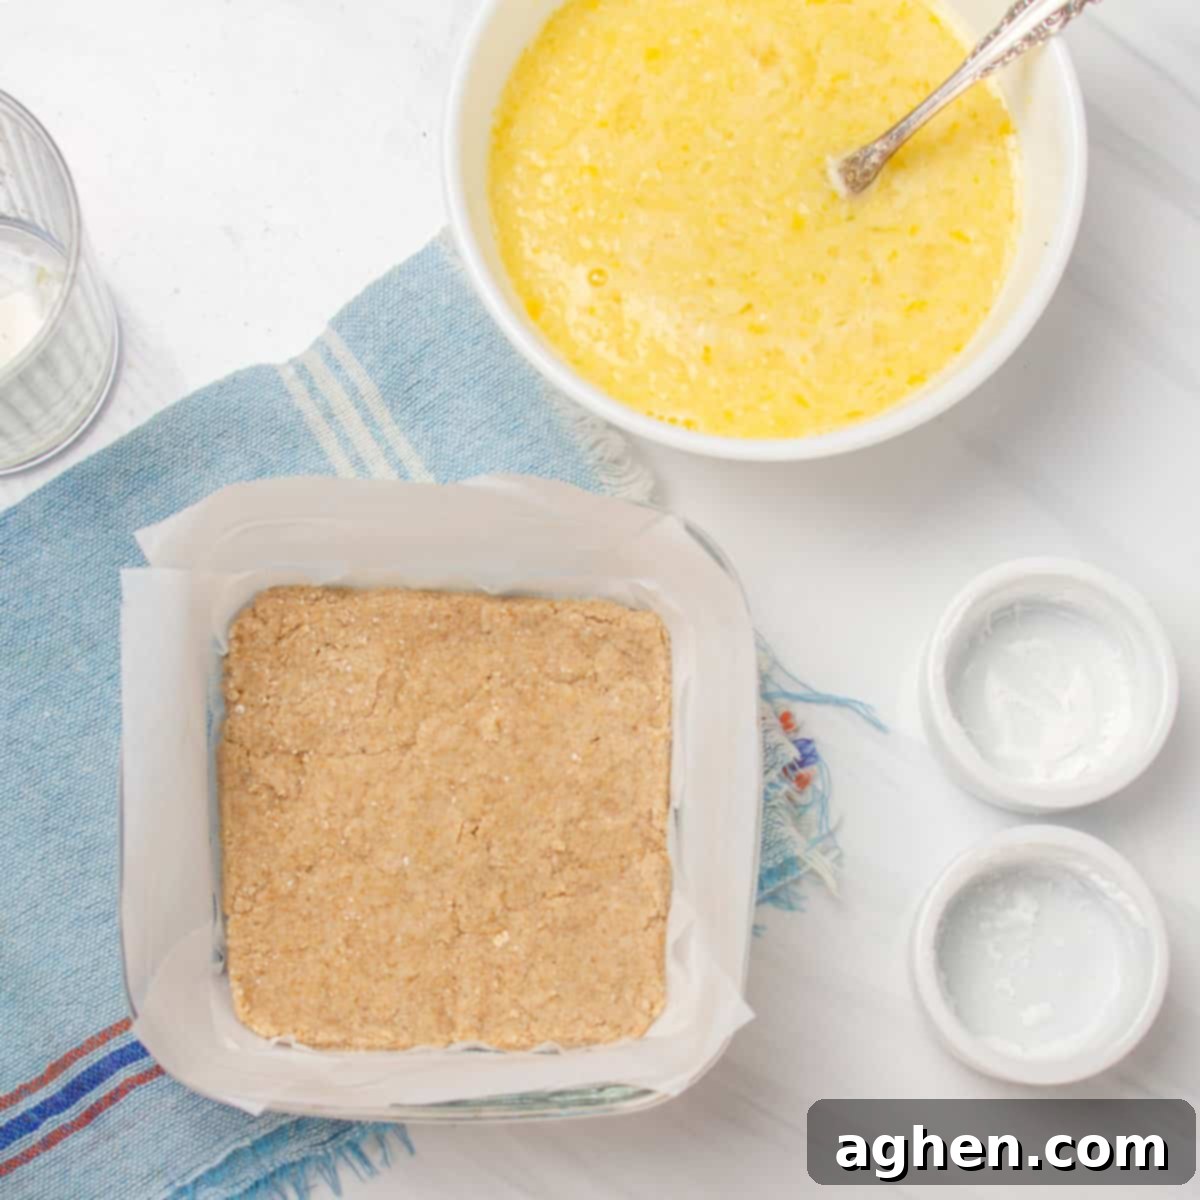
- In a spacious mixing bowl, combine the oat flour, stevia, and coconut cream. Mix these ingredients thoroughly until a crumbly, yet cohesive, dough forms. Press this mixture evenly into the bottom of your prepared baking pan, forming a compact layer. Bake the crust for approximately 10 minutes, or until it achieves a lightly golden hue and a fragrant aroma. Remove the par-baked crust from the oven and set it aside to cool slightly while you proceed with the filling.
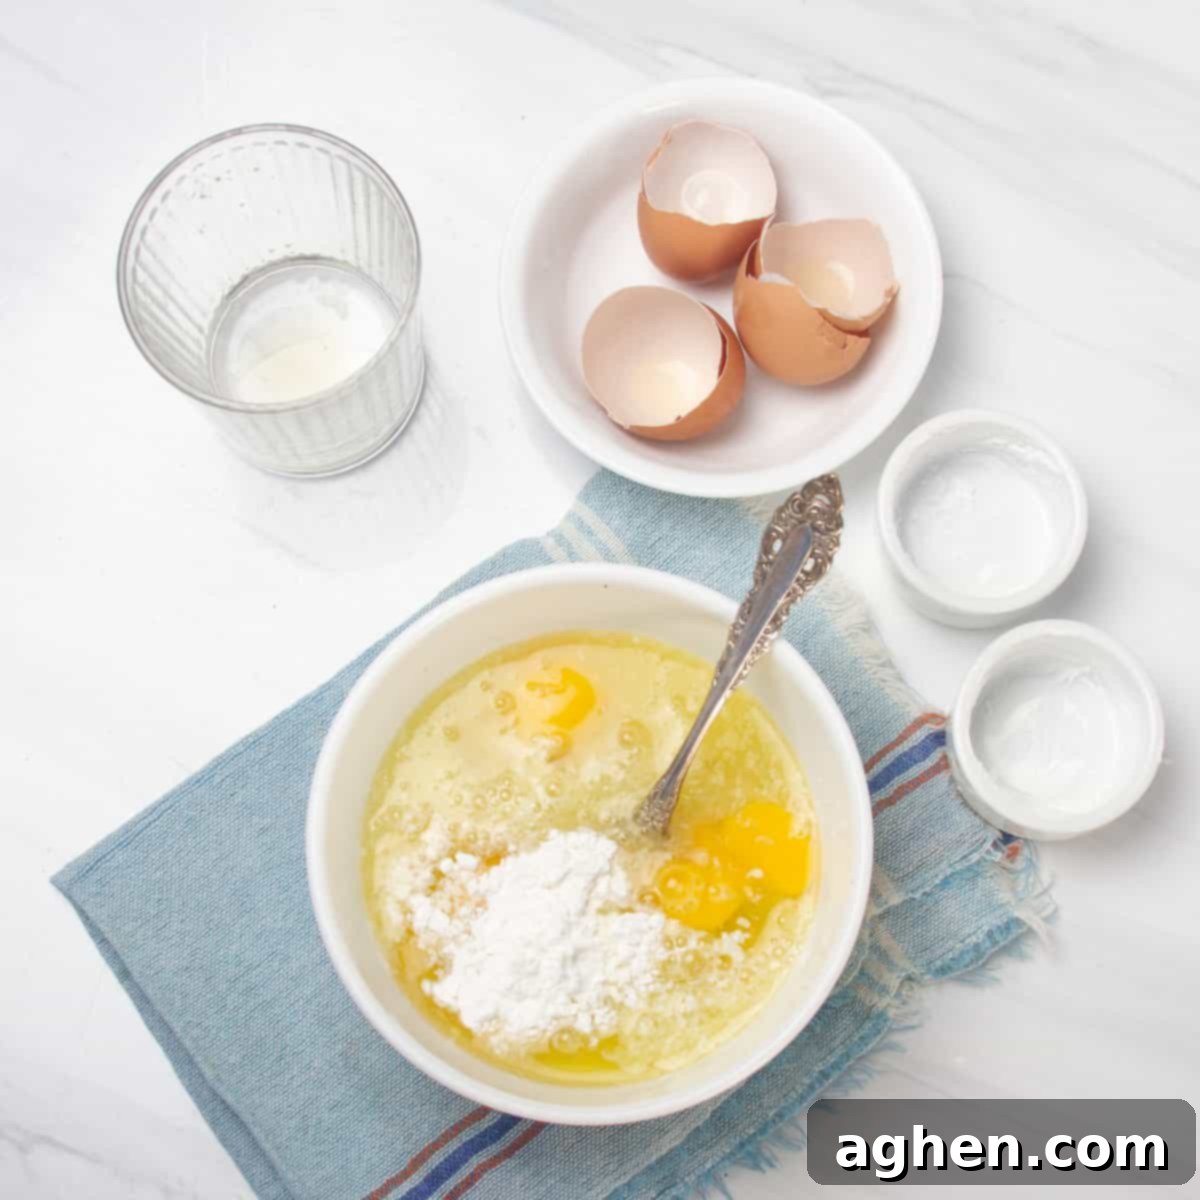
- In a separate mixing bowl, whisk together the fresh lemon juice, aromatic lemon zest, stevia, tapioca starch, and eggs. Continue whisking until all ingredients are completely incorporated and the mixture is smooth and homogenous. This ensures a consistent texture for your filling.
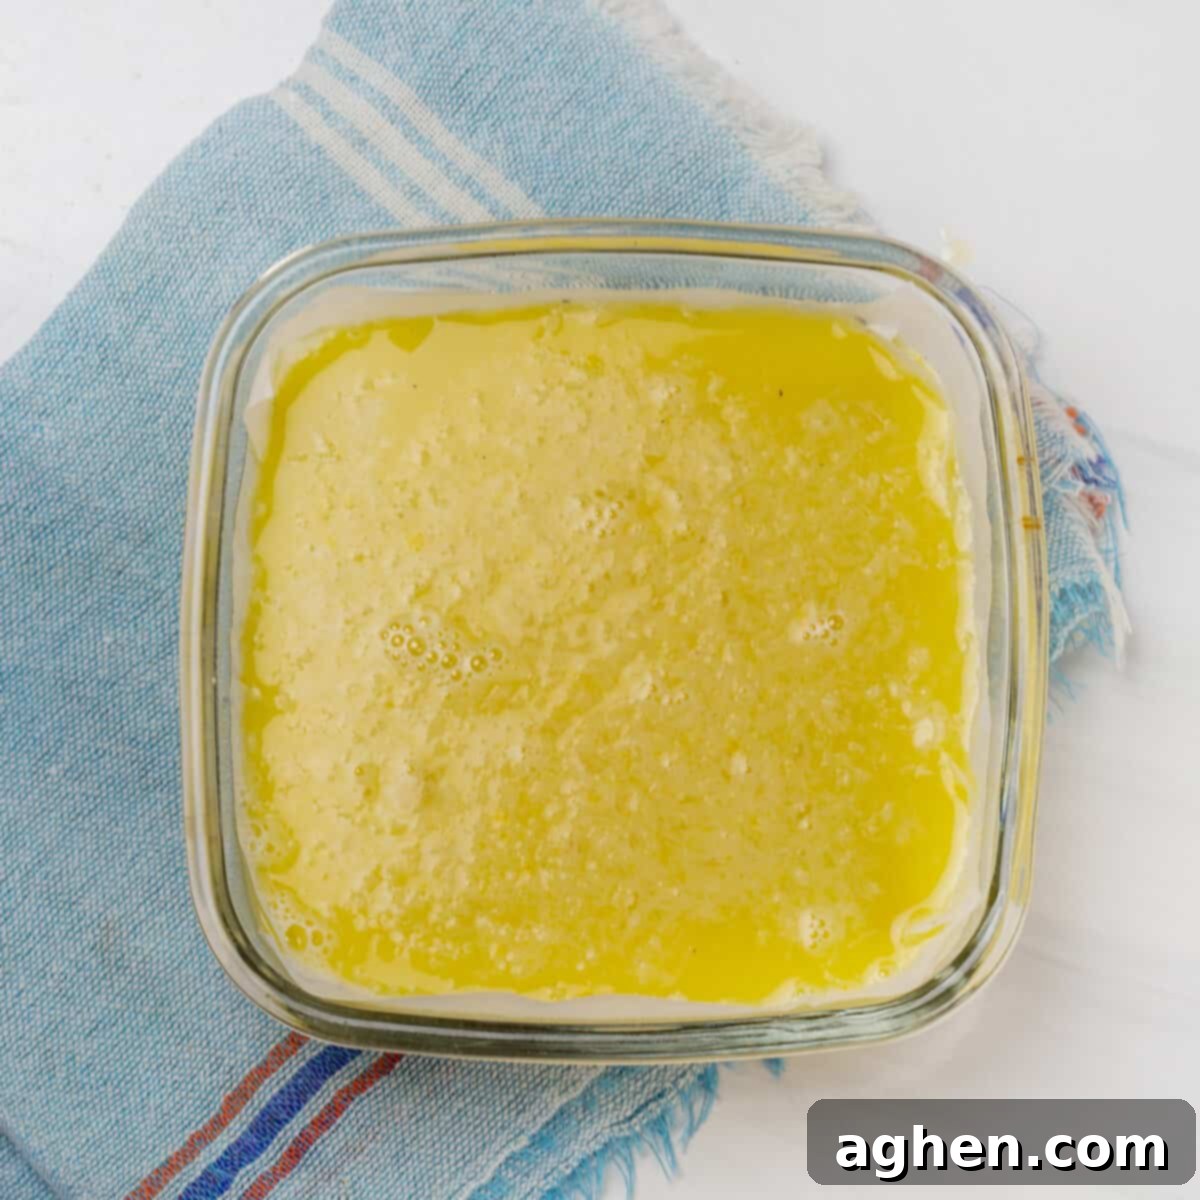
- Carefully pour the prepared lemon filling mixture over the cooled, baked crust in the pan. Distribute it evenly to cover the entire base.
- Return the pan to the preheated oven and bake for about 20-25 minutes. The bars are ready when the edges appear set and firm, but the center still retains a slight, gentle jiggle when the pan is lightly shaken. This indicates a perfectly cooked, creamy filling.
- Allow the Lemon Bars to cool completely at room temperature within the pan. Patience is key here! Once cooled, transfer the pan to the refrigerator and chill for at least 4 hours, or ideally, overnight. This prolonged chilling period is essential for the bars to set properly and develop their signature firm, yet luscious, texture.
- Once thoroughly chilled and firm, carefully lift the parchment paper to remove the entire block of lemon bars from the pan. If desired, you can dust the top lightly with powdered sugar or stevia for an added touch of sweetness and visual appeal. Using a sharp knife, slice the bars into even squares. Serve and savor these wonderfully guilt-free lemon treats!
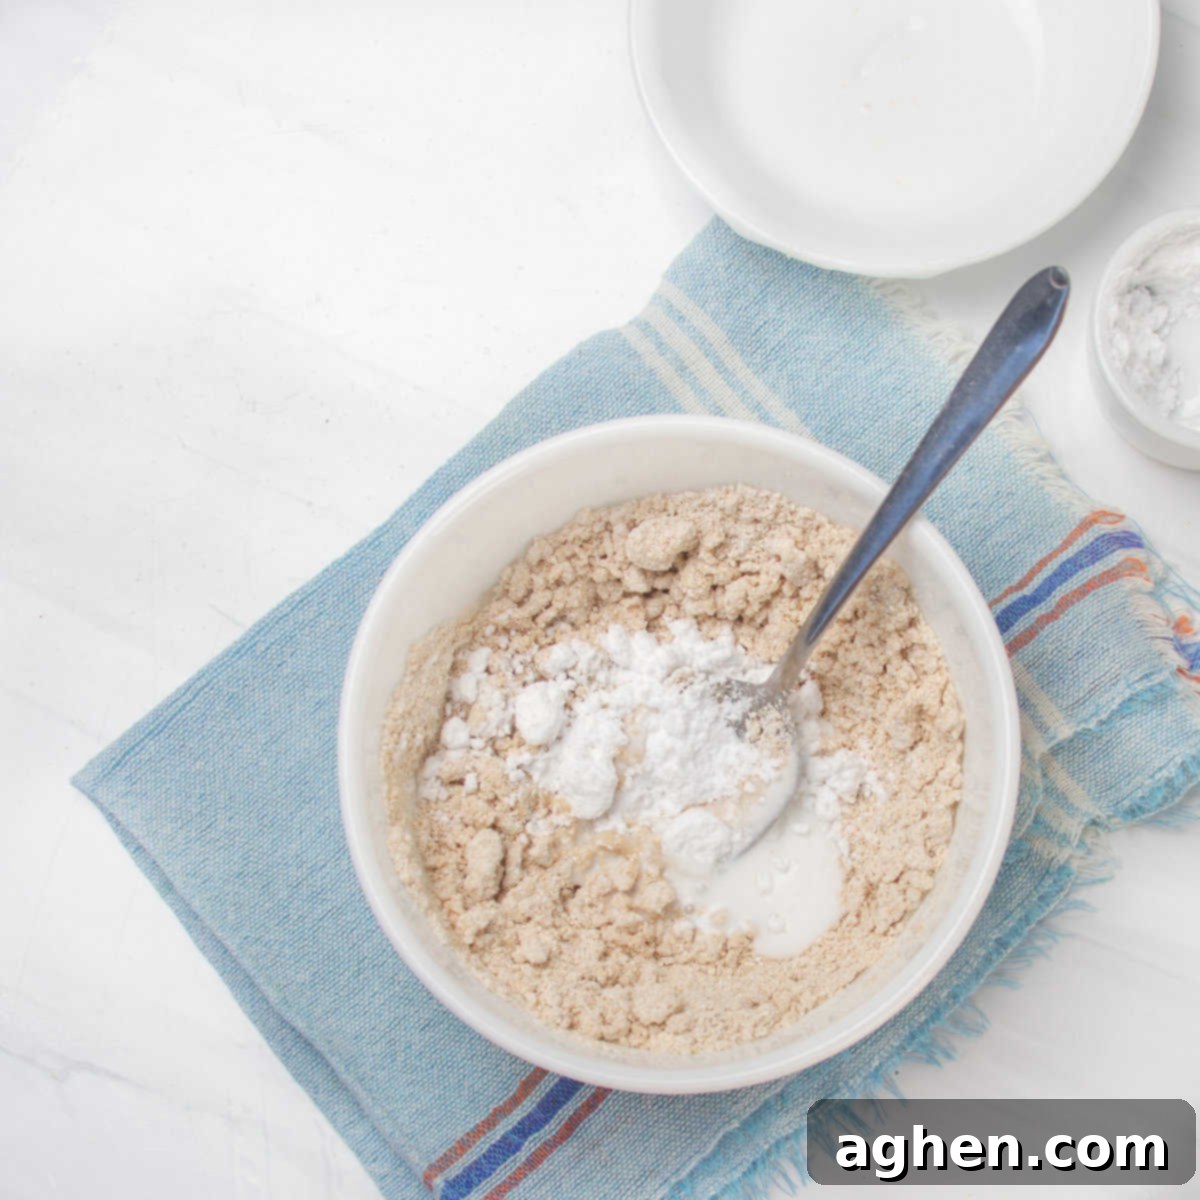
Creative Variations and Smart Substitutions
This healthy Lemon Bars recipe serves as an excellent foundation for culinary creativity, allowing for numerous adaptations to suit diverse tastes and dietary requirements. While lemon is the classic, the world of citrus offers exciting alternatives.
- Explore Other Citrus: Beyond the bright zest of lemon, consider crafting tantalizing Lime Bars for a sharper, equally refreshing tang. Orange bars offer a sweeter, sunnier profile, while passion fruit-based fillings are renowned for their exotic aroma and unique tartness. Even a blend of different citrus juices can yield a complex and delightful flavor.
- Alternative Flours for the Crust: For those adhering to specific dietary needs, the oat flour in the crust can be swapped. Almond flour provides a richer, slightly denser texture and is also naturally gluten-free and low-carb. Coconut flour can also be used, though it absorbs more liquid, so adjustments to the coconut cream might be necessary to achieve the right consistency. Many bakers find success in blending these alternative flours for a more balanced texture and flavor.
- Sweetener Adjustments: While stevia is used here for its zero-calorie benefits, other natural, low-glycemic sweeteners like erythritol or monk fruit extract can also be used. Always adjust quantities according to taste and the specific potency of the sweetener.
- Flavor Enhancements: A touch of vanilla extract in the filling can add depth, or a pinch of cardamom can introduce an unexpected warmth. For an extra pop of color and flavor, swirl in some fresh berry puree (like raspberry or blueberry) into the filling just before baking, creating beautiful marbling effects.
- Adding Texture: Incorporate finely chopped nuts (almonds, walnuts) into the crust mixture for an added layer of crunch and flavor.
These modifications ensure that the Lemon Bar remains a versatile and cherished dessert, adaptable to various preferences and expanding the horizons of this beloved treat.
Expert Tips for Flawless Healthy Lemon Bars
Achieving the perfect batch of healthy lemon bars is easier than you think, especially with these insider tips and tricks:
- Parchment Paper is Your Best Friend: Absolutely essential for this recipe! Lining your baking pan with parchment paper, allowing an overhang on the sides, creates “handles” for easy removal. While a silicone baking mat works, parchment ensures a pristine lift-out without any risk of the delicate bars cracking or sticking during unmolding. This is critical for neat slices.
- Don’t Skip the Light Crust Toast: Briefly baking the crust on its own before adding the filling is a game-changer. This par-baking step enhances the oat flour’s flavor, creating a slightly crispier, more defined base that stands up beautifully to the moist filling. Don’t worry about it being too dry; it will absorb some moisture from the filling and soften perfectly.
- Always Opt for Fresh Lemon Juice: This is non-negotiable for the best flavor! Bottled lemon juice simply cannot replicate the bright, vibrant, and complex tang of freshly squeezed lemons. The difference in taste is profound and will elevate your lemon bars from good to absolutely extraordinary.
- Master the Art of Zesting: Incorporating citrus zest isn’t just for flavor; it infuses the bars with wonderful aromatic notes. When zesting your lemons, be careful to only grate the bright yellow outer layer, avoiding the bitter white pith underneath. A microplane zester works best for this.
- Crucial Cooling Time: The setting of your lemon bars relies heavily on adequate cooling. Allow them to cool completely at room temperature, then transfer them to the refrigerator for a minimum of 4 hours, or ideally, overnight. This extended chilling period allows the filling to firm up properly, resulting in that signature smooth, creamy texture and clean slices.
- Testing for Doneness: While the instructions provide a baking time, ovens vary. Look for the edges of the filling to be set and slightly golden, with the center still having a gentle, slight wobble when the pan is lightly jiggled. Overbaking can lead to a rubbery texture, so keep an eye on it.
- Clean Slices: For beautifully neat squares, use a sharp knife and wipe it clean with a damp cloth between each cut. This prevents the filling from sticking to the knife and ensures crisp edges.
- Proper Storage: Store any leftover lemon bars in an airtight container in the refrigerator for up to 3-4 days. This keeps them fresh and prevents them from drying out.
- Freezing for Later: Lemon bars freeze wonderfully! Once completely chilled and sliced, arrange them in a single layer on a baking sheet and freeze until solid. Then transfer them to an airtight freezer-safe container or bag, separated by parchment paper, for up to 2-3 months. Thaw in the refrigerator before serving.
By diligently following these expert tips, you’re well on your way to creating healthy lemon bars that are not only delicious and visually appealing but also a joy to prepare and share.
Frequently Asked Questions About Healthy Lemon Bars
Here are some common questions you might have when making these delicious, healthier lemon bars:
- Q1: Can I use bottled lemon juice instead of fresh?
- A: While you technically can, it is highly recommended to use fresh lemon juice. Bottled lemon juice often contains preservatives and lacks the bright, authentic flavor and aroma of fresh lemons, which is crucial for the best taste in lemon bars.
- Q2: How long do these lemon bars last?
- A: When stored in an airtight container in the refrigerator, these healthy lemon bars will stay fresh and delicious for about 3 to 4 days. Beyond that, the texture and flavor might begin to degrade.
- Q3: Can I freeze these lemon bars?
- A: Yes, absolutely! Lemon bars freeze beautifully. After they are completely chilled and sliced into individual portions, you can flash freeze them on a baking sheet until solid. Then, transfer them to an airtight freezer-safe container or freezer bag, separating layers with parchment paper, for up to 2-3 months. Thaw them in the refrigerator overnight before serving.
- Q4: What if I don’t have tapioca starch? Can I use a substitute?
- A: Tapioca starch provides a wonderful clear, slightly chewy texture. If you don’t have it, cornstarch can be used as a direct substitute (2 tablespoons). The texture might be slightly different, but it will still thicken the filling effectively.
- Q5: Are these lemon bars truly gluten-free?
- A: Yes, they are! The recipe uses oat flour, which is naturally gluten-free. However, for individuals with severe gluten sensitivities or celiac disease, ensure that you purchase certified gluten-free oat flour, as oats can sometimes be cross-contaminated during processing.
Perfect Pairings and Serving Suggestions
These healthy lemon bars are a treat on their own, but a few thoughtful additions can elevate the experience even further. Serve them chilled, perhaps with a scattering of fresh seasonal berries like raspberries or blueberries for a burst of color and complementary flavor. A light dollop of sugar-free whipped cream or a scoop of vanilla bean ice cream can add a touch of creamy indulgence. They also pair wonderfully with a hot cup of tea or a light, refreshing iced tea, making them perfect for an afternoon snack or a delightful dessert after any meal.
Related Recipes You Might Love
Glazed Lemon Loaf
Crescent Roll Lemon Squares
Lemon Bars

Ingredients
For the Crust
- 1 cup (120 g) oat flour
- ¼ cup (24 g) stevia
- ¼ cup (60 g) coconut cream
For the Filling
- 1 cup fresh lemon juice
- Zest from 2 lemons
- ½ cup (48 g) stevia
- 2 tablespoons tapioca starch
- 3 large eggs
Optional
- Powdered sugar or stevia for dusting
Instructions
-
Preheat your oven to 350°F (175°C) and line an 8×8-inch (20×20 cm) baking pan with parchment paper or use a silicone baking mat, ensuring some overhang for easy removal.
-
In a mixing bowl, combine the oat flour, stevia, and coconut cream until well mixed and crumbly. Press this mixture evenly and firmly into the bottom of the prepared baking pan. Bake the crust for about 10 minutes or until it turns lightly golden. Remove from the oven and allow it to cool slightly while you prepare the filling.
-
In another bowl, whisk together the fresh lemon juice, lemon zest, stevia, tapioca starch, and eggs until completely smooth and well combined. Pour this mixture carefully over the baked and cooled crust.
-
Bake the bars for about 20-25 minutes. They are done when the edges are set and lightly golden, and the center is still slightly jiggly when gently shaken. Be careful not to overbake.
-
Let the Lemon Bars cool completely at room temperature in the pan. This is crucial for setting. Then, refrigerate for at least 4 hours, or preferably overnight, until thoroughly chilled and firm.
-
Once fully chilled, use the parchment paper overhang to lift the bars out of the pan. If desired, lightly dust the top with powdered sugar or stevia. Slice into neat squares using a sharp knife, wiping the blade between cuts for clean edges. Enjoy your delicious, healthier lemon bars!
Notes
Nutrition
Nutrition information is automatically calculated and should be used as an approximation. Individual results may vary.
