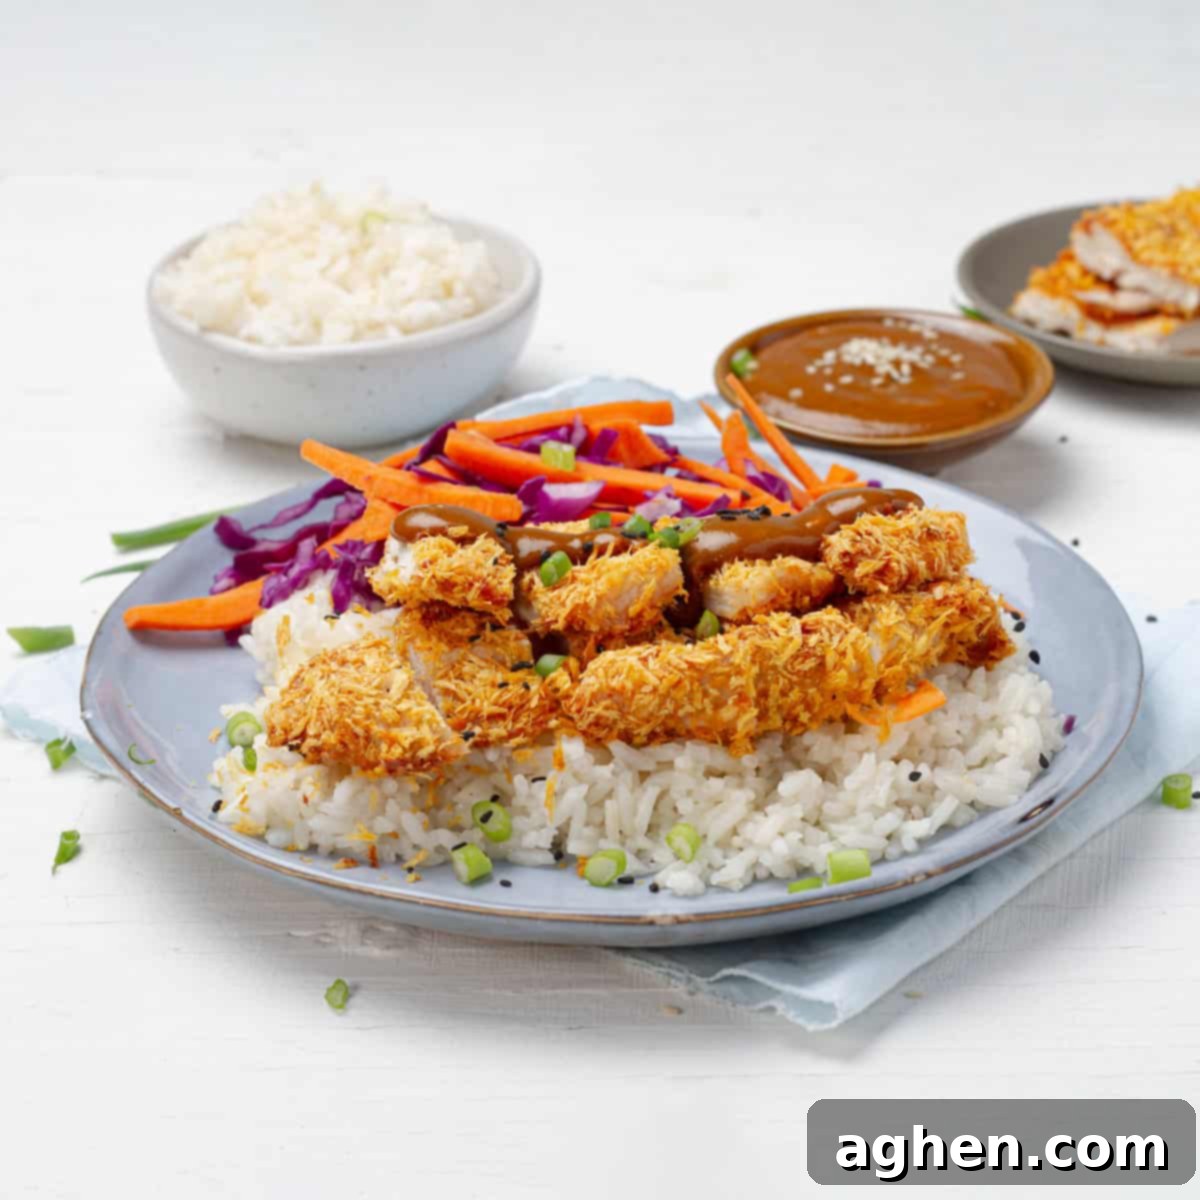
Crispy Air Fryer Chicken Katsu: A Healthy & Delicious Weight Watchers Classic
Imagine biting into tender chicken fillets, perfectly golden and incredibly crispy on the outside, yet wonderfully juicy and succulent on the inside. All this can be achieved with just a handful of simple ingredients and the magic of your air fryer! This is the essence of Chicken Katsu, a beloved traditional Japanese dish that has captured hearts worldwide. Traditionally deep-fried, our version embraces a healthier approach, making it an ideal choice for those following Weight Watchers or simply seeking a lighter, yet equally satisfying, meal. Featuring thinly sliced chicken fillets expertly breaded in Japanese-style Panko breadcrumbs, this recipe promises an irresistibly crunchy, airy texture that won’t weigh you down.
Chicken Katsu, also known as Torikatsu, translates literally to “chicken cutlet.” It’s a staple in Japanese cuisine, often served with a savory-sweet Tonkatsu sauce, steamed rice, and a side of shredded cabbage. Our innovative air fryer method brings this classic dish into the modern kitchen, cutting down on oil and calories without compromising on the signature crispiness that makes Katsu so special. Prepare to elevate your weeknight dinners with this quick, easy, and incredibly flavorful recipe that balances authentic taste with modern dietary needs.
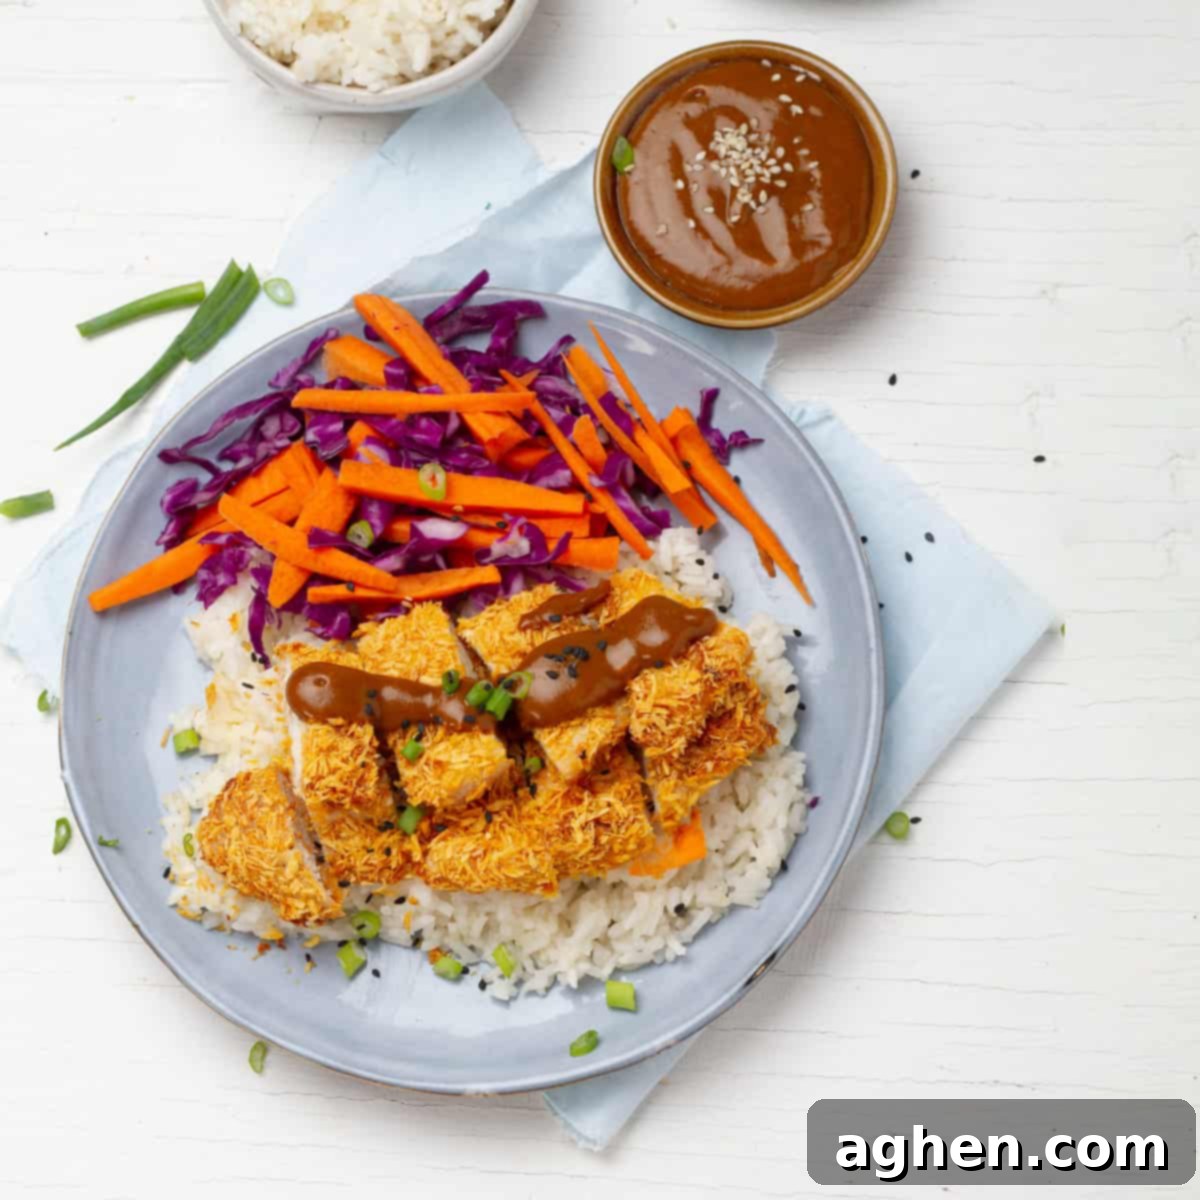
Why You Should Master This Air Fryer Chicken Katsu Recipe
There are countless compelling reasons why this Air Fryer Chicken Katsu will become a cherished staple in your culinary repertoire:
- Explosive Flavor with Minimal Ingredients: This recipe is a testament to the idea that extraordinary flavor doesn’t require a complex ingredient list. By focusing on fresh, high-quality chicken and a light, crispy Panko coating, the natural, delicate essence of the chicken is allowed to truly shine. The subtle seasoning, combined with the unparalleled crunch of Panko, creates a harmonious taste experience that proves you don’t need exotic components for a remarkable meal. It’s a clean flavor profile that genuinely satisfies.
- Weight Watchers Friendly & Healthier Option: For those actively managing their caloric intake and tracking Weight Watchers points, this recipe is an absolute game-changer. Unlike traditional deep-fried versions that absorb significant amounts of oil, our air-fried Chicken Katsu utilizes only a minimal amount of olive oil spray, drastically reducing fat and calories. Furthermore, using lean, boneless, skinless chicken breast makes it a zero-point protein on most Weight Watchers plans. The distinctive Panko breadcrumbs, renowned for their light and airy structure, absorb less oil than conventional breadcrumbs, further contributing to a lower point count. To complete the healthy experience, you can easily craft a delicious, low-sugar Tonkatsu sauce using low-sugar ketchup, ensuring a flavorful dipping experience without the added guilt. This approach allows you to enjoy breaded chicken with very few points, empowering you to stay committed to your health and wellness goals.
- Quick & Convenient for Busy Lifestyles: Say goodbye to lengthy cooking sessions! With just 10 minutes of hands-on preparation and a mere 12-15 minutes of air frying, this recipe is perfectly suited for even the busiest weeknights. The air fryer streamlines the entire cooking process, delivering perfectly crispy chicken without the mess, excessive oil, or hassle typically associated with deep-frying. It’s an ideal solution for a fast, healthy, and incredibly satisfying family meal that won’t keep you in the kitchen for hours.
- Versatile & Universally Appealing: Chicken Katsu holds a universal appeal, making it a guaranteed hit with family and friends alike. Its mild yet savory flavor profile and satisfying crispy texture make it a favorite among both adults and children. Its versatility is another major advantage: it can be served in a multitude of ways – classically alongside steamed rice and a refreshing shredded cabbage salad, tucked into a soft bun for a Japanese-style katsu sandwich, or even as the star component in a rich and comforting Japanese katsu curry. Its adaptable nature ensures that this dish never feels repetitive.
Recipe Overview:
- Preparation Time: 10 minutes
- Cooking Time: 12-15 minutes
- Servings: 4
- 3 WW Points Per Serving
Essential Ingredients for Perfect Air Fryer Chicken Katsu
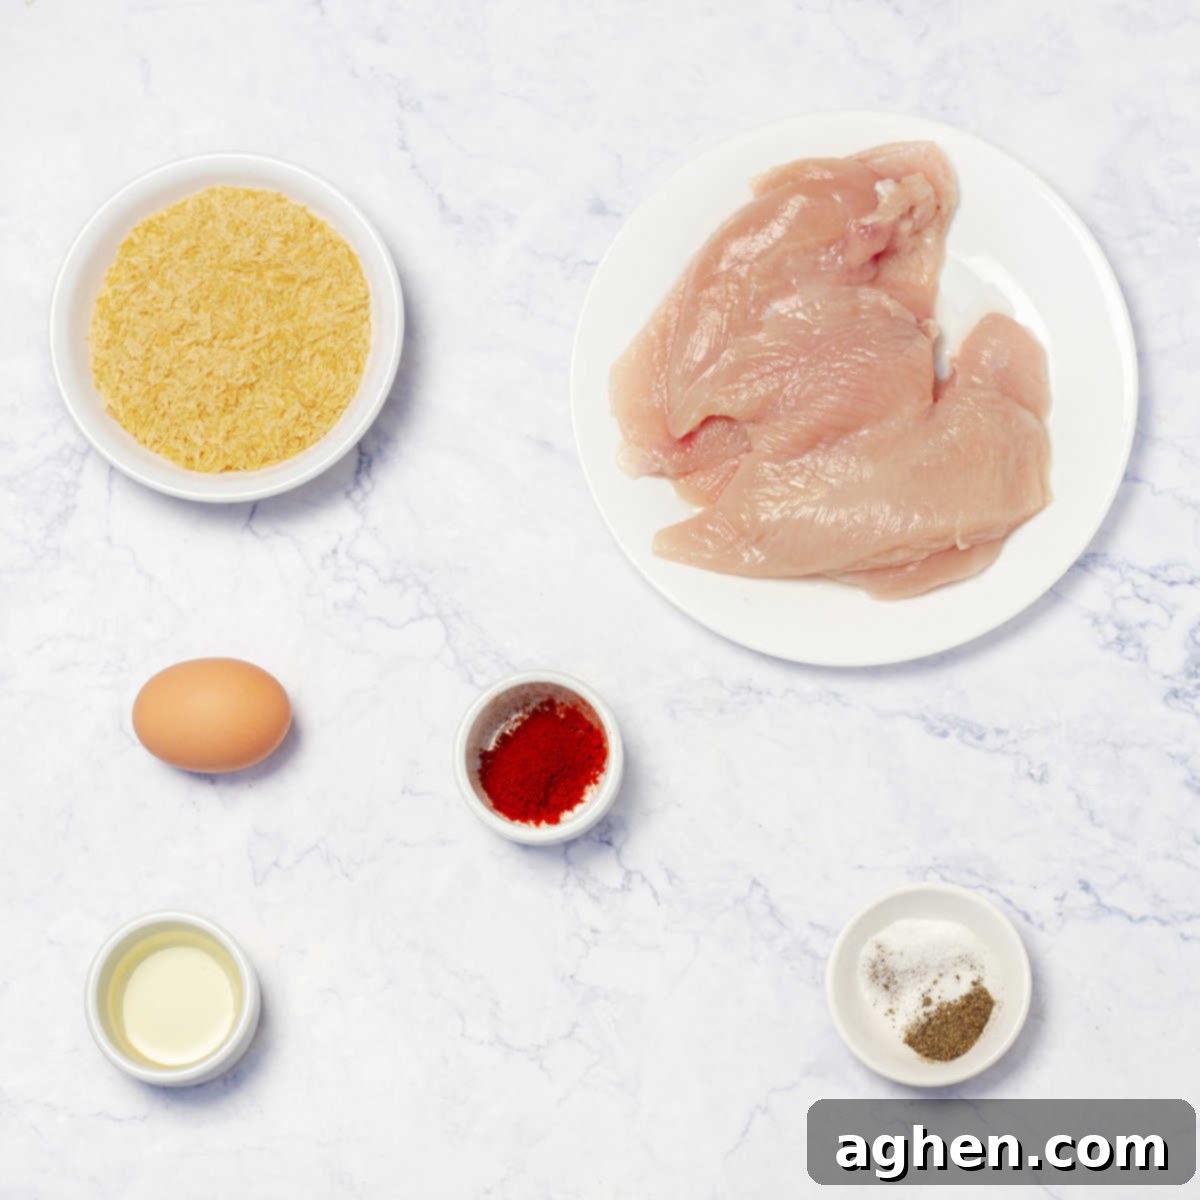
Creating this irresistible Air Fryer Chicken Katsu requires only a handful of readily available and simple ingredients, focusing on quality to achieve the best results:
- 4 chicken cutlets, thinly sliced (approx. 600 g): For optimal tenderness and quick cooking, boneless, skinless chicken breast cutlets are recommended. Ensure they are uniformly thin, which may require a light pounding.
- Salt and freshly ground black pepper, to taste: Simple seasoning is key here, allowing the natural deliciousness of the chicken to be the star. Adjust according to your preference.
- 1 large egg: This acts as the essential binder, helping the Panko breadcrumbs adhere securely to the chicken, forming a perfect crust.
- 1 teaspoon paprika: Adding a subtle hint of warmth and a beautiful golden-red hue to the final crispy coating, enhancing both flavor and visual appeal.
- 1 cup Panko breadcrumbs (approx. 50 g): This ingredient is absolutely non-negotiable for achieving that signature ultra-crispy, airy, and light texture. Panko is distinctly different from standard breadcrumbs and is crucial for an authentic Katsu experience.
- Olive oil spray: Used sparingly, this spray is vital for achieving a beautifully golden-brown and satisfyingly crispy crust in the air fryer, all with minimal added fat.
Step-by-Step Air Fryer Chicken Katsu Instructions for Crispy Perfection
Follow these detailed instructions meticulously to create perfectly crispy and incredibly juicy Air Fryer Chicken Katsu every single time. Precision in each step ensures the best possible texture and flavor:
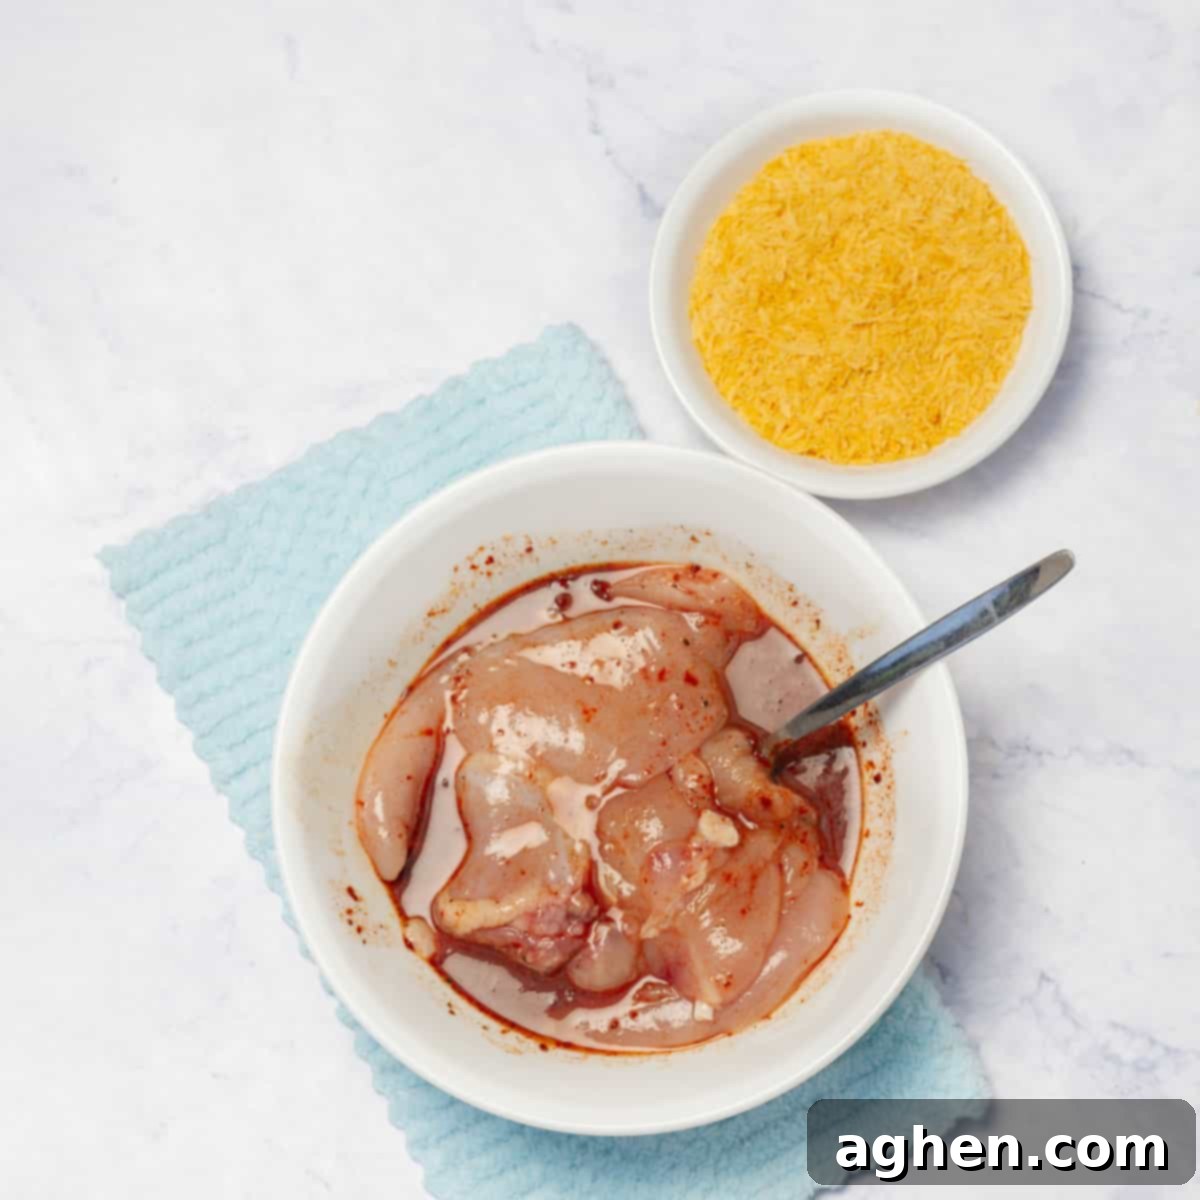
1. Prepare the Chicken Cutlets: Begin by thoroughly patting your chicken cutlets dry on both sides using paper towels. This seemingly small but crucial step is vital, as it ensures that the seasoning and, subsequently, the egg wash, will adhere properly to the chicken, leading to a much crispier final product. Season both sides generously with salt and freshly ground black pepper. For exceptionally even cooking and maximum tenderness, consider placing the chicken cutlets between two sheets of plastic wrap and gently pounding them with a meat mallet or rolling pin until they are uniformly about 1/2 to 3/4-inch thick. This also helps to ensure a consistent crispiness across the entire surface of each cutlet.
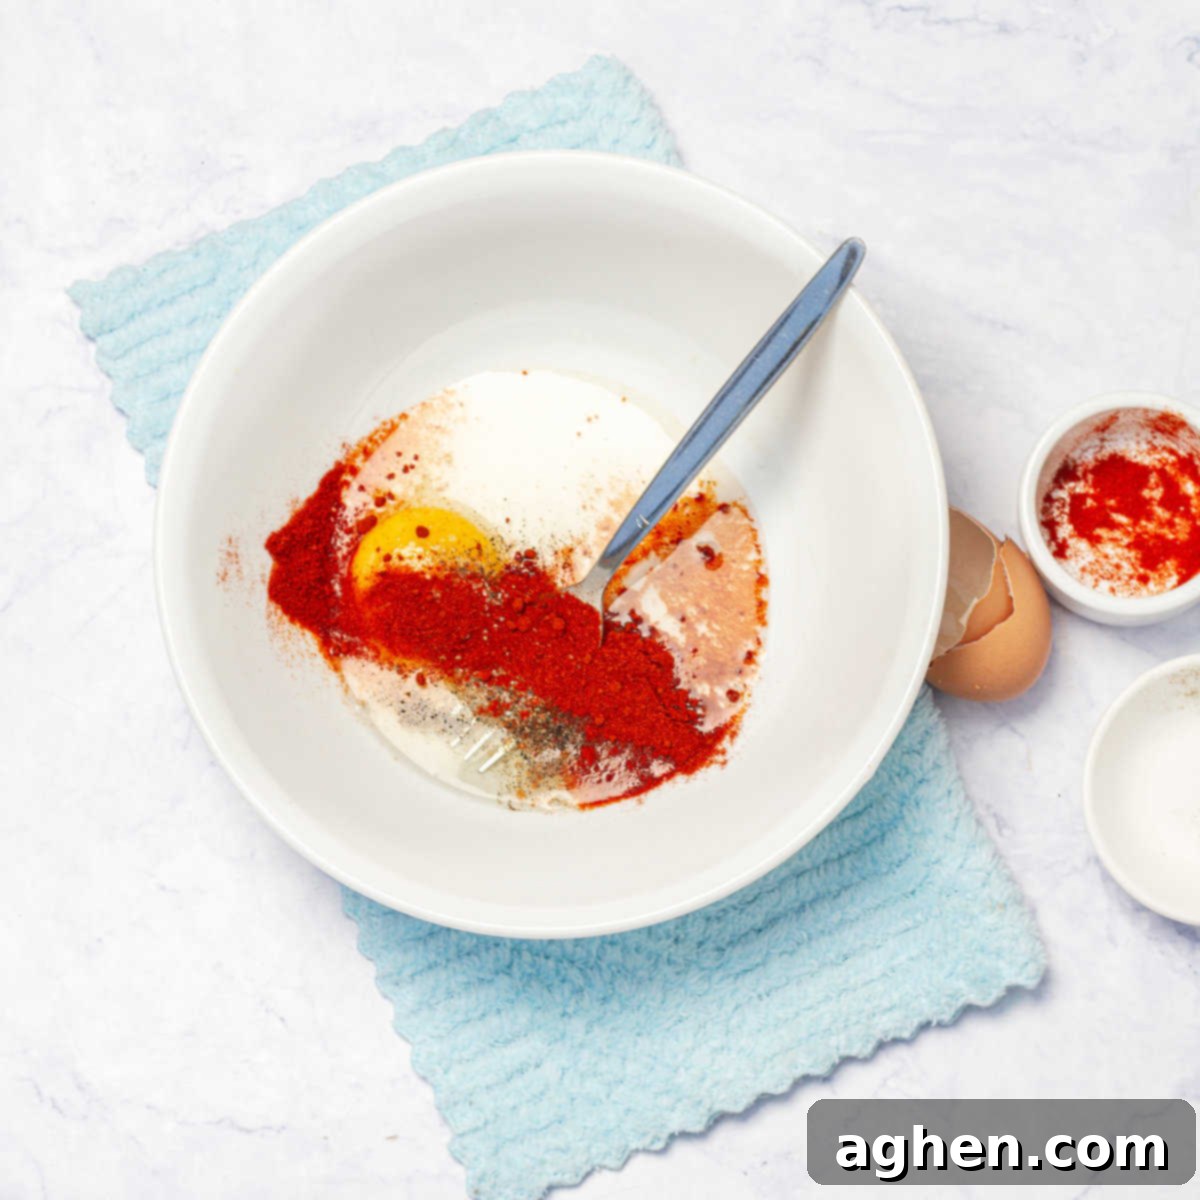
2. Prepare and Apply the Egg Wash: In a shallow bowl (a wide, shallow dish or pie plate works best for easy dipping), crack the large egg and beat it vigorously until the yolk and white are completely combined and smooth. Stir in the paprika until it is fully incorporated, creating a flavorful and beautifully colored egg wash. Dip each prepared chicken cutlet into this egg mixture, ensuring both sides are thoroughly and evenly coated. Allow any excess egg to drip off naturally before carefully transferring the cutlet to the next stage.
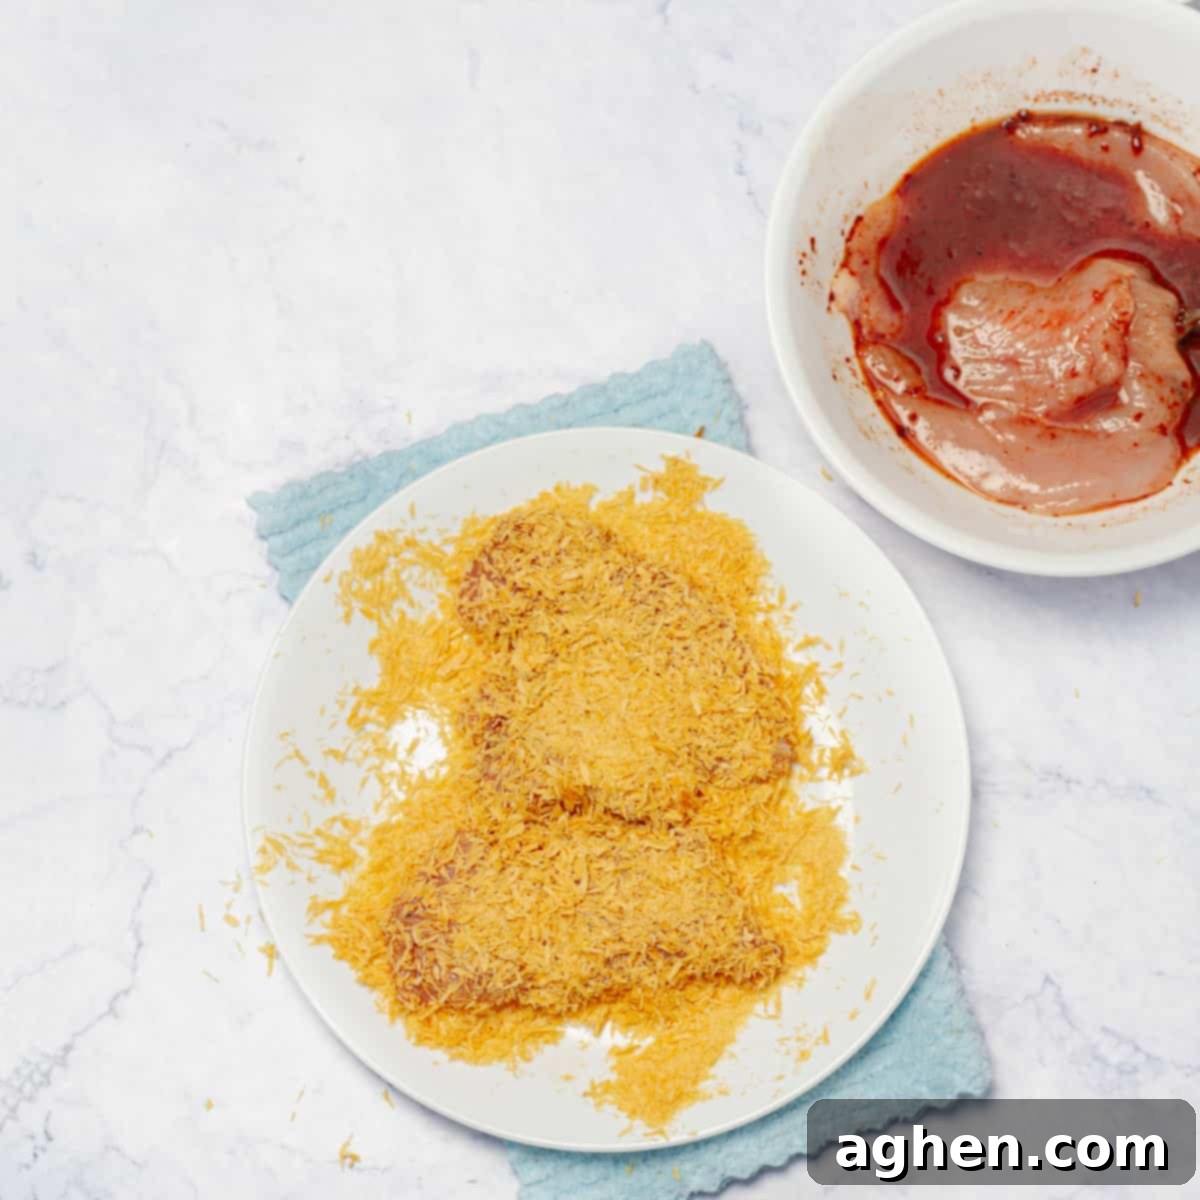
3. Coat with Panko Breadcrumbs: In a separate shallow bowl, spread out the Panko breadcrumbs evenly. Carefully take each egg-coated chicken cutlet and place it into the Panko. Press gently but firmly on both sides of the chicken, ensuring the Panko adheres completely and uniformly across the entire surface of the cutlet. The goal here is to create a thick, comprehensive crust, which is paramount for achieving that incredibly crispy texture during air frying. Don’t hesitate to really press the breadcrumbs onto the chicken to ensure maximum coverage and adhesion.
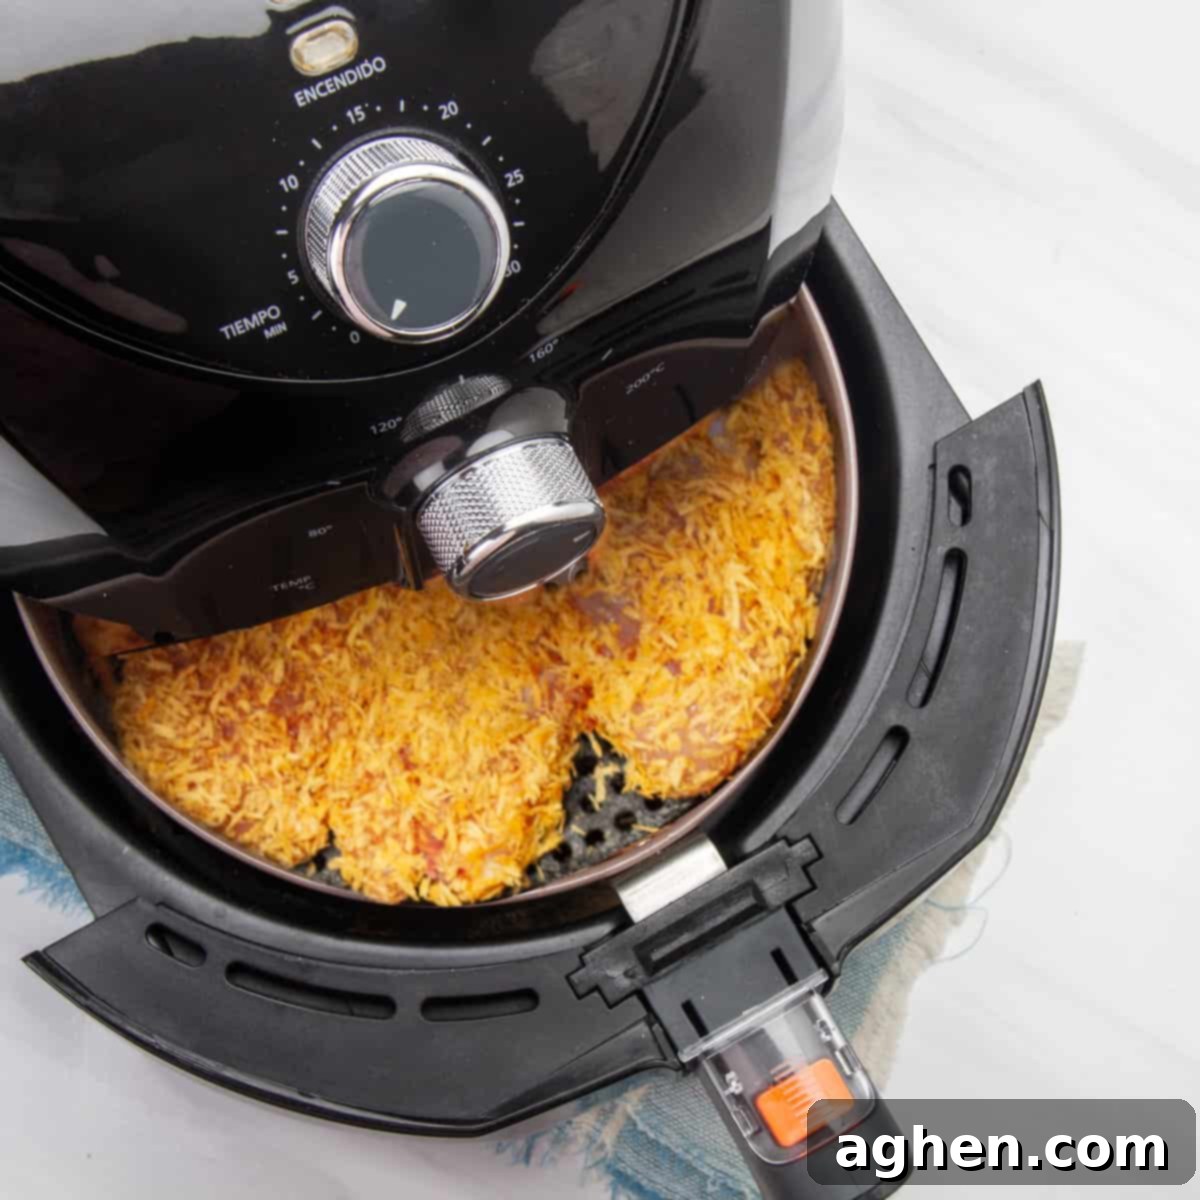
4. Air Frying Preparation and Placement: Preheat your air fryer to 400°F (200°C) for a minimum of 3 minutes. Preheating is a critical step, as it ensures immediate crispiness upon contact and helps the chicken cook more evenly. Once preheated, lightly spray the air fryer basket with olive oil spray to prevent any sticking. Carefully arrange the breaded chicken cutlets in a single layer within the air fryer basket, making absolutely sure they do not overlap. Overlapping pieces will impede proper air circulation, leading to uneven cooking and a less crispy result. Depending on the size of your air fryer and the chicken cutlets, you may need to cook in multiple batches.
5. Cook in the Air Fryer: Once the chicken is in the basket, lightly spray the top surfaces of the chicken cutlets with another spritz of olive oil spray. This step is key to achieving that beautiful golden-brown color and an extra layer of desirable crispness. Cook in the air fryer for approximately 12-15 minutes, making sure to carefully flip the chicken halfway through the cooking time. Continue cooking until the chicken is thoroughly cooked through (an internal temperature of 165°F or 74°C should be reached, check with a meat thermometer) and the Panko breadcrumbs are gorgeously golden brown and undeniably crispy. Be aware that cooking times may vary slightly depending on your specific air fryer model and the exact thickness of your chicken cutlets.
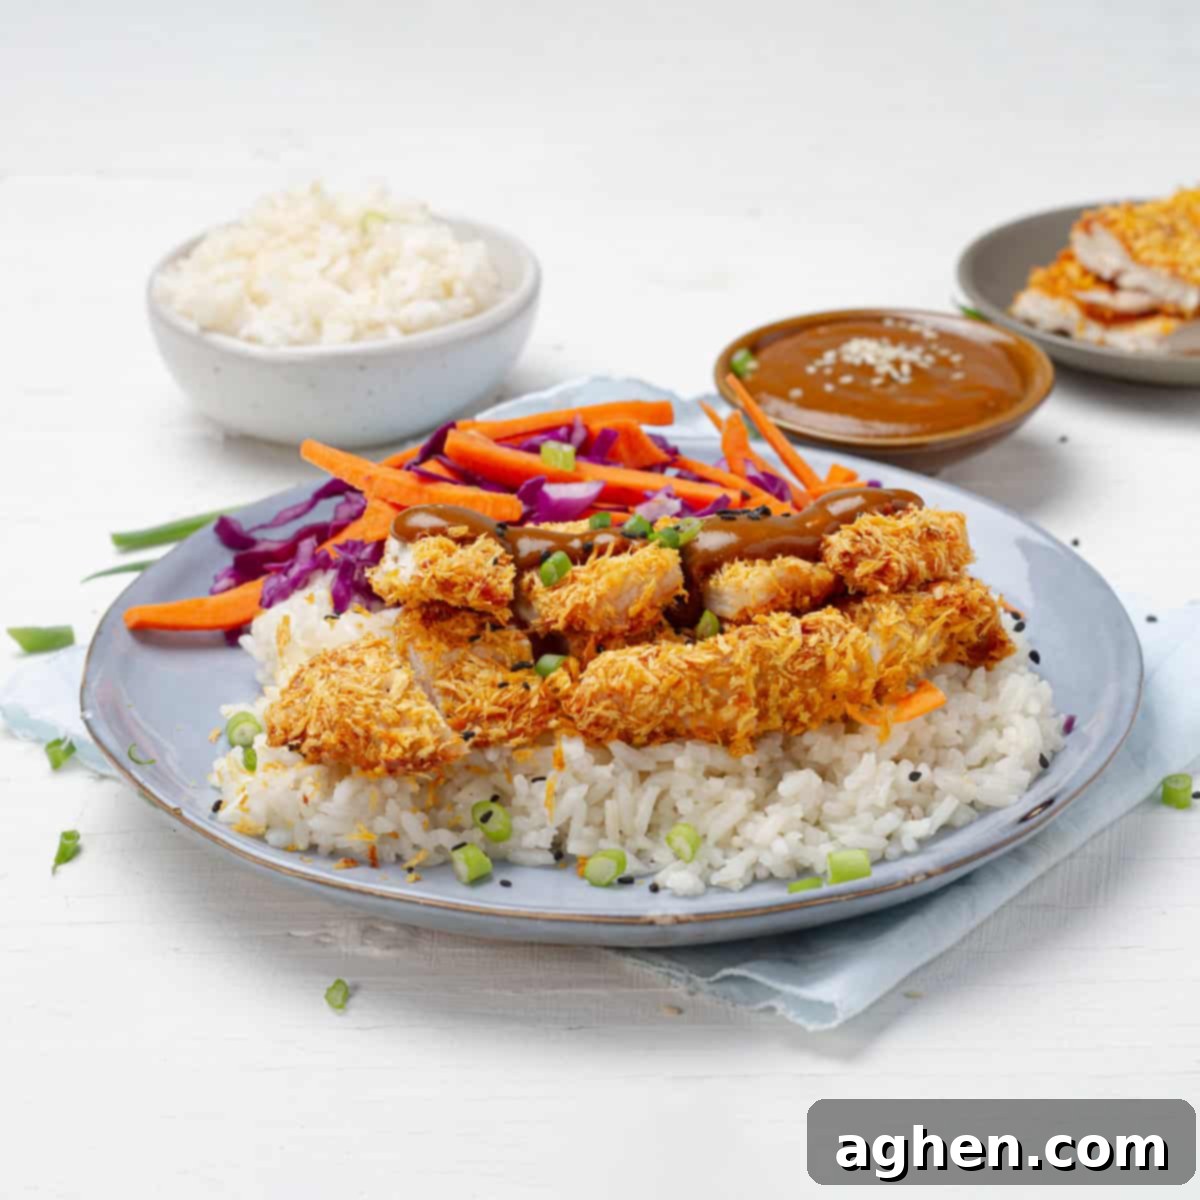
6. Serving Your Perfect Katsu: Once cooked to perfection, carefully remove the hot chicken cutlets from the air fryer. Transfer them to a clean cutting board or serving platter and allow them to rest for a few minutes before slicing or serving whole. Resting the chicken allows the internal juices to redistribute evenly throughout the meat, ensuring a more tender, succulent, and juicy result. Serve your healthy and satisfying Weight Watchers Chicken Katsu hot. Traditionally, it’s delicious with just a squeeze of fresh lemon juice, but it’s even better when accompanied by our recommended homemade, low-point Tonkatsu sauce for an authentic Japanese experience.
Homemade Weight Watchers-Friendly Tonkatsu Sauce
No Chicken Katsu experience is complete without its signature dipping sauce. Elevate your dish with a savory and sweet homemade Tonkatsu sauce that aligns perfectly with your Weight Watchers goals. This version is remarkably simple to prepare and bursts with authentic flavor:
- Start with a base of low-sugar ketchup. This significantly cuts down on sugar and points compared to regular ketchup.
- Add a generous splash of low-sodium soy sauce for essential umami depth and a salty counterpoint.
- Incorporate a tablespoon of mirin (Japanese sweet rice wine) or a similar sweet element for that distinctive authentic sweetness and depth of flavor. If you prefer to avoid alcohol, a teaspoon of rice vinegar combined with a pinch more low-calorie sweetener can be an effective substitute.
- Boost the aromatic profile with a small pinch of garlic powder and optionally, a touch of ginger powder for added complexity.
- Finally, sweeten to your personal preference using a low-calorie sweetener like stevia or monk fruit extract. Start with a small amount and add more as needed.
- Whisk all ingredients together thoroughly in a small bowl until well combined. For an even richer, more cohesive flavor, gently heat the mixture in a small saucepan over low heat for a few minutes until it’s just warmed through, allowing all the flavors to meld beautifully.
Serve this delightful, guilt-free Tonkatsu sauce generously alongside your crispy Air Fryer Chicken Katsu. It provides the perfect balance of sweet, savory, and tangy notes, transforming each bite into a truly authentic Japanese meal without compromising your healthy eating plan!
Variations and Substitutions to Customize Your Katsu
While this recipe provides a fantastic and healthy foundation for Air Fryer Chicken Katsu, feel free to experiment with these thoughtful variations and substitutions to tailor the dish to your personal taste, dietary preferences, or available ingredients:
1. Tonkatsu – The Pork Counterpart: If you’re a devoted fan of the Katsu concept but find yourself craving a different flavor profile, simply substitute the chicken cutlets with thinly sliced boneless pork chops (ideally about 1/2-inch thick) to create the classic Japanese dish known as Tonkatsu. The preparation and cooking methods remain largely identical, offering a richer, more robust flavor that is equally satisfying. It’s important to note that using pork, depending on the specific cut, might slightly alter the Weight Watchers point count per serving, so plan accordingly if you are tracking closely.
2. Thighs vs. Breast for Flavor and Points: Chicken Katsu is most traditionally prepared with chicken breast, primarily due to its lean nature and its frequent classification as a zero-point food on Weight Watchers programs. However, for those who prefer a richer, more inherently succulent flavor and juicier texture, you can absolutely experiment with boneless, skinless chicken thighs. While chicken thighs will deliver a more intense chicken flavor, it is crucial to be aware that using them will likely increase the Weight Watchers point count per serving. Therefore, adjust your tracking as necessary if you are closely monitoring your points. Regardless of whether you choose breast or thigh, ensure the meat is pounded to an even thickness to guarantee uniform cooking and tenderness.
3. Exploring Different Cooking Methods:
- Traditional Deep-Frying: The original and classic method for Katsu involves deep-frying the breaded cutlets in hot oil. This technique is renowned for achieving an unparalleled, perfectly golden, and irresistibly crispy exterior. While undeniably delicious, this method is significantly higher in fat and calories. If you choose to deep-fry, ensure the oil is maintained at the correct temperature (around 350°F/175°C) to prevent a greasy result and to cook the cutlets quickly until they are beautifully golden brown.
- Air Frying (Our Recommended Method): This recipe enthusiastically champions the air fryer for its remarkable ability to deliver a wonderfully crispy result with dramatically less oil. It stands as a healthier, much less messy, and exceptionally convenient alternative that still yields a deeply comforting and satisfying crunch, closely mimicking the texture of traditional frying.
- Oven Baking: For those who may not own an air fryer, oven baking presents a perfectly viable and healthy alternative. To bake, preheat your oven to 400°F (200°C) and arrange the breaded chicken on a wire rack placed over a baking sheet. Bake for approximately 20-25 minutes, making sure to flip the chicken halfway through the cooking time. While oven-baked Katsu may not replicate the exact texture found in deep-fried or air-fried versions, it still offers a delicious, golden, and crispy baked chicken cutlet that is a great healthier option.
Expert Tips and Tricks for the Best Air Fryer Chicken Katsu
To ensure your Air Fryer Chicken Katsu turns out perfectly crispy, juicy, and flavorful every single time, keep these expert tips and tricks in mind:
- Ensure Chicken is Completely Dry: This cannot be stressed enough! Before you even think about seasoning or breading, pat your chicken cutlets thoroughly dry with paper towels. Any excess moisture on the surface will create steam in the air fryer, which prevents the Panko from adhering properly and developing that coveted crispy crust.
- Pound for Evenness and Tenderness: For consistent cooking from edge to edge and maximum tenderness, take the time to pound the chicken cutlets to an even thickness. Aim for roughly 1/2 to 3/4 inch. This ensures that all parts cook at the same rate, preventing thinner edges from drying out while thicker sections finish cooking.
- Press Panko Firmly: When you’re coating the chicken with Panko breadcrumbs, don’t just lightly roll it. Press the breadcrumbs firmly onto both sides of the chicken. This creates a robust and complete crust that will hold up beautifully during air frying and maximize the crispiness of your Katsu.
- Do Not Overcrowd the Air Fryer Basket: This is crucial for crispiness. Always arrange the chicken in a single layer, ensuring there’s ample space between each piece for air to circulate freely. If you try to cook too many pieces at once, you’ll end up steaming the chicken rather than frying it, resulting in a soggy crust. Cook in batches if necessary.
- The Magic of Olive Oil Spray: A light, even spray of olive oil on both sides of the breaded chicken is absolutely vital for achieving that desired golden-brown color and crunchy texture. It helps the Panko crisp up beautifully, effectively mimicking the results of traditional frying with minimal added fat.
- Rest Your Chicken After Cooking: Once your Katsu is cooked to perfection, resist the urge to slice into it immediately. Transfer the cooked cutlets to a cutting board and allow them to rest for 3-5 minutes before cutting or serving. This resting period allows the muscle fibers to relax and the internal juices to redistribute throughout the meat, guaranteeing a more tender, succulent, and moist result.
- Customize Your Homemade Tonkatsu Sauce: Our Weight Watchers-friendly Tonkatsu sauce recipe is a fantastic starting point, but don’t hesitate to adjust the proportions of low-sugar ketchup, soy sauce, mirin, sweetener, and spices to perfectly match your preferred balance of sweet, savory, and tangy flavors. Make it your own!
- Creative and Delicious Serving Suggestions: While traditionally served with steamed white rice and refreshing shredded cabbage, expand your horizons! Chicken Katsu is incredibly versatile and can be fantastic as a filling for a Japanese-style sandwich (Katsu Sando), served over rice with a rich Japanese curry sauce for Katsu Curry, or alongside a vibrant, fresh green salad for a lighter meal.
- Effortless Cleanup with a Liner: To make cleaning up your air fryer a breeze, consider lining the air fryer basket with aluminum foil or air fryer-safe parchment paper before cooking. Just ensure that the liner doesn’t block any essential air circulation vents. This clever trick catches any drips or crumbs, turning cleanup from a chore into a quick task.
- Meal Prepping & Storage Best Practices: Cooked Air Fryer Chicken Katsu can be stored in an airtight container in the refrigerator for up to 3-4 days. When it’s time to enjoy leftovers, your air fryer is once again your best friend for reheating! Reheat the Katsu at 350°F (175°C) for 5-7 minutes, or until it’s warmed through and much of its original crispiness has been restored.
By incorporating these detailed tips and exploring the suggested variations, you can confidently create a delectable, health-conscious, and authentic-tasting Chicken Katsu dish that is sure to become a beloved favorite in your home. Enjoy the irresistible crunch and savory goodness of this Japanese classic, guilt-free!
Weight Watchers Points Breakdown
Here’s a detailed look at the approximate Weight Watchers points for the core ingredients in this Air Fryer Chicken Katsu recipe. This breakdown will help you accurately track your meal and understand where the points are allocated:
- Uncooked boneless, skinless chicken breast: 0 points (this lean protein is a staple zero-point food on most current Weight Watchers plans).
- 1 large egg: 0 points (eggs are also typically a zero-point food, making them an excellent binding agent for breading).
- 1 cup Panko breadcrumbs (50 g): Approximately 9 points (this is the primary point contributor for the crispy coating. While Panko is lighter than regular breadcrumbs, it still contains carbohydrates that count towards points).
- Paprika: 0 points (spices and seasonings generally do not contribute points).
- Olive oil spray: 1 point (for a light application across all 4 servings. Using a spray rather than pouring oil significantly reduces points).
Total Estimated WW Points Per Serving: Based on these ingredient point values, the total estimated Weight Watchers points per serving is approximately 3 points. This calculation is derived from roughly 10 points total for the Panko and olive oil spray (9 for Panko + 1 for oil), divided by 4 servings.
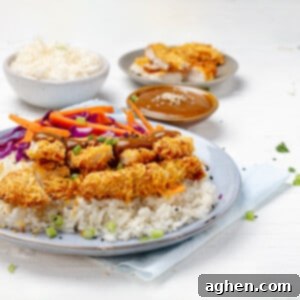
Chicken Katsu
Ingredients
- 4 chicken cutlets, thinly sliced, 600 g.
- Salt and pepper, to taste
- 1 egg
- 1 teaspoon paprika
- 1 cup Panko breadcrumbs (50 g)
- Olive oil spray
Instructions
-
Prepare the Chicken Cutlets: Season the chicken cutlets with salt and pepper on both sides.
-
In a shallow bowl, beat the egg and add paprika, mixing well. Dip each chicken cutlet into the egg mixture, ensuring it is well coated.
-
Coat with Panko: In another shallow bowl, place the Panko breadcrumbs. Take each chicken cutlet from the egg mixture and coat it evenly with Panko breadcrumbs, pressing gently to adhere.
-
Cooking in the Air Fryer: Preheat the air fryer to 400°F (200°C) for 3 minutes. Place the breaded chicken cutlets in the air fryer basket in a single layer, ensuring they are not overlapping. Lightly spray the top of the chicken cutlets with olive oil spray.
-
Cook in the air fryer for 12-15 minutes, flipping halfway through, until the chicken is cooked through and the breadcrumbs are golden brown and crispy.
-
Serving: Once cooked, remove the chicken cutlets from the air fryer and let them rest for a few minutes. Serve the Weight Watchers Chicken Katsu hot, garnished with a squeeze of fresh lemon juice if desired.
Notes
Nutrition
Nutrition information is automatically calculated, so should only be used as an approximation.
