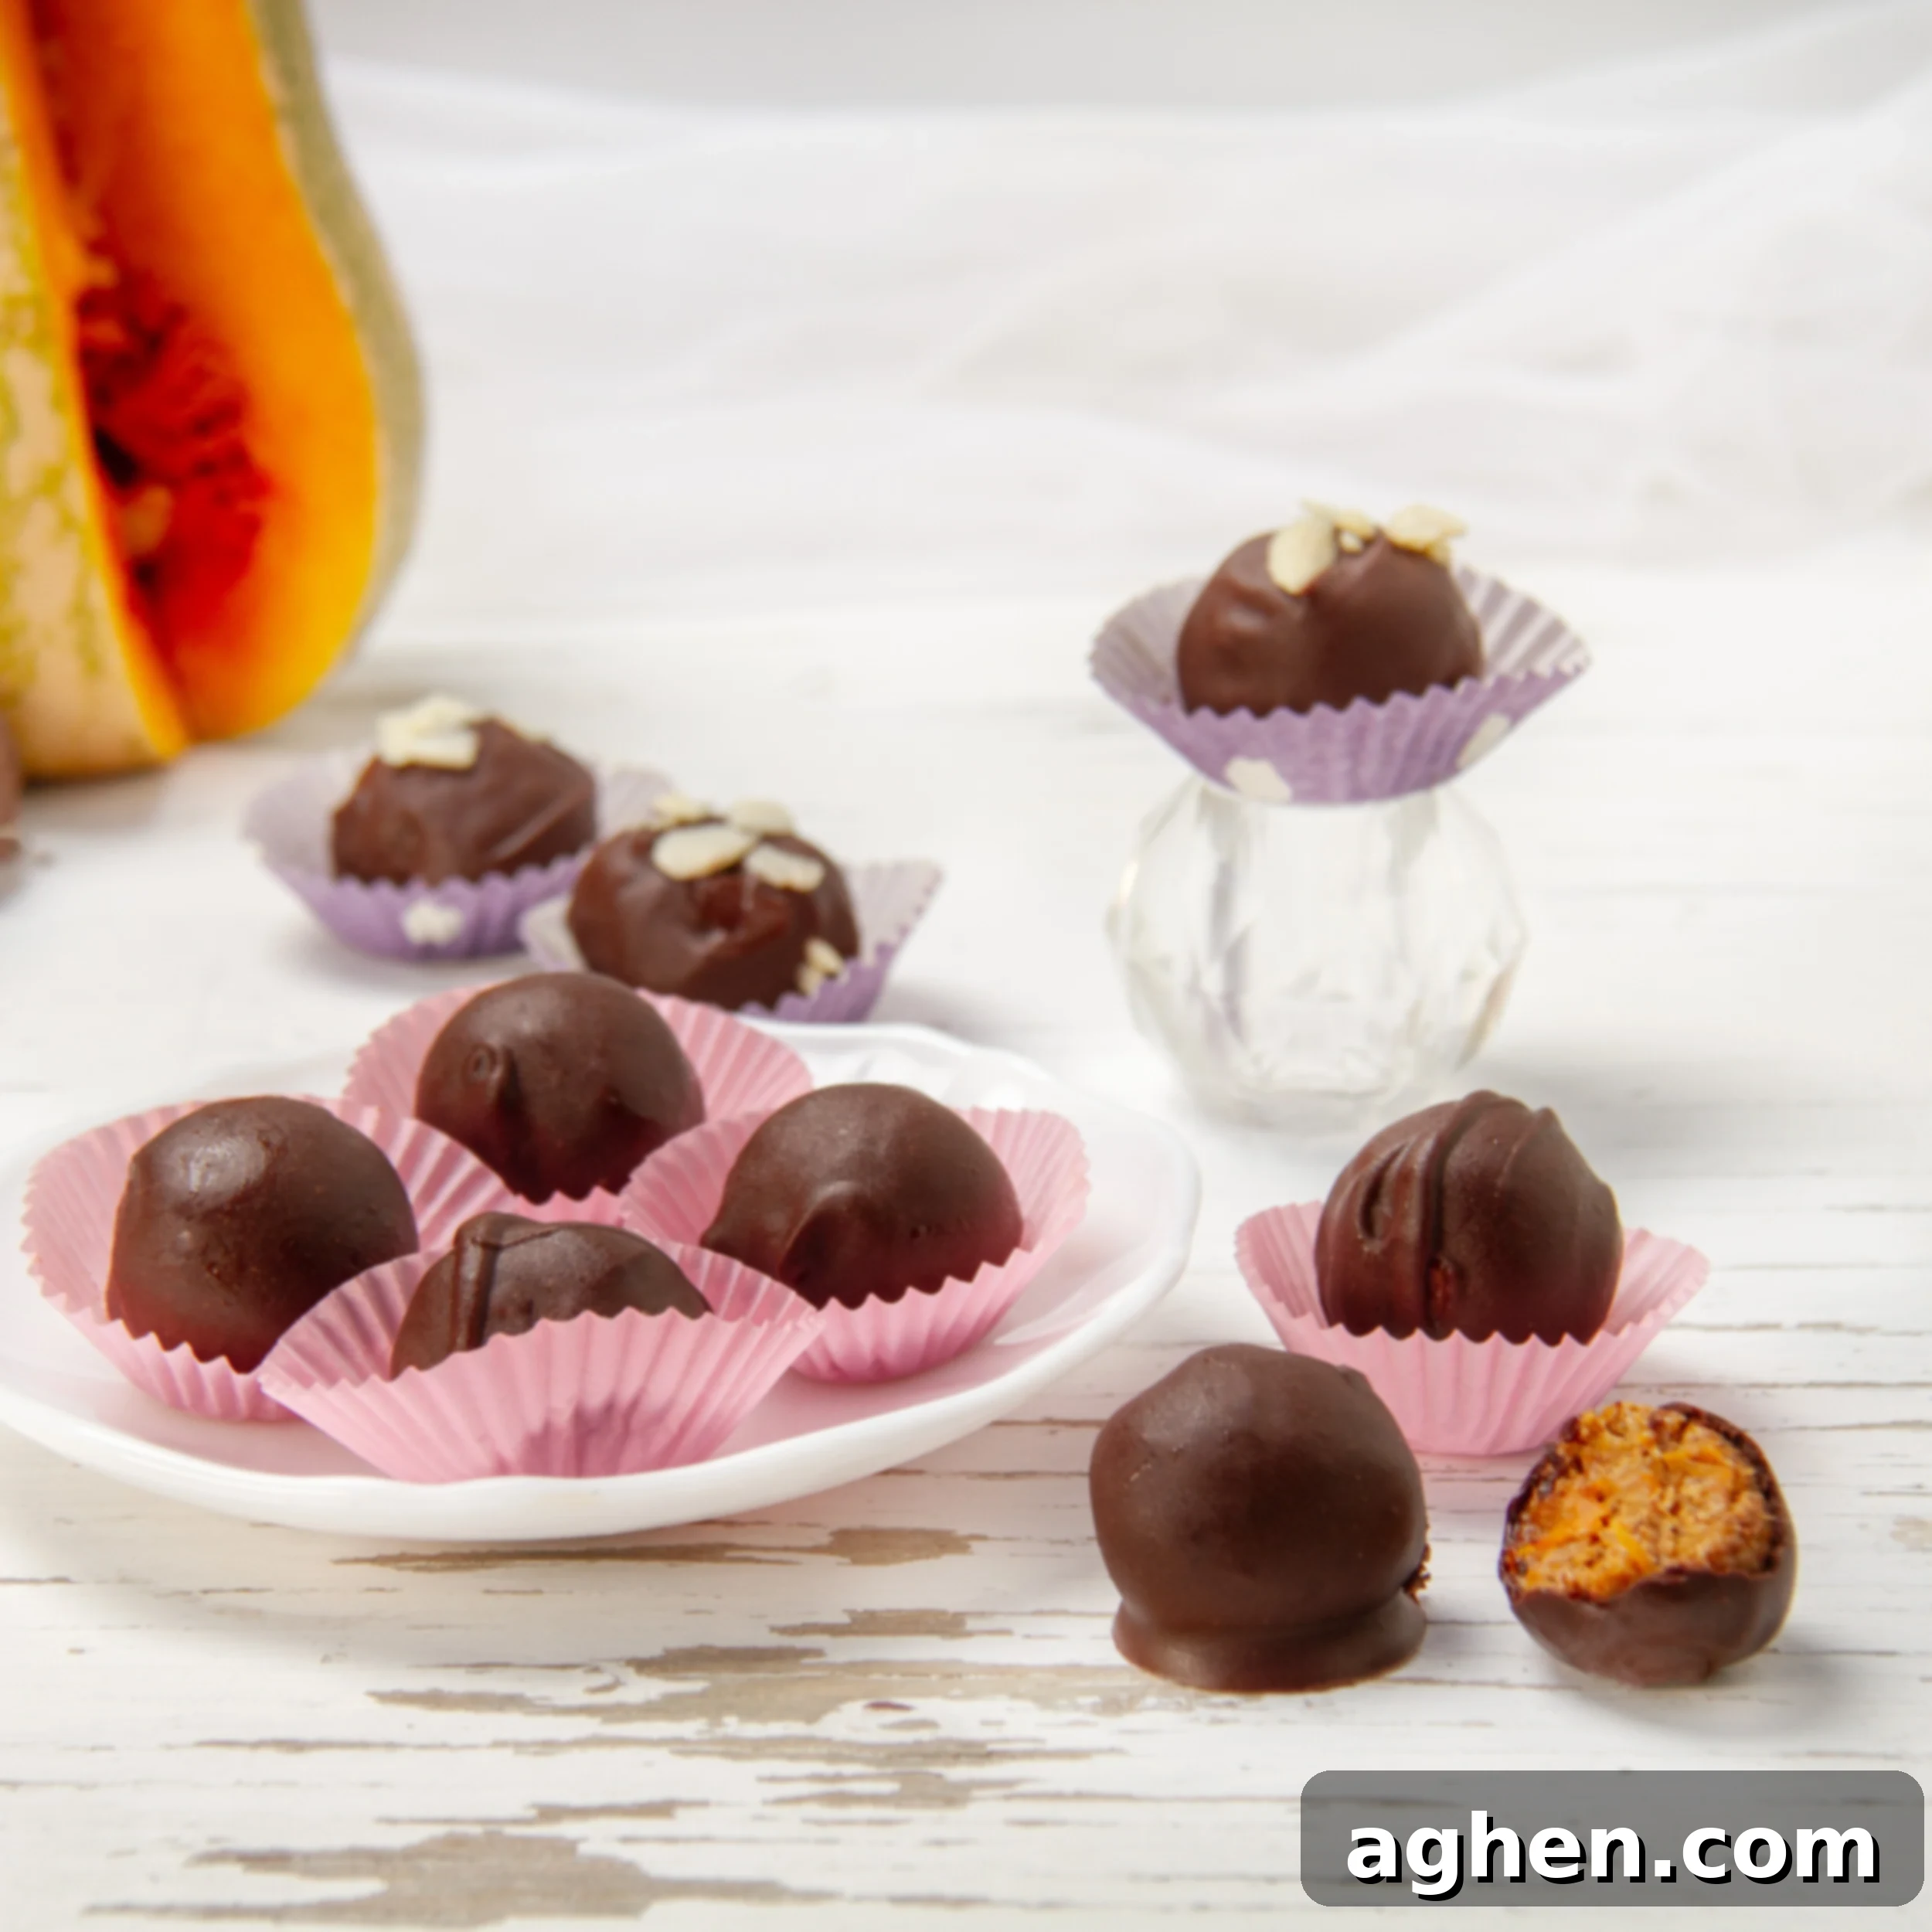
Indulgent & Healthy No-Bake Chocolate Pumpkin Truffles: A Perfect Weight Watchers Fall Treat
Are you searching for a delightful dessert that satisfies your sweet tooth without derailing your health goals? Look no further than these incredible **Chocolate Pumpkin Truffles**. They strike the perfect balance between indulgence and wholesome nutrition, offering bite-sized bliss that keeps you on track. Imagine sinking your teeth into a rich, flavorful treat, knowing it’s made with nourishing ingredients and perfectly portioned for a guilt-free experience.
These exquisite truffles are crafted with real pumpkin puree, fiber-rich oat flour, and then generously coated in decadent dark chocolate. Not only are they incredibly easy to prepare, requiring absolutely no baking, but they are also incredibly enjoyable. Best of all, each truffle is a mere 2 Weight Watchers Points, making them an ideal choice for anyone managing their intake. For more fantastic Weight Watchers dessert ideas, be sure to explore our extensive collection.
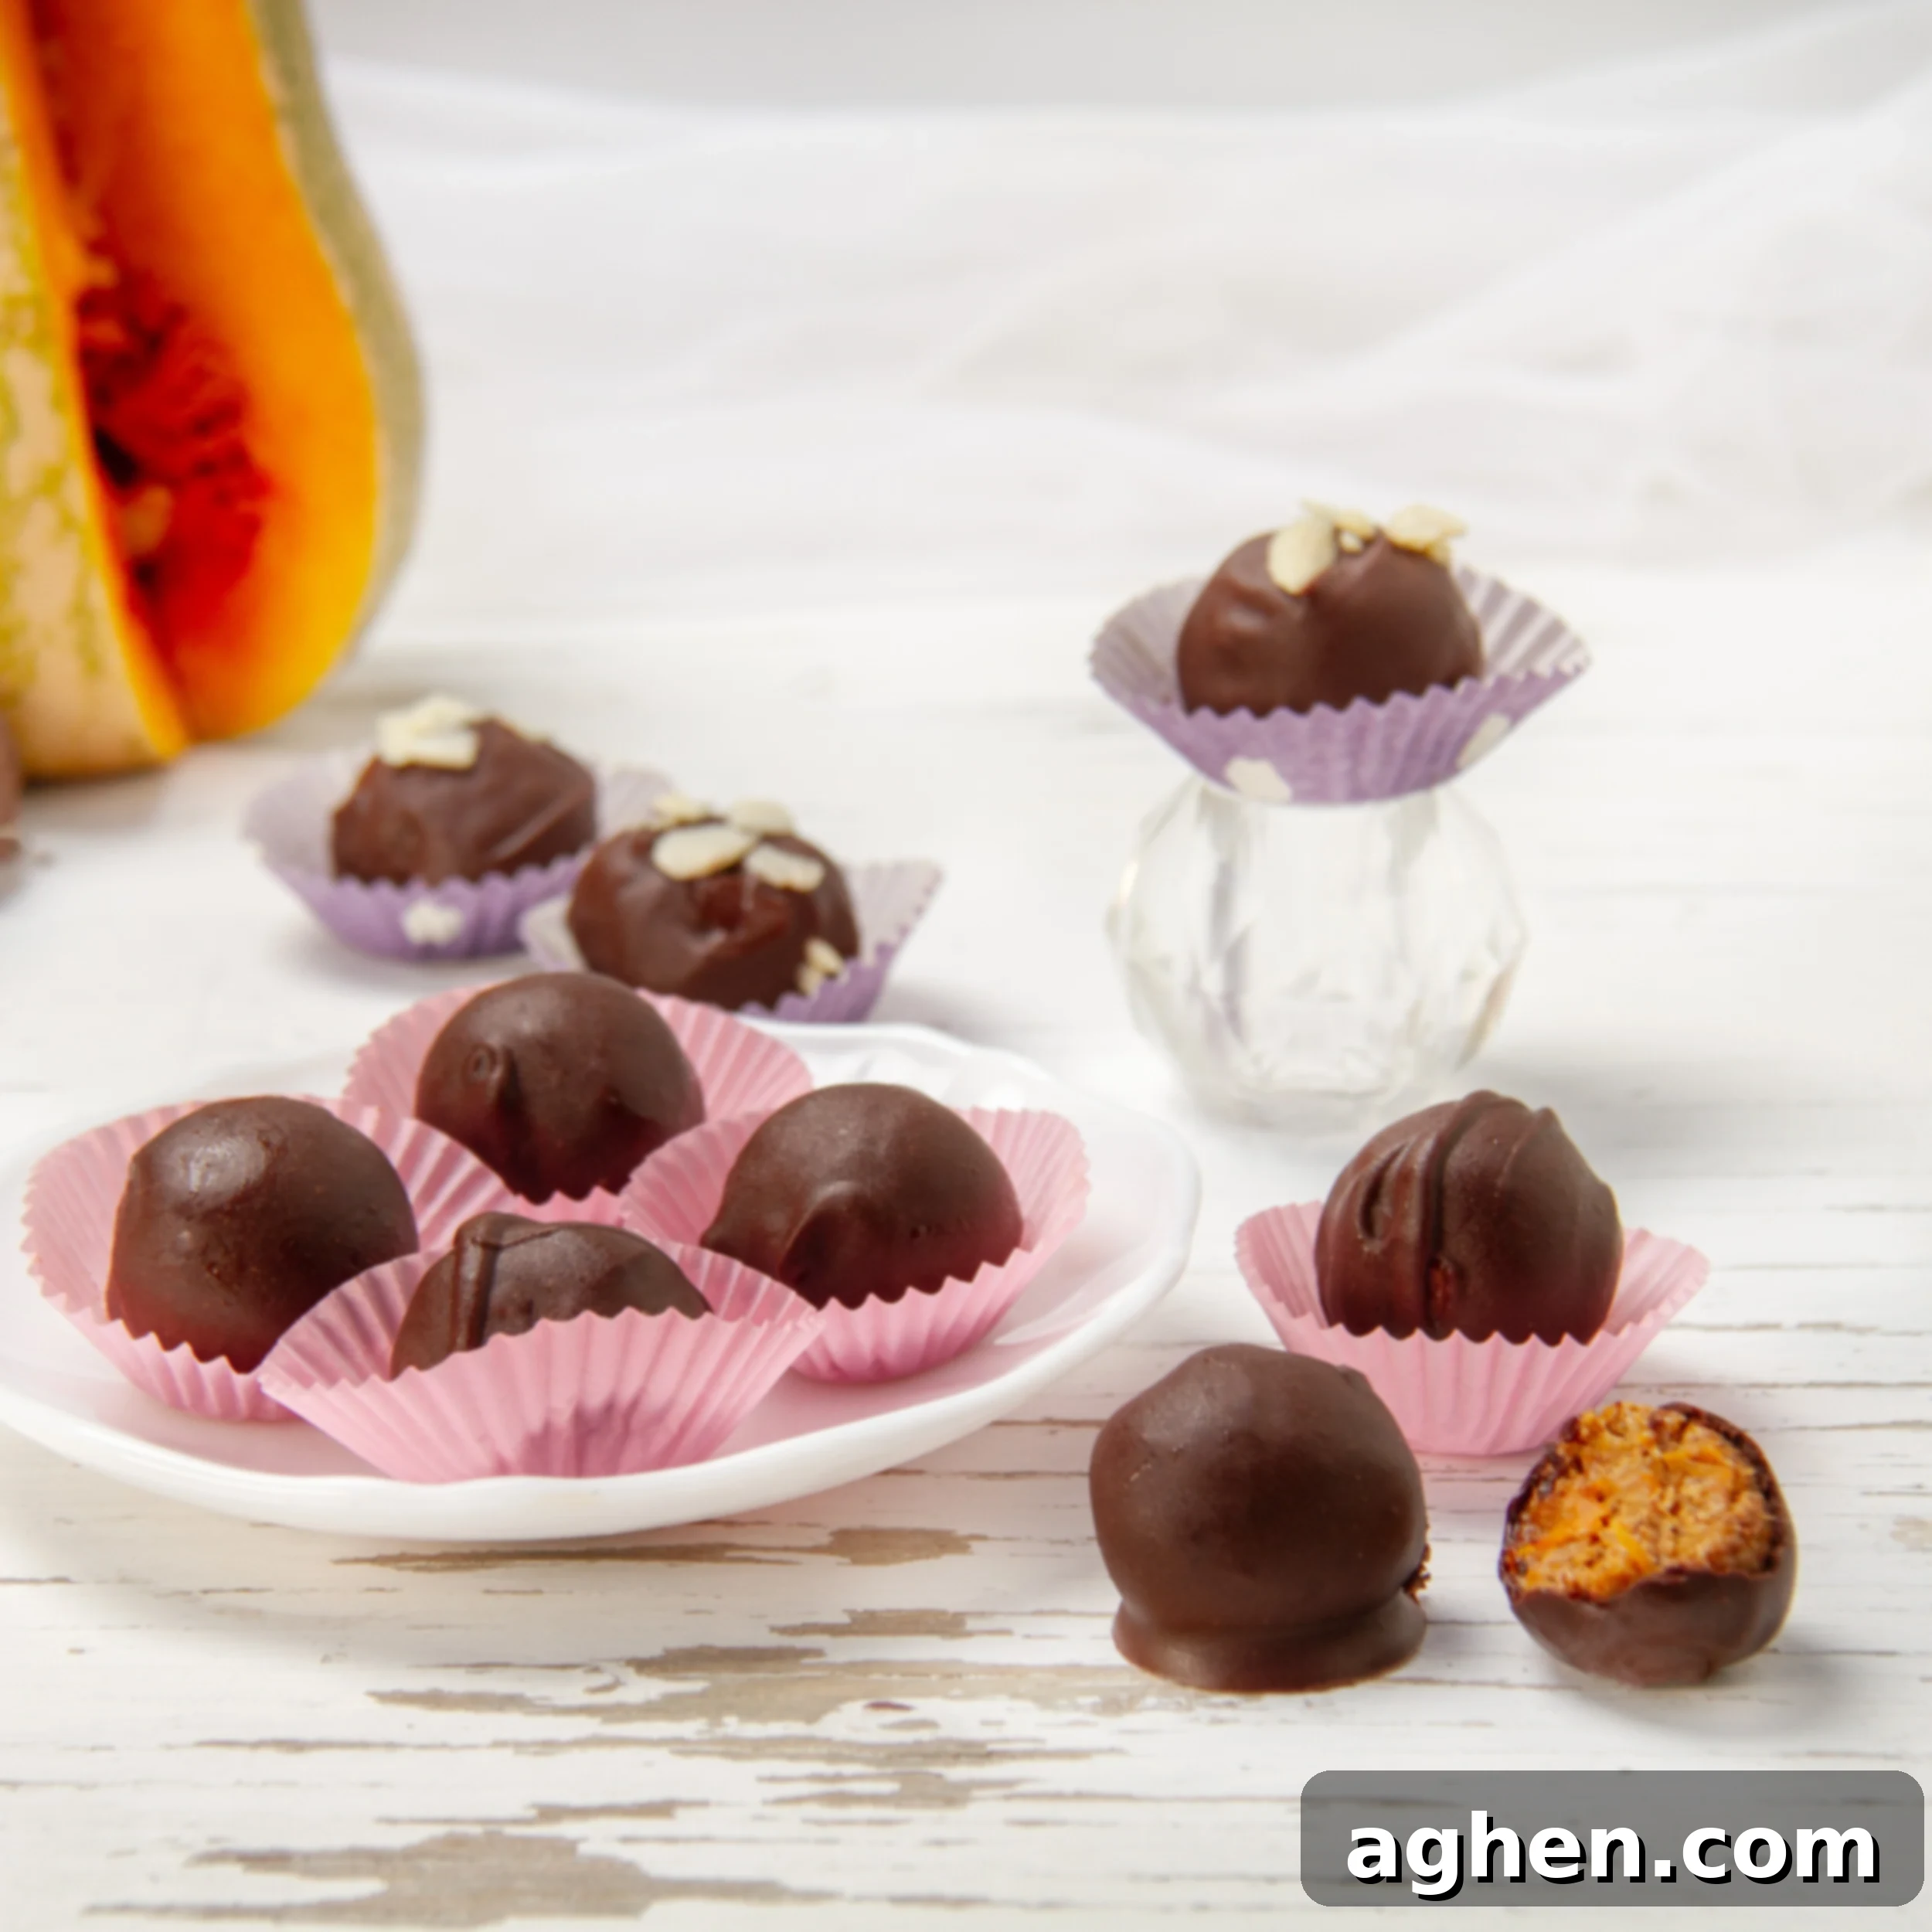
Why These Chocolate Pumpkin Truffles Are a Must-Try
There are countless reasons to fall in love with these no-bake Chocolate Pumpkin Truffles, but here are some of the standout features that make them an absolute winner in any season, especially during the autumn months:
- Embrace the Irresistible Flavors of Fall: These truffles perfectly capture the essence of autumn. They blend the comforting warmth of cinnamon and spiced pumpkin with the deep, luxurious taste of dark chocolate. It’s a harmonious combination that evokes cozy evenings, crisp air, and all the wonderful sensations of fall, instantly making them a seasonal favorite for many. Each bite transports you to a pumpkin patch or a cozy fireplace, making them a truly special treat.
- Effortless No-Bake Preparation: One of the most appealing aspects of this recipe is that it requires absolutely no baking. You won’t need to preheat an oven or even use specialized molds. The process is wonderfully straightforward: simply mix the wholesome filling ingredients, roll them into perfect bite-sized balls, and then dip them in melted chocolate. This makes them perfect for beginner bakers, busy individuals, or anyone looking for a quick and simple dessert solution. You can whip up a batch in no time!
- Excellent for Smart Meal Prep: If you appreciate having delicious and healthy snacks readily available, these truffles are an absolute dream for meal prepping. They store beautifully in the refrigerator, allowing you to prepare a batch in advance. Keep them in an airtight container, and you’ll have a satisfying, portion-controlled sweet treat to grab whenever a craving strikes, helping you avoid less healthy options throughout the week. They’re perfect for a midday pick-me-up or a post-dinner indulgence.
- Deliciously Indulgent, Surprisingly Healthy: Don’t let their decadent flavor fool you; these truffles are packed with wholesome goodness. Pumpkin puree is a nutritional powerhouse, rich in fiber, vitamins (especially Vitamin A), and antioxidants. Oat flour provides a gluten-free base, adding more fiber and a pleasant texture. Furthermore, they’re thoughtfully sweetened with a low-calorie sweetener, so you can enjoy every mouthwatering bite without any guilt, knowing you’re fueling your body with better-for-you ingredients.
Prep Time: 20 minutes
Cook Time: No cooking required
Chill Time: 30 minutes
Servings: Makes about 30 truffles
Serving Size: 1 truffle
2 WW Points Per Serving. You can view the recipe on the WW Apphere. (WW login required.)
Essential Ingredients for Your Chocolate Pumpkin Truffles:
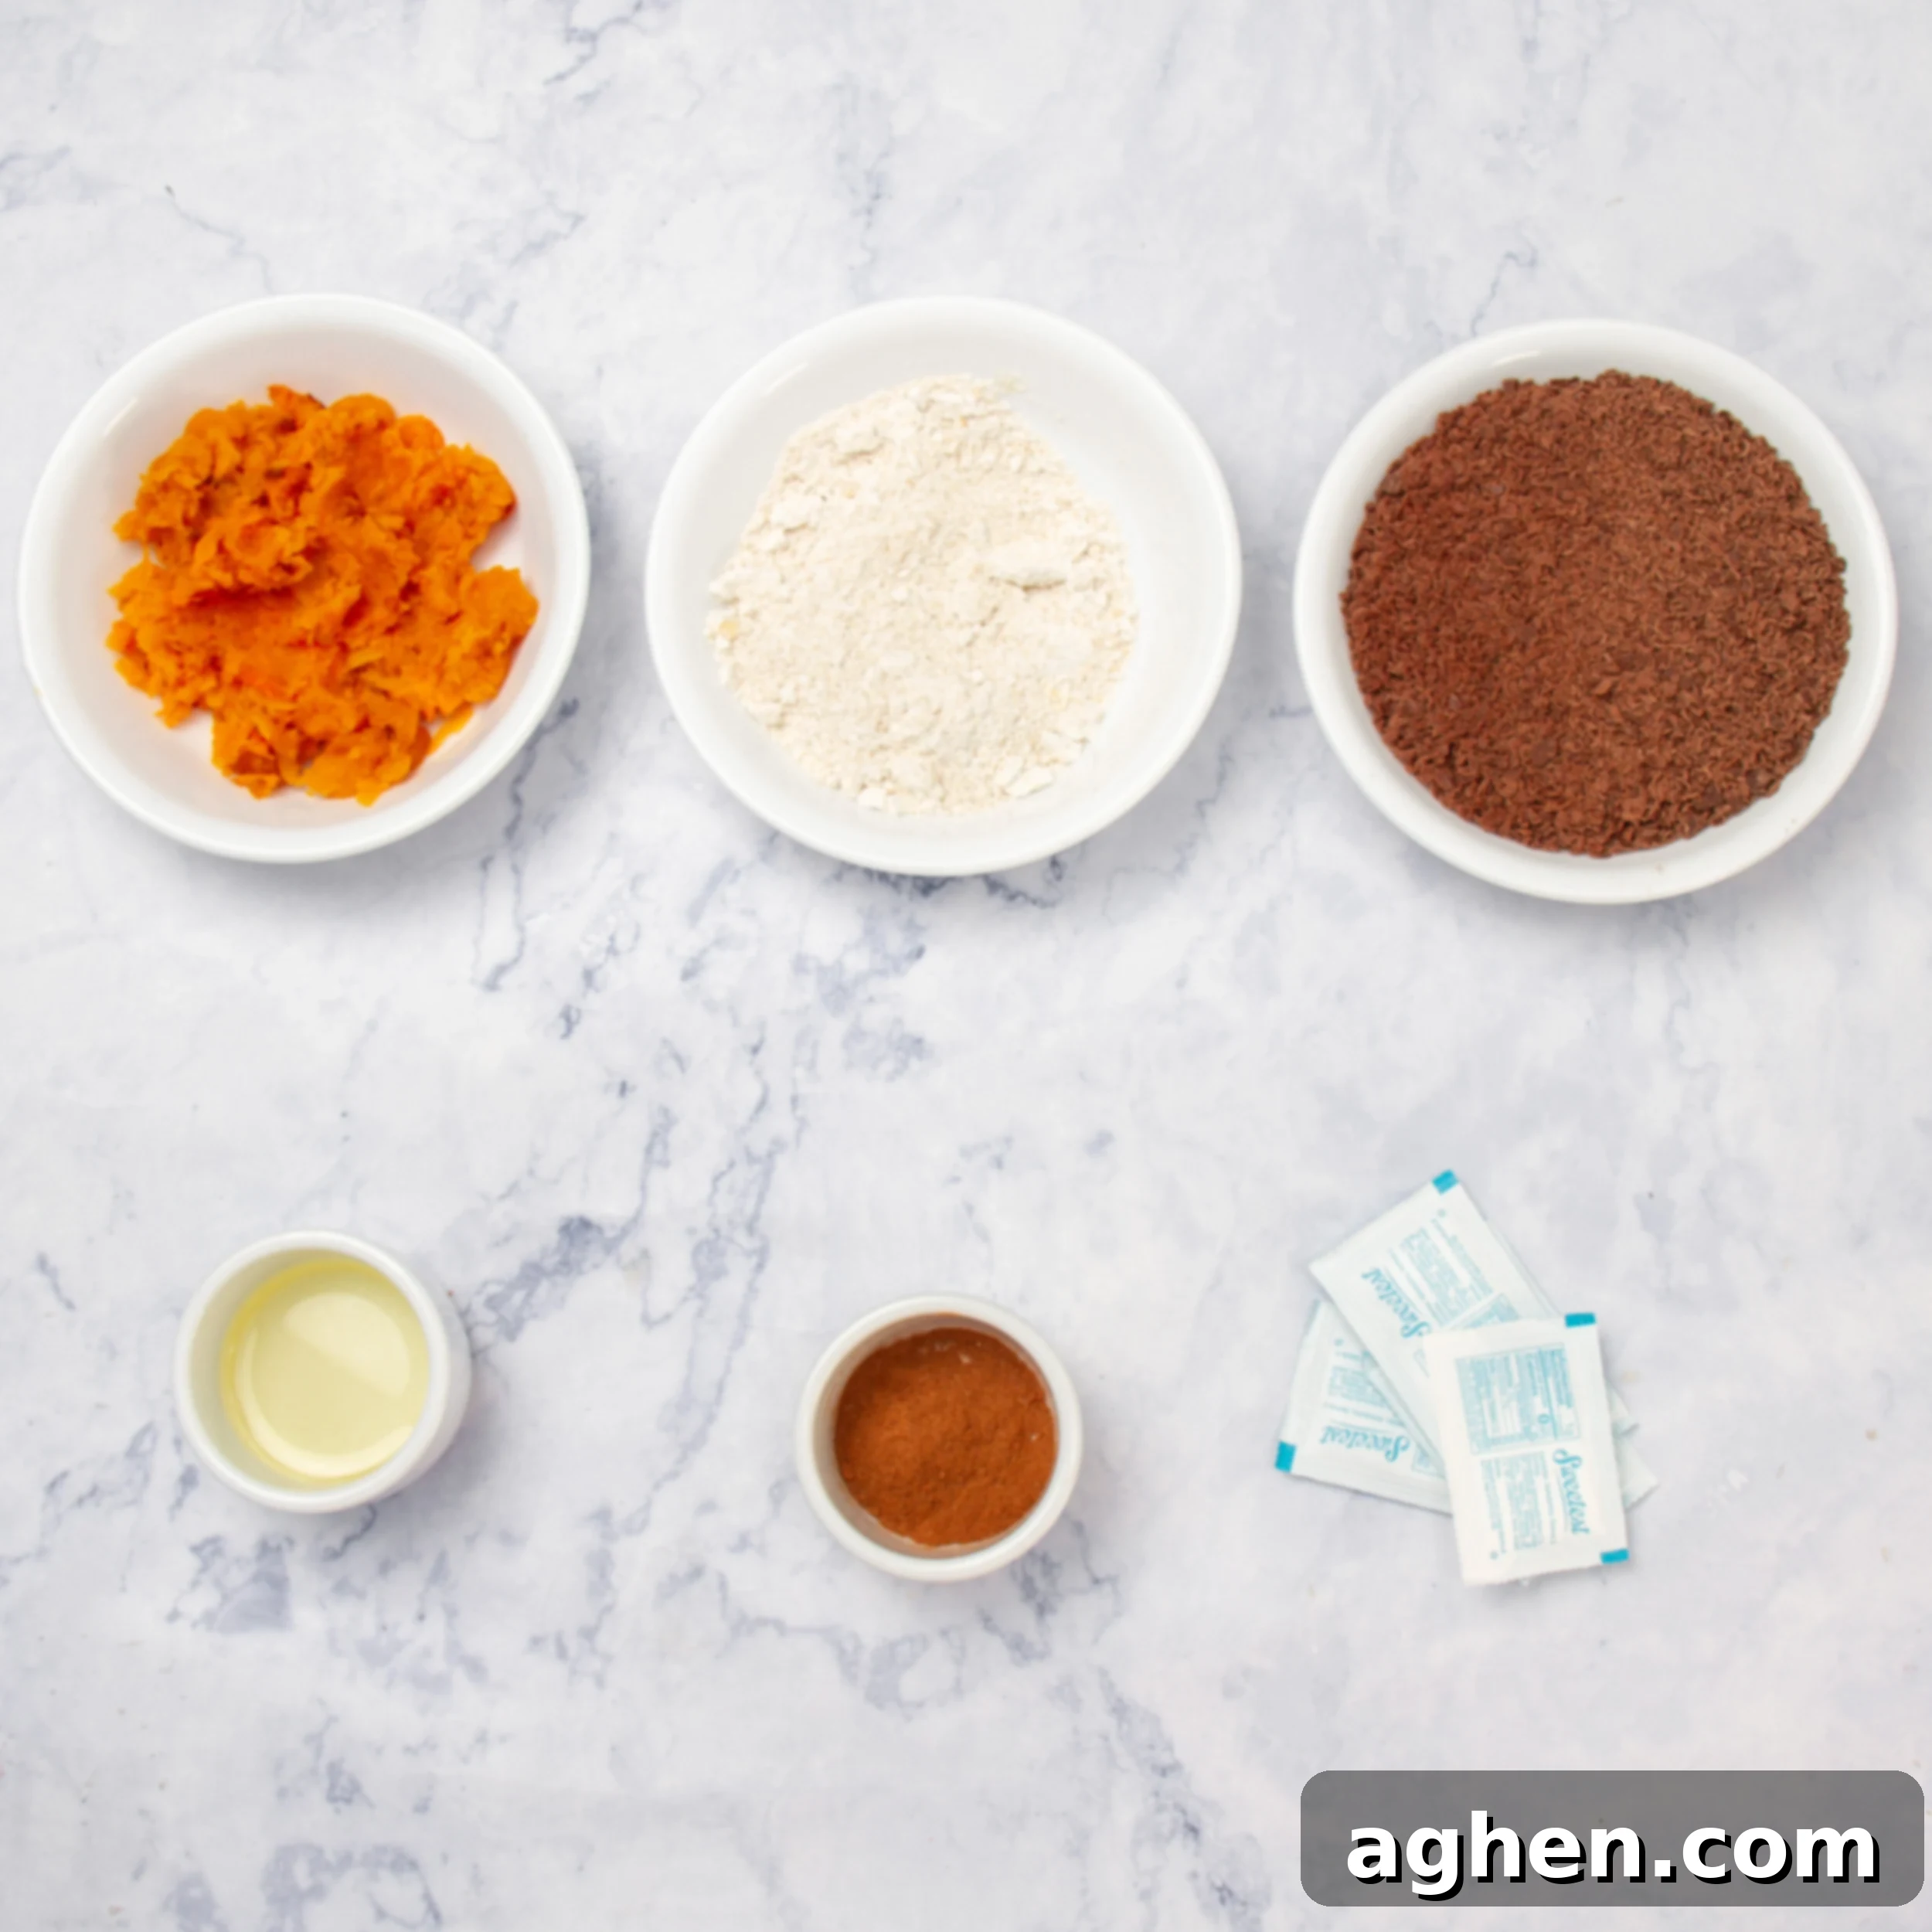
- 1 cup (240 g) of pumpkin puree (ensure it’s 100% pumpkin, not pumpkin pie filling)
- 1 ½ cups (150 g) of oat flour (can be easily made by blending rolled oats into a fine powder)
- 4 packets of Splenda (or an equivalent amount of your preferred sugar-free granulated sweetener, adjusted to taste)
- 1 teaspoon of ground cinnamon (for that classic fall warmth)
- 1 ¼ cup (180 g) of high-quality dark chocolate (bitter, sugar-free, finely grated or chopped for easier melting)
- 1 tablespoon (5 ml) of corn, soybean, or canola oil (or any neutral-flavored oil to aid in melting and gloss)
Step-by-Step Instructions to Create Your Perfect Truffles:
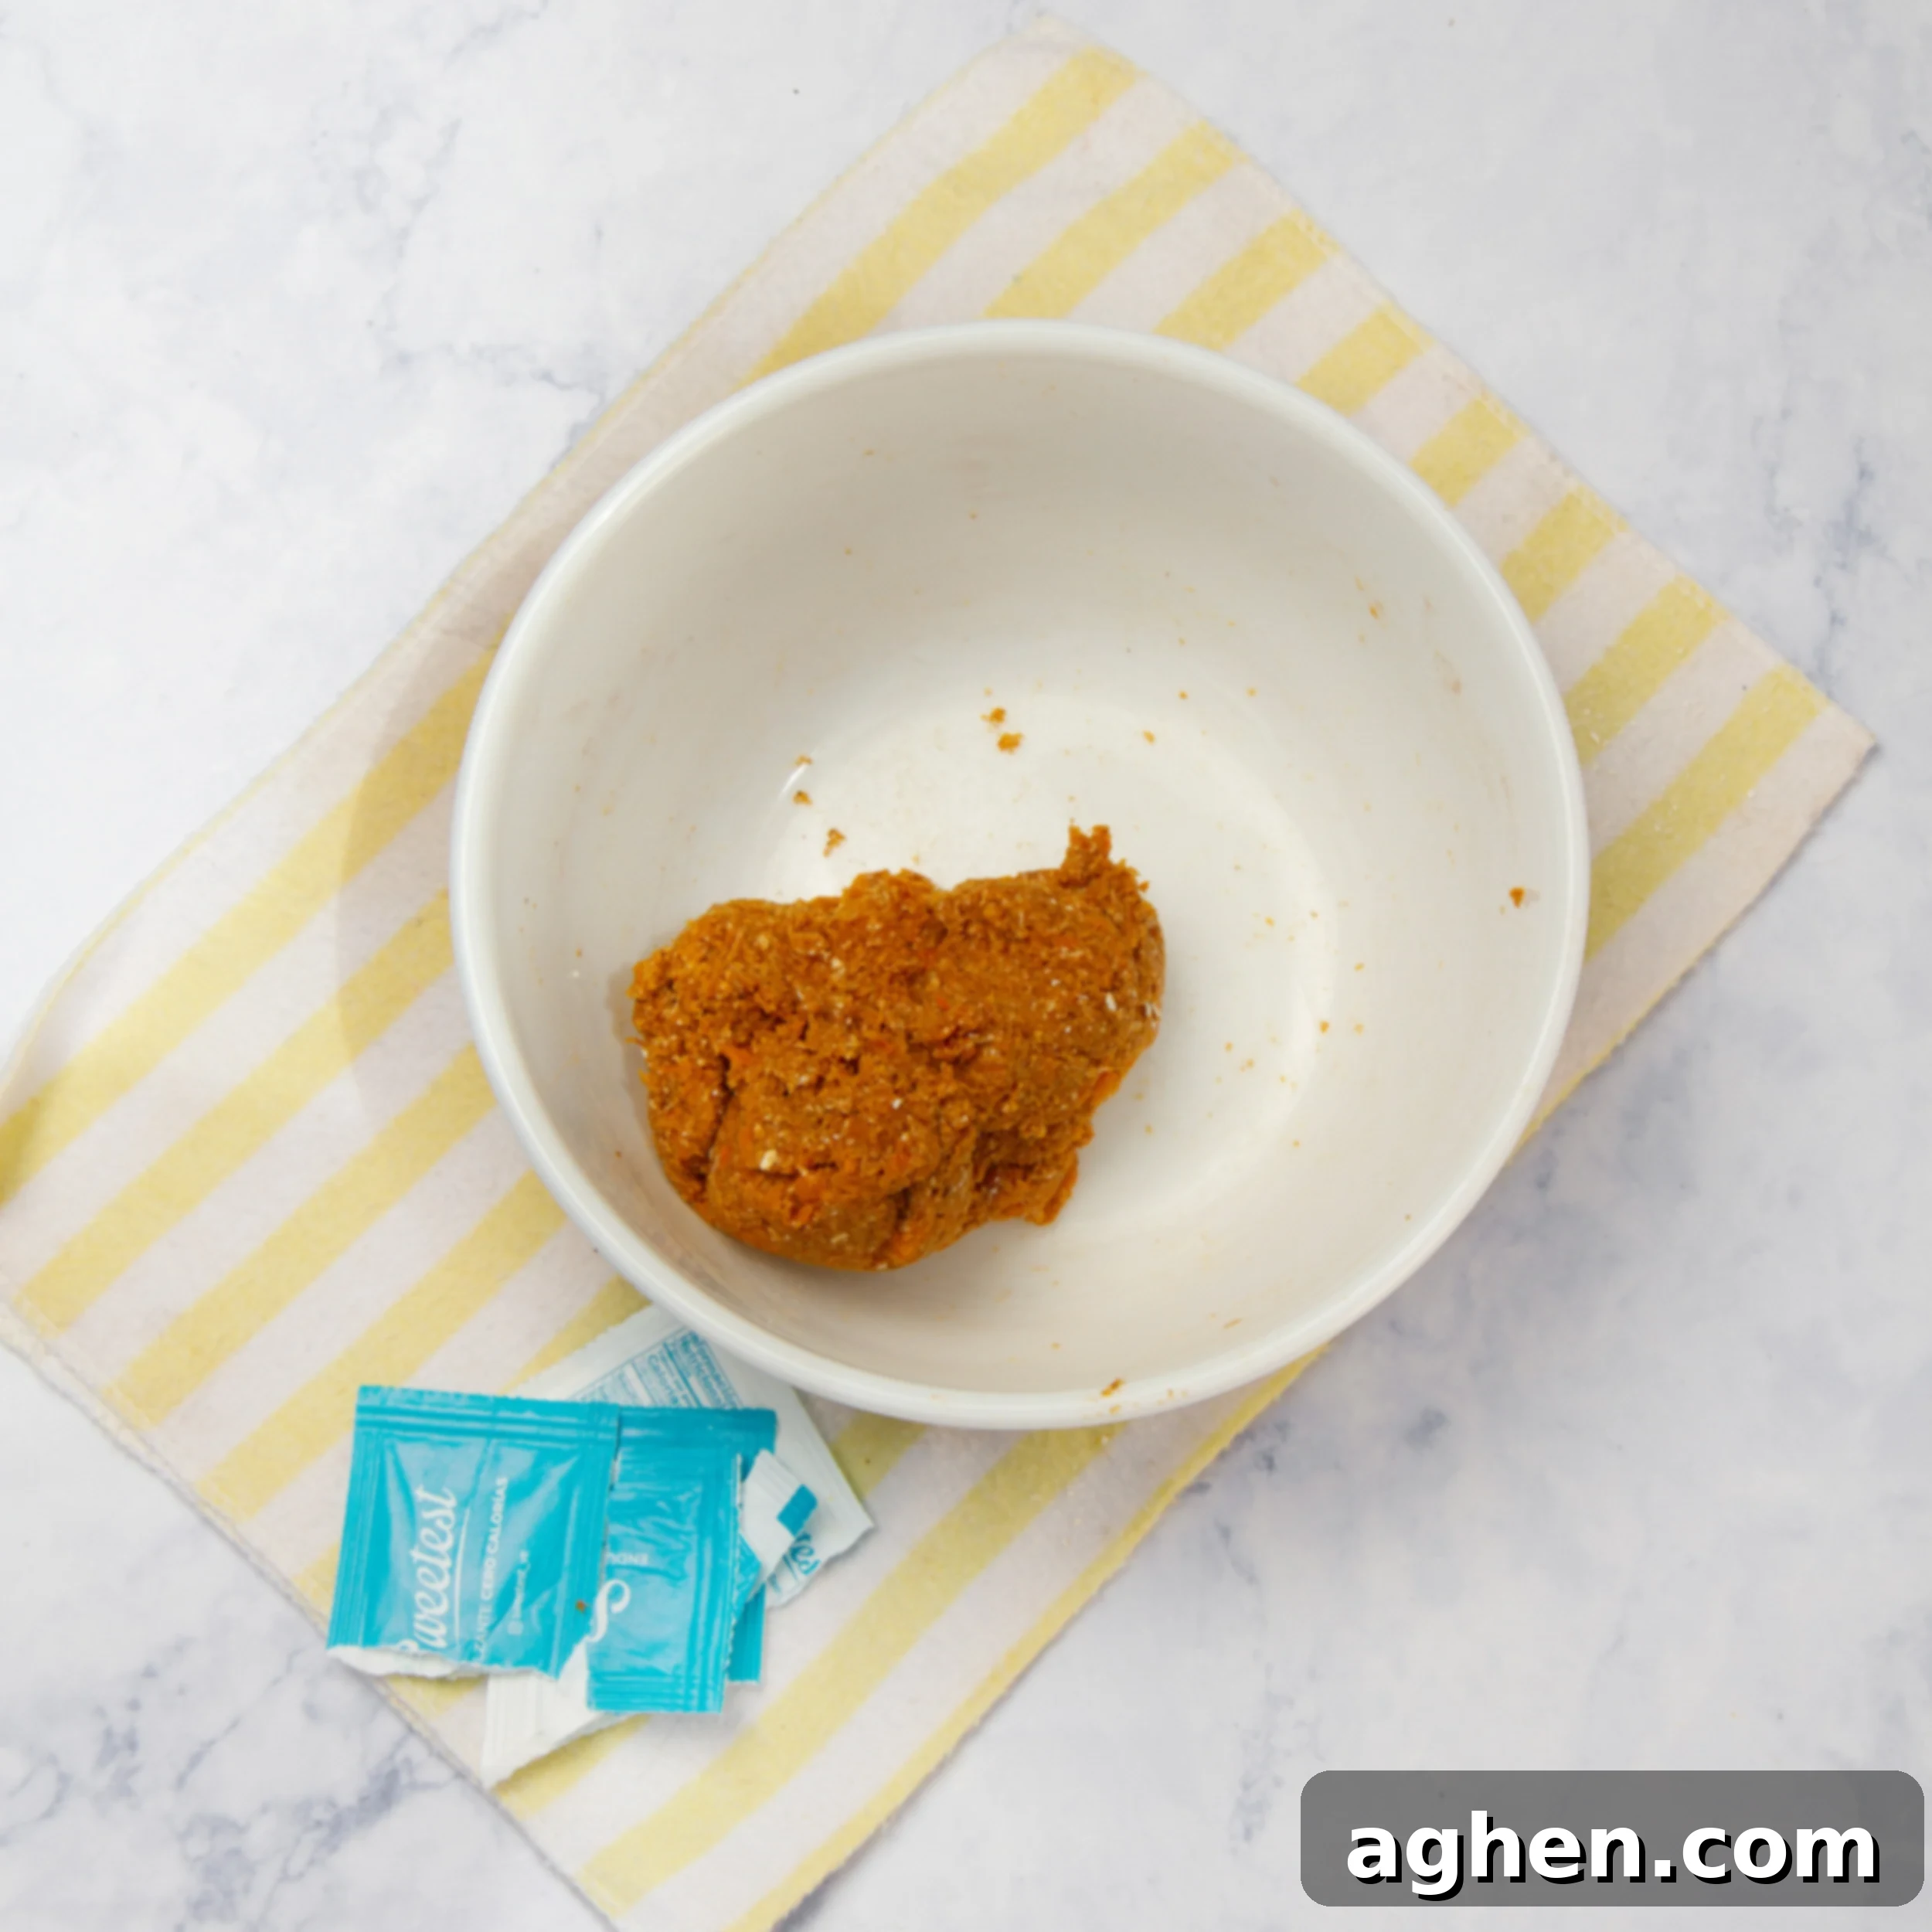
- Prepare the Pumpkin Filling: In a generously sized mixing bowl, combine the pumpkin puree, oat flour, your chosen sugar-free sweetener (Splenda), and ground cinnamon. Stir these ingredients thoroughly with a spoon or spatula until they are completely incorporated and form a thick, cohesive, dough-like mixture. This consistency is crucial as it will allow you to easily roll the mixture into small balls later. If the mixture feels excessively sticky, gradually add a little more oat flour, starting with an additional tablespoon at a time, until you achieve a firm, manageable dough.
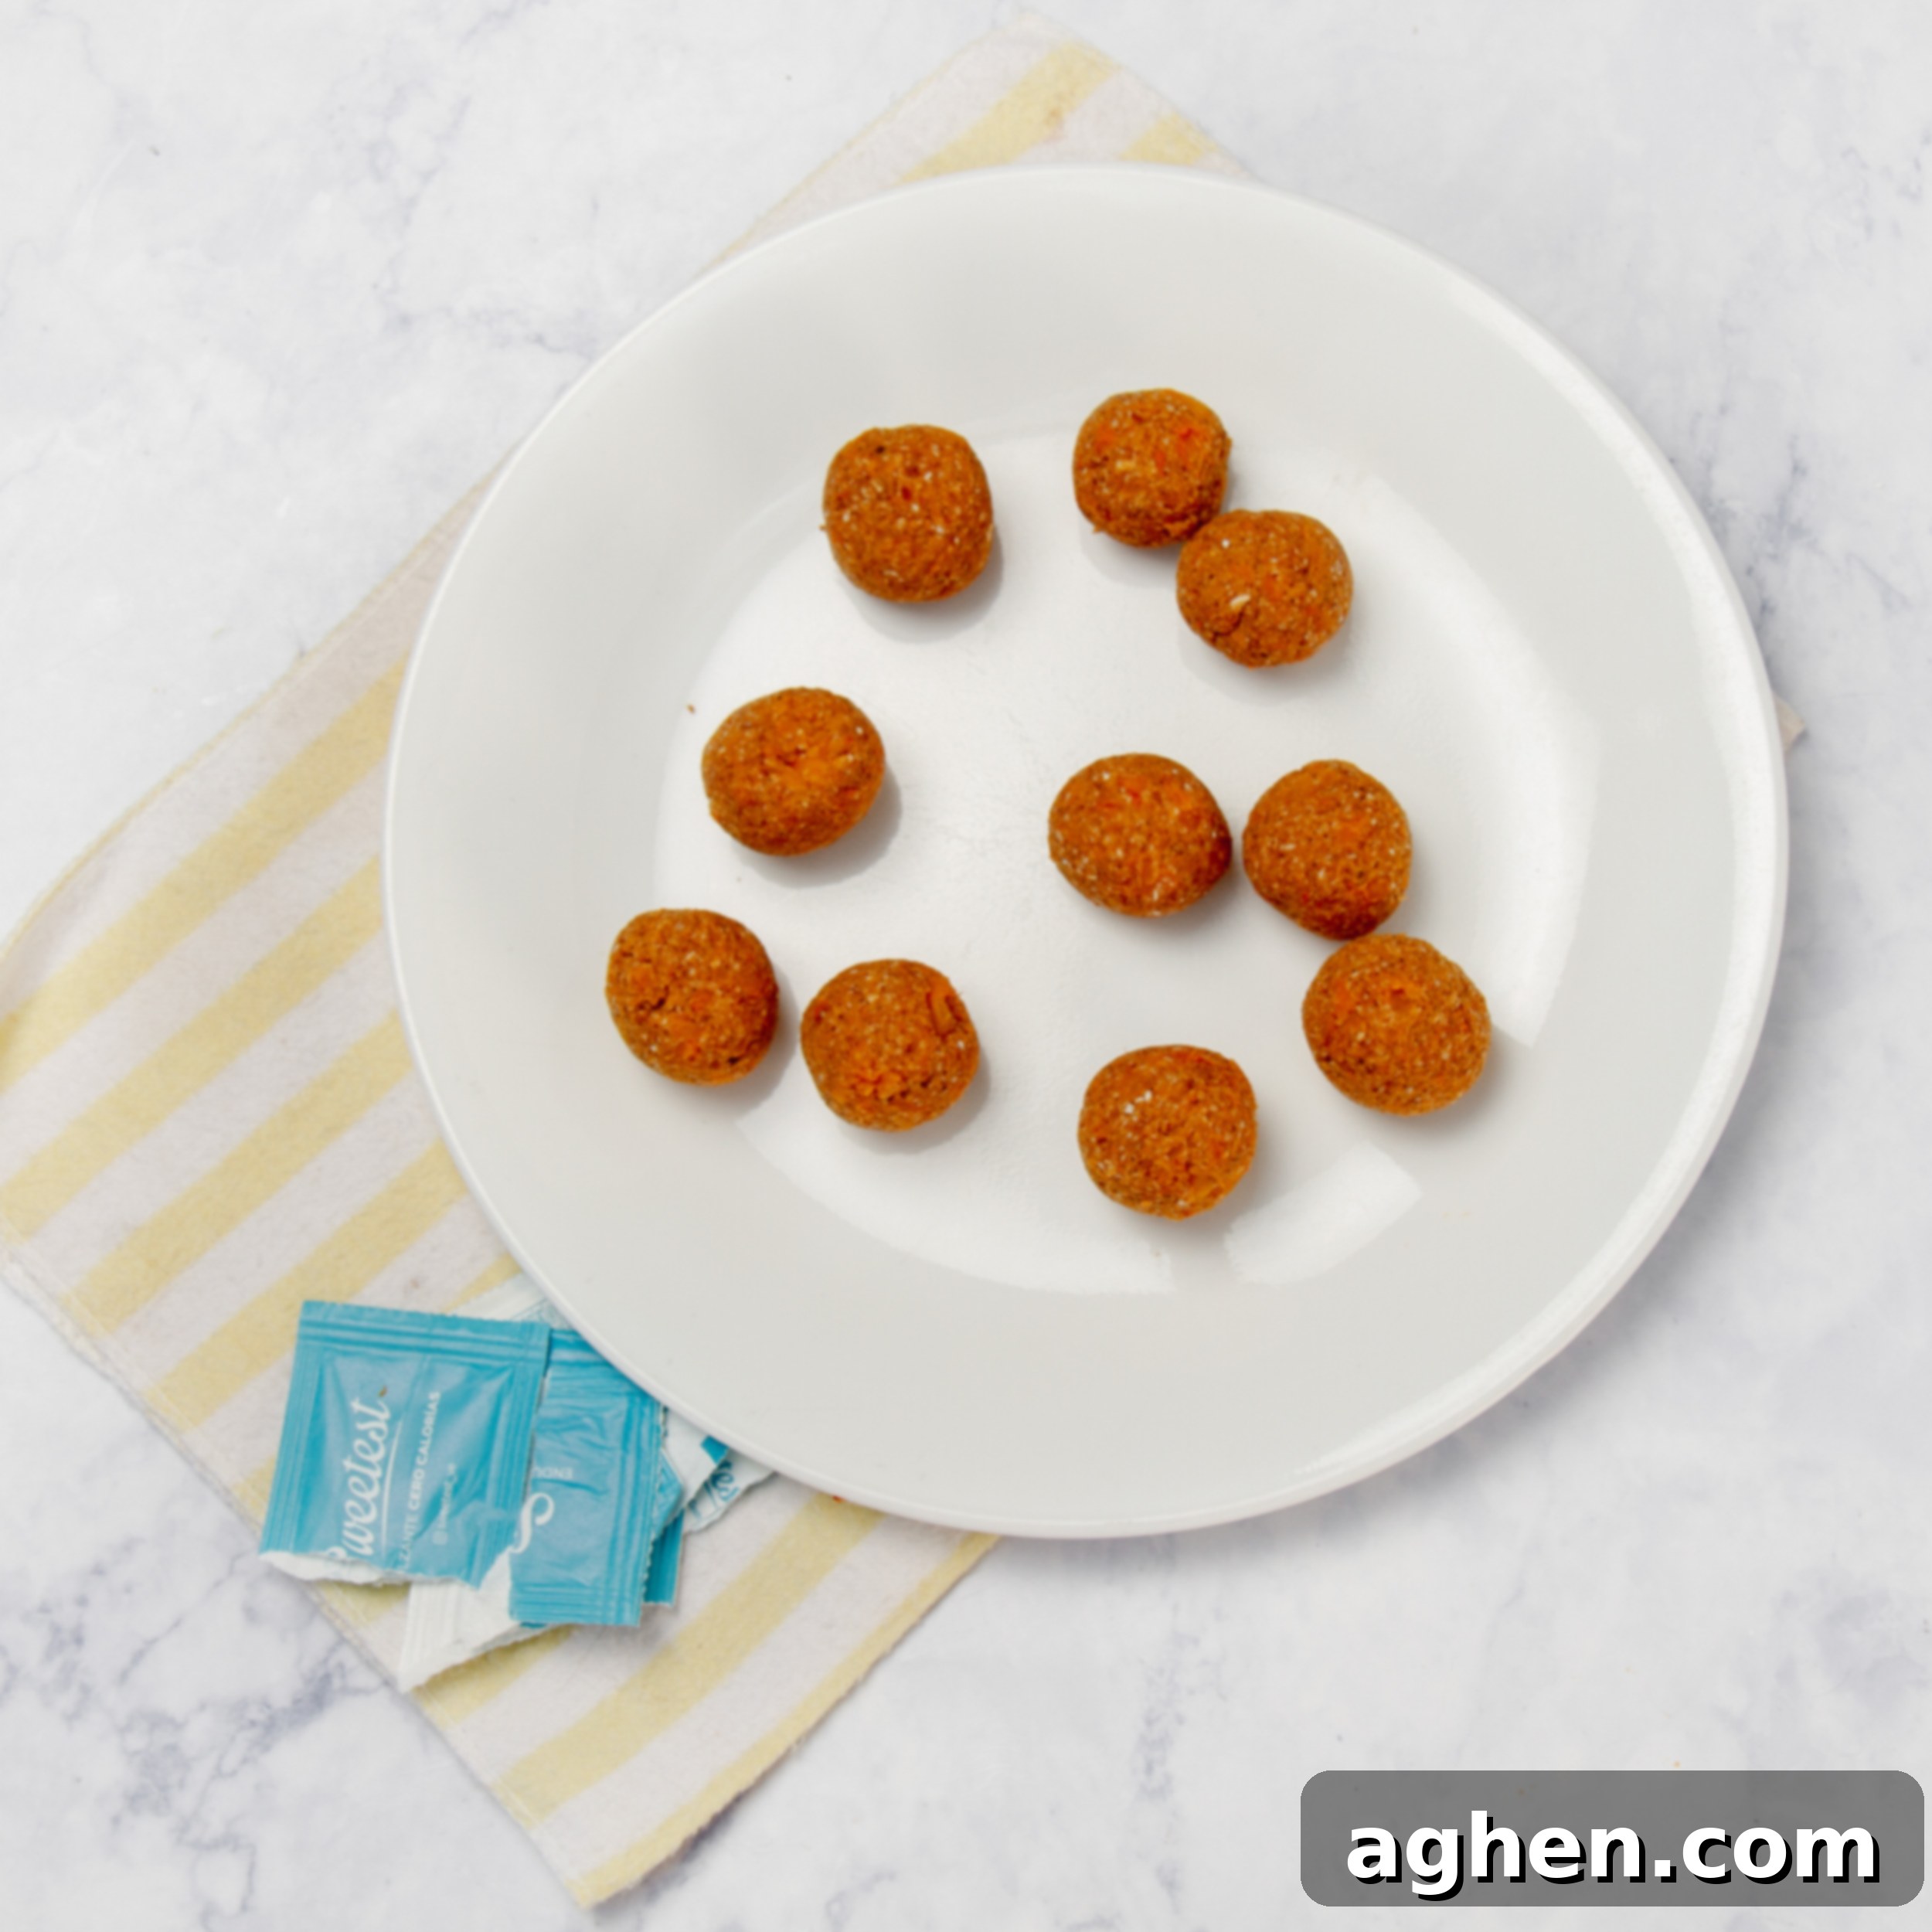
- Shape the Truffles: Once your pumpkin filling has reached the ideal consistency, use a small spoon, a mini cookie scoop, or even your hands to portion out the dough. Roll each portion gently between your palms to form neat, uniform balls, approximately the size of a walnut. This recipe typically yields about 30 delicious truffles. Arrange the formed balls on a baking sheet or plate lined with parchment paper. Transfer them to the refrigerator and chill for a minimum of 30 minutes. This essential chilling step firms up the truffles, making them much easier to coat with chocolate and helping them hold their shape.
- Melt the Chocolate Coating: While your truffles are chilling, begin preparing the rich chocolate coating. Place the grated or finely chopped dark chocolate and the 1 tablespoon of neutral oil into a heatproof bowl. The addition of oil is key for achieving a smooth, glossy chocolate coating that adheres beautifully to the truffles.
- Double Boiler Method (Recommended): Place the heatproof bowl over a saucepan filled with about an inch of gently simmering water. Ensure that the bottom of the bowl does not touch the water. Stir the chocolate continuously with a silicone spatula until it is completely melted and impeccably smooth, with no lumps remaining. This method offers gentle, even heat, significantly reducing the risk of burning the chocolate.
- Microwave Method: If using a microwave, heat the chocolate in very short intervals—15 to 20 seconds at a time. After each interval, remove the bowl and stir the chocolate thoroughly. Continue this process until the chocolate is fully melted and smooth. Be extremely cautious not to overheat or burn the chocolate, as it can seize and become unusable.
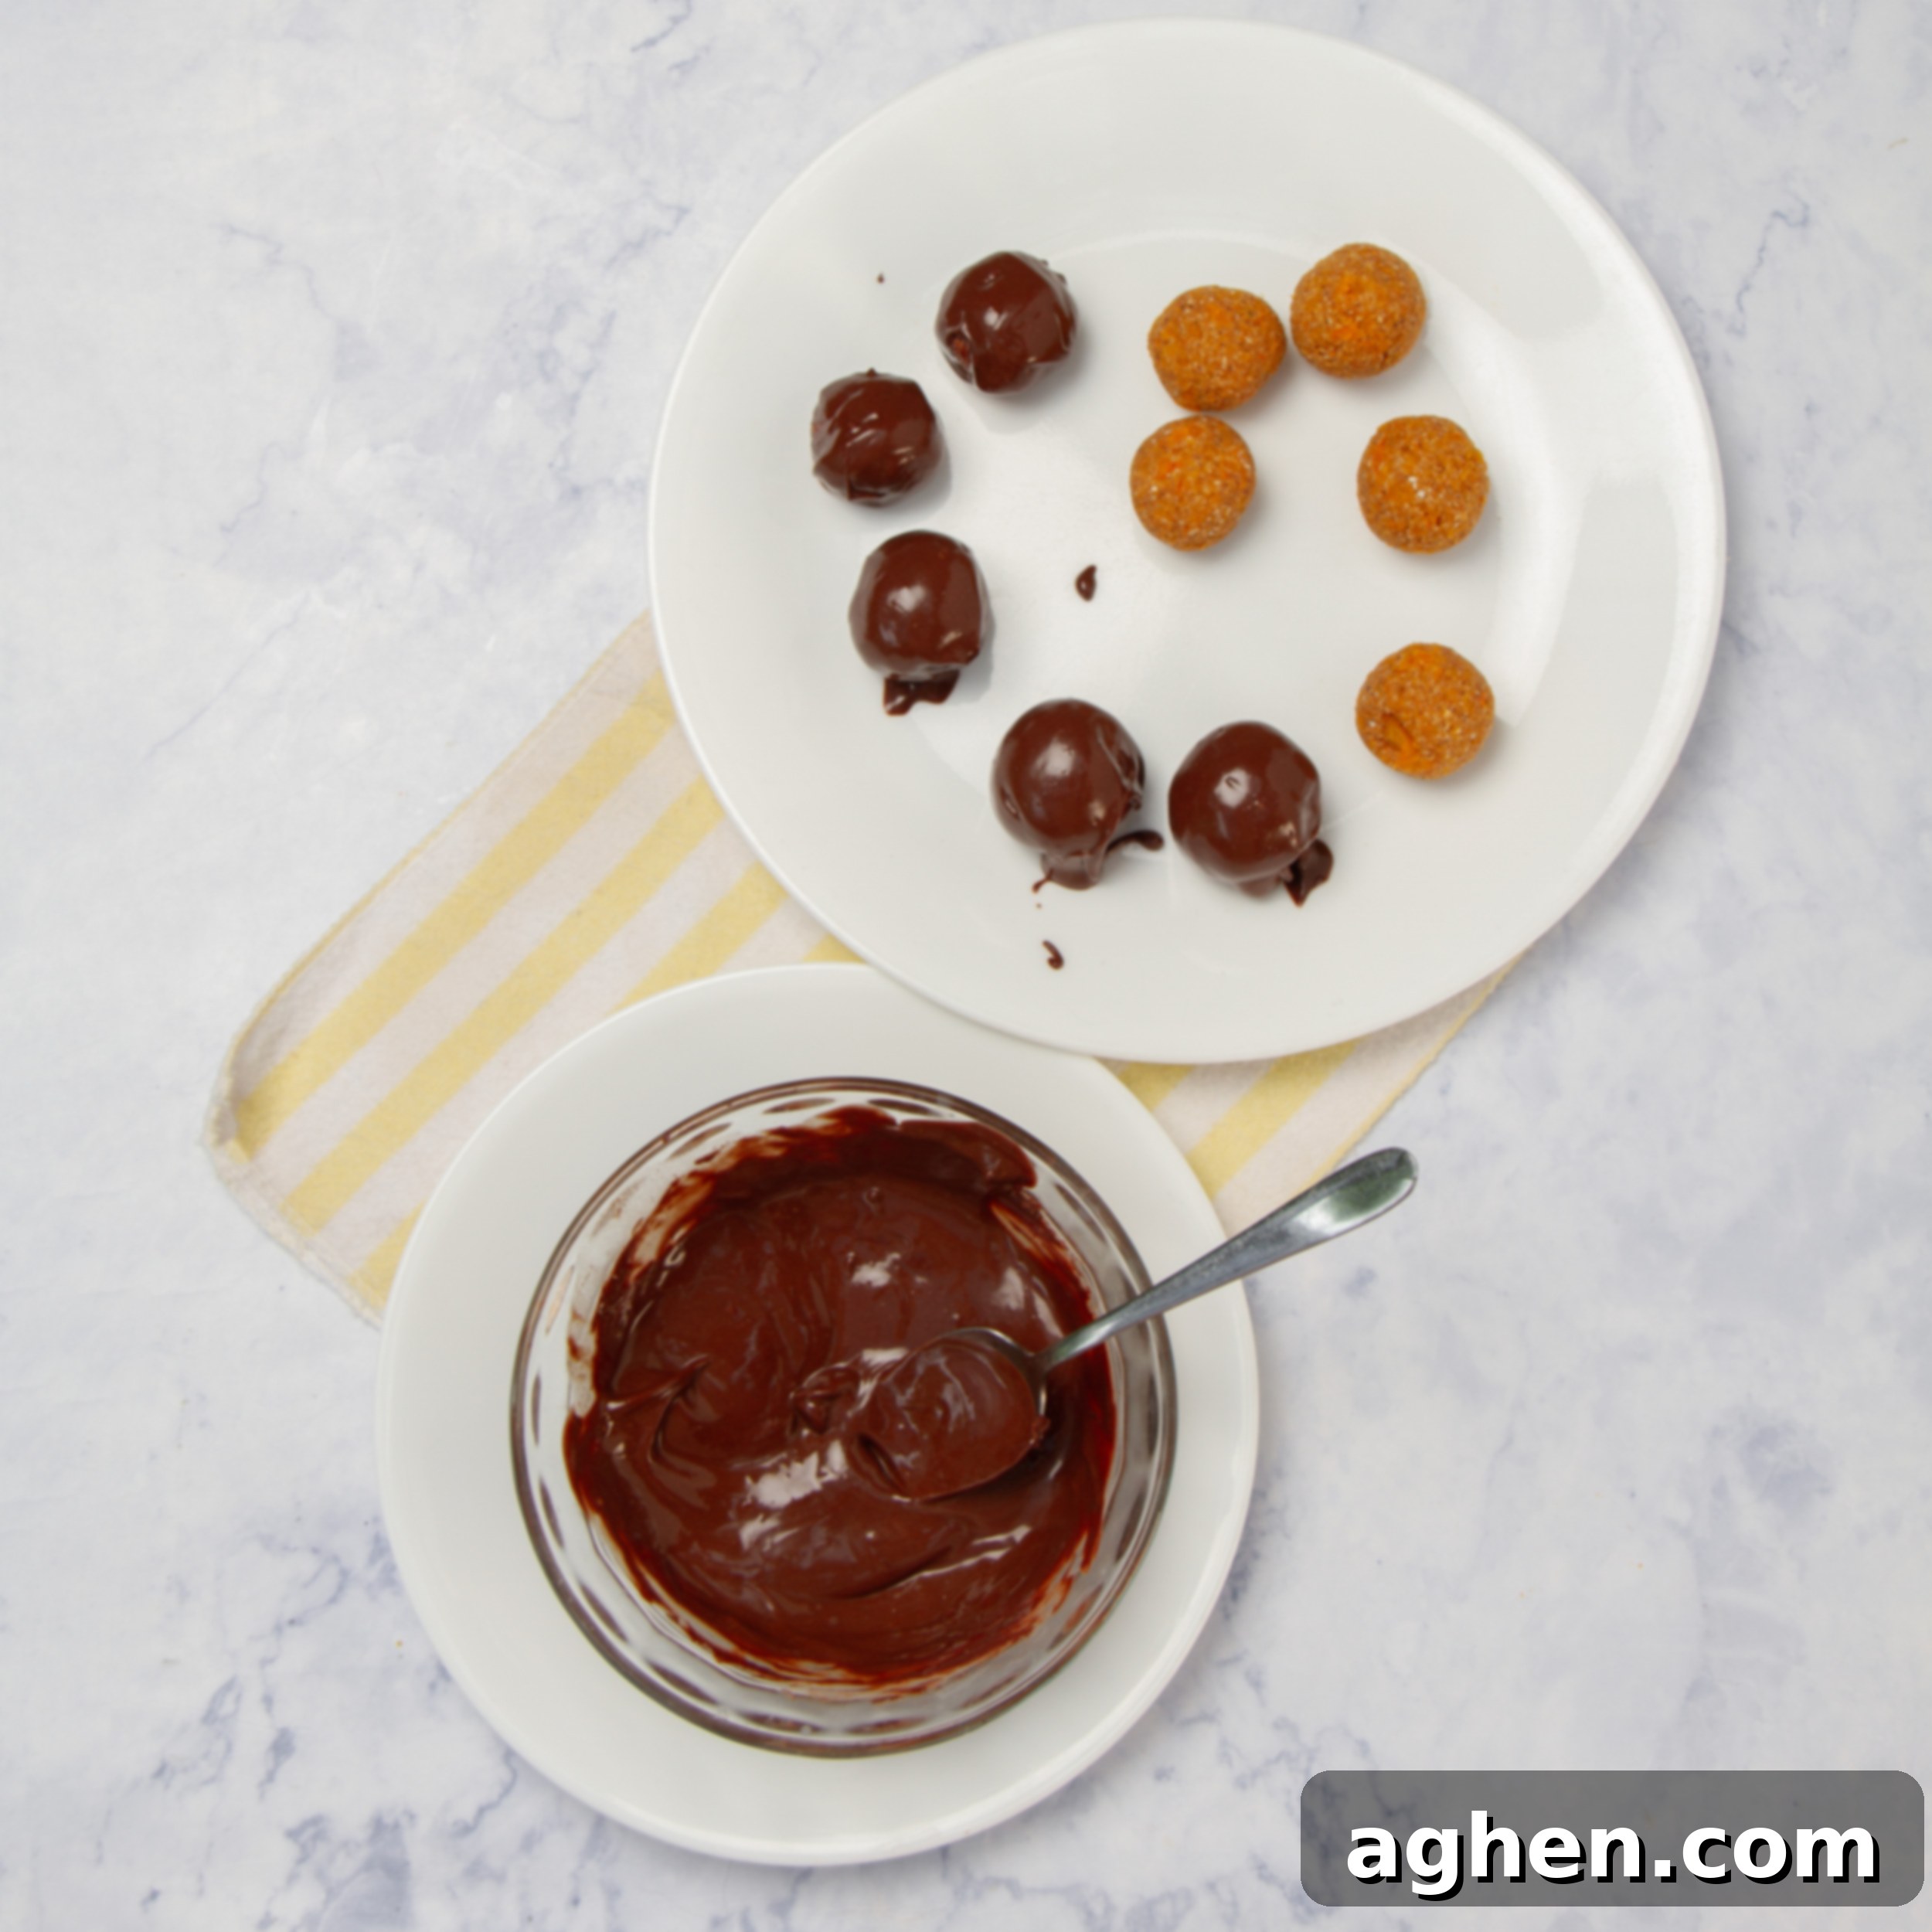
- Dip the Truffles in Chocolate: Once your truffles are well-chilled and the chocolate is perfectly melted and smooth, retrieve the truffle balls from the refrigerator. Using a fork or a specialized dipping tool, carefully immerse each truffle into the warm melted chocolate, ensuring it is entirely coated. Lift the truffle out, allowing any excess chocolate to drip back into the bowl before gently placing it back onto the parchment-lined baking sheet. For a clean finish, you can tap the fork gently against the side of the bowl.
- Optional Toppings: If you wish to add extra flair and flavor, now is the time for toppings! While the chocolate coating is still wet and pliable, sprinkle your chosen toppings over the truffles. Popular choices include finely chopped nuts (like pistachios, walnuts, or pecans), a delicate sprinkle of flaked sea salt for a sweet and savory contrast, or a dusting of extra cinnamon or cocoa powder.
- Chill to Set the Chocolate: After all the truffles have been coated and adorned with toppings, return the baking sheet to the refrigerator for an additional 15-20 minutes. This final chilling period allows the chocolate coating to fully harden and set, giving your truffles their firm, irresistible exterior. Once the chocolate is firm to the touch, your delightful Pumpkin Truffles are ready to be enjoyed!
- Serve and Store: These delectable truffles can be served immediately, offering a fresh, soft interior and crisp chocolate shell. For longer enjoyment, store any leftover truffles in an airtight container in the refrigerator, where they will remain fresh and delicious for up to one week. For even longer storage, you can freeze them for up to a month; simply let them thaw at room temperature for a few minutes before indulging.
Expert Tips for Perfect Chocolate Pumpkin Truffles:
- Adjusting Consistency: If your truffle mixture appears too soft or wet after initial mixing, don’t panic. Simply incorporate a little more oat flour, one tablespoon at a time, until the mixture becomes firm enough to easily roll into balls without sticking excessively to your hands. Conversely, if it’s too dry, a tiny bit more pumpkin puree can help.
- Spice Variations: For a delightful twist on the classic cinnamon flavor, feel free to substitute it with an equal amount of pumpkin pie spice blend. Alternatively, you can enhance the autumnal notes by adding a small pinch of ground nutmeg, cloves, or allspice to the pumpkin mixture. These spices perfectly complement the rich pumpkin flavor.
- Enhanced Chocolate Experience: If you’re a true chocolate lover and desire an even more intense chocolate flavor, consider drizzling some additional melted dark chocolate over the truffles once the initial coating has fully set. You can also sprinkle some cocoa powder over them for a sophisticated finish.
- Uniform Size: For consistently sized truffles and easier tracking of Weight Watchers points, use a small cookie scoop (about 1 tablespoon in size) to portion out the pumpkin mixture before rolling.
- Chilling for Success: Do not skip or shorten the chilling times. They are crucial for ensuring the truffles are firm enough to handle and dip, and for the chocolate to set properly, resulting in a professional-looking and tasting treat.
Creative Variations and Simple Substitutions
One of the many reasons these Chocolate Pumpkin Truffles are so beloved is their incredible versatility. They offer a fantastic base for experimentation, allowing you to customize them to your personal preferences or dietary needs. Here are a few exciting ways you can put your own spin on this delightful recipe:
- Elevate with Diverse Toppings: While simple is often best, adding different toppings can truly transform the flavor and texture of these truffles. For an exquisite sweet-and-savory contrast that truly enhances the dark chocolate, try sprinkling a touch of flaky sea salt on top while the chocolate is still wet. For an added crunch and nutty flavor, roll the truffles in finely chopped nuts such as pistachios, walnuts, pecans, or almonds. Shredded coconut, colorful sprinkles, or a dusting of finely ground espresso powder can also add unique dimensions to your truffles.
- Explore Spice Adventures: The pumpkin filling is incredibly adaptable to various spice profiles. To intensify the warm, aromatic flavors of autumn, you can easily substitute the standard cinnamon with a pre-mixed pumpkin spice blend or allspice. For a truly unique holiday feel, don’t hesitate to add a small pinch of ground ginger, cloves, or even cardamom. Pumpkin puree harmonizes beautifully with a wide array of warm spices, so feel empowered to experiment and find your favorite combination. A dash of vanilla extract or even a hint of maple extract can also elevate the pumpkin flavor.
- Customize Your Chocolate Coating: Your choice of chocolate can significantly impact the final taste. If you prefer a milder, sweeter chocolate flavor over intense dark chocolate, you can certainly swap it out for a sugar-free milk chocolate alternative. Just remember to select a sugar-free or low-sugar version to maintain the healthy integrity of the recipe. For those with specific dietary requirements, dairy-free chocolate options are widely available and work perfectly for a vegan or lactose-intolerant friendly version of these truffles. White chocolate (sugar-free, of course) could also be an interesting coating for a different aesthetic and flavor profile.
Essential Tips and Tricks for Making Flawless Chocolate Pumpkin Truffles
Making these truffles is designed to be a simple and enjoyable process. However, incorporating these tried-and-true tips will help ensure your truffles turn out perfectly smooth, firm, and absolutely delicious every single time:
- Mastering Chocolate Melting with a Double Boiler: While the microwave offers a quick solution, melting your chocolate using a double boiler (or a heatproof bowl carefully placed over a pot of gently simmering water) provides superior control. This method ensures that the chocolate melts slowly and evenly, preventing it from burning, seizing, or becoming grainy, which are common pitfalls when microwaving. This results in a beautifully smooth and glossy coating.
- The Non-Negotiable Chill: Firm Truffles for Easy Dipping: After you’ve shaped the pumpkin mixture into balls, it is absolutely crucial to refrigerate them for at least 30 minutes. This step is non-negotiable! Chilling firms up the truffle centers, making them much easier to handle and preventing them from falling apart when dipped into the warm melted chocolate. Furthermore, cold truffles help the chocolate coating set faster, minimizing mess and wait time.
- Utilize a Wire Cooling Rack for Professional Results: After meticulously dipping each truffle in chocolate, place them on a wire cooling rack positioned over a sheet of parchment paper. This clever technique allows any excess chocolate to drip off cleanly, preventing the formation of unsightly puddles at the base of your truffles. The result is a more elegant, evenly coated truffle with a polished, professional finish.
- Prioritize Sugar-Free Chocolate for Health Benefits: To keep these delightful treats genuinely healthy and Weight Watchers-friendly, always opt for sugar-free dark chocolate. Many brands now offer excellent sugar-free options sweetened with natural alternatives like stevia or monk fruit. These are readily available in most major grocery stores and will allow you to enjoy the rich chocolate flavor without the added sugars and calories.
- Optimal Storage for Lasting Freshness: To maintain the freshness and delightful texture of your truffles, store them in an airtight container. Keep them refrigerated, where they will stay perfectly delicious for up to a week. If you’ve made a larger batch or want to enjoy them over an extended period, these truffles also freeze beautifully. Simply transfer them to a freezer-safe container and thaw them for a few minutes at room temperature before savoring.
These **Chocolate Pumpkin Truffles** are truly the epitome of a perfect fall treat – rich, satisfyingly indulgent, and remarkably healthy. Whether you’re preparing them to share at a festive gathering, offering them as a thoughtful homemade gift to a friend, or simply keeping a stash for your own personal enjoyment (your secret is safe with me!), they are guaranteed to be a resounding success. These truffles elegantly demonstrate that decadent desserts absolutely do not need to be loaded with excessive sugar and calories to be utterly delicious and deeply satisfying. I wholeheartedly encourage you to give them a try; I have no doubt they will quickly become a cherished staple in your repertoire of healthy indulgences.
Chocolate Pumpkin Truffles
30
20 mins
30 mins
50 mins
Pin Recipe
Share by Email
Print Recipe
Ingredients
- 1 cup of pumpkin puree, 240 g
- 1 ½ cups of oat flour, 150 g
- 4 packets of Splenda, or any sugar-free sweetener of your choice
- 1 teaspoon of cinnamon
- 1 ¼ cup of dark chocolate, bitter, sugar-free, grated (180 g)
- 1 tablespoon of corn, soybean, or canola oil (5 ml)
Instructions
- Prepare the Pumpkin Filling: In a large mixing bowl, combine the pumpkin puree, oat flour, Splenda, and cinnamon. Stir well until all the ingredients are fully incorporated. The mixture should become thick and dough-like, making it easy to form into small balls later on. If it feels too sticky, you can add a bit more oat flour (start with an additional tablespoon) until you reach the desired consistency.
- Shape the Truffles: Once your filling mixture is ready, use a small spoon or a cookie scoop to portion out the dough. Roll each portion between your palms to form small balls about the size of a walnut. This should make about 30 truffles. Place the formed balls on a parchment-lined baking sheet or plate and refrigerate them for at least 30 minutes. Chilling helps the truffles firm up and makes them easier to coat with chocolate.
- Melt the Chocolate: In the meantime, prepare the chocolate coating. Place the grated dark chocolate and 1 teaspoon of oil in a heatproof bowl. The oil helps the chocolate melt smoothly and gives it a glossy finish.
- Double boiler method: Set the bowl over a saucepan with gently simmering water (make sure the water doesn’t touch the bowl). Stir the chocolate constantly until it’s completely melted and smooth.
- Microwave method: You can also melt the chocolate in the microwave, but make sure to do it in short 15-20 second bursts, stirring between each one to avoid burning the chocolate.
- Dip the Truffles in Chocolate: Once your truffles have chilled and the chocolate is melted, take the truffles out of the refrigerator. Using a fork or dipping tool, carefully dip each truffle into the melted chocolate, coating it entirely. Let the excess chocolate drip off before placing the truffles back onto the parchment-lined baking sheet.
- Toppings: If you want to add toppings like chopped nuts or sea salt, sprinkle them on while the chocolate is still wet.
- Chill the Truffles: After all the truffles are coated in chocolate, place them back in the refrigerator for another 15-20 minutes to allow the chocolate to fully set. Once the chocolate has hardened, your Pumpkin Truffles are ready to serve!
- Serve and Store: Enjoy these truffles right away, or store them in an airtight container in the refrigerator. They will keep fresh for up to a week. You can also freeze them for longer storage—just thaw them for a few minutes before enjoying.
Notes
Nutrition
Calories: 53kcal
Carbohydrates: 8.2g
Protein: 1.2g
Fat: 2.7g
Saturated Fat: 1.3g
Sodium: 6.8mg
Potassium: 35mg
Fiber: 2g
Sugar: 0.3g
Calcium: 5mg
Iron: 0.3mg
Nutrition information is automatically calculated, so should only be used as an approximation.
Additional Info
Tried this recipe?
Mention @drizzlemeskinny or tag #drizzlemeskinny!
