Mastering Your Big Green Egg: Essential Skills for Unforgettable BBQ and Outdoor Cooking
The Big Green Egg is more than just a grill; it’s a versatile outdoor cooking system revered by enthusiasts worldwide. While you don’t need to be a championship BBQ pit master from day one, mastering a few core techniques will significantly enhance your enjoyment and the deliciousness of the food you create. Think of it as a journey: watch a few instructional videos, experiment with some recipes, and before you know it, you’ll be confidently turning out culinary masterpieces from your ceramic cooker.
This guide will walk you through foundational preparation steps and ten crucial skills that will transform you from a novice user into a Big Green Egg aficionado, allowing you to smoke, grill, sear, and bake your way to culinary excellence.
Preparation: The Foundation for Flawless EGGsperience
Before the charcoal is lit and the aroma of wood smoke fills the air, successful Big Green Egg cooking begins with meticulous preparation. Laying a solid groundwork ensures a smoother cooking process and consistently superior results.
-
Choosing the Right Big Green Egg Size
Your Big Green Egg journey starts with selecting the perfect model for your needs. Big Green Egg offers a range of seven sizes: Mini, MiniMax, Small, Medium, Large, XLarge, and 2XLarge. Each size caters to different cooking capacities and portability requirements. Consider how many people you typically cook for, whether you plan on tailgating or camping with your EGG, or if it will primarily reside in a beautiful backyard table nest. A Large EGG is often considered the most popular and versatile for average families, while an XLarge or 2XLarge is ideal for large gatherings or commercial use. The MiniMax, with its portability, is perfect for those who want to take their EGG on the go without sacrificing too much cooking space.
-
Know Your Meats: Thawing, Cuts, and Quality
Understanding the meat you’re cooking is paramount. Always plan ahead for safe thawing times to prevent bacterial growth and ensure even cooking. Familiarize yourself with different cuts of beef, pork, and poultry. Do you prefer KC Style ribs or tender Baby Backs? Knowing the characteristics of each cut – its fat content, muscle fibers, and ideal cooking method – will greatly influence your technique and final product. High-quality, fresh meat is always a good starting point, as even the best cooking skills can’t entirely compensate for poor ingredients.
-
Advance Preparation: Marinating, Brining, and Rubs
Many fantastic BBQ recipes benefit significantly from advanced preparation. Tenderizing, marinating, and applying rubs hours or even days before cooking can infuse flavors deep into the meat, ensuring a succulent and flavorful result. A quality marinade can tenderize a sirloin steak in just an hour, while brining poultry (even a whole turkey) can lead to incredibly juicy meat. Don’t forget about dry rubs – a well-balanced rub creates a delicious bark and adds layers of flavor. Having your ingredients prepped and ready means you can focus on managing your EGG when it’s time to cook.
-
Strategic EGGsessorizing: Enhancing Your Setup
While you don’t need every accessory right away, investing in the right tools can significantly expand your EGG’s capabilities and ease of use. EGGsessorize thoughtfully. Start with essentials like a good quality thermometer, an ash tool, and possibly a ConvEGGtor (plate setter). As you become more comfortable, you can gradually add specialized items like cast iron searing grids, pizza stones, or the EGGspander system. Visit a local Big Green Egg platinum or gold dealer or explore online for inspiration. Remember, learn your EGG first, then let your cooking ambitions guide your accessory purchases.
-
The Art of Menu Planning and Guest Satisfaction
Beyond the food itself, consider your guests. Plan your recipes not just for yourself, but for family and friends. This helps you sequence dishes, manage cooking times, and accommodate different dietary preferences. Knowing you might need to throw a veggie burger on last, or cook a separate dish for someone with allergies, allows you to manage your EGG’s space and temperature effectively throughout the cook. Good planning leads to happy guests and a stress-free cooking experience.
With these foundational preparations in place, you’re ready to embrace the hands-on skills that will truly elevate your Big Green Egg experience.
The 10 Essential Skills You Need to Master Your Big Green Egg
Here are the ten indispensable skills to cultivate as you embark on your journey to becoming a Big Green Egg master, allowing you to confidently smoke, grill, and bake your way to culinary delight:

1. Precision Temperature Control
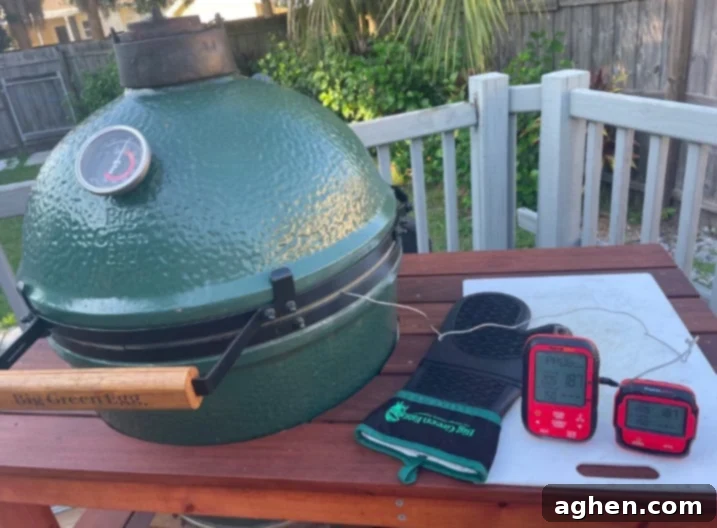
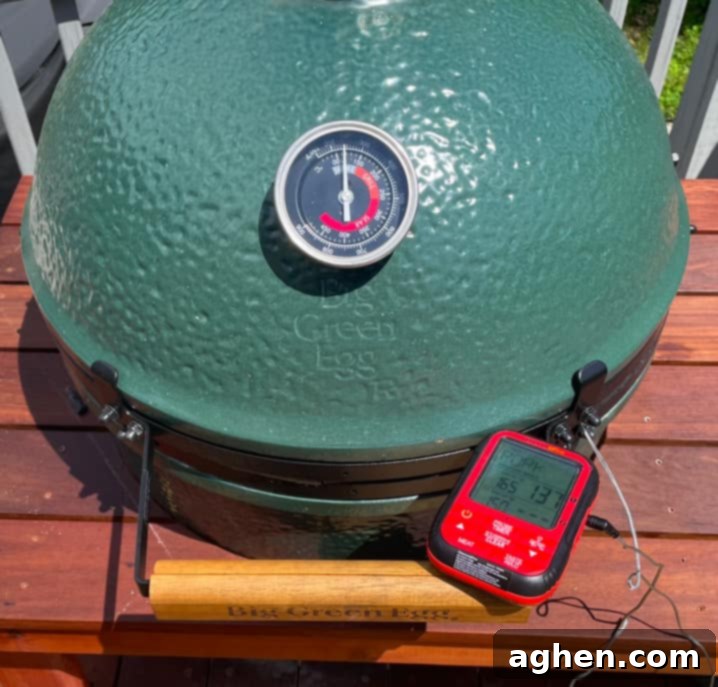
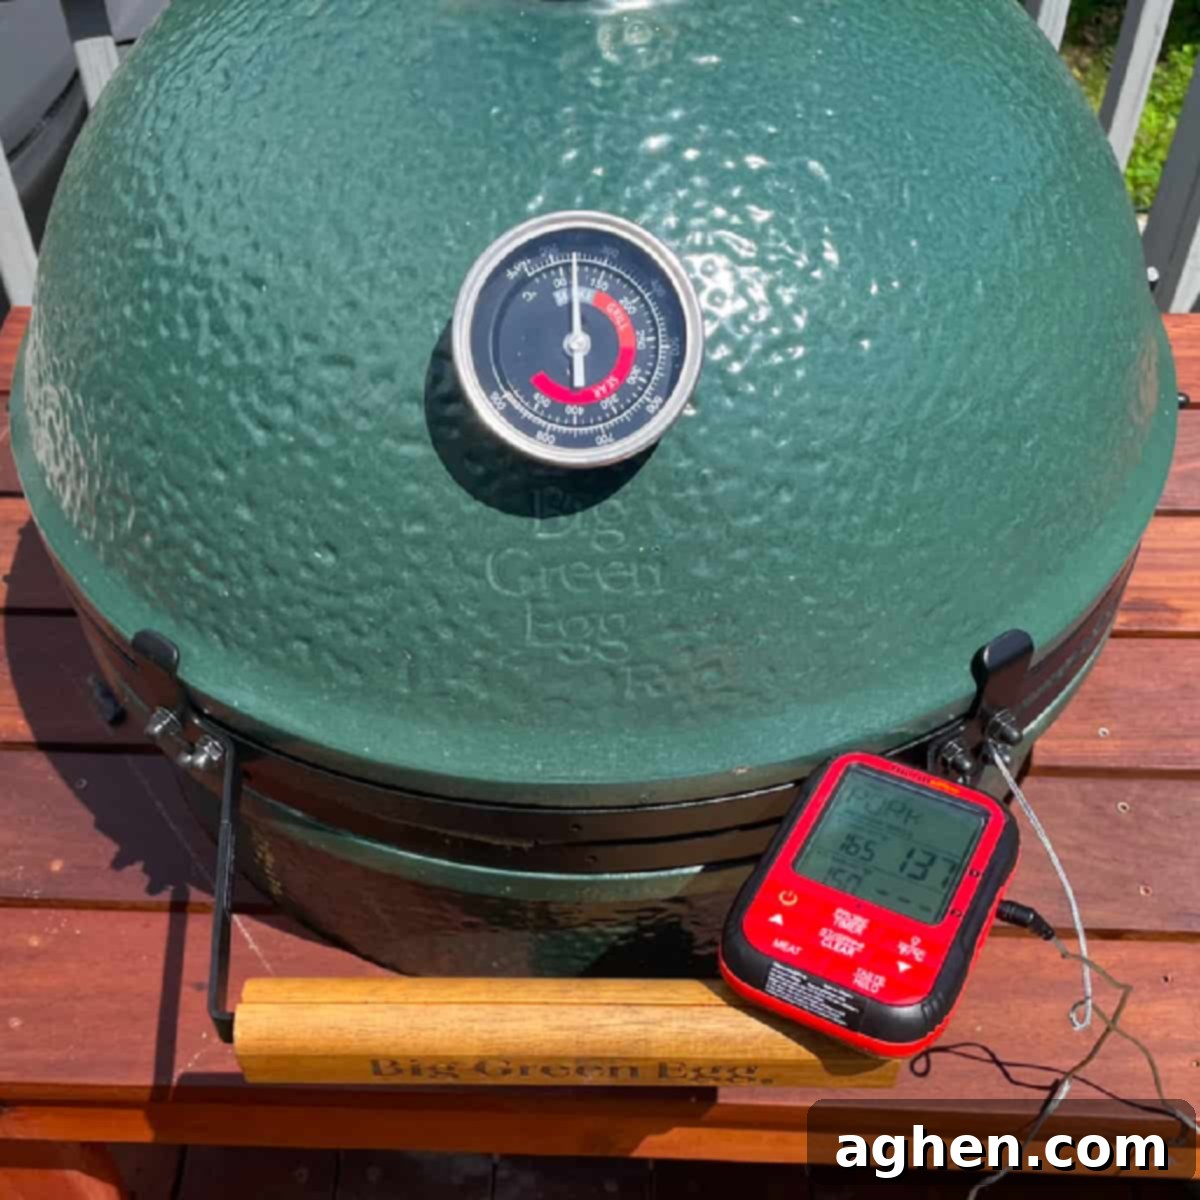
Temperature control is the cornerstone of successful Big Green Egg cooking. Unlike a traditional metal grill, the ceramic nature of the EGG means it holds heat incredibly well. This is a double-edged sword: fantastic for stable, long cooks, but tricky if you overshoot your target temperature. Airflow is the lifeblood of your fire; therefore, your top and bottom vents are your primary controls. Opening them wider increases airflow and temperature, while restricting them lowers it. The key is to make small, gradual adjustments and allow time for the temperature to stabilize, especially when lowering it. Overheating can be difficult to correct quickly, so it’s always better to approach your target temperature slowly from below. Hone this skill by initially relying on a reliable dual probe wireless thermometer. This allows you to monitor both the ambient EGG temperature and the internal meat temperature without constantly lifting the lid. Resist the urge to immediately invest in high-tech automatic temperature controllers like the ThermaPro Boss 500 until you’ve truly learned the manual skill of vent management. Understanding the fundamentals will make you a better cook in the long run, even with automation.

2. The Art of Timing
Timing isn’t just about knowing when to start; it’s about understanding the entire cooking journey for various foods. Whether it’s handling the Thanksgiving turkey prep or a simple weeknight steak, precise timing is essential for perfectly cooked results. You need to know when to begin thawing, when to light your EGG, and how long each stage of cooking will take. Approximate cooking times serve as excellent guides: wings might take 1-1/4 to 1-1/2 hours, a 6-7 lb pork shoulder typically needs 10-12 hours for that fall-apart tenderness, while baby back or spare ribs often finish in about 4 hours using direct heat or a little longer with a low-and-slow method. A 6-pound flat brisket, a true test of patience, can require 12-13 hours. Remember that these are estimates; factors like meat thickness, bone-in vs. boneless, and even ambient weather can influence cook times. Always rely on internal meat temperature for doneness, but use time estimates to plan your cookout effectively and avoid rushing or overcooking.
3. Expert Fire Building
The foundation of any great EGG cook is a properly built fire. Always use natural lump charcoal – avoid briquettes, which contain fillers and binders, and never use lighter fluid, as it imparts unwanted chemical flavors. For optimal results, arrange larger lump charcoal pieces at the bottom, creating a stable base, then layer smaller pieces on top. Integrate two or three natural fire starter cubes (or electric starter) within the charcoal for an efficient light. For long, low-and-slow cooks like smoking a brisket or pork shoulder, build your charcoal stack high, filling the fire box to the top. This ensures a consistent fuel supply for hours without needing to open the EGG and add more charcoal, which disrupts temperature stability. Bring the heat up slowly for these cooks. Conversely, for high-heat grilling and searing, you want a faster, hotter fire. Light your charcoal, keep the dome open for the first 7-10 minutes to allow it to ignite vigorously, and then gradually close the lid and adjust vents to quickly reach 400°F or higher. Always remember: it’s better to have too much charcoal than too little, especially for extended cooks.
4. Always Spatchcock Your Poultry
For poultry, especially whole chickens and turkeys, spatchcocking (butterflying) is a game-changer. This technique involves removing the backbone and flattening the bird, ensuring significantly faster and more even cooking. While it might not create that classic “golden bird” aesthetic for a dining table centerpiece, the benefits in terms of moistness and crispy skin are undeniable. The even thickness allows all parts of the bird – breasts, thighs, and wings – to cook to perfection simultaneously, avoiding dry breast meat while waiting for thighs to finish. Beyond spatchcocking, always brine your poultry (especially turkey) to retain moisture, and season it heavily and thoroughly, both inside and out, to infuse flavor throughout the meat. This combination guarantees juicy, flavorful poultry every time you fire up your Big Green Egg.

5. Embrace the Low and Slow Method
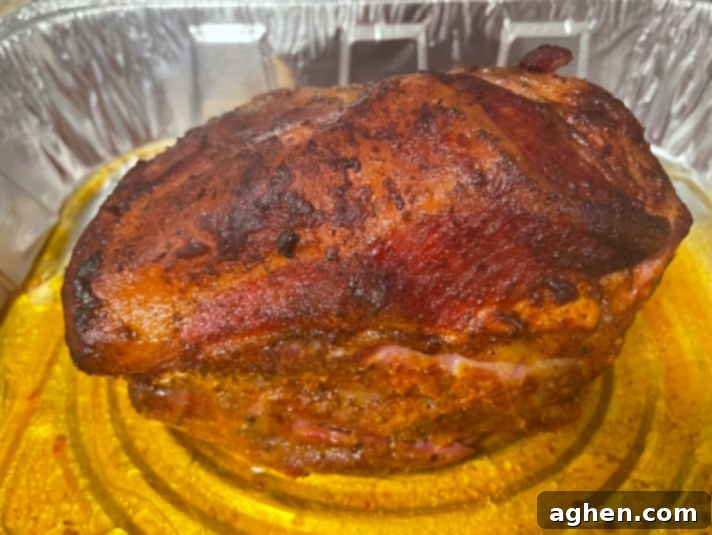
If you truly want to unlock the tender, succulent magic of BBQ, you must embrace the mantra: “Low and Slow!” This technique, typically performed at temperatures between 225-275°F (with 225-235°F being ideal), is crucial for breaking down tough connective tissues in cuts like beef brisket, pork shoulder (Boston butt), and ribs, transforming them into melt-in-your-mouth delights. While higher cooking temperatures shorten the cook time, they drastically increase the challenge of achieving tenderness and can result in dry, tough meat. For pork ribs, the legendary “3-2-1 method” (or 2-2-1 for baby backs) consistently delivers: smoke the ribs uncovered for three hours to develop flavor and bark, wrap them tightly in foil or butcher paper with a liquid (like apple juice, beer, or broth) for two hours to tenderize, and then unwrap, baste with sauce, and cook for the final hour to set the glaze. During the wrap, adding a pat of butter and a drizzle of “honey for the money” elevates the flavor profile. The most critical rule for low-and-slow? “If you’re lookin’, you ain’t cookin’!” Resist the urge to open the lid unless absolutely necessary, as each peek causes significant temperature fluctuations and extends cooking time.
6. Moisture is Your BBQ’s Best Friend
Maintaining a moist cooking environment inside your Big Green Egg is vital, especially during long, low-and-slow smokes, to prevent your meats from drying out. The ConvEGGtor (plate setter) is an essential accessory for indirect cooking, creating a barrier between the fire and your food. For added moisture, always use a water pan with your ConvEGGtor. Place the ConvEGGtor with its legs facing up, then place a foil pan filled halfway with a 1:1 mixture of water and apple juice (or beer, broth, or wine for different flavor profiles) on top of the legs. Then, position your cooking grid over the water pan, and your meat on the grid. As the liquid in the pan heats up, it creates steam, circulating a humid environment around your meat. This not only keeps the meat from drying out but can also help with smoke adhesion and bark formation. This setup is particularly effective for large cuts like Boston butts, briskets, and whole turkeys.
7. Mastering Beef Brisket, Texas Style
Smoking a beef brisket, particularly Texas Style, is often considered the pinnacle of BBQ prowess. As a good friend from Dallas with his own BBQ brand often says, “This separates the men from the boys” (and the women from the girls!). Begin with a high-quality, choice or prime grade full packer brisket. Trim the fat cap to about 1/4 inch, shaping the brisket for even cooking. Injecting it with a mixture of beef broth and a touch of rub can add internal moisture and flavor. For the classic Texas rub, keep it simple: a generous coating of coarse salt, coarse black pepper, and granulated garlic (often referred to as SPG). Smoke low and slow until the internal temperature reaches the “stall” (typically 150-170°F), then wrap it tightly in butcher paper (the “Texas Crutch”) or foil to push through the stall and tenderize further. Continue cooking until the brisket is probe-tender, feeling like a knife through warm butter, usually around 203-205°F. Rest the brisket for an extended period (1-4 hours) in an insulated cooler to redistribute juices before slicing against the grain. This method yields a perfectly smoked brisket with a beautiful bark and incredible tenderness.
8. The Importance of Good Wood
The type and quality of wood you use for smoking on your Big Green Egg dramatically impact the flavor profile of your BBQ. As you gain experience, you’ll develop a keen appreciation for how different woods infuse unique notes into your meats. Large wood chunks are preferred over chips for longer smokes, as they burn slower and produce a more consistent, cleaner smoke. A general guideline for pairing:
- **Applewood:** Sweet and fruity, excellent with pork, poultry, and fish.
- **Cherry:** Mild and fruity, imparts a beautiful mahogany color, pairs well with pork, poultry, and beef.
- **Hickory:** Strong and savory, a classic for pork (especially ribs and pulled pork) and beef. Use sparingly.
- **Oak:** Medium, versatile, pairs well with almost anything, especially beef and lamb.
- **Pecan:** Mild and nutty, great with poultry, pork, and fish.
- **Mesquite:** Very strong and earthy, best for short cooks or with very fatty meats like beef brisket. Use sparingly.
Start by adding three or four good-sized wood chunks directly on top of your initial lump charcoal build before lighting. This allows the wood to smolder slowly, releasing clean, flavorful smoke. Avoid oversmoking, as too much smoke can lead to a bitter, acrid taste.
9. Unleash EGGspander Versatility
The Big Green Egg EGGspander system is a modular cooking grid that dramatically enhances your EGG’s capacity and versatility. It allows you to create multi-level cooking zones, going vertical with your barbecue food and experimenting with over 35 different combinations. This system enables you to cook different items at varying temperatures simultaneously. You can place your larger cuts of meat on the large base grid, utilize half-moon grids for vegetables, or employ the slide-out top rack for warming buns or delicate items. Flip the ConvEGGtor and base grid upside down, and you can grill a ribeye cowboy style (directly over the charcoal) or even caveman style (directly on the hot coals for extreme searing). Add a pizza stone and other EGGcessories to transform your kamado cooker into a high-temperature brickhouse oven for perfect pizzas, bread, and desserts. The EGGspander is a testament to the Big Green Egg’s adaptability, making you more skilled at space allocation and multi-task cooking.
10. Diligent Maintenance and Care
Your Big Green Egg is a significant investment designed for a lifetime of use. With proper maintenance and care, it can easily outlive you and become a cherished family heirloom. The primary goal of maintenance is to prevent cracks in the ceramic components: the exterior kamado shell, the fire box, the fire ring, and to a lesser extent, the ConvEGGtor plate setter. Avoid rapid temperature changes (thermal shock) and physical impact. Before each cook, ensure optimal airflow by thoroughly removing old ash from the firebox and bottom vent using an ash tool. After every cook, while the grids are still warm, use a grill brush to clean cooking surfaces; the residual heat makes cleaning much easier. Store your EGG in a dry, cool setting, ideally under a high-quality, breathable cover, especially if it’s exposed to the elements. Regularly inspect gaskets and hardware. There is a definite skill in cleanliness and preventive care that will ensure your EGG performs flawlessly for decades.
The Big Green Egg is a truly unique cooking apparatus, far surpassing the capabilities of a standard gas grill, pellet grill, kettle grill, or other charcoal grills. Its ability to smoke, grill, sear, roast, and bake makes it an all-in-one outdoor kitchen. All it takes is a little dedication to learn the ropes, a willingness to experiment, and the patience to perfect your techniques. After you’ve spent some time mastering these skills – from precision temperature control to effective maintenance – you will not only be the master of your own BBQ cookout but also ready to tackle any culinary challenge your EGG presents.
