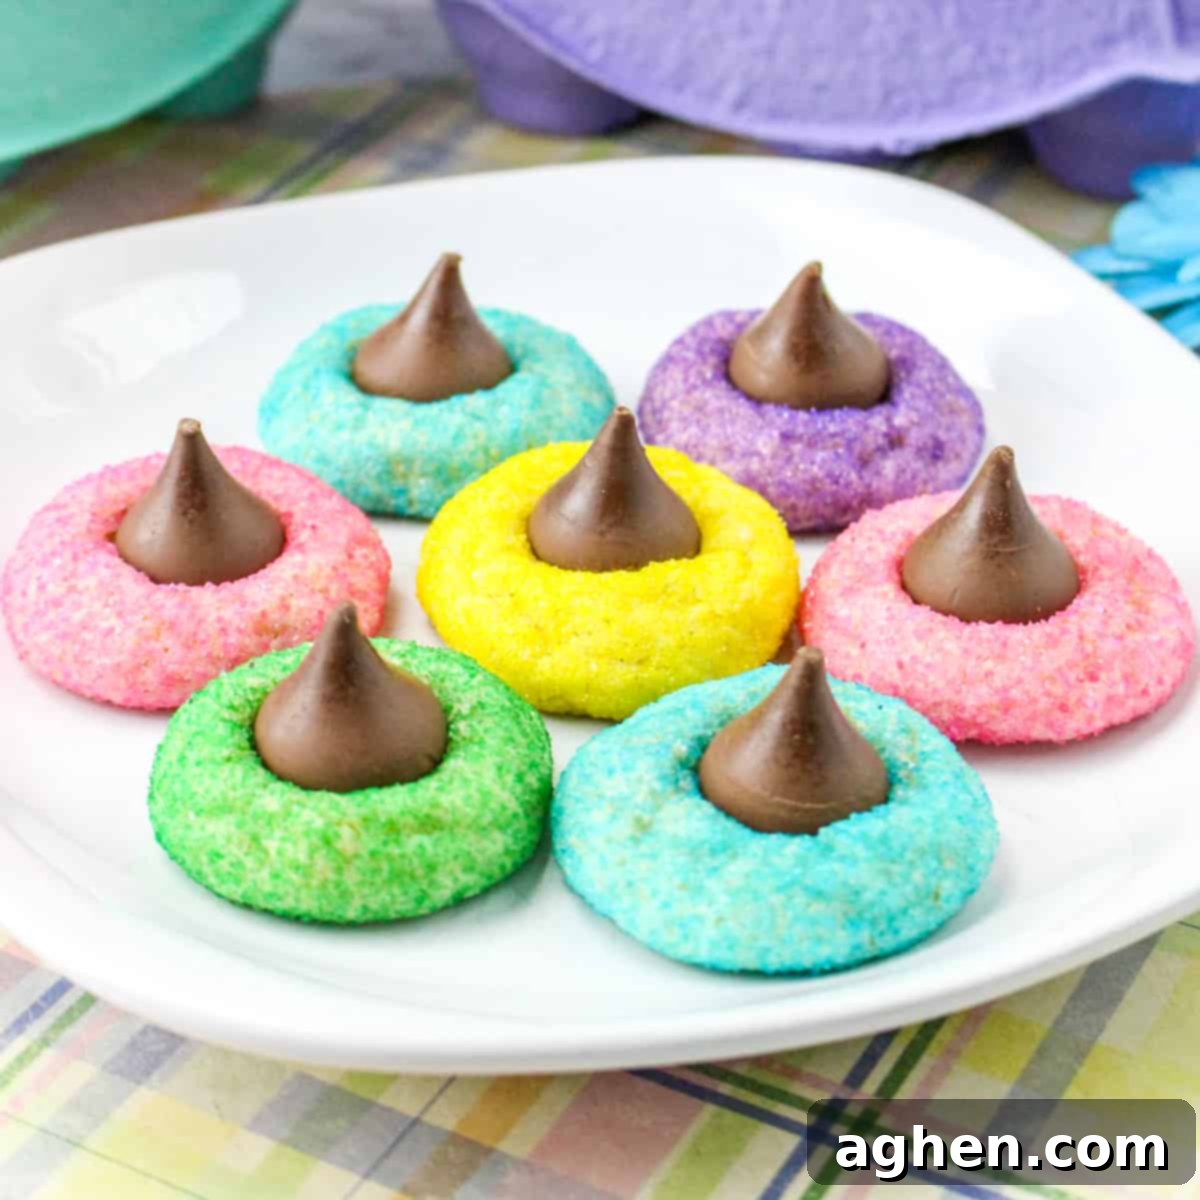
The Best Easter Blossom Cookies: Colorful Sugar Cookie Recipe with Hershey Kisses
Easter blossom cookies are a truly delightful and visually stunning spin on the classic blossom cookie. Imagine a soft, wonderfully chewy sugar cookie base, lovingly rolled in vibrant, pastel-colored sugar, baked to a tender perfection, and then crowned with a creamy Hershey’s Kiss. The result? A batch of beautiful and irresistible Easter treats that are as fun to make as they are to eat!
There’s something truly magical about baking for Easter. The season, with its promise of renewal and its palette of pretty pastel colors, truly ignites the culinary spirit within me. Every year, I find myself drawn to creating treats that capture this light, sweet essence. Recipes like my popular Easter Cake Roll, indulgent Easter Magic Cookie Bars, and charming Bird’s Nest Cookies are always a huge hit at our family holiday gatherings, bringing smiles and joy to everyone. These Easter blossom sugar cookies are undoubtedly destined for the same widespread adoration and will become a cherished part of your spring baking traditions.
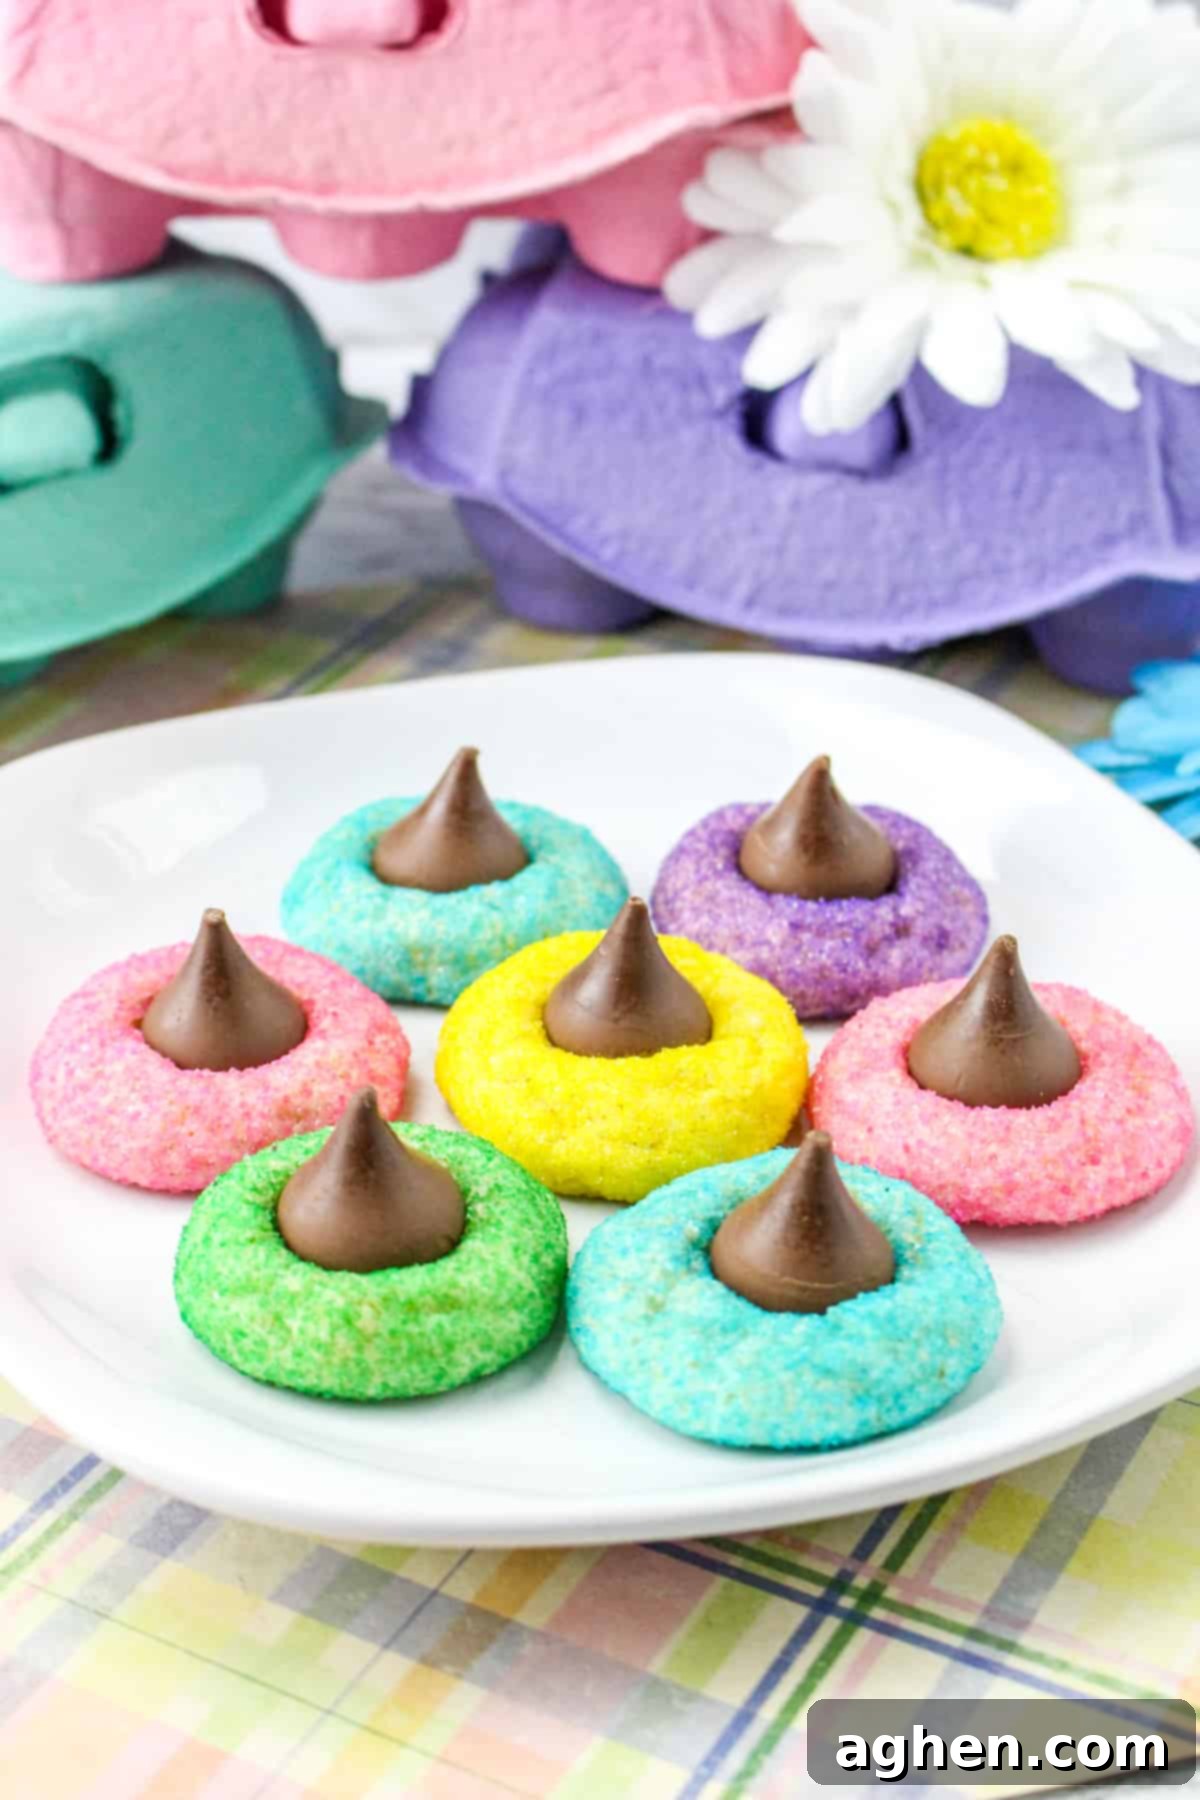
Crafted with readily available ingredients from your pantry and a generous sprinkling of eye-catching colored sugar, these blossom cookies are a true feast for both your taste buds and your eyes! A platter brimming with these festive, colorful cookies is guaranteed to be the showstopper of any Easter dessert spread, inviting everyone to indulge in their sweet charm. They’re perfect for Easter brunch, holiday potlucks, school parties, or simply as a delightful treat to share with loved ones.
And the absolute best part? These simple, yet incredibly delectable cookies can be whipped up in under 30 minutes from start to finish. This recipe yields a generous batch, making them perfect for feeding a large crowd or for having plenty of leftovers to enjoy throughout the week. Their vibrant appearance and irresistible taste make them a must-bake for anyone looking to add a touch of spring festivity to their holiday celebrations.
Why You’ll Love This Easy Easter Cookie Recipe
- Festive & Colorful: The pastel sanding sugars make these cookies pop, instantly bringing a joyful, spring-like feel to your table. They’re perfectly aligned with the vibrant spirit of Easter.
- Simple Ingredients: You likely have most of these common pantry staples on hand already, making this a hassle-free baking project.
- Quick to Make: With a prep time of just 15 minutes and a bake time of under 10 minutes, you can have a fresh batch of these beautiful cookies ready in no time.
- Kid-Friendly Fun: Rolling the cookie dough in colorful sugar is a fantastic activity for little helpers, making it a great recipe for baking with children.
- Crowd-Pleaser: Everyone loves a classic sugar cookie, and the added chocolate kiss and colorful sparkle elevate these to a special occasion treat that disappears quickly.
- Soft & Chewy Texture: The sugar cookie base is incredibly soft and chewy, perfectly complementing the creamy melt of the Hershey’s Kiss.
Ingredients for Colorful Easter Blossom Cookies
This section includes ingredient notes and substitution options to help you achieve perfect results every time. For precise measurements and step-by-step instructions, please refer to the complete printable recipe card located at the end of this post.
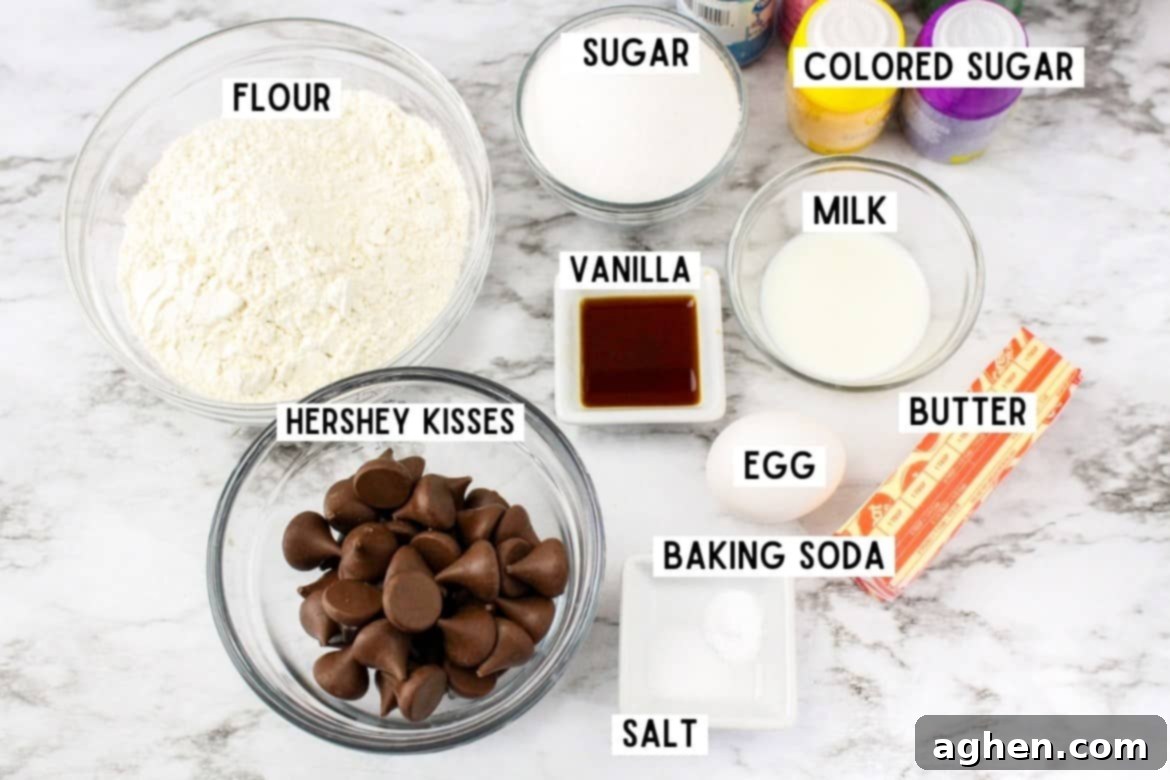
- All-Purpose Flour: This forms the foundational structure of your cookies, providing the perfect balance of tenderness and chewiness. For dietary needs, a whole wheat flour or a gluten-free flour blend can also work, though results may vary slightly in texture. Ensure you measure your flour correctly, ideally by weight or by spooning it into a measuring cup and leveling off.
- Butter: Unsalted butter, softened to room temperature but not melted, is crucial for achieving that light and fluffy texture when creamed with sugar. It contributes to the rich flavor and tender crumb of the cookies. If using salted butter, reduce the added salt in the recipe slightly.
- Granulated Sugar: This is the primary sweetener for our sugar cookie base, giving it its characteristic sweetness and aiding in that delightfully chewy texture. I’ve yet to test this recipe with alternative sweeteners, but granulated sugar provides the best results for this specific cookie.
- An Egg: A single large egg adds essential moisture to the cookie dough, helping to bind all your other ingredients together. It also contributes to the rich flavor and helps with the rise and texture of the cookies. Make sure it’s at room temperature for better incorporation.
- Milk: A small amount of milk helps to keep the cookie dough creamy and smooth, making it easier to work with. It also adds a delightful chewiness to your finished cookies. Any type of milk (dairy or non-dairy) should work fine.
- Vanilla Extract: A touch of vanilla extract is key for enhancing the overall sweetness and adding a warm, aromatic depth to the sugar cookie flavor. Use pure vanilla extract for the best taste.
- Baking Soda & Salt: Baking soda provides a gentle lift, contributing to the cookie’s soft, puffy texture. Salt balances the sweetness and brings out all the delicious flavors in the cookies.
- Hershey’s Kisses: These iconic little morsels of milk chocolate are what give these cookies their signature “blossom” look and a delightful burst of chocolate in every bite. While milk chocolate is traditional, feel free to experiment with other Hershey’s Kiss flavors like Hugs, dark chocolate, or even flavored Kisses for a unique twist. Remember to unwrap them before you start baking to save time!
- Colored Sugar: Also known as sanding sugar or sugar sprinkles, this is used to coat the outside of each cookie, giving them their beautiful, festive pastel colors. Beyond the visual appeal, it also adds a lovely, subtle crunch to the exterior. You can often find a good variety at major retailers like Walmart, or you can order them online by individual color or in a convenient multi-pack on Amazon. If you can’t find colored sugar, you can simply use plain granulated sugar or even dye your cookie dough with food coloring for a similar festive effect.
Essential Equipment You’ll Need
When it comes to springtime treats, it genuinely doesn’t get much easier or more rewarding than these vibrant Easter cookies with Hershey Kisses! The good news is that you likely already possess all the necessary baking equipment to get started right away. This recipe doesn’t require any fancy gadgets, just standard kitchen tools that make the baking process smooth and enjoyable. To ensure a seamless baking experience, double-check that you have the following:
- Baking Sheets: You’ll need a couple of sturdy baking sheets to bake your cookies evenly. Having two allows you to prep one batch while another is baking, speeding up the process.
- Parchment Paper or Silicone Baking Mats: Lining your baking sheets with parchment paper (I am obsessed with these pre-cut sheets for convenience!) or silicone baking mats is essential. They prevent sticking, ensure even baking, and make cleanup an absolute breeze.
- Electric Mixer: An electric mixer (either a stand mixer with a paddle attachment or a hand mixer) is highly recommended for creaming the butter and sugar until light and fluffy, and for easily combining the dough ingredients. While possible by hand, a mixer makes the process much quicker and ensures a consistent texture.
- Mixing Bowls: You’ll need at least two mixing bowls – a medium-sized one for your dry ingredients and a larger one for creaming wet ingredients and combining the dough.
- Measuring Cups and Spoons: Accurate measurements are key in baking, so have your standard set of measuring cups and spoons ready.
- Small Cookie Scoop: A small cookie scoop (about 1.5-2 tablespoons) is incredibly helpful for portioning out uniform cookie dough balls. This ensures that all your cookies bake evenly and look consistent. If you don’t have one, a spoon will work, but aim for similarly sized portions.
- Wire Cooling Rack: A wire rack is crucial for allowing the cookies to cool properly, preventing them from becoming soggy on the bottom and ensuring they firm up nicely.
How to Make Easy Easter Blossom Cookies
This section walks you through the entire process of making these delightful Easter blossom cookies with step-by-step photos and detailed instructions. For the full printable recipe, including exact measurements and additional notes, please refer to the recipe card below.
Making these vibrant Easter blossom cookies is surprisingly straightforward, even for novice bakers. The key steps involve combining your dry and wet ingredients separately, forming the dough balls, rolling them in colorful sugar, baking, and finally adding that signature Hershey’s Kiss. Let’s break down each step to ensure your cookies turn out perfectly soft, chewy, and beautiful.
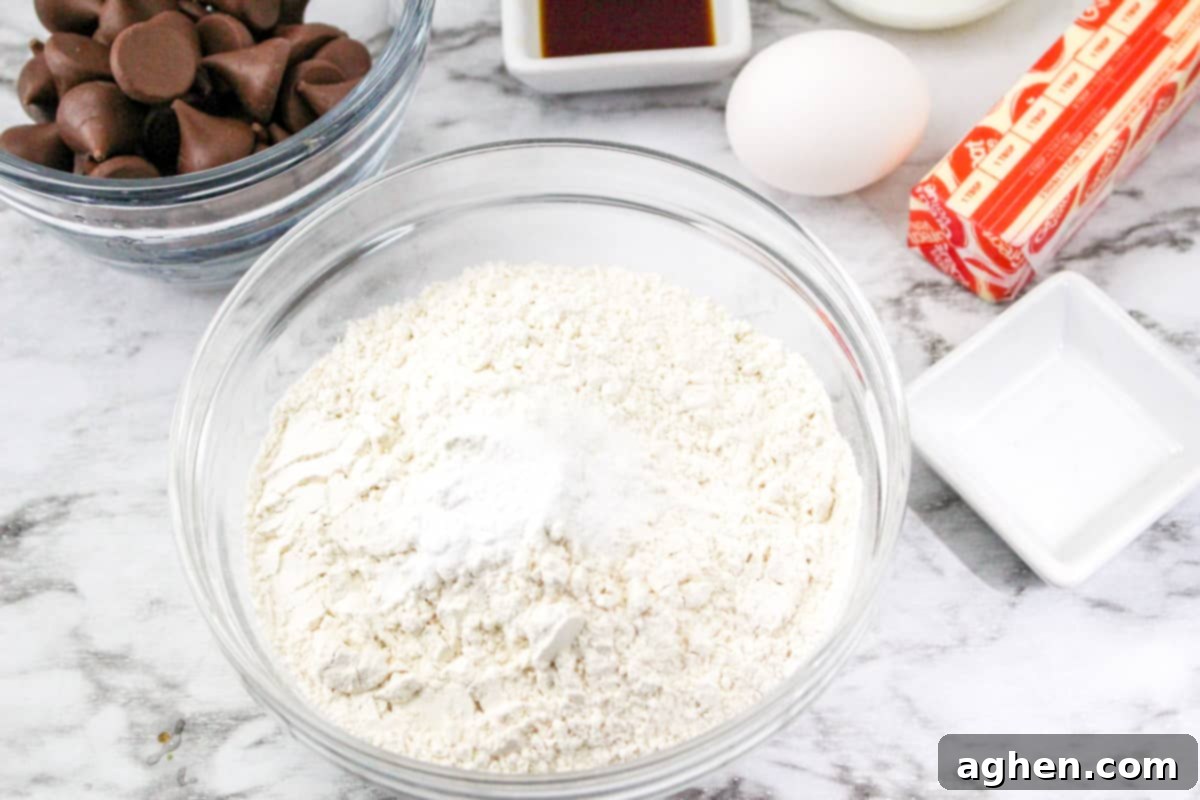
Step 1: Prepare Your Dry Ingredients. In a medium-sized mixing bowl, take your all-purpose flour, baking soda, and salt. Whisk these dry ingredients together thoroughly. This ensures that the leavening agent (baking soda) and salt are evenly distributed throughout the flour, which is vital for uniform cookie texture and flavor. Once combined, set this bowl aside for later use.
Step 2: Cream Wet Ingredients and Form Dough. In a large mixing bowl, using an electric mixer, cream together your softened unsalted butter and granulated sugar until the mixture becomes wonderfully light and fluffy. This process incorporates air, which contributes to the cookies’ tender texture. Next, beat in the egg and vanilla extract until everything is smooth and well combined. With your mixer on a low speed, gradually add the whisked flour mixture to the wet ingredients. Mix until just combined, being careful not to overmix, which can lead to tough cookies. Continue mixing slowly as you stream in 1 to 2 tablespoons of milk, adding just enough until the dough reaches a soft, pliable consistency. It should be easy to scoop and roll without being too sticky or too dry.
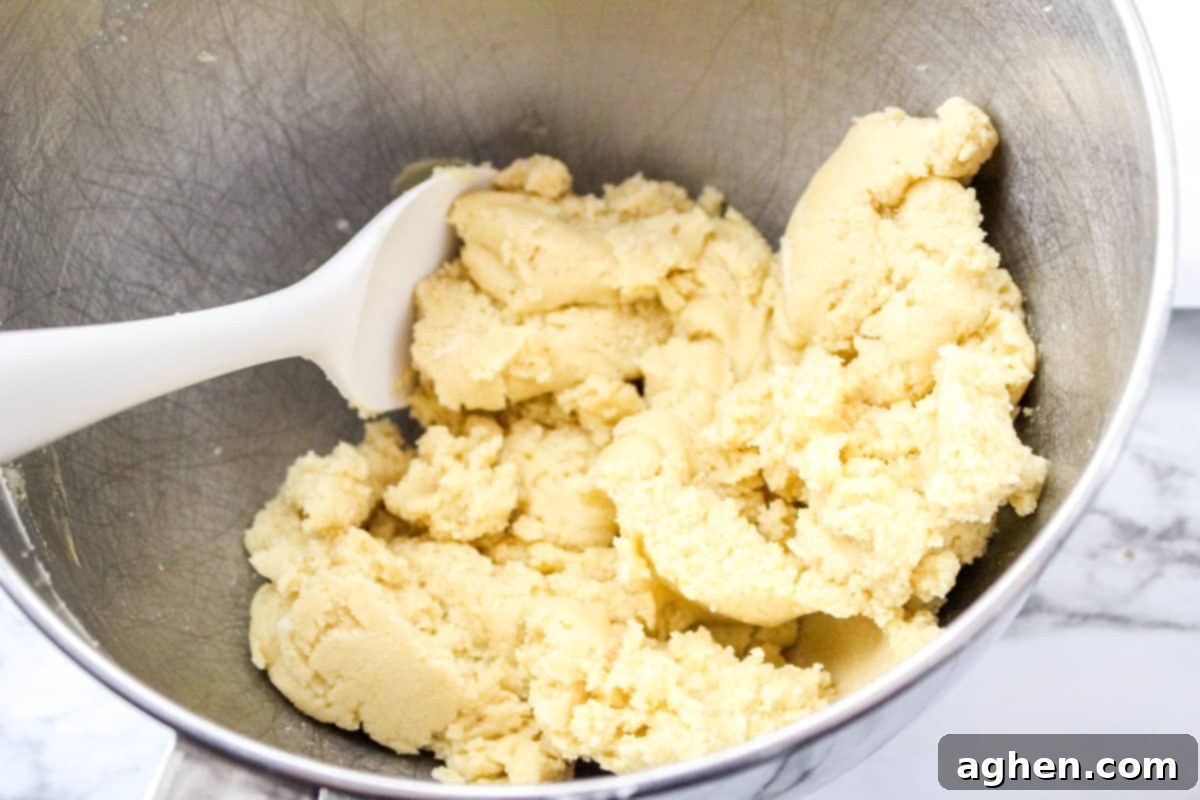
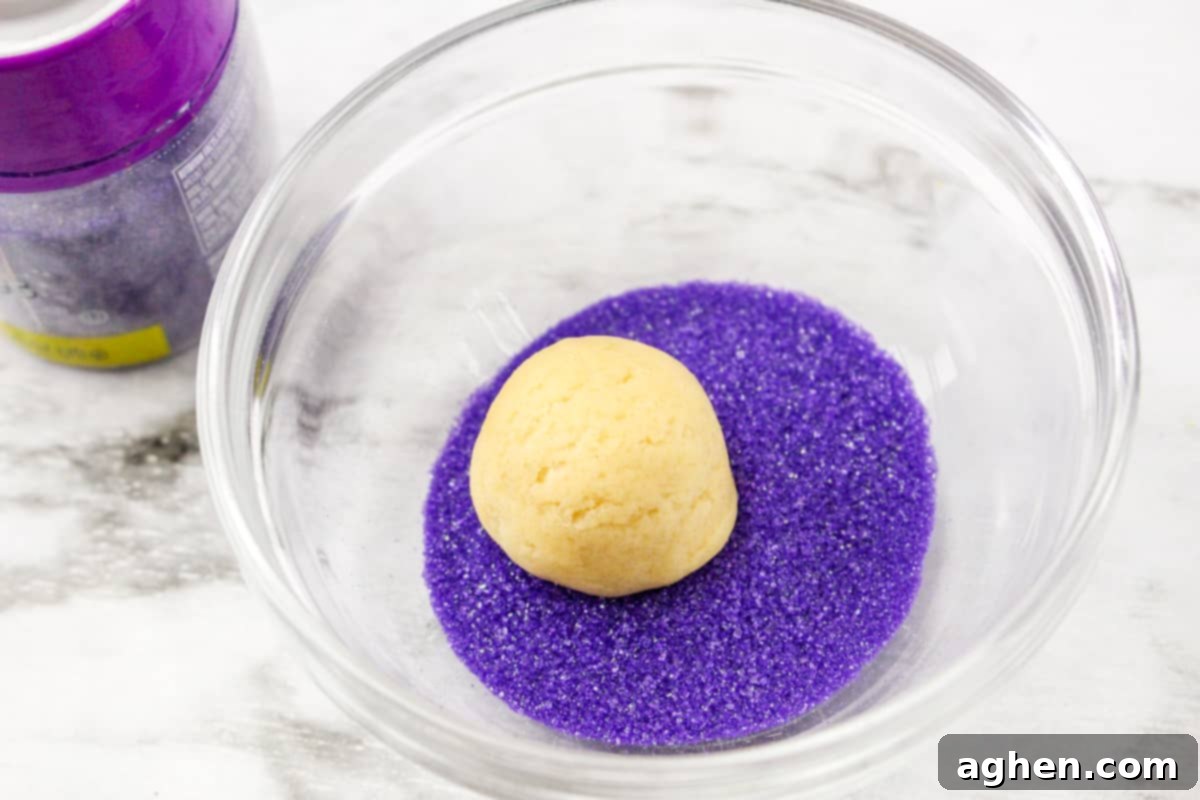
Step 3: Portion and Roll in Colored Sugar. Now comes the fun part! Use a small cookie scoop to portion out even amounts of dough. Take each portion and, using your hands, gently roll it into a neat, round ball. Then, roll each dough ball generously in the colored sugar until it’s completely coated. The vibrant sugar adds a beautiful sparkle and a delightful textural crunch to the finished cookie. You can use a single color or a mix of pastel shades for extra festivity.
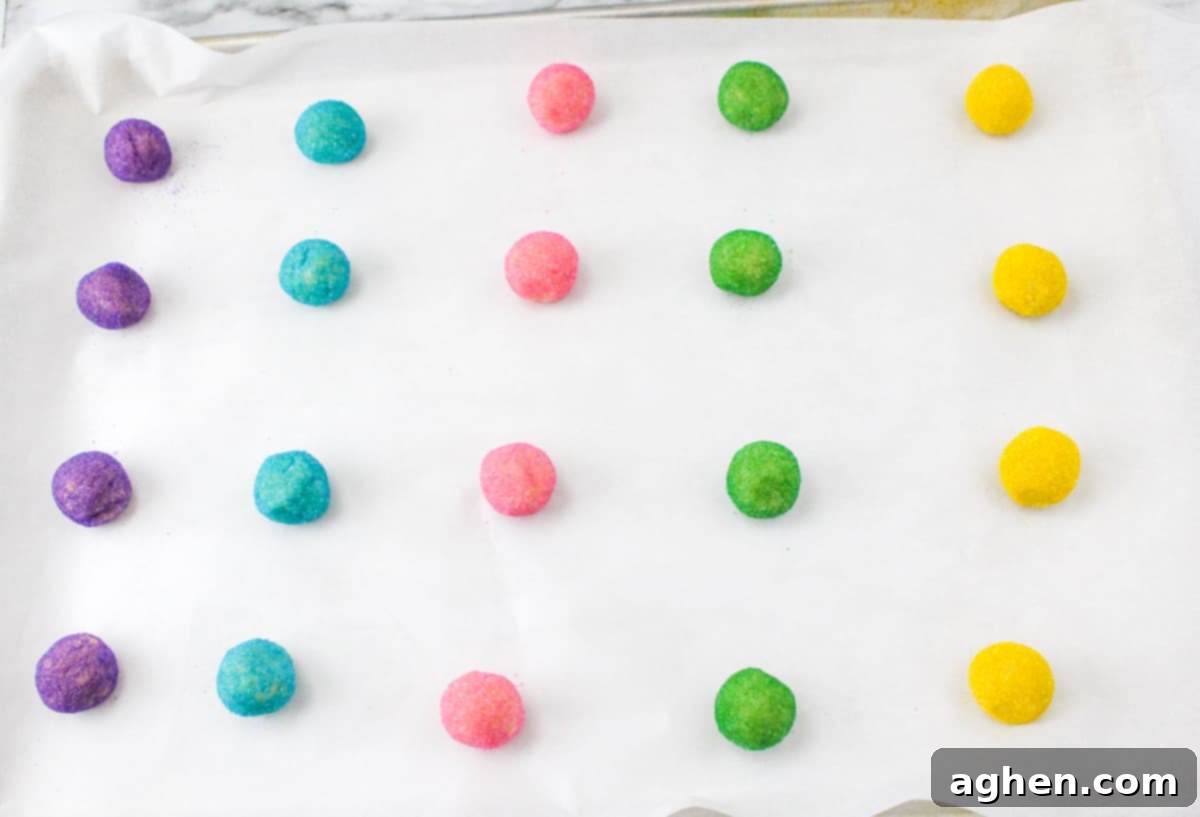
Step 4: Arrange on Baking Sheet. Carefully place the sugar-covered dough balls onto your parchment-lined baking sheets, ensuring they are spaced approximately 2 inches apart. This spacing is important to allow the cookies to spread slightly during baking without touching each other. Preheat your oven to 350°F (175°C) before placing the cookies inside.
Step 5: Bake and Add Hershey’s Kisses. Bake the blossom cookies in your preheated oven for about 8-10 minutes. Keep a close eye on them; they are done when they are slightly puffed up and their edges are just set, but crucially, not browned. Overbaking can lead to dry cookies. Immediately after removing them from the oven, allow the cookies to cool on the baking sheet for about 2 minutes. While they are still warm and soft, gently press an unwrapped Hershey’s Kiss into the center of each cookie. The warmth of the cookie will slightly melt the base of the chocolate, helping it adhere and create that iconic blossom shape.
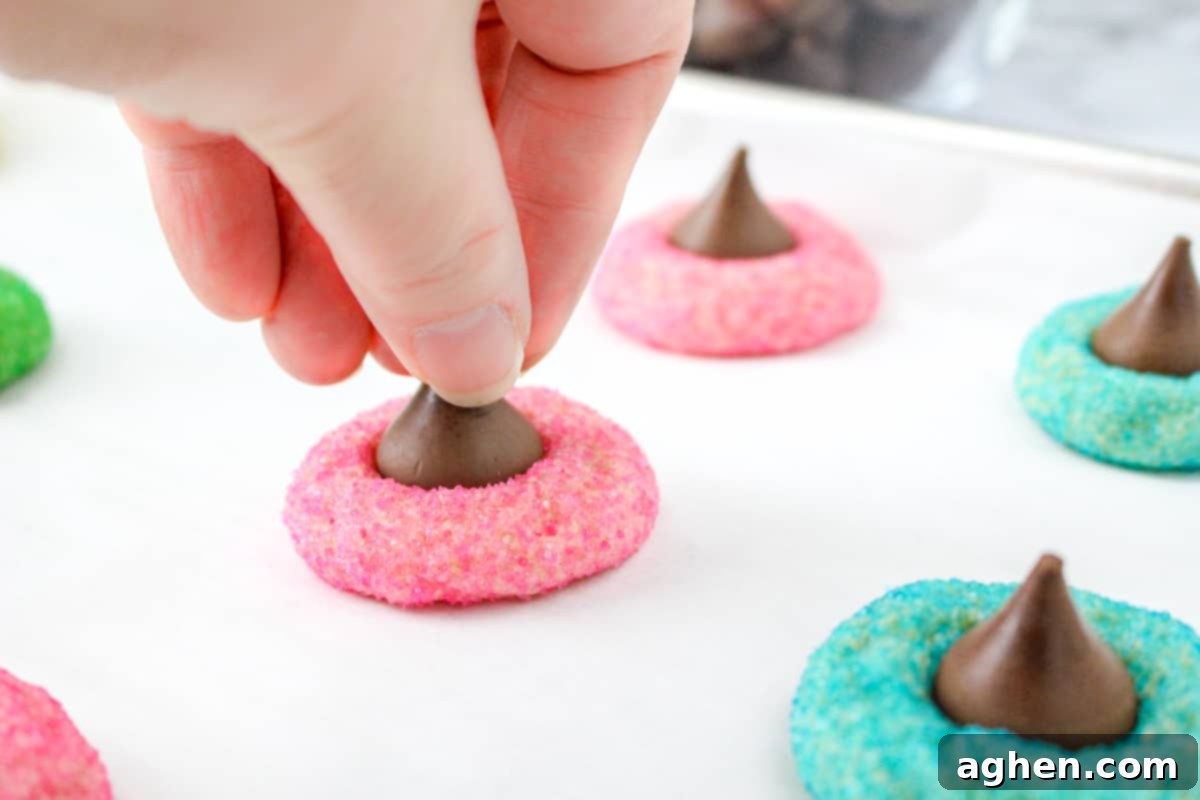
Step 6: Cool Completely and Serve. After pressing in the Kisses, allow the cookies to cool on the baking sheet for an additional 5 minutes. Then, carefully transfer them to a wire rack to cool completely. This final cooling step allows the Hershey’s Kisses to fully resolidify and for the cookies to achieve their perfect firm-yet-chewy texture. Once cooled, serve these gorgeous Easter blossom cookies and enjoy the delightful combination of tender sugar cookie and creamy chocolate!
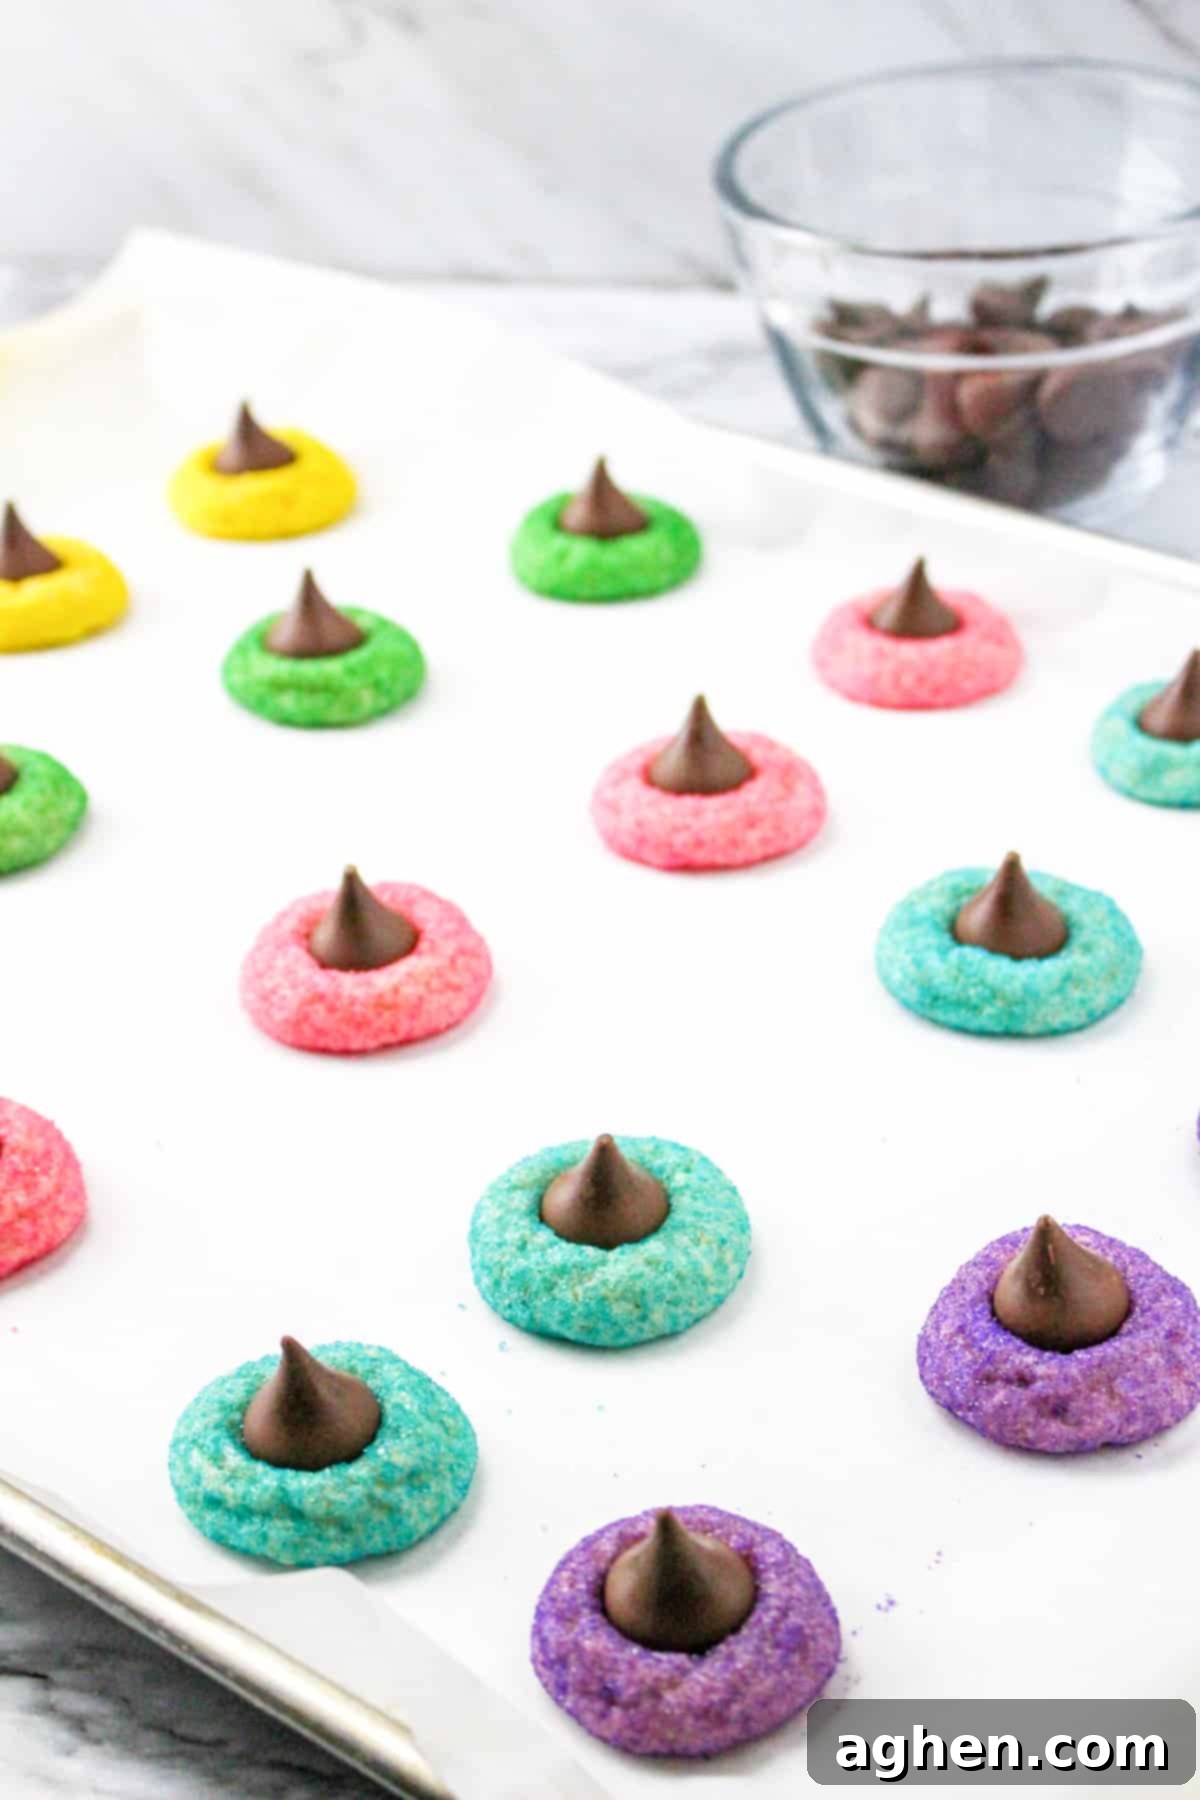
For an alternative visual guide and quick overview of how to make these festive treats, be sure to visit my Easter Cookies Story.
Storing and Freezing Easter Blossom Cookies
Proper storage is key to keeping your Easter blossom cookies fresh and delicious for as long as possible. Here’s how to store them effectively:
COUNTERTOP: Once the cookies have cooled completely and the Hershey’s Kisses have fully set, place any leftover Easter blossom cookies into an airtight container. Store them at room temperature on your kitchen counter for up to 1 week. Placing parchment paper between layers can prevent them from sticking together.
REFRIGERATOR: For extended freshness, you can place your airtight container of leftover cookies into the refrigerator. If stored properly, they should remain fresh and tasty for up to 3 weeks. Chilling the cookies may make them slightly firmer, but they will still be delicious.
FREEZER: Easter blossom cookies freeze beautifully, allowing you to enjoy them for months to come. Once the cookies are entirely cooled (and the Kisses are firm), place them in a single layer on a baking sheet and flash freeze for about 30 minutes until solid. Then, transfer the frozen cookies to a freezer-safe bag or an airtight container, separating layers with parchment paper. They can be stored in the freezer for up to 6 months. When ready to enjoy, simply thaw them at room temperature for an hour or two. Just be aware that the drastic change in temperature during freezing and thawing might cause the chocolate candies to “bloom.” This appears as a whitish, streaky coating on the chocolate, which is entirely harmless and doesn’t affect the taste, but it might not look as perfectly pretty. If presentation is paramount, fresh is always best.
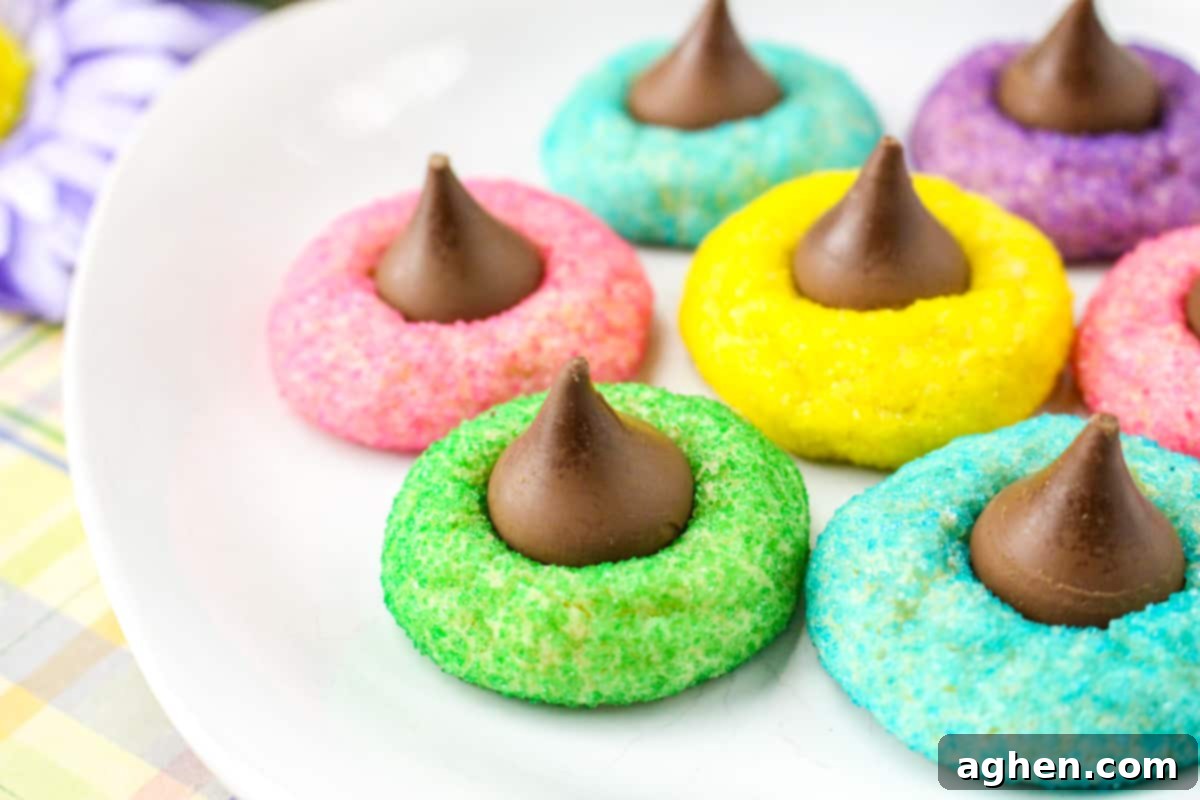
Expert Tips and Tricks for Perfect Blossom Cookies
Achieving perfectly soft, chewy, and visually appealing Easter blossom cookies is simple with a few insider tips:
- Do Not Overbake! This is perhaps the most crucial tip for any sugar cookie. Be extra careful to not overbake these Easter Hershey Kiss cookies! They should mattify and puff slightly in the oven, and the edges should just barely be set. They will look pale and might seem slightly underdone in the center, but they will continue to set as they cool on the hot baking sheet. Overbaking will result in dry, crumbly cookies.
- Room Temperature Ingredients: Ensure your butter and egg are at room temperature. This allows them to cream together more smoothly, creating a uniform batter that traps air better, leading to a lighter and more tender cookie.
- Pre-Unwrap Hershey Kisses: Save yourself some stress and precious time by unwrapping all the Hershey Kisses ahead of time. This seemingly small step takes more time than you’d think, especially when you have a batch of warm cookies waiting to be topped. Have them ready to go before the cookies even come out of the oven.
- Don’t Panic About Melting Kisses: Initially, the Hershey Kisses will look like they’re melting or softening quite a bit when pressed into the warm cookies. Don’t panic! This is completely normal and desired. They will quickly cool and resolidify into their proper, iconic shape, firmly attached to the cookie.
- Don’t Chill the Dough: Unlike some cookie recipes, this particular sugar cookie dough doesn’t typically need to be chilled before baking, unless your kitchen is exceptionally warm. If formed and baked correctly, the cookies should spread the perfect amount without chilling.
- Use a Cookie Scoop for Uniformity: A cookie scoop helps ensure all your cookies are the same size, which means they’ll bake evenly and look consistent on your platter.
- Experiment with Colors: Feel free to use a variety of pastel sanding sugars for a truly rainbow-like Easter display, or stick to specific colors to match your Easter theme.
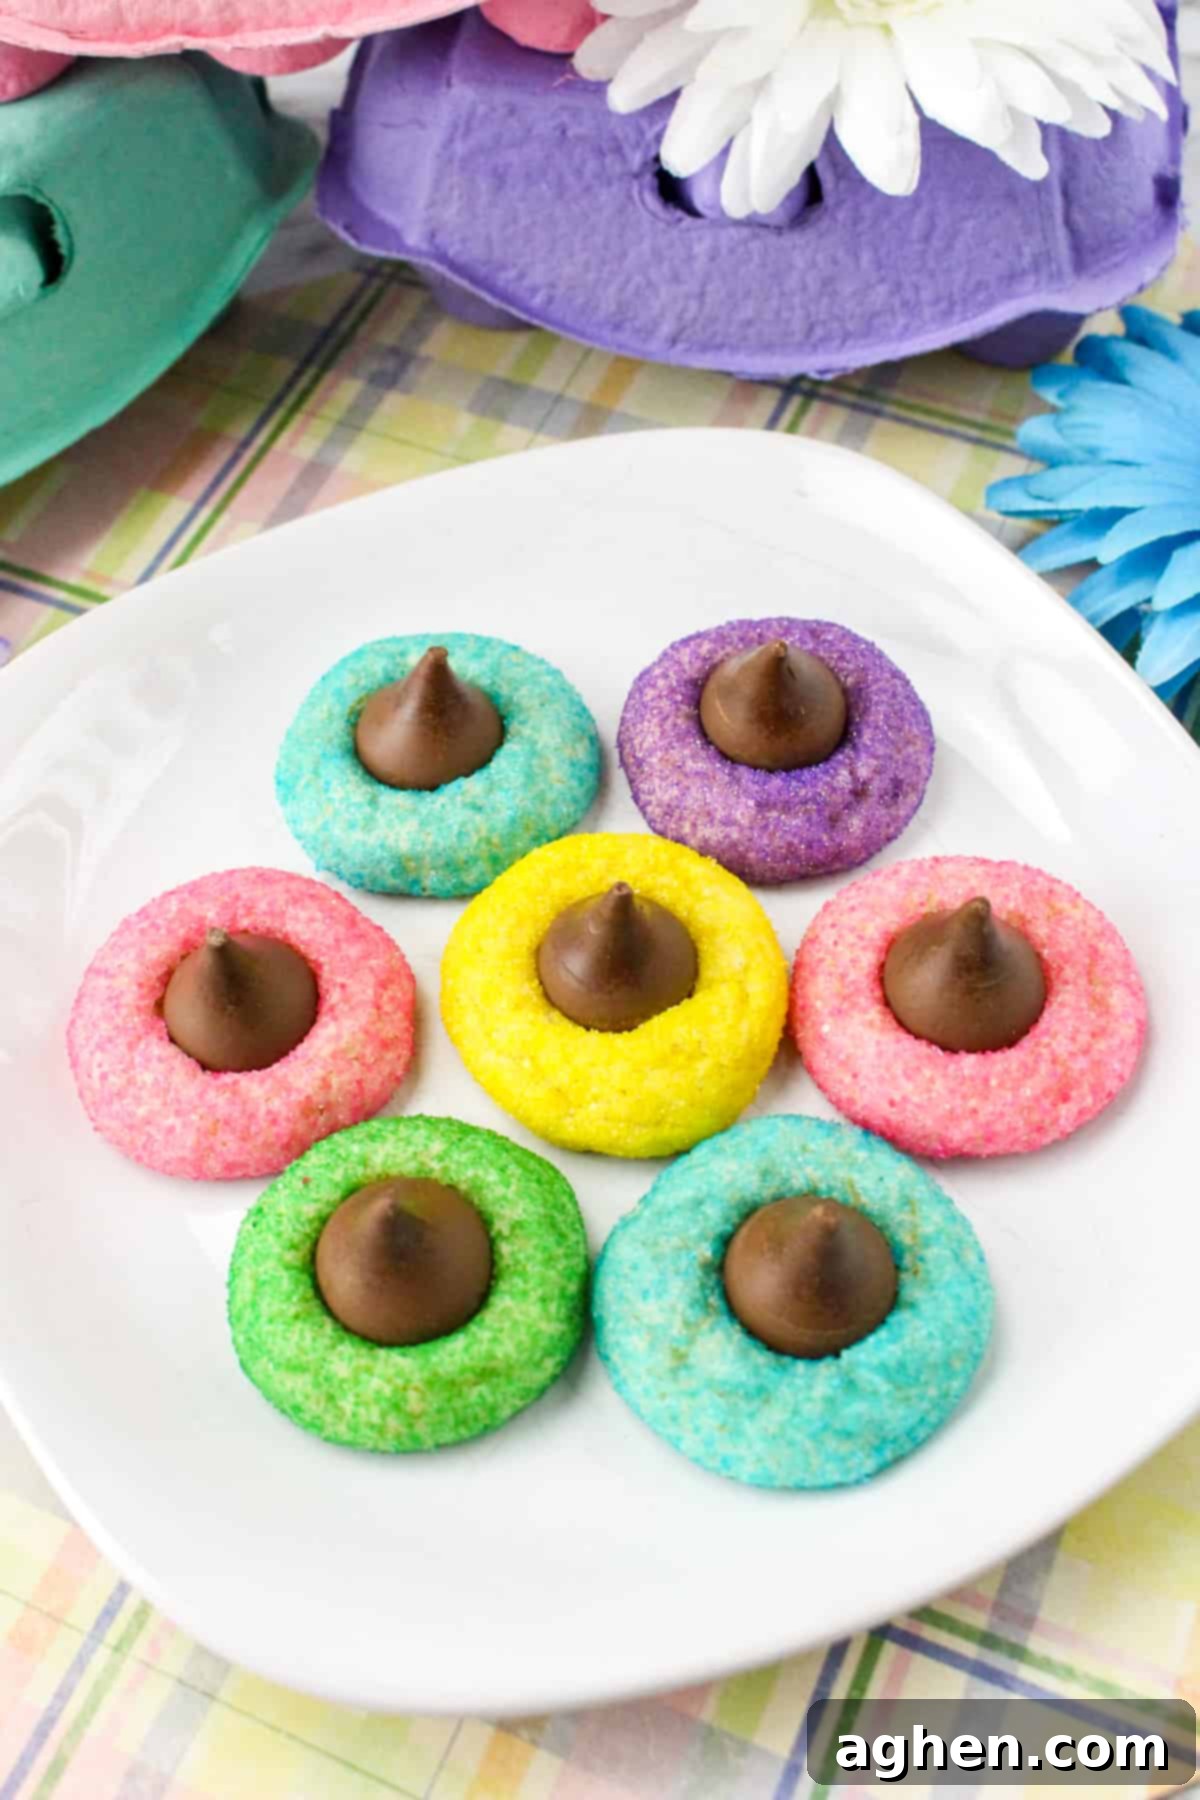
Frequently Asked Questions About Easter Blossom Cookies
If you find that your Easter blossom cookies are spreading too much in the oven and turning out flat, there are a few common culprits. The most likely reason is that your dough wasn’t formed into tight, round balls before baking. If you flatten these cookies at all or don’t roll them firmly, they will spread excessively. Additionally, using butter that is too soft or melted, or an oven that isn’t preheated to the correct temperature, can contribute to spreading. Ensure your butter is softened but still cool to the touch, and your oven thermometer is accurate.
They are almost identical in appearance and method, but there’s a key difference! As you can probably tell from the name, peanut butter blossoms feature a rich peanut butter cookie base that is baked and then topped with a Hershey’s Kiss. Alternatively, these Easter blossom cookies are made with a soft and tender sugar cookie base, giving them a lighter, sweeter flavor profile that’s perfect for spring.
For this particular recipe, unless you’re working in an exceptionally hot kitchen environment, these easy Easter cookies generally do not need to be chilled before they are baked. The recipe is designed to produce a dough that has the perfect consistency for immediate baking. If the dough is formed into tight balls and baked correctly at the specified temperature, they should spread just the right amount in the oven, resulting in perfectly shaped cookies without the extra chilling step.
Colored sanding sugar is usually available in the baking aisle of most grocery stores, especially around holidays. You can also easily order colored sugar online. However, if you’re in a pinch and can’t find it, you have a couple of excellent alternatives. You can make your own by mixing granulated sugar with a few drops of liquid or gel food coloring until the desired hue is achieved. Another creative option for a similar visual effect is to simply dye your cookie dough itself in different pastel colors using food coloring, then roll the balls in plain granulated sugar or leave them plain.
More Tasty Easter Treats to Enjoy
Looking for more delicious ways to celebrate Easter? Explore these other delightful recipes that are perfect for your holiday spread:
- Easter M&M Cookies – Colorful and fun, a kid-favorite!
- Easter Bunny Bark – A sweet, chocolatey, and super easy treat.
- Bunny Bait Easter Snack Mix – The perfect sweet and salty snack for springtime.
- Easter Poke Cake – A moist and delicious cake with a surprise in every bite.
- Rice Krispies Nests – Classic no-bake treats shaped like bird’s nests.
- Best Kids Easter Desserts – Over 30 fantastic recipes for all ages!
Easter Blossom Cookies
Author: Jaclyn
Ingredients
- 2 cups all-purpose flour
- ¼ teaspoon baking soda
- ¼ teaspoon salt
- 1 cup granulated sugar
- ½ cup unsalted butter room temperature
- 1 large egg room temperature
- 1 ½ teaspoon vanilla extract
- 1 to 2 Tablespoons milk
- various colors of brightly colored sanding sugar
- 32 Hershey’s Kisses unwrapped
Instructions
-
Preheat your oven to 350° F (175°C). Line 2 large baking sheets with parchment paper or silicone baking liners and set them aside.
-
In a medium-sized mixing bowl, whisk together the flour, baking soda, and salt until well combined. Set this dry mixture aside.
-
In a separate, large mixing bowl, using an electric mixer, cream together the softened butter and granulated sugar until the mixture is light and fluffy. Add the egg and vanilla extract, beating until just combined and smooth.
-
With the mixer on low speed, gradually add the flour mixture to the wet ingredients and beat until just combined. Be careful not to overmix.
-
Continue mixing on a low speed as you slowly stream in 1 to 2 tablespoons of milk. Add just enough milk to soften the dough to a pliable consistency that is easy to roll.
-
Use a small cookie scoop to portion the dough. Then, use your hands to roll each portion into a firm ball. Roll each ball generously in the colored sugar and place them about 2 inches apart on the prepared lined baking sheet.
-
Bake for 8-10 minutes, or until the cookies are slightly puffed and their edges are just set, but not browned. The centers may still look soft.
-
Allow the cookies to cool on the baking sheet for 2 minutes immediately after removing them from the oven. While still warm, gently press an unwrapped Hershey’s Kiss into the center of each cookie.
-
Allow the cookies to cool for an additional 5 minutes on the baking sheet before transferring them to a wire rack. Let them cool completely on the wire rack to allow the Hershey’s Kisses to fully firm up.
Notes
Unwrap Kisses Ahead: Save yourself some stress by unwrapping all the Hershey Kisses ahead of time. This step takes more time than you’d think, and you’ll want them ready when the cookies come out of the oven.
Melting Kisses are Normal: Initially, the Hershey Kisses will look like they’re melting or softening when pressed into the warm cookies. Don’t panic! They will quickly cool and resolidify into the proper shape as the cookies cool.
Storage Tips: Store cooled cookies in an airtight container at room temperature for up to 1 week, or refrigerate for up to 3 weeks. Cooled cookies can also be frozen for up to 6 months, but sudden temperature changes may cause the candy to “bloom” (a harmless whitish film on the chocolate), which is not pretty but doesn’t affect taste.
Nutrition

Did You Make This Recipe?
Share it with me on Instagram @crayonsandcravings and follow on Pinterest @crayonsandcravings for even more delicious recipes and baking inspiration!
Pin Recipe
Leave A Review
