Unlock Perfect Grilling: Expert Tips & Techniques for Your Weber Grill
Weber grills have long been a cornerstone of backyard cooking, celebrated for their durability, versatility, and ability to help home cooks achieve professional-grade results. Whether you’re a seasoned pitmaster who grew up with a classic Weber kettle, or a modern chef embracing the convenience of a gas grill or the nuanced flavors of a dedicated smoker, Weber offers a robust solution for every culinary ambition. Their extensive range ensures that from quick weeknight meals to elaborate weekend feasts, you have the right equipment at your fingertips.
The beauty of Weber’s enduring legacy lies in its simplicity combined with exceptional performance. Most chefs and grilling enthusiasts today have experience with a Weber product, having developed their own tried-and-true methods over years of backyard barbecues and culinary experiments. But even the most experienced grillers can benefit from refining their techniques and learning new tricks from culinary masters. This guide compiles essential grilling tips from renowned chefs, designed to elevate your cooking experience and ensure every dish you prepare on your Weber grill is nothing short of spectacular. Let’s begin by ensuring our equipment and our approach are perfectly aligned before the food even touches the grates.

1. Always Allow The Grill to Pre-Heat for Optimal Results
Pre-heating your grill is arguably the most fundamental step in achieving perfect grilled food, yet it’s often rushed or overlooked. While most cooks understand the concept, many fail to reach the correct temperature before placing food on the grates. Executive Chef Josh Thomsen, a respected authority in the culinary world, insists on bringing his grills to a blistering 500 degrees Fahrenheit. For charcoal grills, he patiently waits for a thin, even layer of grey ash to form over the coals, indicating uniform heat distribution and that any lighter fluid or starter fuel has completely burned off, preventing unwanted chemical tastes.
The importance of proper pre-heating cannot be overstated. A hot grill ensures a rapid sear, which is crucial for creating those coveted, deep brown grill marks and a flavorful crust through the Maillard reaction. This caramelization locks in juices, enhances texture with an irresistible crunch, and significantly deepens the complexity of flavors in your protein. Without adequate pre-heating, food tends to stick to the grates, cook unevenly, and lose moisture, resulting in a less appealing texture and taste. Whether you’re using a charcoal or gas Weber, always close the lid during pre-heating to allow the internal temperature to stabilize and the grates to reach their ideal searing heat.
2. Utilize Your Grill’s Lid to Master Temperature Control
The lid on your Weber grill is far more than just a cover; it’s a powerful tool for controlling the internal temperature and the cooking environment. Many home grillers only lift the lid to check on doneness, but Chef Sean Brasel, owner of a renowned Miami meat market, emphasizes that the lid is your best device for precise temperature management. Understanding how to use it effectively can dramatically improve your grilling results, especially when dealing with various cuts and types of food.
For example, if you’re grilling a thick steak that requires a well-done finish, it shouldn’t remain exposed to direct, roaring 500-degree heat for the entire cooking process. After achieving an initial high-heat sear for those desirable grill marks and crust, you should often close the lid or move the food to an indirect heat zone, potentially removing the lid briefly to lower the ambient temperature. Closing the lid creates a convection oven effect, circulating heat and smoke, which is ideal for cooking thicker items through evenly without burning the exterior. Conversely, lifting the lid allows heat to escape, reducing the internal temperature and providing more direct radiant heat, which might be useful for a quick finish or to prevent overcooking delicate items. Mastering the lid means mastering your grill’s internal climate.

3. Always Temper Your Food Before Grilling
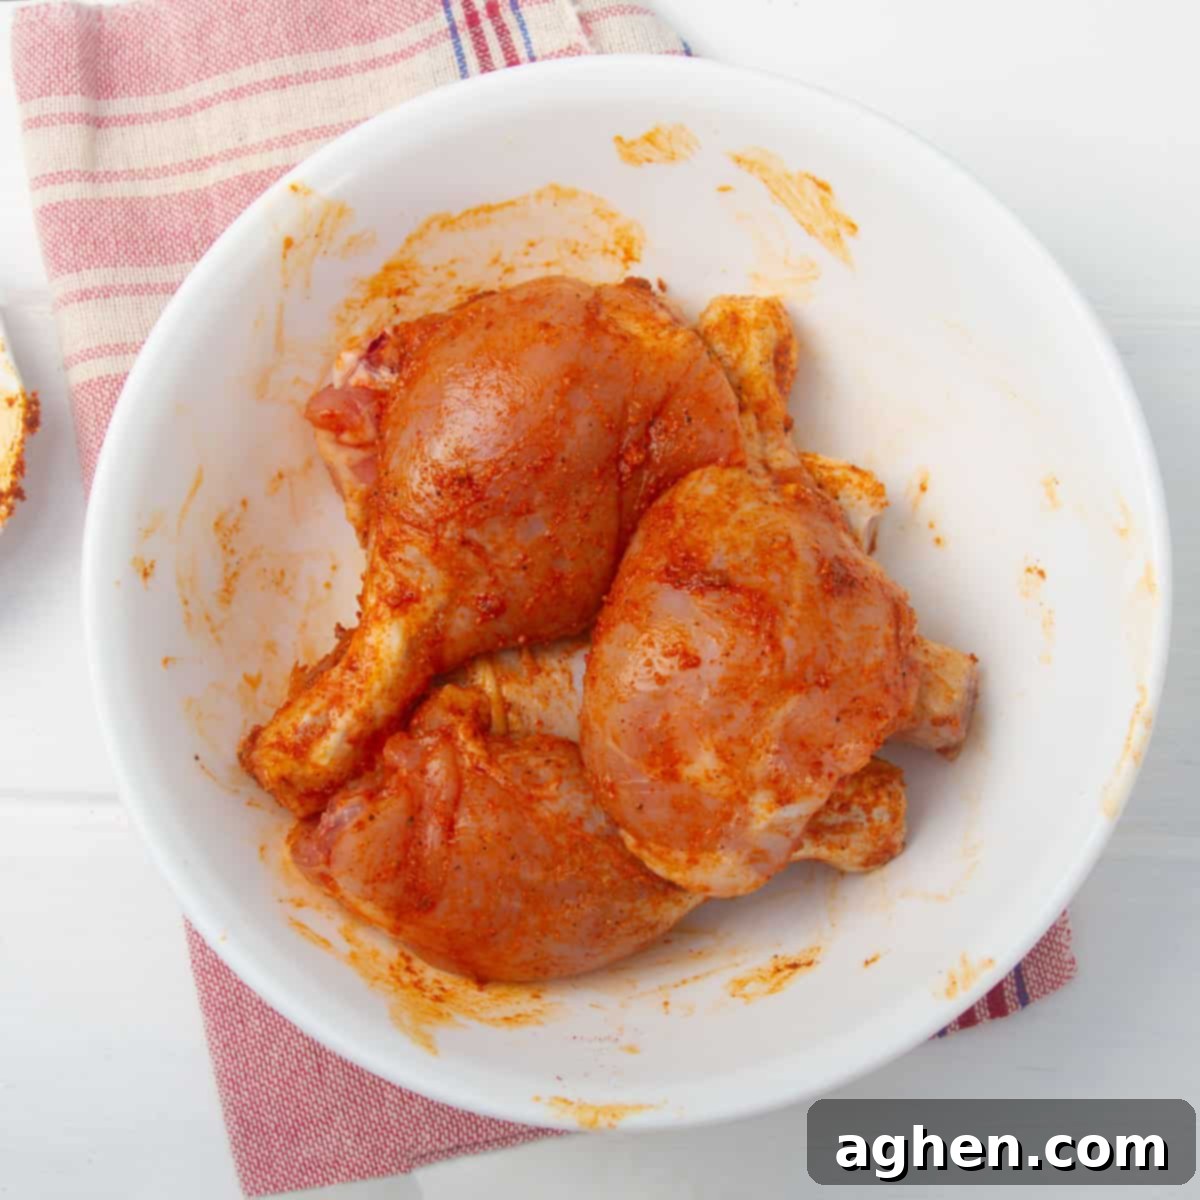
Bringing your food to room temperature before it hits the grill is a non-negotiable step for any serious griller. This process, known as tempering, is crucial for achieving even cooking and superior flavor. As culinary legend Wolfgang Puck has often highlighted, cold foods, especially proteins stored in a refrigerator, can absorb undesirable flavors and odors. More importantly, cold food will cook unevenly when placed on a hot grill, leading to a seared exterior before the center has had a chance to reach the desired doneness, resulting in a tough, rubbery, or inconsistently cooked interior.
Tempering allows the protein to relax and its internal temperature to rise slightly and uniformly. This ensures that when the food meets the hot grates, it cooks through more consistently from edge to center. For a thick steak, allowing it to sit out for 30-60 minutes before grilling can make a significant difference. For larger cuts like roasts or whole chickens, this process might take even longer. This seemingly simple step ensures that your protein retains its natural aroma, cooks more tenderly, and delivers the proper taste and texture you expect from a perfectly grilled meal, preventing a cold core or dried-out edges.
4. Master the Art of Cooking Over Indirect Heat
While direct high heat is excellent for searing, many dishes benefit immensely from cooking over indirect heat. Esteemed chef and restaurateur Tom Colicchio is a strong advocate for this technique, recognizing its ability to infuse food with that sought-after BBQ flavor while simultaneously protecting it from flare-ups and the risk of over-charring. Indirect heat allows for a slower, more even cook, making it perfect for larger cuts, delicate items, or anything that needs to cook through without burning.
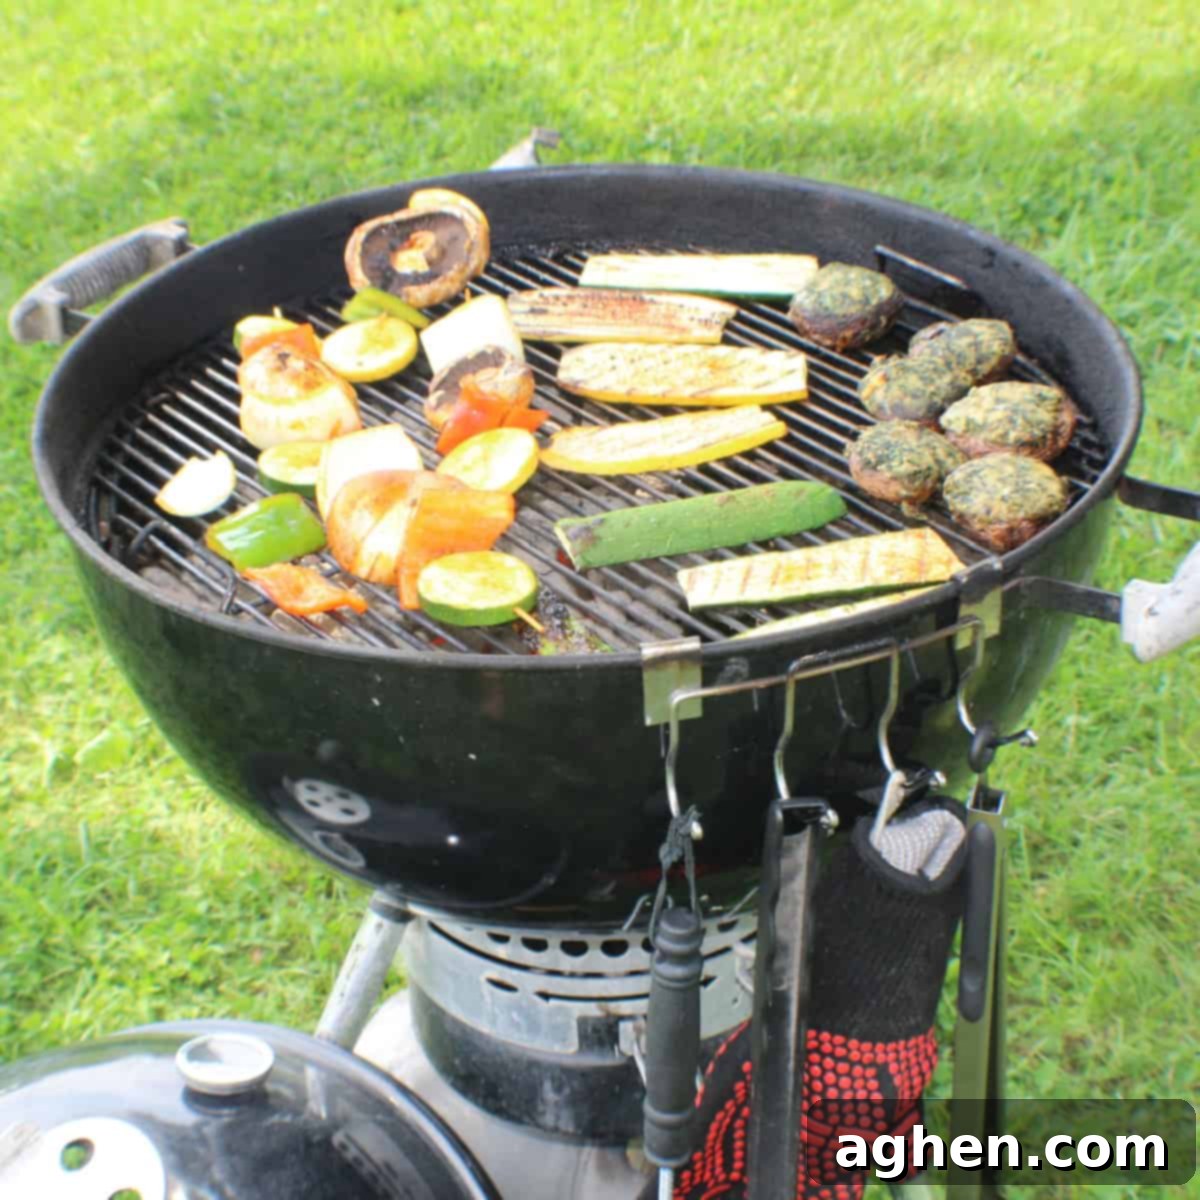
On larger, specialized smokers or pellet grills, ample shelf space away from direct flames is usually available. However, you can effectively mimic indirect cooking on a standard gas or charcoal Weber grill. For gas grills, simply turn off one or more burners on one side and place your food over that unlit section. Run the remaining burners on high to create a consistent, circulating heat environment. For charcoal grills, bank your hot coals to one side of the grill and place your food on the opposite, coal-free side. This two-zone cooking setup provides a “cool” zone where food can gently roast and smoke, absorbing flavors without direct exposure to intense heat. This method is ideal for whole chickens, ribs, briskets, and even finishing thicker steaks after an initial sear.

5. Transform Any Grill Into a Makeshift Smoker
You don’t need a dedicated smoker to imbue your food with rich, smoky flavors. Chef Charlie Palmer, renowned for his Charlie Palmer Steak Houses, offers a brilliant suggestion: turn almost any Weber grill into a makeshift smoker. This technique opens up a world of flavor possibilities, allowing you to achieve that coveted smoky essence in your dishes every time, regardless of your grill type. The key lies in creating a source of smoldering wood chips or chunks within your grilling setup.
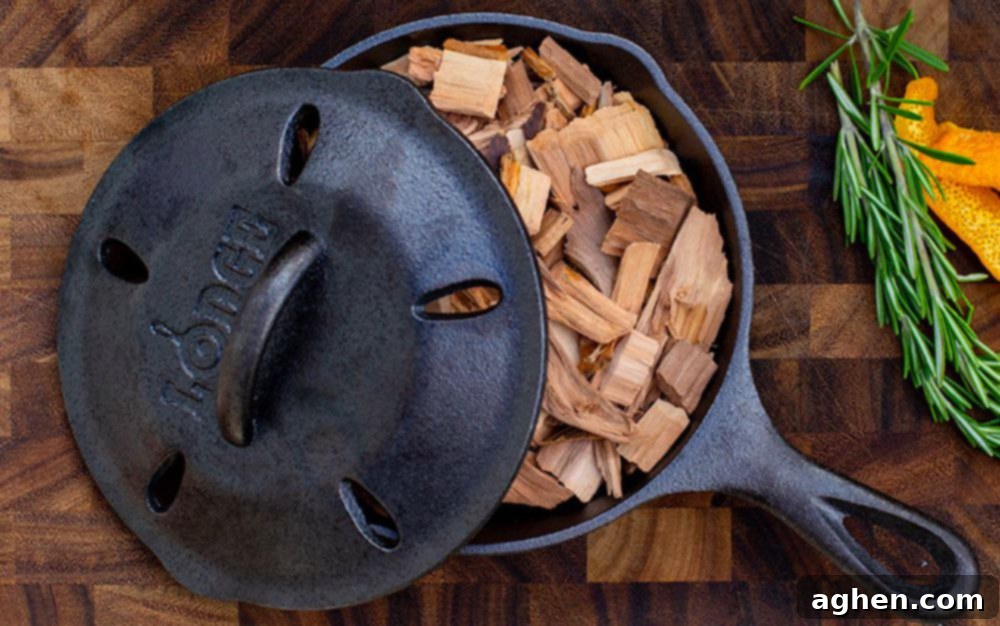
For standard charcoal or gas grills, there are several effective methods. The simplest involves creating foil packets filled with dry or pre-soaked wood chips (soaking is debatable, as dry chips often produce cleaner smoke). Puncture these packets a few times and place them directly on your charcoal or over the lit burners of a gas grill. For a more robust smoke, you can use a dedicated smoker box or, as Charlie Palmer suggests, get creative with bricks. Place fire-safe bricks on either side of your grill grate, directly above the flames or coals, and lay wood chunks or a metal tray of wood chips on top of the bricks. This creates a low-burning, smoldering source of smoke. Experiment with different wood types—hickory for bold flavor, apple or cherry for sweeter, milder smoke, or mesquite for a strong, earthy note—to find your perfect match. Remember to keep the lid closed as much as possible to trap the smoke and allow it to infuse your food.
6. Resist the Urge to Constantly Flip Your Food
Patience is a virtue, especially when grilling. One of the most common mistakes amateur grillers make is constantly fussing with and flipping their food. Celebrity chef Bobby Flay is famous for advising his show guests that meat, particularly steaks and burgers, should ideally be flipped only once. This rule, though frequently broken, is founded on sound culinary principles that significantly impact the quality of your grilled items.
When you place meat on a hot grill, it needs time to develop a crust. This crust, formed by the Maillard reaction, is not only delicious but also crucial for preventing the meat from sticking to the grates. Flipping too early interrupts this process; the meat will tear, leaving precious flavor and juices behind. Instead, let the first side cook undisturbed until it naturally releases from the grates—a clear sign that a beautiful crust has formed. If you’re concerned about overcooking, particularly for thinner cuts, simply shorten the cooking time on the second side. Frequent flipping also causes significant heat loss from your grill, extending cooking times and leading to less consistent results. By resisting the urge to poke, prod, and flip, you allow your food to cook more efficiently, develop superior flavor and texture, and retain its natural juiciness. Once cooked, remember to let your meat rest for a few minutes off the grill before slicing; this allows the juices to redistribute, ensuring every bite is moist and flavorful.