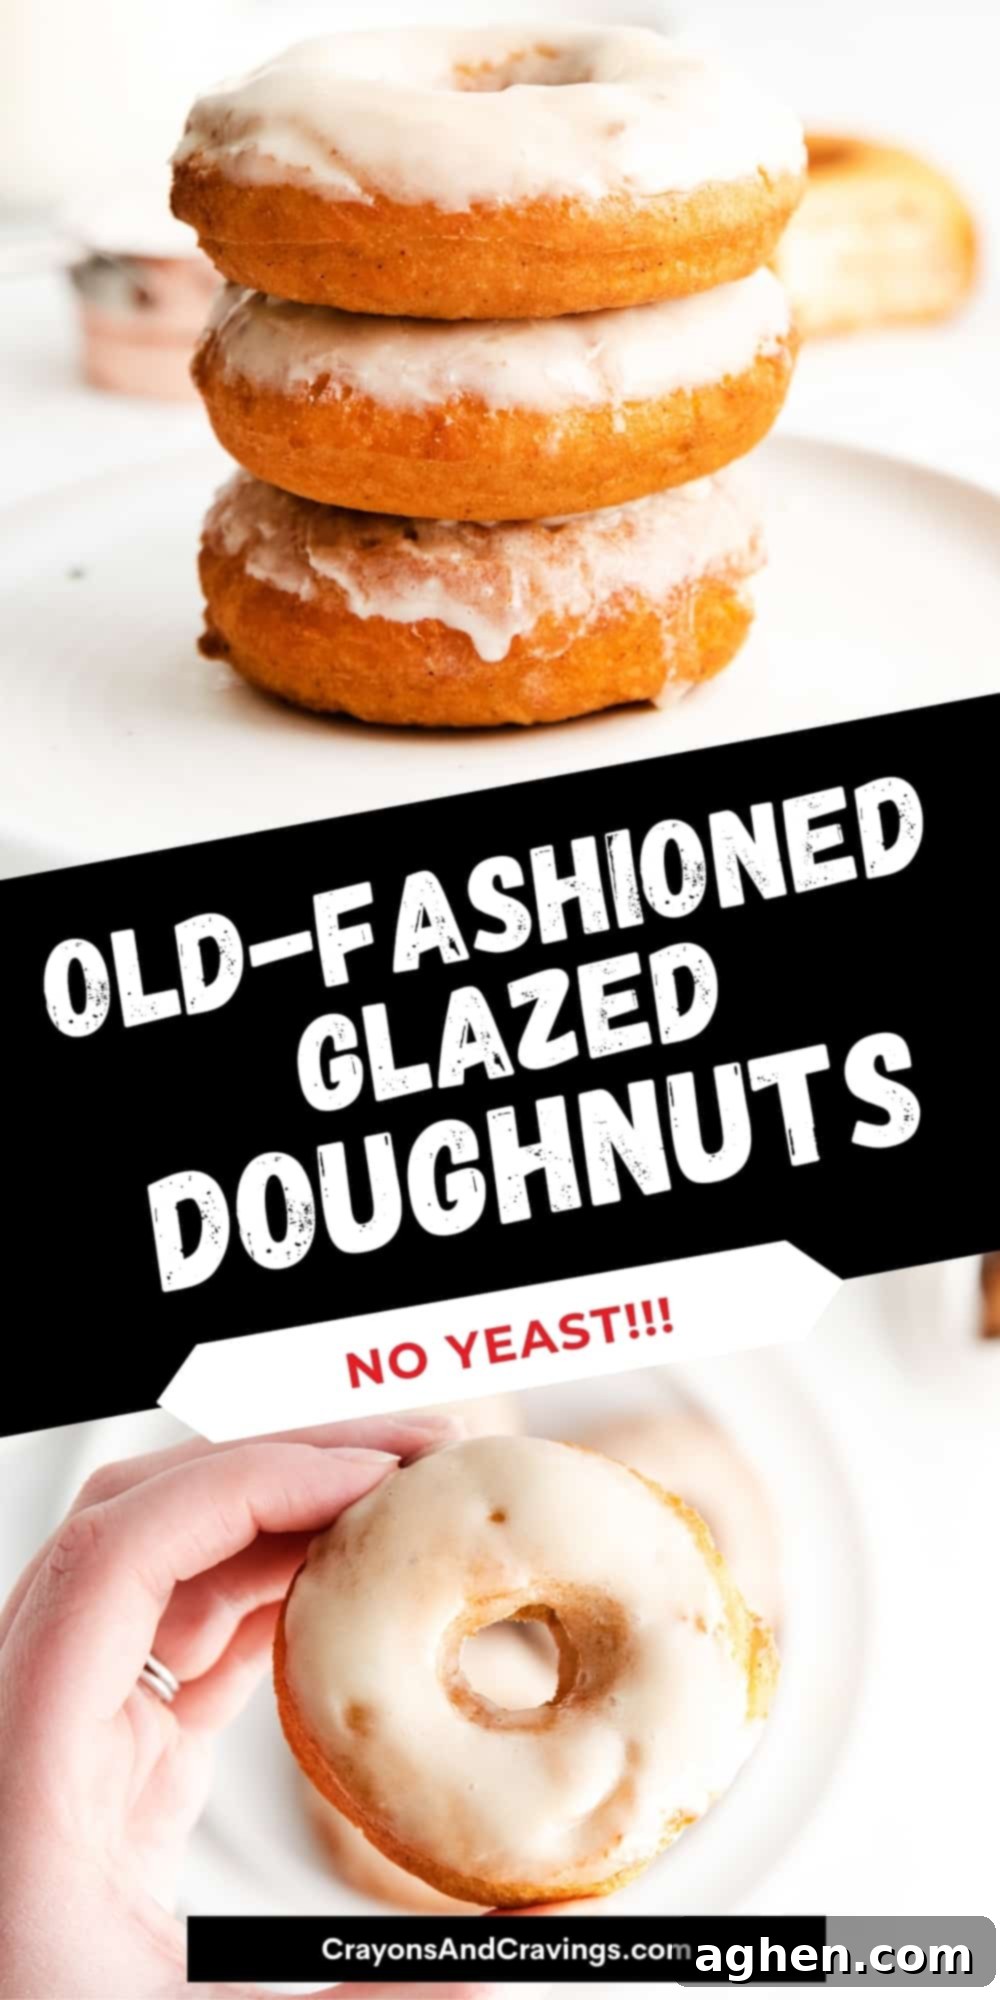
The Ultimate Guide to Making Classic Old-Fashioned Glazed Buttermilk Doughnuts from Scratch
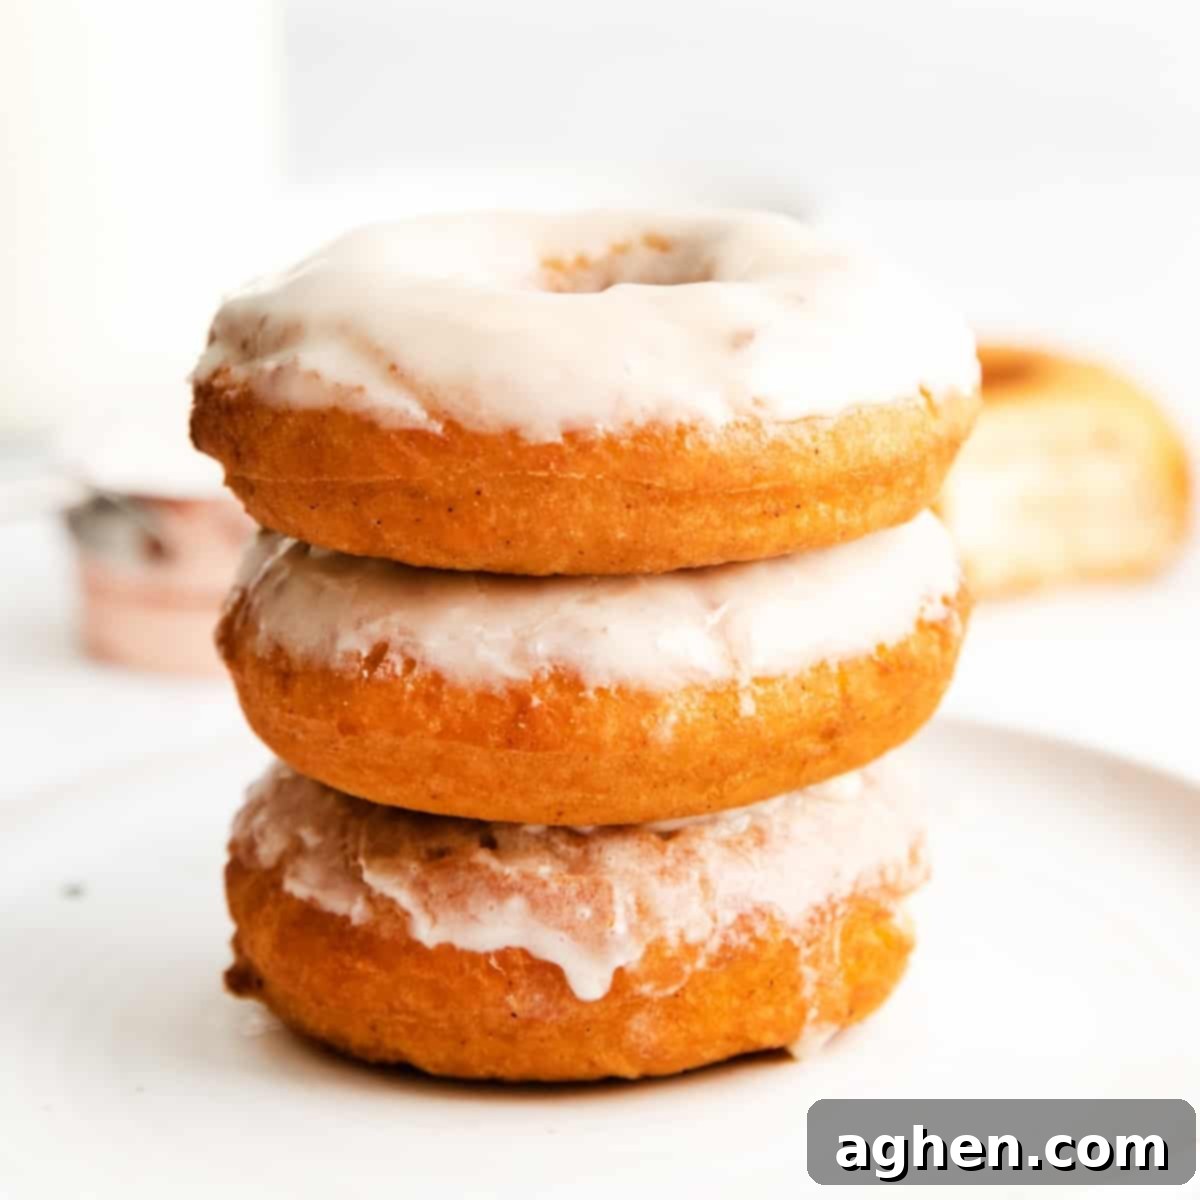
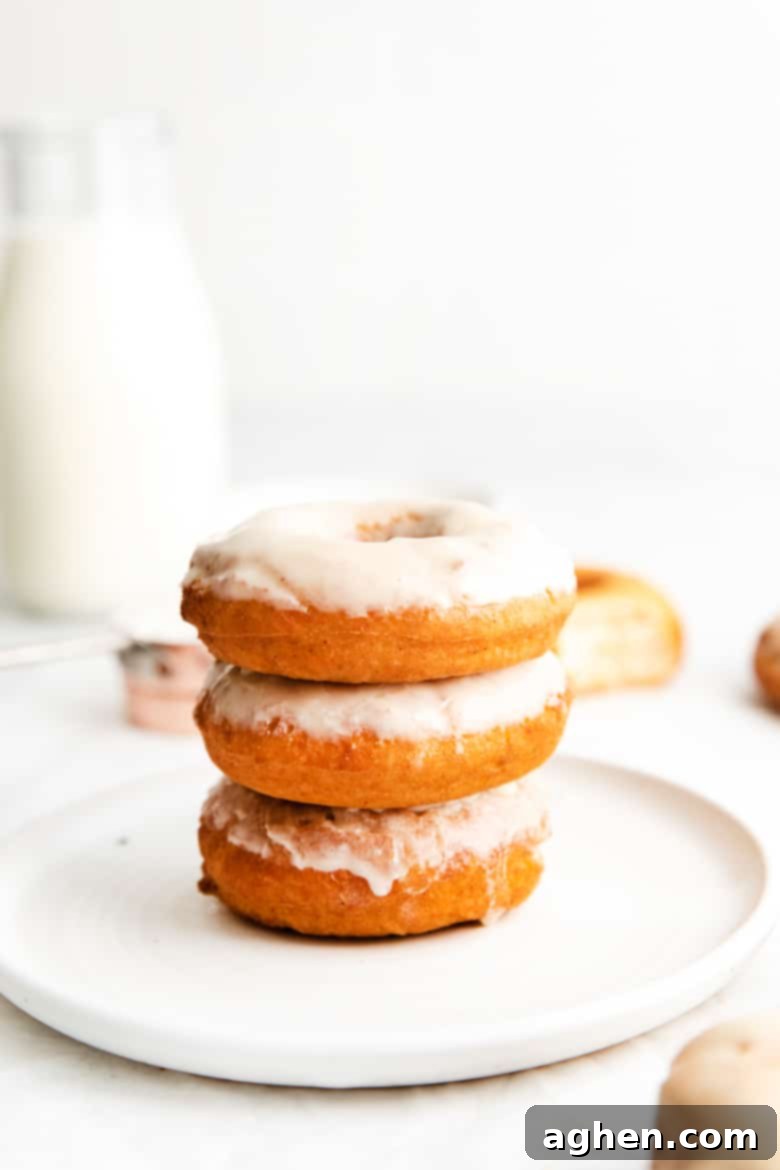
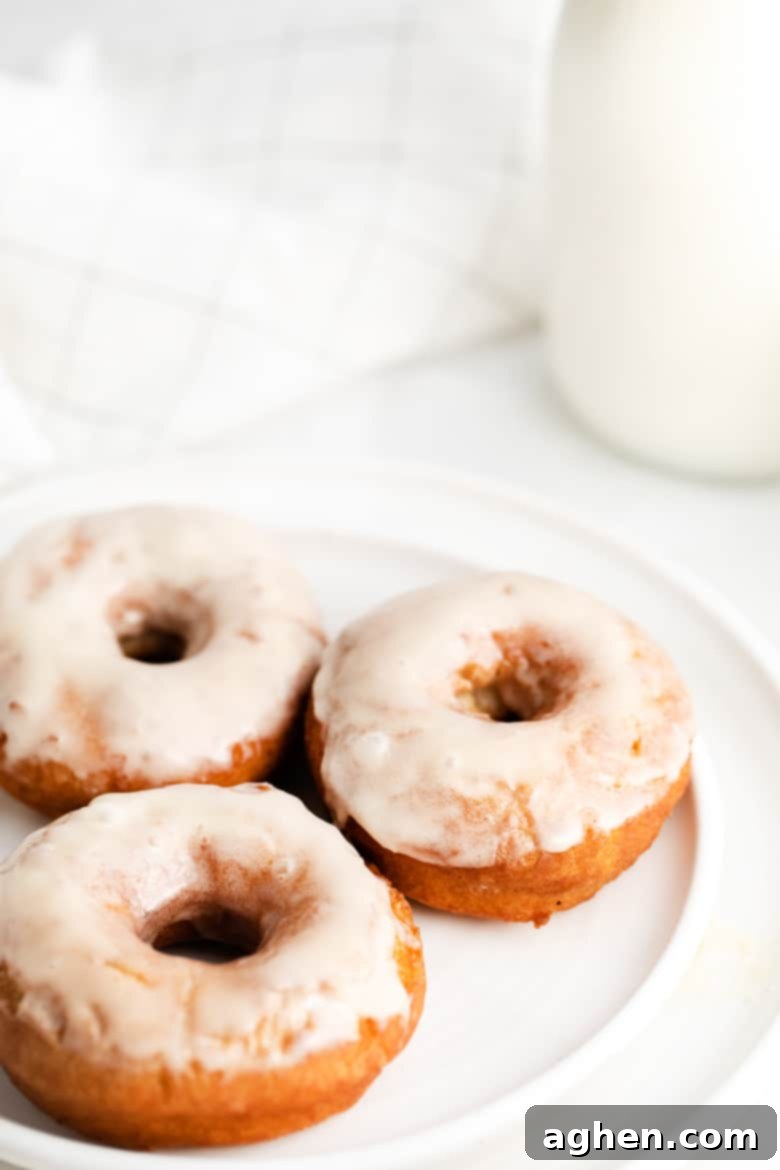
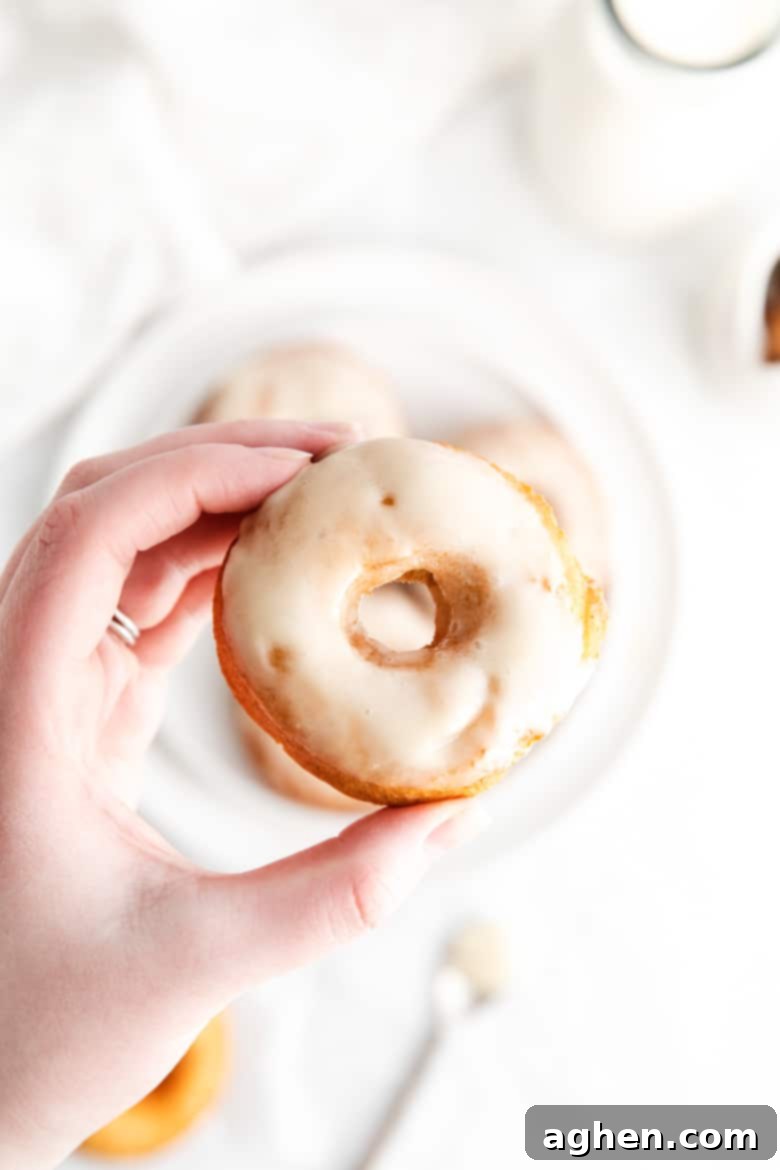
There’s a special kind of magic in a homemade doughnut, and these classic old-fashioned buttermilk doughnuts are the epitome of that culinary enchantment. Deep-fried to a beautiful golden perfection, each bite offers a delightful contrast: a wonderfully crisp exterior that gives way to a soft, fluffy, and incredibly tender cake-like interior. To truly elevate this breakfast treat, they are generously topped with a silky, creamy vanilla glaze that melts slightly when applied to the warm doughnuts, creating an irresistible finish. This tried-and-true old-fashioned doughnut recipe is not just a one-time bake; it’s a timeless gem that you’ll find yourself reaching for and making again and again, becoming a cherished staple in your kitchen.
Craving a quicker indulgence? While these scratch-made beauties are worth every moment, sometimes you need a fast fix. For those times, explore our easy biscuit donuts, a brilliant shortcut to satisfying your doughnut desires without the extensive prep.
Creating these delightful cake doughnuts from scratch is a surprisingly simple and rewarding process. One of the greatest advantages of this recipe is that it’s made without yeast, eliminating the need for lengthy proofing times. This means you can whip up a batch of these glorious homemade doughnuts and enjoy them fresh much sooner, perfect for an impromptu weekend breakfast or a spontaneous craving. The dough comes together quickly and, after a brief chill, is ready to be transformed into these iconic, craggy-edged treats.
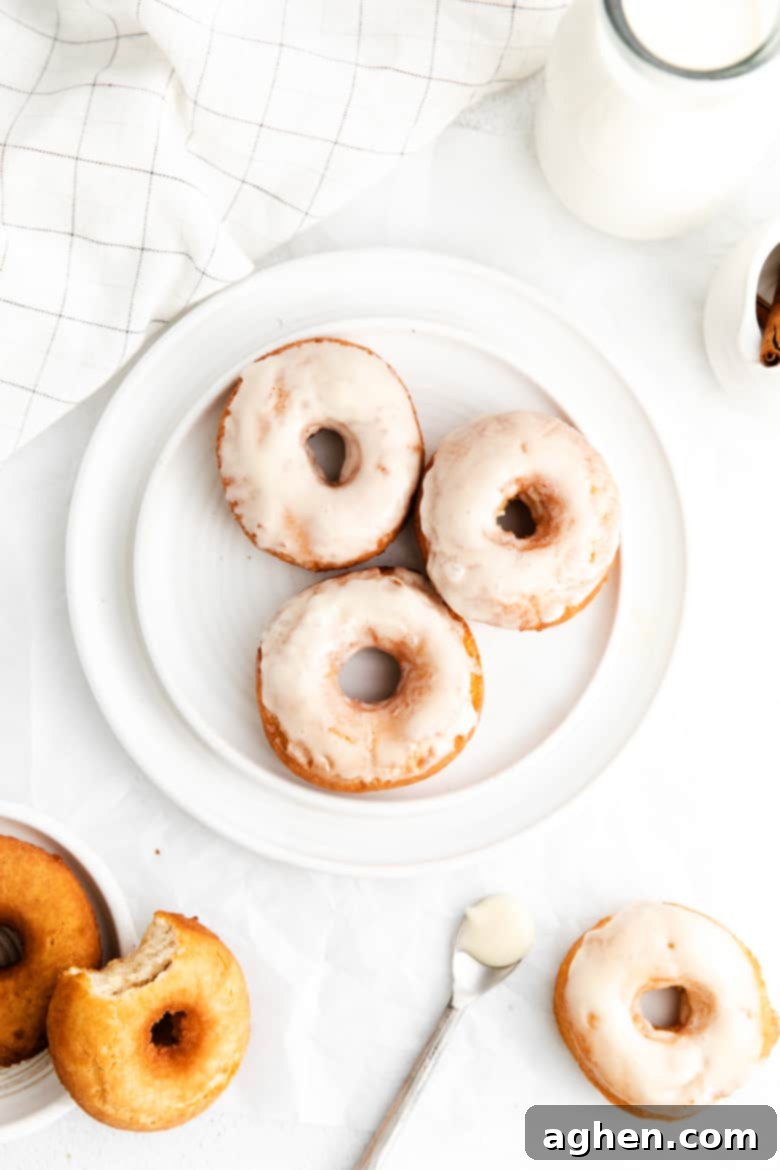
While the creamy vanilla glaze adds a layer of decadent sweetness and a classic finish, it’s entirely optional. These old-fashioned buttermilk doughnuts are incredibly delicious on their own. Their rich, tender crumb is perfectly sweetened and delicately flavored with warm hints of cinnamon and nutmeg, making them a delightful standalone pastry. Enjoy them plain, dusted with powdered sugar, or as a perfect companion to your morning coffee, where their subtle spices and tender texture truly shine.
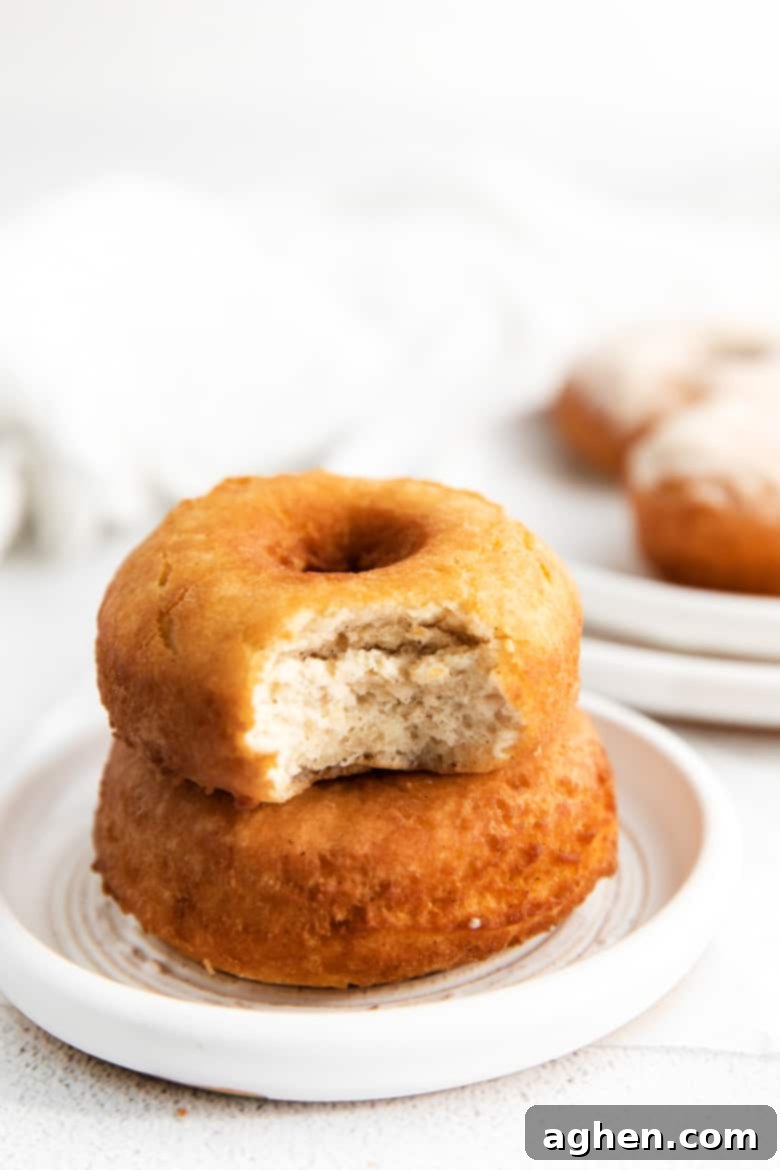
Prefer to skip the deep-frying process altogether and embrace a healthier, equally delicious alternative? You’re in luck! Try these delicious air fryer doughnuts, which offer a fantastic way to enjoy homemade doughnuts with less oil and less fuss, perfect for a modern twist on a beloved classic.
Essential Ingredients for Perfect Homemade Doughnuts
As you’ll discover, the beauty of this old-fashioned doughnut recipe lies in its simplicity and the accessibility of its ingredients. The list is comprised of pantry staples you likely already have on hand, making it easy to whip up a batch whenever the craving strikes for these delicious homemade treats.
For the Doughnuts
- 3 ¼ cups all-purpose flour
- 2 teaspoons baking powder
- 1 teaspoon ground cinnamon
- ½ teaspoon ground nutmeg
- ⅔ cup granulated sugar
- 2 large eggs
- 4 tablespoons butter, melted
- ⅔ cup buttermilk
- canola or vegetable oil, for frying
For the Glaze
- 1 cup powdered sugar (also known as confectioners’ sugar)
- 2 tablespoons heavy cream
- 1 teaspoon pure vanilla extract
Creative Substitutions and Delicious Variations
While this classic old-fashioned buttermilk doughnut recipe is perfect as is, it’s also incredibly versatile! Feel free to experiment with these simple substitutions and delightful variations to customize your homemade doughnuts to your personal taste and preference.
- Cake Flour: For an even more delicate and tender crumb, consider substituting cake flour for all-purpose flour. Cake flour has a lower protein content, which results in a lighter, softer doughnut, reminiscent of bakery-style treats.
- Milk in Glaze: If you don’t have heavy cream on hand, or prefer a slightly lighter glaze, you can easily substitute it with half-and-half or regular milk. Start with a smaller amount and add more as needed to achieve your desired consistency.
- Powdered Sugar Finish: Instead of dipping your freshly fried doughnuts in a glaze, simply dust them generously with powdered sugar while they are still warm. This creates a beautifully simple and equally delicious coating that highlights the doughnut’s natural flavor.
- Cinnamon Sugar Coating: Skip the vanilla glaze entirely and roll your warm, freshly fried doughnuts in a mixture of ground cinnamon and granulated sugar. This classic coating adds a delightful spice and crunch that is absolutely irresistible. Yum!
- Sprinkles for Fun: For a pop of color and a touch of whimsy, immediately top your glazed doughnuts with colorful sprinkles while the glaze is still wet. This is especially fun for celebrations or when baking with kids.
- Chocolate Glaze: For chocolate lovers, replace some of the powdered sugar in the glaze with cocoa powder, and adjust liquid as needed. A rich chocolate glaze pairs wonderfully with the subtle spice of the doughnuts.
- Citrus Zest: Add a teaspoon of lemon or orange zest to the doughnut dough or the vanilla glaze for a bright, refreshing flavor note that complements the spices beautifully.
How to Master Old-Fashioned Cake Doughnuts: A Step-by-Step Guide
Making these glorious old-fashioned buttermilk doughnuts might seem daunting, but this recipe breaks the process down into manageable, straightforward steps. With a little preparation and attention to detail, you’ll be enjoying homemade doughnut perfection in no time!
- Prepare the Dough: Combine dry and wet ingredients to form a soft, pliable dough.
- Chill Dough: A crucial step for easier handling and a better texture.
- Roll and Cut: Shape the dough into classic doughnut forms.
- Heat the Oil: Get your frying oil to the perfect temperature for optimal crispness.
- Fry the Doughnuts: Achieve that beautiful golden-brown exterior and tender interior.
- Glaze the Doughnuts: Finish with a sweet, creamy coating.
You’ll find the comprehensive, printable recipe card with all the precise measurements and detailed instructions at the end of this post. It’s designed to guide you through every stage, ensuring your homemade old-fashioned doughnuts are a resounding success.
Expert Recipe Tips for Doughnut Perfection
Achieving bakery-quality old-fashioned doughnuts at home is easier than you think with these expert tips. Pay close attention to these details, and you’ll be rewarded with perfectly crisp, tender, and incredibly delicious homemade treats every time.
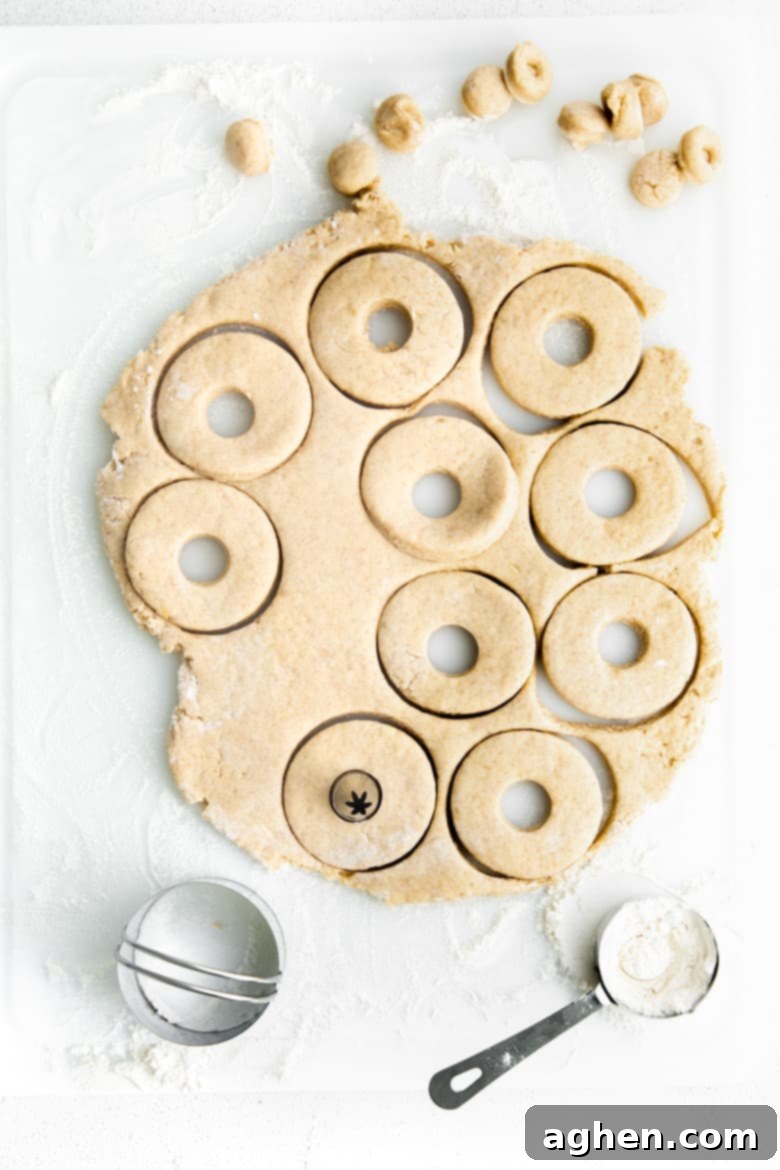
- Doughnut Cutter Alternatives: Don’t fret if you don’t own a specialized doughnut cutter. You can easily improvise! Use a biscuit cutter or a round cookie cutter for the main doughnut shape, and a small circular object, such as a piping tip (as shown in the image above), a clean bottle cap, or even a small medicine cup, to cut out the center hole. Ensure both are floured to prevent sticking.
- Perfect Glaze Consistency: The glaze should be smooth and pourable, but thick enough to coat the doughnuts without being transparent. If your glaze appears too thin, gradually add a bit more powdered sugar, a tablespoon at a time, until the desired thickness is reached. Conversely, if the glaze is too thick, incorporate a touch more heavy cream (or milk) in small increments until it’s perfectly dip-able.
- Glaze While Warm: This is a crucial step for achieving that signature, slightly melted, even glaze. Make sure to dip your freshly fried doughnuts into the glaze while they are still warm, but not piping hot. The residual warmth from the doughnuts will help the glaze set beautifully and evenly, ensuring maximum flavor and appeal.
- Maintain Oil Temperature: Consistency in oil temperature is key to perfectly fried doughnuts. If the oil is too cool, the doughnuts will absorb too much oil and become greasy. If it’s too hot, they will brown too quickly on the outside and remain raw inside. Aim for a consistent 375°F (190°C) and use a deep-fry thermometer. Adjust heat as needed between batches.
- Don’t Overcrowd the Pot: Fry only a few doughnuts at a time. Overcrowding the pot will drastically drop the oil temperature, leading to greasy and poorly cooked doughnuts. Frying in small batches ensures consistent temperature and even cooking.
- Flour Your Surface and Cutter: When rolling and cutting the dough, generously flour your work surface and your doughnut cutter (or substitutes) to prevent sticking. This makes handling the dough much easier and ensures clean cuts.
Helpful Kitchen Supplies for Homemade Doughnuts
Having the right tools can make the process of making homemade old-fashioned doughnuts even more enjoyable and efficient. Here are a few essential kitchen supplies that will ensure your doughnut-making experience is smooth and successful:
- Doughnut Cutter: A dedicated doughnut cutter will give your homemade treats that classic, uniform shape with ease. Many come with a central cutter for the hole, making the process quick and tidy.
- Rolling Pin with Rings: An adjustable rolling pin with rings allows you to roll out your dough to a precise, consistent thickness (like the ½ inch recommended in this recipe), which is vital for even cooking and perfectly shaped doughnuts.
- Deep Fry Thermometer: This tool is indispensable for deep-frying. A thermometer that clips to the side of your pot helps you monitor and maintain the precise oil temperature (375°F / 190°C), which is crucial for achieving golden, crispy, and cooked-through doughnuts without them becoming greasy or burnt.
- Spider Strainer: This unique utensil is the perfect tool for safely lowering doughnuts into hot oil and then carefully removing them once they are golden brown. Its web-like design allows excess oil to drain quickly, and its long handle keeps your hands away from the heat.
- Large Dutch Oven or Heavy-Bottomed Pot: Essential for safe and efficient deep-frying, a heavy-bottomed pot distributes heat evenly and helps maintain a stable oil temperature.
- Wire Cooling Rack: A sturdy wire rack placed over a sheet pan is ideal for draining excess oil from freshly fried doughnuts and allowing glazed doughnuts to set without sticking.
Storage and Freshness Tips for Your Buttermilk Doughnuts
While homemade buttermilk doughnuts are an absolute delight, they are truly at their peak when enjoyed the very same day they are made. The crisp exterior and soft interior are best experienced fresh out of the fryer (and ideally, warm from the glaze!). However, if you find yourself with leftovers, or want to prepare them slightly ahead, here’s how to store them to maintain as much freshness as possible:
Unglazed Doughnuts: You can store unglazed doughnuts for 1-2 days. Allow the fried doughnuts to cool completely to room temperature on a wire rack before transferring them to an airtight container. Keep the container at room temperature, away from direct sunlight or heat. This method helps preserve their texture without making them soggy from a glaze.
Glazed Doughnuts: For glazed doughnuts, it’s essential to let the glaze set completely before storing them. Once the glaze is firm to the touch (this can take 15-30 minutes at room temperature), gently place the doughnuts in an airtight container. Store glazed doughnuts in the refrigerator for up to 2 days. The refrigeration helps prevent the glaze from becoming sticky or melting. Bring them to room temperature before serving for the best flavor and texture.
Freezing (Unglazed Doughnuts): For longer storage, unglazed, fried doughnuts can be frozen. Once completely cooled, place them in a single layer on a baking sheet and freeze until solid. Then transfer them to a freezer-safe airtight container or bag, separating layers with parchment paper. They can be frozen for up to 1-2 months. Thaw at room temperature and warm slightly in the oven or air fryer before serving, or glaze them after thawing.
Freezing Dough: You can also freeze the raw doughnut dough. Wrap it tightly in plastic wrap, then aluminum foil, and store in the freezer for up to 1 month. Thaw in the refrigerator overnight before rolling, cutting, and frying.
More Sweet Breakfast Recipes to Savor
If you’ve fallen in love with these old-fashioned glazed buttermilk doughnuts, you’re likely a fan of delicious sweet breakfast treats. Explore these other fantastic recipes that are perfect for brunches, holidays, or any morning you want to make a little extra special:
- Old-Fashioned Pound Cake with Sour Cream: A dense, moist, and wonderfully rich cake, perfect with coffee.
- Easy Monkey Bread: A fun, pull-apart cinnamon-sugar bread that’s a crowd-pleaser.
- Brioche French Toast: Elevate your French toast with rich, buttery brioche bread for an indulgent start to your day.
- Maple Walnut Coffee Cake: A streusel-topped delight with warm maple and nutty flavors.
- Apple Danish: Flaky pastry filled with sweet, spiced apples, a perfect pairing for coffee or tea.
Classic Old-Fashioned Glazed Buttermilk Doughnuts
Author: Jaclyn
Ingredients
For the Old-Fashioned Buttermilk Doughnuts:
- 3 ¼ cups all-purpose flour
- 2 teaspoons baking powder
- 1 teaspoon ground cinnamon
- ½ teaspoon ground nutmeg
- ⅔ cup granulated sugar
- 2 large eggs
- 4 tablespoons unsalted butter melted and slightly cooled
- ⅔ cup buttermilk room temperature is best
- canola or vegetable oil enough for at least 2 inches deep in your pot, for frying
For the Creamy Vanilla Glaze:
- 1 cup confectioners’ sugar sifted, for a smoother glaze
- 2 tablespoons heavy cream or milk, for desired consistency
- 1 teaspoon pure vanilla extract for authentic flavor
Instructions
-
Prepare the Doughnuts: Crafting the perfect old-fashioned dough.
-
In a medium-sized bowl, thoroughly whisk together the all-purpose flour, baking powder, ground cinnamon, and ground nutmeg until well combined. This ensures the leavening and spices are evenly distributed throughout the dough.
-
In the bowl of a stand mixer fitted with the paddle attachment, add the granulated sugar and large eggs. Beat these on medium-high speed for 3-5 minutes until the mixture becomes smooth, significantly lighter in color (pale yellow), and slightly thickened. This process incorporates air and creates a light base for your cake doughnuts.
-
Carefully pour in the melted butter and buttermilk into the egg mixture. Mix on low speed just until they are combined, being careful not to overmix at this stage. Buttermilk is essential for the tender texture and distinctive flavor of old-fashioned doughnuts.
-
Now, switch to the dough hook attachment. Gradually add the prepared dry ingredients (flour mixture) to the bowl of the stand mixer. Mix on low speed until a smooth, cohesive dough forms, which typically takes about 2-3 minutes. Avoid over-mixing, as this can develop too much gluten, leading to tough doughnuts. The dough should be soft but manageable.
-
Gently transfer the doughnut dough to a lightly greased bowl (a thin film of cooking spray or oil works well). Cover the bowl tightly with plastic wrap and place it in the refrigerator to chill for at least one hour, or preferably longer (up to overnight). Chilling the dough makes it much easier to handle and cut, and helps prevent the doughnuts from absorbing too much oil during frying.
-
Ready to Fry: Preparing your oil and workspace. After the dough has sufficiently chilled, begin heating at least 2 inches of canola or vegetable oil in a large Dutch oven or a deep, heavy-bottomed pan. Place it over medium heat and allow the oil to reach a consistent temperature of 375°F (190°C). Use a deep-fry thermometer to accurately monitor the temperature. Meanwhile, line a large sheet pan with several layers of paper towels; this will be the resting spot for your freshly fried doughnuts to absorb any excess oil. Set this aside close to your frying station.
-
While the oil is heating up and reaching the target temperature, transfer your chilled dough to a generously floured surface. Using a floured rolling pin, roll out the dough to an even ½ inch thickness. Ensuring consistent thickness is important for even cooking.
-
Using a floured doughnut cutter, or a biscuit cutter and a small piping tip as suggested in our tips section, carefully cut out your doughnuts. Dip the cutter in flour before each cut to prevent sticking. For that distinctive old-fashioned look, gently score the top of each doughnut with a sharp knife, creating a few shallow lines. Gather the dough scraps, re-roll them gently (do not overwork), and cut out more doughnuts. If desired, you can roll the smaller dough scraps into balls to form delicious doughnut holes.
-
Frying to Perfection: The art of golden doughnuts. Once the oil is at 375°F, carefully lower a few doughnuts into the hot oil at a time. It’s crucial not to overcrowd the pan, as this will lower the oil temperature and result in greasy doughnuts. Fry until they are beautifully golden brown and cooked through, usually around 60-90 seconds per side. Doughnut holes will cook much faster, typically 30-45 seconds per side. Use a spider strainer to flip the doughnuts and remove them. After each batch, allow the oil temperature to return to 375°F before adding the next batch.
-
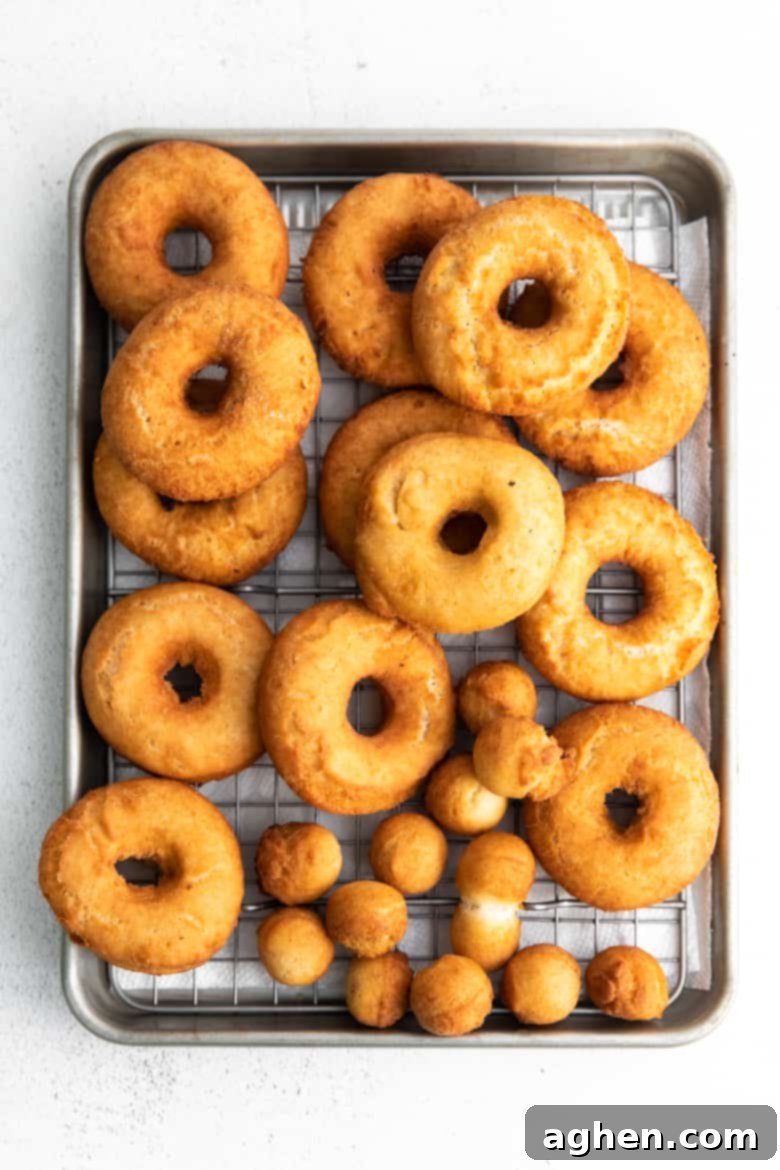
As each batch finishes frying, carefully remove the golden-brown doughnuts from the oil using your spider strainer. Transfer them immediately to the prepared sheet pan lined with paper towels to soak up any excess oil. Once they’ve drained for a minute or two, move them to a wire cooling rack. This setup allows air circulation and prevents the bottoms from getting soggy.
-
The Finishing Touch: Preparing the creamy vanilla glaze.
-
In a medium-sized bowl, combine the sifted confectioners’ sugar, heavy cream, and pure vanilla extract. Whisk these ingredients together until you achieve a smooth, lump-free glaze. The consistency should be thick enough to coat the back of a spoon but still pourable. Adjust with more powdered sugar if too thin, or a tiny bit more cream if too thick, a teaspoon at a time.
-
Glaze and Serve: The final step to indulgence. While the doughnuts are still warm (this is key!), carefully dip each doughnut into the prepared glaze, ensuring it’s fully coated. Let any excess drip off, then place the glazed doughnuts back on the wire cooling rack. Allow the glaze to set for a few minutes until it forms a slightly firm, shiny coating. Once set, your classic old-fashioned glazed buttermilk doughnuts are ready to be devoured! Enjoy them warm for the ultimate experience.
Notes
While these homemade buttermilk doughnuts are undeniably best when savored fresh, any unglazed leftovers can be stored for up to 2 days in an airtight container at room temperature. Ensure they have cooled completely before storing. If your doughnuts are already glazed, allow the glaze to set fully before placing them in an airtight container in the refrigerator for up to 2 days. Reheating slightly in a toaster oven or microwave can refresh their texture.
Nutrition Information

Did You Make These Delicious Old-Fashioned Glazed Buttermilk Doughnuts?
We’d love to see your culinary creations! Share a photo of your homemade doughnuts with us on Instagram @crayonsandcravings and be sure to follow us on Pinterest @crayonsandcravings for even more inspiring recipes and sweet treats!
Pin Recipe
Leave A Review
Pin This Classic Recipe for Later!
