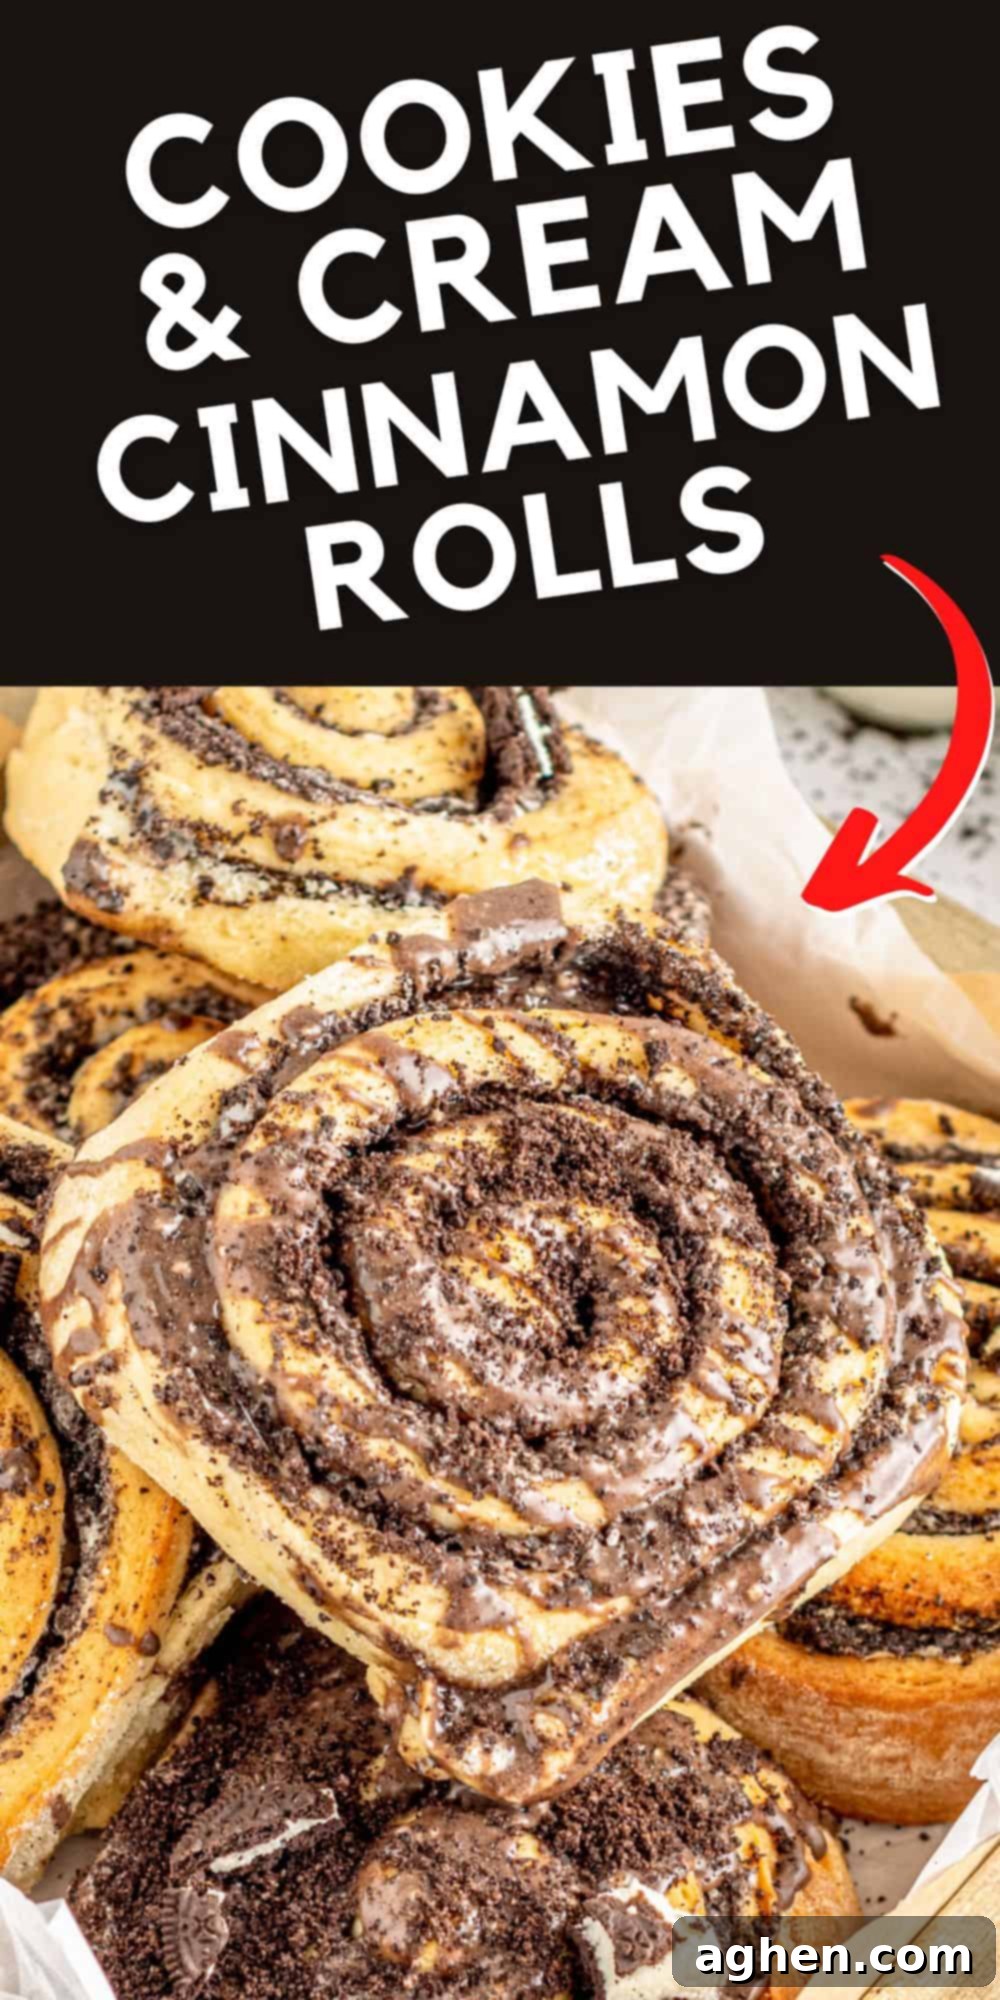
Ultimate Homemade Cookies and Cream Cinnamon Rolls: The Irresistible Oreo Recipe!
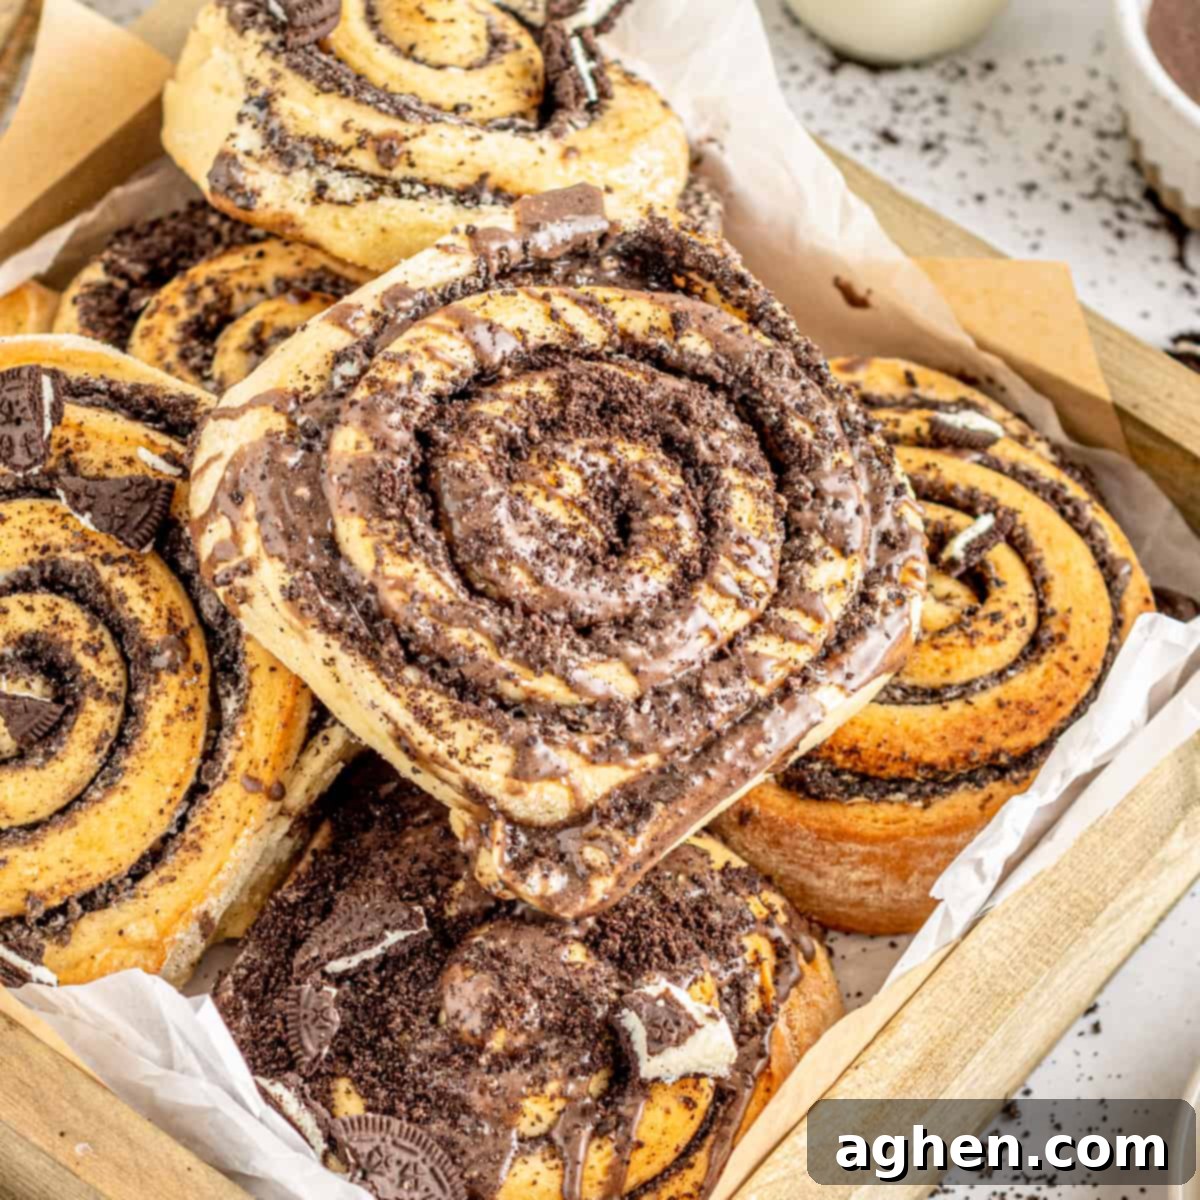
Prepare to fall in love with these extraordinary Cookies and Cream Cinnamon Rolls, a truly magical fusion of two universally adored sweet treats: classic, warm cinnamon buns and the iconic Oreo cookie! Imagine the soft, pillowy embrace of homemade brioche dough, generously filled with a luscious blend of creamy cream cheese and perfectly crushed Oreos. These giant rolls are then baked to golden-brown perfection, filling your kitchen with an aroma that’s simply divine.
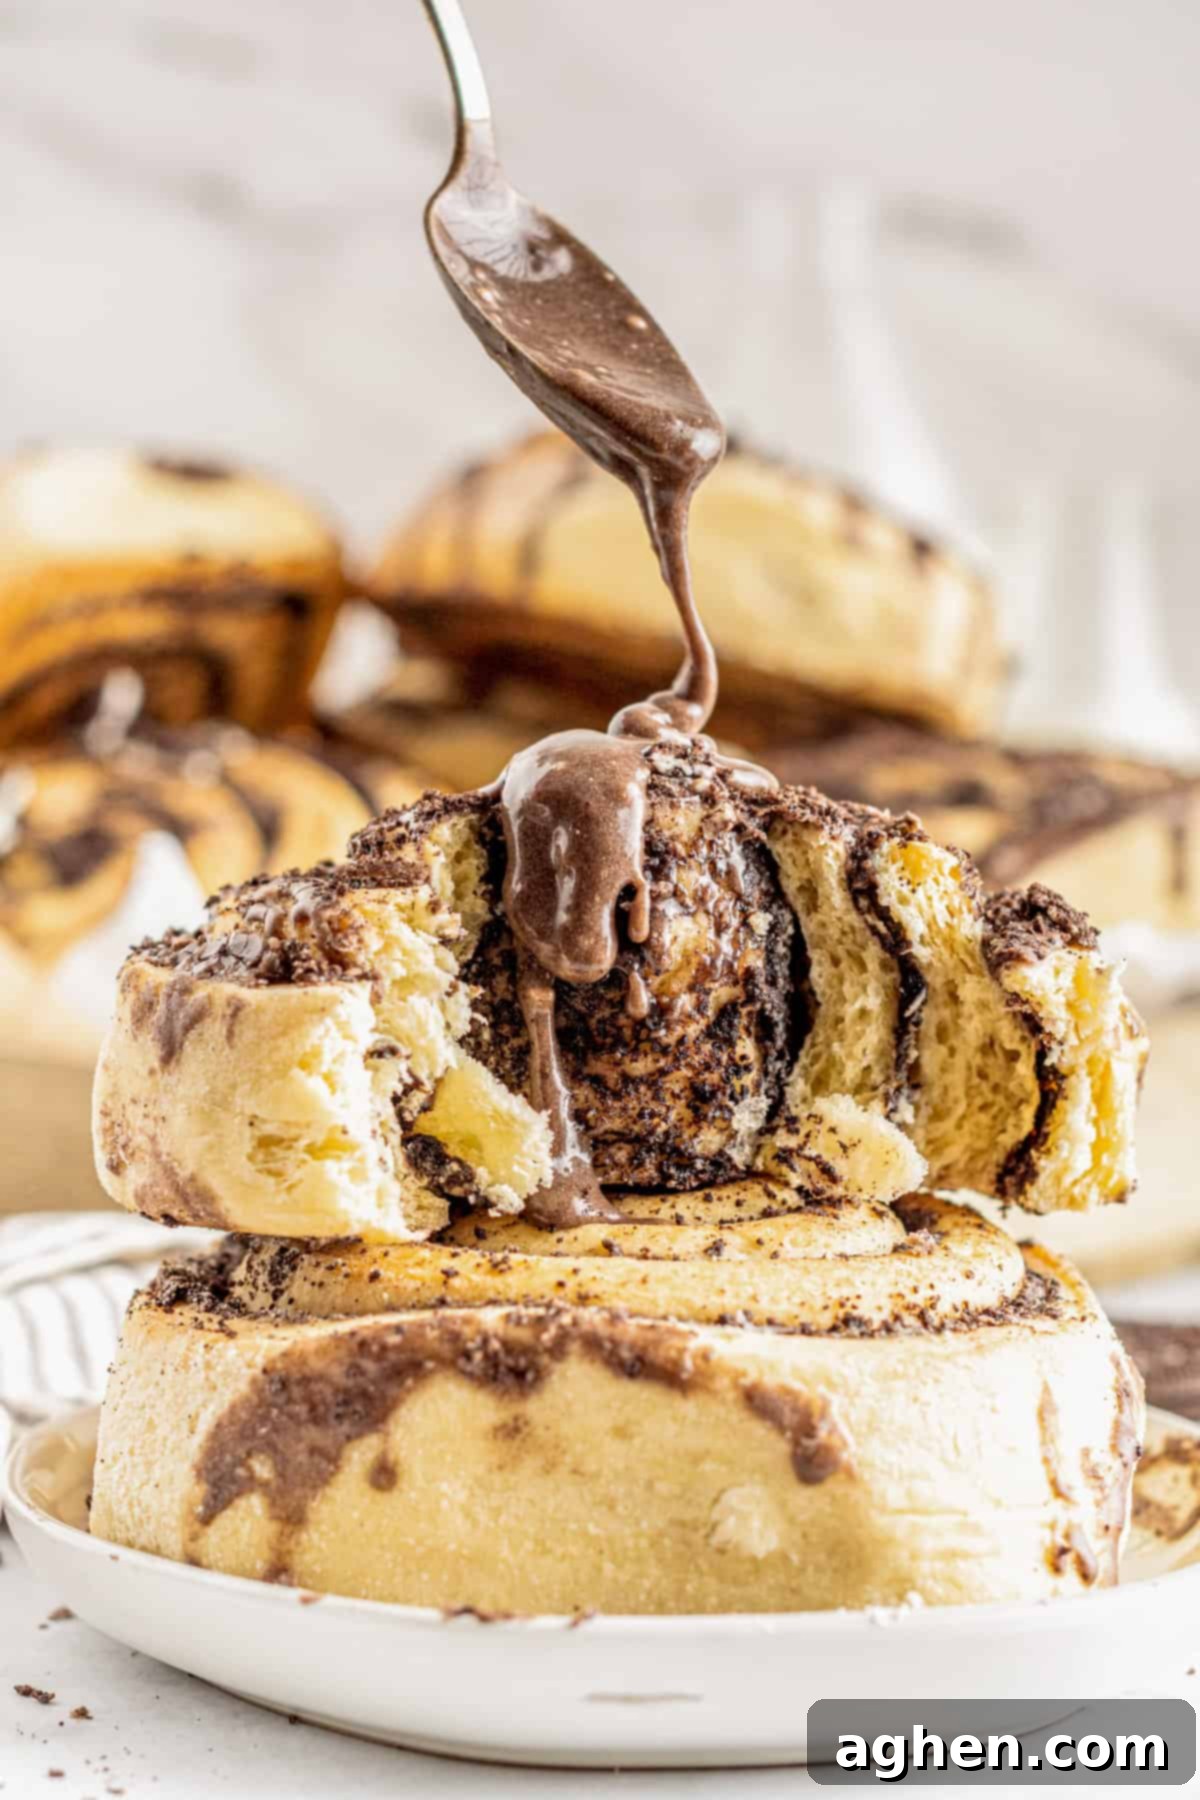
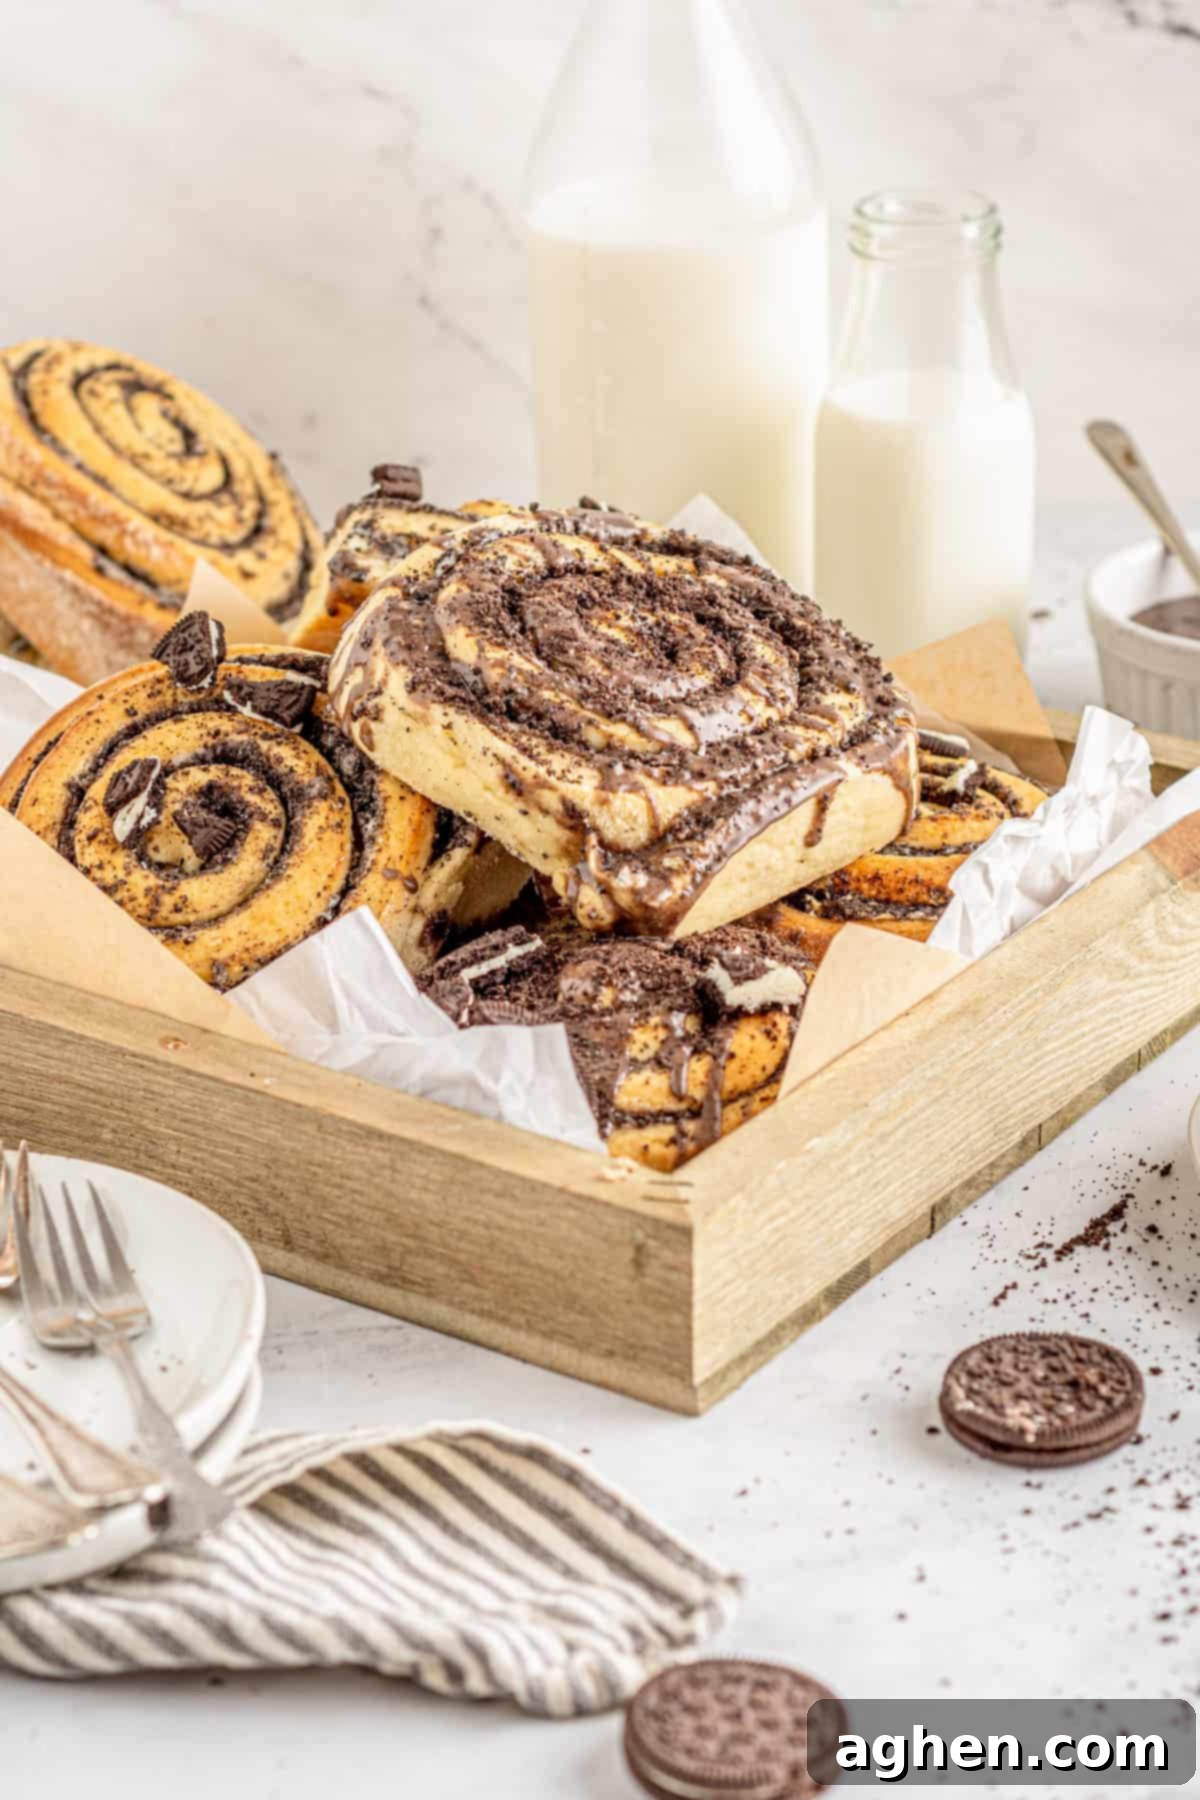
But the indulgence doesn’t stop there! Each magnificent roll is drizzled with a decadent Oreo milk frosting, crafted to highlight that distinct cookies and cream flavor. A final flourish of crushed Oreo pieces on top adds an irresistible crunch and visual appeal, ensuring every bite is a symphony of textures and flavors. If you’re a dedicated Oreo aficionado, you absolutely must try these – and you’ll also adore this scrumptious Oreo Poke Cake recipe for another delightful dessert!
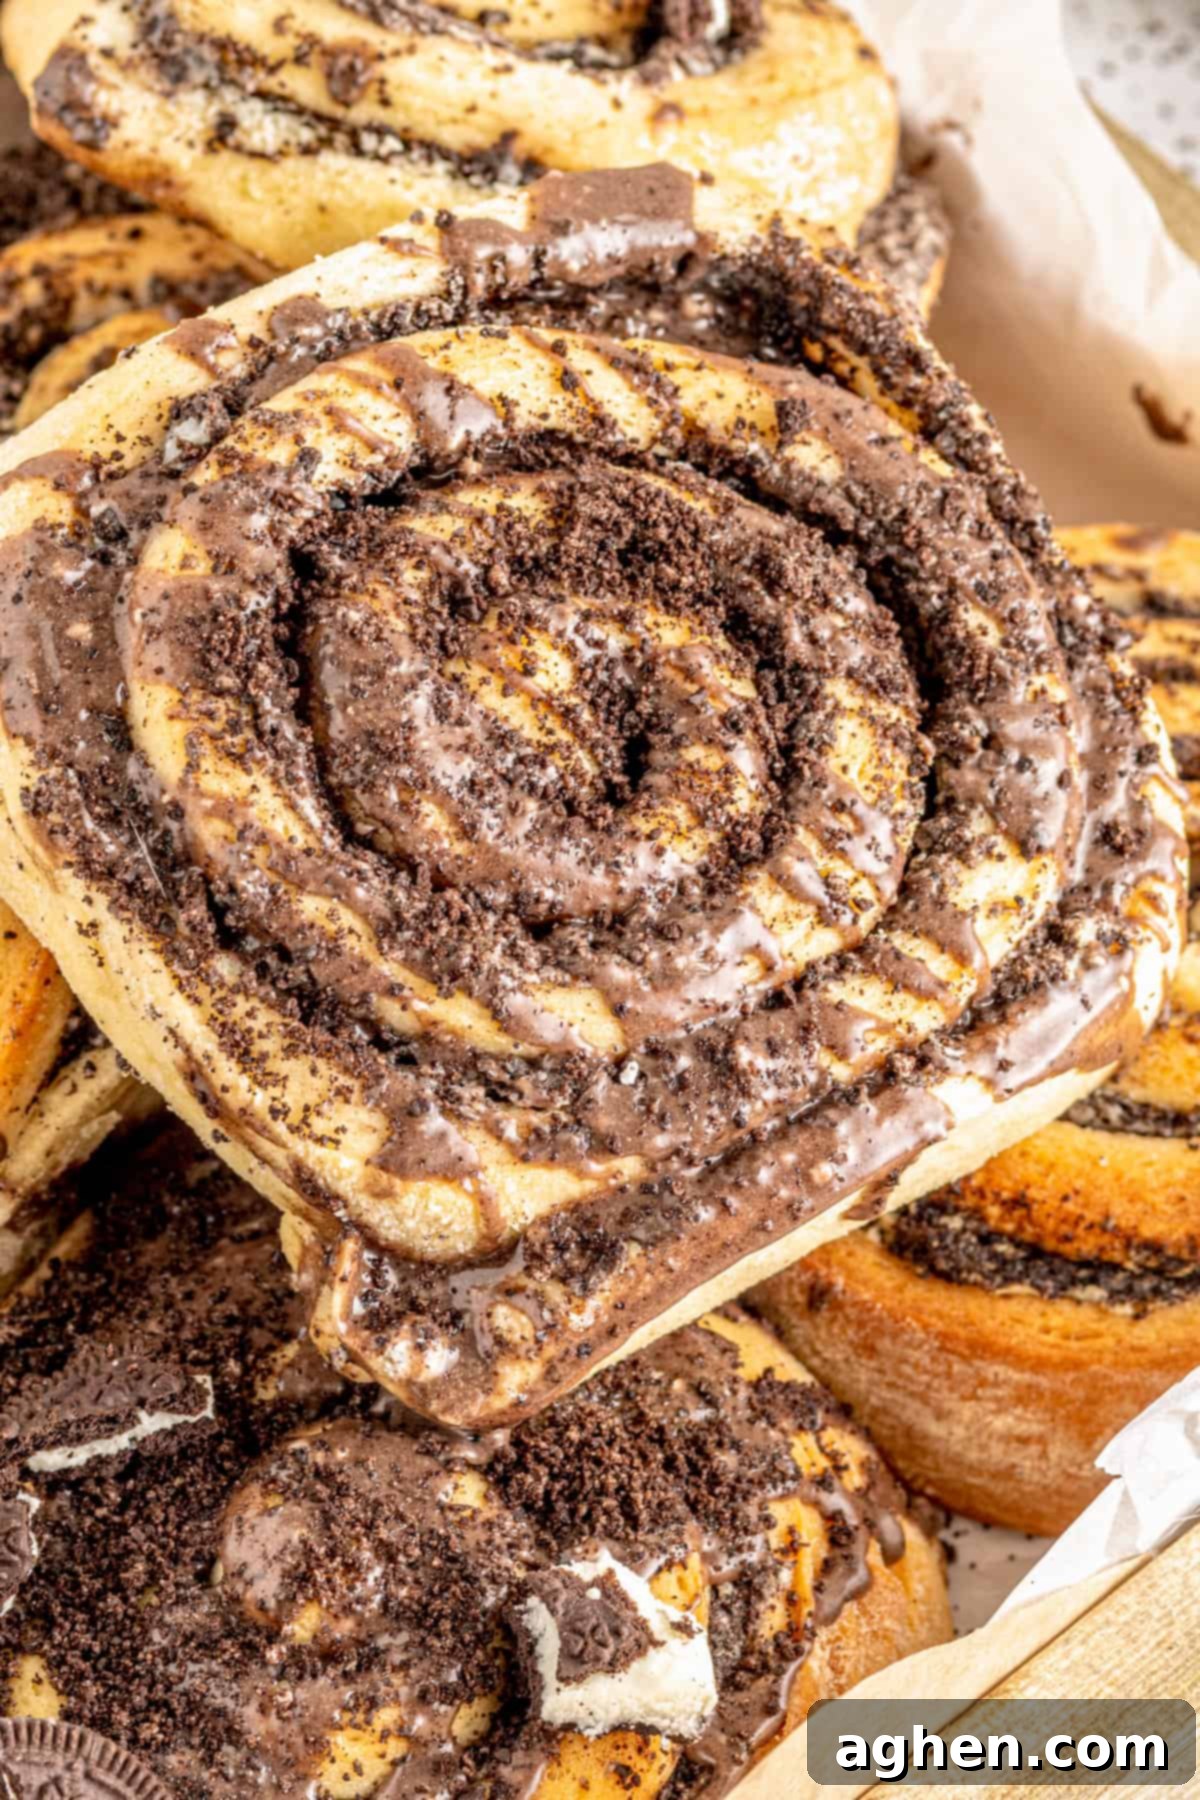
While traditional homemade cinnamon rolls are a timeless sweet breakfast staple and a delightful dessert, we’ve taken that beloved concept to an exciting new level. For this recipe, we’ve ingeniously replaced the conventional cinnamon and sugar filling with a rich, irresistible cookies and cream mixture. The result? Rolls that are exceptionally soft, incredibly fluffy, and utterly impossible to resist! Each bite delivers a perfect balance of sweet, creamy, and chocolatey goodness, making them a unique and memorable treat.
These Oreo cinnamon rolls are crafted completely from scratch, allowing you to experience the true joy of baking. However, if you’re ever in search of a quicker path to cinnamon roll bliss, we highly recommend exploring this clever TikTok cinnamon roll hack. And for those of you who share our obsession with the air fryer, you certainly won’t want to miss our amazing Air Fryer Cinnamon Rolls (Cinnabon Copycat) for a rapid and delicious fix.
But enough about alternatives – you’re here for the star of the show: these spectacular Oreo cinnamon rolls! They represent a wonderfully fun and inventive twist on the classic cinnamon roll, and we guarantee your family, especially the kids, will absolutely adore them. These rolls are perfect for making any occasion feel extra special, whether it’s a festive Christmas morning, a memorable birthday celebration, or simply to brighten an ordinary day. There’s truly no wrong reason to bake a batch of these delightful treats!
Why You’ll Love These Cookies and Cream Cinnamon Rolls
There are countless reasons to fall head over heels for this unique cinnamon roll recipe. Beyond their undeniable deliciousness, these cookies and cream rolls offer a baking experience that’s both rewarding and incredibly satisfying:
- Unforgettable Flavor Combination: The rich, chocolatey goodness of Oreos perfectly complements the tangy cream cheese and sweet brioche dough, creating a flavor profile that’s both familiar and exciting.
- Incredibly Soft and Fluffy: Our brioche dough recipe ensures a tender, airy texture that melts in your mouth, making these rolls exceptionally enjoyable.
- Impressive Presentation: Drizzled with a striking Oreo frosting and sprinkled with extra cookie crumbs, these rolls look as amazing as they taste, making them perfect for sharing.
- A Fun Baking Project: While they require a bit of time, the steps are straightforward and the process is incredibly satisfying, especially when you see those beautiful rolls come to life.
- Versatile Treat: Perfect for a luxurious breakfast, an indulgent brunch, or a show-stopping dessert for any gathering.
Ingredients You’ll Need
This section includes detailed ingredient notes and helpful substitution options to ensure your cookies and cream cinnamon rolls turn out perfectly. You’ll find all precise measurements, ingredients, and step-by-step instructions in the printable recipe card located at the end of this post.
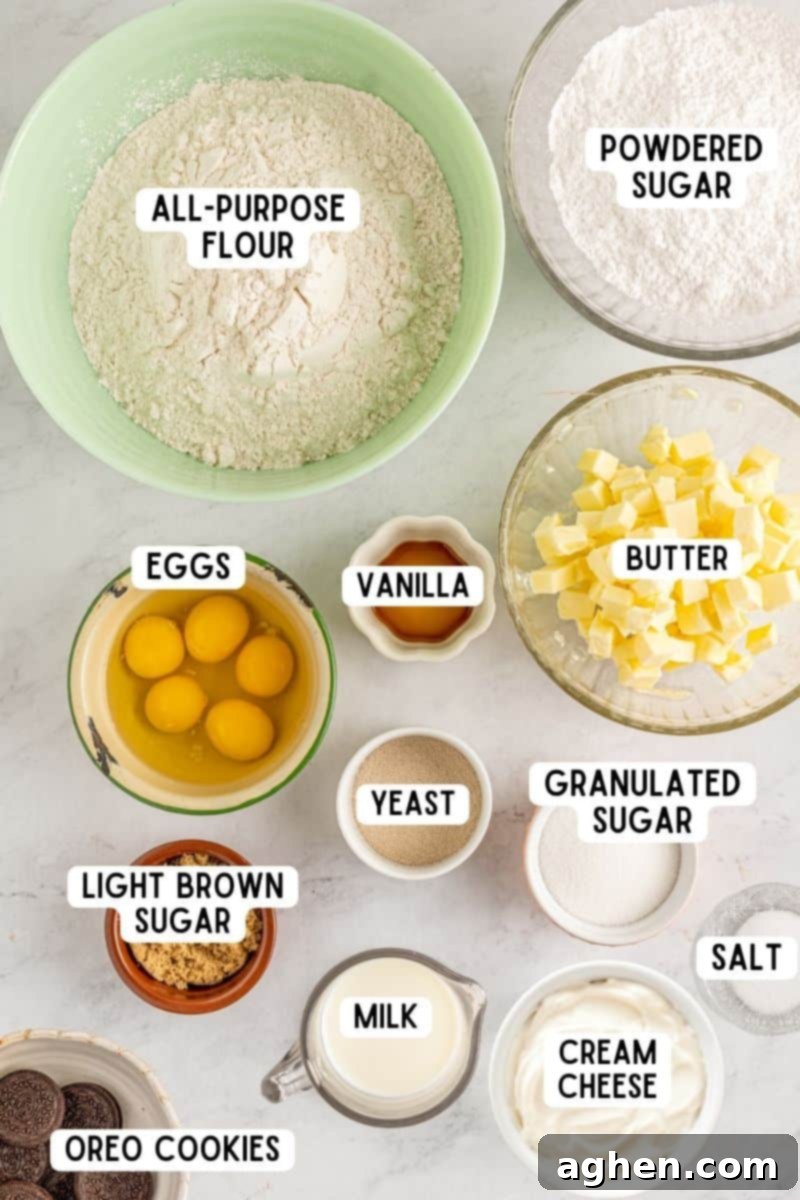
- Milk: Any type of milk will work for both the dough and the delightful glaze. For the dough, it’s crucial that the milk is slightly warmed to properly activate the yeast. We personally prefer using whole milk because it lends a richer flavor and a more tender crumb to the brioche.
- Granulated Sugar: You’ll be using granulated sugar in both the dough and the delicious filling. In the dough, it acts as a vital food source for the yeast, encouraging it to activate and help the dough rise beautifully, while also imparting a foundational sweetness.
- Warm Water: Just like the milk, warm water is essential for creating the ideal environment to activate the yeast. Ensure it’s not too hot, as excessive heat can kill the yeast.
- Yeast: Active dry yeast is the recommended choice for this specific recipe. It needs to be proofed (activated) first, which ensures your dough will rise properly and result in light, fluffy rolls.
- Eggs and Egg Yolk: For optimal mixing and a better rise, make sure your eggs are at room temperature. The whole eggs contribute to the dough’s structure and richness, while the extra egg yolk adds even more tenderness and a beautiful golden hue to the brioche.
- Brown Sugar: Incorporating brown sugar into the dough provides a wonderful depth of flavor, adding a subtle caramel-like note that perfectly complements the cookies and cream. It also contributes to the dough’s moisture. If you don’t have brown sugar, you can use granulated sugar, but be aware it will subtly alter the final flavor profile.
- Vanilla Extract: Pure vanilla extract is a crucial ingredient, as it significantly boosts and enhances the overall flavor of these yummy homemade cinnamon rolls, bringing out the sweetness and richness.
- Flour: You’ll need approximately 9 cups of all-purpose flour for this generous recipe, so be sure to check your pantry before you begin! Accurate measurement is key for the perfect dough consistency. Always use the “spoon and level” method: spoon the flour into your measuring cup, then use the flat edge of a knife to scrape any excess off the top, without packing the flour down.
- Salt: Salt plays a vital role in regulating the timing of the dough’s rise, ensuring it doesn’t overproof. It also adds just the right amount of counter-balance to the sweet ingredients, preventing the rolls from tasting one-dimensionally sweet.
- Unsalted Butter: You’ll need unsalted butter, cubed and softened to room temperature, for both the luxurious dough and the creamy filling. Using unsalted butter allows you to control the total salt content in your recipe. Softened butter incorporates smoothly into the dough, creating a tender crumb.
- Cream Cheese: Softened, full-fat cream cheese is essential for achieving the rich, tangy, and stable filling that holds the crushed Oreos. Its slight tanginess beautifully cuts through the sweetness of the cookies, creating a balanced flavor.
- Oreos: To achieve that unmistakable classic cookies and cream flavor, we use everyone’s favorite chocolate sandwich cookie! While Oreos are ideal, you can certainly use any chocolate sandwich cookies you prefer. For quick and easy crushing, a food processor is your best friend; alternatively, you can place them in a zip-top bag and crush them with a rolling pin.
- Powdered Sugar: Also known as confectioner’s sugar or icing sugar, this fine sugar is the backbone of our smooth and delicious frosting. Its fine texture ensures a silky, lump-free glaze.
Essential Equipment for Making Oreo Cinnamon Rolls
Having the right tools on hand will make the baking process smooth and enjoyable. Here’s what you’ll need to create these delicious Oreo cinnamon rolls:
- Stand mixer: Invaluable for kneading the brioche dough to perfection without tiring your arms.
- Dough hook attachment: Essential for the stand mixer to properly develop the gluten in the dough.
- Rolling pin: For evenly rolling out the dough into a large rectangle.
- Whisk: To combine ingredients smoothly, especially for the filling and frosting.
- Large Mixing bowls: For proofing the yeast, mixing wet ingredients, and allowing the dough to rise.
- Sharp knife or dental floss: For cleanly slicing the rolled dough into individual cinnamon rolls.
- Baking sheets or pans: To hold the rolls during their second rise and baking.
- Measuring cups and spoons: Essential for accurately measuring both liquid and dry ingredients.
- Food processor (optional): Highly recommended for quickly and uniformly crushing the Oreos for the filling and topping. If you don’t have one, a sturdy zip-top bag and a rolling pin work just as well!
How to Make Cookies and Cream Cinnamon Rolls: Step-by-Step
This section guides you through the entire baking process with step-by-step instructions. For the full printable recipe, complete with precise measurements and nutritional information, please refer to the comprehensive recipe card below.
Step 1: Activate the Yeast
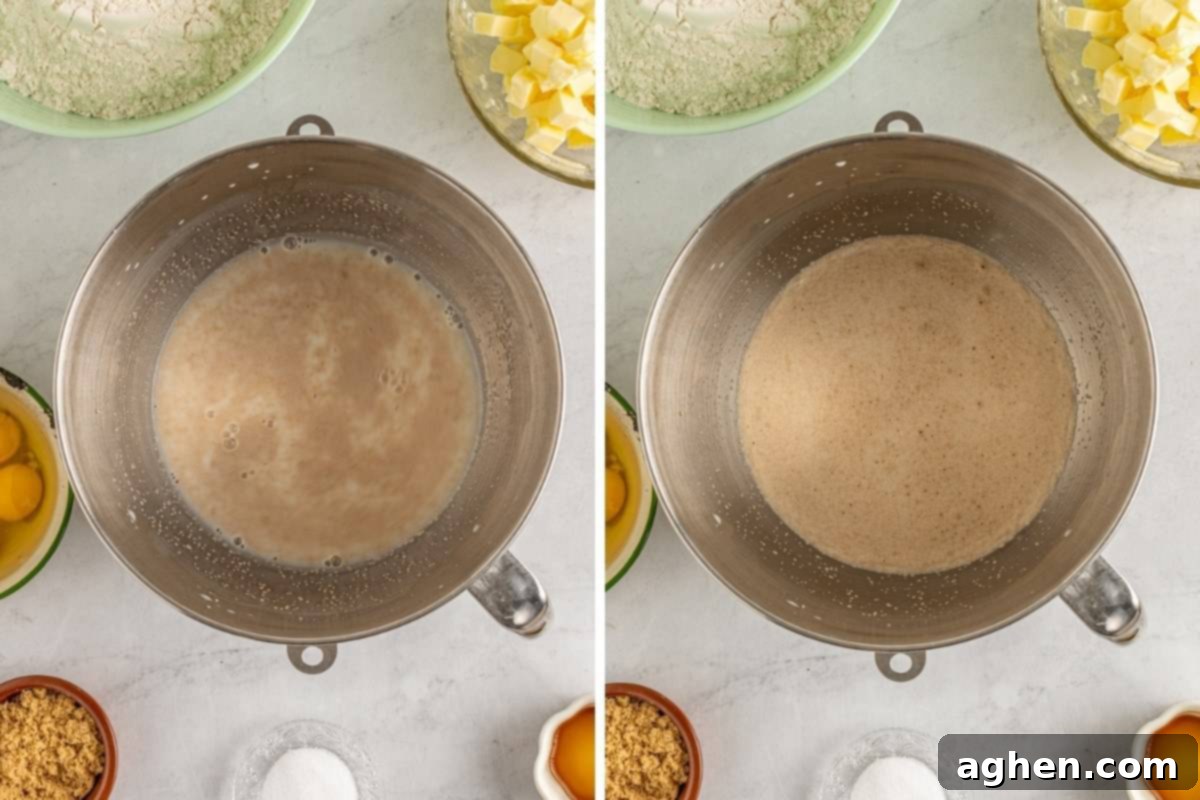
In the bowl of a stand mixer, combine the slightly warmed milk, granulated sugar, and warm water. Sprinkle the active dry yeast over this mixture. Allow it to stand undisturbed for 5 minutes. This crucial step is known as “proofing the yeast.”
Tip: After 5 minutes, the mixture should become noticeably frothy and bubbly, indicating that your yeast is active and alive. If you don’t see this frothy appearance, it likely means your yeast is expired, or the water/milk was too hot and killed it. In this scenario, it’s best to discard the mixture and start again with fresh yeast and properly warmed liquids to ensure your rolls rise beautifully.
Step 2: Combine Wet and Dry Ingredients
Once your yeast mixture is wonderfully frothy, signaling its readiness, proceed to add the room temperature eggs, the extra egg yolk, brown sugar, and pure vanilla extract to the bowl. Whisk these ingredients together briefly until they are well combined. Next, add the carefully measured all-purpose flour and salt to the mixture.
Step 3: Begin Kneading the Dough
Attach the dough hook to your stand mixer. Begin mixing on a low speed to bring the dough ingredients together into a shaggy mass. Once a cohesive dough forms, increase the speed to medium and let the dough knead for 5 minutes. This initial kneading helps to start the gluten development process, which is vital for a soft and elastic dough.
Step 4: Incorporate Butter and Finish Kneading
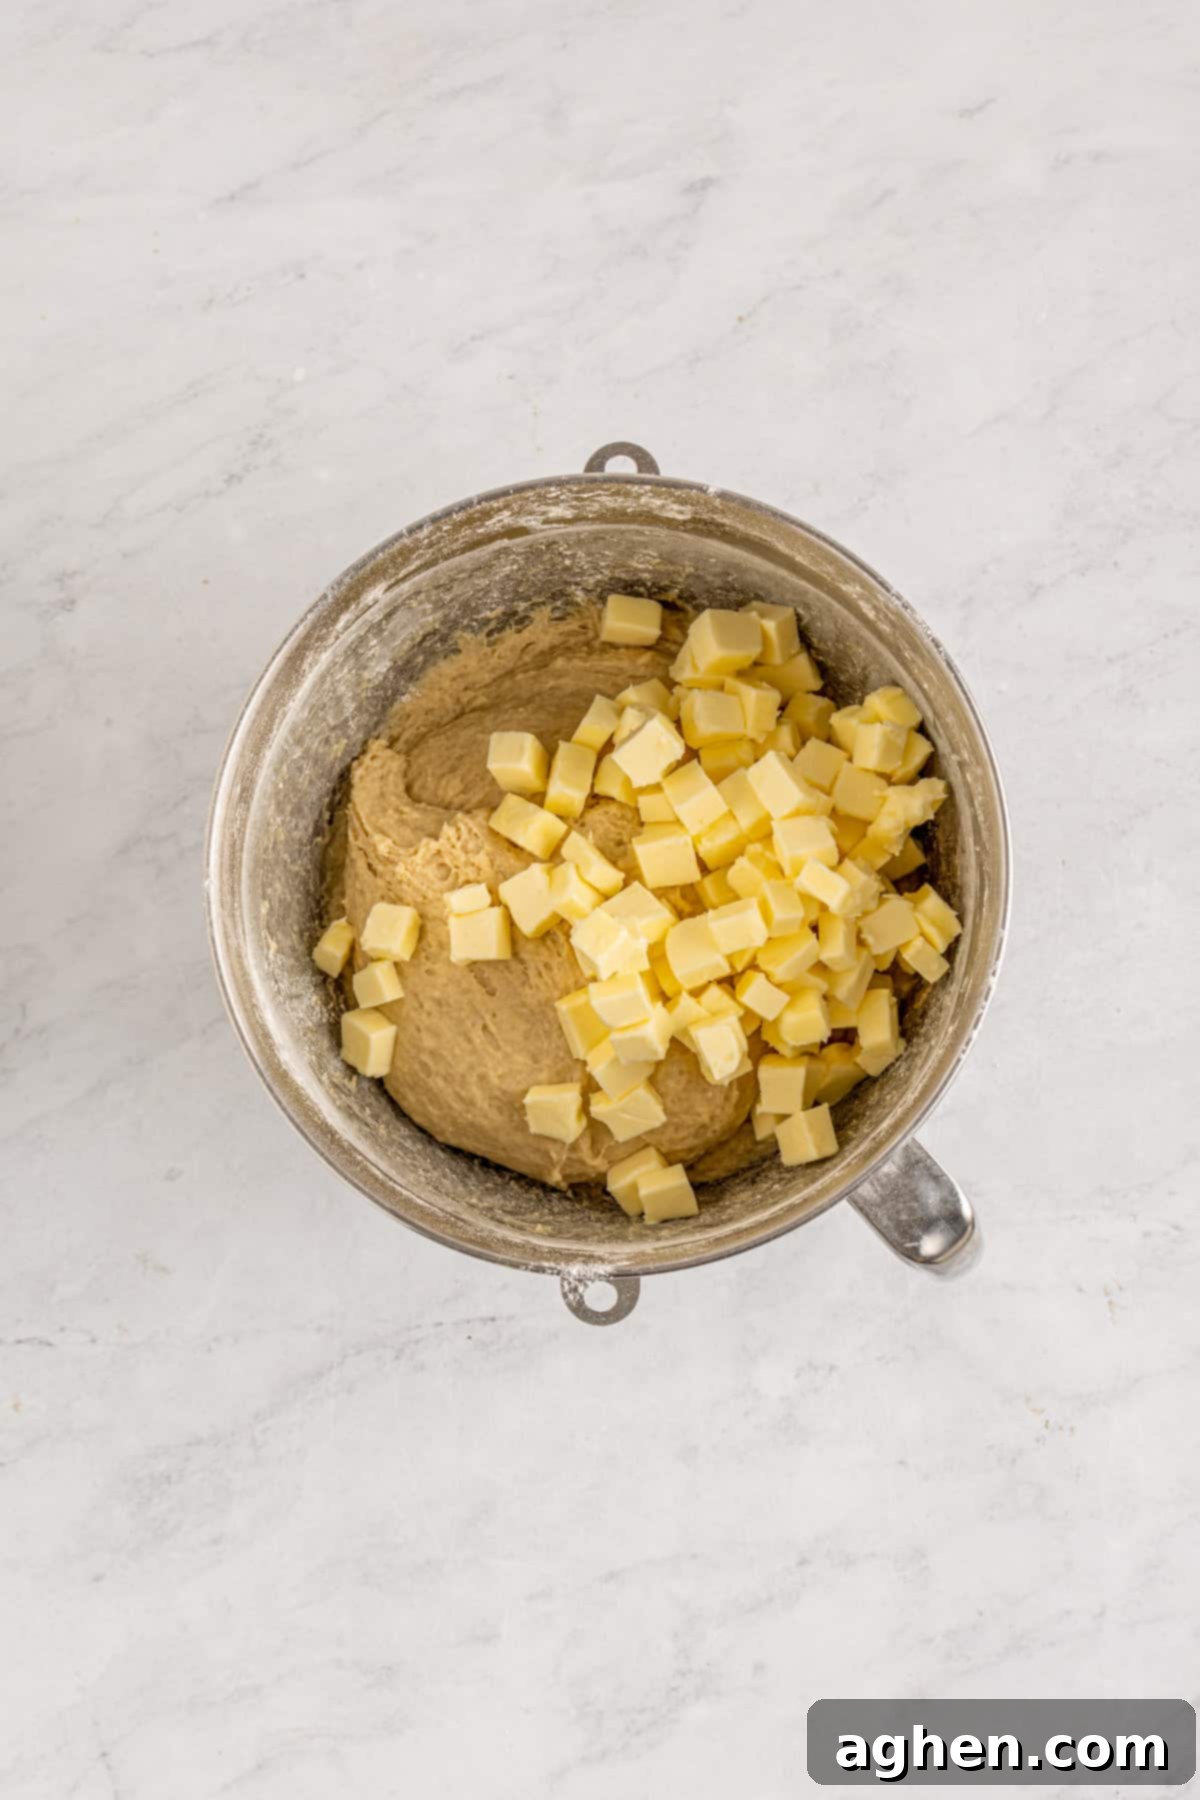
With the mixer still running, gradually add the cubed, softened butter to the dough, a few pieces at a time. Continue kneading until all the butter has been completely incorporated into the dough. Once the butter is fully absorbed and the dough is smooth and elastic, continue kneading for another 8 minutes on medium speed. This extended kneading is critical for developing strong gluten, which will give your brioche rolls their signature soft, chewy, and fluffy texture.
Step 5: First Rise (Bulk Fermentation)
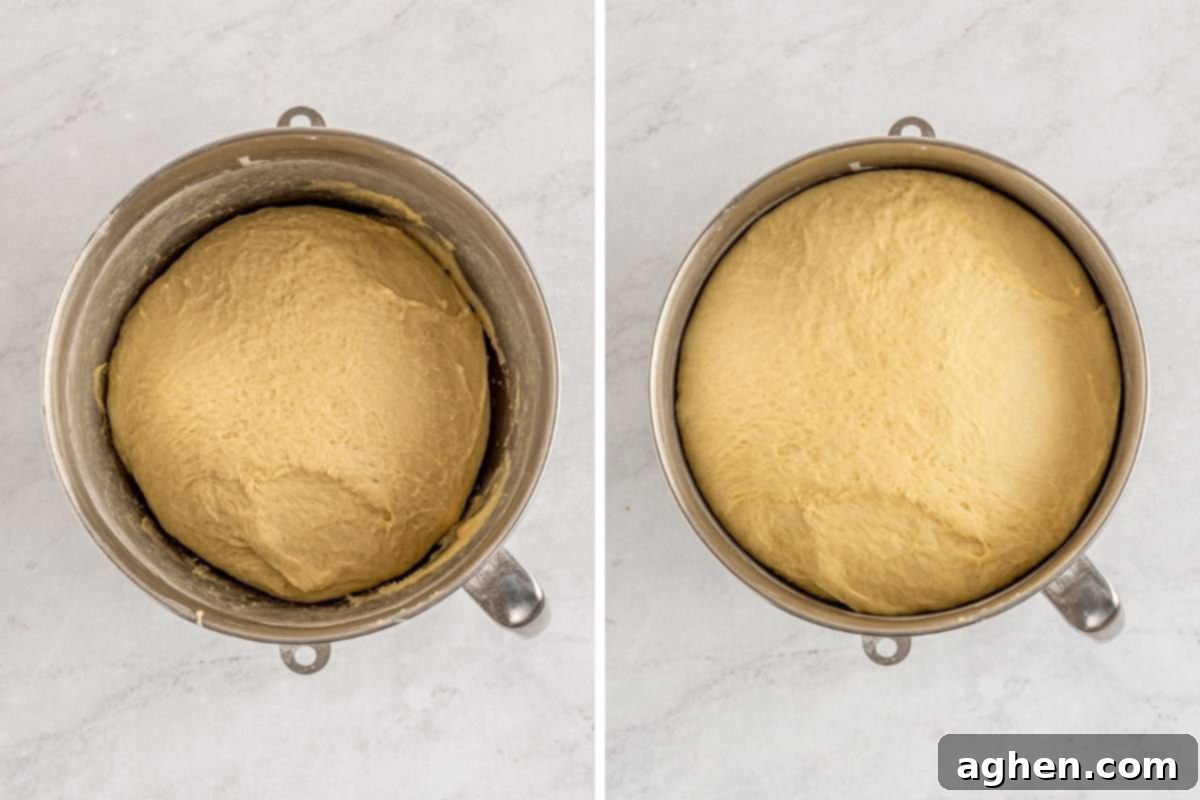
After the dough has been thoroughly kneaded and feels smooth and elastic, gently roll it into a neat ball. Return the dough ball to the clean mixing bowl. Cover the bowl securely with a damp towel to prevent the dough from drying out. Place the bowl in a slightly warm, draft-free place (like a turned-off oven with the light on) to let the dough rise for approximately 1 hour, or until it has visibly doubled in size. This first rise is essential for flavor development and a light texture.
Step 6: Prepare Your Work Surface and Roll the Dough
Once the dough has doubled in size, gently punch it down to release the air. Turn the dough out onto a lightly floured surface. Lightly dust the top of the dough with a little more flour to prevent sticking. Using a rolling pin, carefully roll the dough out into a large, uniform rectangle, aiming for approximate dimensions of 21×27 inches. Strive for an even thickness across the entire rectangle.
Step 7: Prepare the Cookies and Cream Filling
In a separate mixing bowl, whisk together the softened cream cheese and room temperature butter until the mixture is completely smooth and creamy. Ensure there are no lumps. Add the granulated sugar to this mixture and whisk again until all ingredients are well combined and the filling is uniform. This cream cheese base will be wonderfully tangy and sweet.
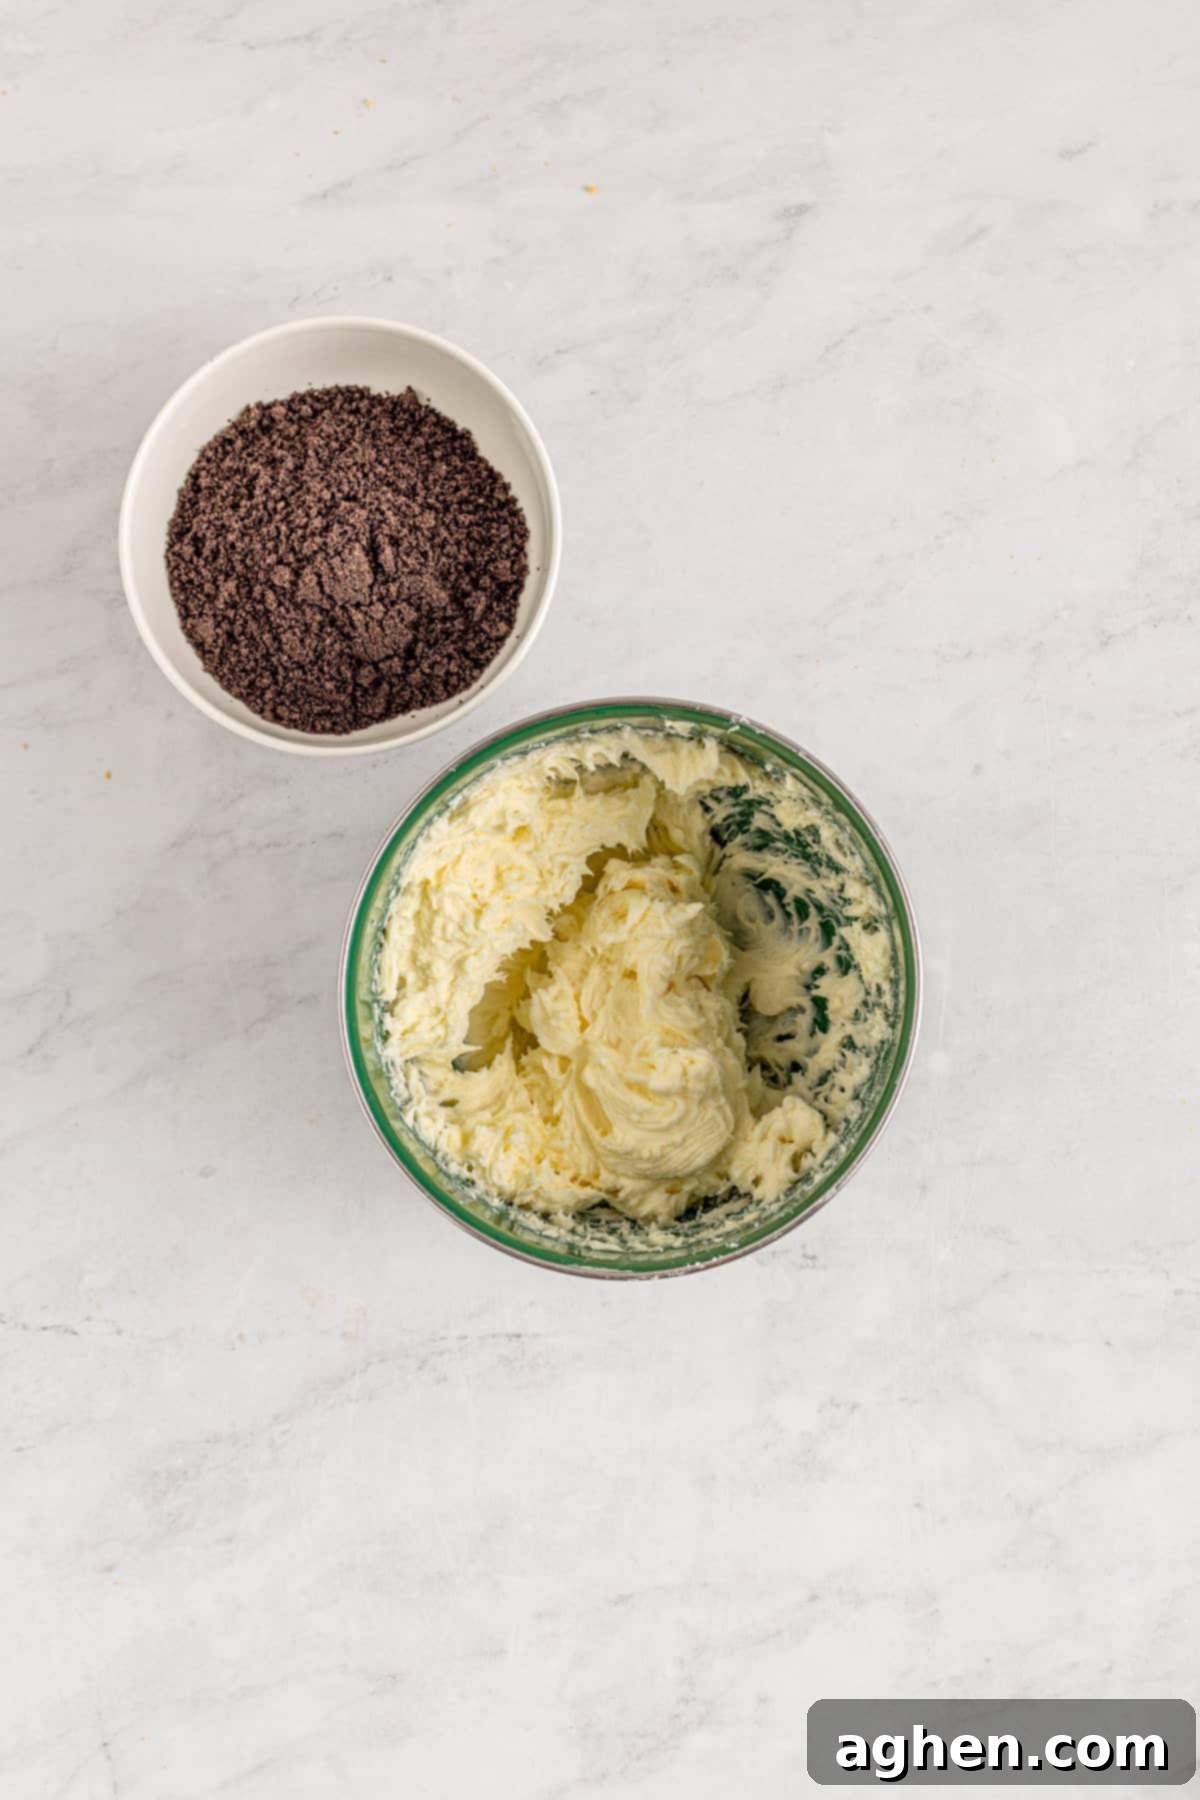
Step 8: Fill the Dough
Evenly spread the prepared cream cheese filling over the entire surface of the rolled-out dough, leaving a small border (about half an inch) on one of the longer edges untouched. Then, generously cover the cream cheese layer with the crushed Oreos. Distribute the cookie pieces as evenly as possible to ensure every bite of the finished roll has that delightful crunch and flavor.
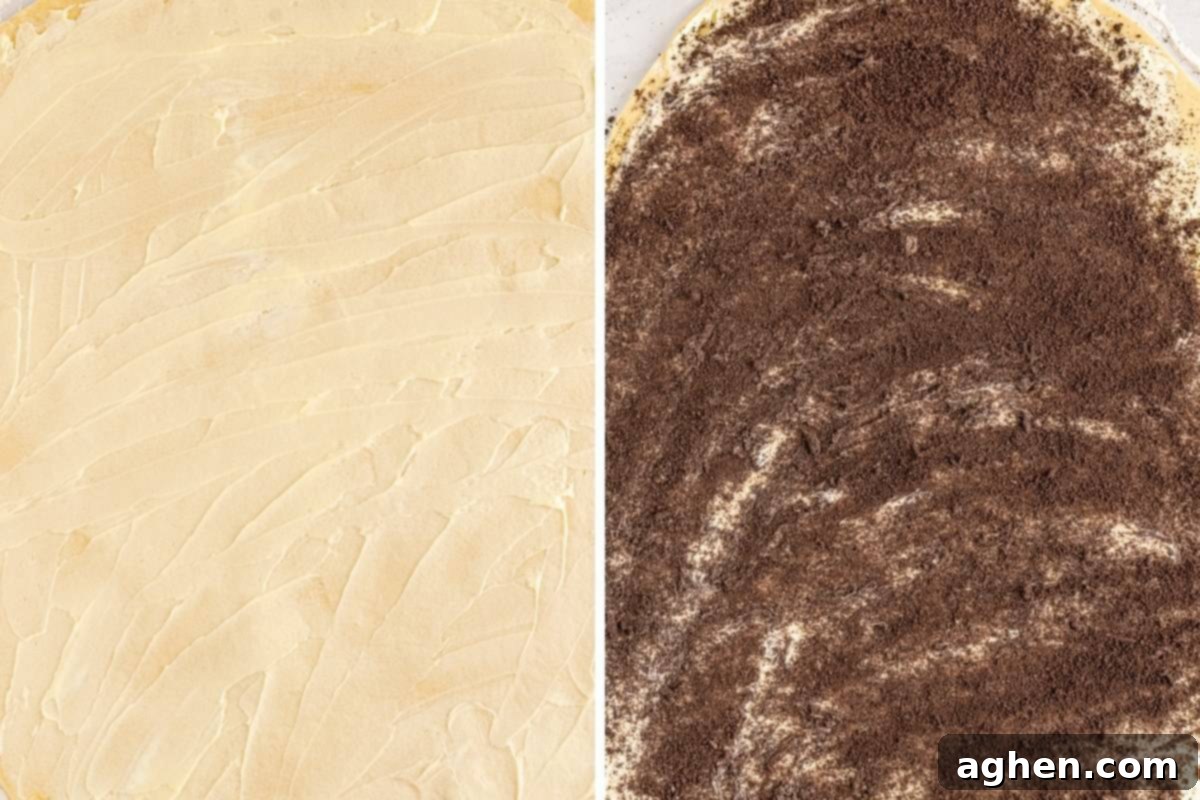
Step 9: Roll and Slice the Dough
Starting from the longer edge opposite the border you left, tightly roll the dough up into a snug log. As you roll, ensure it’s as tight as possible to prevent gaps and help the rolls hold their shape. Gently pinch the seam closed at the end to seal the log. Using a very sharp knife, or even unflavored dental floss for a cleaner cut, slice the log into 12 individual 2-inch rolls. Alternatively, for smaller portions, you can cut 24 one-inch rolls.
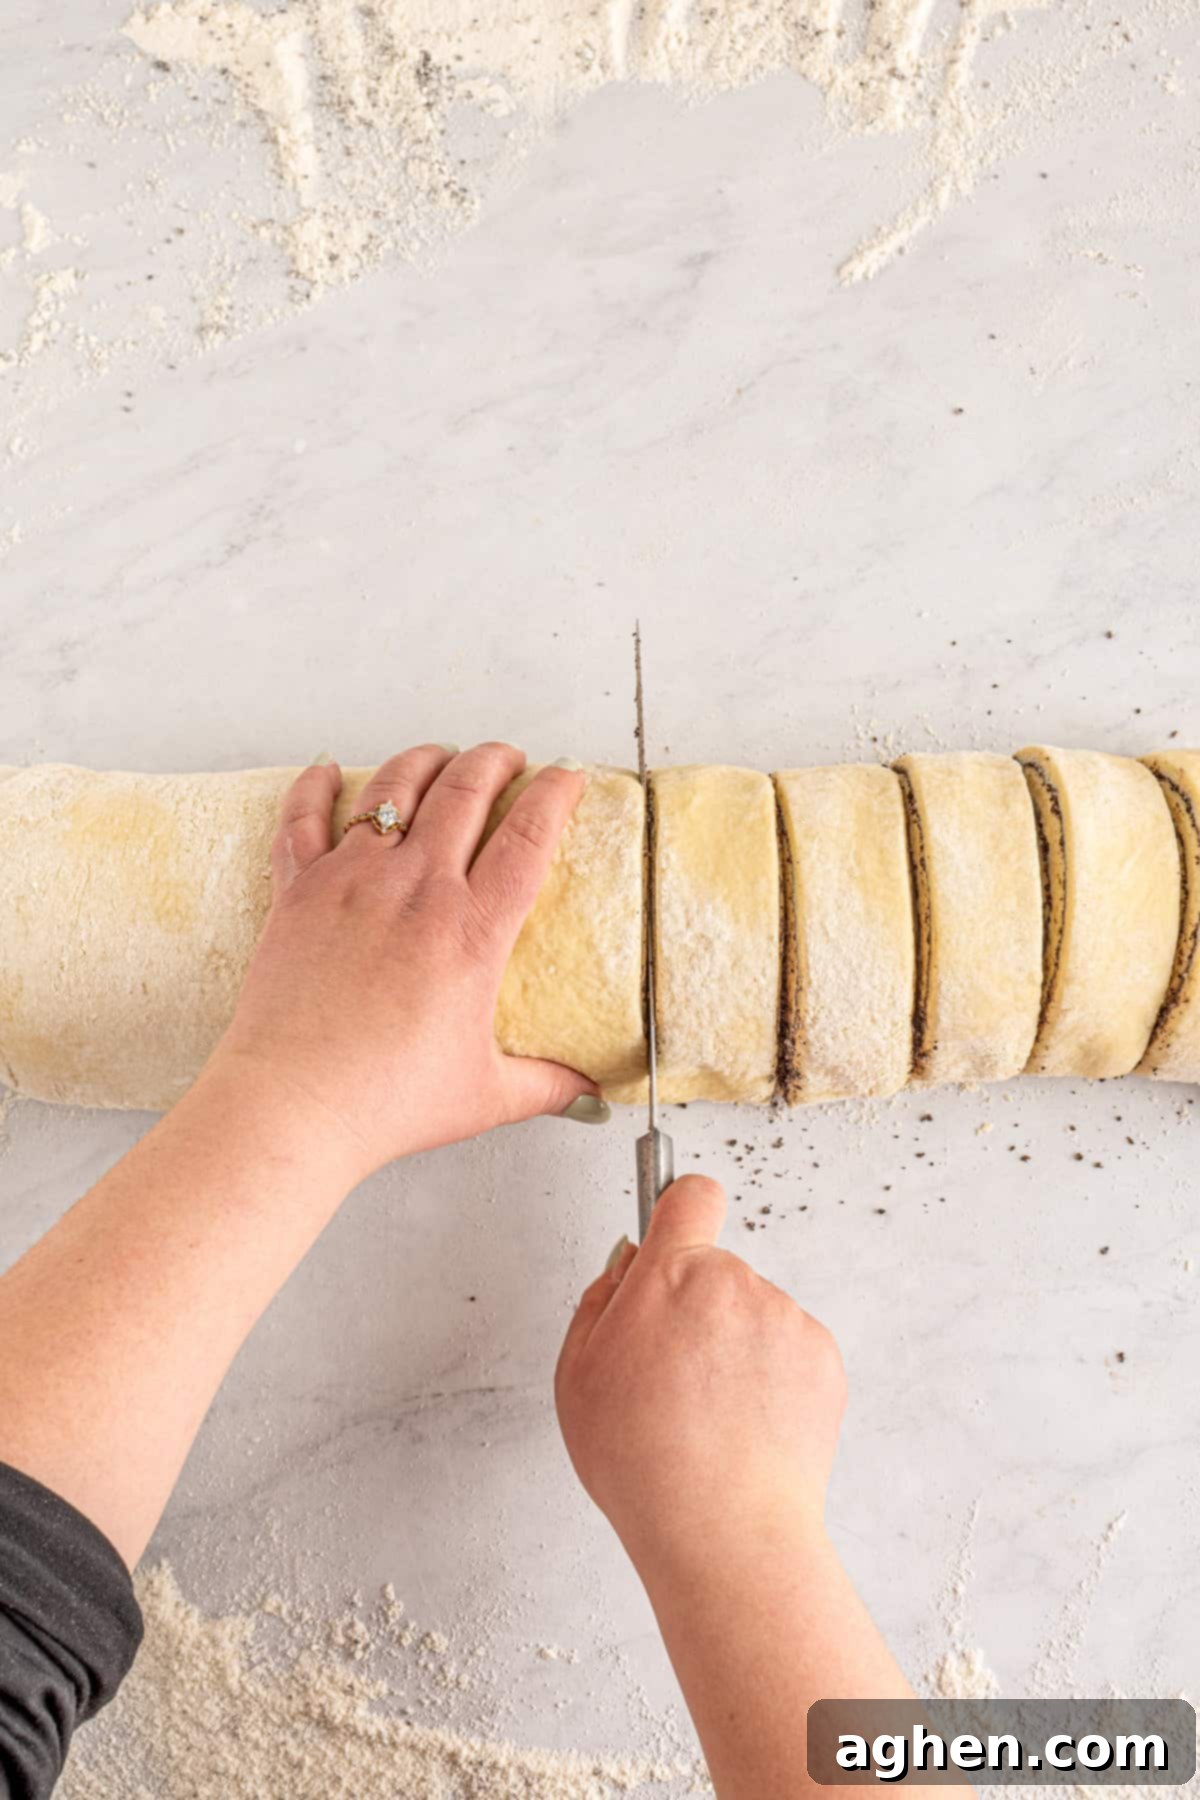
Step 10: Second Rise (Proofing)
Carefully arrange the sliced rolls in greased baking sheets or pans. You can place them snugly, but not overly crowded, as they will expand. Place the pans in a slightly warm, draft-free area, allowing them to rise for another 30 minutes, or until they have almost doubled in size again. This second rise ensures the rolls are incredibly light and airy when baked.
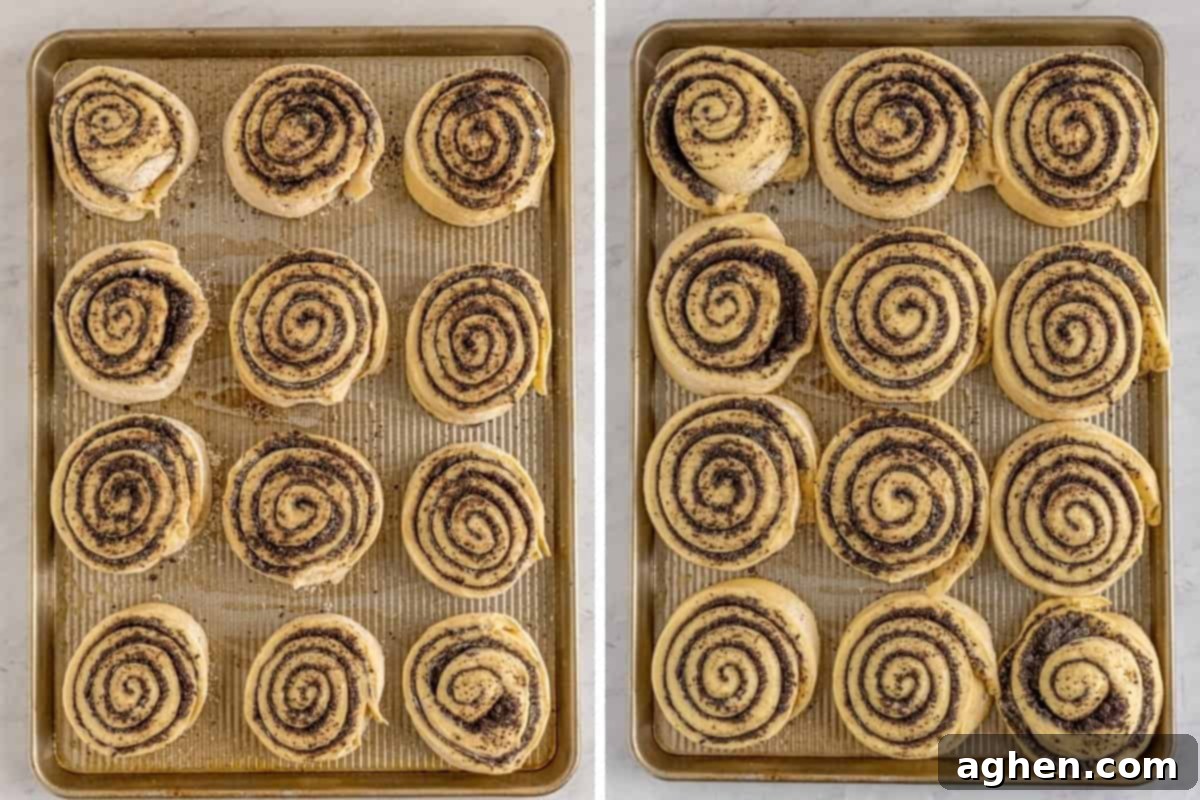
Step 11: Bake to Golden Perfection
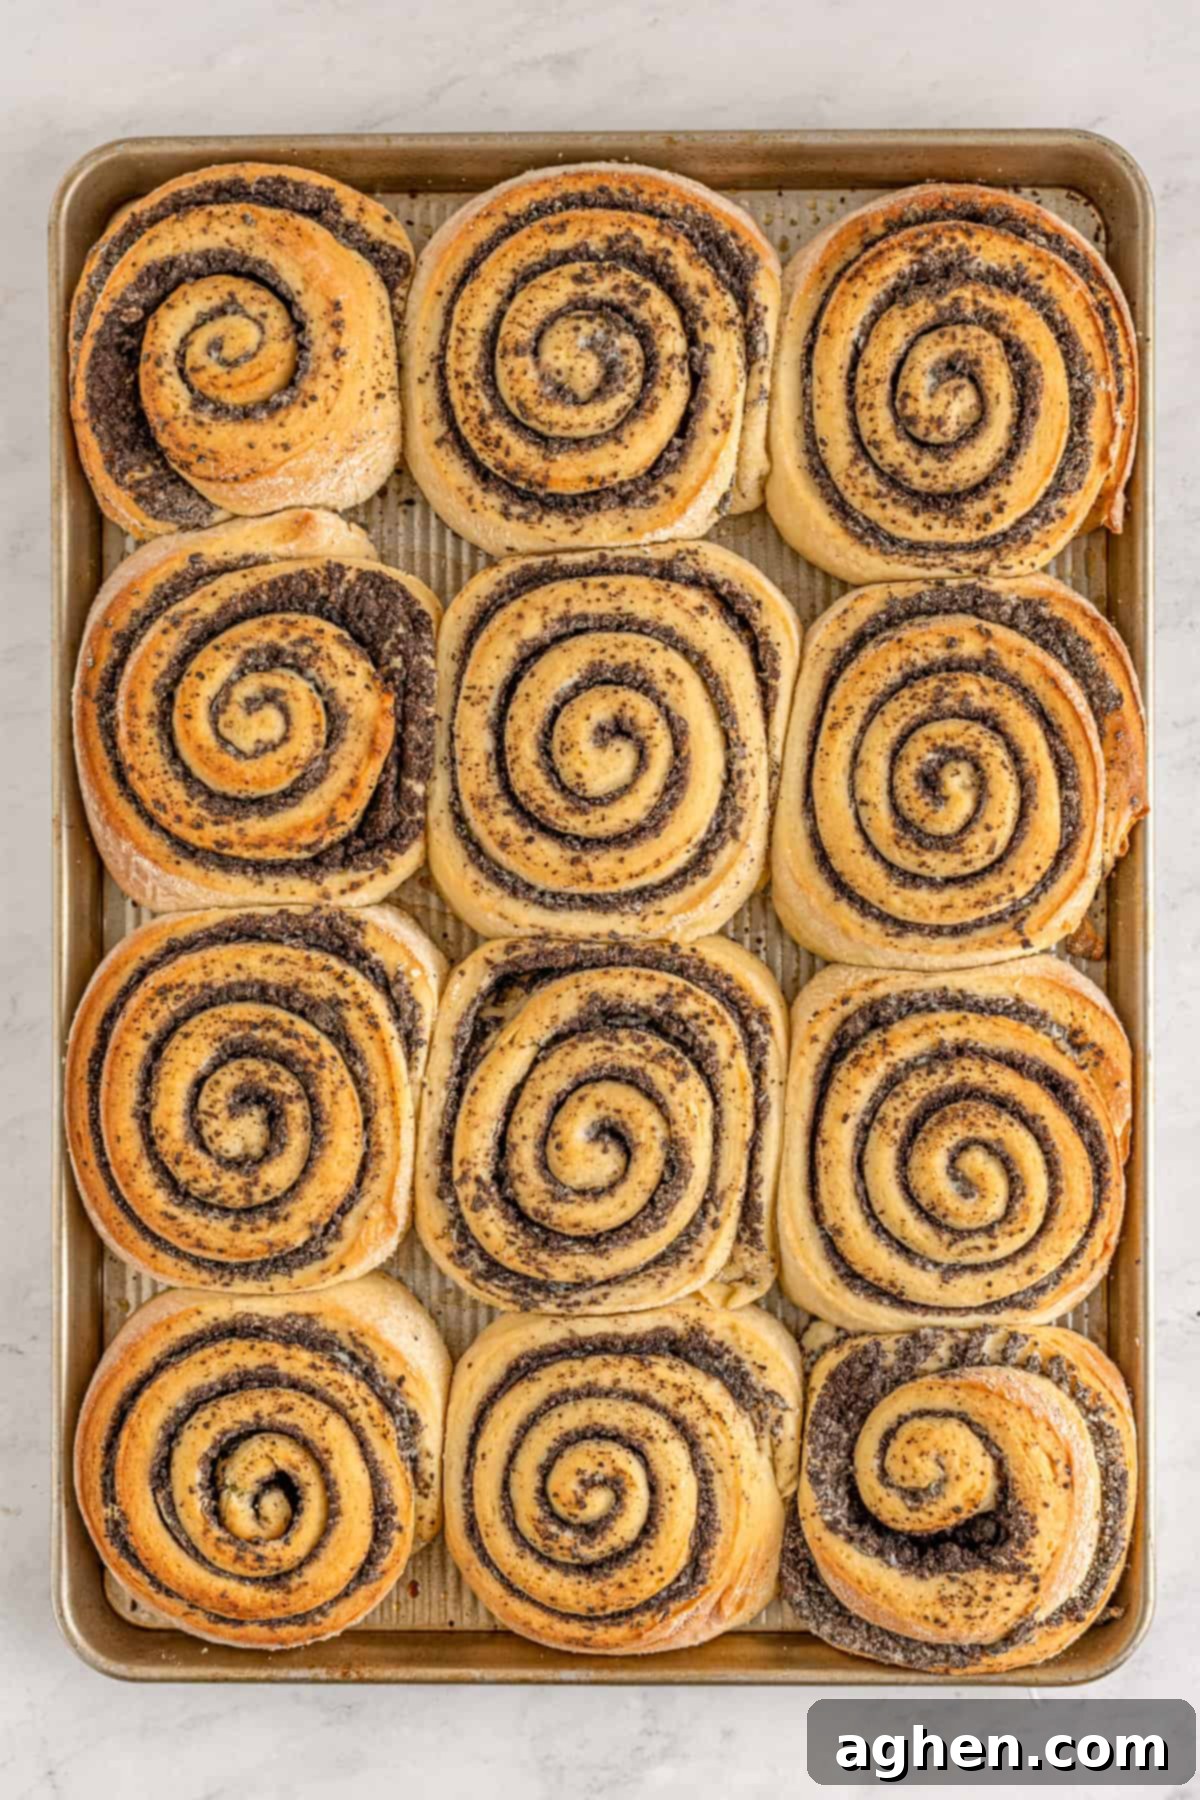
While your rolls are undergoing their second rise, preheat your oven to a steady 350°F (175°C). Once the rolls have risen sufficiently, gently place the pans into the preheated oven. Bake for approximately 26 to 32 minutes, or until the tops are beautifully golden brown and the rolls are baked through. Keep in mind that baking time can vary slightly depending on how tightly the rolls were placed in the pans and their individual size.
Step 12: Cool Slightly
Once baked, carefully remove the pans from the oven. To prevent the bottoms from becoming soggy and to allow for even cooling, transfer the rolls to a cooling rack. Let them cool slightly for a few minutes before applying the frosting. This helps the frosting adhere better and prevents it from melting too quickly.
Step 13: Prepare the Oreo Milk Frosting
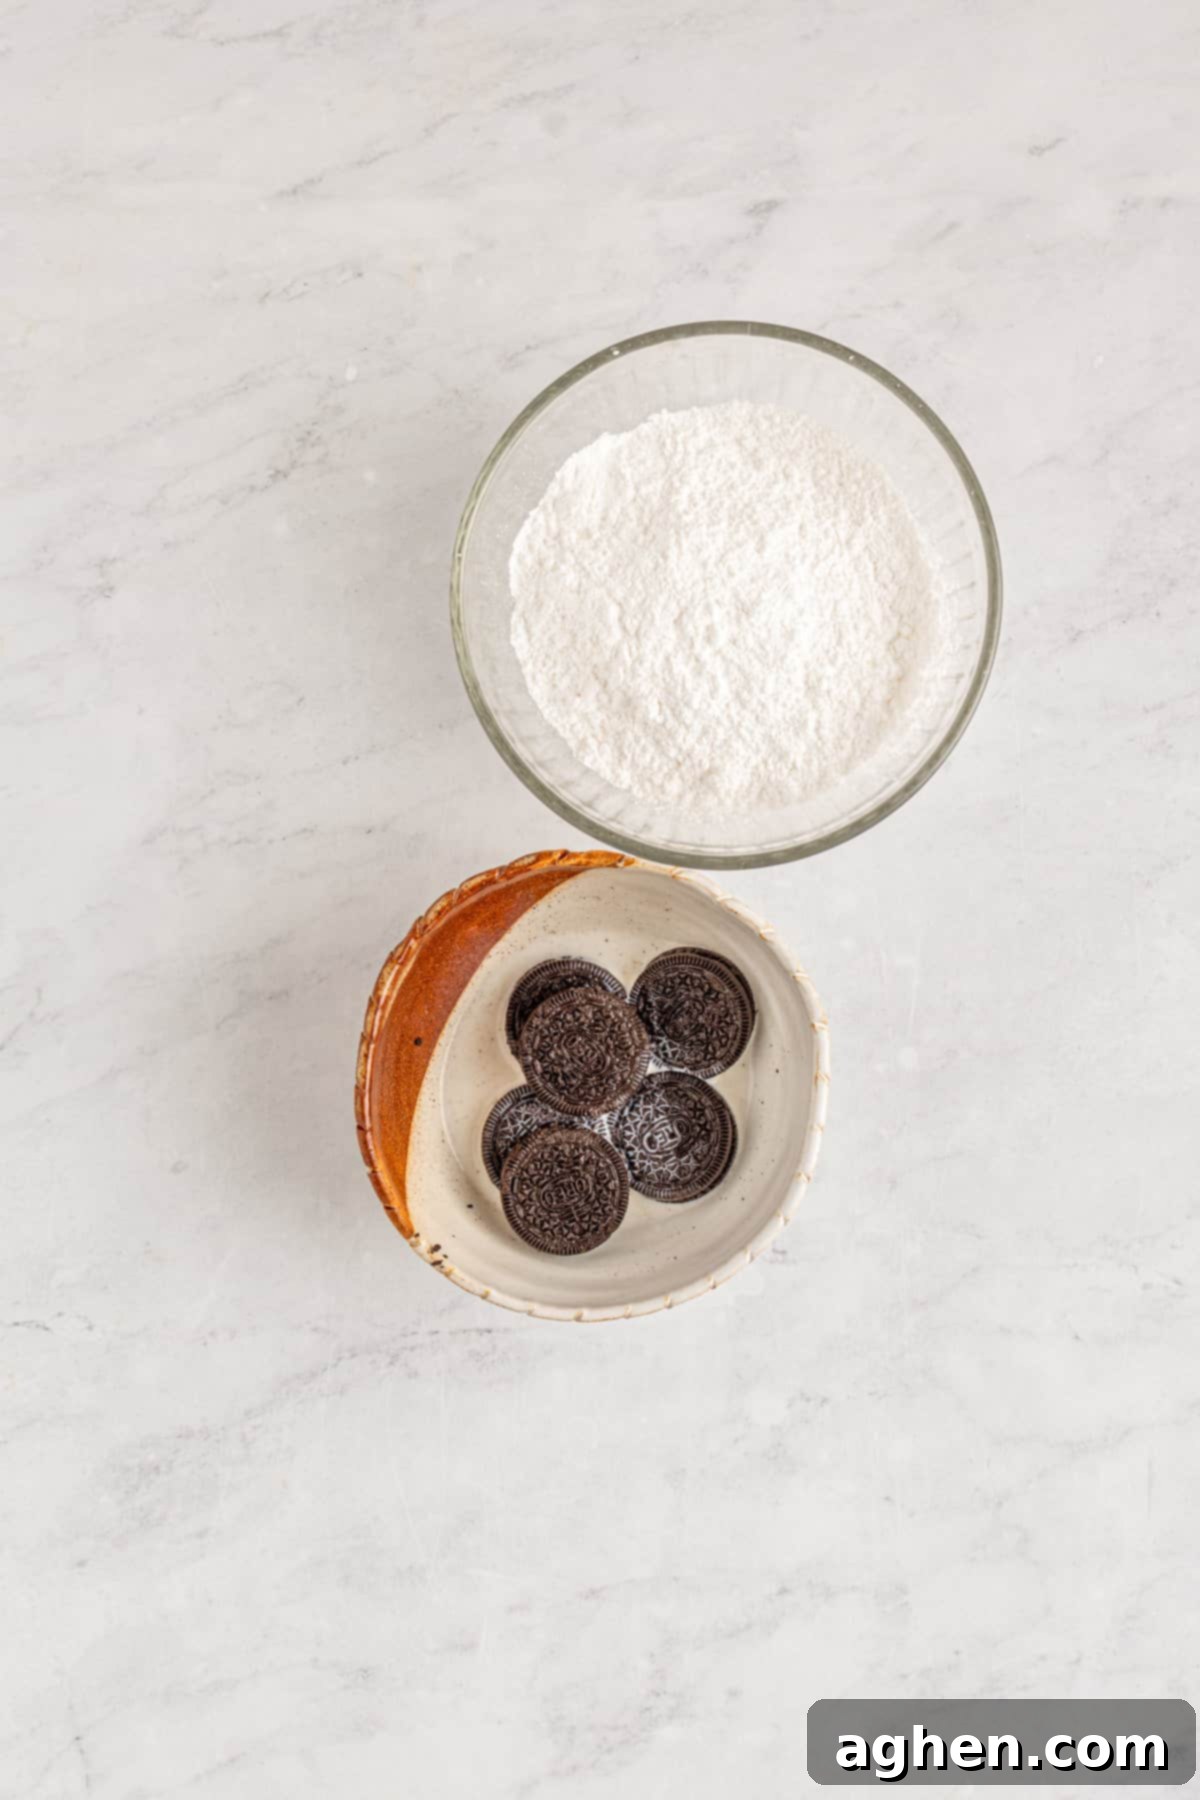
To create the luscious Oreo milk frosting, place the milk of your choice and 6 Oreo cookies (broken into pieces) in a medium-sized bowl. Let the cookies soak in the milk for about 5 minutes. During this time, the Oreos will become very soft, almost dissolving into the milk, infusing it with their rich chocolatey flavor. Stir the milk mixture vigorously until it’s smooth and the cookie pieces are mostly integrated. It will form a dark, flavorful base.
Step 14: Frost the Rolls
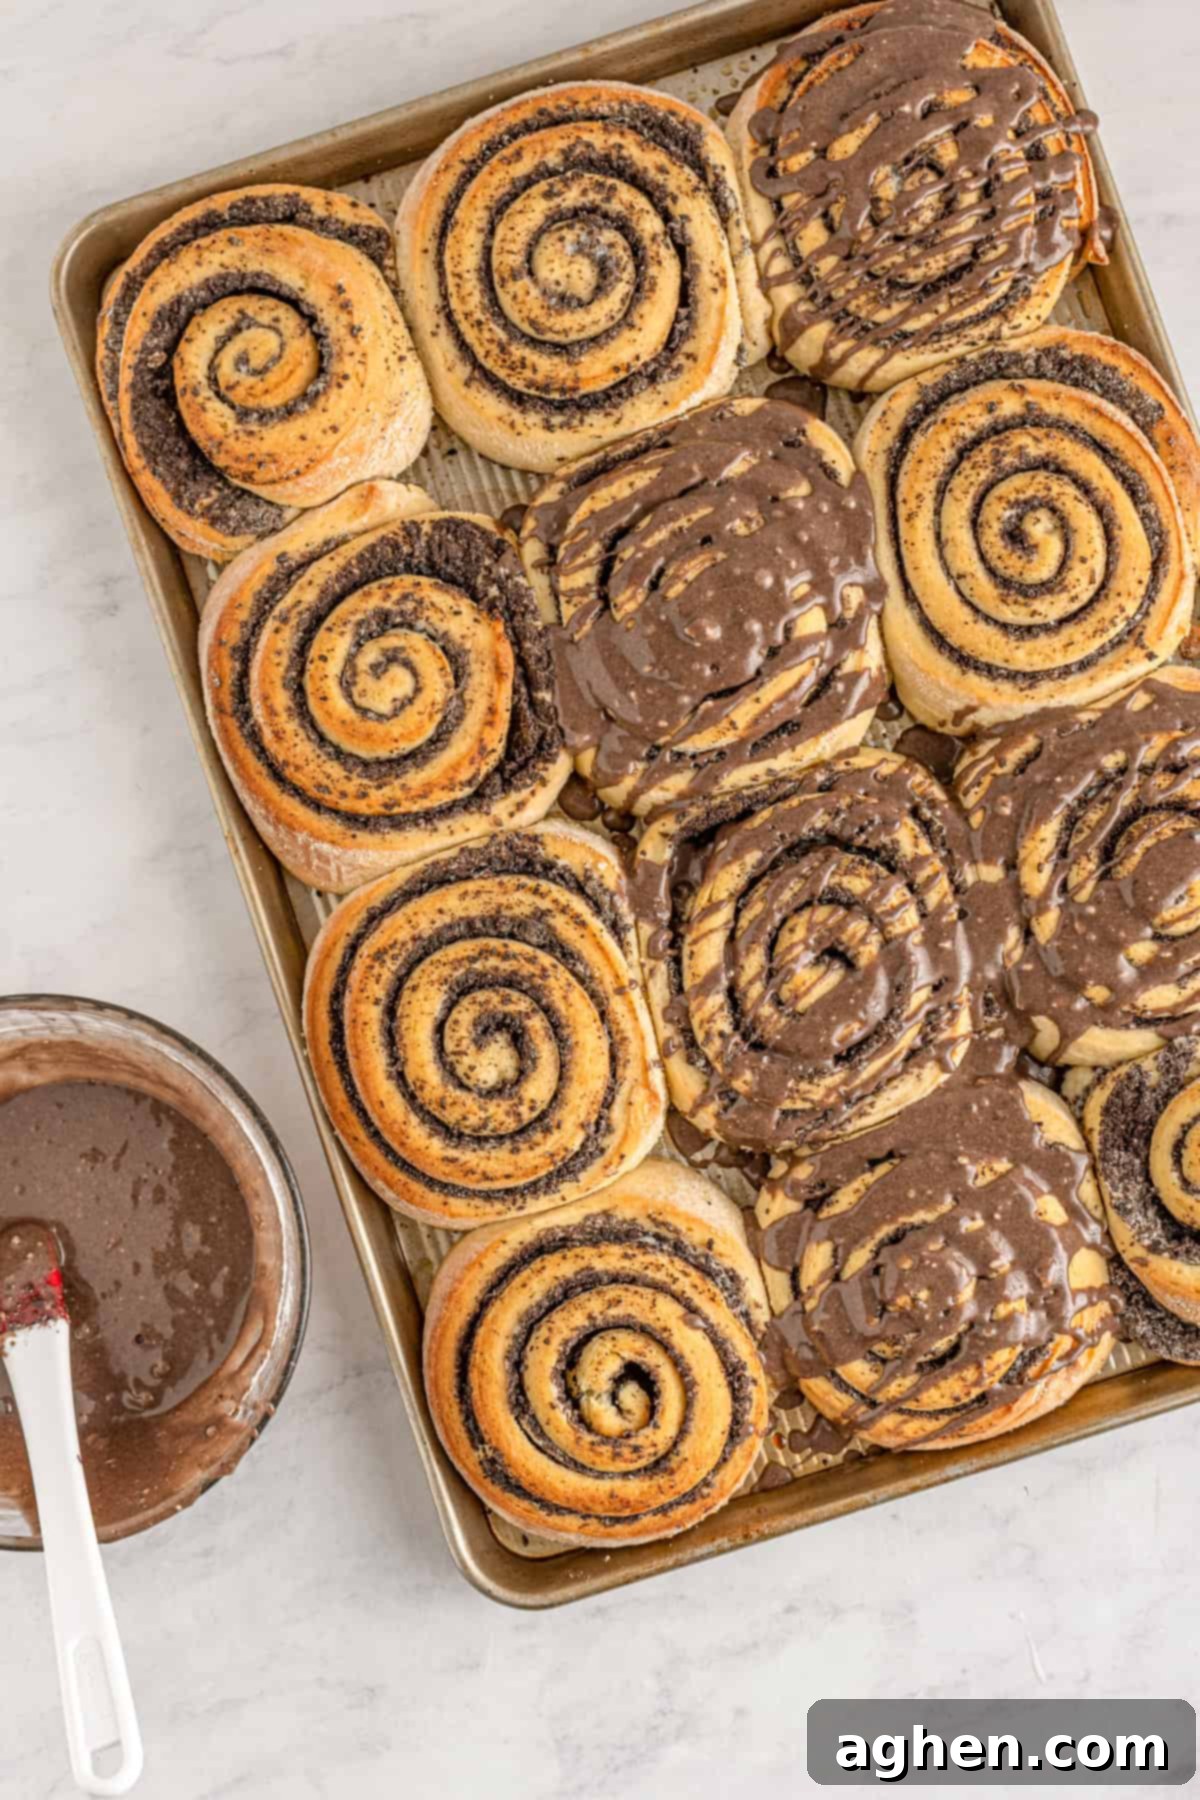
Add the smooth Oreo milk mixture to the powdered sugar in a clean bowl. Whisk everything together until a thick, smooth, and spreadable frosting forms. If the frosting is too thick, add a tiny bit more milk; if too thin, add a little more powdered sugar until it reaches your desired drizzling consistency. Generously drizzle the finished frosting over the slightly cooled cinnamon rolls. For an extra touch of cookies and cream magic and a lovely textural contrast, sprinkle some coarsely crushed Oreo pieces on top of the frosting. Serve warm and enjoy!
Serving Suggestions for Your Oreo Cinnamon Rolls
These pillowy soft cookies and cream cinnamon rolls are a treat unto themselves, but pairing them thoughtfully can elevate the experience even further:
- Classic Comfort: Enjoy a warm, gooey cinnamon roll with a tall, frosty glass of milk to complement its sweetness. For the adults, a freshly brewed hot cup of coffee or a comforting latte makes for a perfect morning pairing.
- Brunch Extravaganza: If you’re serving these fluffy cinnamon rolls as part of a special occasion breakfast or brunch, consider balancing the sweetness with some savory dishes. They pair wonderfully with hearty options like this satisfying farmer’s breakfast casserole, a comforting biscuits and gravy casserole, or these savory sausage squares.
- Dessert Delight: These rolls are decadent enough to stand alone as a dessert. Serve them slightly warm with a scoop of vanilla bean ice cream for an ultimate indulgence.
Storage and Freezing Instructions
To keep your delicious Oreo cinnamon rolls fresh, proper storage is key:
- Room Temperature Storage: Store baked cookies and cream cinnamon rolls in an airtight container at room temperature for up to 3 days. This helps maintain their soft texture and prevents them from drying out.
- Freezing Baked Rolls: For longer storage, you can freeze baked cookies and cream cinnamon rolls. Place them in an airtight, freezer-safe container or a heavy-duty freezer bag. They will keep well in the freezer for up to 3 months.
- Reheating: To enjoy frozen rolls, thaw them overnight in the refrigerator. Reheat individual rolls gently in the microwave for 15-30 seconds, or warm a larger batch in a preheated oven at 300°F (150°C) for 10-15 minutes, until heated through and soft. This brings them back to their fresh-baked glory!
Recipe Tips and Tricks for Success
Achieving bakery-quality cinnamon rolls at home is easier with these expert tips:
- Yeast Activation is Key: As mentioned in Step 1, if your yeast mixture doesn’t become frothy during the proofing stage, it indicates that the yeast is either inactive (expired) or was exposed to water/milk that was too hot, which kills the yeast. It’s crucial to start over with fresh yeast and properly tempered liquids to avoid wasting all your other ingredients on a dough that won’t rise.
- Kneading for Texture: Do not skip or shorten the kneading process! Kneading the dough thoroughly promotes the development of gluten, which is a protein network that gives bread and rolls their elasticity and chewiness. This gluten development is what ultimately creates those wonderfully soft, fluffy, and airy brioche rolls.
- Adjusting Frosting Consistency: If your luscious Oreo milk frosting turns out too thick, simply whisk in 1 or 2 teaspoons of additional milk until you achieve your desired drizzling or spreading consistency. Conversely, if it becomes too thin, whisk in 1 or 2 tablespoons of extra powdered sugar until it thickens up to perfection.
- Brown Sugar Substitution: While brown sugar adds a unique depth and caramel note due to its molasses content, if you find yourself without it, you can certainly substitute regular granulated sugar in its place. The rolls will still bake up beautifully, though the flavor profile will be slightly less complex.
- Cream Cheese vs. Butter Filling: Our recipe specifically calls for a cream cheese-based filling because the subtle tanginess of the cream cheese is fantastic for balancing out the intense sweetness of the Oreos. While you could opt for a butter-only filling, the cream cheese truly elevates the overall flavor and provides a delightful contrast.
- Don’t Overbake: Keep a close eye on your rolls during baking. Overbaking can lead to dry, tough rolls. They should be golden brown on top and feel set, but still soft.
Additions and Variations to Customize Your Rolls
While these cookies and cream cinnamon rolls are perfect as is, they also serve as a fantastic base for creative modifications. Feel free to experiment and make them your own!
- Try Golden Oreos: For a delightful vanilla twist, you can certainly use Golden Oreos in place of the classic chocolate ones for a lighter-colored filling. However, with Golden Oreos, you’ll want to add a teaspoon or two of cinnamon to the filling mixture to give them more depth of flavor, as the vanilla might otherwise be too one-dimensional. Just be sure to avoid using Double Stuffed or Mega Stuffed Oreos, as their extra cream filling can introduce too much sweetness and moisture, potentially making your rolls soggy.
- Experiment with Different Cookies: Don’t limit yourself to Oreos! The world of cookies is your oyster. For a seasonal treat, gingersnaps could be a deliciously spicy option, especially around the holidays. If you’re a devoted peanut butter fan, crushed Nutter Butters would make an incredible, nutty filling. You could even try shortbread cookies for a buttery, crumbly texture, or chocolate chip cookies for a double dose of chocolatey goodness.
- Add More Textural Elements: Fold in a handful of mini chocolate chips, chopped nuts (like pecans or walnuts), or even white chocolate chunks into the crushed Oreo filling for added texture and flavor complexity.
- Spice It Up: If you still crave a hint of traditional cinnamon, you can add a teaspoon of ground cinnamon or a pinch of nutmeg to the cream cheese filling along with the Oreos.
Cookies and Cream Cinnamon Rolls Recipe FAQ
Dry cinnamon rolls are a common issue, often a result of adding too much flour to the dough during preparation. This can easily happen if flour is packed into the measuring cup rather than measured precisely. To prevent this, always use the “spoon and level” method: gently spoon your flour into the measuring cup until it overflows, then use the flat edge of a knife to scrape off any excess from the top, without pressing the flour down. Additionally, overbaking the rolls can also lead to dryness, so keep a close eye on them in the oven and remove them as soon as they are golden brown.
No, your cinnamon rolls don’t absolutely have to touch each other when baking. However, placing them close enough so they gently touch as they expand during the rise and baking process actually offers a few benefits. When they touch, they support each other, helping them to rise taller and maintain a soft, moist texture along their sides. This also makes spreading frosting over the entire pan much easier, as you don’t need to be as meticulous with individual rolls. Usually, they will naturally expand to touch by the time they are fully baked anyway.
Yes, you absolutely can substitute white granulated sugar for brown sugar in your cinnamon rolls if that’s what you have on hand. However, it’s worth noting that using white sugar will result in a slightly different flavor profile. Brown sugar contains molasses, which imparts a subtle caramel-like taste and also contributes to a moister, more tender crumb in baked goods. While the rolls will still be delicious with white sugar, they will lack that distinct caramel note that brown sugar provides.
To prevent your delicious filling from leaking out of the cinnamon rolls, there are a few important techniques to follow. First, it’s crucial not to overfill your dough; spread the mixture in a relatively thin, even layer. Second, when you roll the dough into a log, make sure to roll it up tightly and evenly, gently pinching the seam at the end to seal it completely. If your kitchen is particularly warm, you can briefly chill the rolled dough log in the refrigerator for 15-20 minutes before slicing, which helps firm up the butter and cream cheese, making it easier to cut cleanly without squeezing out the filling. If you desire more “filling” flavor, consider making some extra frosting or a separate glaze for dipping instead of overloading the inside of the rolls.
For these Cookies and Cream Cinnamon Rolls, we specifically recommend using good quality all-purpose flour because it’s readily available in most people’s pantries and yields excellent results with our brioche dough recipe. All-purpose flour strikes a good balance of protein, providing enough gluten for structure without making the rolls tough. You can, however, use bread flour if you prefer. Bread flour has a higher protein content, which will result in an even chewier texture, similar to a classic bread. Both options will create delicious rolls, but all-purpose flour generally produces a softer, more tender crumb.
More Sweet Breakfast Recipes to Indulge In
- Apple Danish with Crumb Topping
- Best Easy Monkey Bread (with canned biscuits)
- Blueberry French Toast Casserole
- Unicorn Bread
- Cinnamon Swirl Pumpkin Spice Pancakes

Cookies and Cream Cinnamon Rolls
Author: Jaclyn
1 hour
26 minutes
1 hour 26 minutes
12
Saved!
Ingredients
For the Dough
- 1 ⅔ cups warm milk (whole milk preferred for richness)
- ⅓ cup + 3 Tablespoons granulated sugar (for yeast activation and dough sweetness)
- ⅓ cup warm water (helps activate yeast)
- 4 teaspoons active dry yeast
- 4 eggs + 1 yolk (at room temperature)
- 3 Tablespoons brown sugar (for depth of flavor and moisture)
- 1 teaspoon pure vanilla extract
- 9 cups all-purpose flour (measured precisely by spooning and leveling)
- 2 teaspoons salt (balances sweetness and controls yeast activity)
- 1 ½ cups unsalted butter cubed and softened to room temperature
For the Filling
- 8 ounces full-fat cream cheese (softened to room temperature)
- ½ cup unsalted butter softened to room temperature
- ½ cup granulated sugar
- 3 cups crushed Oreos (about 36 cookies, use a food processor for best results)
For the Frosting
- ¼ cup milk (any type)
- 6 Oreo cookies (for soaking in milk)
- 2 cups confectioners sugar (also known as powdered sugar or icing sugar)
- ½ cup coarsely crushed Oreos for topping (adds texture and visual appeal)
Instructions
Make the Dough
-
In the bowl of your stand mixer, combine the warm milk, granulated sugar, warm water, and yeast. Stir lightly and let the mixture stand for 5 minutes. During this time, the yeast should proof and become frothy, indicating it’s active.
-
Once the yeast mixture is frothy, add the room temperature eggs, brown sugar, and vanilla extract. Whisk these ingredients together until well combined. Next, add the precisely measured all-purpose flour and salt.
-
Attach the dough hook to your stand mixer. Begin mixing on low speed to bring the dough together. Once it forms a cohesive mass, increase the speed to medium and let the dough knead for 5 minutes to start developing gluten.
-
Gradually add the cubed, softened butter to the kneading dough. Once the butter has been fully incorporated and the dough is smooth and elastic, continue kneading for an additional 8 minutes on medium speed to achieve optimal gluten development for fluffy rolls.
-
Shape the thoroughly kneaded dough into a smooth ball. Return it to the mixing bowl and cover with a damp towel to prevent drying. Place the bowl in a slightly warm, draft-free place to rise for 1 hour, or until it has visibly doubled in size.
Assemble the Rolls
-
Gently punch down the risen dough and turn it out onto a lightly floured surface. Dust the top of the dough with a little more flour, then use a rolling pin to roll it out into a large, thin rectangle, approximately 21 x 27 inches, ensuring even thickness.
-
To create the luscious filling, whisk together the softened cream cheese and butter until smooth and creamy. Incorporate the granulated sugar, whisking until well combined. Evenly spread this rich cream cheese filling over the entire surface of the dough, leaving a narrow border on one long edge. Then, generously cover the filling with the crushed Oreos.
-
Starting from the long edge opposite the border, tightly roll the dough up into a snug log. Gently pinch the seam closed to seal. Using a very sharp knife or unflavored dental floss, cut the log into 12 two-inch rolls for larger portions, or 24 one-inch rolls for smaller treats.
-
Carefully arrange the sliced rolls in one large or two medium-sized greased baking sheets or pans. They can be placed snugly, as they will expand during the next rise.
-
Place the pans containing the rolls into a slightly warm, draft-free area to rise for another 30 minutes, or until they have almost doubled in size, becoming visibly puffy.
Bake and Glaze
-
While the rolls are completing their second rise, preheat your oven to 350°F (175°C). Once the rolls have risen, place the pans into the preheated oven to bake for 26-32 minutes, or until the tops are beautifully golden brown and the rolls are baked through. Remember, baking time can vary depending on the size of your rolls and how tightly they are placed.
-
Once baked to perfection, remove the pans from the oven. Carefully transfer the warm rolls onto a wire cooling rack to cool slightly for a few minutes before you apply the frosting. This prevents the frosting from melting off.
-
To prepare the exquisite Oreo milk frosting, place the milk and 6 whole Oreo cookies (broken into pieces) in a bowl. Let the cookies soak in the milk for about 5 minutes until they are very soft and nearly dissolved. Stir the mixture until smooth, ensuring the Oreos are fully broken down and the milk is infused with chocolatey goodness. Add this rich Oreo milk to the confectioners’ sugar and whisk thoroughly until a wonderfully smooth frosting has formed.
-
Generously drizzle the prepared frosting over the slightly cooled cinnamon rolls. For a final, irresistible touch and added textural delight, sprinkle the remaining ½ cup of coarsely crushed Oreo pieces on top of the frosting. Serve warm and enjoy these decadent treats!
Notes
- If the yeast mixture does not become frothy when proofing, it indicates either that the milk or water were too hot and killed the yeast, or that the yeast itself has expired. In either case, it is essential to start over with fresh yeast and properly tempered liquids to prevent wasting any additional ingredients and ensure your dough rises correctly.
- Be sure to knead the dough thoroughly and well before letting it rise. Proper kneading allows the crucial gluten to develop, which creates elasticity within the dough. This elasticity, in turn, is what results in beautifully soft, fluffy, and tender rolls with an excellent texture.
- For the perfect frosting consistency: If the glaze happens to be too thick for drizzling or spreading, simply whisk in 1 to 2 teaspoons of additional milk until the desired, smooth consistency has been achieved. Conversely, if the glaze becomes too thin, whisk in 1 to 2 tablespoons of extra powdered sugar until it thickens to your preference.
- Store your finished cookies and cream cinnamon rolls at room temperature in an airtight container for up to 3 days to maintain their freshness and softness.
Nutrition

Did You Make This Recipe?
We’d absolutely love to see your creations! Share your delicious Cookies and Cream Cinnamon Rolls with us on Instagram @crayonsandcravings and be sure to follow us on Pinterest @crayonsandcravings for even more delectable recipes and inspiration!
Pin Recipe
Leave A Review
