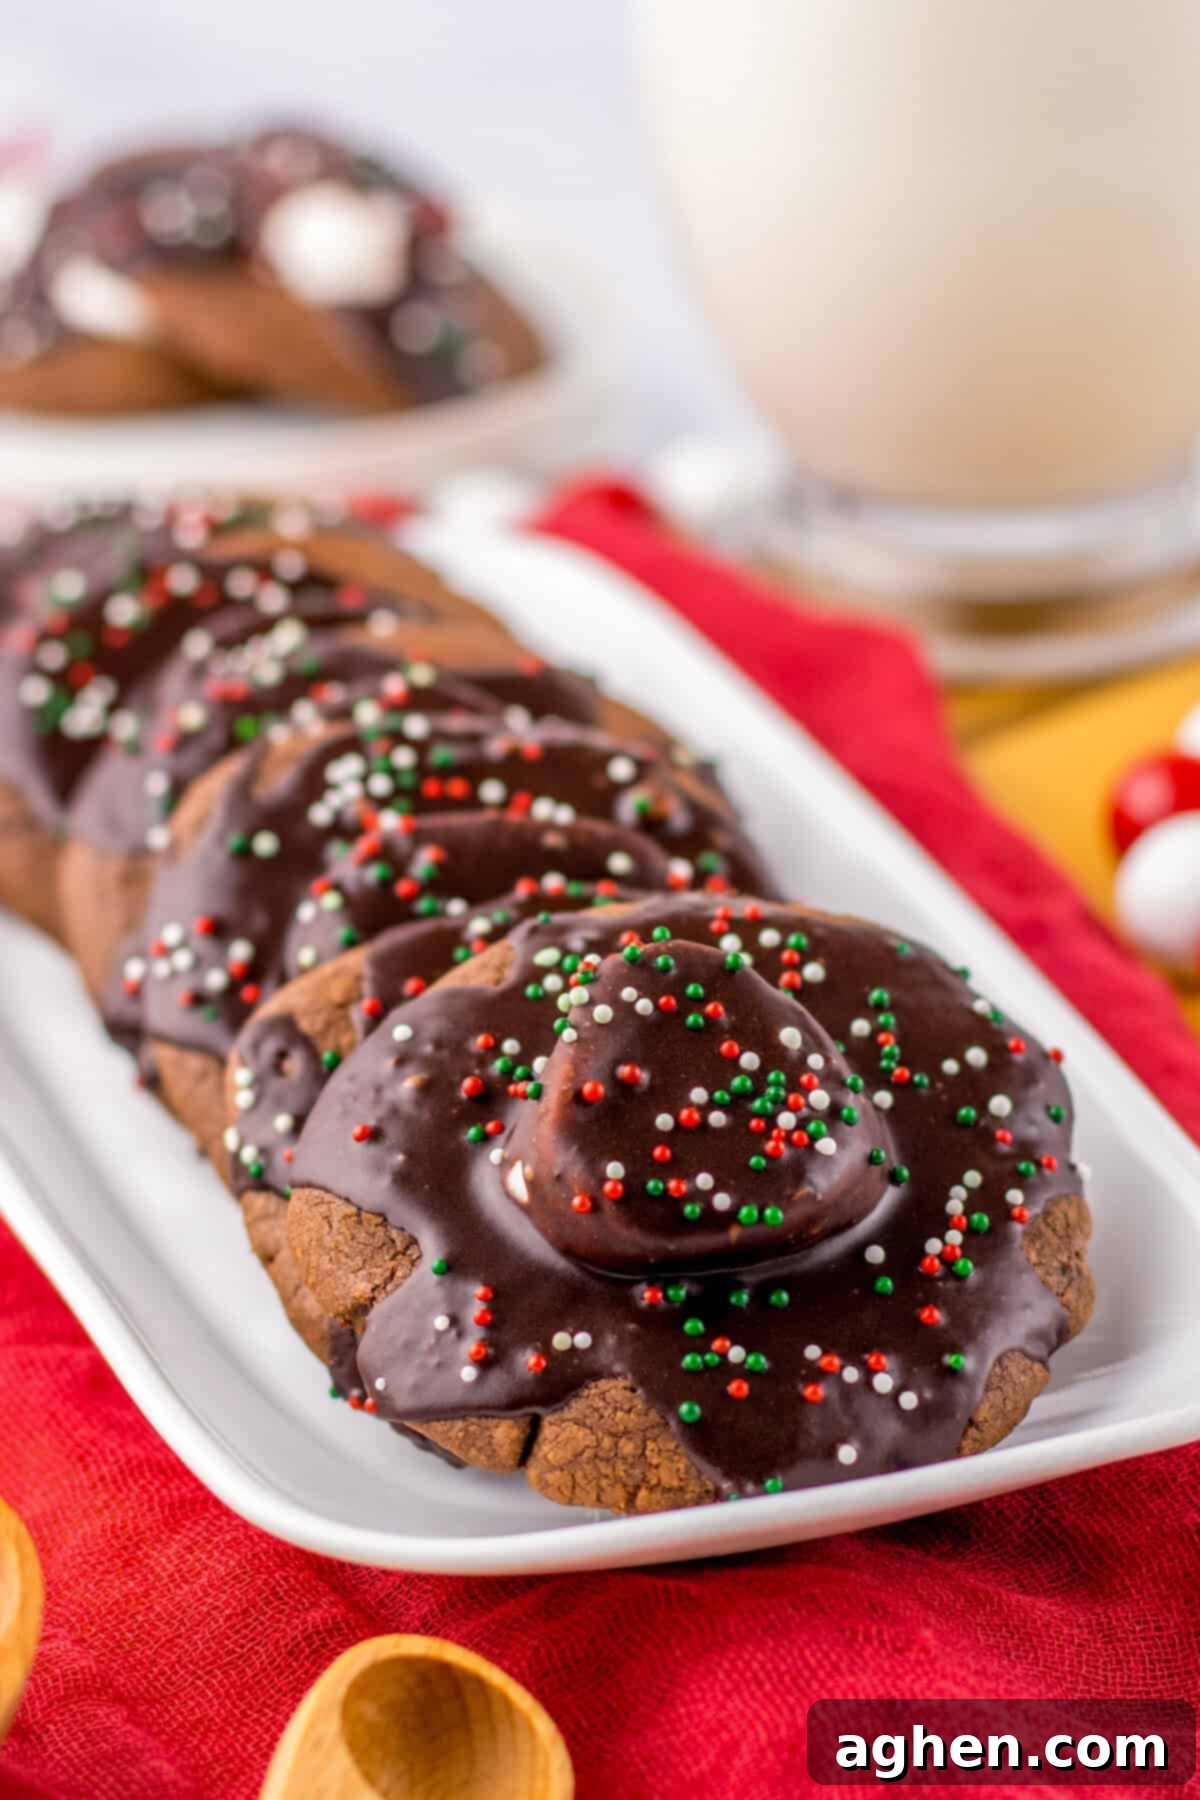
Delicious Hot Chocolate Cookies: Your Ultimate Recipe for Festive Marshmallow Treats
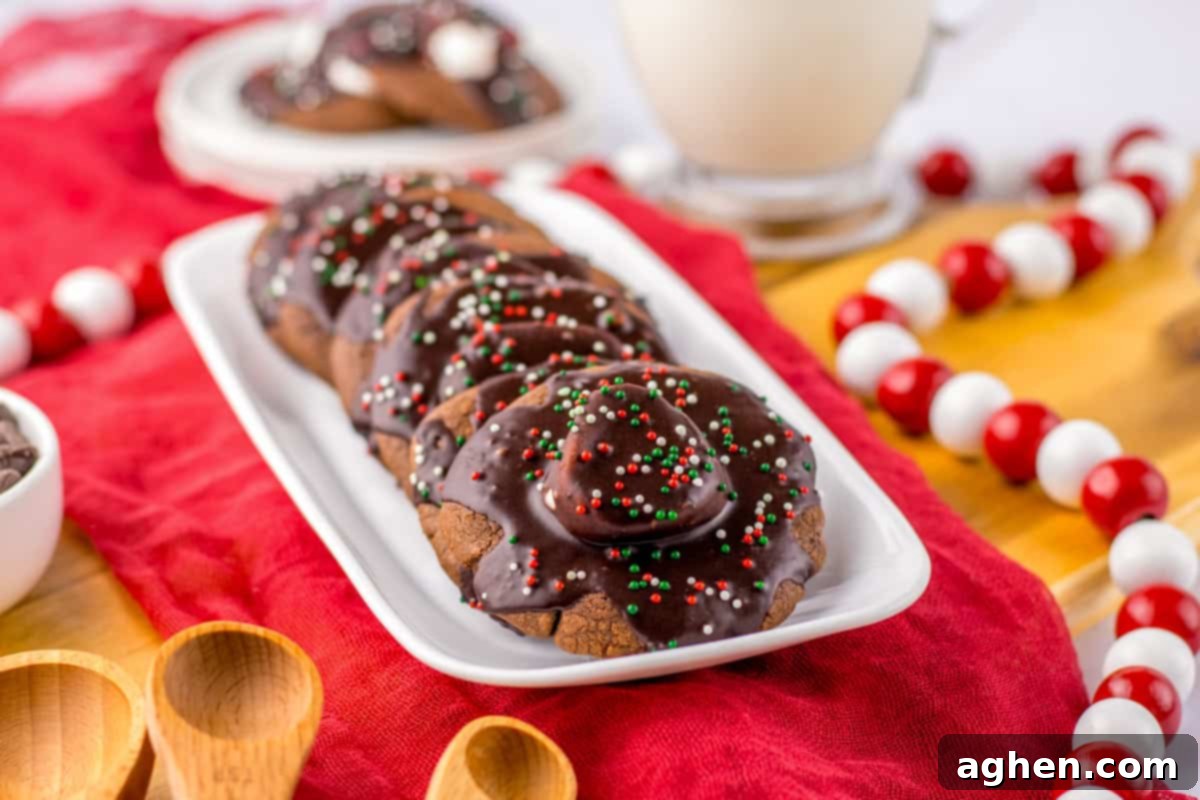
There’s nothing quite like the warmth and comfort of a rich cup of hot cocoa during the chilly holiday season. Now, imagine all those cozy flavors baked into a decadent cookie, complete with a gooey marshmallow surprise and a luscious chocolate frosting. That’s exactly what these incredible **hot chocolate cookies** deliver! They are a fun, festive, and utterly irresistible holiday cookie, featuring a deep, fudgy chocolate cookie base, crowned with sweet chocolate frosting, and hiding a soft, pillowy marshmallow. These **hot cocoa cookies** are always a massive hit, making them absolutely perfect for your Christmas cookie platters, holiday gatherings, and cookie exchanges.
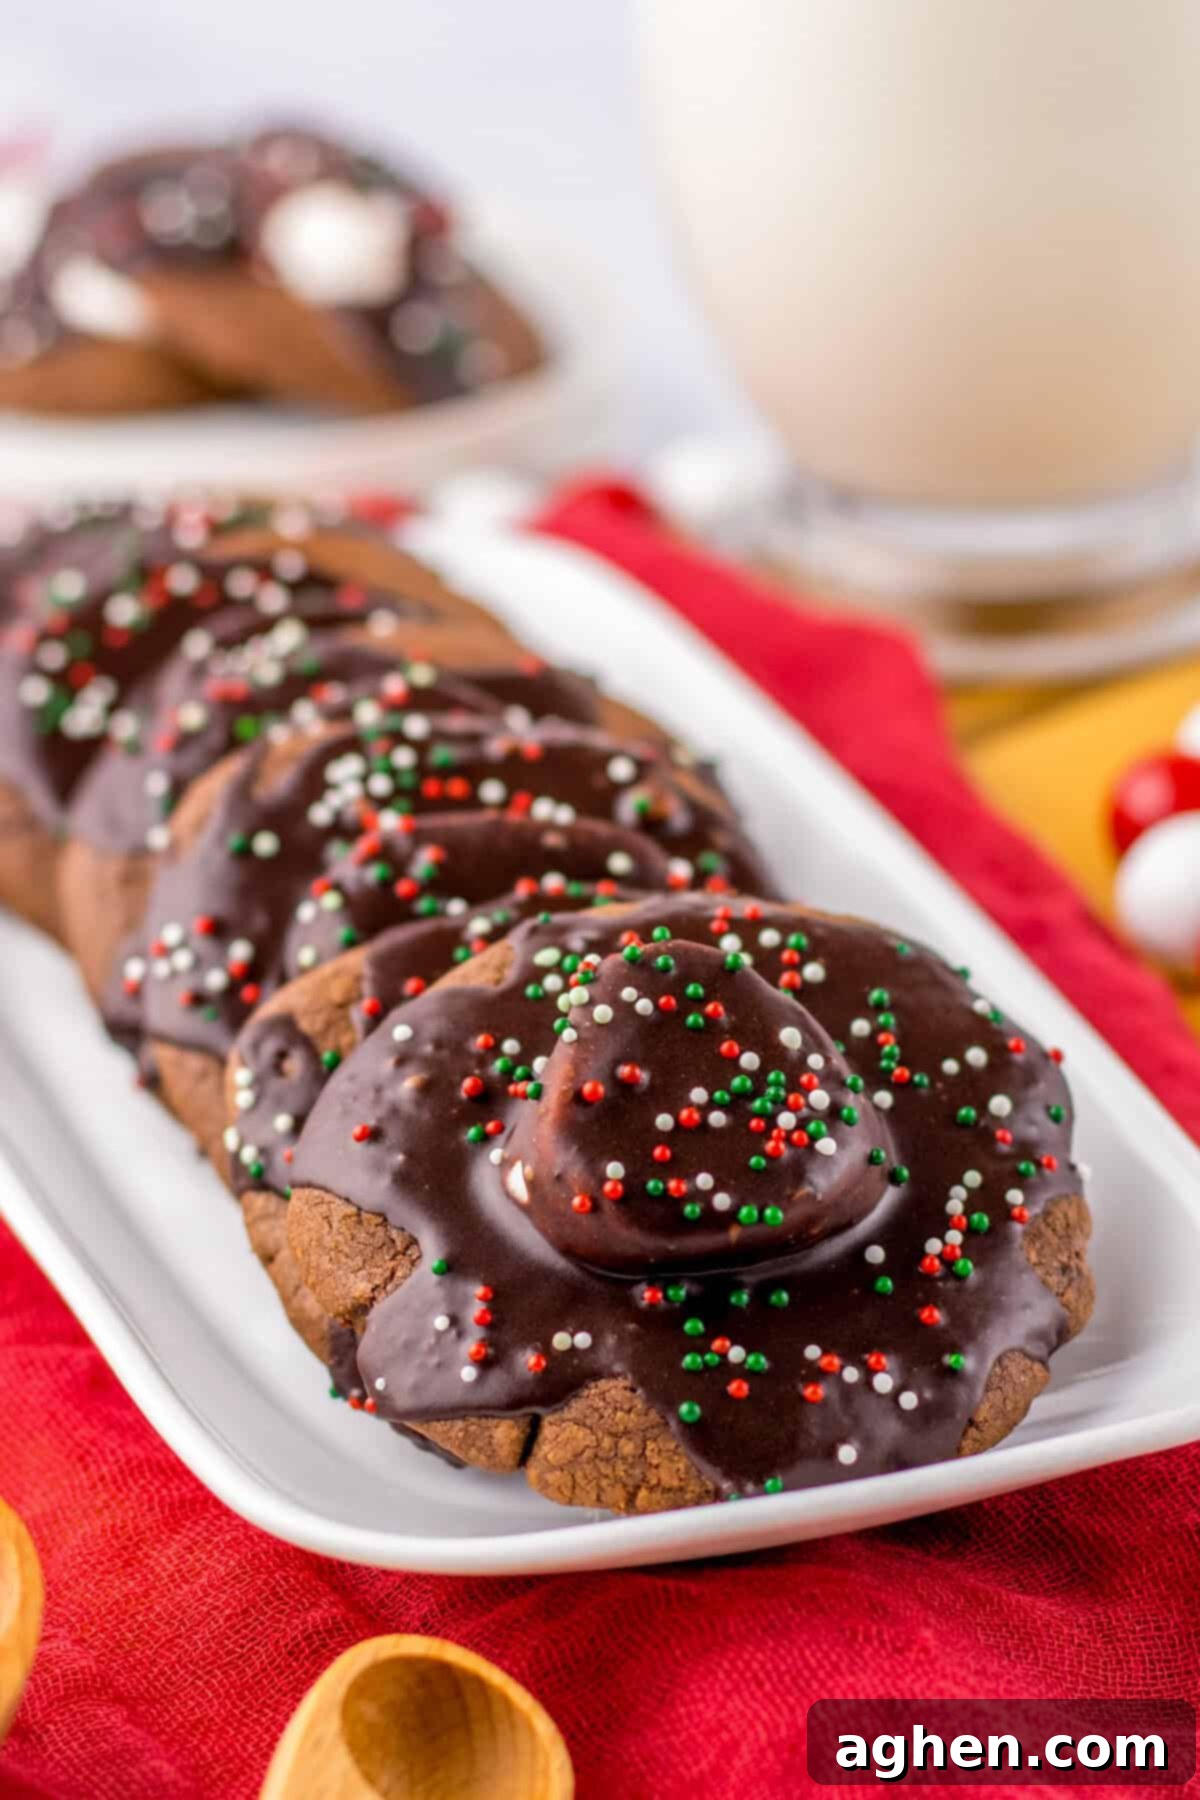
This delightful recipe for **hot chocolate marshmallow cookies** expertly combines the beloved flavors of two quintessential holiday treats: a comforting cup of homemade hot cocoa and a freshly baked batch of rich chocolate cookies. It’s a match made in winter wonderland heaven!
After successfully experimenting with a hot chocolate dip that captured all the nostalgic essence of the drink, it became clear that translating those same comforting hot cocoa flavors into a cookie would be a truly magical endeavor. And indeed, these chewy, fudgy cookies prove that the magic is real!
These **hot cocoa cookies** are a firm fan favorite in our household, especially as the temperatures drop and the festive season approaches. They are fantastic for holiday baking with kids, offering a fun and interactive experience, and they make a show-stopping addition to any dessert table. Pair them with other seasonal delights like M&M Christmas cookie bars, whimsical Grinch heart cookies, or classic chocolate snowball cookies for an unforgettable spread. If you’re looking to elevate your holiday baking list this year with something a little whimsical, incredibly delicious, and surprisingly easy to make, these **chewy hot chocolate marshmallow cookies** are an absolute must-try!
Why You’ll Adore This Hot Chocolate Cookie Recipe
These isn’t just another cookie recipe; it’s an experience! Here are compelling reasons why these **hot chocolate cookies** will become your new holiday tradition:
- Intense Chocolate Flavor: We use melted chocolate chips in the cookie base, creating an incredibly rich, deep, and truly fudgy chocolate experience that’s far superior to cocoa powder alone. Every bite is a chocolate lover’s dream!
- Perfect Marshmallow Pairing: The soft, pillowy texture of the melted marshmallows pairs absolutely perfectly with the dense, fudgy chocolate cookie. It’s the iconic hot chocolate combination, reimagined in cookie form.
- Hot Cocoa in Every Bite: These cookies genuinely taste like a cozy cup of hot cocoa, but with the added joy of a chewy cookie texture. It’s the ultimate comfort food for your taste buds.
- Visually Stunning for Holidays: These are not just delicious; they’re beautiful cookies! Their festive appearance, complete with glossy frosting and sprinkles, makes them ideal for Christmas cookie exchanges, holiday gift boxes, and impressive dessert platters.
- Customizable Fun: Easily customize these treats with your favorite festive sprinkles, crushed candy canes, or a dusting of extra cocoa powder to match any holiday theme or personal preference.
Essential Ingredients for Your Hot Chocolate Cookies
This section provides detailed ingredient notes, including substitution options and helpful tips to ensure your cookies turn out perfectly. You’ll find all precise measurements, a complete list of ingredients, and step-by-step instructions in the printable recipe card located at the very end of this post.
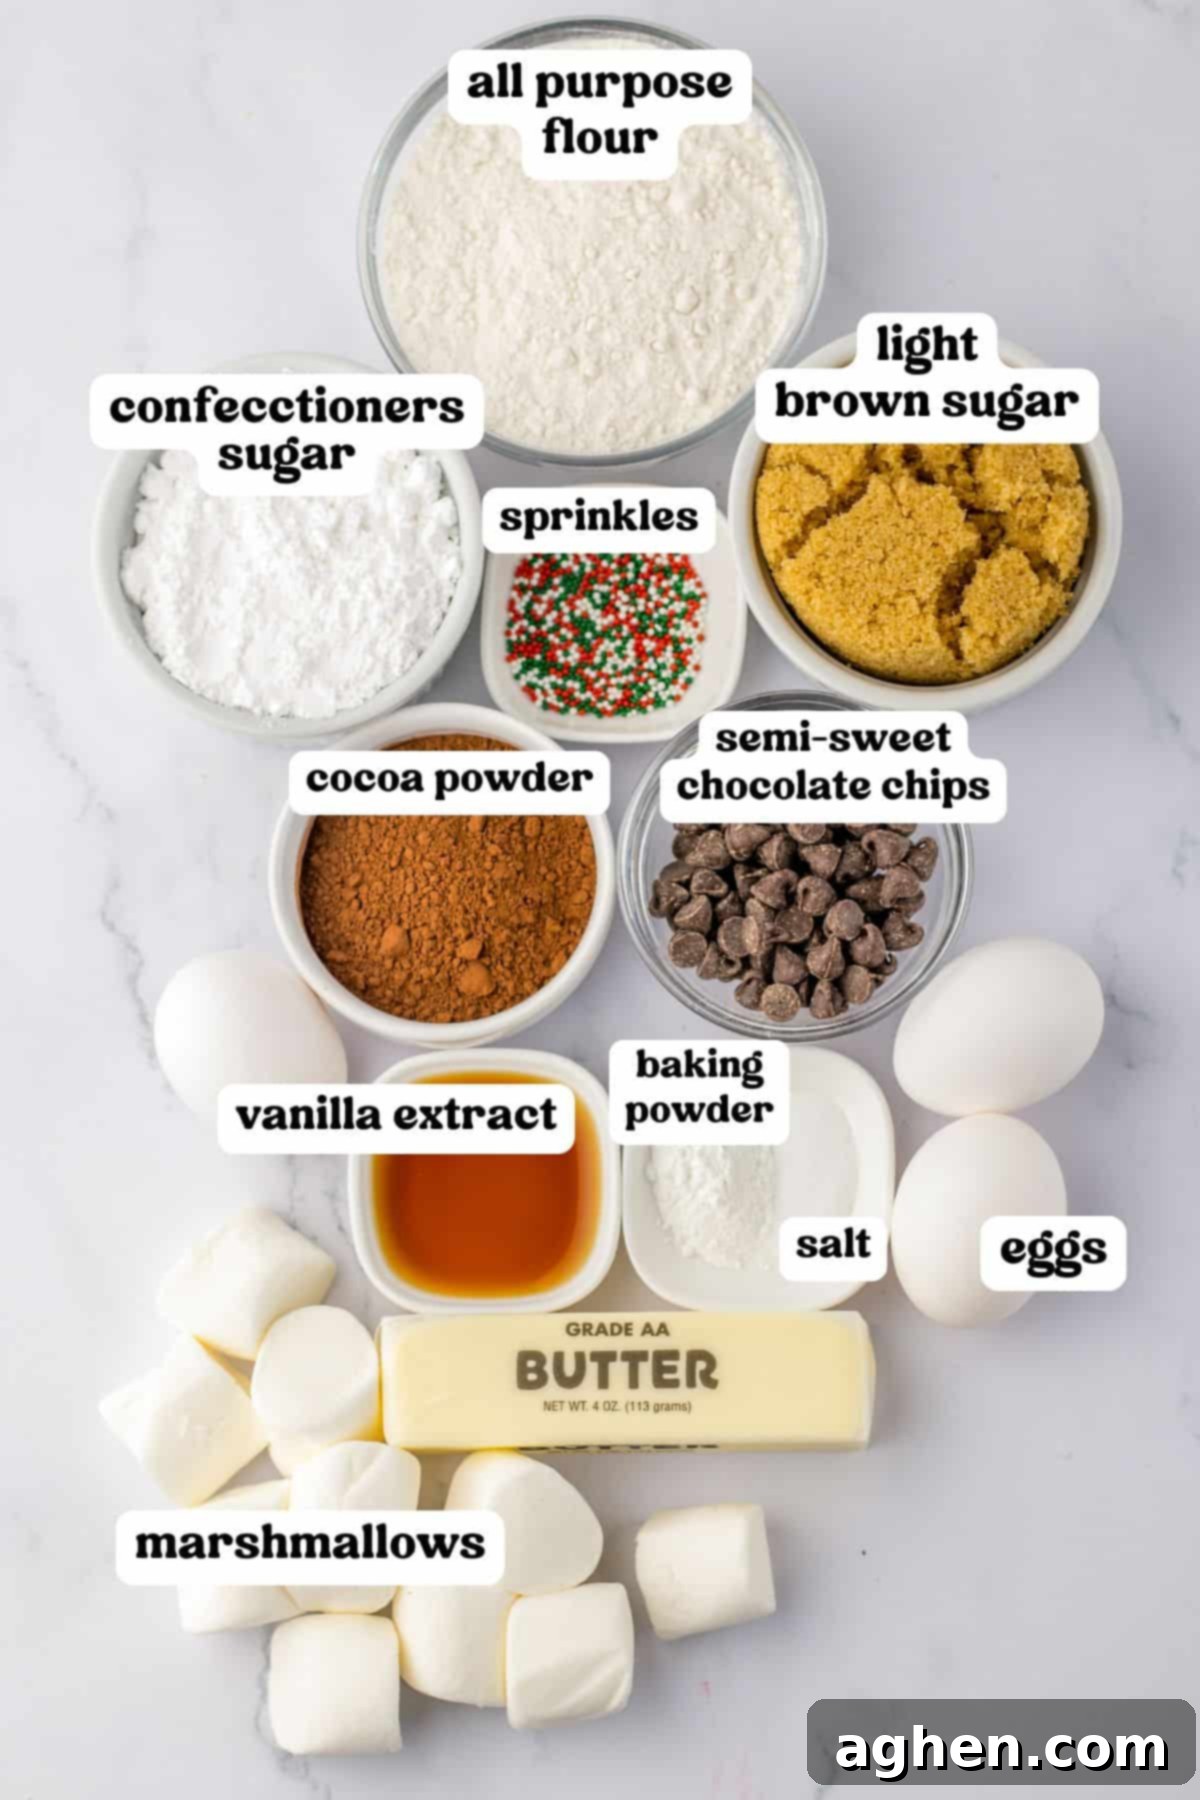
- Unsalted Butter: Using unsalted butter allows you to precisely control the amount of salt in your recipe. If you only have salted butter on hand, simply omit the additional salt called for in the recipe to avoid over-salting your cookies. Ensure it’s at room temperature for optimal creaming.
- Chocolate Chips: For the most balanced and rich chocolate flavor in your cookie base, we highly recommend using semi-sweet chocolate chips. Milk chocolate chips can sometimes make the cookies overly sweet. We personally love and use Ghirardelli semi-sweet chocolate chips for their superior quality and melting consistency.
- All-Purpose Flour: Standard all-purpose flour is perfect here. Remember to measure your flour using the “spoon and level” method (spoon flour into a measuring cup and then level it off with a straight edge) to prevent adding too much, which can result in dry, dense cookies.
- Unsweetened Cocoa Powder: This provides an extra layer of deep chocolate flavor to our cookies. While we typically use natural unsweetened cocoa powder, Dutch-process cocoa powder should also work wonderfully in this recipe, yielding a slightly darker cookie with a mellower chocolate taste.
- Light Brown Sugar: Brown sugar is key for several reasons: it imparts a lovely sweetness with a hint of caramel depth, and importantly, its molasses content adds extra moisture to the cookie dough, contributing to that irresistible chewy texture. Make sure it’s packed firmly when measuring.
- Eggs: Essential for structure and richness. Always remember to bring your eggs to room temperature along with the butter. Room temperature eggs emulsify better with other ingredients, creating a smoother, more uniform dough.
- Marshmallows: You’ll need regular-sized marshmallows, which you’ll cut in half. For best results, slice them just before you’re ready to use them to prevent them from drying out and becoming difficult to handle. If you’re feeling adventurous and want to make these cookies extra special, consider using homemade marshmallows for an unparalleled soft texture.
- Baking Staples: Don’t forget the everyday heroes of baking! You’ll also need a touch of baking powder for lift and tenderness, salt to balance the sweetness and enhance flavors, and vanilla extract for that essential warm, aromatic note that complements the chocolate beautifully.
For the Decadent Icing
The luscious chocolate icing is what truly transforms these into spectacular hot chocolate cookies!
- Confectioners’ Sugar: Also known as powdered sugar, this is vital for a smooth, lump-free frosting. The fine texture ensures sweetness without any grittiness, and the cornstarch often present in powdered sugar helps to thicken the frosting to the perfect consistency.
- Unsalted Butter: Melted butter is incorporated into the icing, lending a rich flavor and contributing to its wonderfully smooth, pourable consistency.
- Unsweetened Cocoa Powder: This provides the intense, rich chocolate flavor for the icing, ensuring it complements the cookie base perfectly.
- Hot Water: A small amount of hot water is crucial here. It helps to dissolve the cocoa powder fully, intensifying its flavor, and thins out the icing to achieve that ideal pourable texture, making it easy to spoon over your cookies.
- Vanilla Extract: Just like in the cookie dough, vanilla extract adds a layer of complex flavor to the icing, enhancing the chocolate and making it even more delicious.
- Sprinkles (Optional, but highly recommended!): This is where you can truly get creative and add that festive touch! Use your favorite holiday colors – classic red, green, and white, or elegant gold and silver. For an extra festive touch, try adding crushed candy canes on top!
Step-by-Step Guide: How to Make Irresistible Hot Chocolate Cookies
Follow these easy steps to create a batch of these amazing **hot chocolate cookies**. This section includes helpful photos and detailed instructions. For the complete, printable version of this recipe, please refer to the recipe card further down this post.
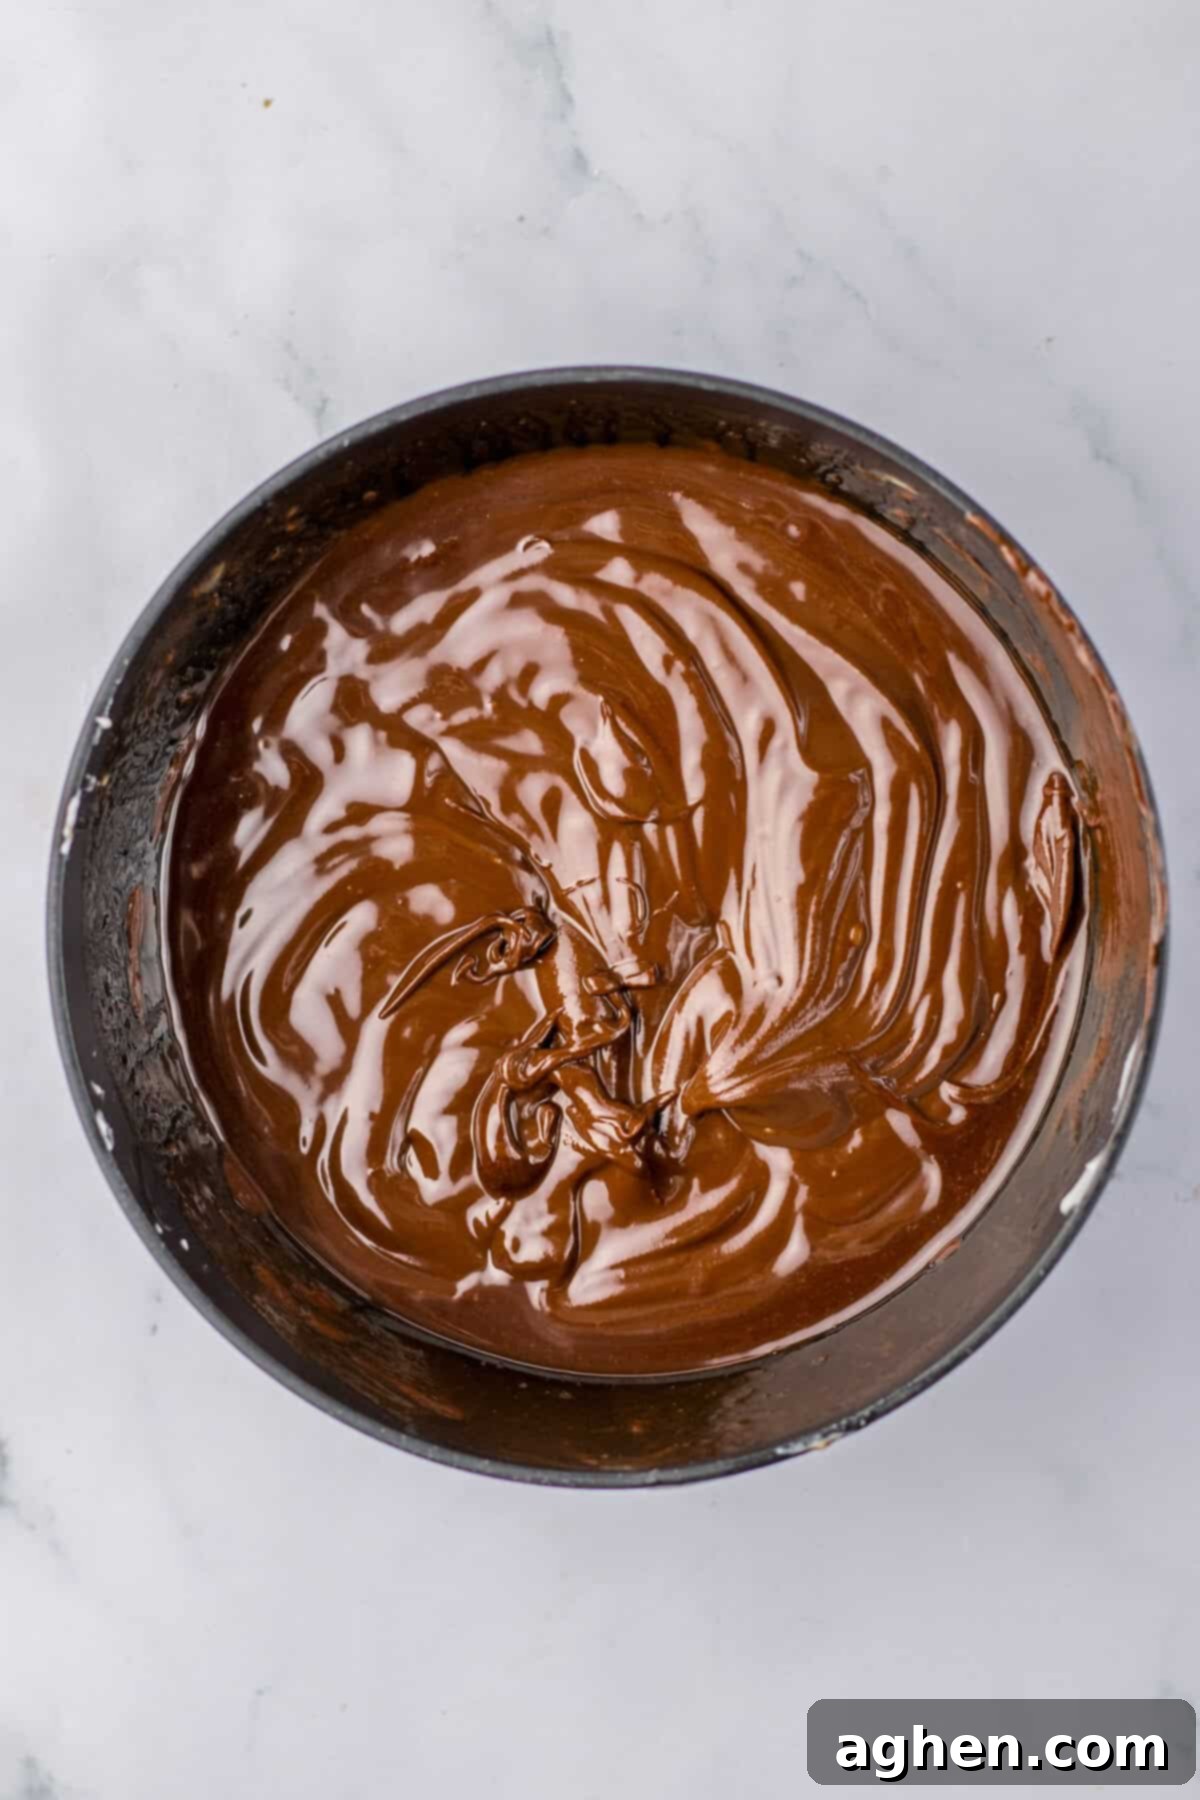
Step 1: Melt Chocolate and Butter. In a microwave-safe bowl, combine the unsalted butter and semi-sweet chocolate chips. Heat them in the microwave for 30 seconds. Remove, stir well, and then continue to heat in additional 15-second intervals, stirring thoroughly after each, until the mixture is completely melted and beautifully smooth. Set this aside to cool slightly while you prepare the other ingredients. This cooling step is important to prevent cooking the eggs later.
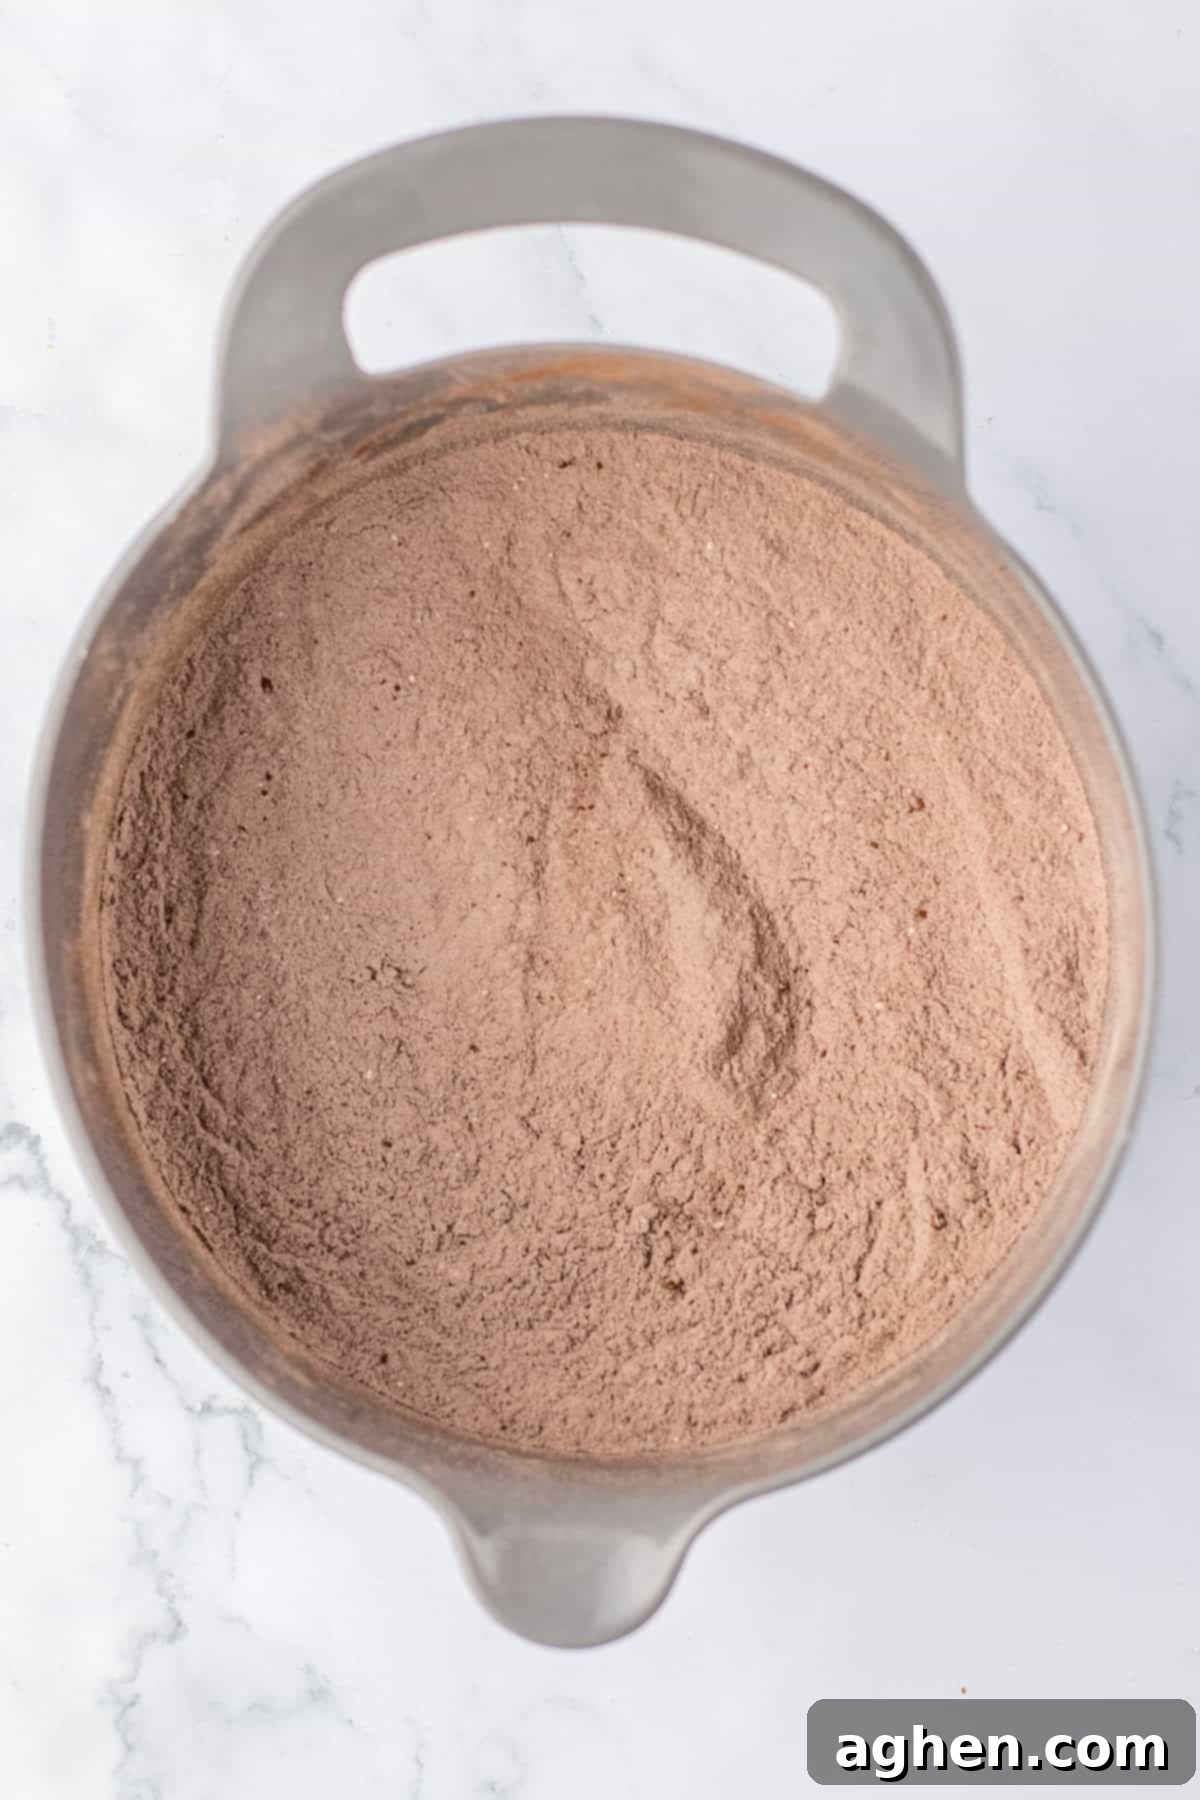
Step 2: Combine Dry Ingredients. In a separate medium-sized mixing bowl, whisk together the all-purpose flour, unsweetened cocoa powder, baking powder, and salt. Whisk until these dry ingredients are thoroughly combined and no lumps of cocoa powder remain. Setting this aside ensures they are evenly distributed when added to the wet mixture.
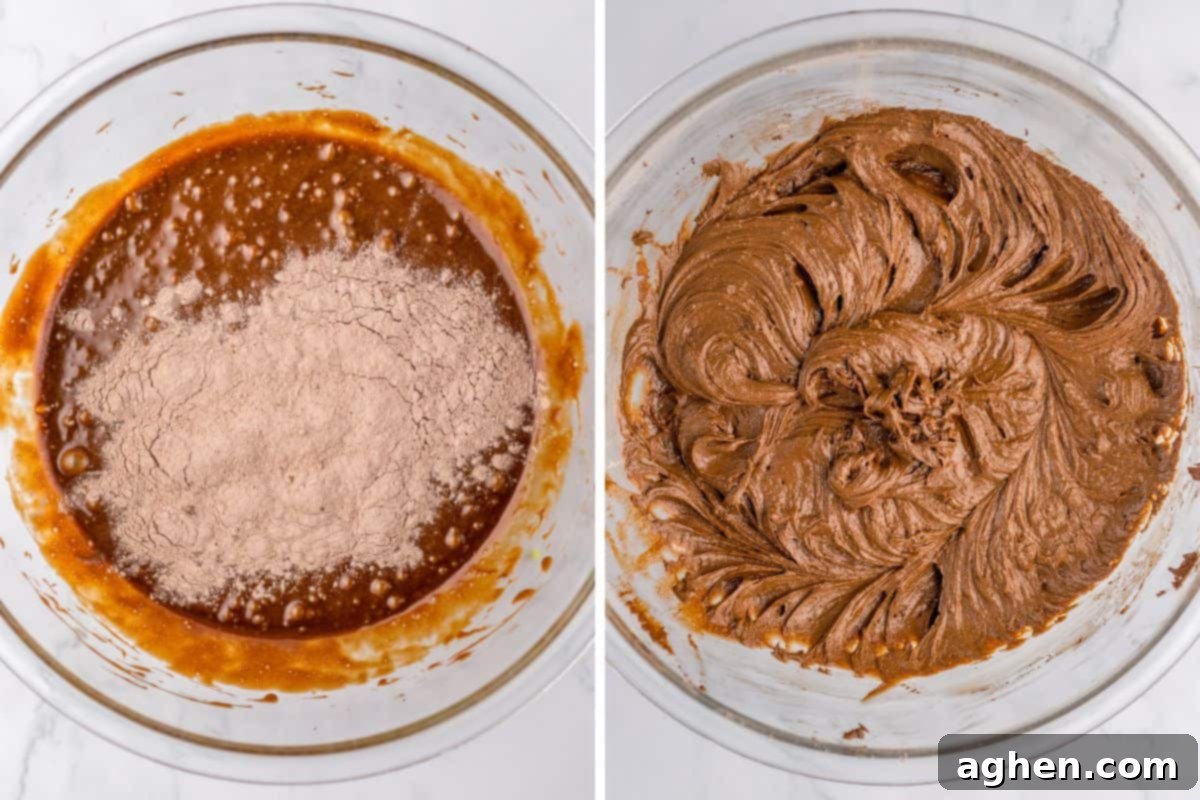
Step 3: Mix Wet Ingredients. In a large mixing bowl (or the bowl of a stand mixer fitted with the paddle attachment), add the light brown sugar, room temperature eggs, and vanilla extract. Using an electric hand mixer or your stand mixer, beat these ingredients together on low speed until they are well combined and appear smooth. This step creates the foundation for your rich cookie dough.
Step 4: Form the Cookie Dough. Gradually add the slightly cooled melted chocolate mixture from Step 1 to the wet ingredients, mixing on low speed until just incorporated. Next, with the mixer still on low, gradually add the whisked dry ingredients (from Step 2) to the wet mixture. Mix until just combined, being careful not to overmix, which can lead to tough cookies. Use a rubber spatula to scrape down the sides and bottom of the bowl as needed to ensure everything is evenly incorporated. Once mixed, cover the bowl tightly with plastic wrap and chill the cookie dough in the refrigerator for at least one hour. Chilling is essential for firming up the dough, preventing excessive spreading, and deepening the flavors.
Step 5: Bake the Cookies with Marshmallows. Preheat your oven to 325°F (160°C). Line your baking sheets with parchment paper or a silicone baking mat. Use a medium cookie scoop (about 1.5-2 tablespoons) to portion out uniform cookie dough balls, placing them approximately 2 inches apart on the prepared baking sheets. Bake in the preheated oven for 11 minutes. After this initial baking time, carefully remove the baking sheets from the oven and quickly place a halved marshmallow (sticky side down) directly in the center of each partially baked cookie. This timing allows the cookie to set slightly before the marshmallow is added.
Step 6: Finish Baking and Cool. Return the baking sheets to the oven and continue baking for another 2-3 minutes, just until the marshmallows soften and slightly expand, adhering nicely to the cookies. Watch them carefully to prevent the marshmallows from over-browning. Remove the cookies from the oven and let them cool on the baking sheets for about 10 minutes. This cooling period is crucial as it allows the cookies to firm up and become sturdy enough to be transferred without breaking to a wire rack to cool completely.
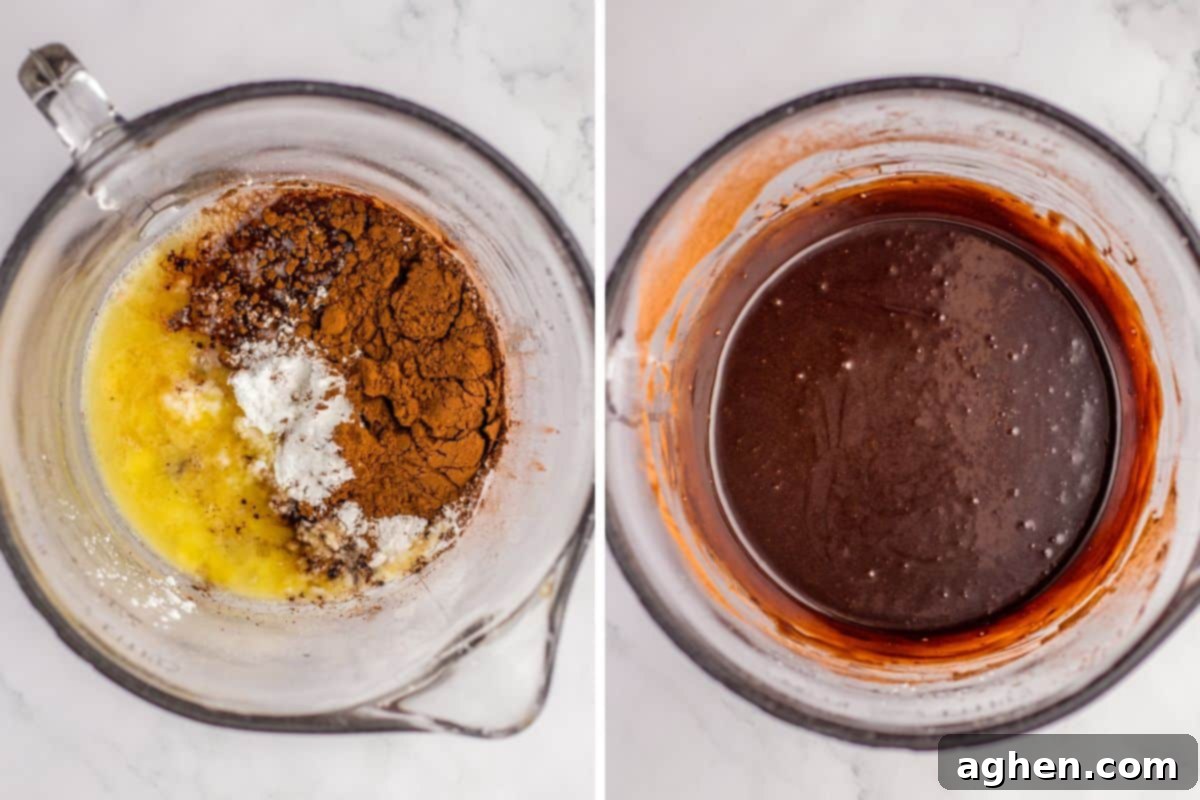
Step 7: Prepare the Rich Chocolate Icing. While the cookies are cooling, prepare your decadent chocolate icing. In a medium bowl, whisk together the confectioners’ sugar, melted unsalted butter, unsweetened cocoa powder, hot water, and vanilla extract. Continue whisking until the mixture is completely smooth and free of any lumps. The hot water helps ensure a smooth, pourable consistency.
Step 8: Frost and Decorate. Once the cookies are cooled on the wire rack (see Pro Tip below!), spoon a generous amount of icing over each marshmallow. You can gently spread the icing slightly with the back of a spoon or a small butter knife to cover the marshmallow entirely for a delightful “marshmallow surprise” when bitten into, or you can simply drizzle the icing artfully over the cookies, leaving some of the gooey marshmallow exposed for a beautiful effect. If you plan to add sprinkles or crushed candy cane, do so immediately after icing, before it begins to set. Allow the icing to fully set for at least 30-60 minutes before serving or storing. This ensures a clean finish and prevents stickiness.
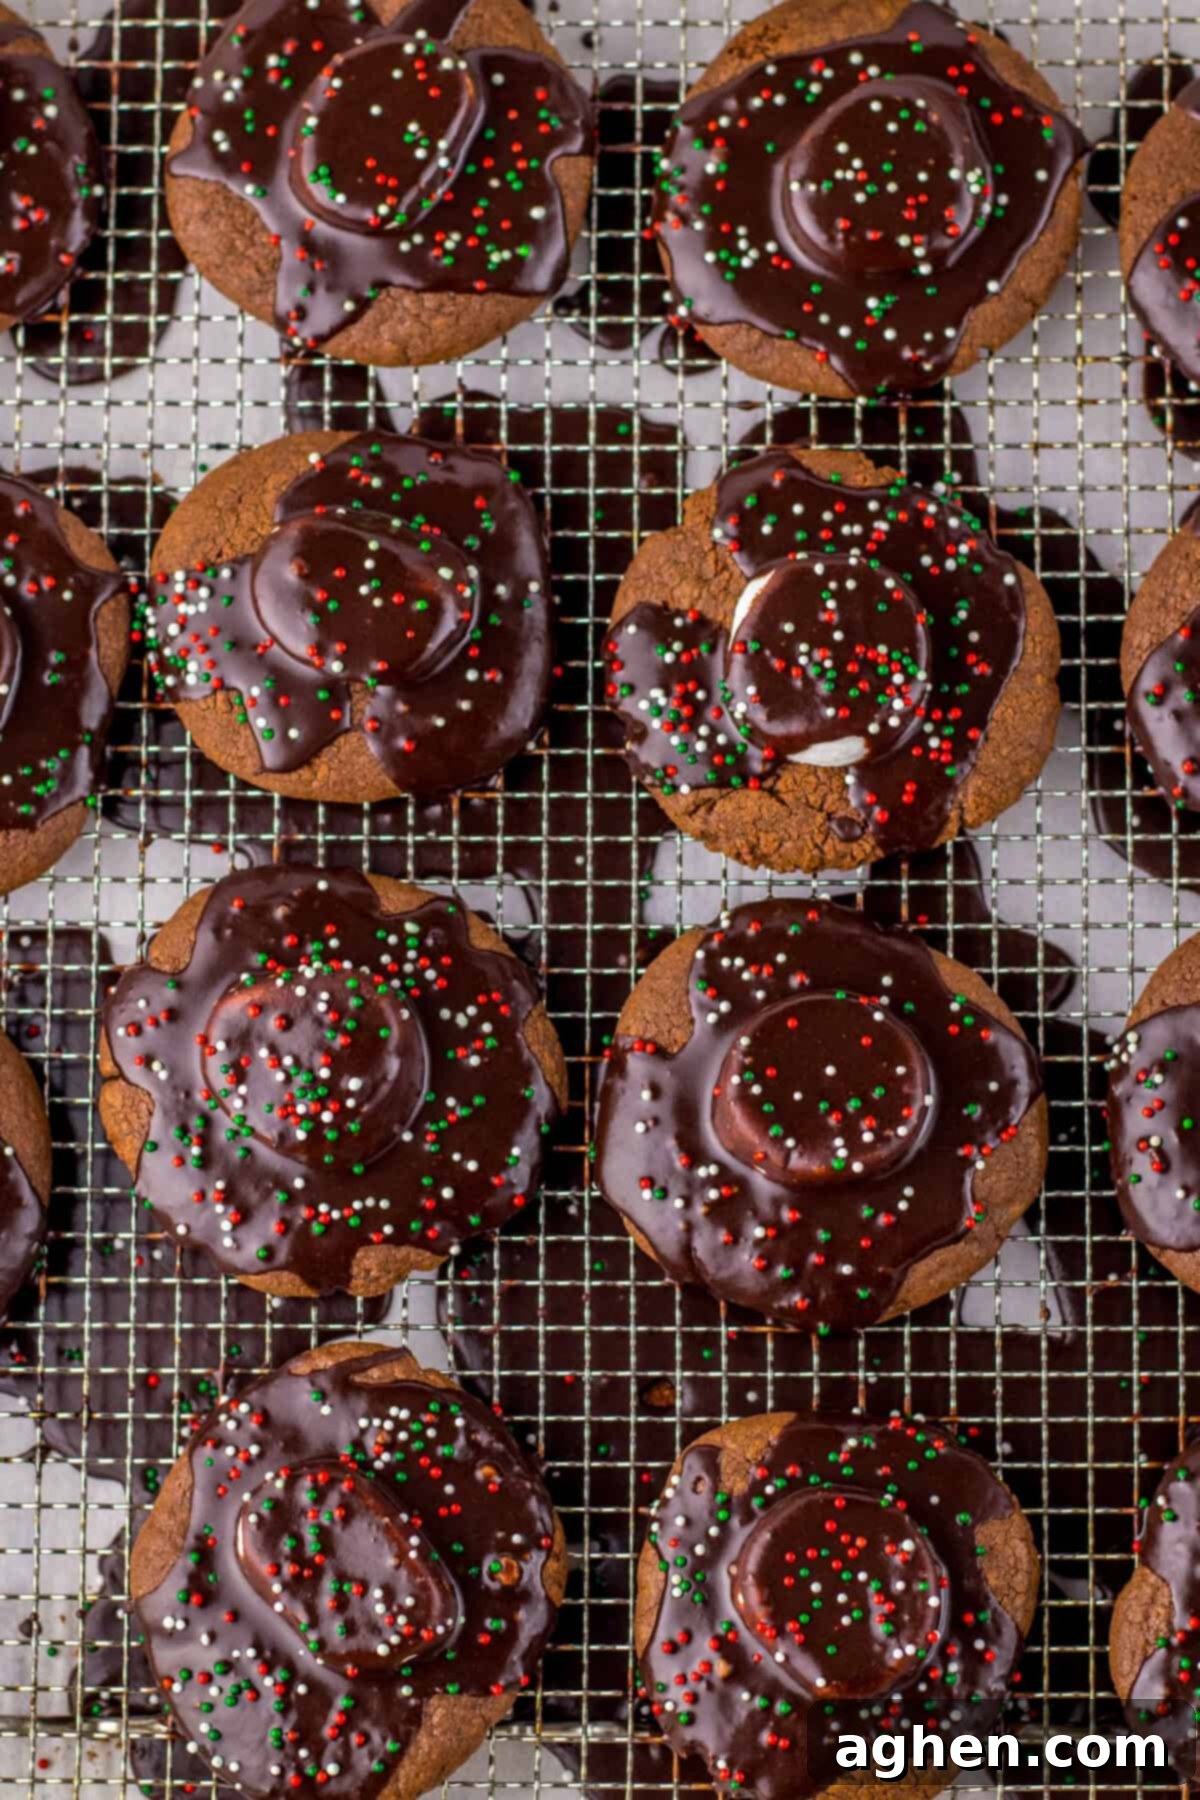
Pro Tip for Easy Cleanup:
Before you transfer your baked cookies to a wire cooling rack for icing, place the entire cooling rack over a baking sheet lined with parchment paper or foil. This clever trick will catch any excess chocolate icing that drips off, making cleanup incredibly quick and easy. Less mess means more time to enjoy your delicious cookies!
Storage Solutions for Your Hot Cocoa Cookies
Proper storage ensures your delicious **hot chocolate cookies** stay fresh and delightful for as long as possible.
These **hot cocoa cookies** are best enjoyed fresh, but they can be kept in an airtight container at room temperature for up to 3 days. Before stacking them, ensure the cookies are completely cooled and the icing is fully set to prevent sticking and smudging. For added protection, we recommend layering them with pieces of parchment paper inside the container.
Freezer Storage for Baked Cookies: While you *can* freeze the fully baked cookies, be aware that once thawed, the marshmallows may not retain their original soft and fluffy texture. They might become slightly chewier or a bit deflated. For this reason, we highly recommend freezing the cookie dough instead.
Freezing Cookie Dough for Future Indulgence: This is a fantastic option for having fresh-baked cookies ready whenever a craving strikes! Once you’ve scooped your cookie dough balls onto baking sheets (as if you were going to bake them), flash-freeze them until they are solid – usually about 30-60 minutes. Once solid, transfer the frozen dough balls to a freezer-safe zip-top bag or an airtight container. They will keep well in the freezer for up to 2 months. When you’re ready to bake, there’s no need to thaw! Simply bake them directly from frozen, following the recipe directions, but add an extra minute or two to the baking time.

Expert Recipe Tips for Perfect Results
Achieve bakery-quality **hot chocolate cookies** every time with these valuable tips:
- Prepare Dough in Advance: For ultimate convenience and flavor development, prepare the cookie dough a day ahead! Chill it overnight in the refrigerator. Before scooping and baking, let the dough sit at room temperature for about 30 minutes to make it easier to handle. This also allows the flavors to meld beautifully.
- Line Your Baking Sheets: Always use parchment paper or a silicone baking mat to line your baking sheets. This not only prevents the cookies from sticking but also helps them bake more evenly and prevents excessive spreading, ensuring perfectly shaped cookies every time.
- Invest in a Cookie Scoop: A cookie scoop is a game-changer! It ensures that all your cookies are uniform in size, which means they will bake evenly and look professional. We highly recommend this set of scoops for consistent results.
- Don’t Overbake: For soft, fudgy cookies, resist the urge to overbake. The cookies might seem slightly underdone in the center when you remove them from the oven, but they will continue to set as they cool on the baking sheet.
- Room Temperature Ingredients: As mentioned, ensure your butter and eggs are at room temperature. This is vital for achieving a smooth, well-emulsified dough that bakes consistently.
- Chill Time is Key: Do not skip the chilling time! It’s essential for allowing the flavors to deepen and the butter to firm up, which prevents the cookies from spreading too much in the oven.
Discover More Irresistible Holiday Cookie Recipes
If you loved these **hot chocolate cookies**, explore our other fantastic holiday cookie recipes perfect for sharing or savoring:
- Old-Fashioned Peanut Butter Cookies: A timeless classic that always hits the spot.
- Chocolate Peanut Butter No Bakes: Quick, easy, and deliciously decadent without turning on the oven.
- Festive Cranberry Cookies: Bright and chewy, perfect for a burst of holiday flavor.
- Peppermint Patty Cookies: A cool minty twist for chocolate lovers.
- Peanut Butter Buckeye Cookies: Rich peanut butter centers dipped in chocolate.
- Classic Chocolate Chip Cookies: The beloved favorite, always a crowd-pleaser.
- Soft Gingerbread Cookies: Warm spices and a tender texture, ideal for the season.
Hot Chocolate Cookies
Author: Jaclyn
30 minutes
15 minutes
1 hour
1 hour
45 minutes
40
Saved!
Ingredients
-
½
cup
unsalted butter
room temperature -
12
ounces
semisweet chocolate chips -
1 ½
cups
all-purpose flour -
¼
cup
unsweetened cocoa powder -
1 ½
teaspoon
baking powder -
¼
teaspoon
salt -
1 ¼
cup
light brown sugar
packed -
3
large eggs
room temperature preferred -
1 ½
teaspoon
vanilla extract -
20
marshmallows
halved
For the Icing
-
2
cups
confectioners’ sugar -
4
Tablespoons
unsalted butter
melted -
¼
cup
unsweetened cocoa powder -
¼
cup
hot water -
½
teaspoon
vanilla extract -
sprinkles
optional
Instructions
-
In a microwave-safe bowl, heat the unsalted butter and semi-sweet chocolate chips in the microwave for 30 seconds. Stir well, then continue heating in additional 15-second intervals, stirring after each, until the mixture is fully melted and smooth. Allow it to cool slightly before proceeding.
-
In a separate medium bowl, whisk together the all-purpose flour, unsweetened cocoa powder, baking powder, and salt until thoroughly combined. Set this dry mixture aside.
-
In a large mixing bowl (or the bowl of a stand mixer with the paddle attachment), beat the light brown sugar, room temperature eggs, and vanilla extract on low speed until they are well combined and smooth.
-
Add the slightly cooled melted chocolate mixture (from step 1) to the wet ingredients. Continue mixing on low speed until just combined.
-
With the mixer still on low speed, gradually incorporate the dry ingredients into the wet mixture. Mix until just combined, being careful not to overmix. Use a rubber spatula to scrape down the sides and bottom of the bowl as needed to ensure even incorporation.
-
Cover the bowl containing the cookie dough tightly with plastic wrap and refrigerate for at least 1 hour. This chilling process is crucial for optimal cookie texture and to prevent spreading.
-
Preheat your oven to 325°F (160°C). Line two baking sheets with parchment paper or silicone baking mats. Use a medium cookie scoop (about 1.5-2 tablespoons) to portion out uniform cookie dough balls. Place them on the prepared baking sheets, ensuring they are about 2 inches apart to allow for spreading.
-
Bake the cookies for 11 minutes. Remove the baking sheets from the oven. Carefully and quickly place a halved marshmallow, sticky side down, directly in the center of each partially baked cookie. Return the baking sheets to the oven for an additional 2-3 minutes, just until the marshmallows soften and slightly expand, adhering to the cookies.
-
Once baked, allow the cookies to cool on the baking sheets for 10 minutes. This helps them firm up and become sturdy enough to transfer. After 10 minutes, carefully move them to a wire cooling rack to cool completely.
-
To prepare the chocolate icing, whisk together the confectioners’ sugar, melted unsalted butter, unsweetened cocoa powder, hot water, and vanilla extract in a bowl until the mixture is perfectly smooth and lump-free.
-
Place your wire cooling rack over a lined baking sheet (this will catch any excess icing for easy cleanup!). Spoon a generous amount of icing over each marshmallow, gently spreading it slightly with the back of the spoon or a small butter knife. If adding sprinkles, do so immediately after icing each cookie, as the icing sets quickly.
-
Allow the chocolate icing to set completely, which typically takes between 30 to 60 minutes, before serving your delightful hot chocolate cookies or storing them.
Notes
Store these delicious hot chocolate cookies in an airtight container at room temperature for 2-3 days for optimal freshness.
Nutrition
Calories:
165
kcal
|
Carbohydrates:
24
g
|
Protein:
2
g
|
Fat:
7
g
|
Saturated Fat:
4
g
|
Polyunsaturated Fat:
0.3
g
|
Monounsaturated Fat:
2
g
|
Trans Fat:
0.1
g
|
Cholesterol:
22
mg
|
Sodium:
42
mg
|
Potassium:
85
mg
|
Fiber:
1
g
|
Sugar:
18
g
|
Vitamin A:
128
IU
|
Calcium:
25
mg
|
Iron:
1
mg

Did You Make This Recipe?
We’d love to see your creations! Share your delicious hot chocolate cookies with us on Instagram @crayonsandcravings and be sure to follow us on Pinterest @crayonsandcravings for even more fantastic recipes and culinary inspiration!
Pin Recipe
Leave A Review
